Update - 2024 Campaign Results

As we previously reported, we raised $580 in 2024 and were able to give 43 sets to giveyourbricks.com.

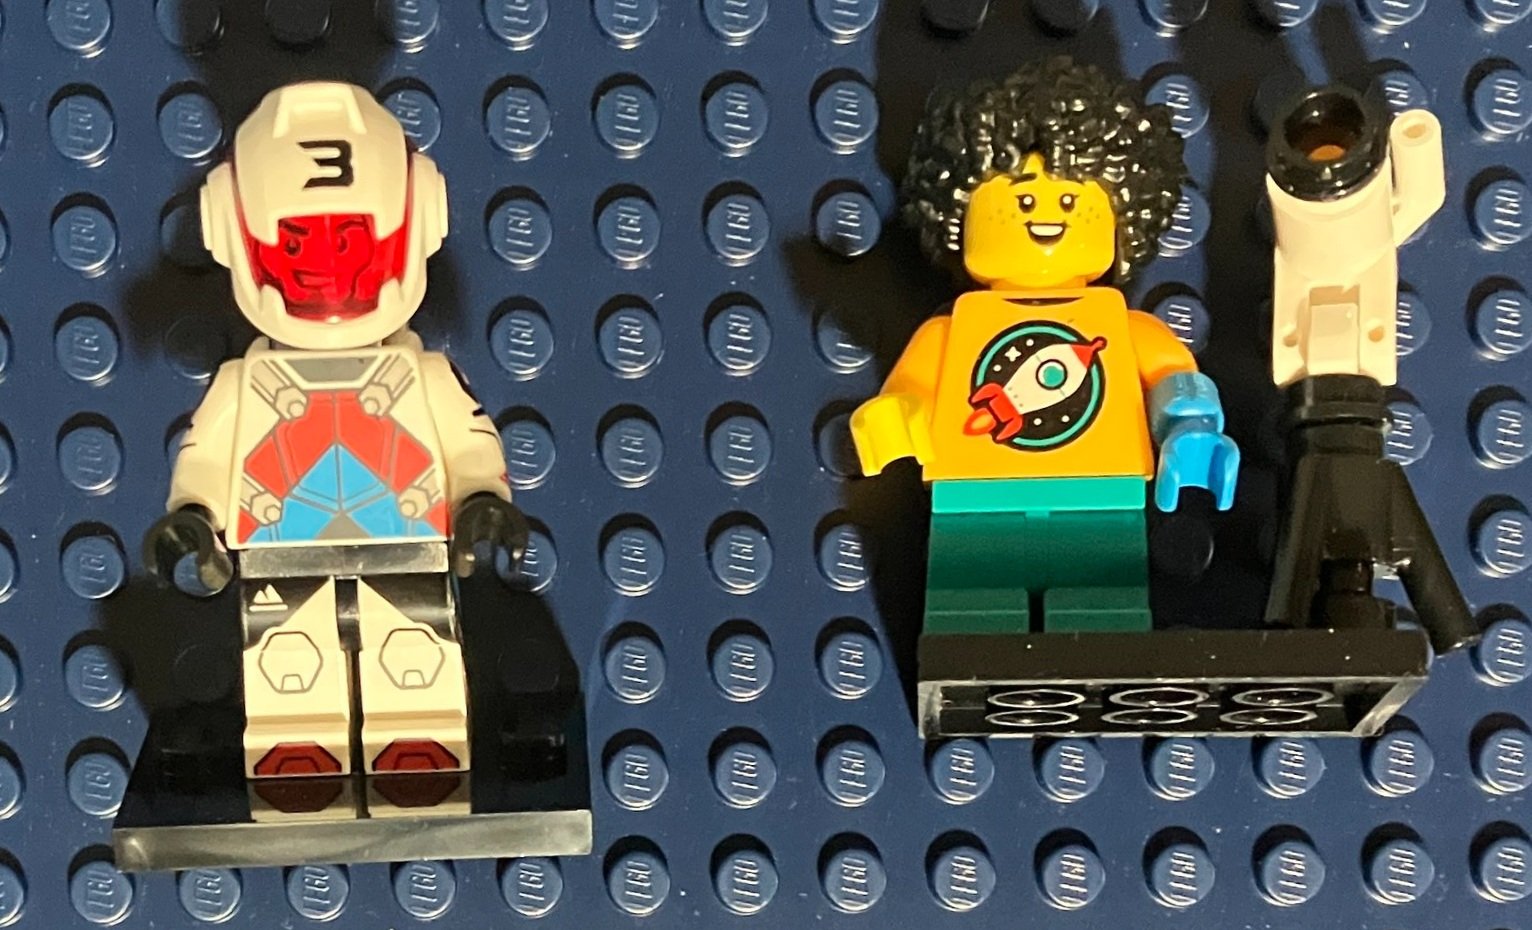
Well, we got the results from giveyourbricks.com and they gathered 481 sets to give out to kids this year. They also sent along some pictures of kids getting sets as shown by the title and below.

We’re glad to have been able to help this great cause. Happy building!

Set Review - #80112-1: Auspicious Dragon - Chinese Traditional Festival

The Chinese Traditional Festival themed sets have been going for a few years now. These sets are only available for a year (usually). I’m not sure how popular they are or how well they sell but I enjoy building them. I’m late on this 2024 set, but #80112-1: Auspicious Dragon was released on 25 December 2023 in the US for $89.99. It contained 1,171 pieces which worked out to $0.077 per piece.

At the time of this post, it looks like it’s sold out so you’ll have to find it on the secondary market (sorry).

The front of the box shows the set along with the Spring Festival Logo. The back shows some additional details along with the dimensions of the set.

The box contains 10 parts bags and an instruction booklet. Despite a lot of pieces with different prints on them, there are no stickers. YAY!

Bags one and two assemble the base where the dragon sits. It is designed so that there are studs facing the outside so you can attach various components. Additionally, you add in some Technic pieces where the legs of the dragon will end up attaching.

Bags three and four continue with the base and add in more details along with the start of some of the clouds and sky. Bag four also includes the back right foot.

Bag five wraps up the base along with the sky, clouds, and cloud wisps. You also add in the other back leg and then one of the front legs. There are a bunch of gold pieces in this set if you are looking for those for MOC building.

Bags six and seven start to assemble the body of the dragon. You start with the neck and work your way back. I like the use of Nexo Knight shields with printed scales as the scales on the body. There was some good piece usage and intricate designs which made for a fun build experience for me.

Bags eight and nine continue with the body extending to the tail. The scales are done in a similar fashion as the neck and there are some more ball and joint connections to hold it together.

Bag ten wraps up the build with the head, remaining foot, and a sign attached to the base. It was a great build and I’m a fan of how the end product looks. I have no idea what the Chinese writing says, but it is a cool display piece. I saw this one on sale once, but it didn’t last long. I grabbed it during a GWP period at LEGO.com so I ended up paying full price. Usually these sets go on sale at the end of the year, but due to this ones popularity, it didn’t last long. I’m glad I got one before they were gone. Now I just have to figure out where to display it.

Happy building!

Fx Bricks - #8832 - 9V Compatible Metal Track

I’ve talked trains before and 9V rails. I have a whole bunch of curved track of the 9V variety, but not a lot of straight track. A number of years ago, I bought some from a now defunct vendor, but they weren’t so good and I never I got my full order before they shut down. Fx Bricks based in Canada took up the task and released their version and I finally tried some out.

If you look at the picture of the box below, there are numerous types of curves, new geography of switching tracks, and different lengths of straights. I decided to purchase the S32 straight track with the 32 representing 32 studs in length or two times the length of the standard LEGO straight track. A set of S32 track included eight pieces of track and cost $63 (US, not Canadian). I ordered four packages and the shipping came to $19 from Canada. The package shipped from somewhere near Ottawa and it only took a few days to arrive.

The order was well packed and the packaging for the track was pretty spiffy. The front shows the track and provides all of the details for what is in the box. The back shows all the different track sizes and provides some additional detail on the system Fx Bricks makes.

Opening the box reveals the tracks inside. From a first glance, they almost look like they are from LEGO. Each piece of track is separated with a cardboard end piece to prevent them from scratching each other during shipping. They are held in place well.

The studs on the track are stamped with Fx instead of Lego, but beyond that they look similar. I had no issues connecting the Fx Bricks track to any of the LEGO 9V track. The connections worked smoothly and when I hooked it up to a 9V regulator, I had no issues running 9V motors on the track.

It’s great to finally have a smooth working solution that is compatible with the old stuff and enables you to add onto your layouts with new stuff. I’m a fan! Props to Michael Gale for his work in making this happen.

Happy building!

Set Review - #21344-1: Orient Express - LEGO Ideas

I’m a big LEGO train fan, but sadly, LEGO has not released a lot of train sets geared towards adults as of late. On 1 December 2023, LEGO released Ideas set #21344-1: Orient Express which is set number 52 on the Ideas line. It contains 2,540 pieces and retails for $299.99. This works out to $0.118 per piece which is high and this set was met with a lot of negative responses due to the high cost. Also, the fan design and the LEGO Designer design have some big differences with the engine so there were many complaints there as well. Finally, the engine does not come motorized or with instructions on how to motorize the set. Numerous fans have posted instructions on how to motorize the set so don’t worry there.

I held off on purchasing until LEGO added a 20% discount during a double Insiders Point sale with a GWP. It’s still a bit expensive, but the discount, extra Insider Points, and GWP helped.

Onto the review…

The box shows the full set on the front with the Ideas and 18+ logos. I like how the greebling on the bottom of the box, the Orient Express logo on the box, and the stripes on the train all match with the LEGO gold color. The back gives another view of the train along with some views of the inside of the train cars.

The set contains 23 numbered parts bags, two bags without numbers, a cardboard envelope with instructions inside, and two small sticker sheets.

Here are the stickers. The one sheet has the silver/glossy stickers while the other has more colors. For the price of the set, it would have been great to have more prints, but it is what it is.

The first two bags assemble a base platform for you to display the train on. As a train fan, I have track and plan to put it there so these pieces aren’t necessary. I will take it apart and use the pieces elsewhere. I think they could have done without these pieces and saved us a few dollars on the cost of the set.

The second bag contained the first minifigure. She comes with a gold pen and an envelope along with an interesting hat piece with hair that I have not seen before.

Bags three and four begin to build the restaurant car. The cars are built with two large plates and then some additional smaller plates on the end. This differs from many train options where the cars are build on a standard LEGO train baseplate. This train is 8 studs wide though so the standard 6 stud wide base plate wouldn’t work with the design without modification.

Bag three comes with an older male minifigure who has a cane/walking stick.

Bags five and six add the ends of the car, doors, and then the table and drink serving area. While I’m not a fan of stickers, the stickers that add the wall designs are fun and do add to the look of the set. The designers were able to cram some good details into this car with the drinks, lamps, and various plates and cups.

Bag six adds a female minifigure who is a server on the train.

Bag seven adds the windows using a SNOT technique. The gold window frames are great and there is a new piece to help make the SNOT work. Bag eight adds the roof and the printed tiles on the sides with the stop names. It has been pointed out that there are some misspelled words that a non-native language speaker wouldn’t catch. Bad on LEGO for not getting it right, but I wouldn’t have known if it wasn’t pointed out to me.

Bag nine finishes the restaurant car. Its a great look with a lot of detail on the inside and outside. The wheels are not the standard LEGO train pieces so it’s cool to see a different design. The designers used ball joints to connect the cars. Maybe these are stronger than the magnets, but I find them really annoying to try and connect. I seem to knock the train off the track when I try to connect it and then when I put the train back on the track, I disconnect the ball joint. Maybe I’m just not coordinated?

Bag 10 starts the sleeping car. The base is built in a similar fashion as the previous car. I like the tile work on the floor of the one section of the car.

Bags 11 and 12 build up the sleeper car by adding in the end of the car in bag 11 using the same method as the restaurant car and then the roof in the same method as well. Bag 12 adds a small bathroom area with a sink and towel.

Bag 11 builds a small cart for carrying luggage.

I missed a picture as I was so into the build so this picture captures bags 13 and 14. Bag 13 adds in all of the details to this car to include a small bathroom with a lot of fixtures packed in, but not a lot of space for a minifigure. There is also a luxury bedroom with a couch and desk area. The other side of the car has bunk beds with a small table. There is a much less luxurious washroom in this end of the car. Also, it’s not clear how a minifigure would get from one end of the car to the other without going outside. Bag 14 adds the windows using the same method as the restaurant car.

Bag 15 adds the roof, the tiles with the stops along the way, and adds in a female minifigure in a dress.

Bag 16 adds the wheels and then the conductor minifigure.

Both bags are very similar to the previous car.

Bags 17 and 18 assemble the tender for holding the coal. The design is new as it is three sets of wheels and the center wheel set can move to adjust for curved rails. The center of the tender is empty in the end so not sure why this couldn’t have been a motor or battery box.

Bags 19 and 20 start to assemble the engine. Bag 19 includes the train engineer with a shovel to add in more coal. Bag 20 adds the funnel and a sticker for the engine number. It also adds a number of SNOT pieces so allow for future parts.

Bag 21 creates the curved shape of the engine and the re-colored Minion heads as boiler domes. I really like the dark blue color with the gold stripes used here.

Bag 22 adds in the cab section and the wheels along with the gearing. The gearing isn’t too hard to assemble as long as you really pay attention to the instructions and make sure they are offset by 90 degrees.

Bag 23 wraps up the build. I didn’t take a great picture here, but it adds the front of the engine, the buffers, and the front wheels (I’m sure these have a technical term that I’m missing).

A videographer minifigure is included with this final build.

Here’s the final train as assembled on the provided base track along with all of the minifigures. It’s a sharp looking train and the colors look great with the dark blue, gold, and light gray. There are a decent amount of minifigures and there is opportunity to add in more. The train would look great departing out of Studgate Station. The eight studs wide build helps to pack in some extra details and overall, I’m glad to see a train set geared towards adults that fits on L-gage track (yeah, I’m taking about the big, recently retired Hogwarts Express that didn’t fit and was a huge disappointment to the fan community). I think it’s a good selection of minifigures as well.

Enough nice things said… this one is too expensive! I’m glad to see LEGO listened and gave us more than one car, but $100 a car and then $100 for the engine and tender is too high. I think the sale price is pushing it a bit as well. I’m glad I had a GWP and Double Insider points to soften the blow. For the $300 retail price, the detailed engine from the fan designer should have been used and maybe even figure out how to motorize it.

LEGO, let’s see more train sets like this, but at a lower price point. Get rid of the base. We can use LEGO track. Keep them coming please!

Happy building!

The results are in... another successful campaign!!!

We did it. It was another successful campaign. This one was a bit different. I knew I was moving this year so we ran a campaign from the end of last year, took a break for five months during the move, and then came back strong to wrap up the campaign.

In case you forgot, we used 15% of our profits from the Bricks for Bricks Bricklink store and eBay store to give to giveyourbricks.com and the Chalk Guy LEGO Drive.

Our grand total for the year was…

$580

Thank you all so much for your patronage so we can support great causes. The Chalk Guy LEGO drive requested smaller sets so we shipped 43 sets to them to give to kids in hospitals. We were told they’d send us a picture so when we get it, we’ll add it to the post.

Stay tuned for our next campaign.

Happy building!

Set Review - #10339-1: Santa's Post Office - Winter Village Collection

Another annual LEGO tradition that I’ve been sucked into… the Winter Village Collection. This one is #10339-1: Santa’s Post Office. It was released on 1 October 2024 and contains 1,440 pieces. It still retails for $99.99 which is great to see that the price has remained the same for Winter Village sets. The price per piece works out to $0.069 which also isn’t that bad.

The front of the box has the labeling for Icons, 18+, and the Winter Village Collection. It also has the warning about the batteries inside that you shouldn’t eat. The back provides some more details and shows off some of the play features.

The set contains 10 parts bags, 2 instruction booklets, and a small sticker sheet. This set can be split out so one person builds with one booklet and another builds with the other. I think a younger builder is meant to build with the smaller booklet while the older builder gets the larger booklet. I built with both of my kids so we took turns building different bags.

Here’s the sticker sheet. Thankfully there aren’t too many, but it could be much worse considering how the price point doesn’t seem to change despite the LEGO set price inflation that we’ve seen over the past few years.

Bags one and two build a number of accessory parts. Bag one is a directional sign next to a mail box, a Christmas tree (yet another Christmas tree design from the LEGO design team), and an elf ice fishing near a small seal. The elf apparently caught a letter? Or is getting rid of the letter? I’m not sure. Bag two is some post office gear with two mail carts, a mail separator, and a sled with another elf. The separator will come into play later on, but the point is that you can sort the junk mail and the good mail. Some of the pieces are labeled junk mail which is a funny touch from the design team.

The minifigures are mostly the same as other elves only these have post office logos on them so they are a bit more unique.

Bags three and four start to build the post office. Bag three assembles the base and starts to give the frame of the building. Like most Winter Village sets, this one is just the front facade and it doesn’t have a back. Bag four assembles Santa’s office area. He has a fire place that also opens up to the outdoors, a chair, book shelf, and a small coffee table.

There isn’t anything new about the Santa minifigure that I can tell, but you get another one in case you didn’t have one.

Bag five adds a center room area for sorting mail and then an entrance area with yet more mail stacked up. There are a few details added outside to include some plants with snow on top and some snow built up on window sills.

Bag six adds on some of the roof area which will make more sense later on in the build. There are a few green chute pieces which will eventually become part of the mail sorting apparatus.

The seventh bag adds more to the front of the building, more roof, and a second story with a desk/working space and another way to drop mail into the sorting system. My kids hadn’t seen any of the reviews prior to building the set so it was fun to listen to them try and figure out what all the different chutes were for.

Bag eight adds the snow covered roof over the entrance to the Post Office along with decorations on the front of the building by the door, windows, and chimney. I really like how they recreated the Post Office symbol in gold colored pieces above the windows.

The ninth bag finishes the building off with a roof over the main section of the Post Office. Not pictured, but underneath the roof is a yellow arrow to show the direction the mail should travel. You also add some red flags to the top of the roof.

Bag ten is the final bag and it assembles the hot air balloon. It’s a cool design with the light brick included here to show the balloon firing up. You push the gray piece on the top to make the light turn on. The balloon has an elf pilot and space to hold mail. The mail holder can tip when it lands on the pad on top of the post office. The mail then enters the sorting chutes. What a great play feature! I’m not sure that you can actually steer a balloon to land where you want it to, but maybe it’s part of Santa’s magic? There is an elf holding light sticks to help direct the balloon in for a perfect landing.

Here’s the final set and all that it includes. My kids and I enjoyed putting it together and it’s fun to play with. The price per piece ratio is decent as well. If you’re into the Winter Village Collection, definitely pick this one up. If you aren’t sure, wait two years until it is about to retire and you might see it get discounted 15% or 20%.

Happy building!

Set Review - #77070-1: Durr Burger - Fortnite

I’ve never played Fortnite and I have no idea what Durr Burger is, but the thought of a set that is a cheese burger with a tongue and eyeballs sounded cool so I purchased one. Set #77070-1: Durr Burger was released on 1 October 2024. It contains 193 pieces and cost $14.99. This works out to $0.078 per piece.

The front of the box has the LEGO and Fortnite logos along with the burger. The back is just more pictures of the burger. How many did they need to put there?

The box contains two parts bags and an instruction booklet.

The first bag assembles the bottom bun, the burger, the cheese, and part of the tongue.

The second bag finishes it up with the tongue, tomato, top bun, eyeballs, sesame seeds, and a tooth pick with an olive on it. For $15, it’s not bad with some decent parts and just a fun design. How accurate it is compared to the game… I have no idea. I have taken to moving it around my house to put it in places my NLS doesn’t want with motivation from my son. It’s small enough that it fits in lots of places.

Do I recommend this one? If you’re looking for a fun, quick build and maybe you need a few extra dollars on an order to hit a GWP limit, go for it. If you have no idea what this is and don’t think a burger with eyeballs is funny, then find something else.

Happy building!

Set Review - #71047: Dungeons and Dragons - Collectible Minifigures

Another collectible minifigure series… I’m not a Dungeons and Dragons fan by any means, but I’ve been hooked into collecting them all so I dove in. These were released on 1 September 2024 for $4.99 each. I think this price is a bit steep and this time I waited until the series went on sale before jumping in. The 6-pack boxes recently went on sale for $5 off the regular $30 price. Not the greatest price, but still not full price so I’ll take it. This series has 12 minifigures and they are all quite unique. Full disclosure, I know nothing about DnD so I’m not going to provide any comments about the theme itself. One interesting note on this series is that many of the figures came with two heads so you could make the minifigure a male or a female which is a nice change. I hope to see more of this, but don’t want to see an increased cost for it.


Halfling Druid: A bird, antler head piece, and a staff larger than the figure. This one is fun.

Dragonborn Paladin; With the recent resurgence of the castle theme, this figure has been pretty popular with a dragon head and dragon shield.


Elf Bard: the lute is a cool part and a gold colored sword… some cool accessories.

Dwarf Barbarian: I like this minifigure and the option for a male or female character is a bonus on this one.


The Lady of Pain: The head piece of this one interesting. I’m not sure how I feel about it as a whole without understanding DnD.

Szass Tam: What is this one? I’m not a fan of this one. It doesn’t offer a whole lot in terms of accessories.


Aarakocra Ranger: I think this one is pretty cool. I like the eagle head and the wings with the minifigure torso and smaller legs. The different bow and arrow piece is pretty cool too.

Tasha the Witch Queen: The witch hat on top of the hair is fun for this one.


Mind Flayer: I have no idea what this is, but the little walking brain creature is hilarious.

Gith Warlock: The eyeball on a stick is a great piece. No idea what it’s for, but I’m excited to see what MOC builders do with it.


Strahd von Zarovich and Tiefling Sorcerer: Two more characters that I’m not sure what to do with. No complaints here, just interesting and weird looking.

Set Review - #10314-1: Dried Flowers Centerpiece - Icons - Botanicals

The Botanicals line has continued strong with set #10314-1: Dried Flower Centerpiece which was released 1 February 2023. This one was priced at $49.99, but with all the sales can be found for around $38 right now. It’s going to be retiring soon so look for it to fall even lower as retailers look to get rid of inventory. The set contains 812 pieces which works out to $0.062 per piece. This isn’t bad although most of the pieces are rather small. If you really like the set, you can get more than one to make a larger display as shown on the back of the box. I just purchased one to build so onto the review…

The set contains seven parts bags and two instruction booklets. It’s possible to split the set up between two people so you could have one person build bags one through three and another builds bags four through seven.

Bag one assembles the base of the first half of the arrangement. Nothing overly extraordinary to report here.

The second bag adds in some of the plants around the edges of the base. The use of pieces is great with pumpkin pieces, crowns, whips, and Technic gears along with some of the usual plant pieces. Even if you don’t like botanical sets, you get some great colored foliage pieces for MOCs or forest scenes so it’s a good parts pack.

The third bag finishes up this half of the arrangement. The standout is the flower with the oar pieces connected to orange wrenches around a steering wheel type piece. The Ninjago hat as the center is great too. You also add in some other flowers to include some made with orange epaulets.

Bag four starts the other half of the arrangement. It looks very similar to bag one.

Bag five is similar to bag two. The build isn’t exactly the same, but there is some repetition between the two. It’s a smaller build so not too painful here.

Bag six finishes up most of this arrangement with the highlight being the rose. It’s impressive how the designers figured out how to overlap the wheel well pieces to create a flower like shape.

The last bag connects the two halves and also gives you the option to build a separate connecter piece. Buying two sets would allow you to connect the four halves and make a fun arrangement. You could put a real candle in the center or some other fun brick designed item to have a cool table decoration.

Here are a few shots of the final build. It’s not very large, but my NLS found a way to display it in our house for the fall and it looks great. If you’re a fan of the Botanicals line, I recommend picking this one up before it is gone if you haven’t already. If you are looking for a good parts pack with some foliage pieces, this is one to look for some sales on Black Friday to grab it at a discount for parts.

Happy building!

Set Review - BrickCon 2024 - CON MODEL

I’m a little late in building this one, but I’m glad I finally put it together. Each year, BrickCon has a Con Model and each year it’s been an awesome build. This one contains 451 pieces and was designed by one of the BrickCon Foundation team members named Bre Burns. The box is very bright and colorful with the front showing a girl and her dog while the back explains the idea behind the set. The side of the box shows that the set is #83 of 250 total sets assembled.

The set contains a plastic bag of parts, a 16x16 plate, a custom tile, and an instruction booklet.

The instruction booklet shows the assembled set on the front. In order to keep costs down, the instructions are a little more complicated then what you’d receive from LEGO. There are a lot of parts in each step as it is assumed that the builders of these sets are experienced builders and they can handle the challenging steps.

The set has plates for a base, some internal Technic workings, plates on the top, and then the top has a number of small builds. There is a girl figure, a dog, and then various smaller builds to represent the some of the different themes from LEGO past and present. In the back left there’s a flower to represent the Botanicals theme. The girl is holding a land speeder from Star Wars. Below the land speeder is a pirate ship and then a mini-Technic construction vehicle. In the center are two vehicles which could be CITY or Speed Champions. Also there’s a miniature Galaxy Explorer zooming up. In-between the girl and the dog is a box of bricks. This includes a few bricks assembled to look like the BrickCon logo. The right side of the build has a microfigure to represent the Ninjago line. In front are a small castle and then a train.

Here’s the view from the front. On the front is the printed tile and a pattern of 1x1 plates.

From the side, you can see the crank which you can turn to get the movement. The parts that move include the dog’s tail, the center track with the two cars and the Galaxy Explorer, and then the girl’s right hand moves up and down to fly the Land Speeder. You can also switch out the Land Speeder for the Galaxy Explorer.

It was a great build and I’m glad I was able to get it at BrickCon this year.

Happy building!