I’m a big LEGO train fan, but sadly, LEGO has not released a lot of train sets geared towards adults as of late. On 1 December 2023, LEGO released Ideas set #21344-1: Orient Express which is set number 52 on the Ideas line. It contains 2,540 pieces and retails for $299.99. This works out to $0.118 per piece which is high and this set was met with a lot of negative responses due to the high cost. Also, the fan design and the LEGO Designer design have some big differences with the engine so there were many complaints there as well. Finally, the engine does not come motorized or with instructions on how to motorize the set. Numerous fans have posted instructions on how to motorize the set so don’t worry there.
I held off on purchasing until LEGO added a 20% discount during a double Insiders Point sale with a GWP. It’s still a bit expensive, but the discount, extra Insider Points, and GWP helped.
Onto the review…
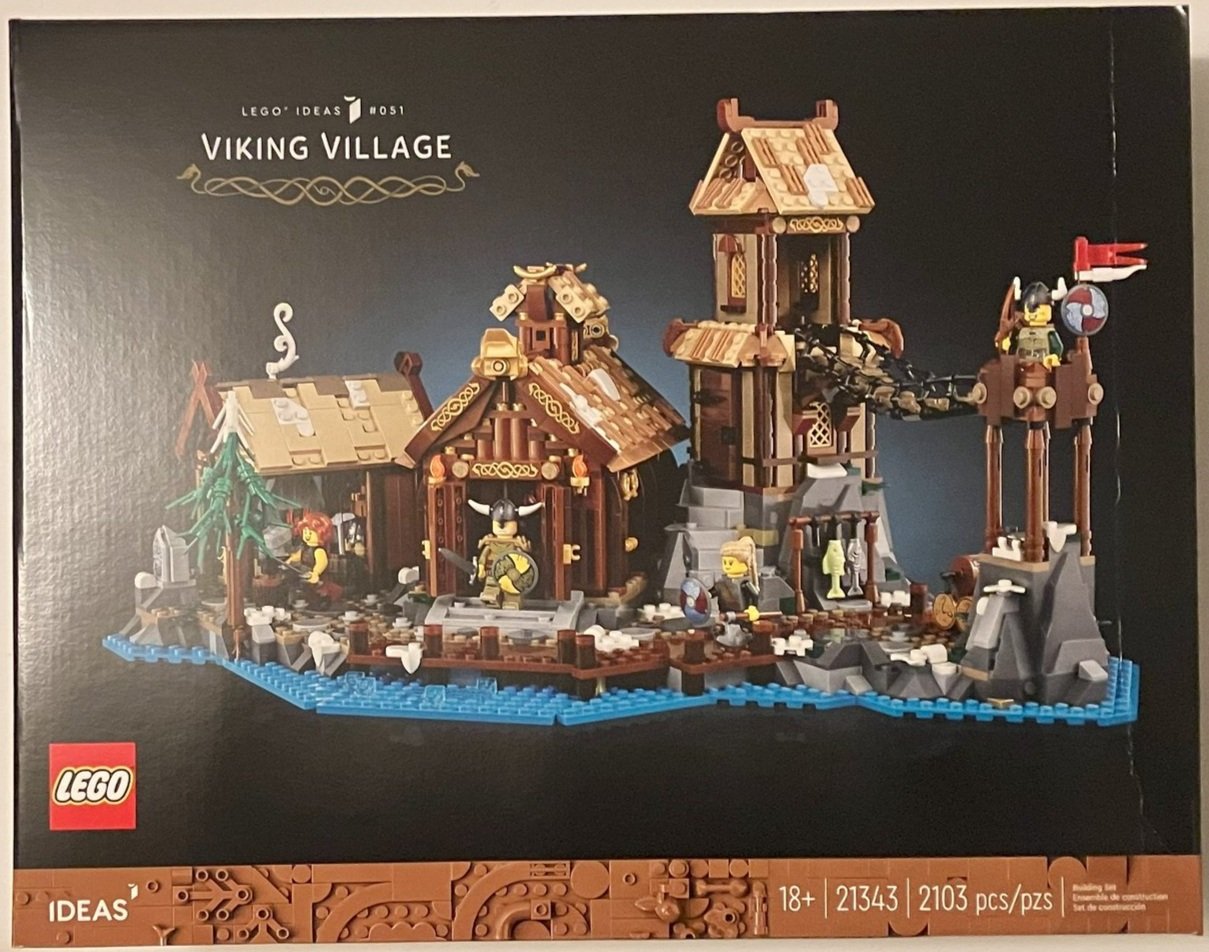
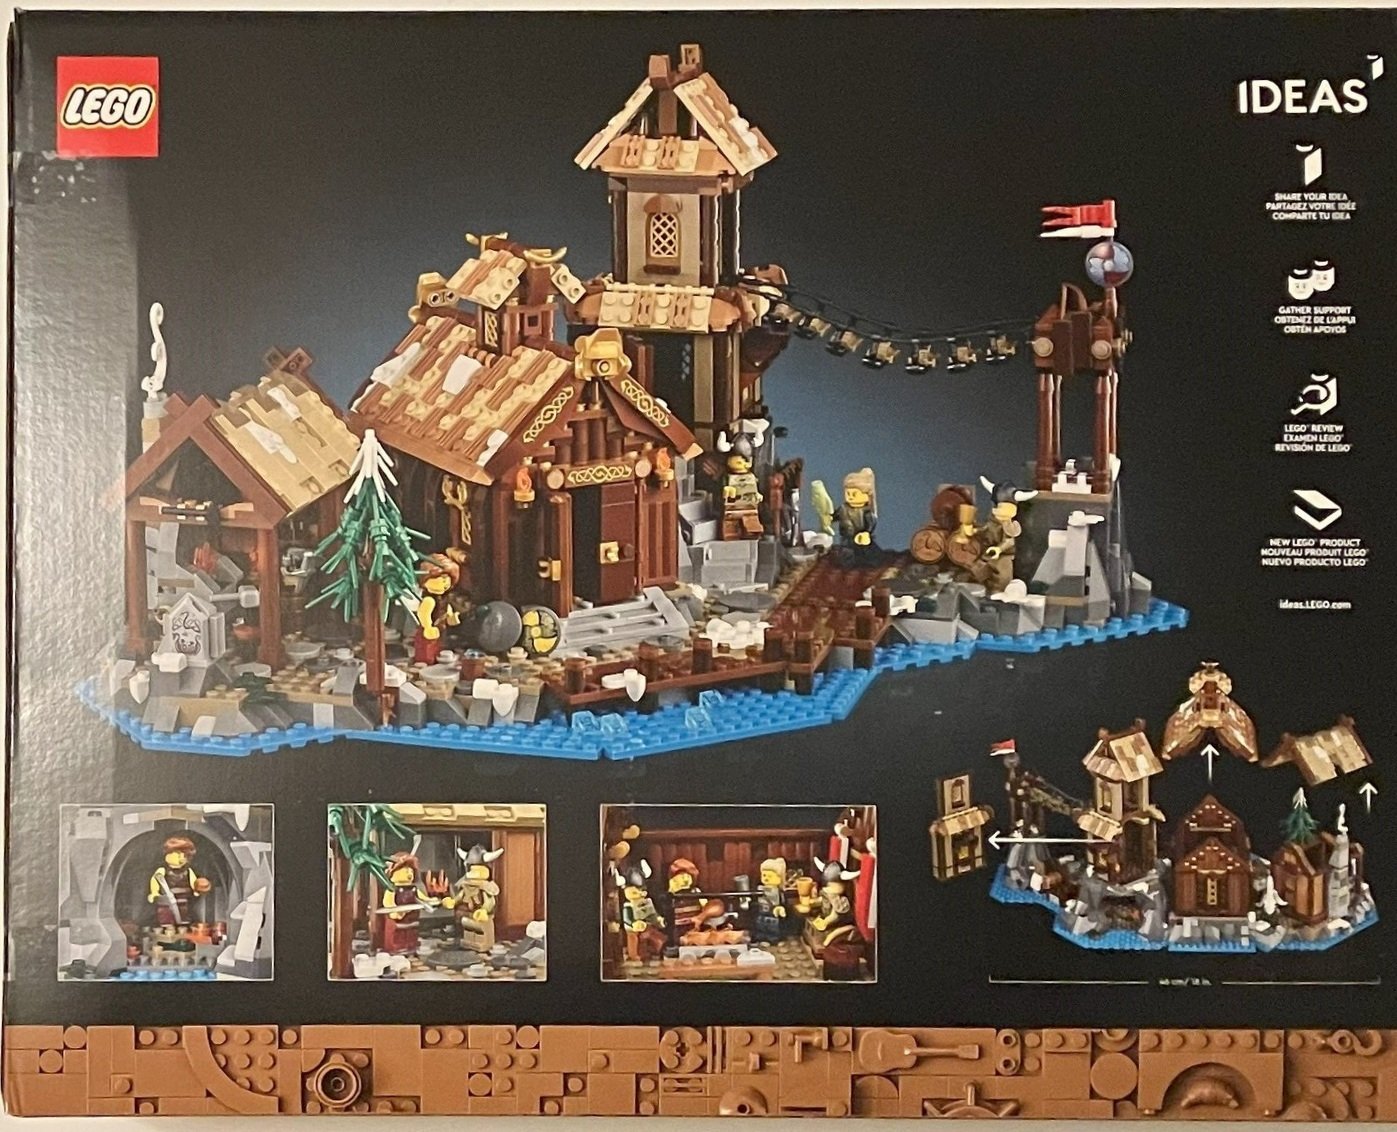
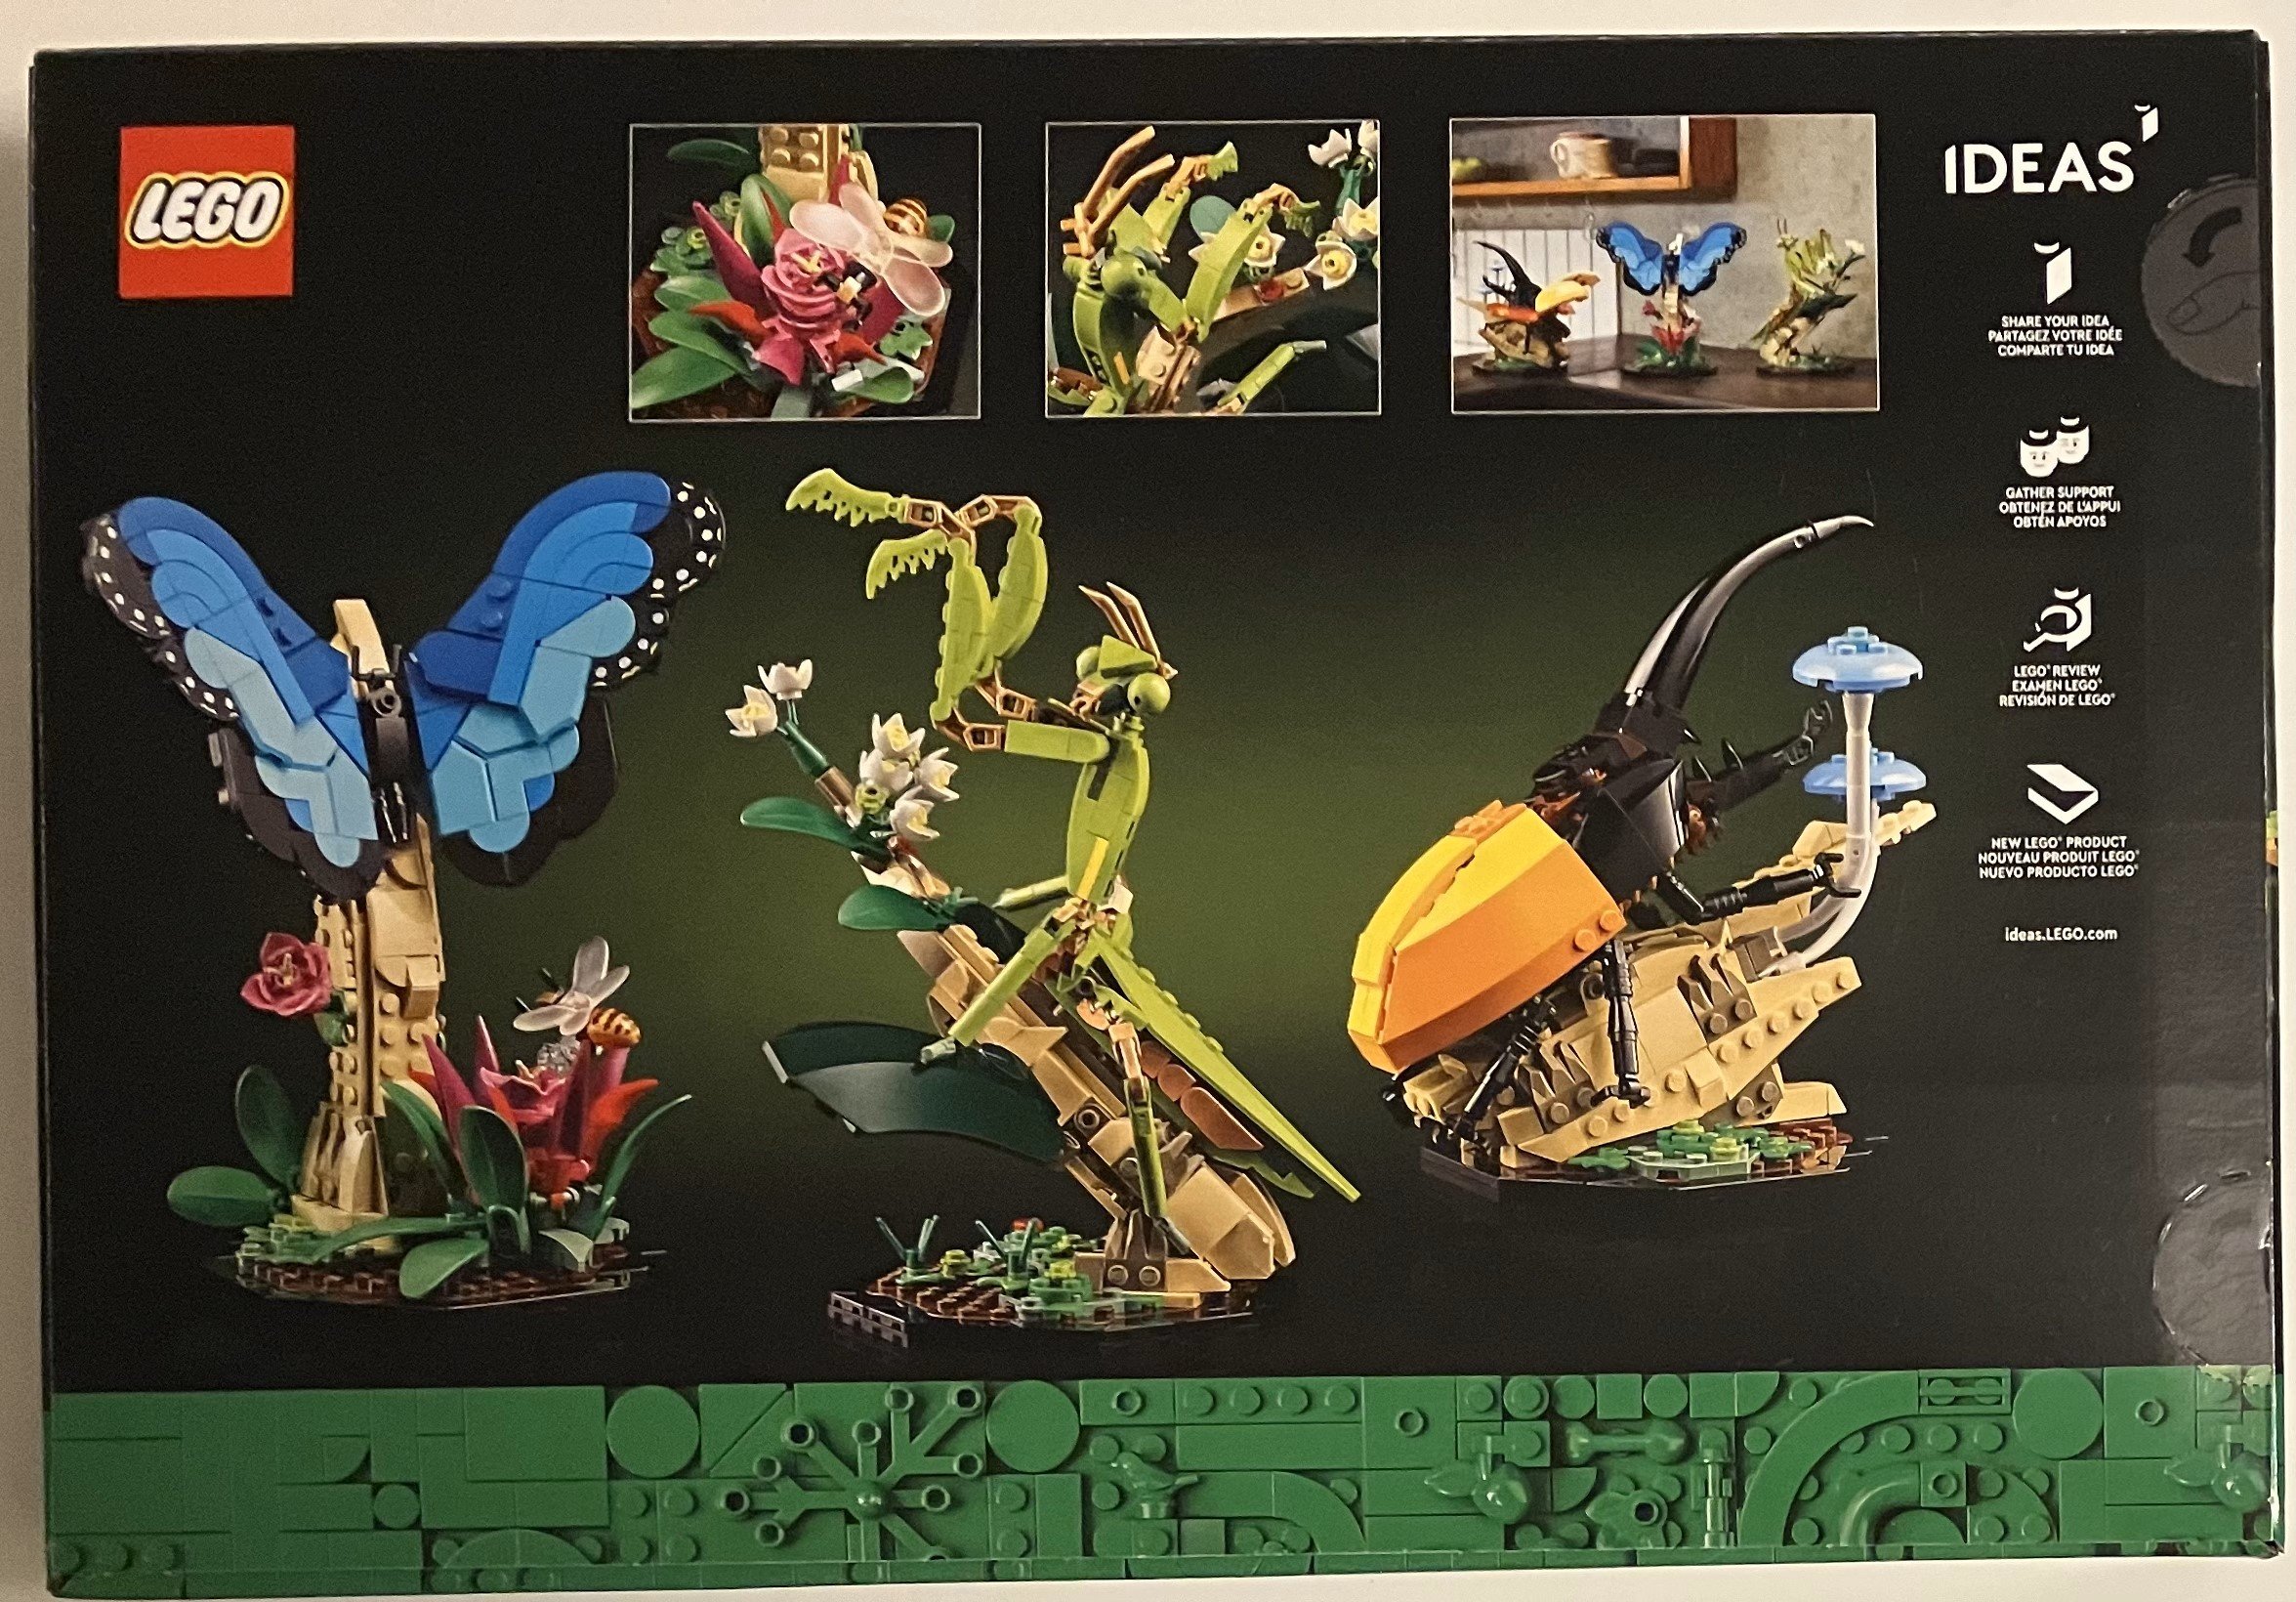
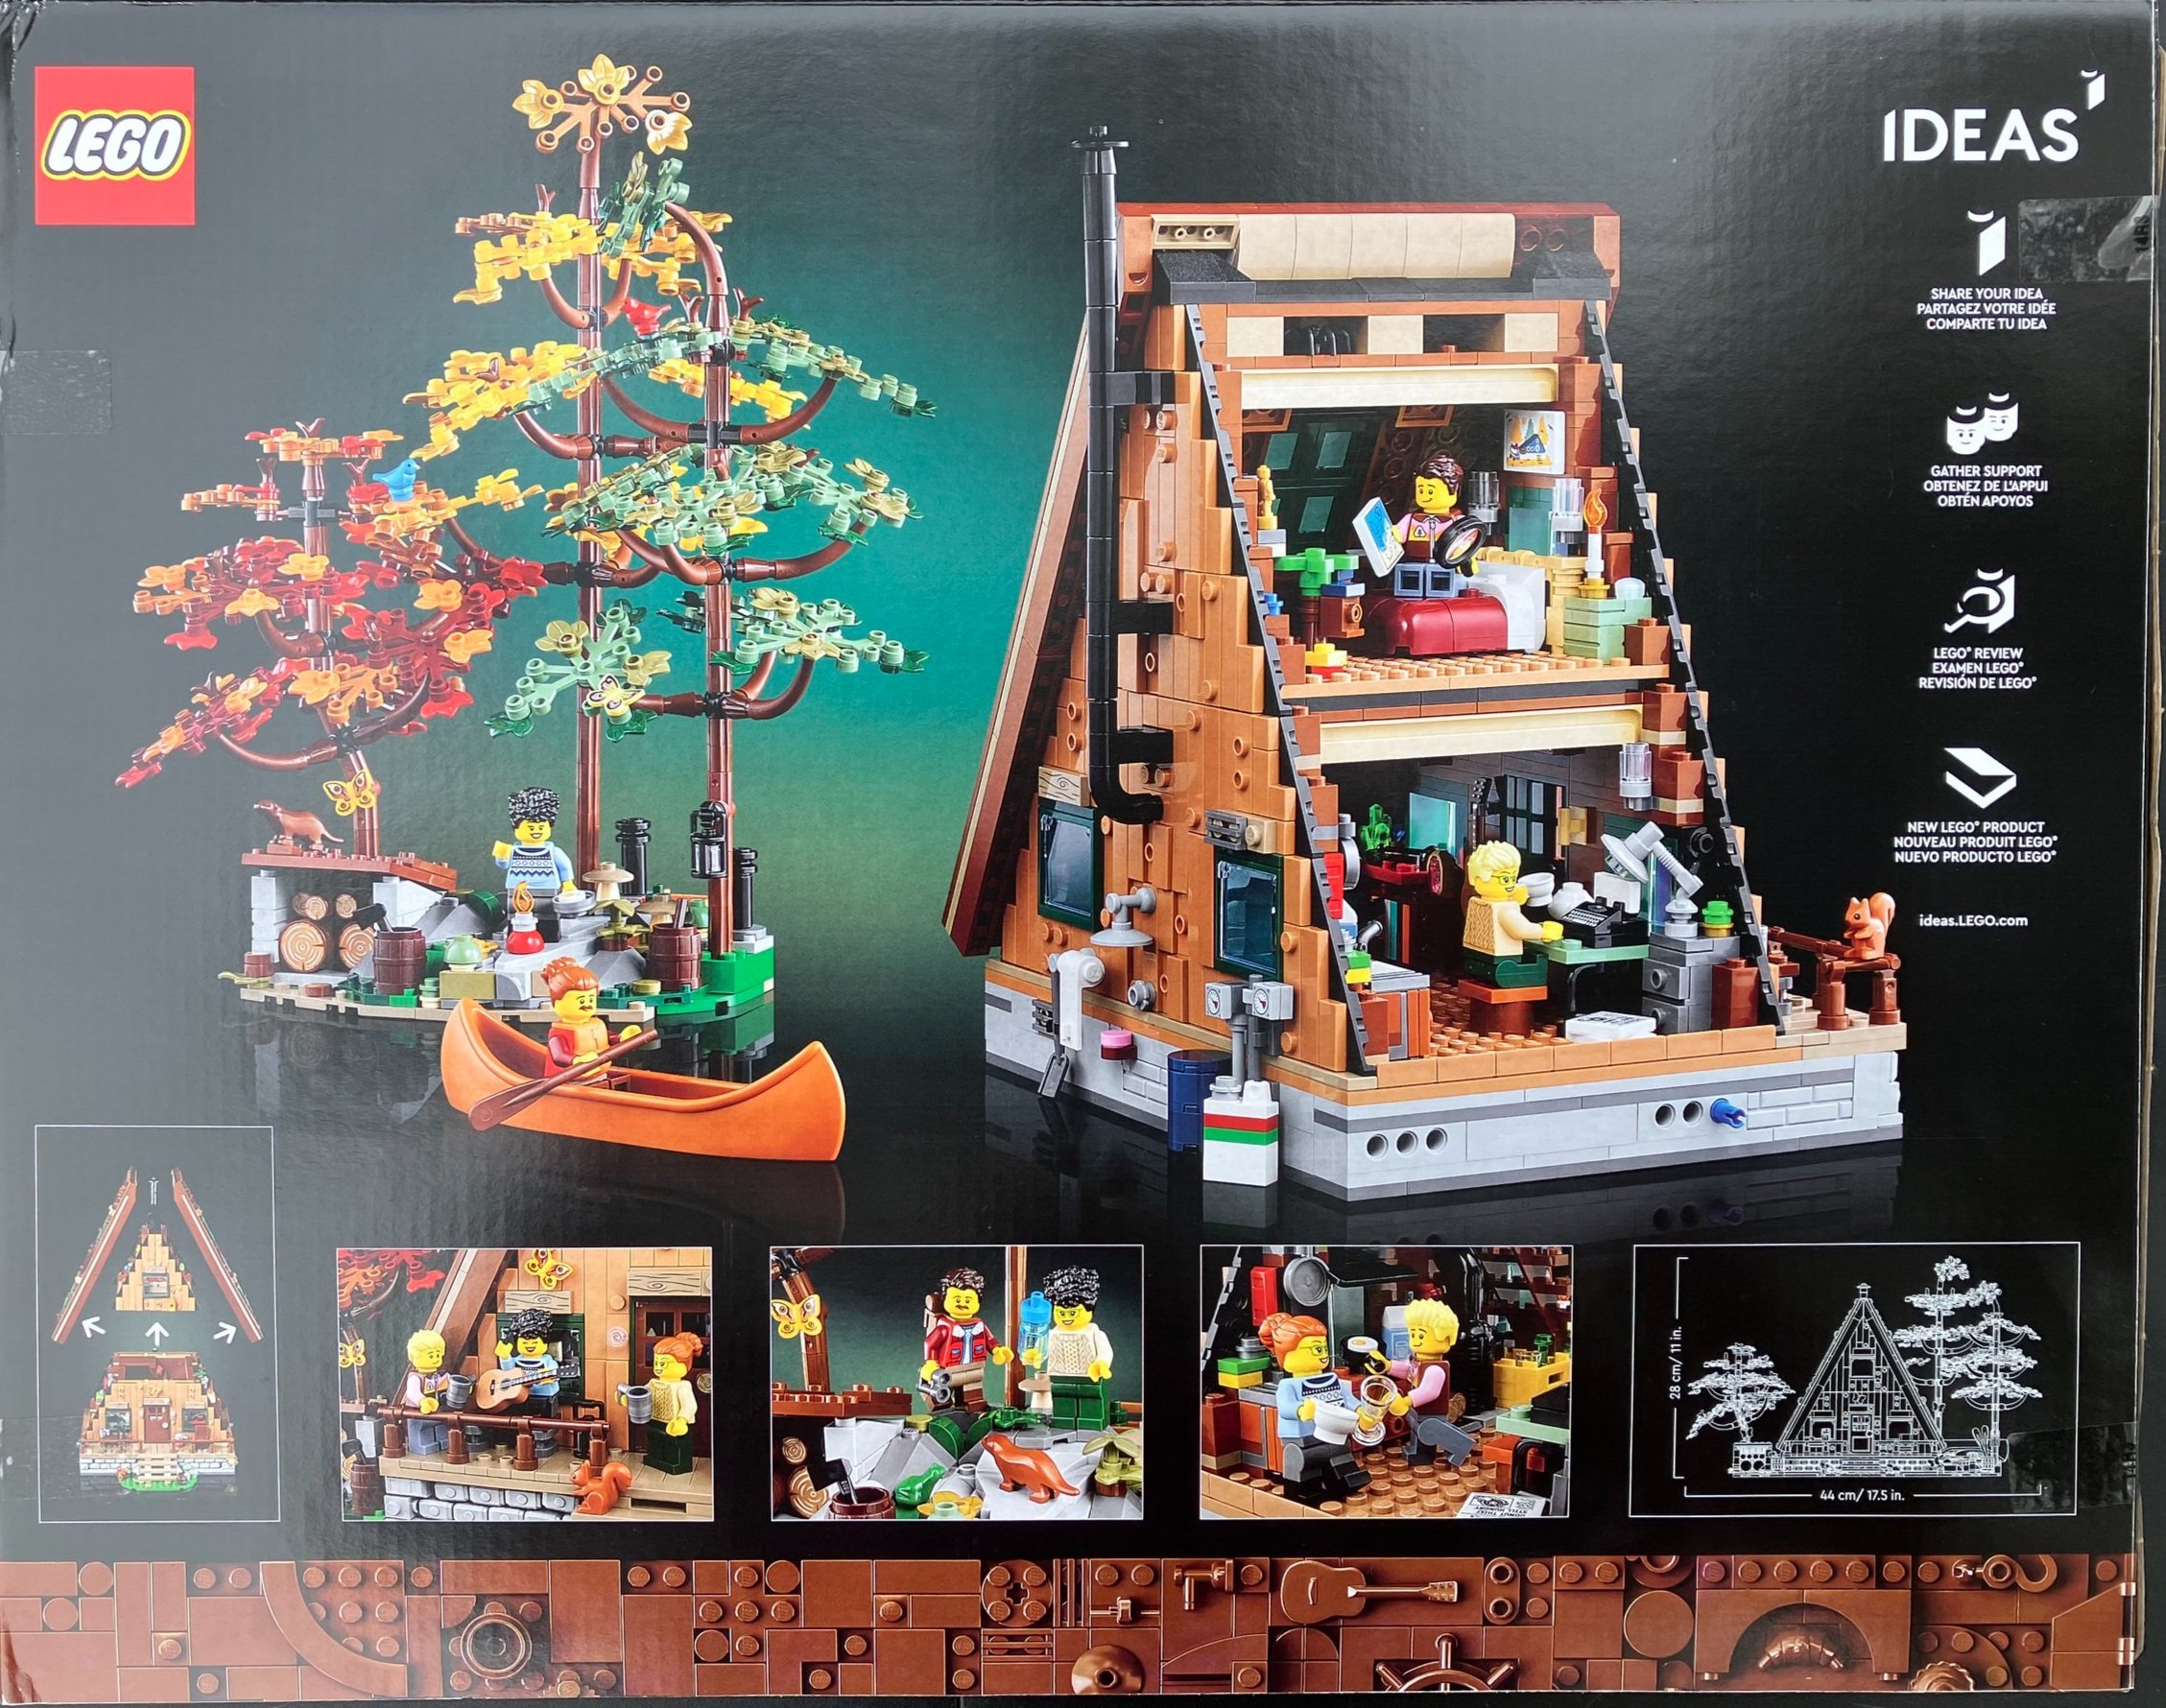
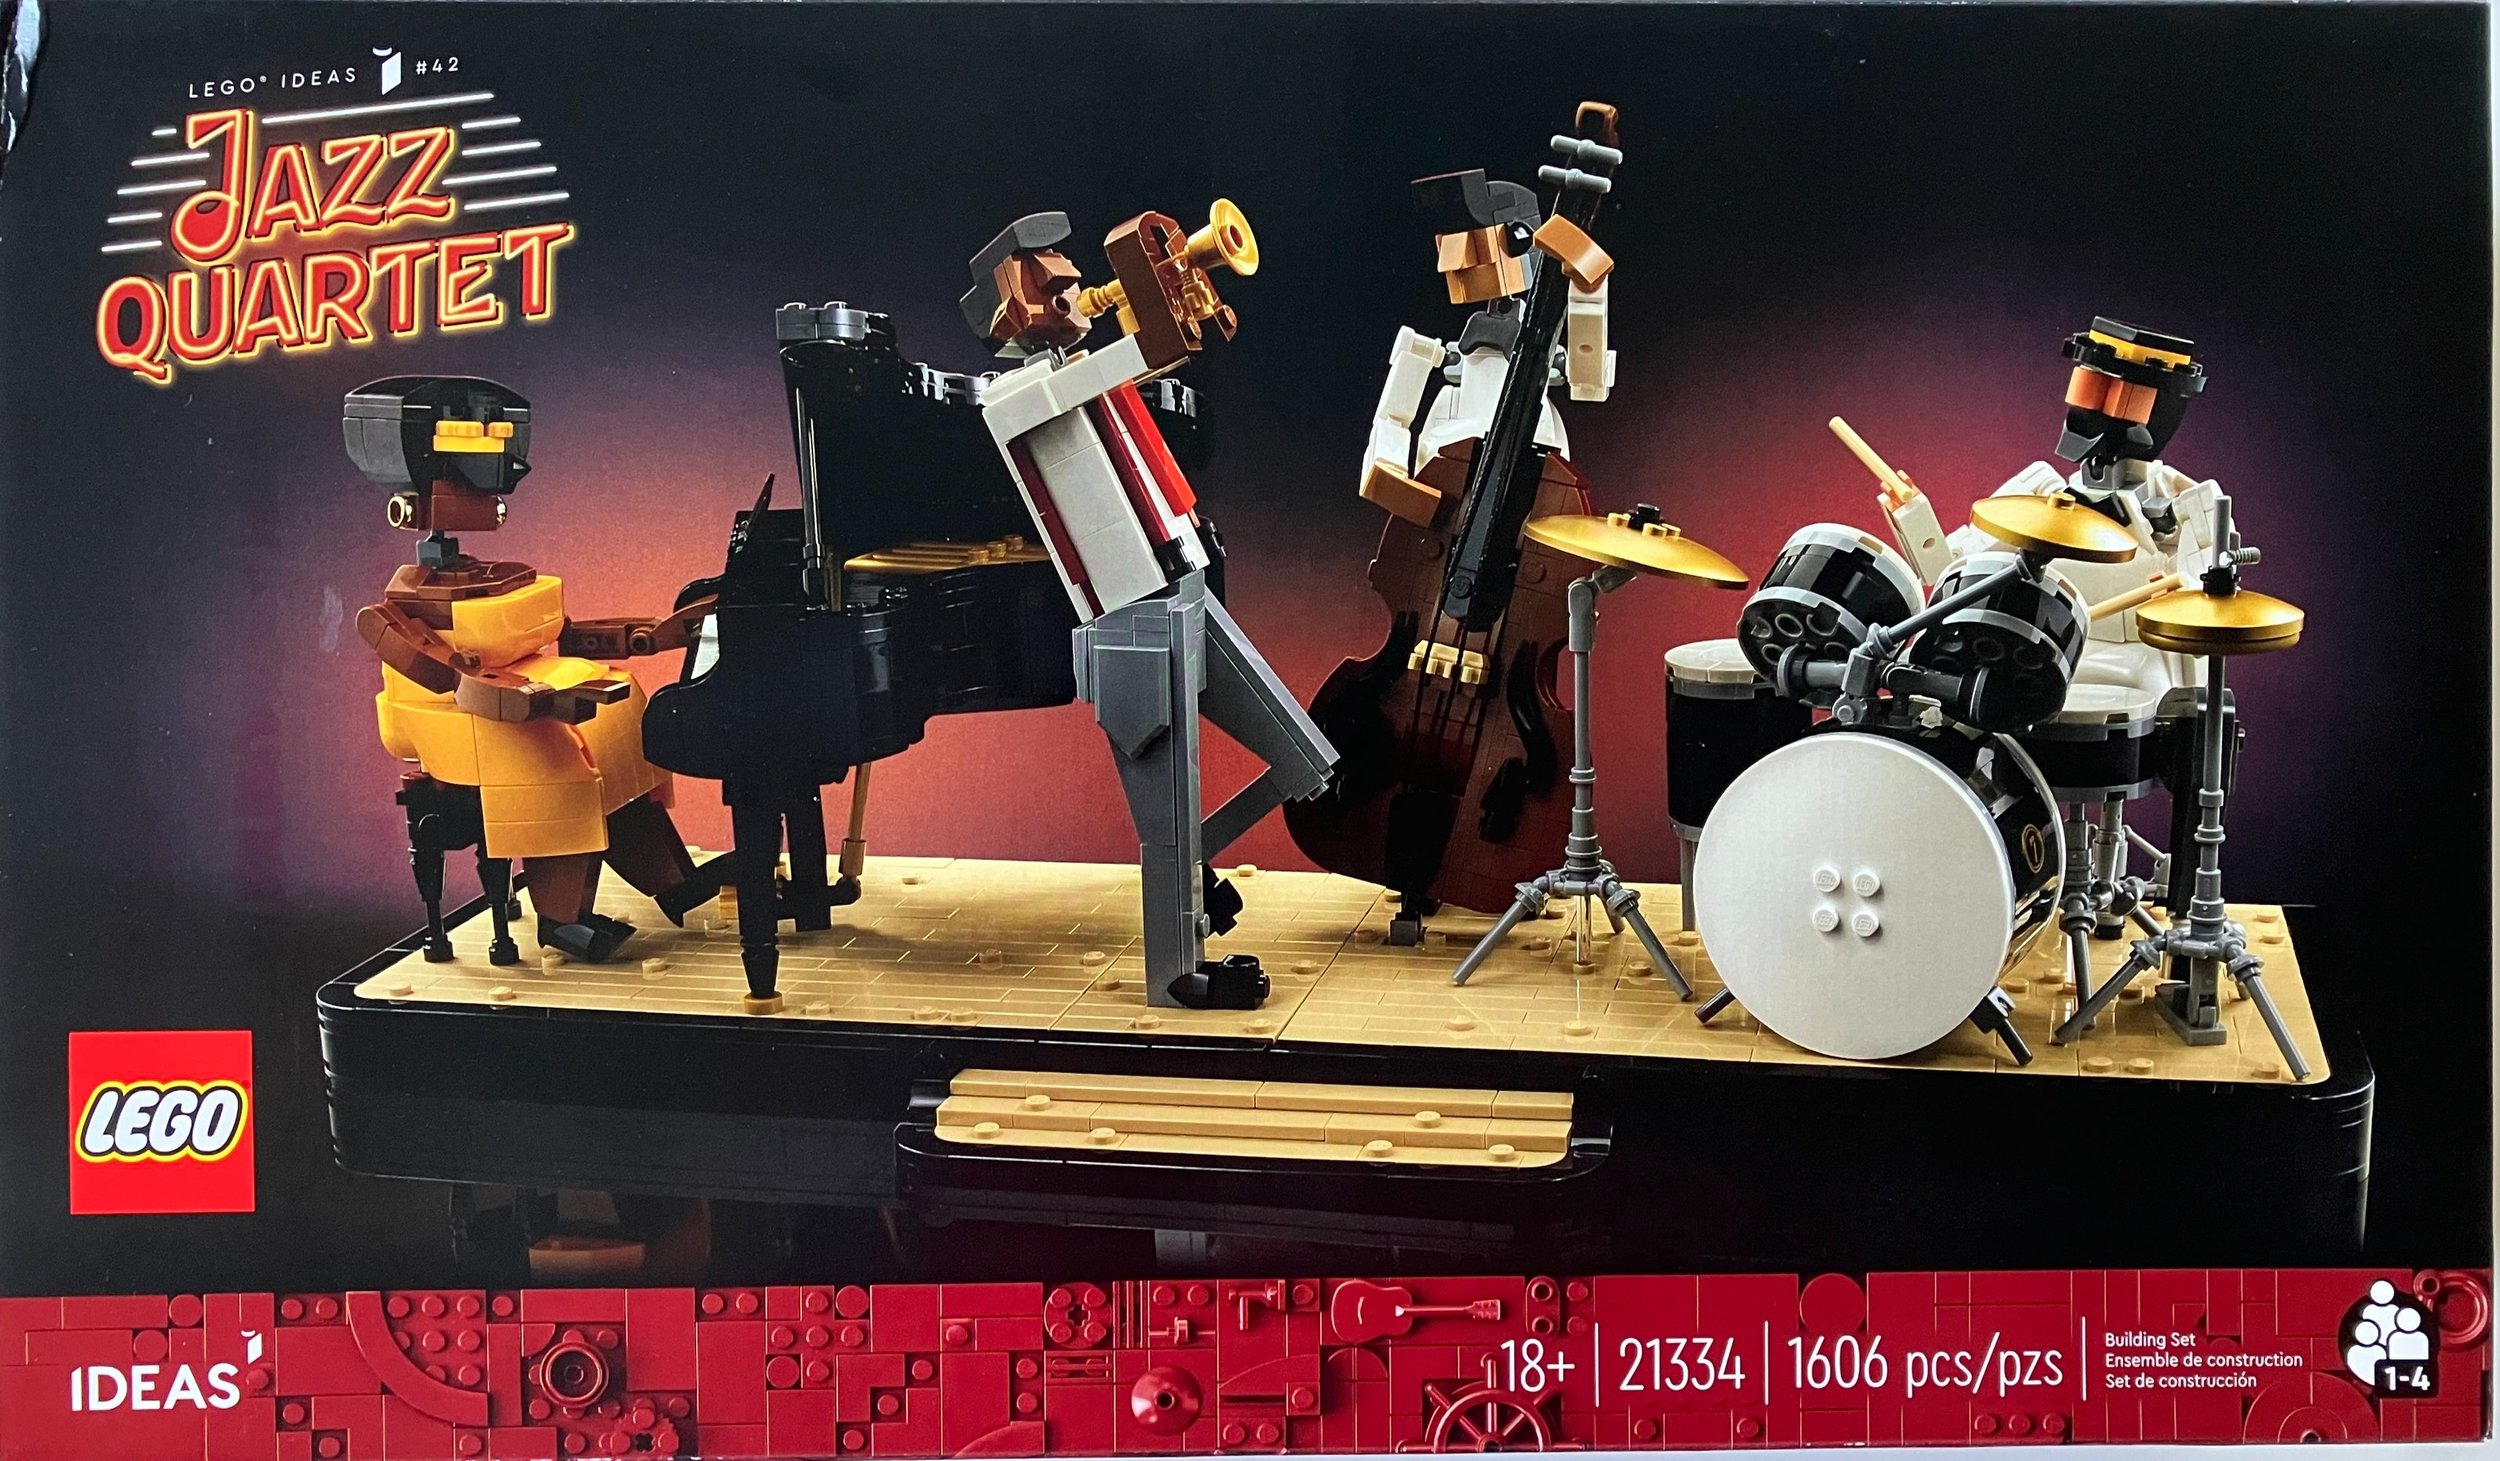
The box shows the full set on the front with the Ideas and 18+ logos. I like how the greebling on the bottom of the box, the Orient Express logo on the box, and the stripes on the train all match with the LEGO gold color. The back gives another view of the train along with some views of the inside of the train cars.


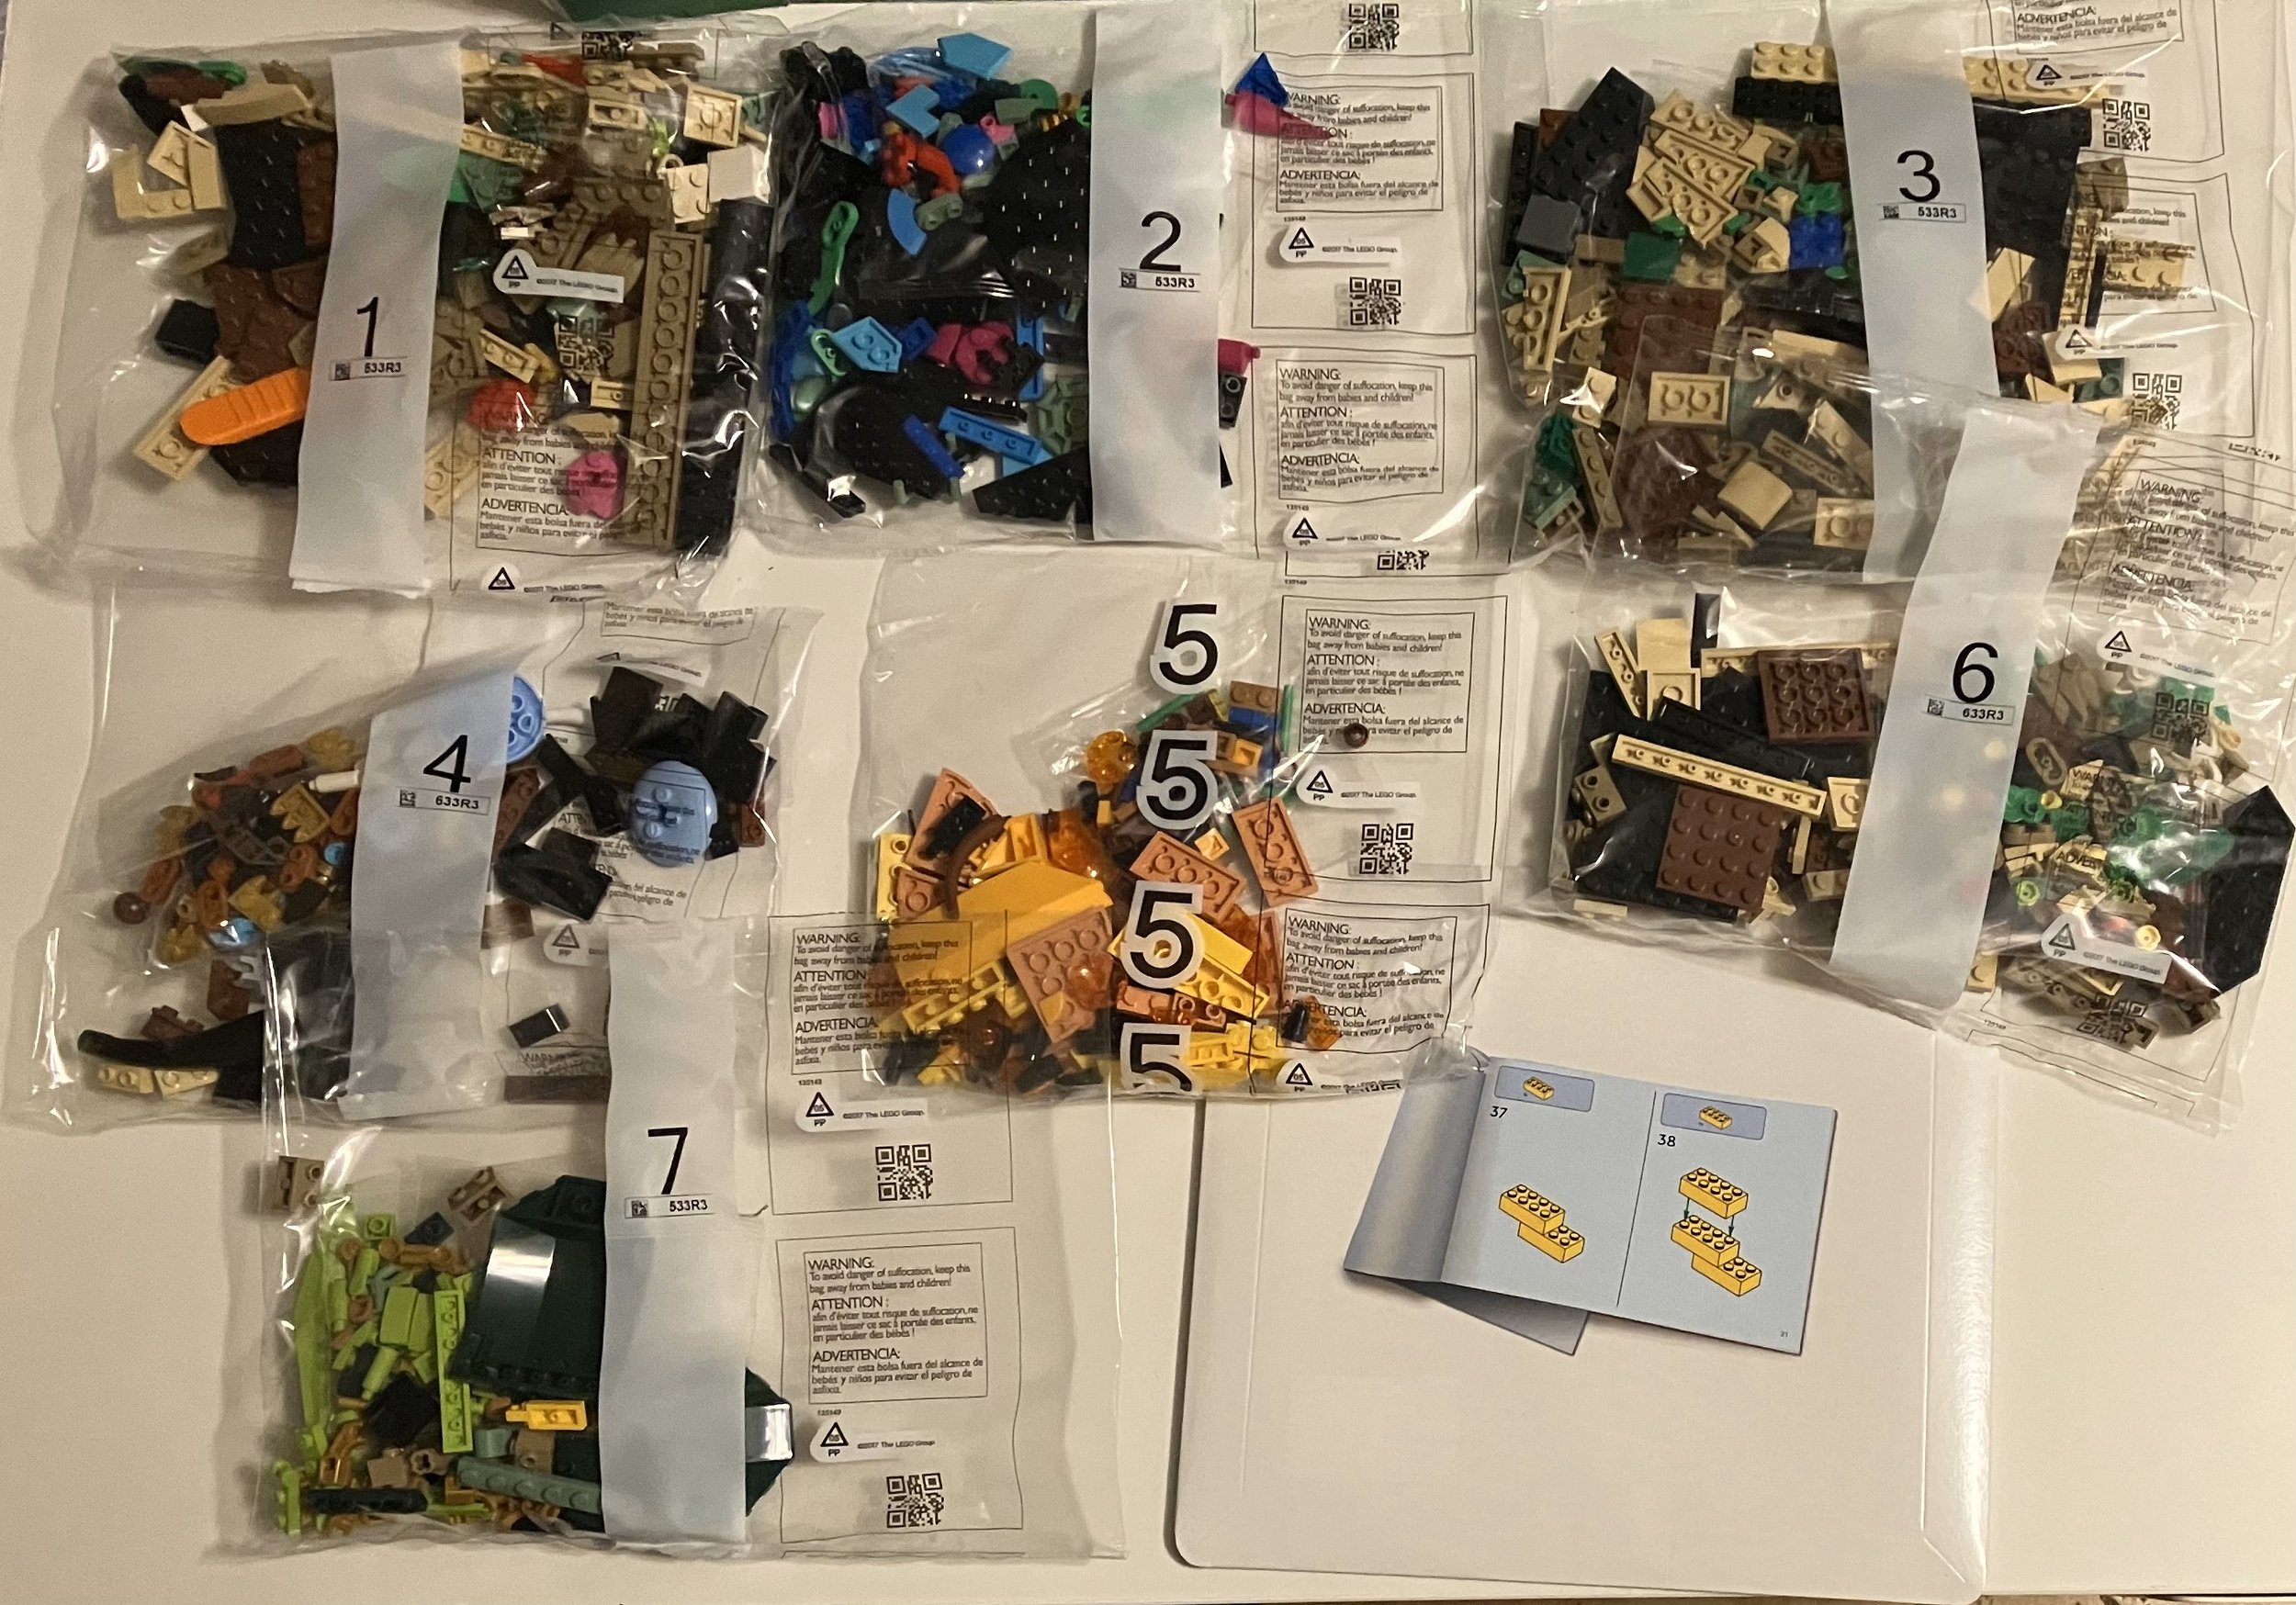
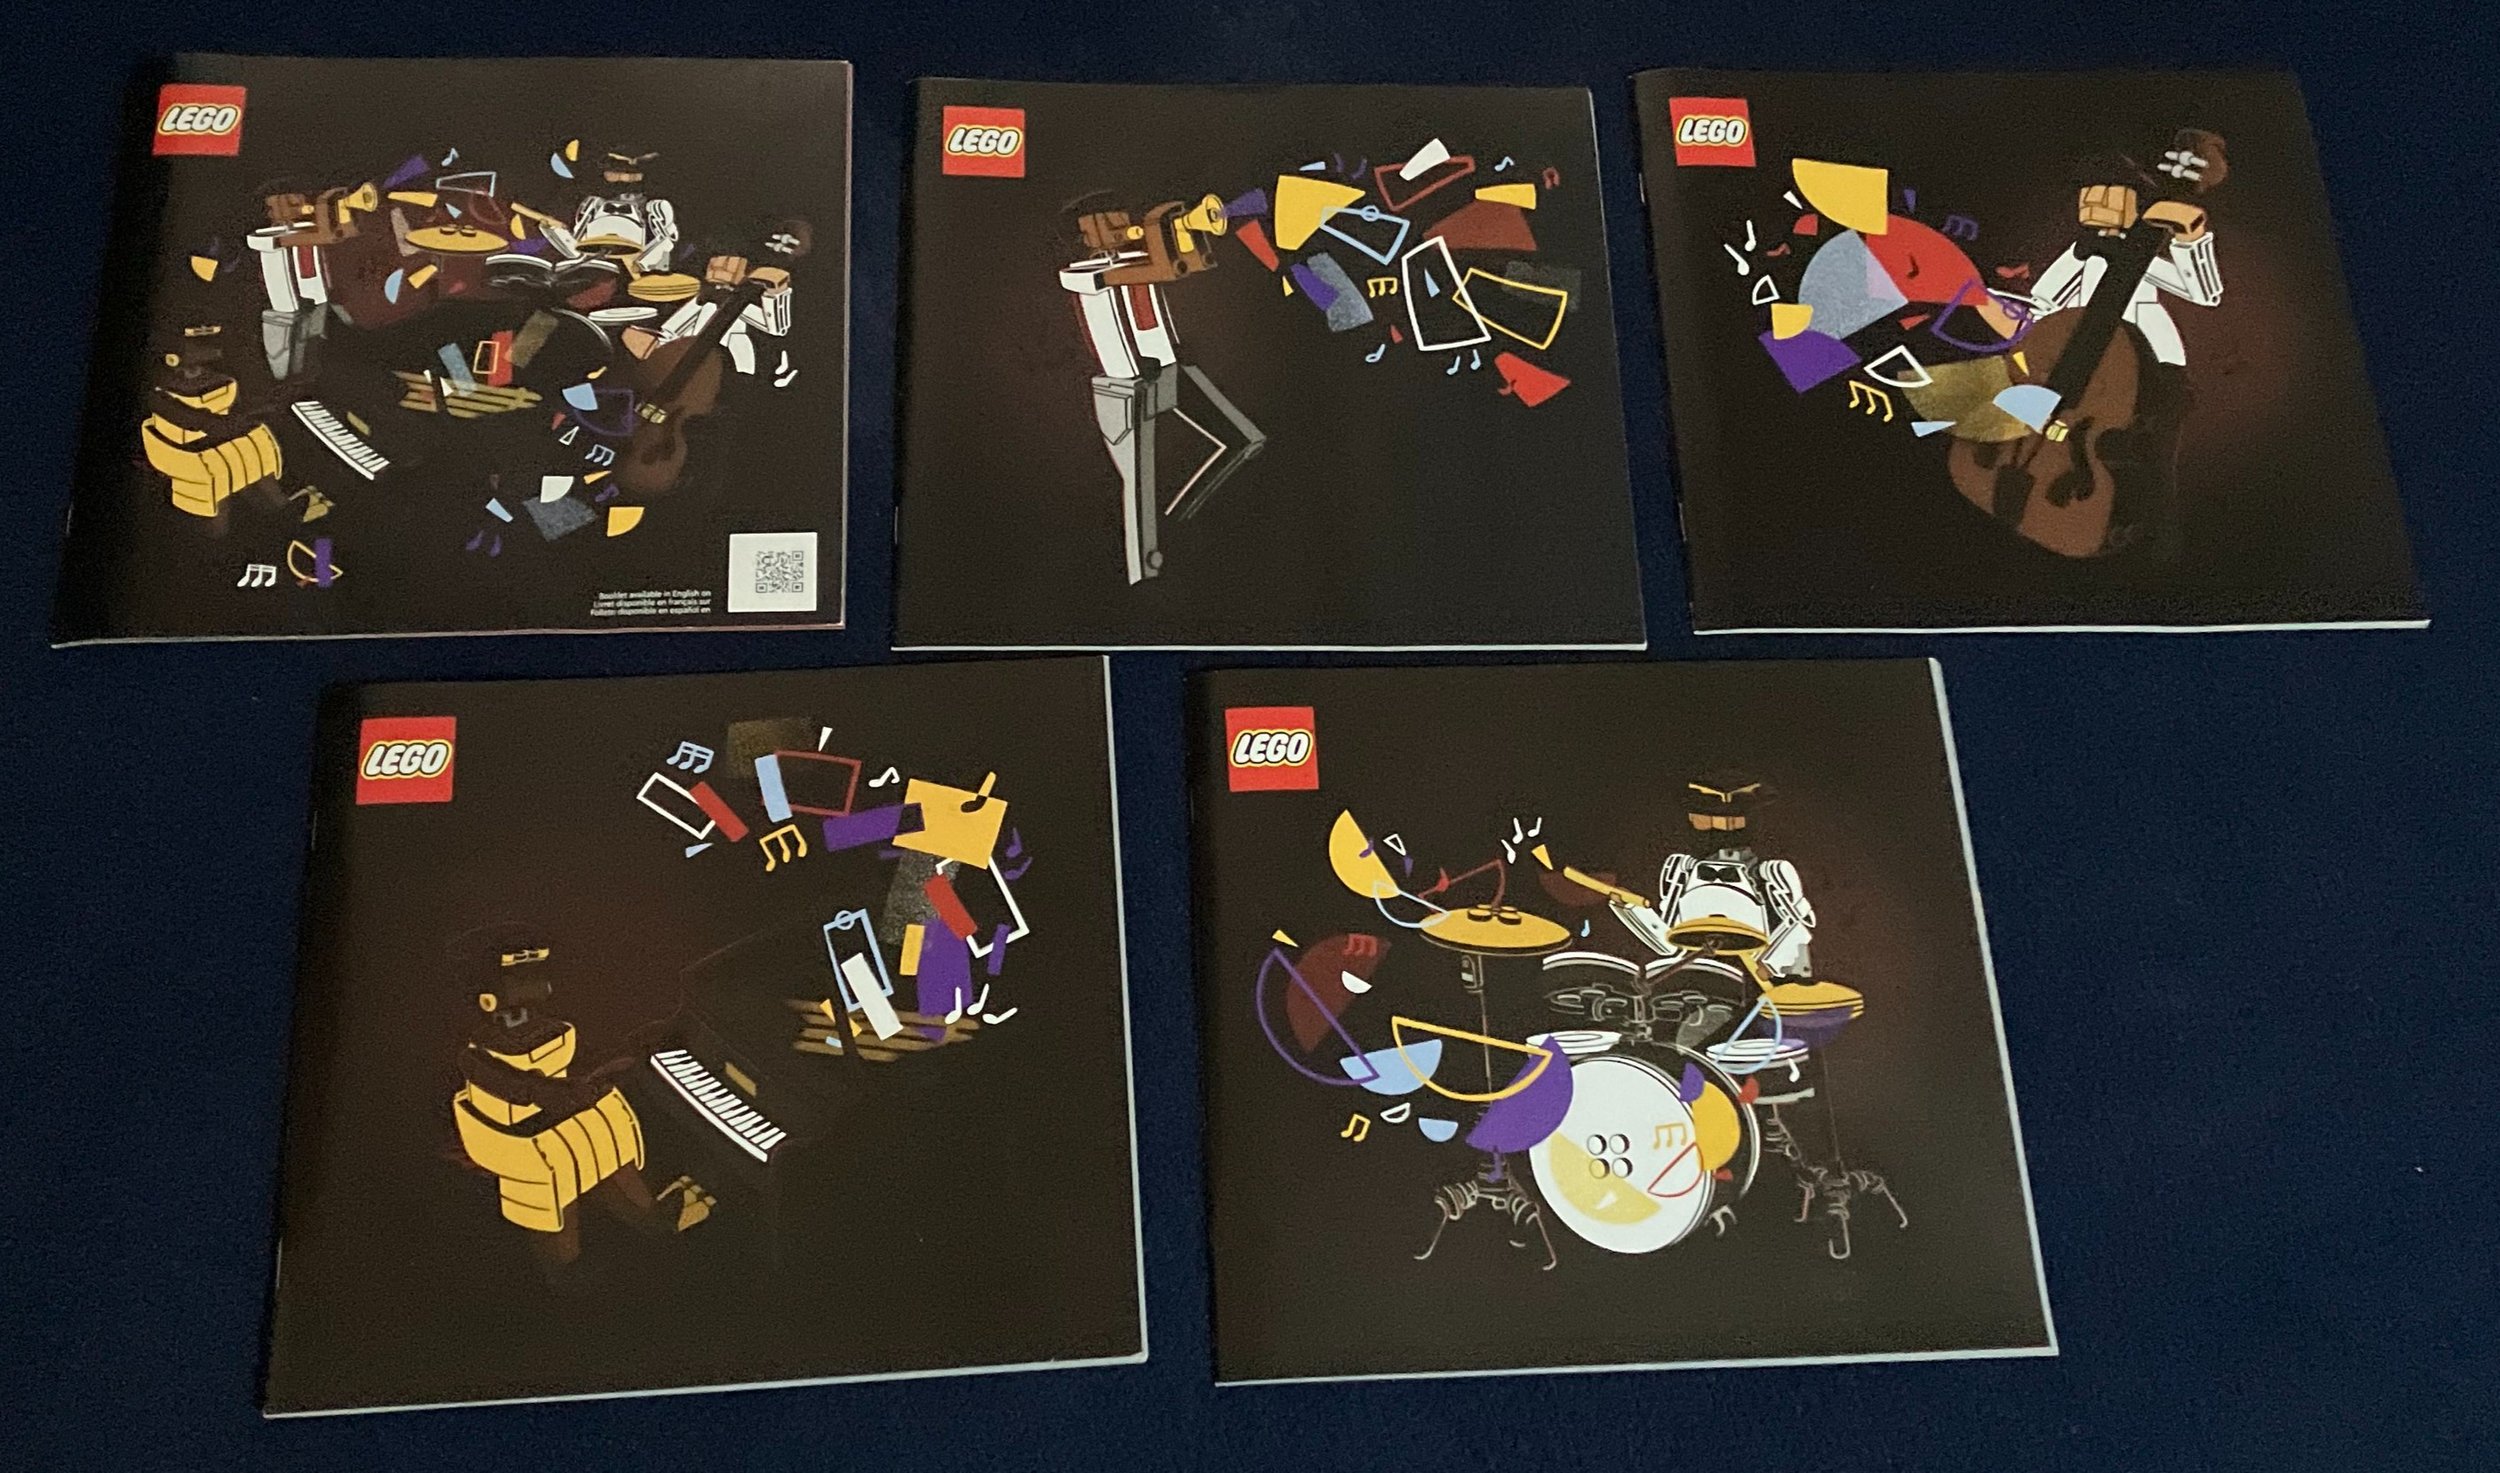
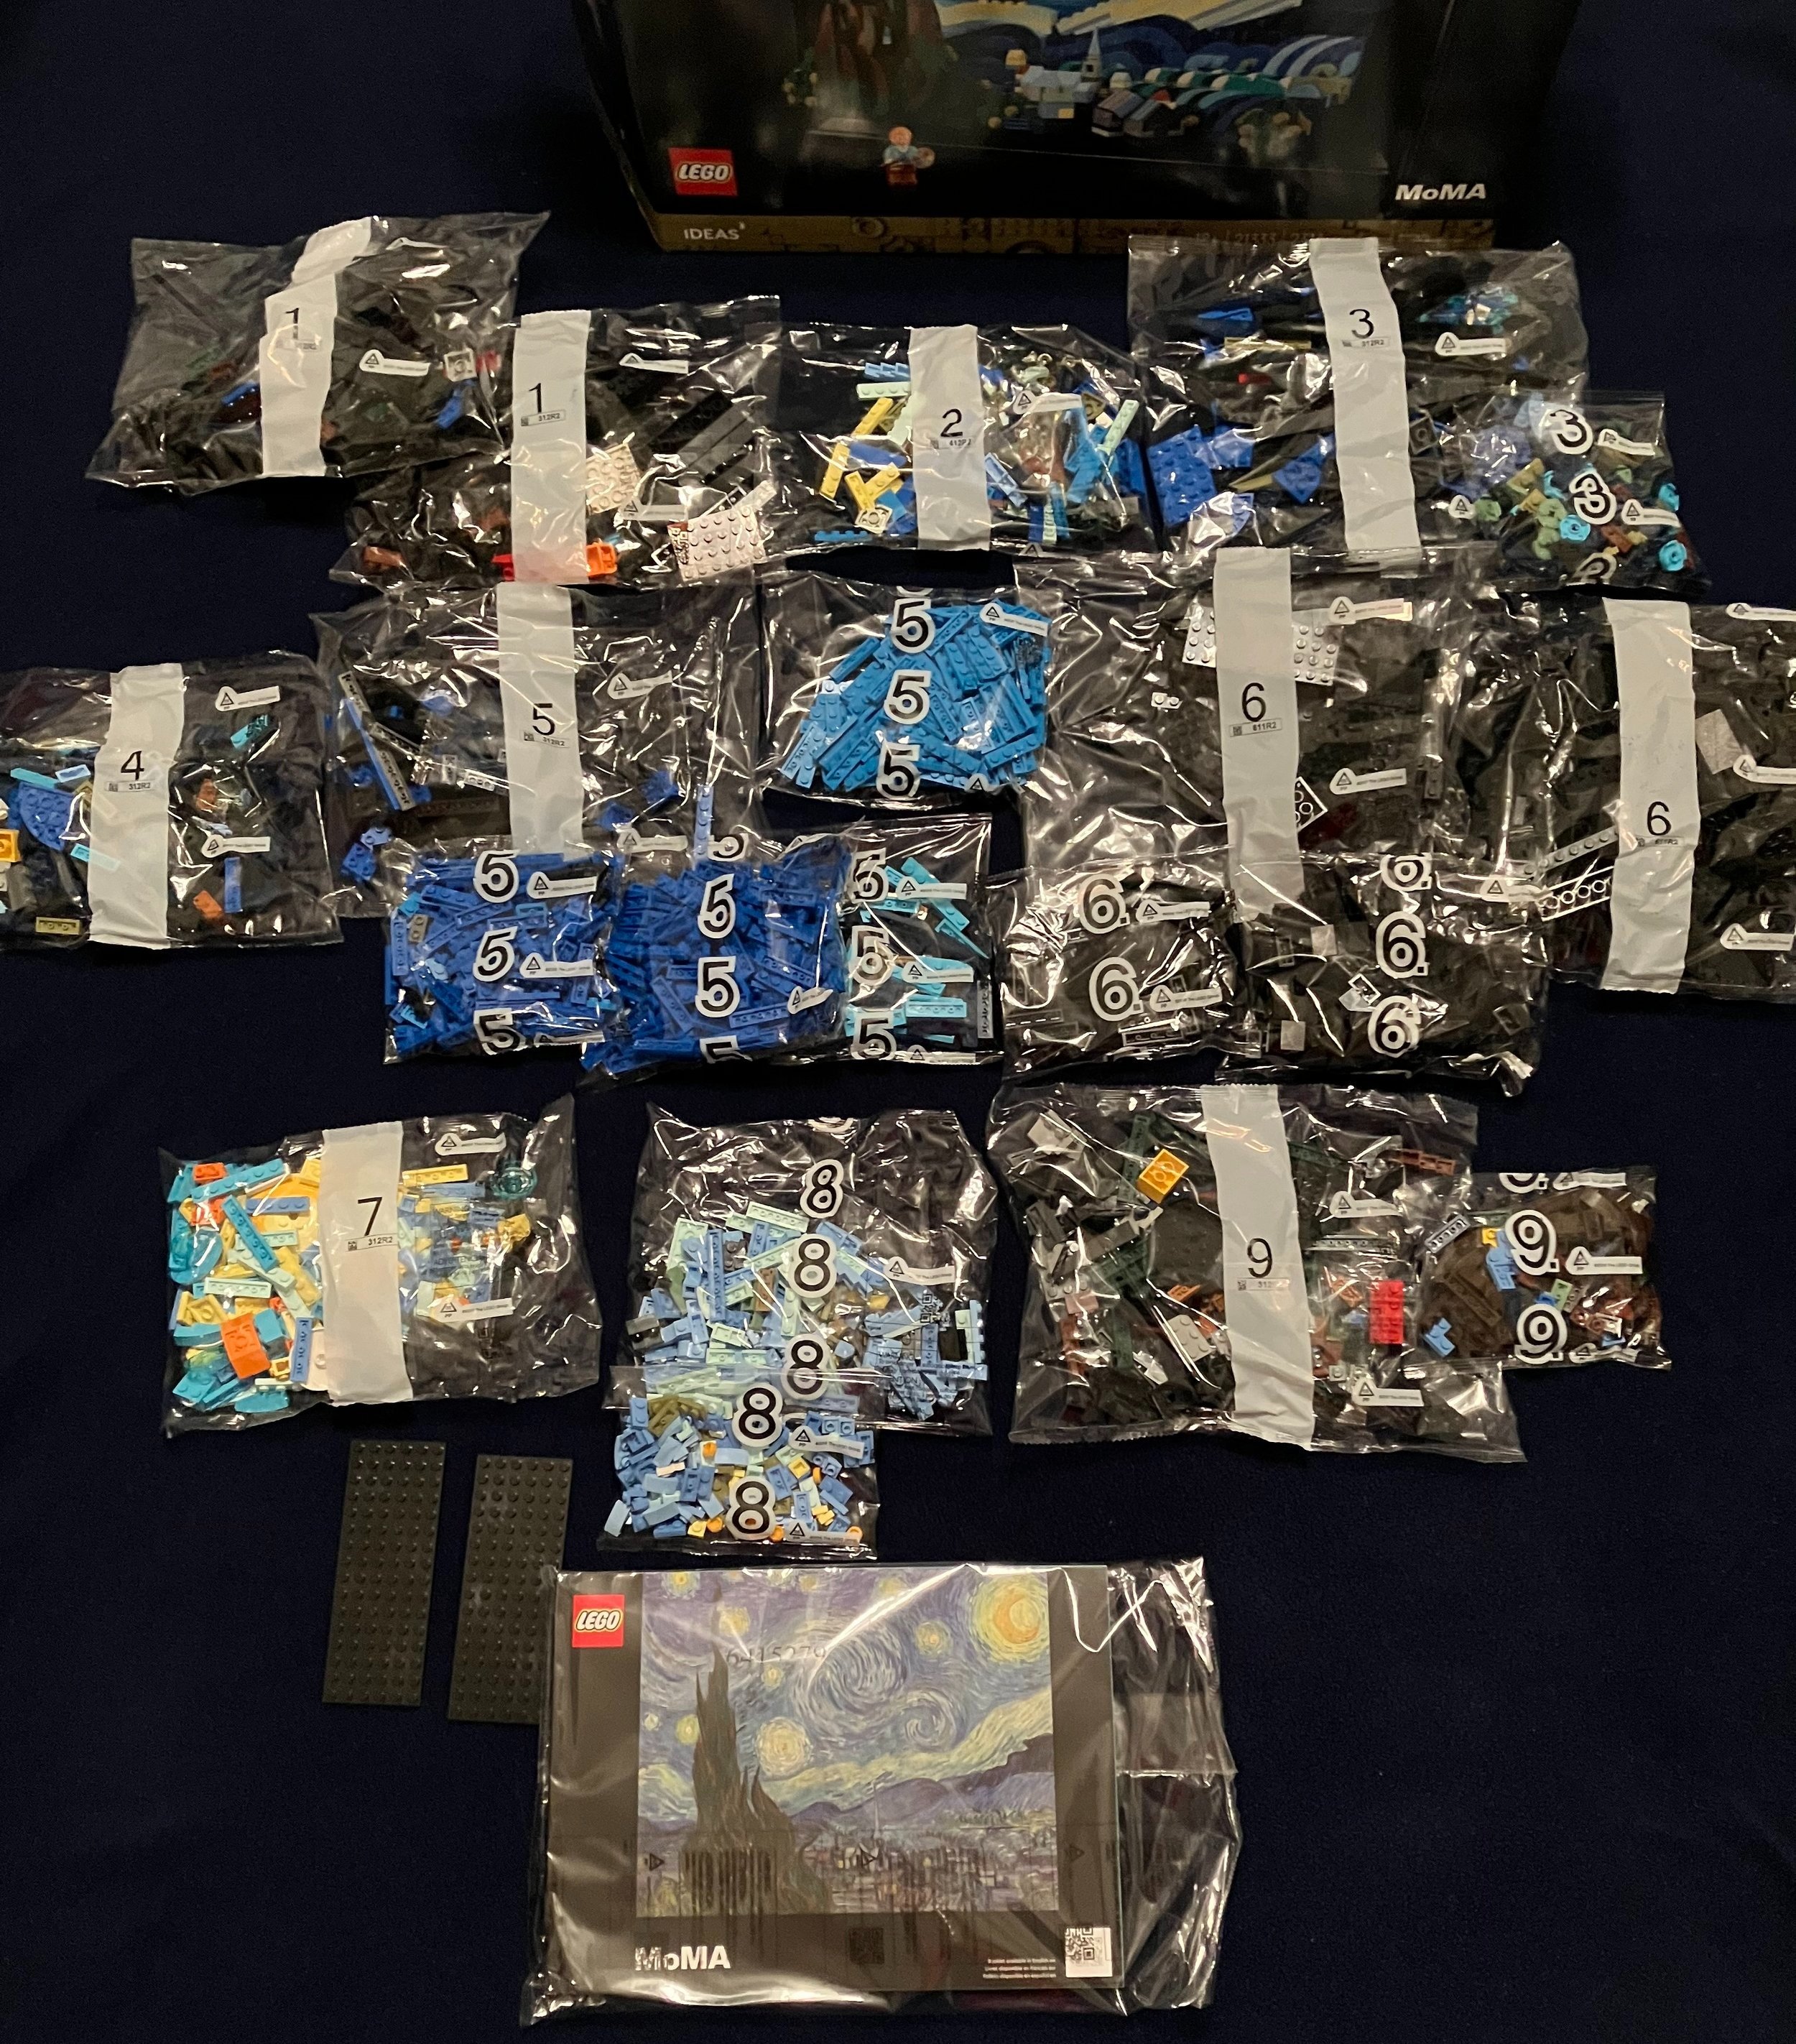
The set contains 23 numbered parts bags, two bags without numbers, a cardboard envelope with instructions inside, and two small sticker sheets.

Here are the stickers. The one sheet has the silver/glossy stickers while the other has more colors. For the price of the set, it would have been great to have more prints, but it is what it is.

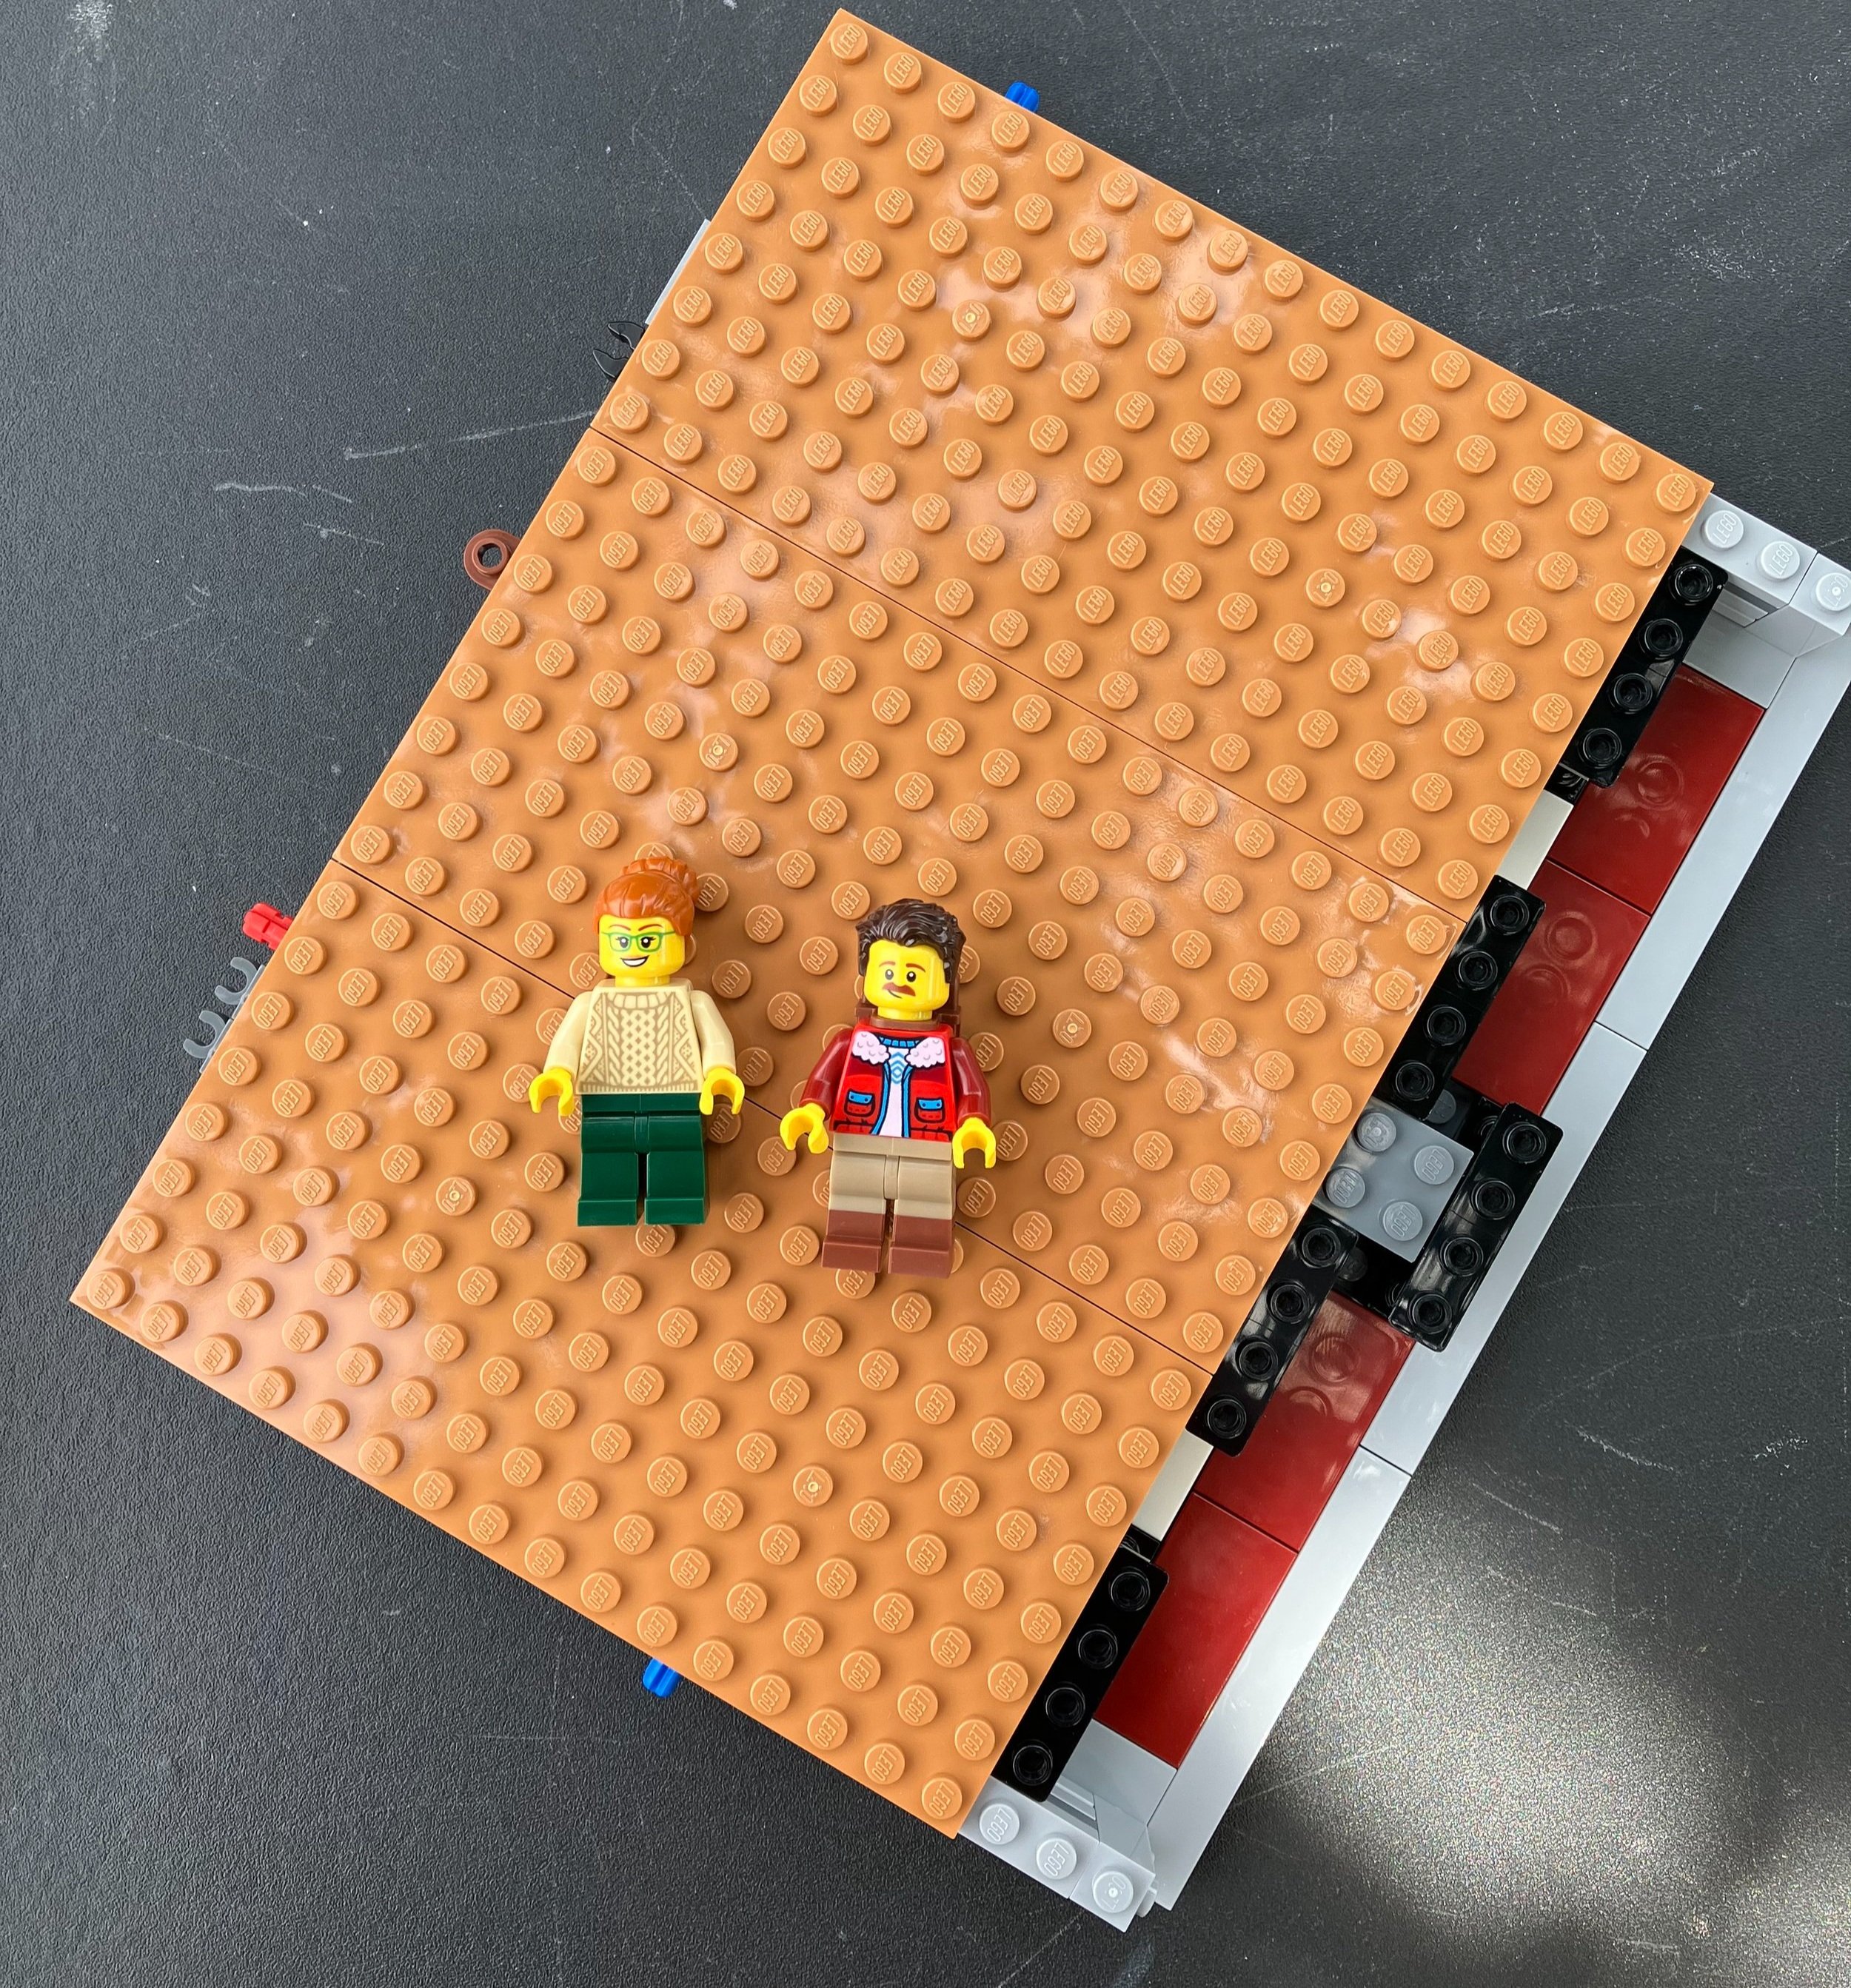
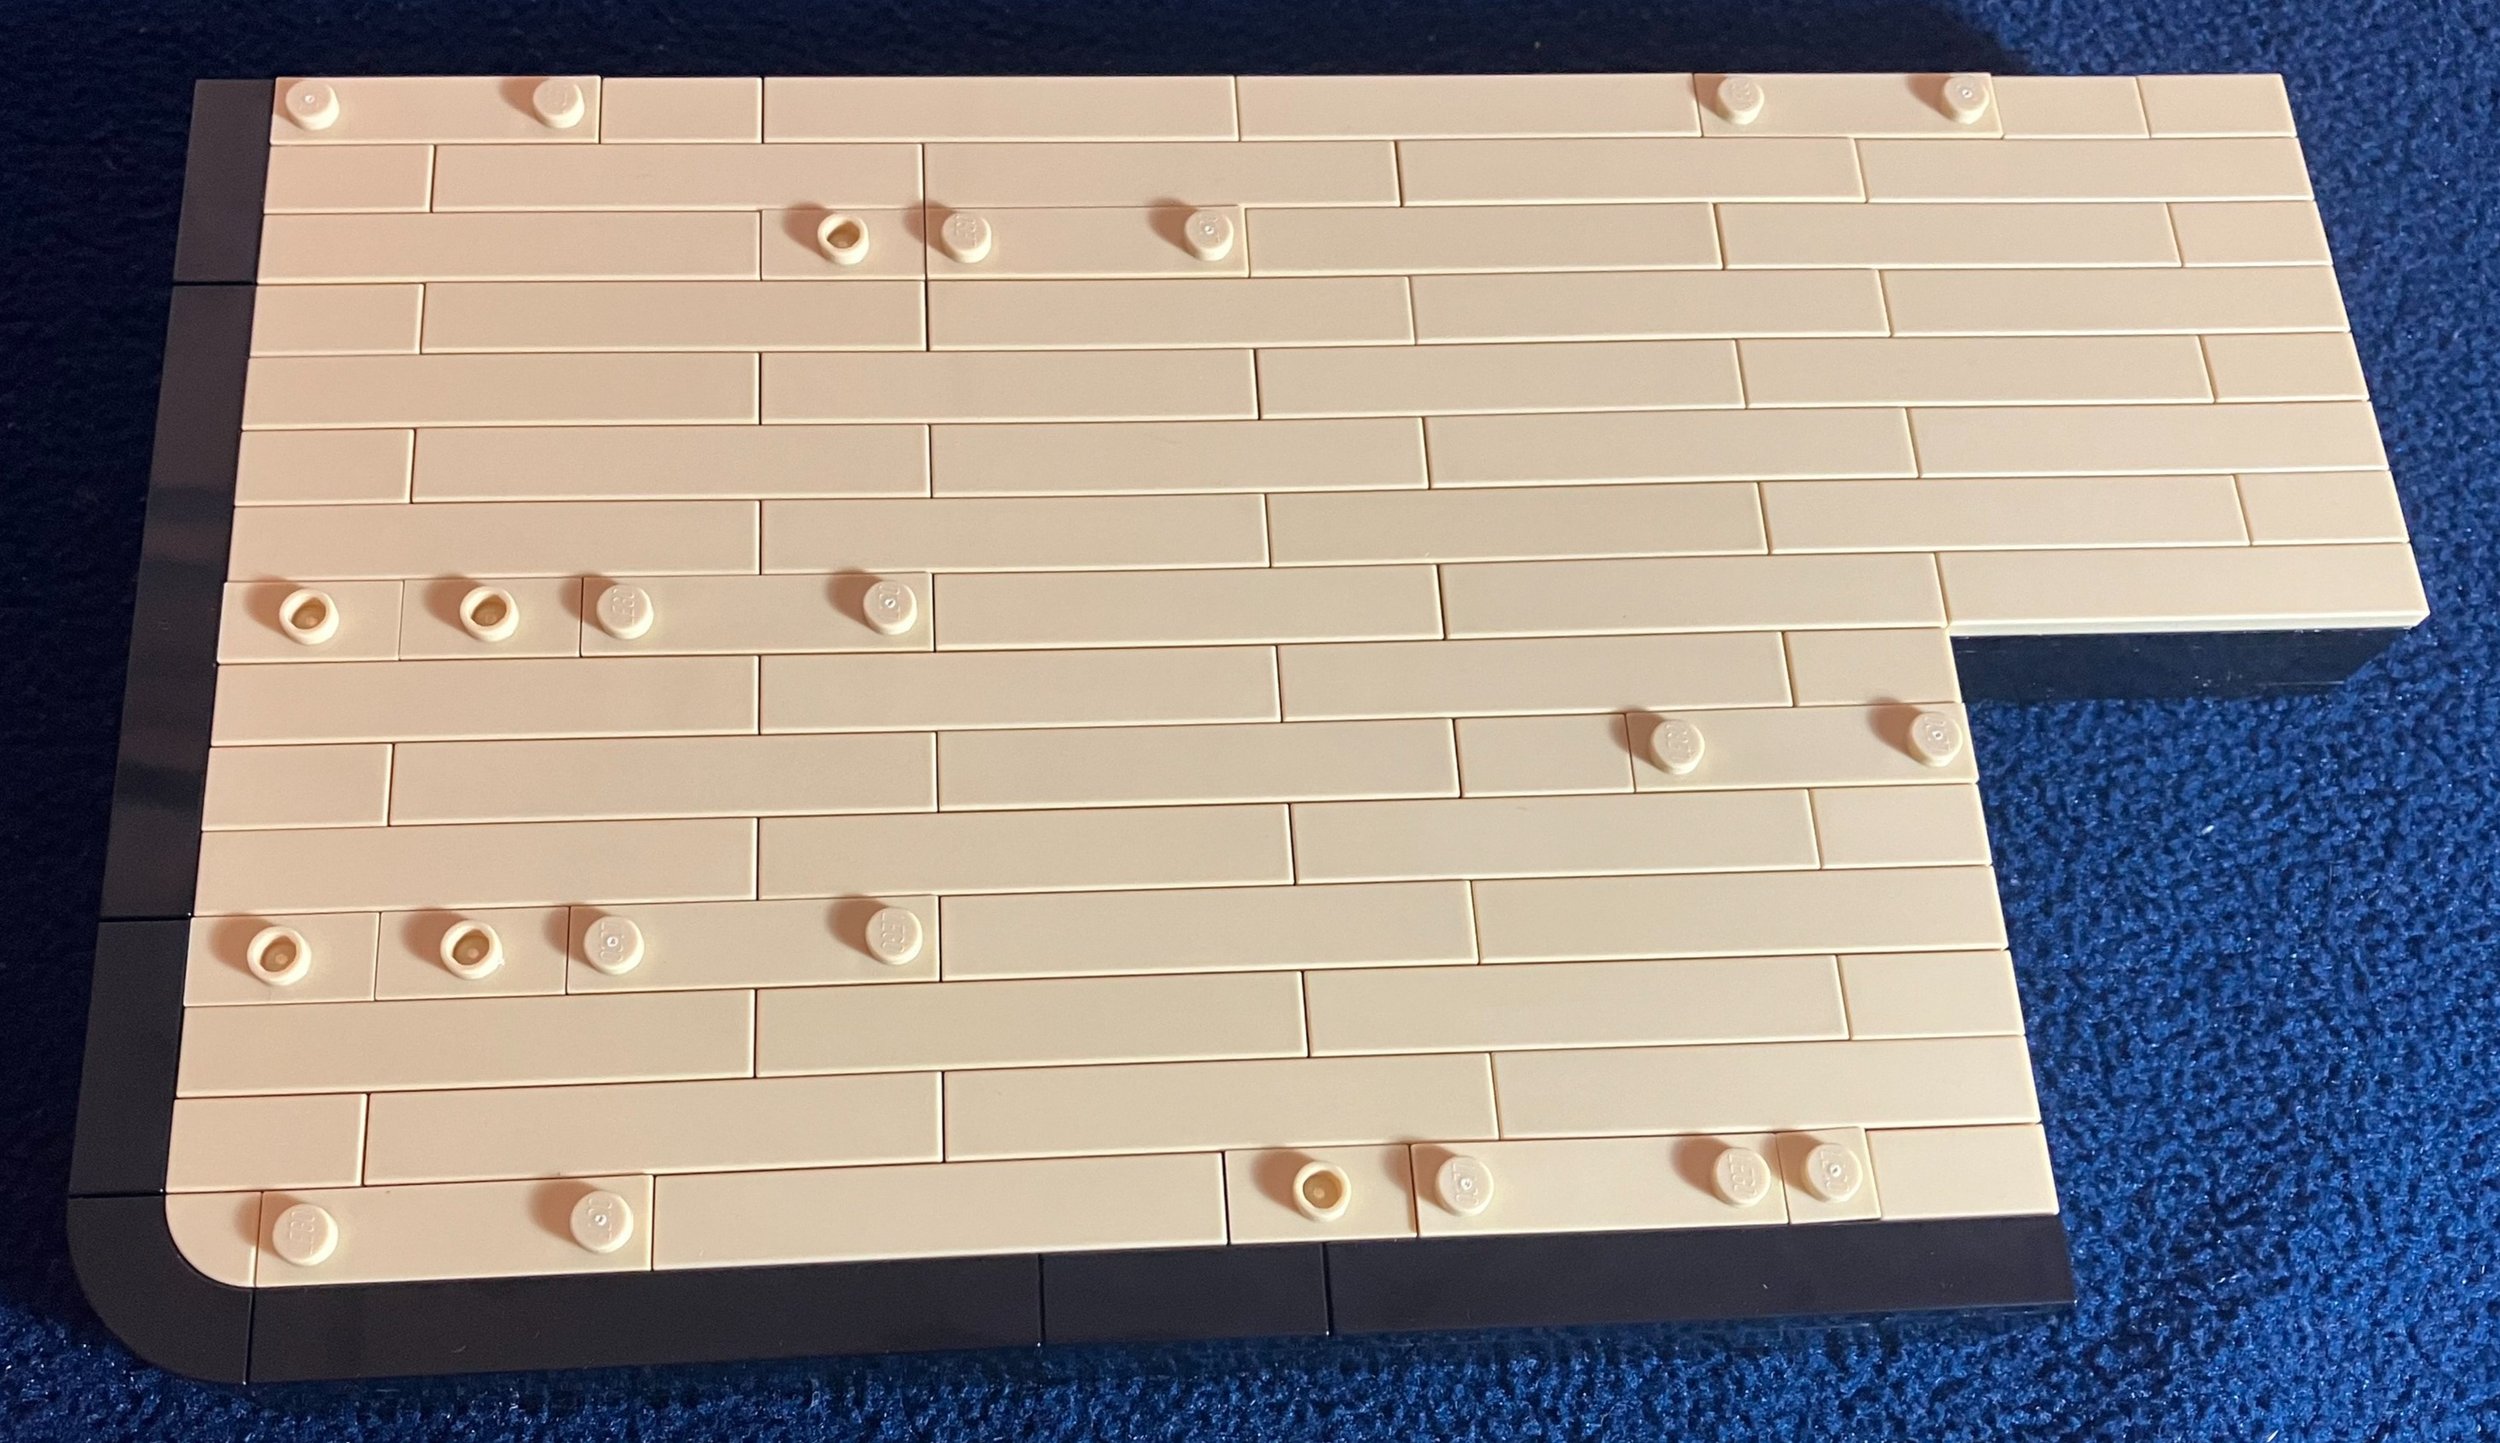
The first two bags assemble a base platform for you to display the train on. As a train fan, I have track and plan to put it there so these pieces aren’t necessary. I will take it apart and use the pieces elsewhere. I think they could have done without these pieces and saved us a few dollars on the cost of the set.
The second bag contained the first minifigure. She comes with a gold pen and an envelope along with an interesting hat piece with hair that I have not seen before.


Bags three and four begin to build the restaurant car. The cars are built with two large plates and then some additional smaller plates on the end. This differs from many train options where the cars are build on a standard LEGO train baseplate. This train is 8 studs wide though so the standard 6 stud wide base plate wouldn’t work with the design without modification.
Bag three comes with an older male minifigure who has a cane/walking stick.


Bags five and six add the ends of the car, doors, and then the table and drink serving area. While I’m not a fan of stickers, the stickers that add the wall designs are fun and do add to the look of the set. The designers were able to cram some good details into this car with the drinks, lamps, and various plates and cups.
Bag six adds a female minifigure who is a server on the train.


Bag seven adds the windows using a SNOT technique. The gold window frames are great and there is a new piece to help make the SNOT work. Bag eight adds the roof and the printed tiles on the sides with the stop names. It has been pointed out that there are some misspelled words that a non-native language speaker wouldn’t catch. Bad on LEGO for not getting it right, but I wouldn’t have known if it wasn’t pointed out to me.


Bag nine finishes the restaurant car. Its a great look with a lot of detail on the inside and outside. The wheels are not the standard LEGO train pieces so it’s cool to see a different design. The designers used ball joints to connect the cars. Maybe these are stronger than the magnets, but I find them really annoying to try and connect. I seem to knock the train off the track when I try to connect it and then when I put the train back on the track, I disconnect the ball joint. Maybe I’m just not coordinated?
Bag 10 starts the sleeping car. The base is built in a similar fashion as the previous car. I like the tile work on the floor of the one section of the car.


Bags 11 and 12 build up the sleeper car by adding in the end of the car in bag 11 using the same method as the restaurant car and then the roof in the same method as well. Bag 12 adds a small bathroom area with a sink and towel.
Bag 11 builds a small cart for carrying luggage.


I missed a picture as I was so into the build so this picture captures bags 13 and 14. Bag 13 adds in all of the details to this car to include a small bathroom with a lot of fixtures packed in, but not a lot of space for a minifigure. There is also a luxury bedroom with a couch and desk area. The other side of the car has bunk beds with a small table. There is a much less luxurious washroom in this end of the car. Also, it’s not clear how a minifigure would get from one end of the car to the other without going outside. Bag 14 adds the windows using the same method as the restaurant car.

Bag 15 adds the roof, the tiles with the stops along the way, and adds in a female minifigure in a dress.
Bag 16 adds the wheels and then the conductor minifigure.
Both bags are very similar to the previous car.


Bags 17 and 18 assemble the tender for holding the coal. The design is new as it is three sets of wheels and the center wheel set can move to adjust for curved rails. The center of the tender is empty in the end so not sure why this couldn’t have been a motor or battery box.


Bags 19 and 20 start to assemble the engine. Bag 19 includes the train engineer with a shovel to add in more coal. Bag 20 adds the funnel and a sticker for the engine number. It also adds a number of SNOT pieces so allow for future parts.


Bag 21 creates the curved shape of the engine and the re-colored Minion heads as boiler domes. I really like the dark blue color with the gold stripes used here.
Bag 22 adds in the cab section and the wheels along with the gearing. The gearing isn’t too hard to assemble as long as you really pay attention to the instructions and make sure they are offset by 90 degrees.


Bag 23 wraps up the build. I didn’t take a great picture here, but it adds the front of the engine, the buffers, and the front wheels (I’m sure these have a technical term that I’m missing).
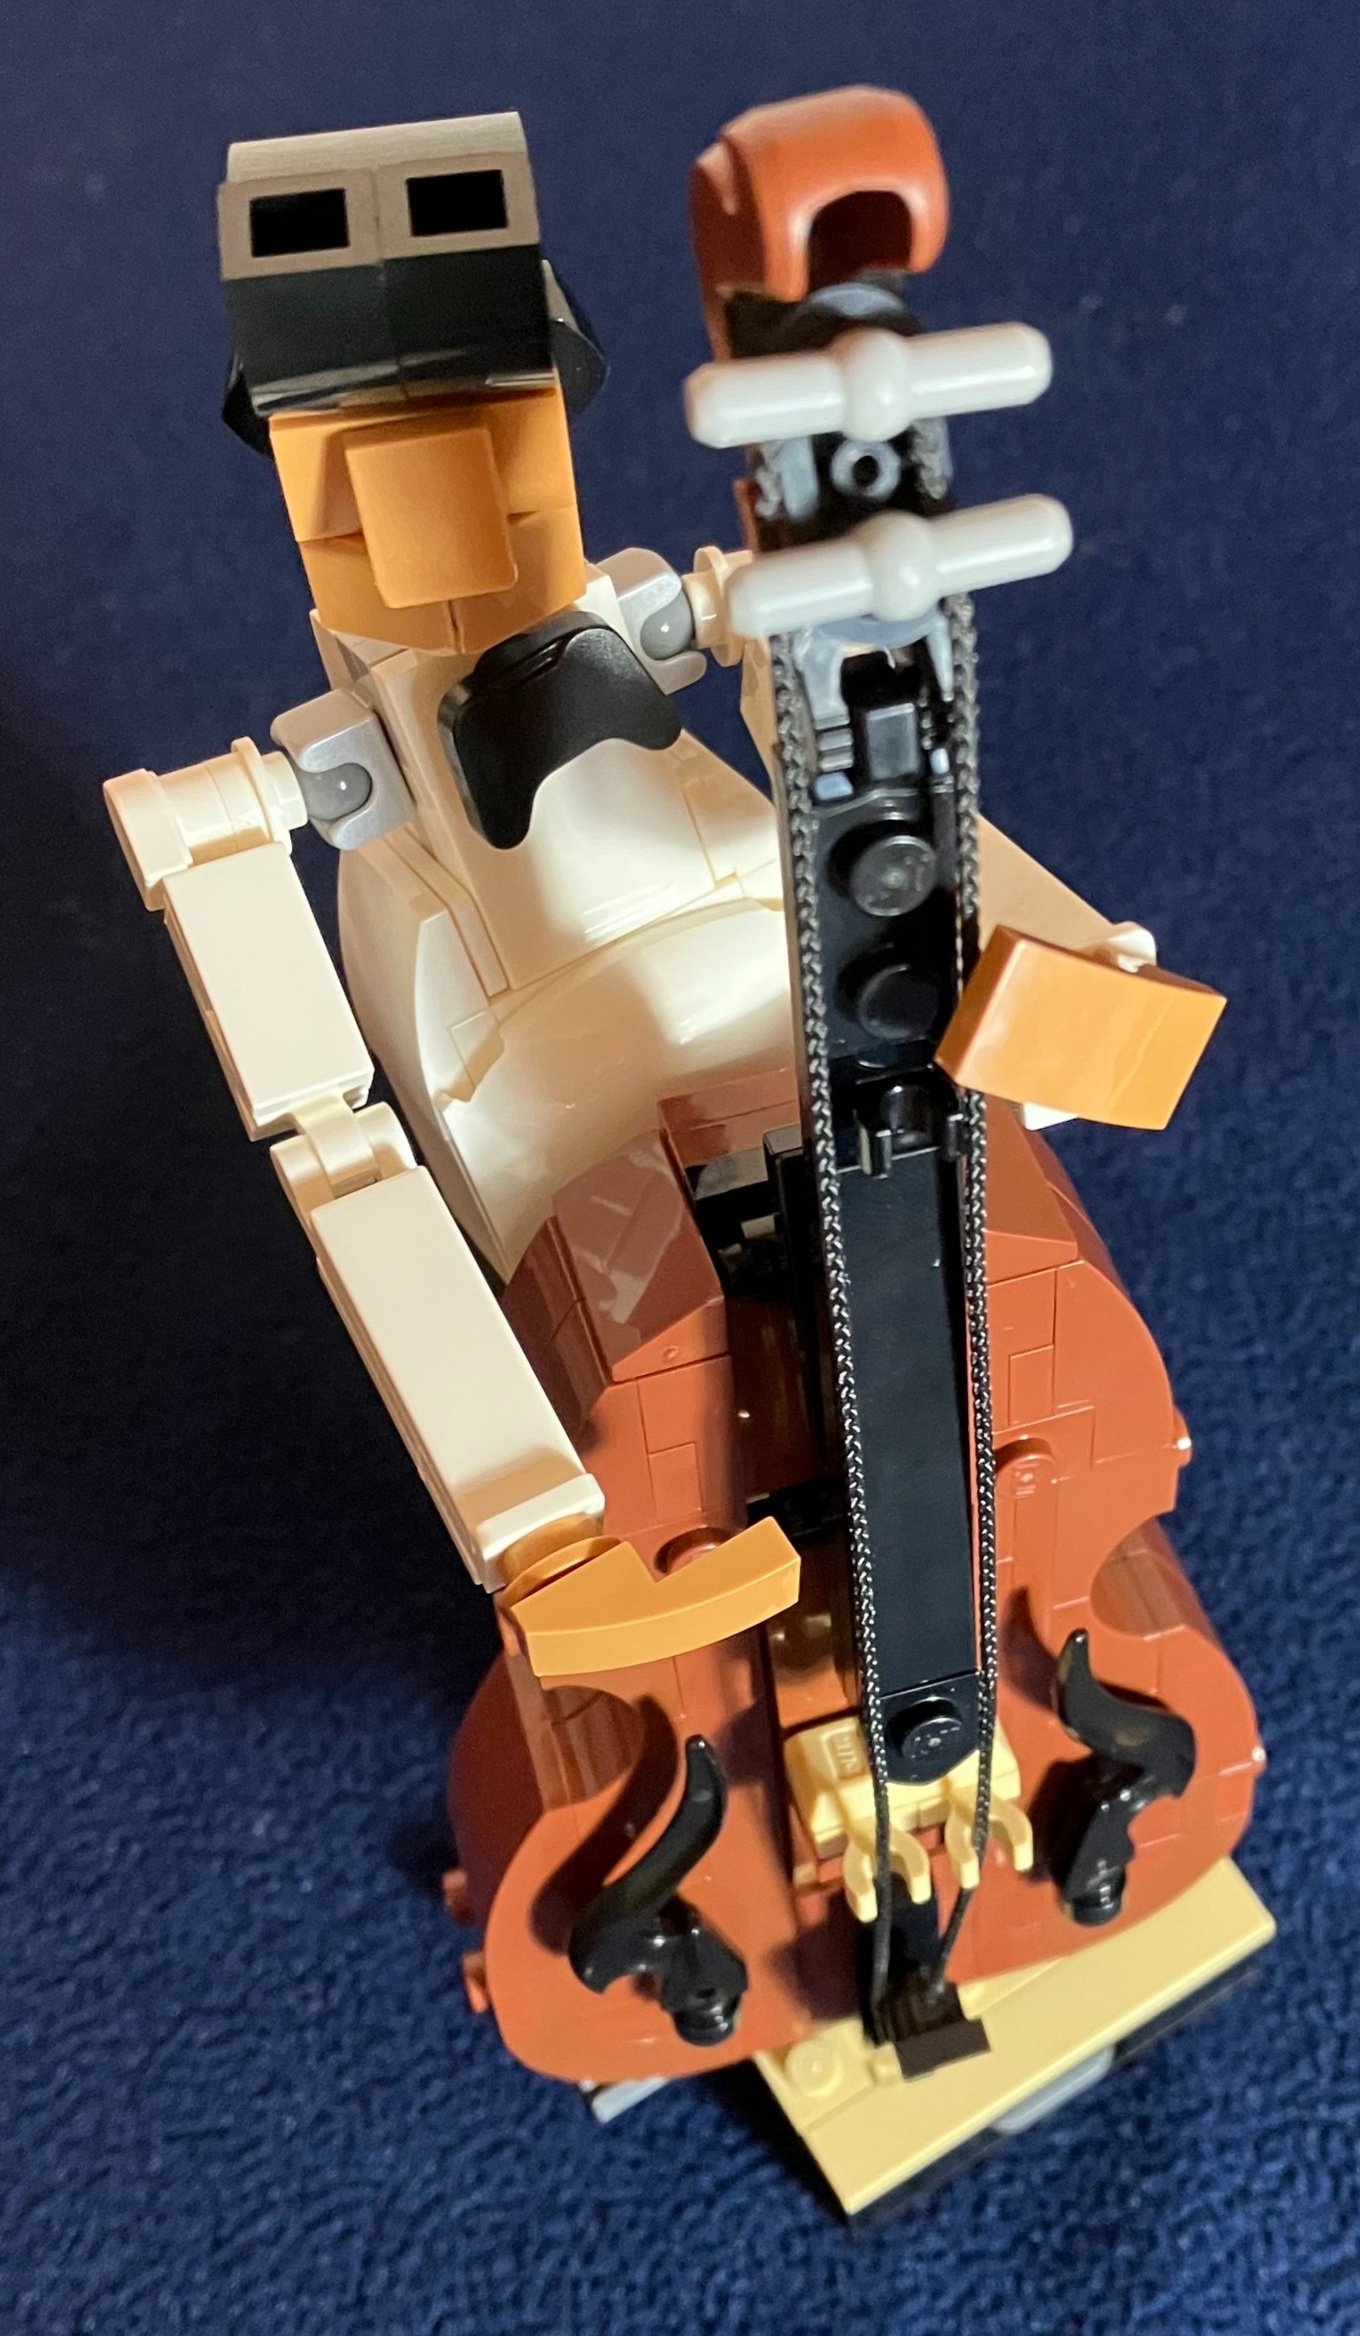
A videographer minifigure is included with this final build.

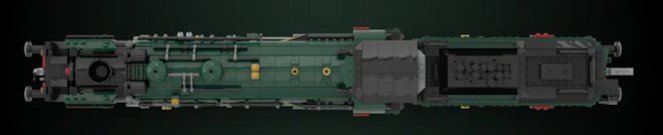
Here’s the final train as assembled on the provided base track along with all of the minifigures. It’s a sharp looking train and the colors look great with the dark blue, gold, and light gray. There are a decent amount of minifigures and there is opportunity to add in more. The train would look great departing out of Studgate Station. The eight studs wide build helps to pack in some extra details and overall, I’m glad to see a train set geared towards adults that fits on L-gage track (yeah, I’m taking about the big, recently retired Hogwarts Express that didn’t fit and was a huge disappointment to the fan community). I think it’s a good selection of minifigures as well.
Enough nice things said… this one is too expensive! I’m glad to see LEGO listened and gave us more than one car, but $100 a car and then $100 for the engine and tender is too high. I think the sale price is pushing it a bit as well. I’m glad I had a GWP and Double Insider points to soften the blow. For the $300 retail price, the detailed engine from the fan designer should have been used and maybe even figure out how to motorize it.
LEGO, let’s see more train sets like this, but at a lower price point. Get rid of the base. We can use LEGO track. Keep them coming please!
Happy building!