Technic

Light Kit Review - LeLightGo - Kit for #42083-1: Bugatti Chiron (Technic)

The folks at LeLightGo reached out to me and asked if they could send me a light kit so I could review it on my blog. So here goes.

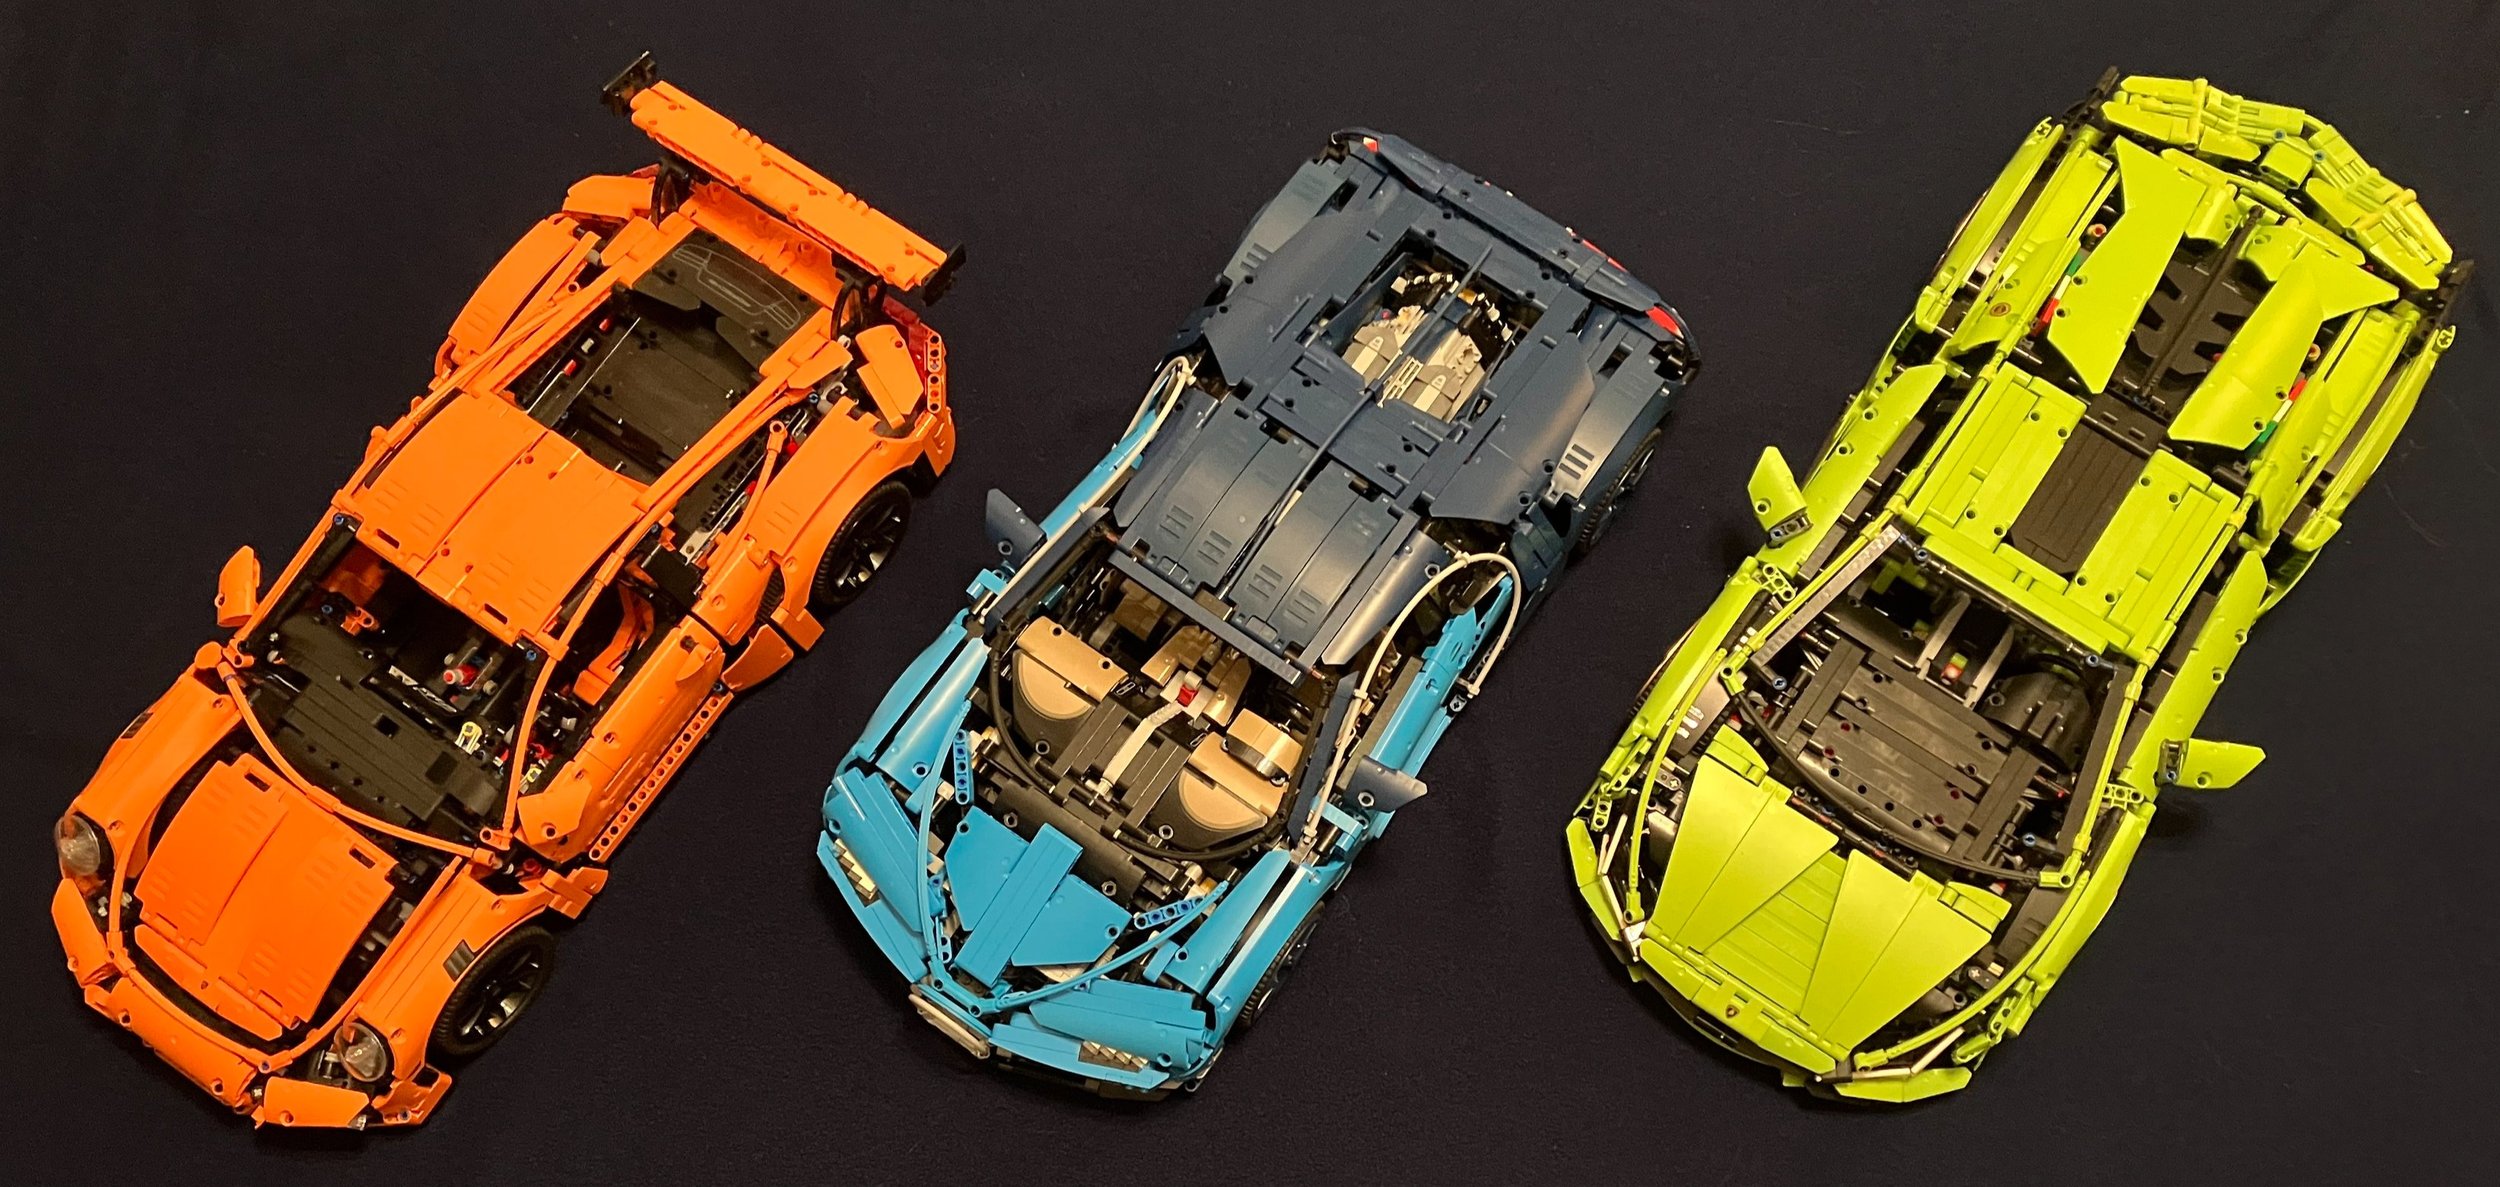
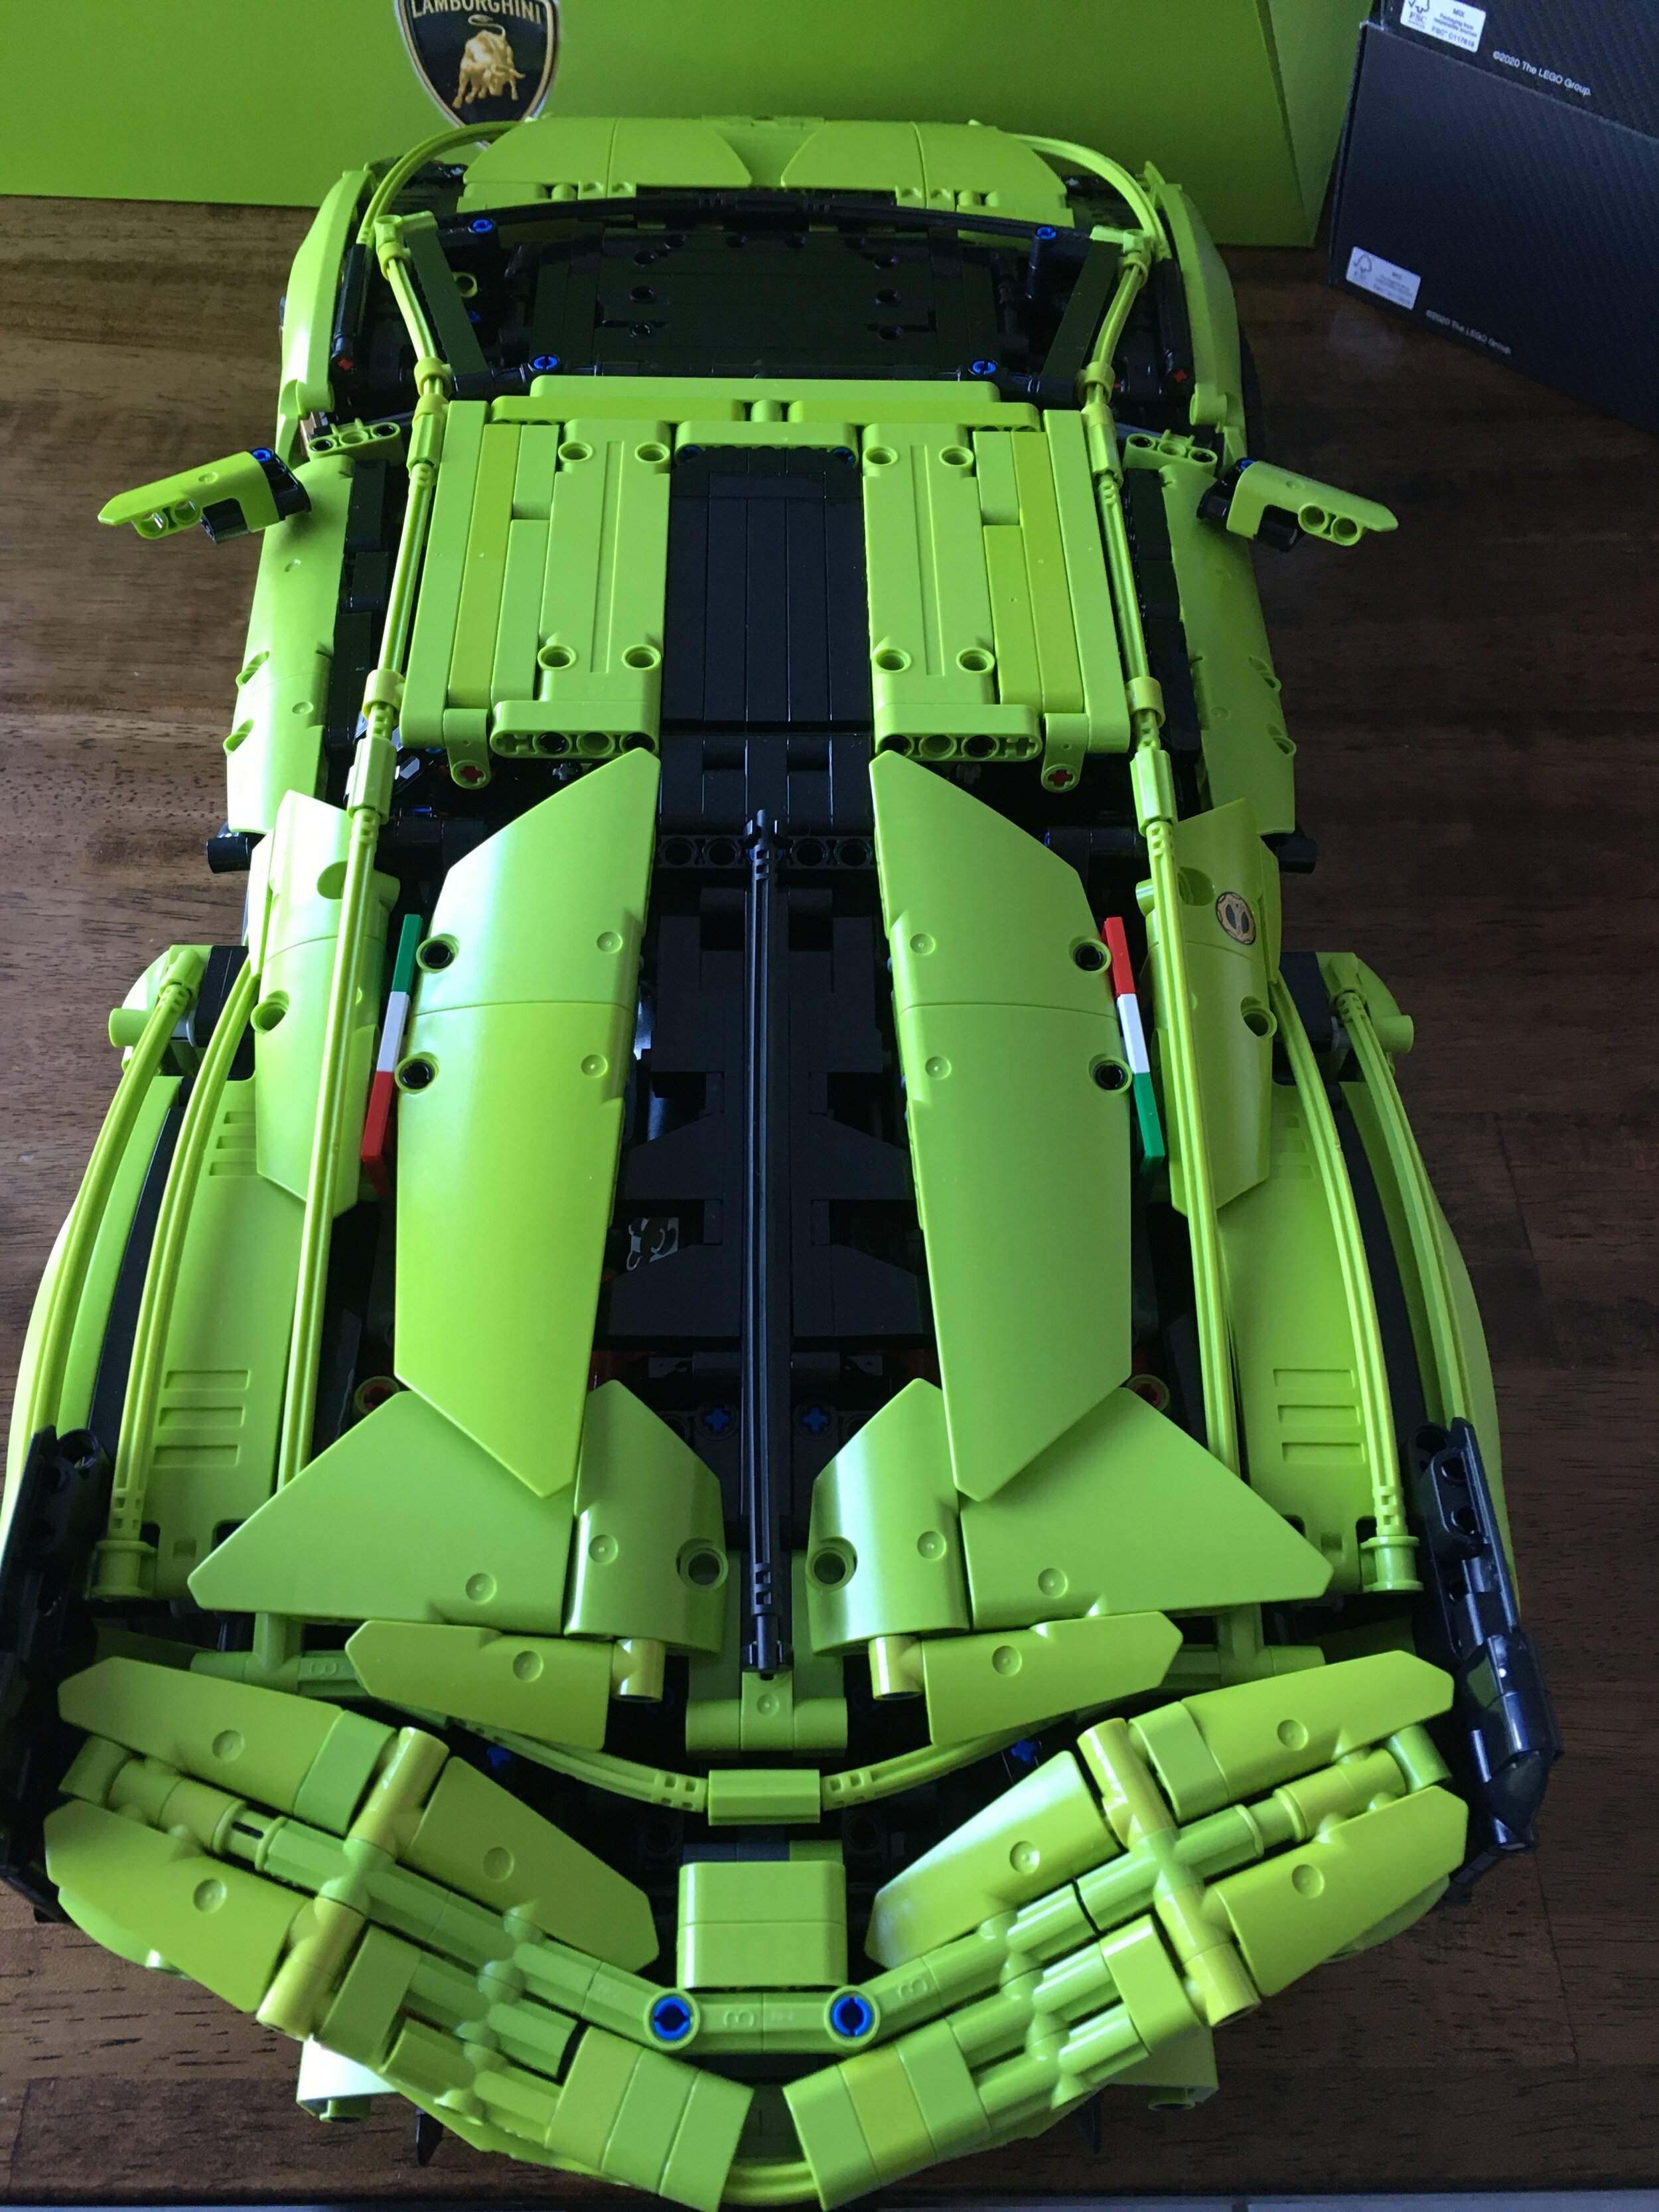
I was given a choice so I selected the light kit for #42083-1: Bugatti Chiron from the Technic line. In case you’re not familiar, you can see my review of the LEGO Technic set here (part 1) and here (part 2). Also, you can get up close and personal with a real Bugatti Chiron at that link (okay, maybe not super personal, but closer than I’ve ever been).

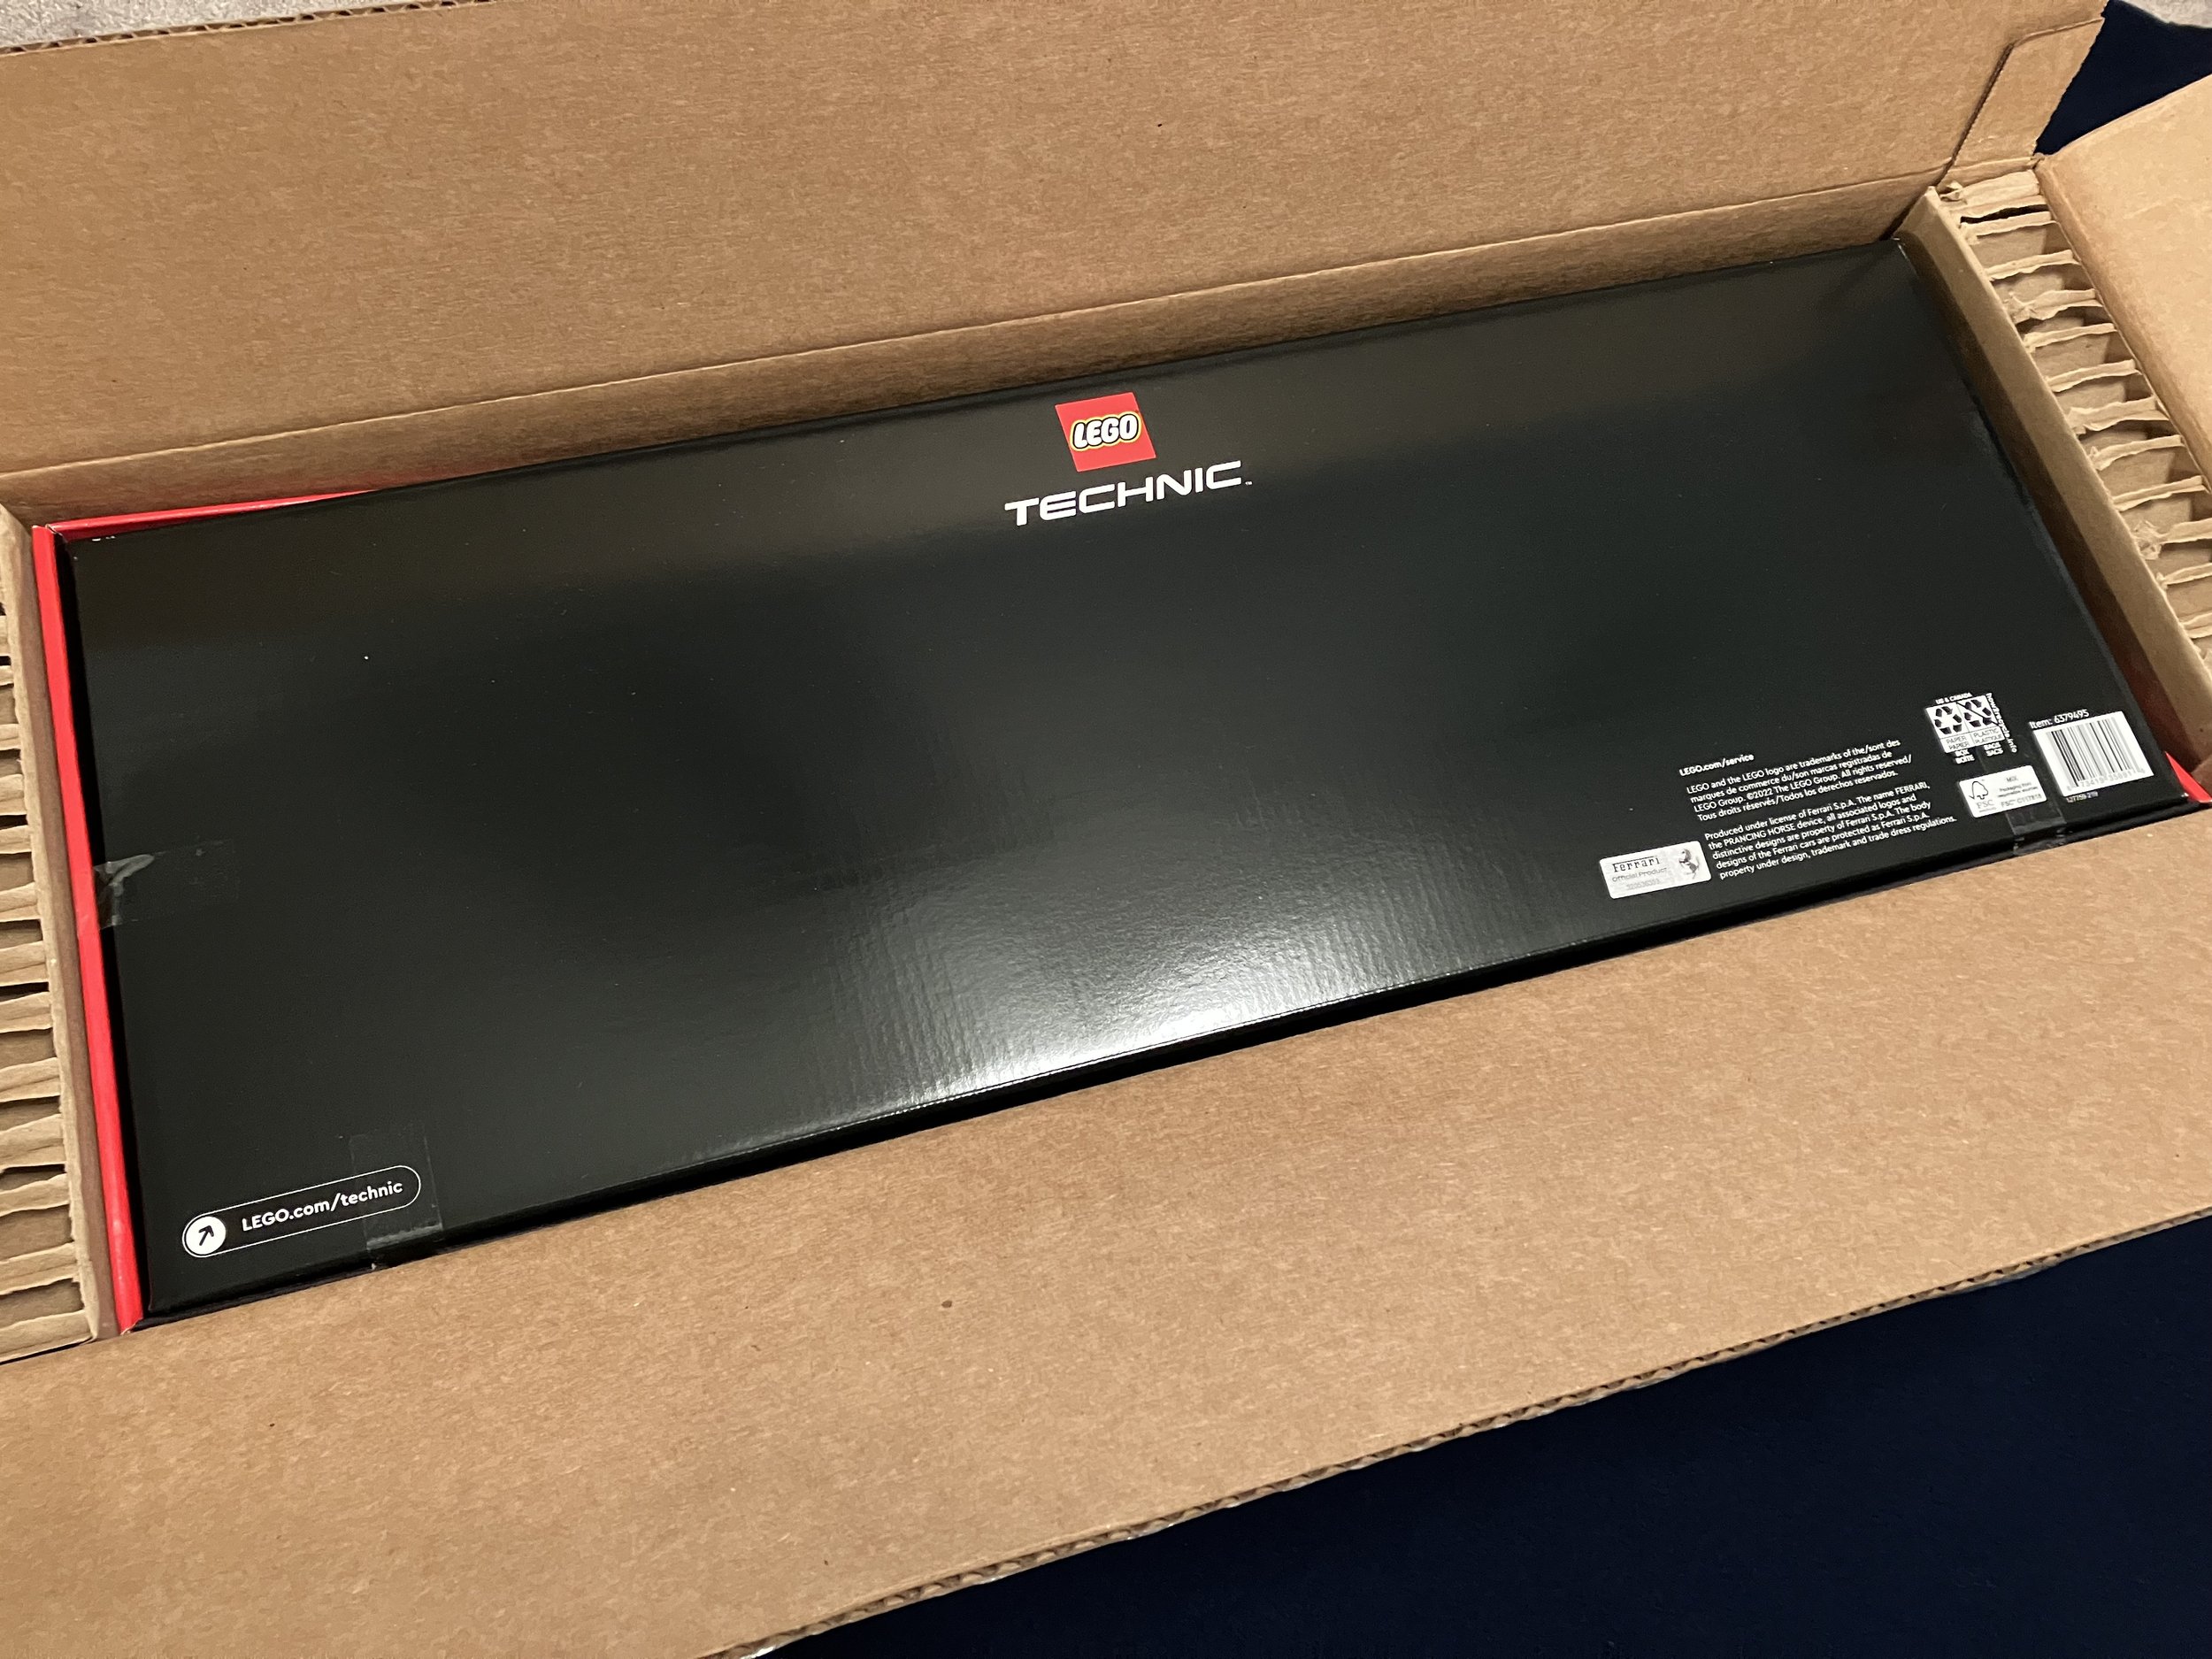
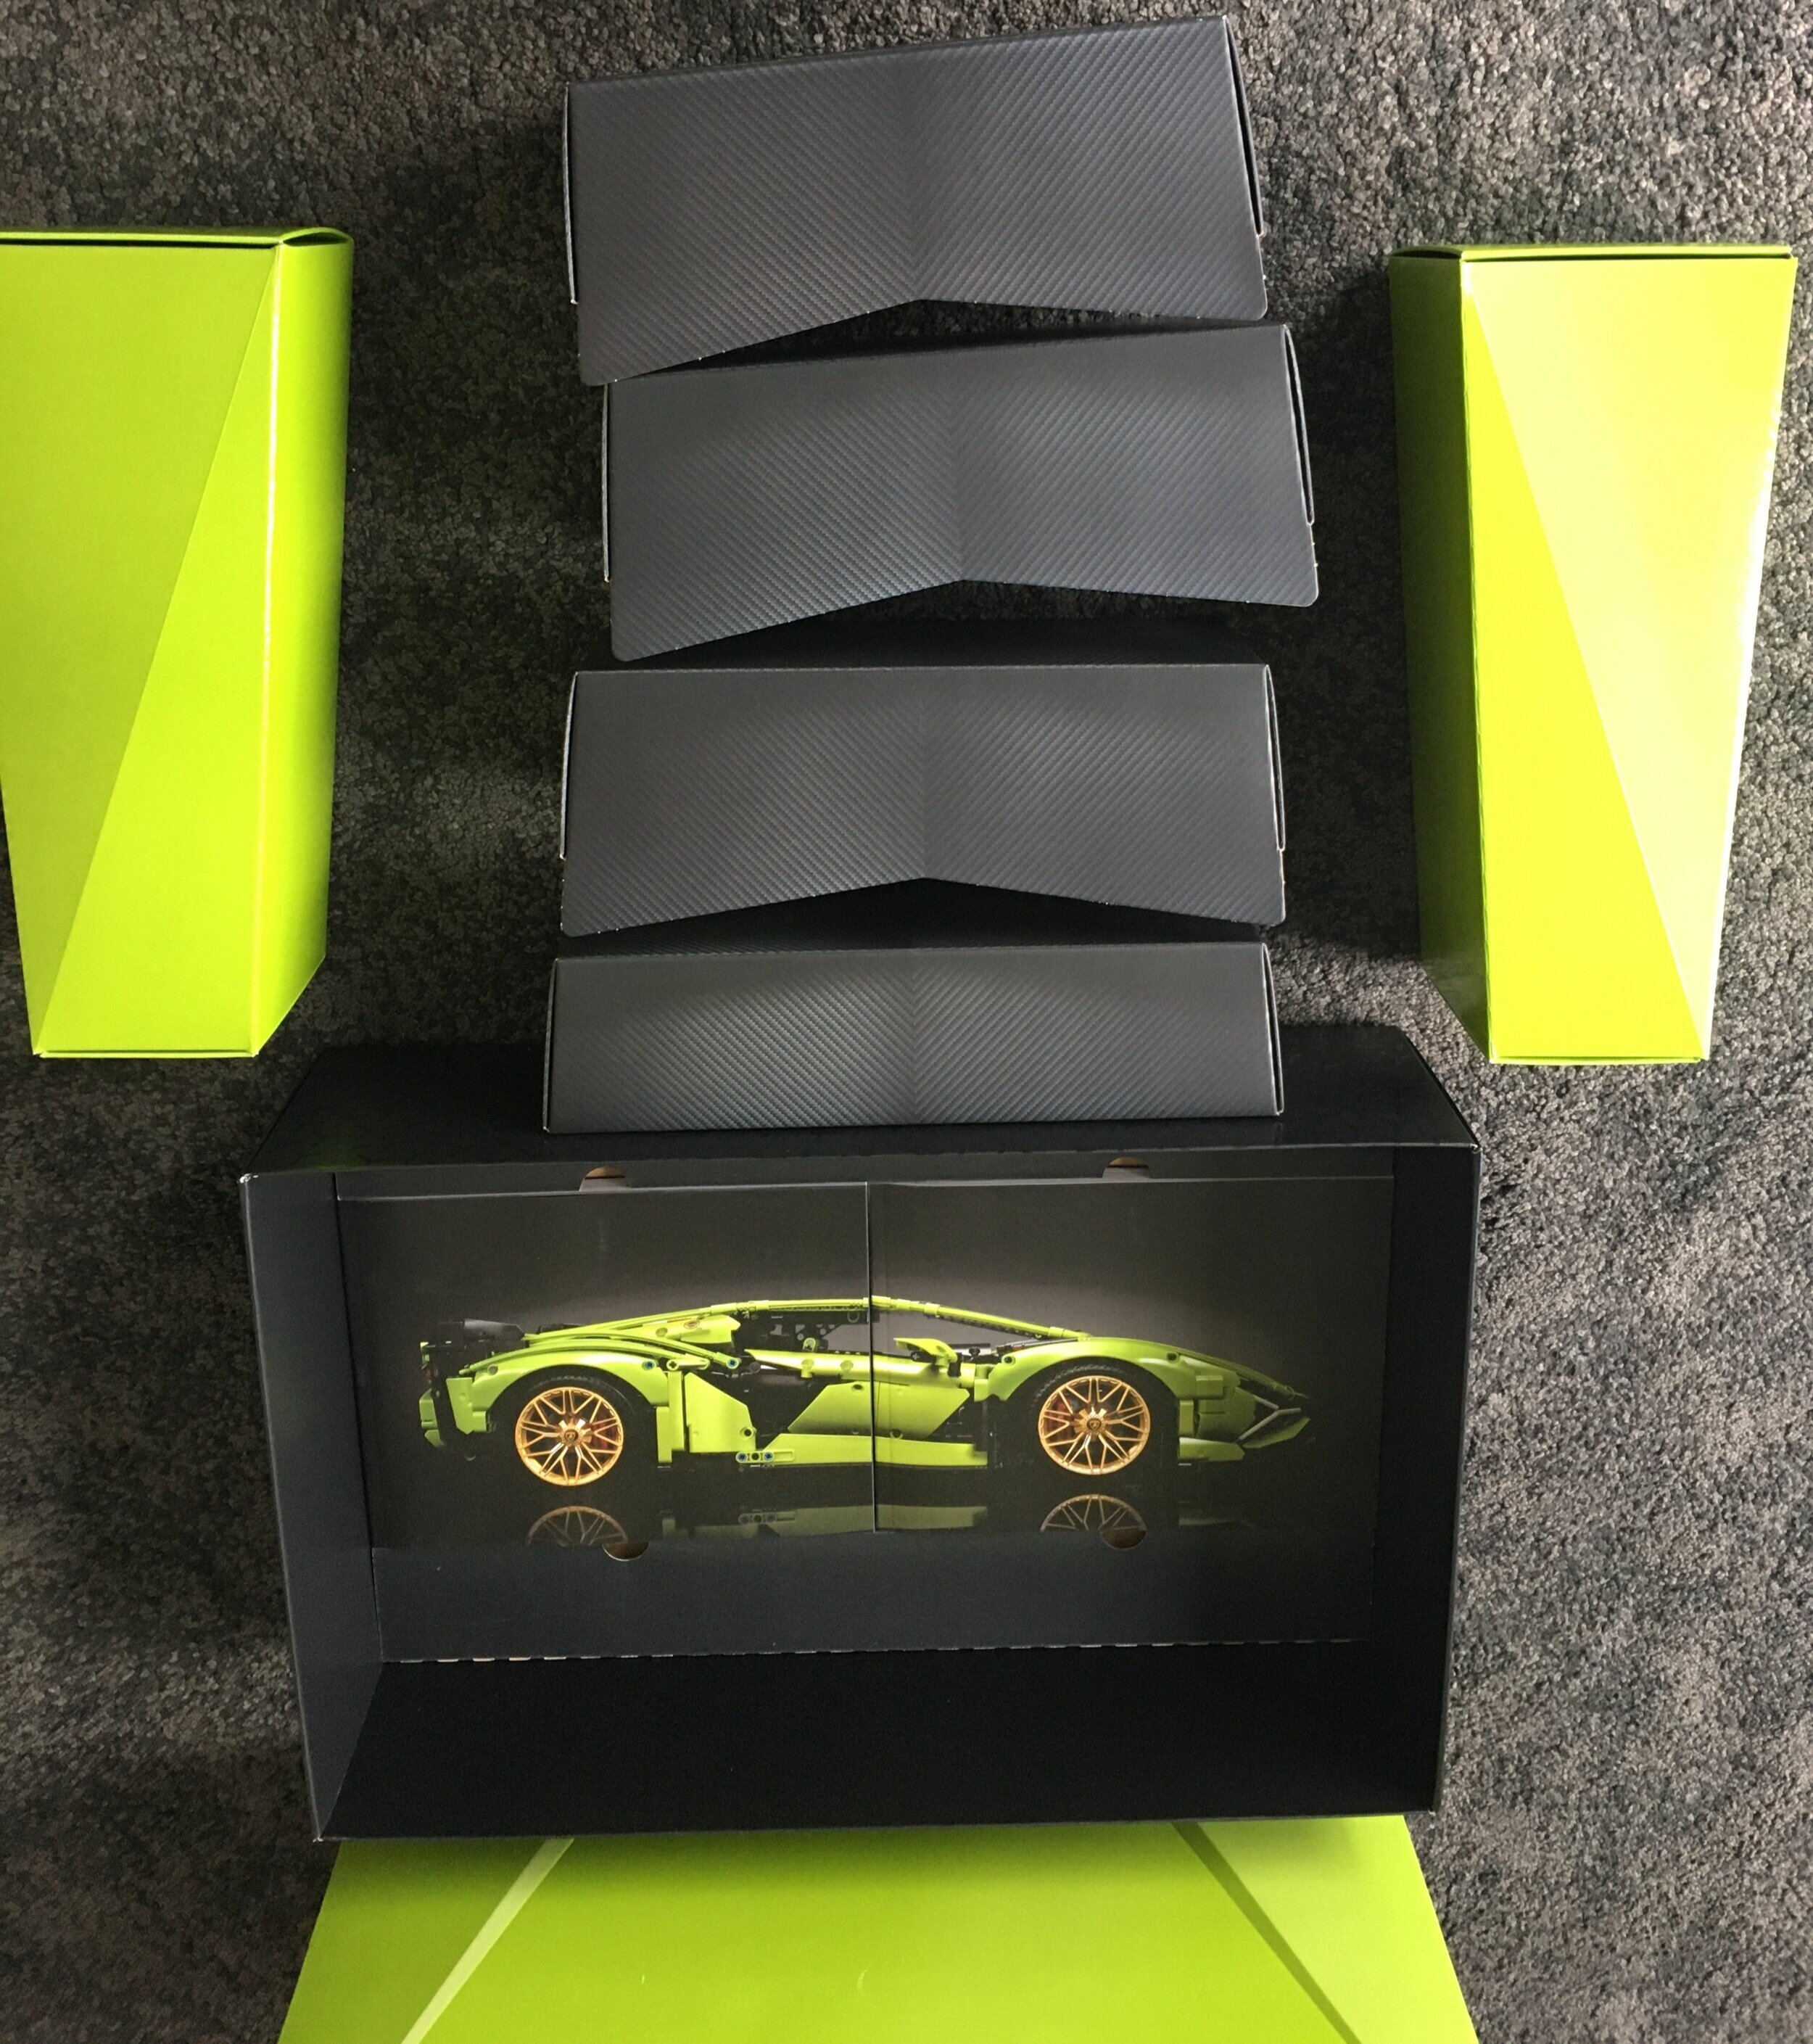
The company’s web site lists a UK address, but the shipment I received came from California. The box was roughly 6 inches long by about 5 inches wide and a little over an inch tall. It was labeled as the 42083 Classic Version.

The box just contains a bag with parts bags inside so I went to their web site. They have some general instructions for how to handle their kits under a section labeled USER GUIDE. I scrolled down and there were two instructions for set #42083. One was labeled as the “new version” and the other was just the number. As you recall, the box I received said “classic version.” I was a bit confused as to which instructions to use. I ended up opening them both and used the process of elimination to figure out what to use.

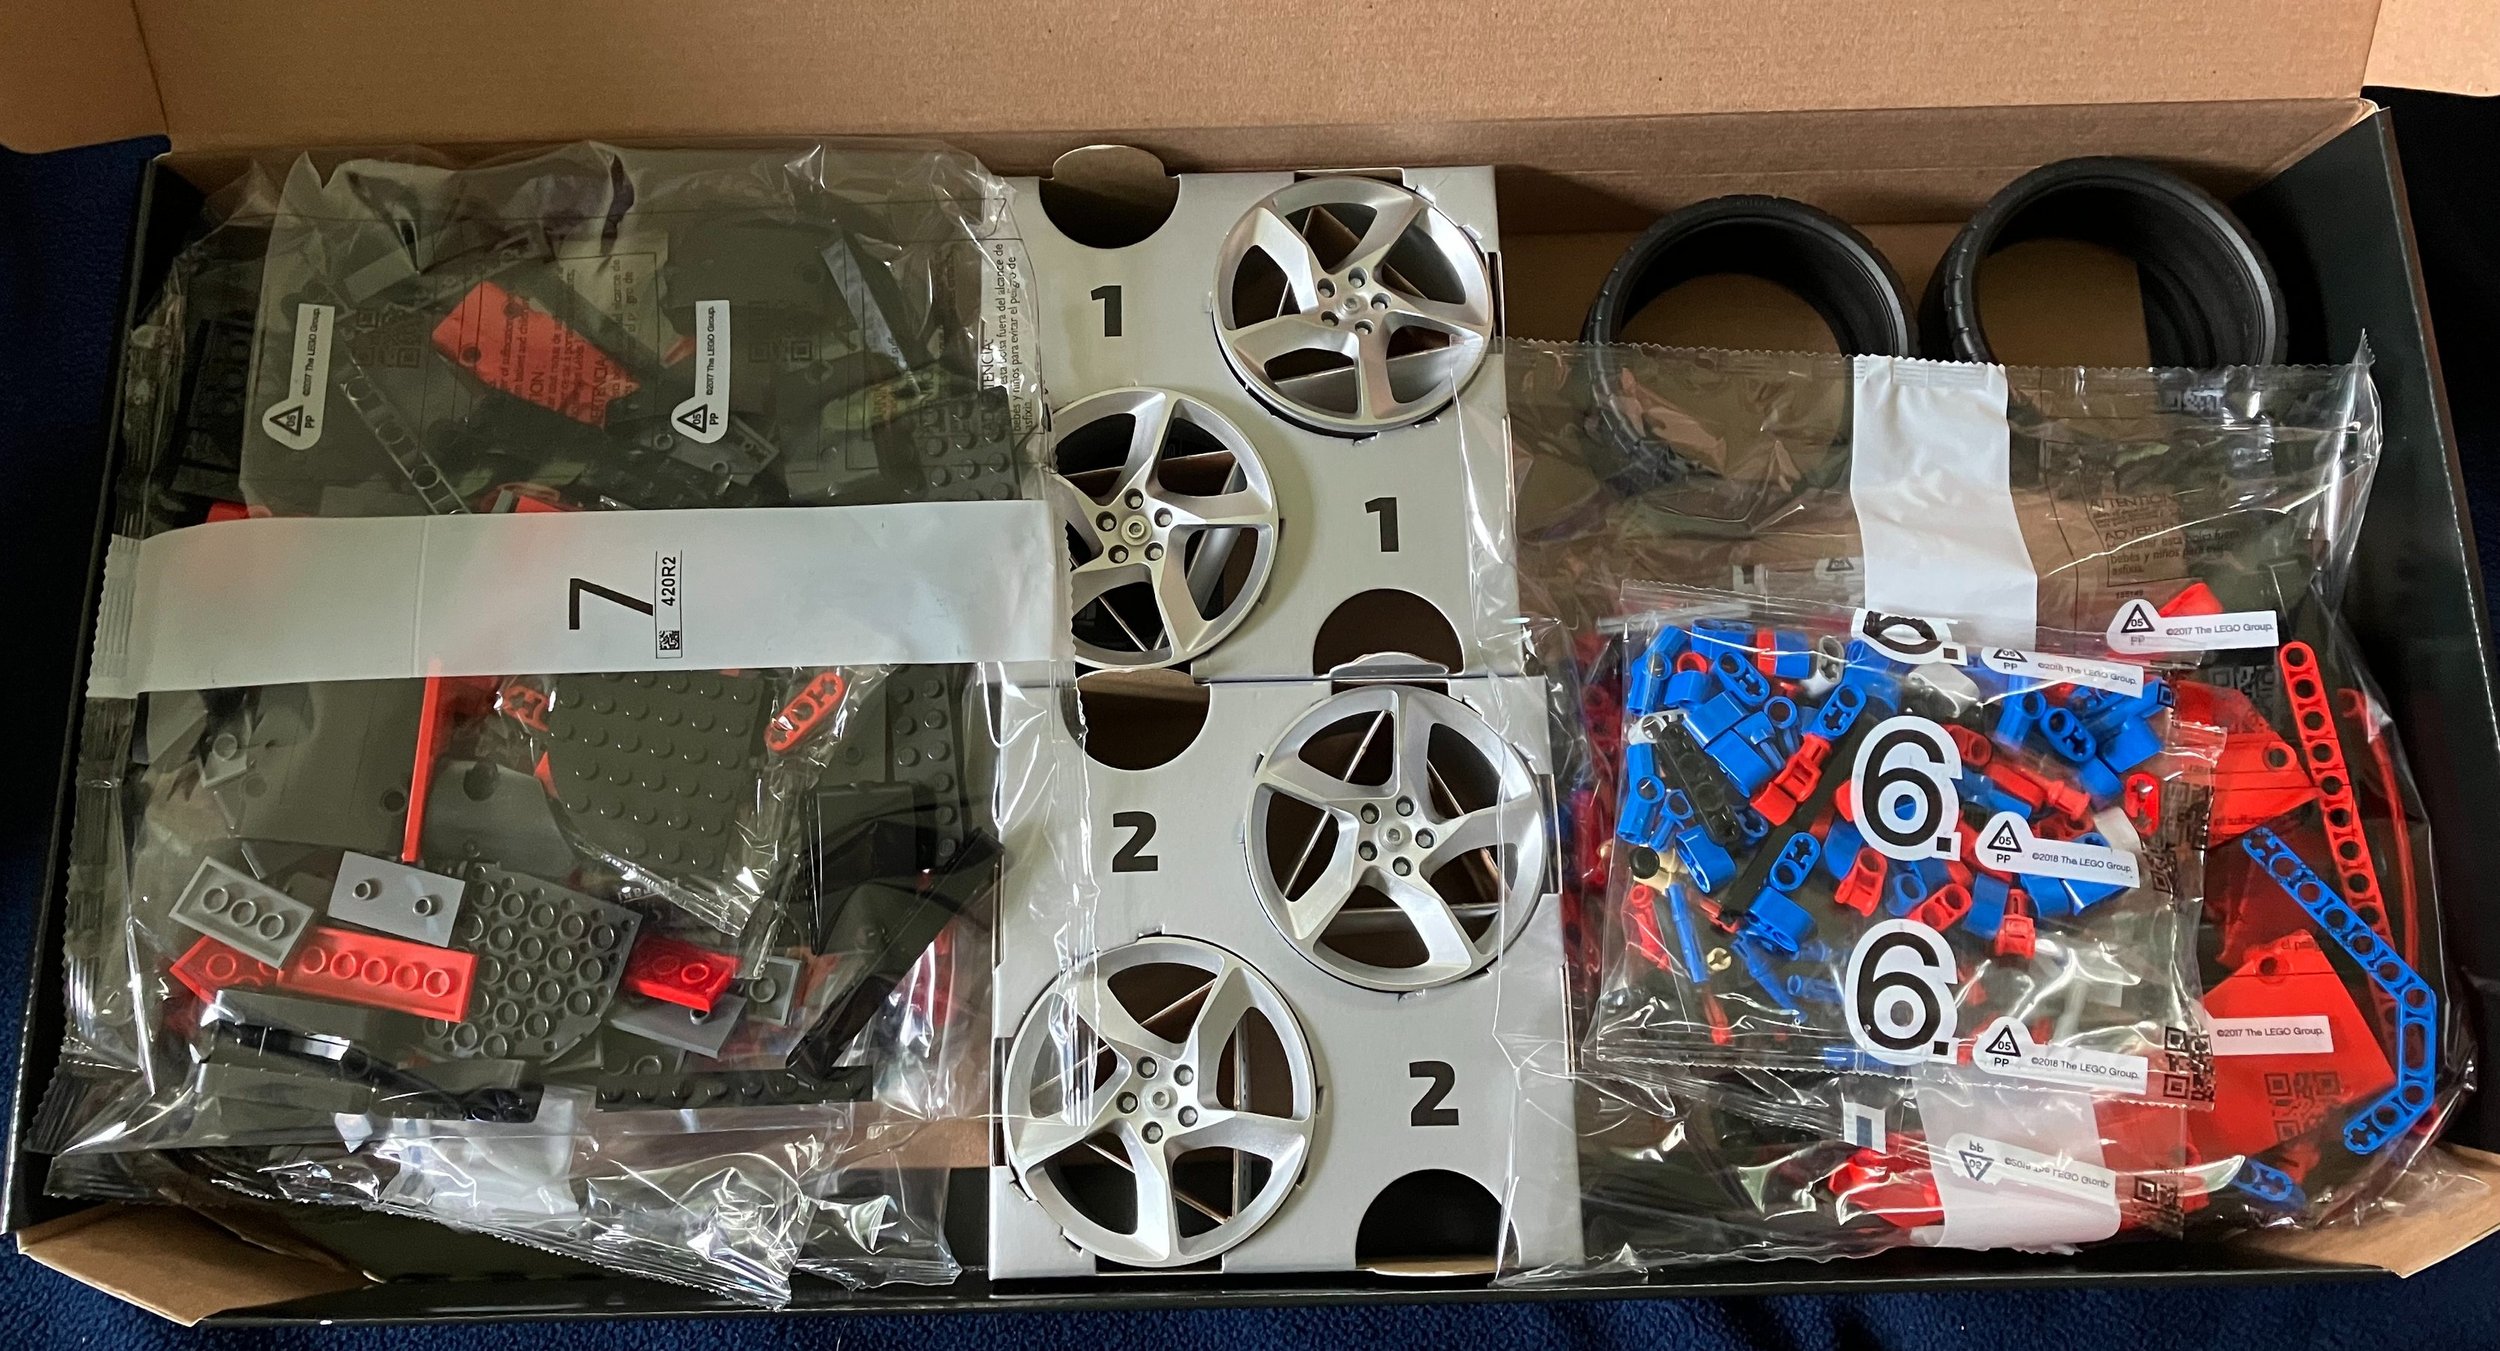
The box contained eight parts bags. One through six were labeled and then there were two others. One contained the battery container.

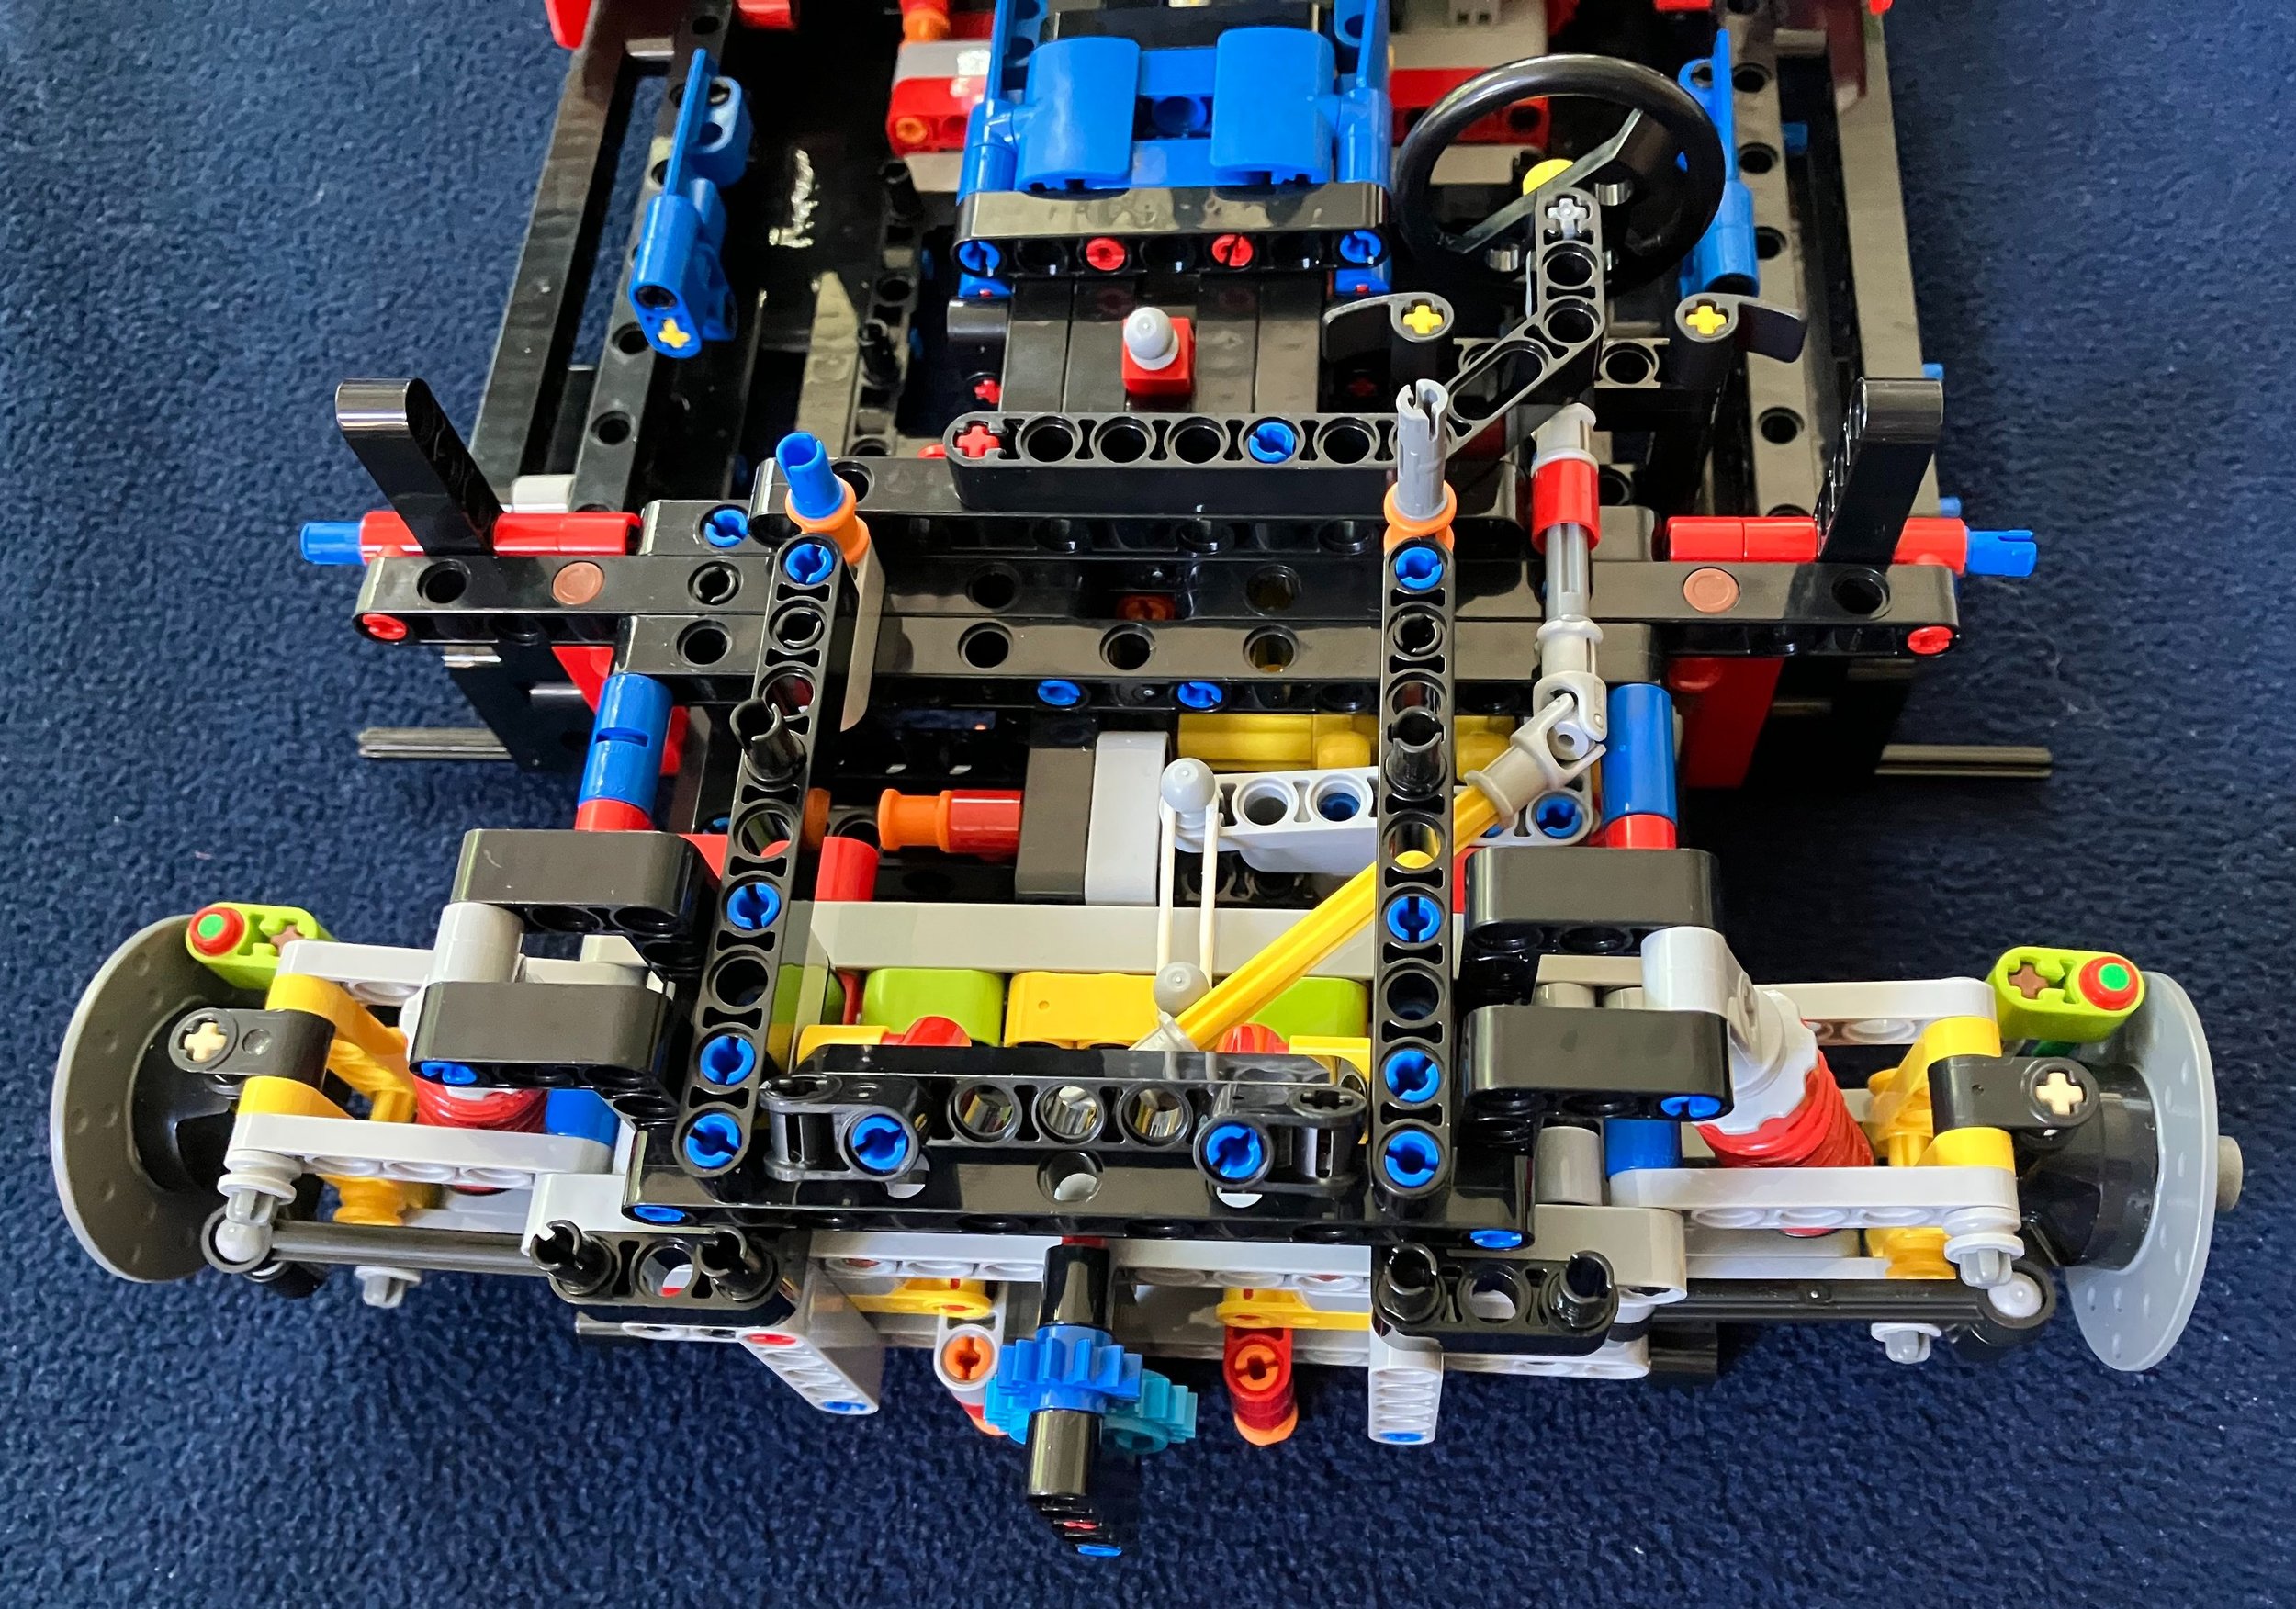
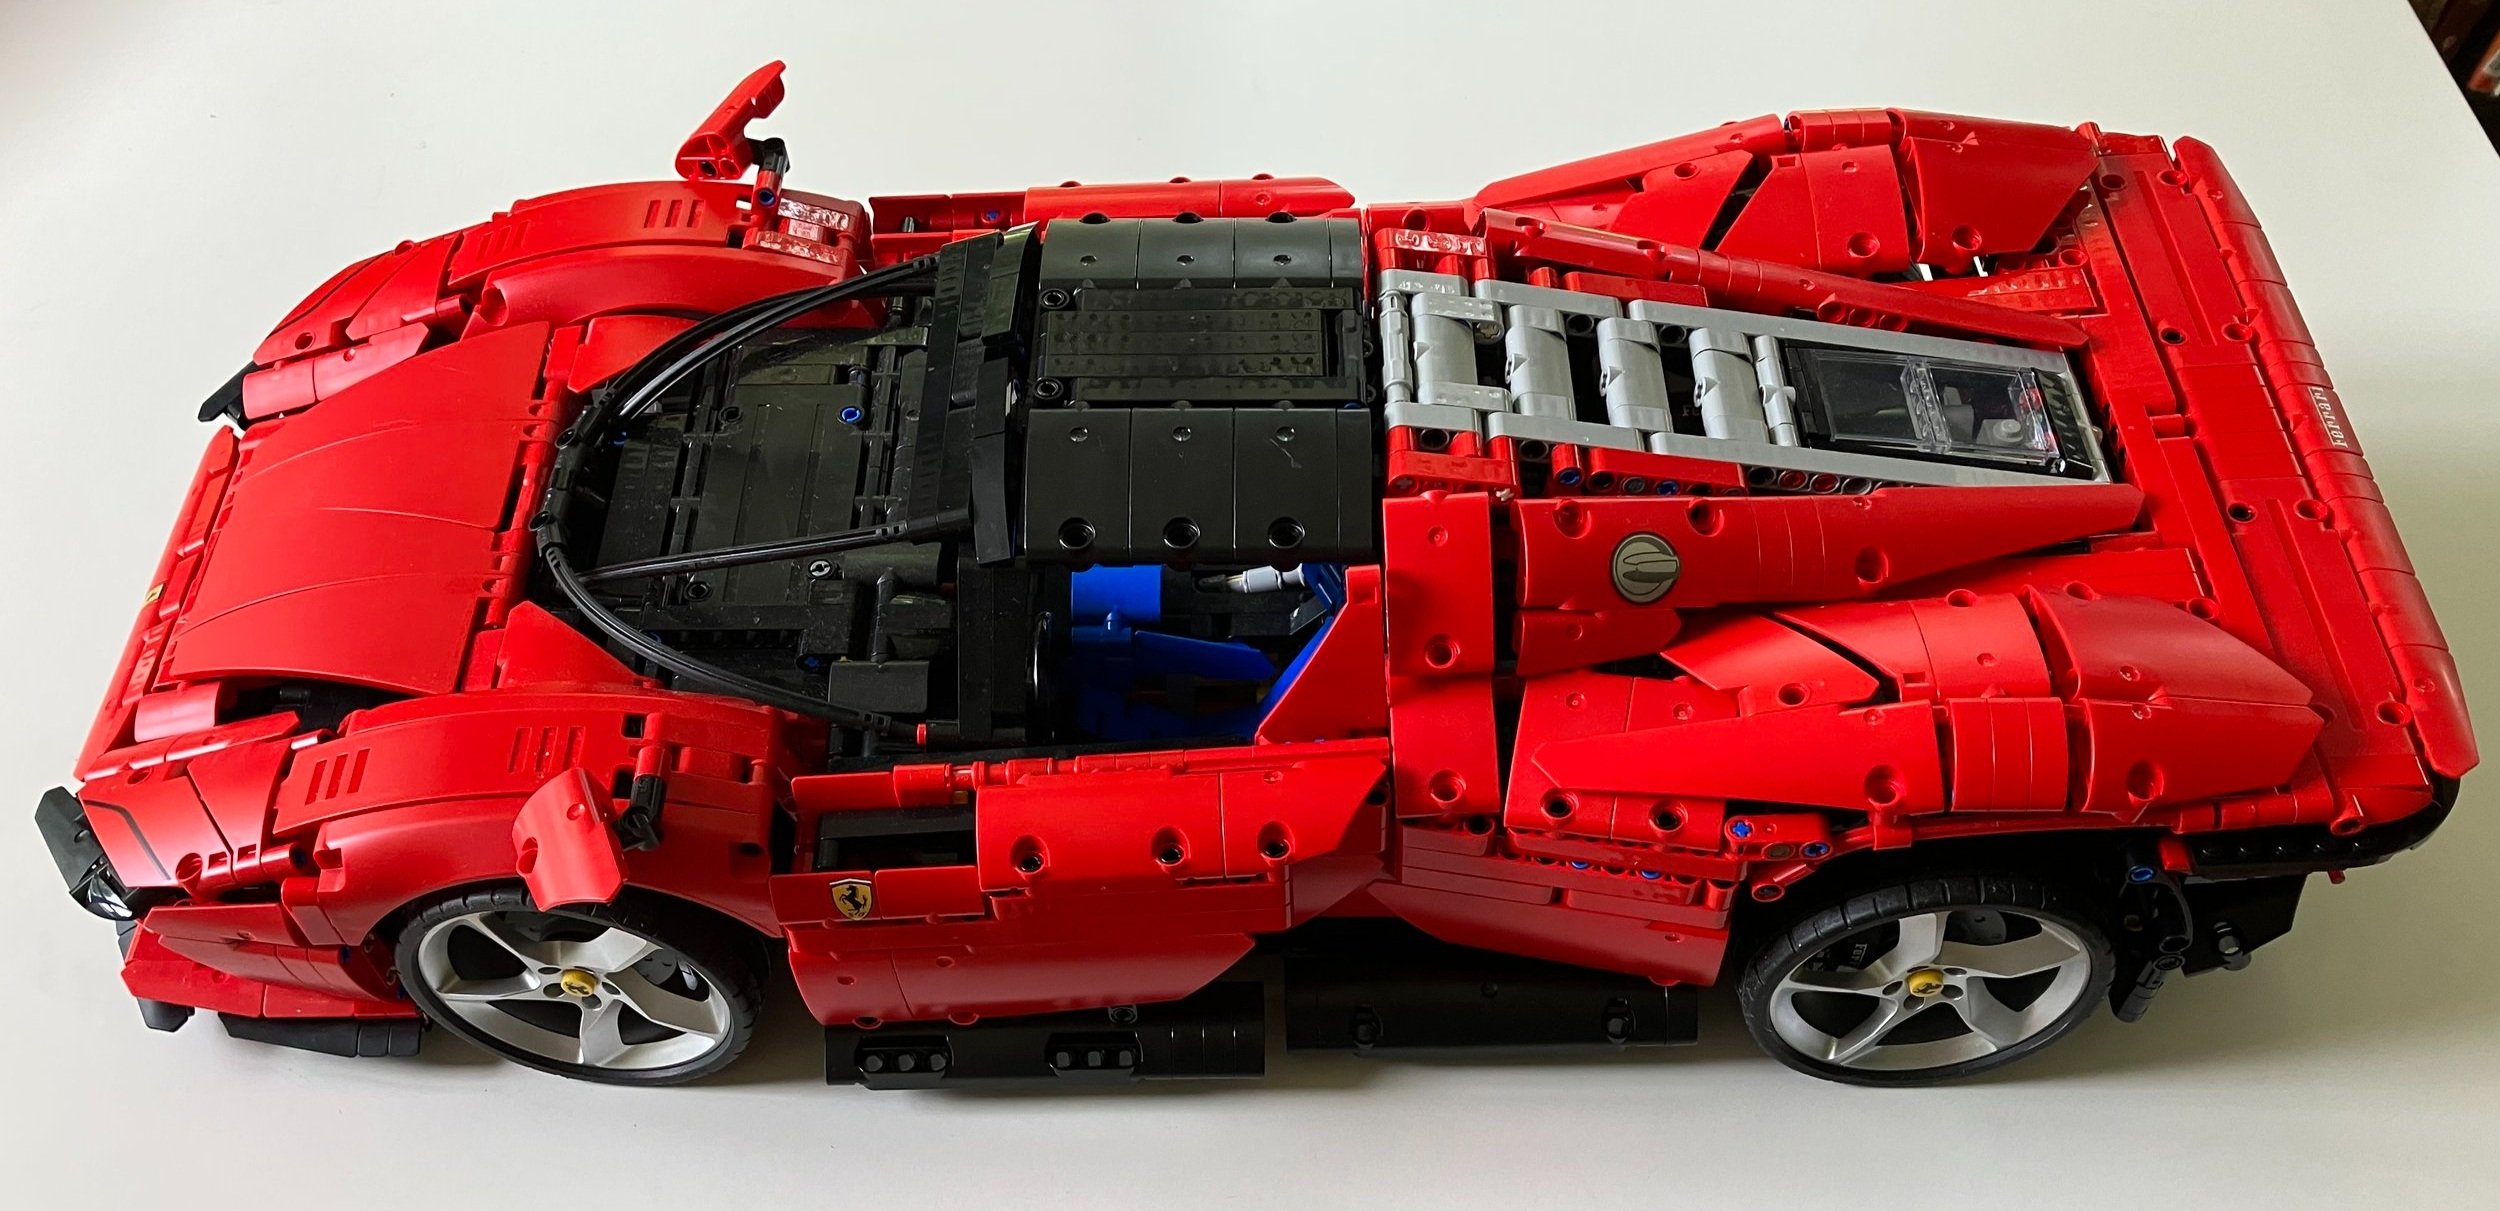
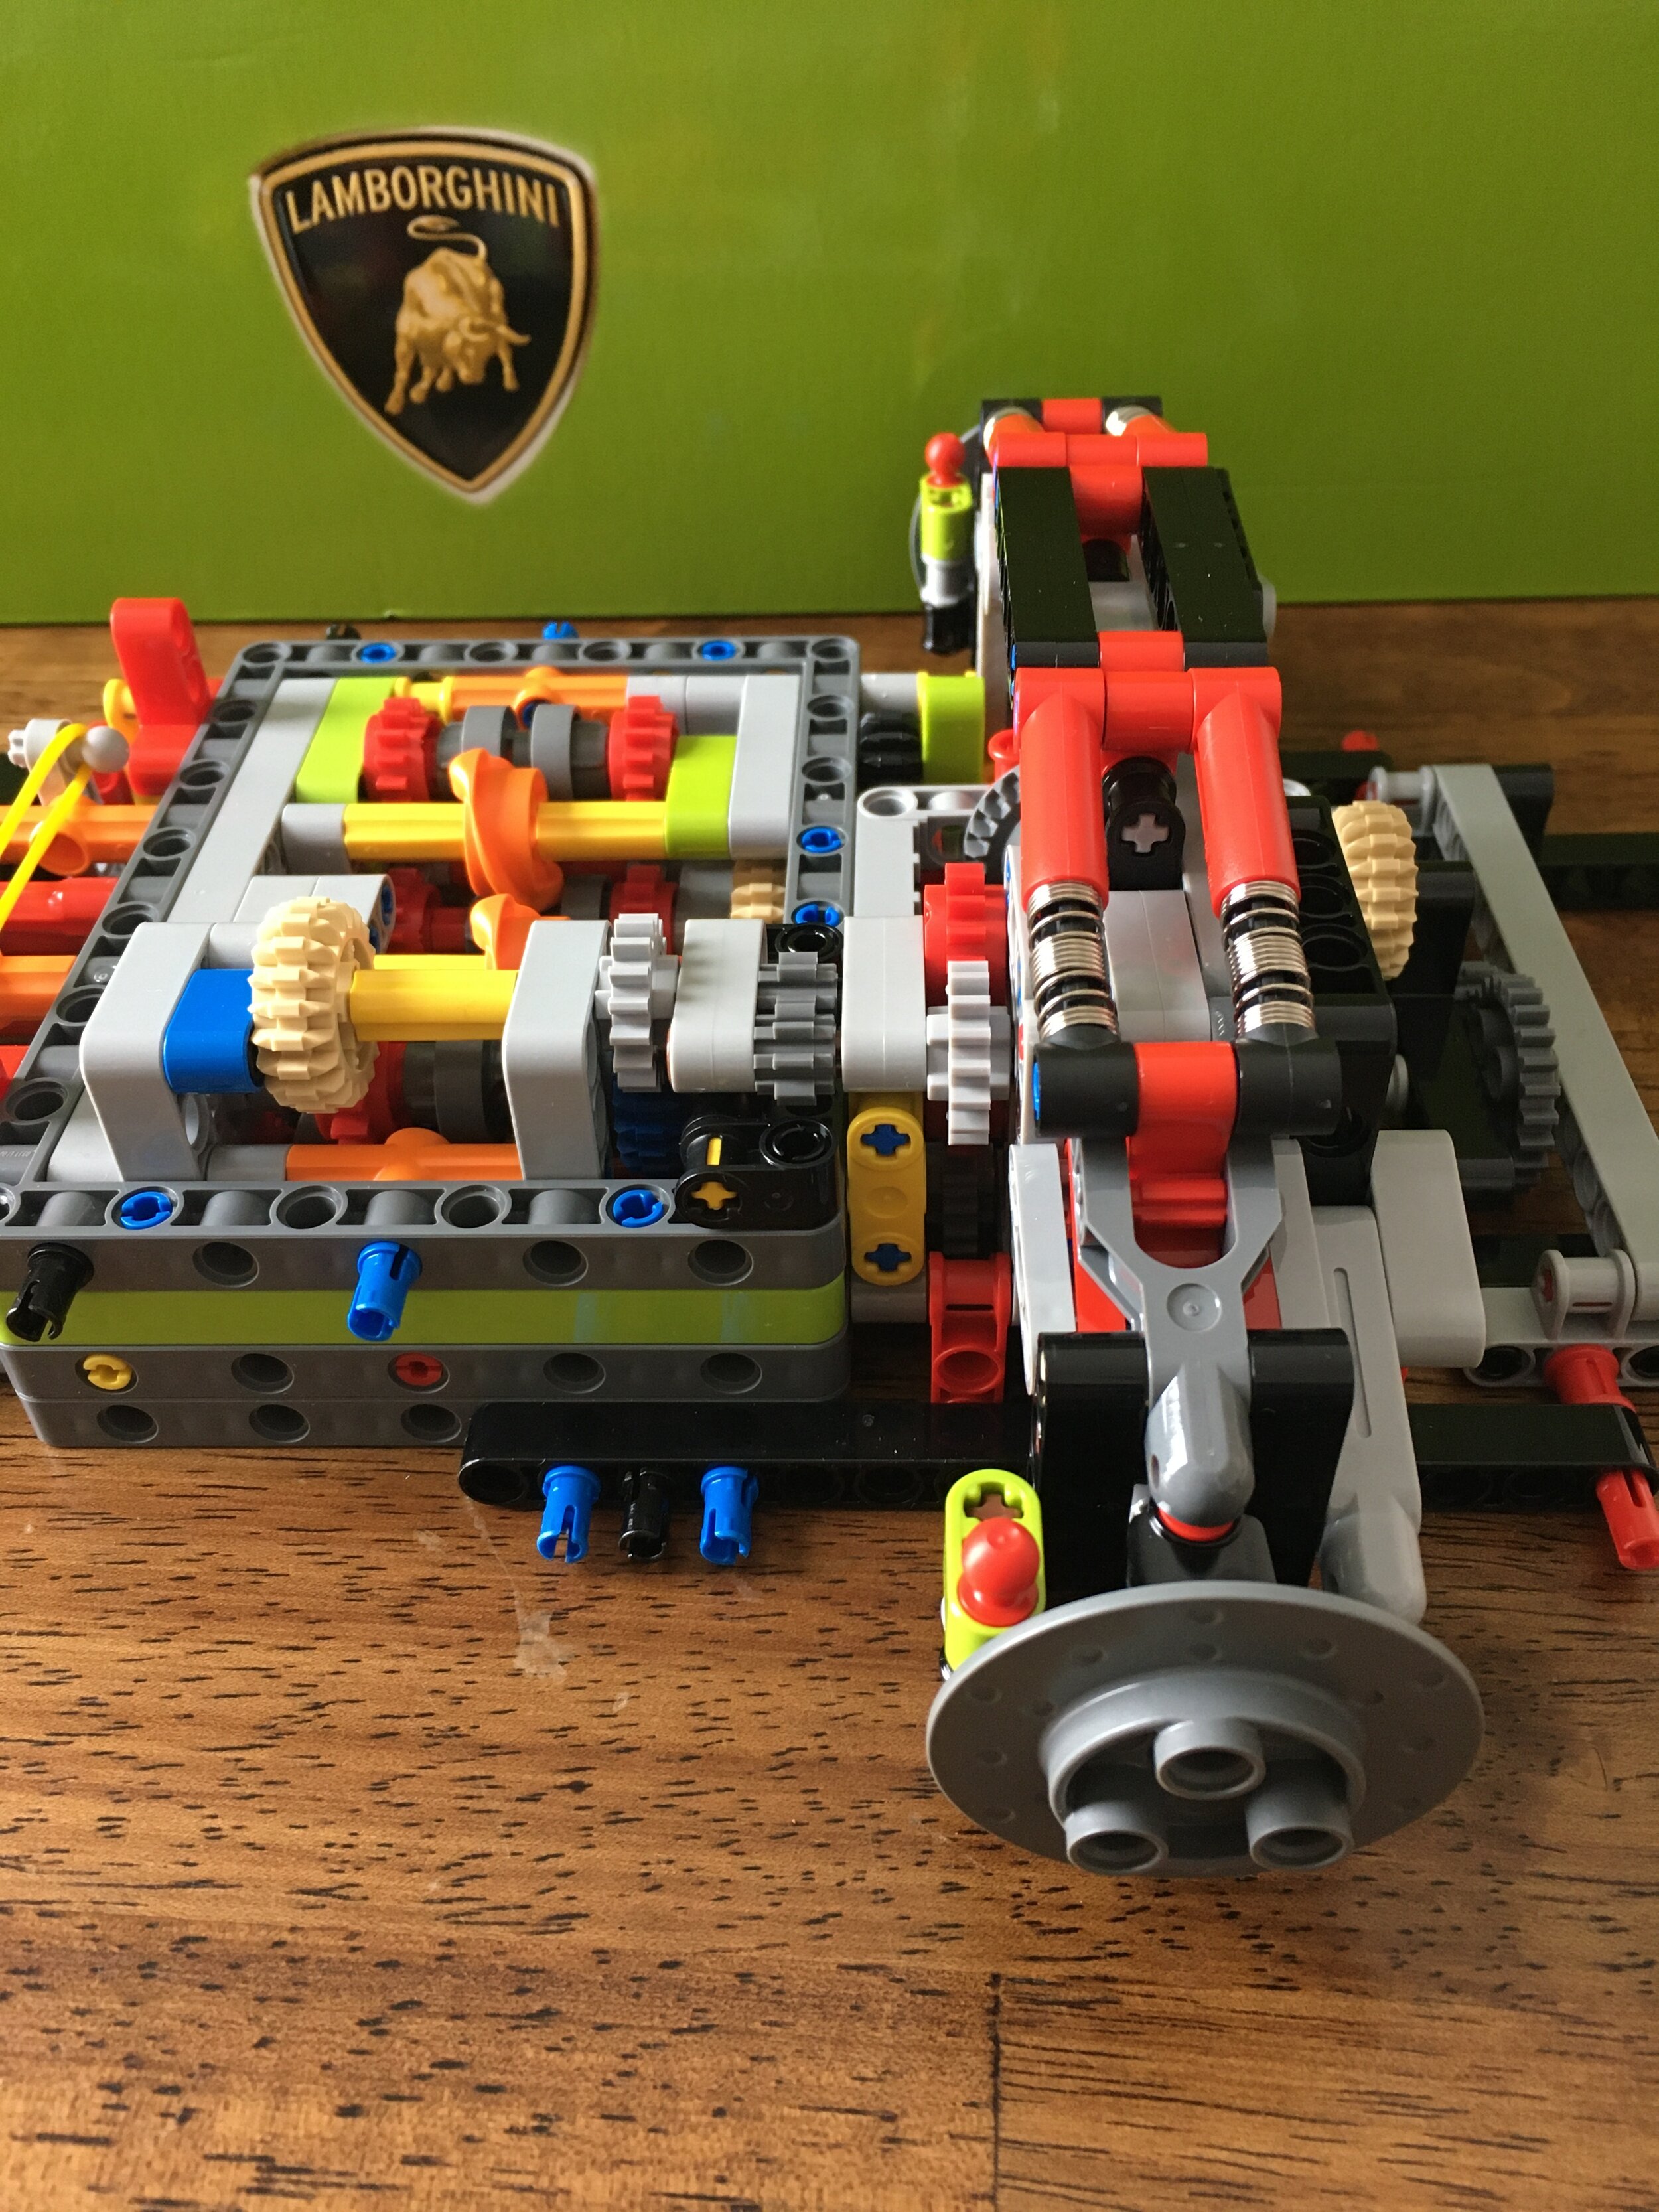
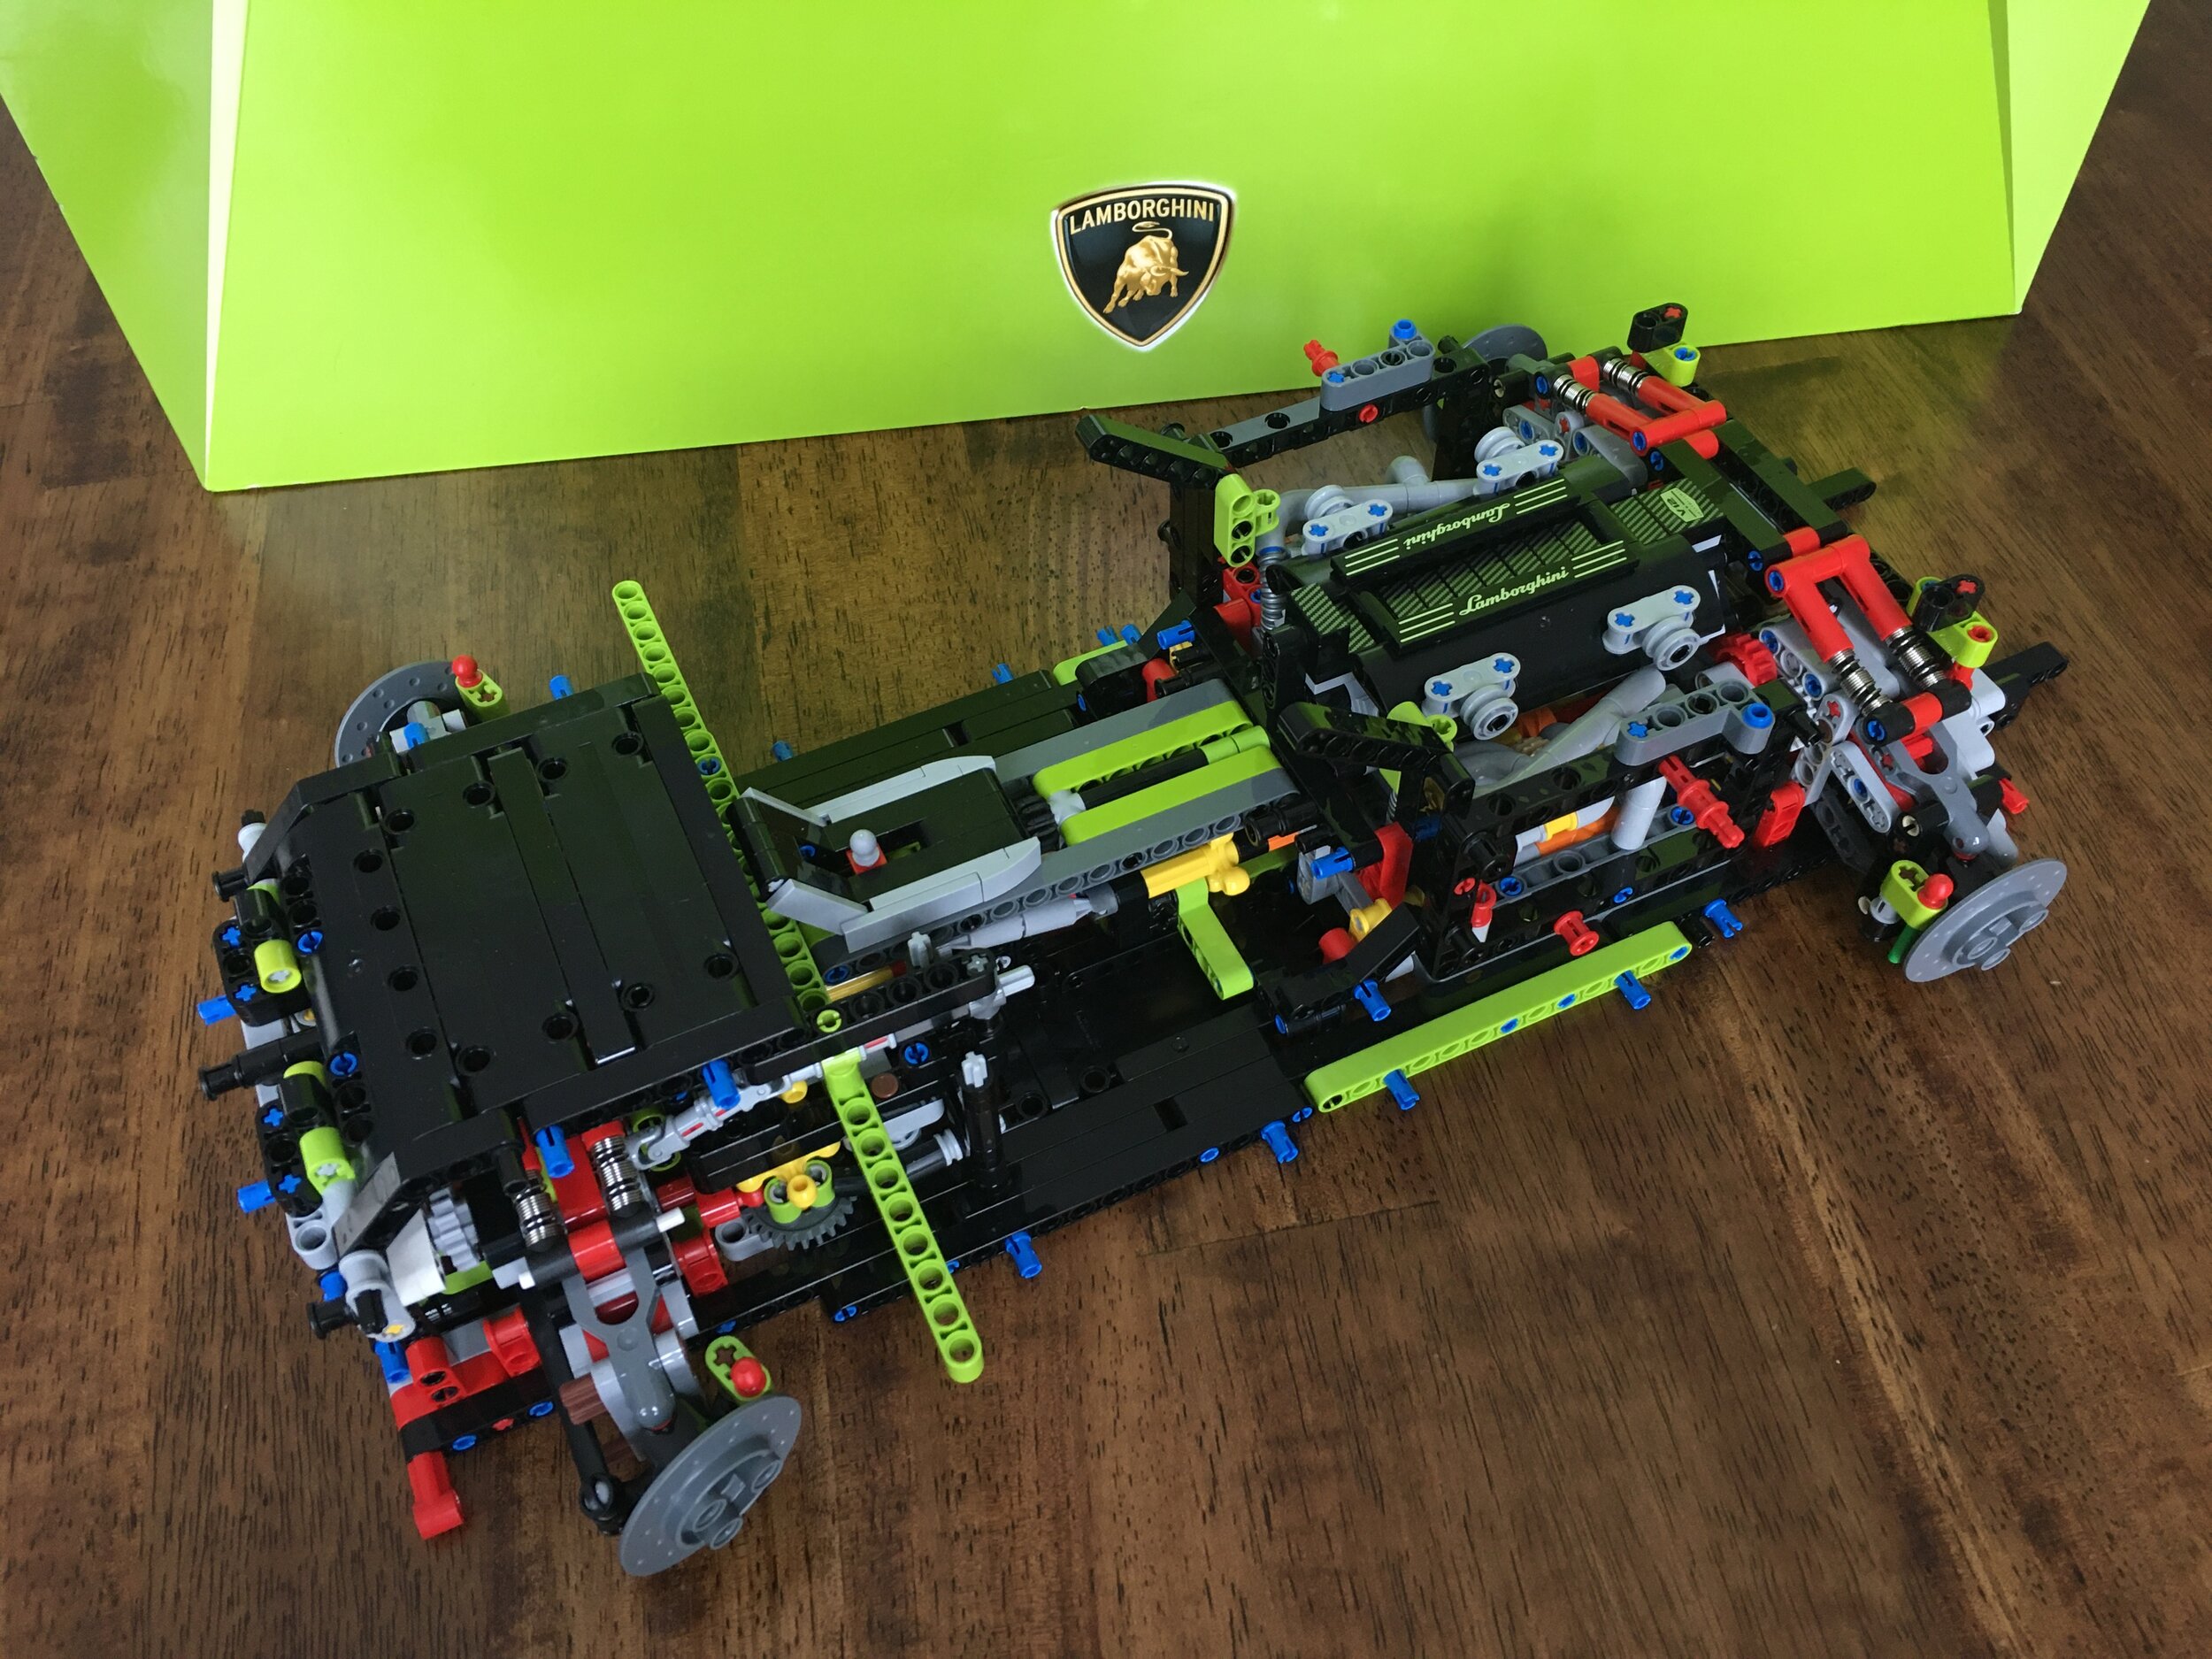
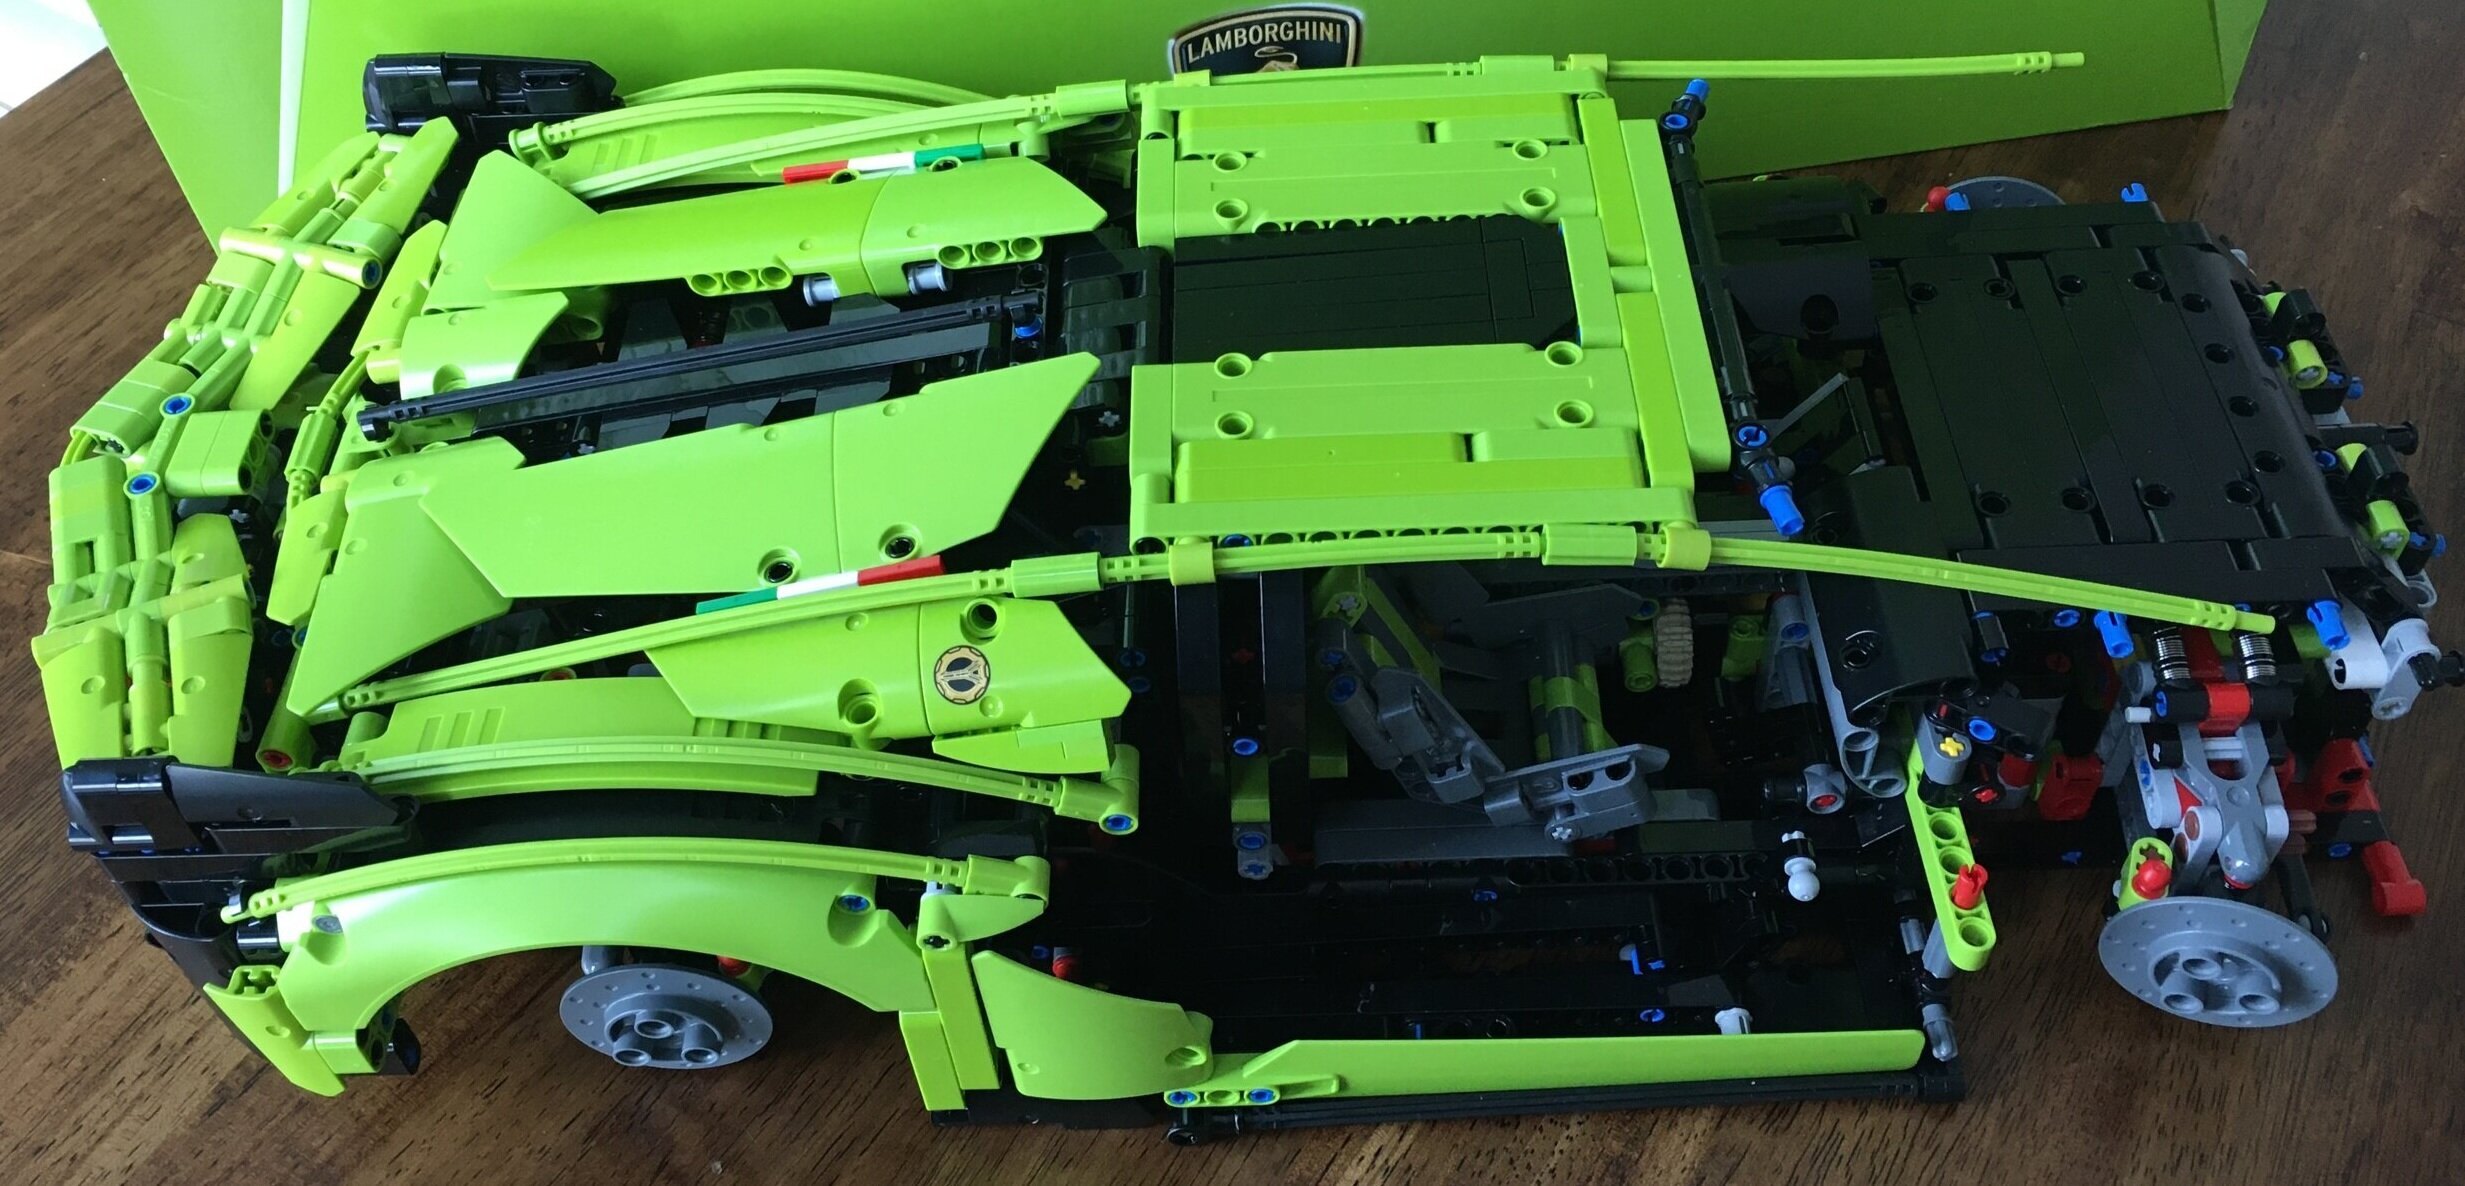
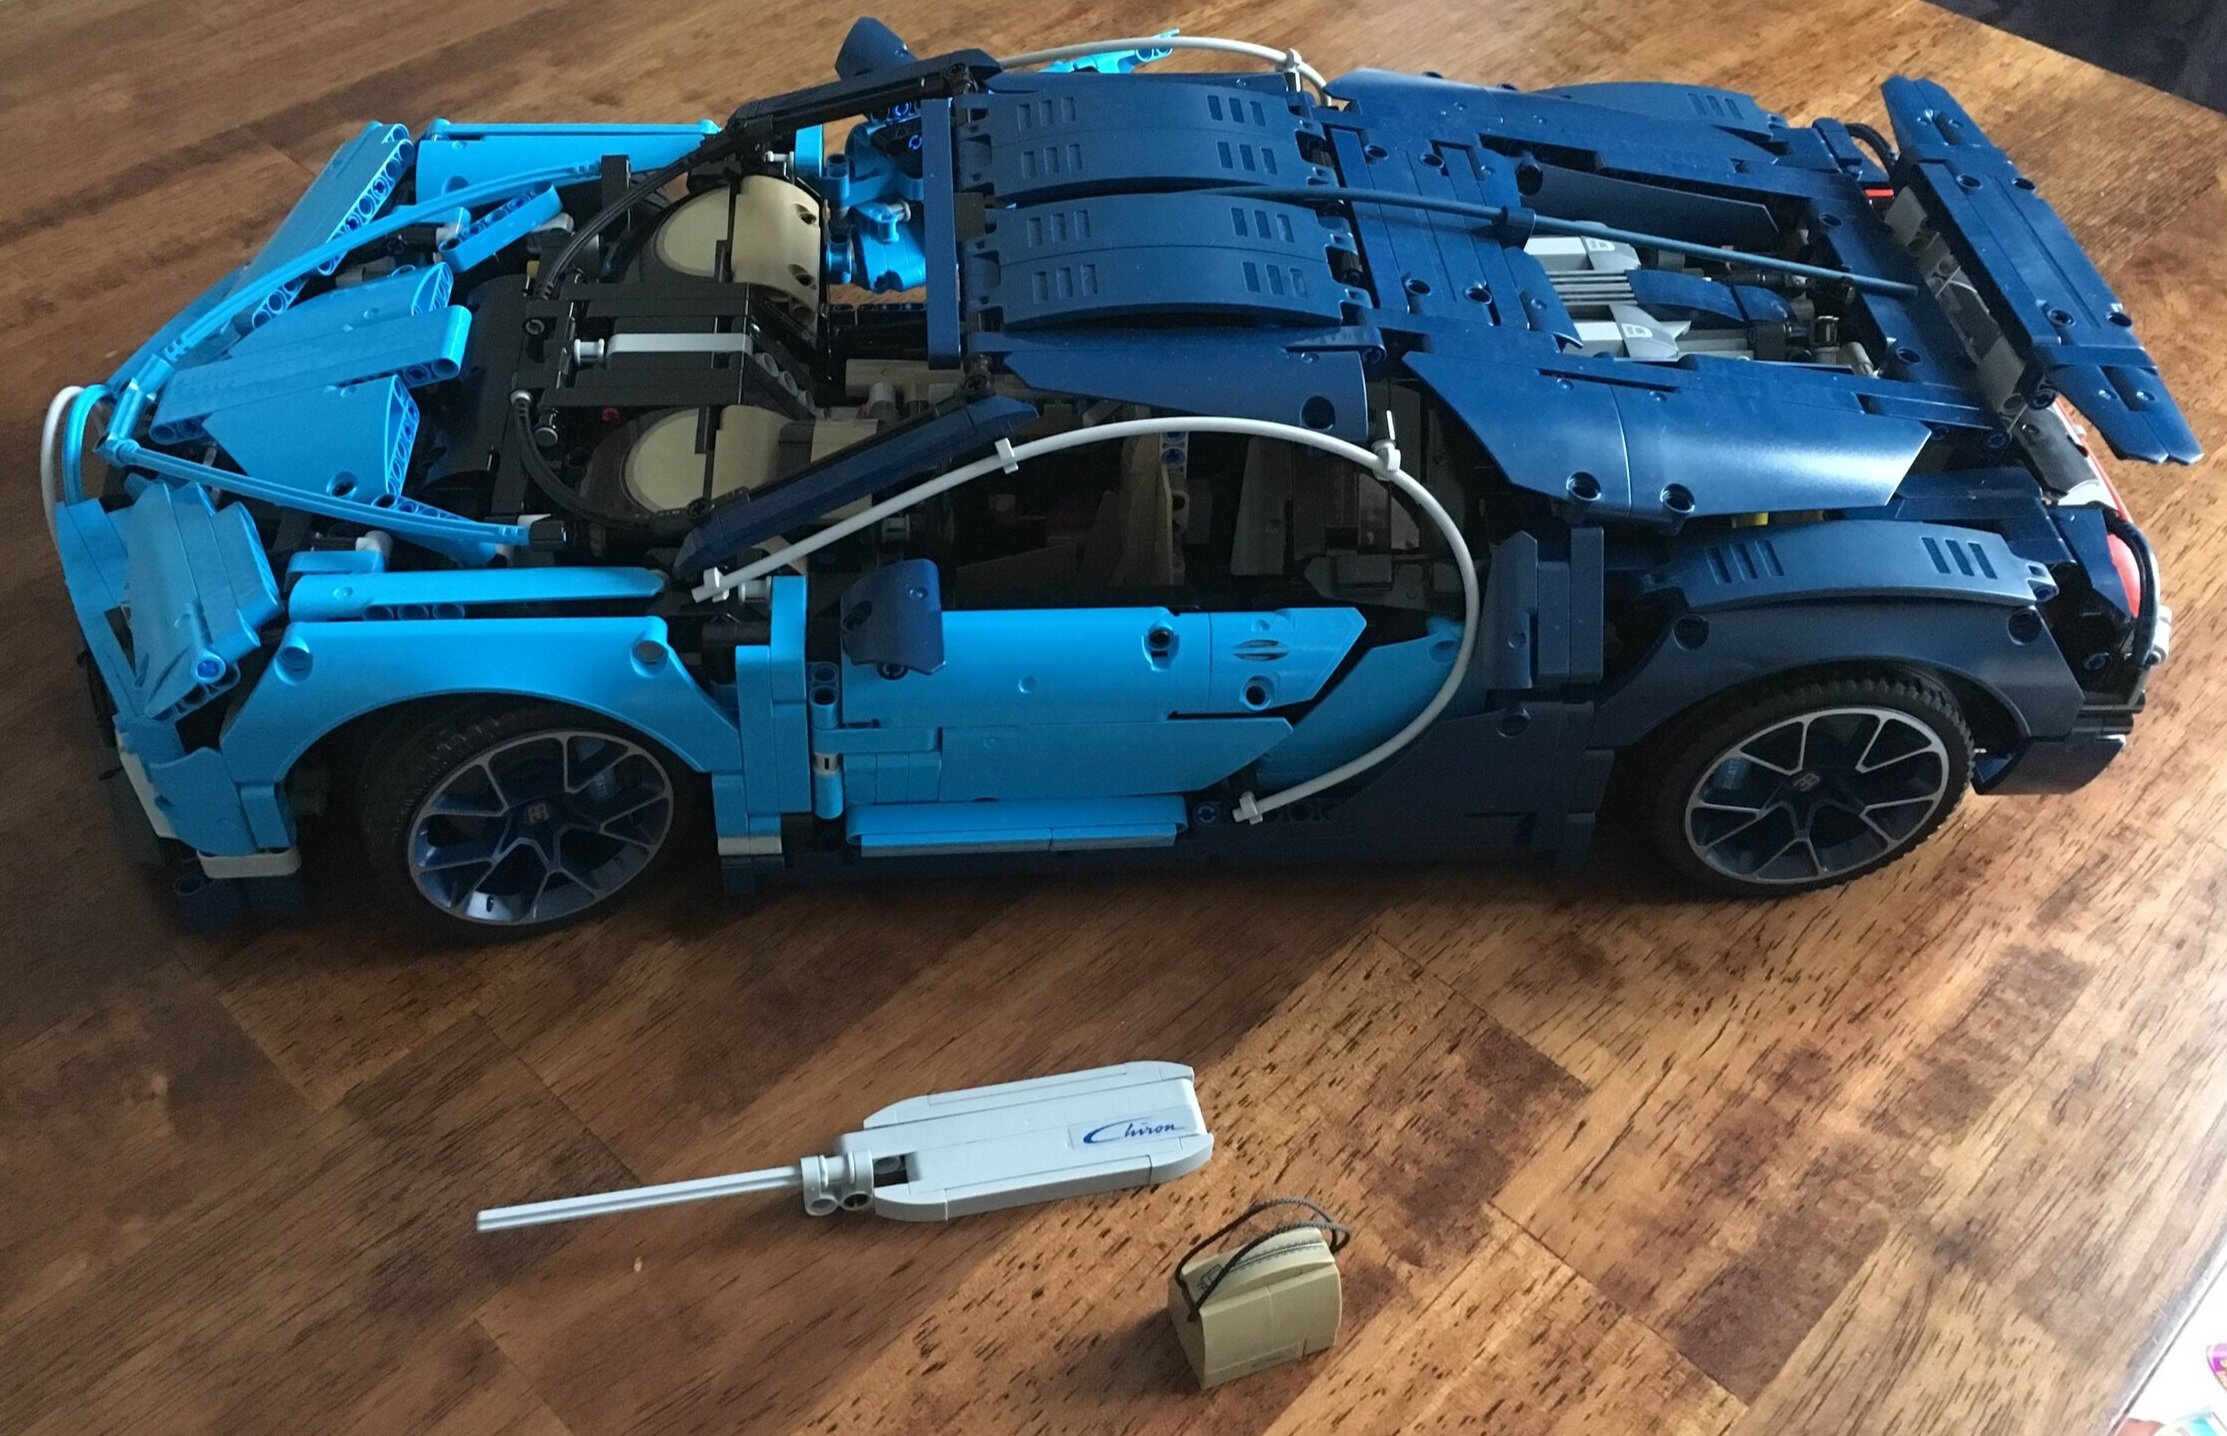
The build started with taking apart a few pieces in the front of the car to get to the headlights. Then you place an LED under each 1x1 clear plate. Having a wire in the way makes the connection not as solid, but it holds. You connect four LEDs on each side and then all of the wires run into the front trunk space.

The next build installs a light above the seats. This one has a wire that you then connect back to the front trunk as well. I didn’t do a good job making the connections tight so it is more obvious that I used a light kit here.

There are a number of connections in the back. You install one on the spoiler, one along the brake light, and then one underneath the car. The one on the spoiler was tough as the wiring had to connect down through the car to the bottom to make some additional connections to lead to the power connection in the front. The one along the brake light requires you to change around the build a bit. The kit includes some knock off pieces that you install so there is one clip on the back versus two. Then you tack on the two light strips. The strips are a little too long in my opinion so getting them to fit was a bit sporty, but I eventually got the fit to work. The lights on the bottom required removing some more parts, but I eventually got all of this to work.

Once the lights in the back are attached, you have a long wire that you run to the front of the car. From there you connect all of the wires together to then connect to the power source. I didn’t have the three AAA batteries required on hand so I connected the USB plug to a USB to American power cord adapter and…

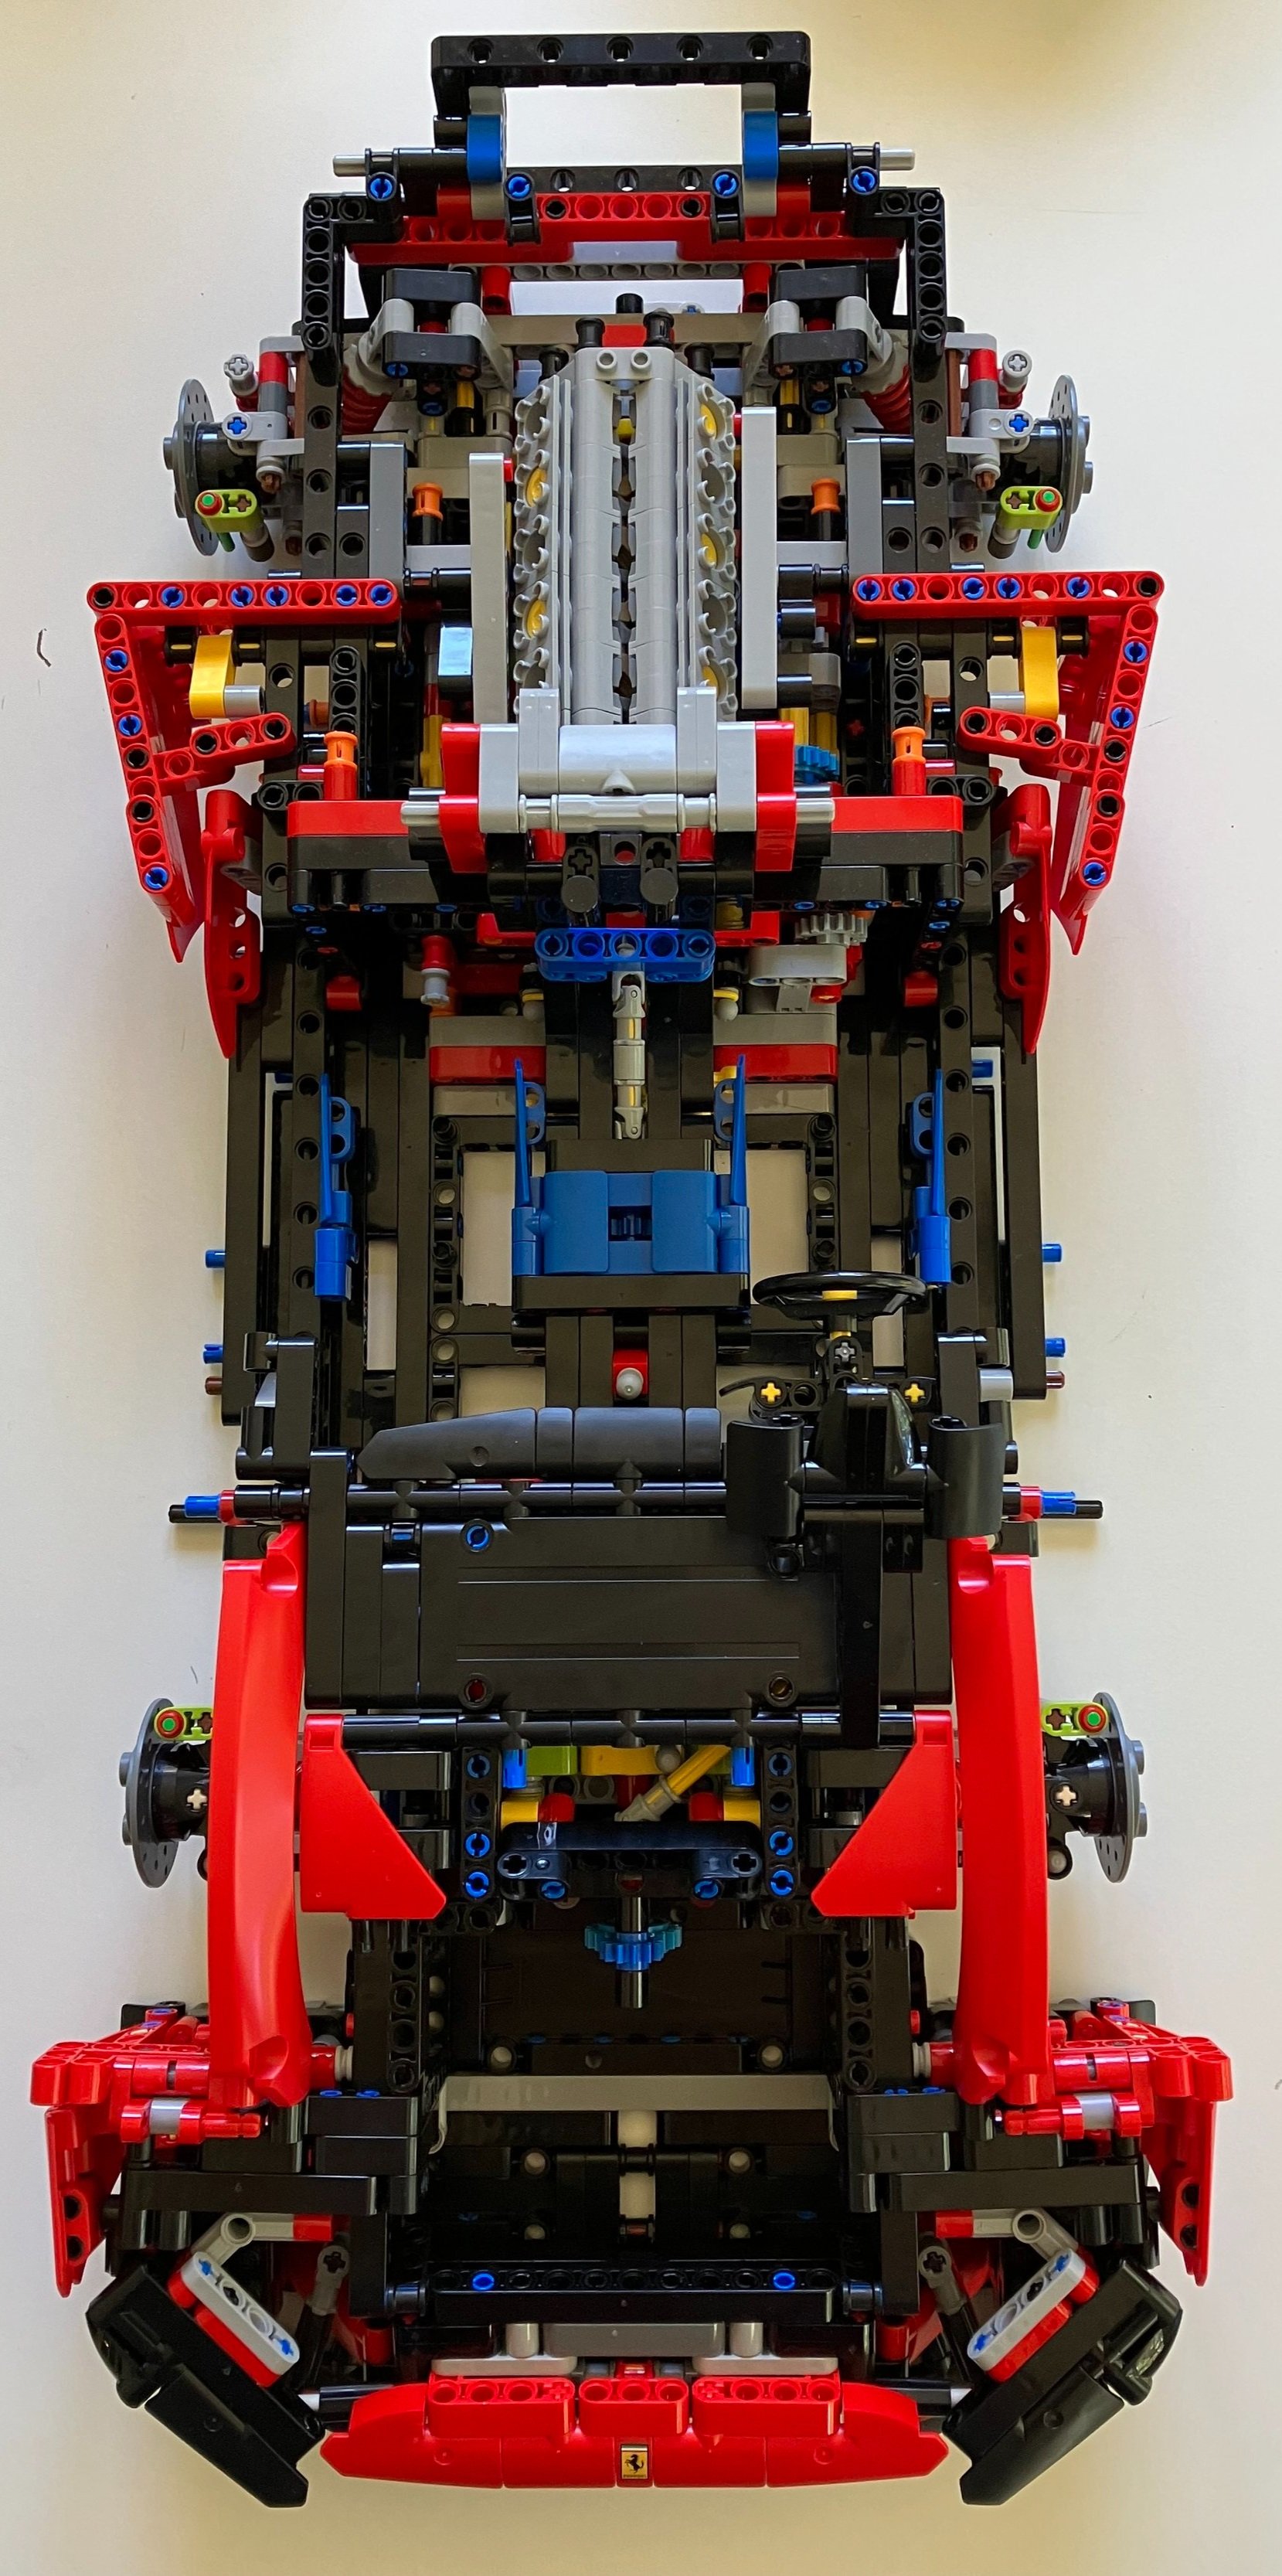
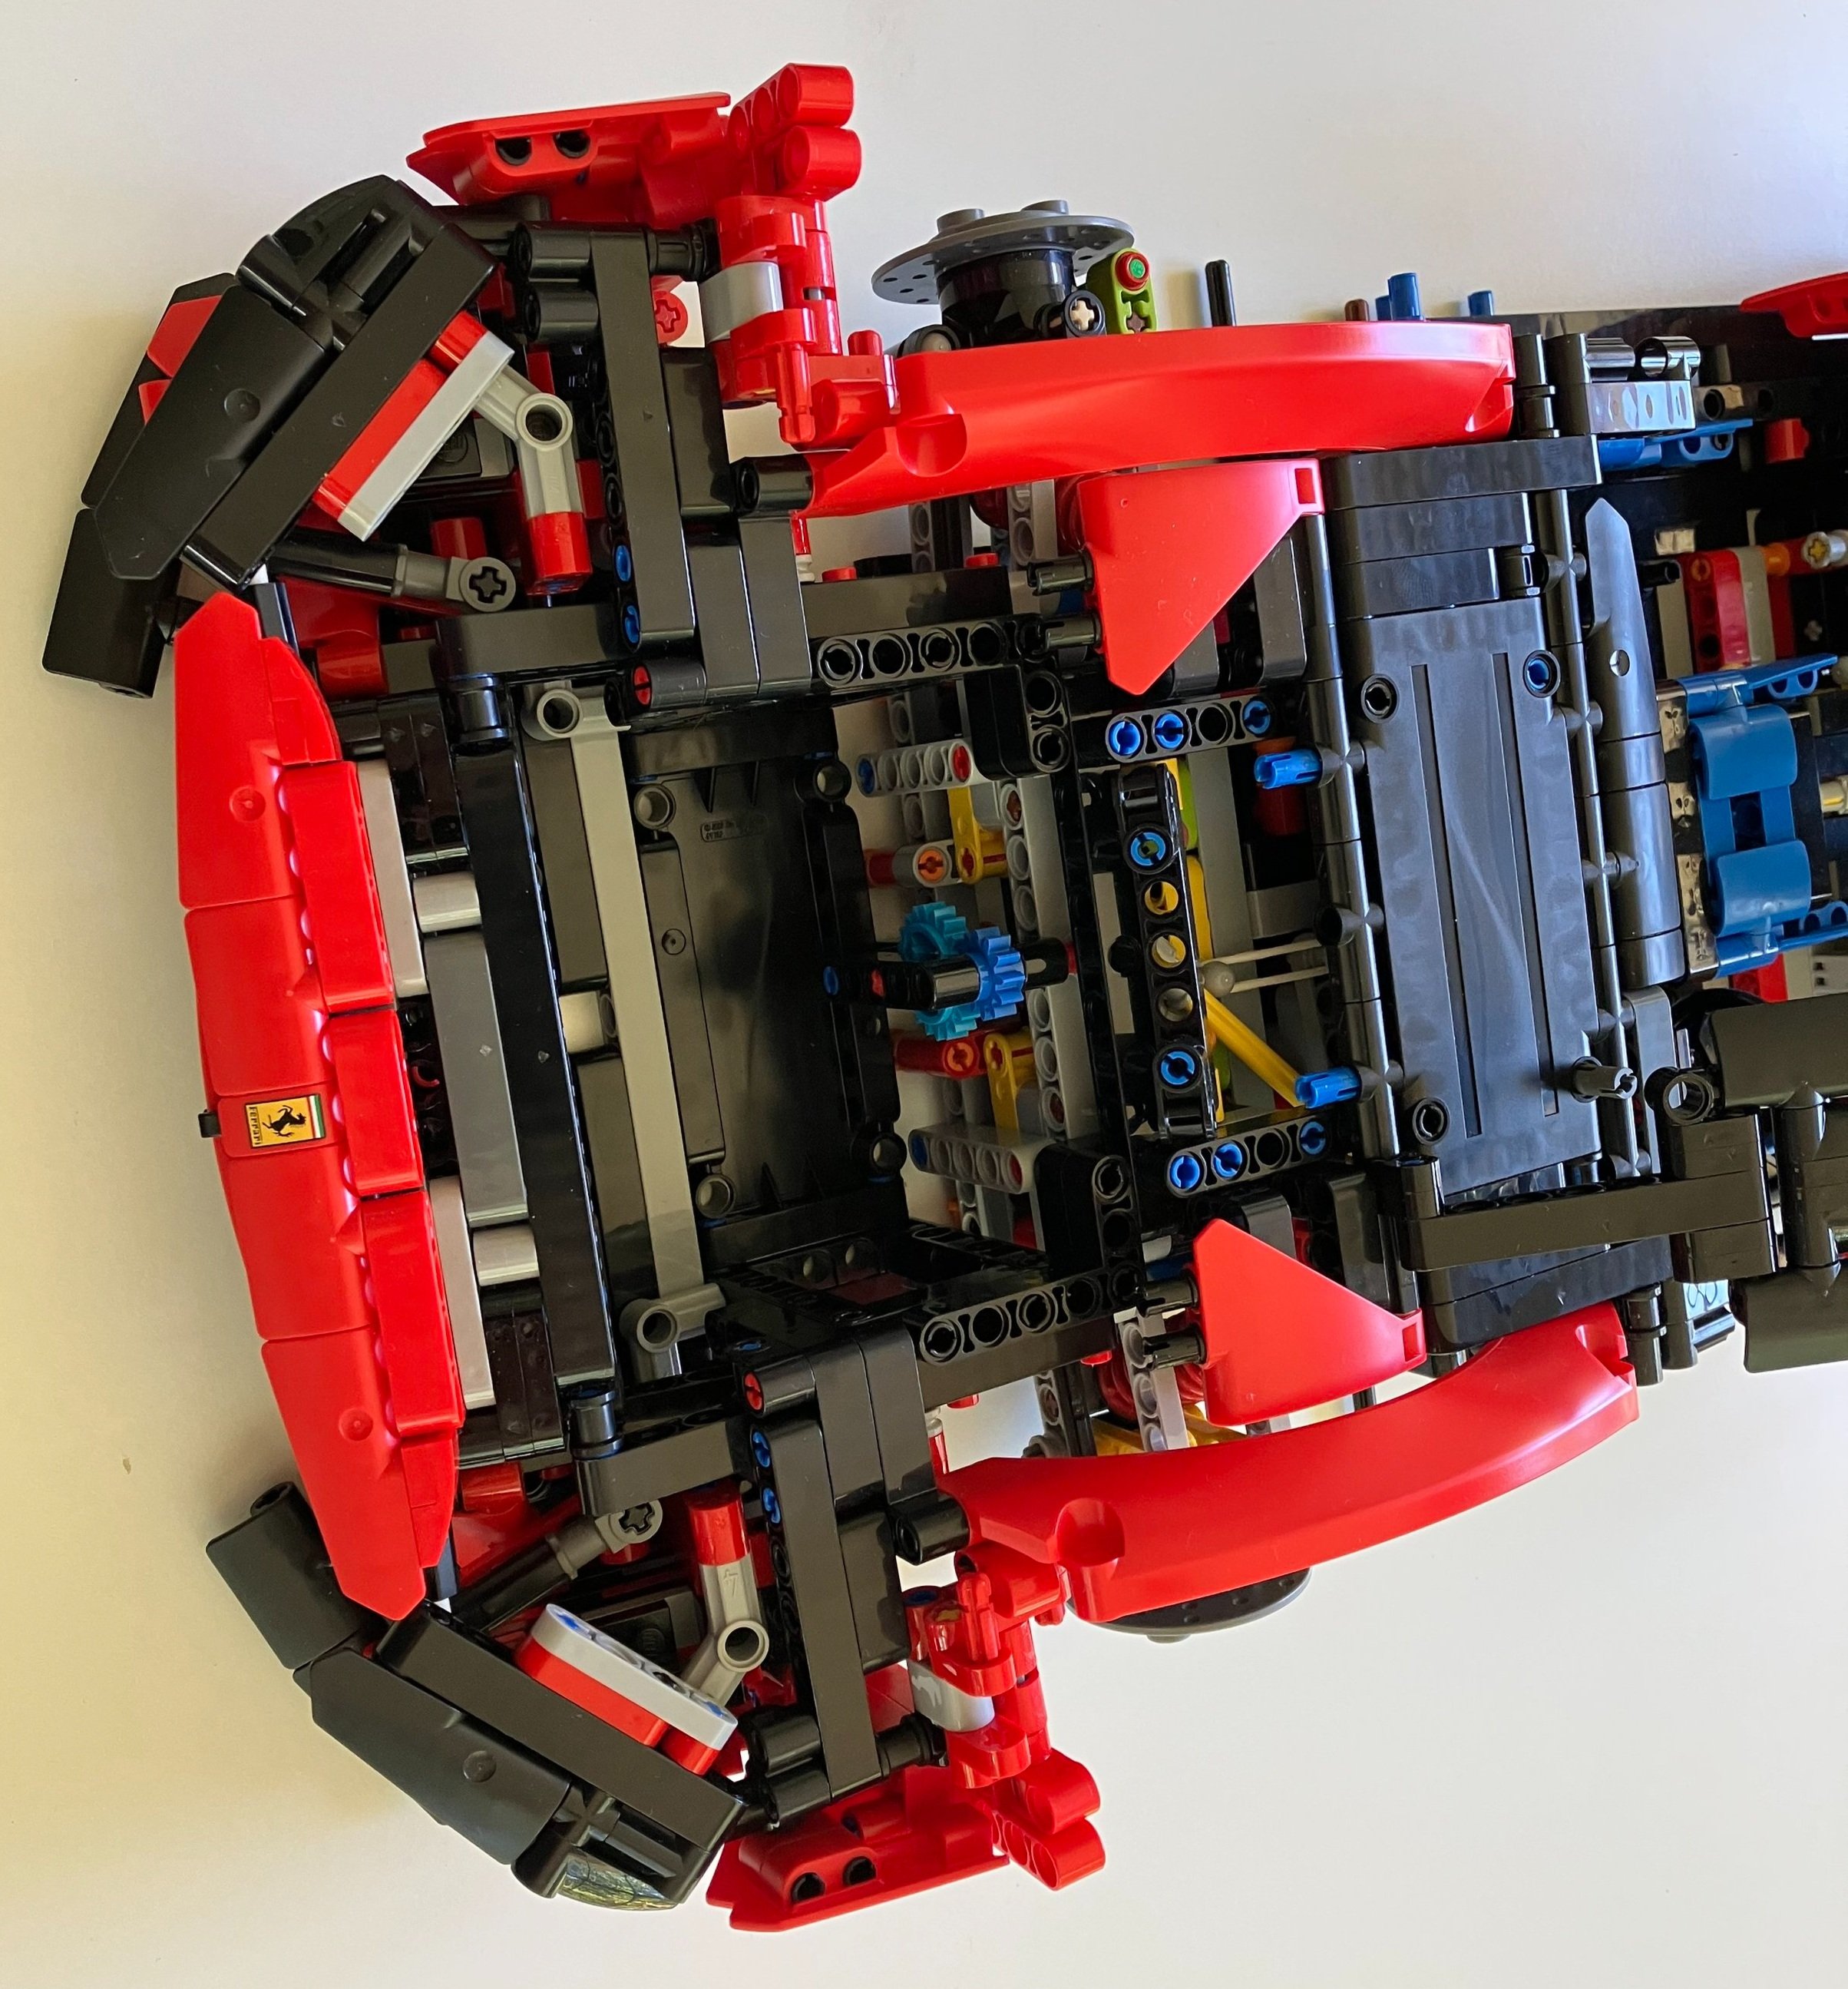
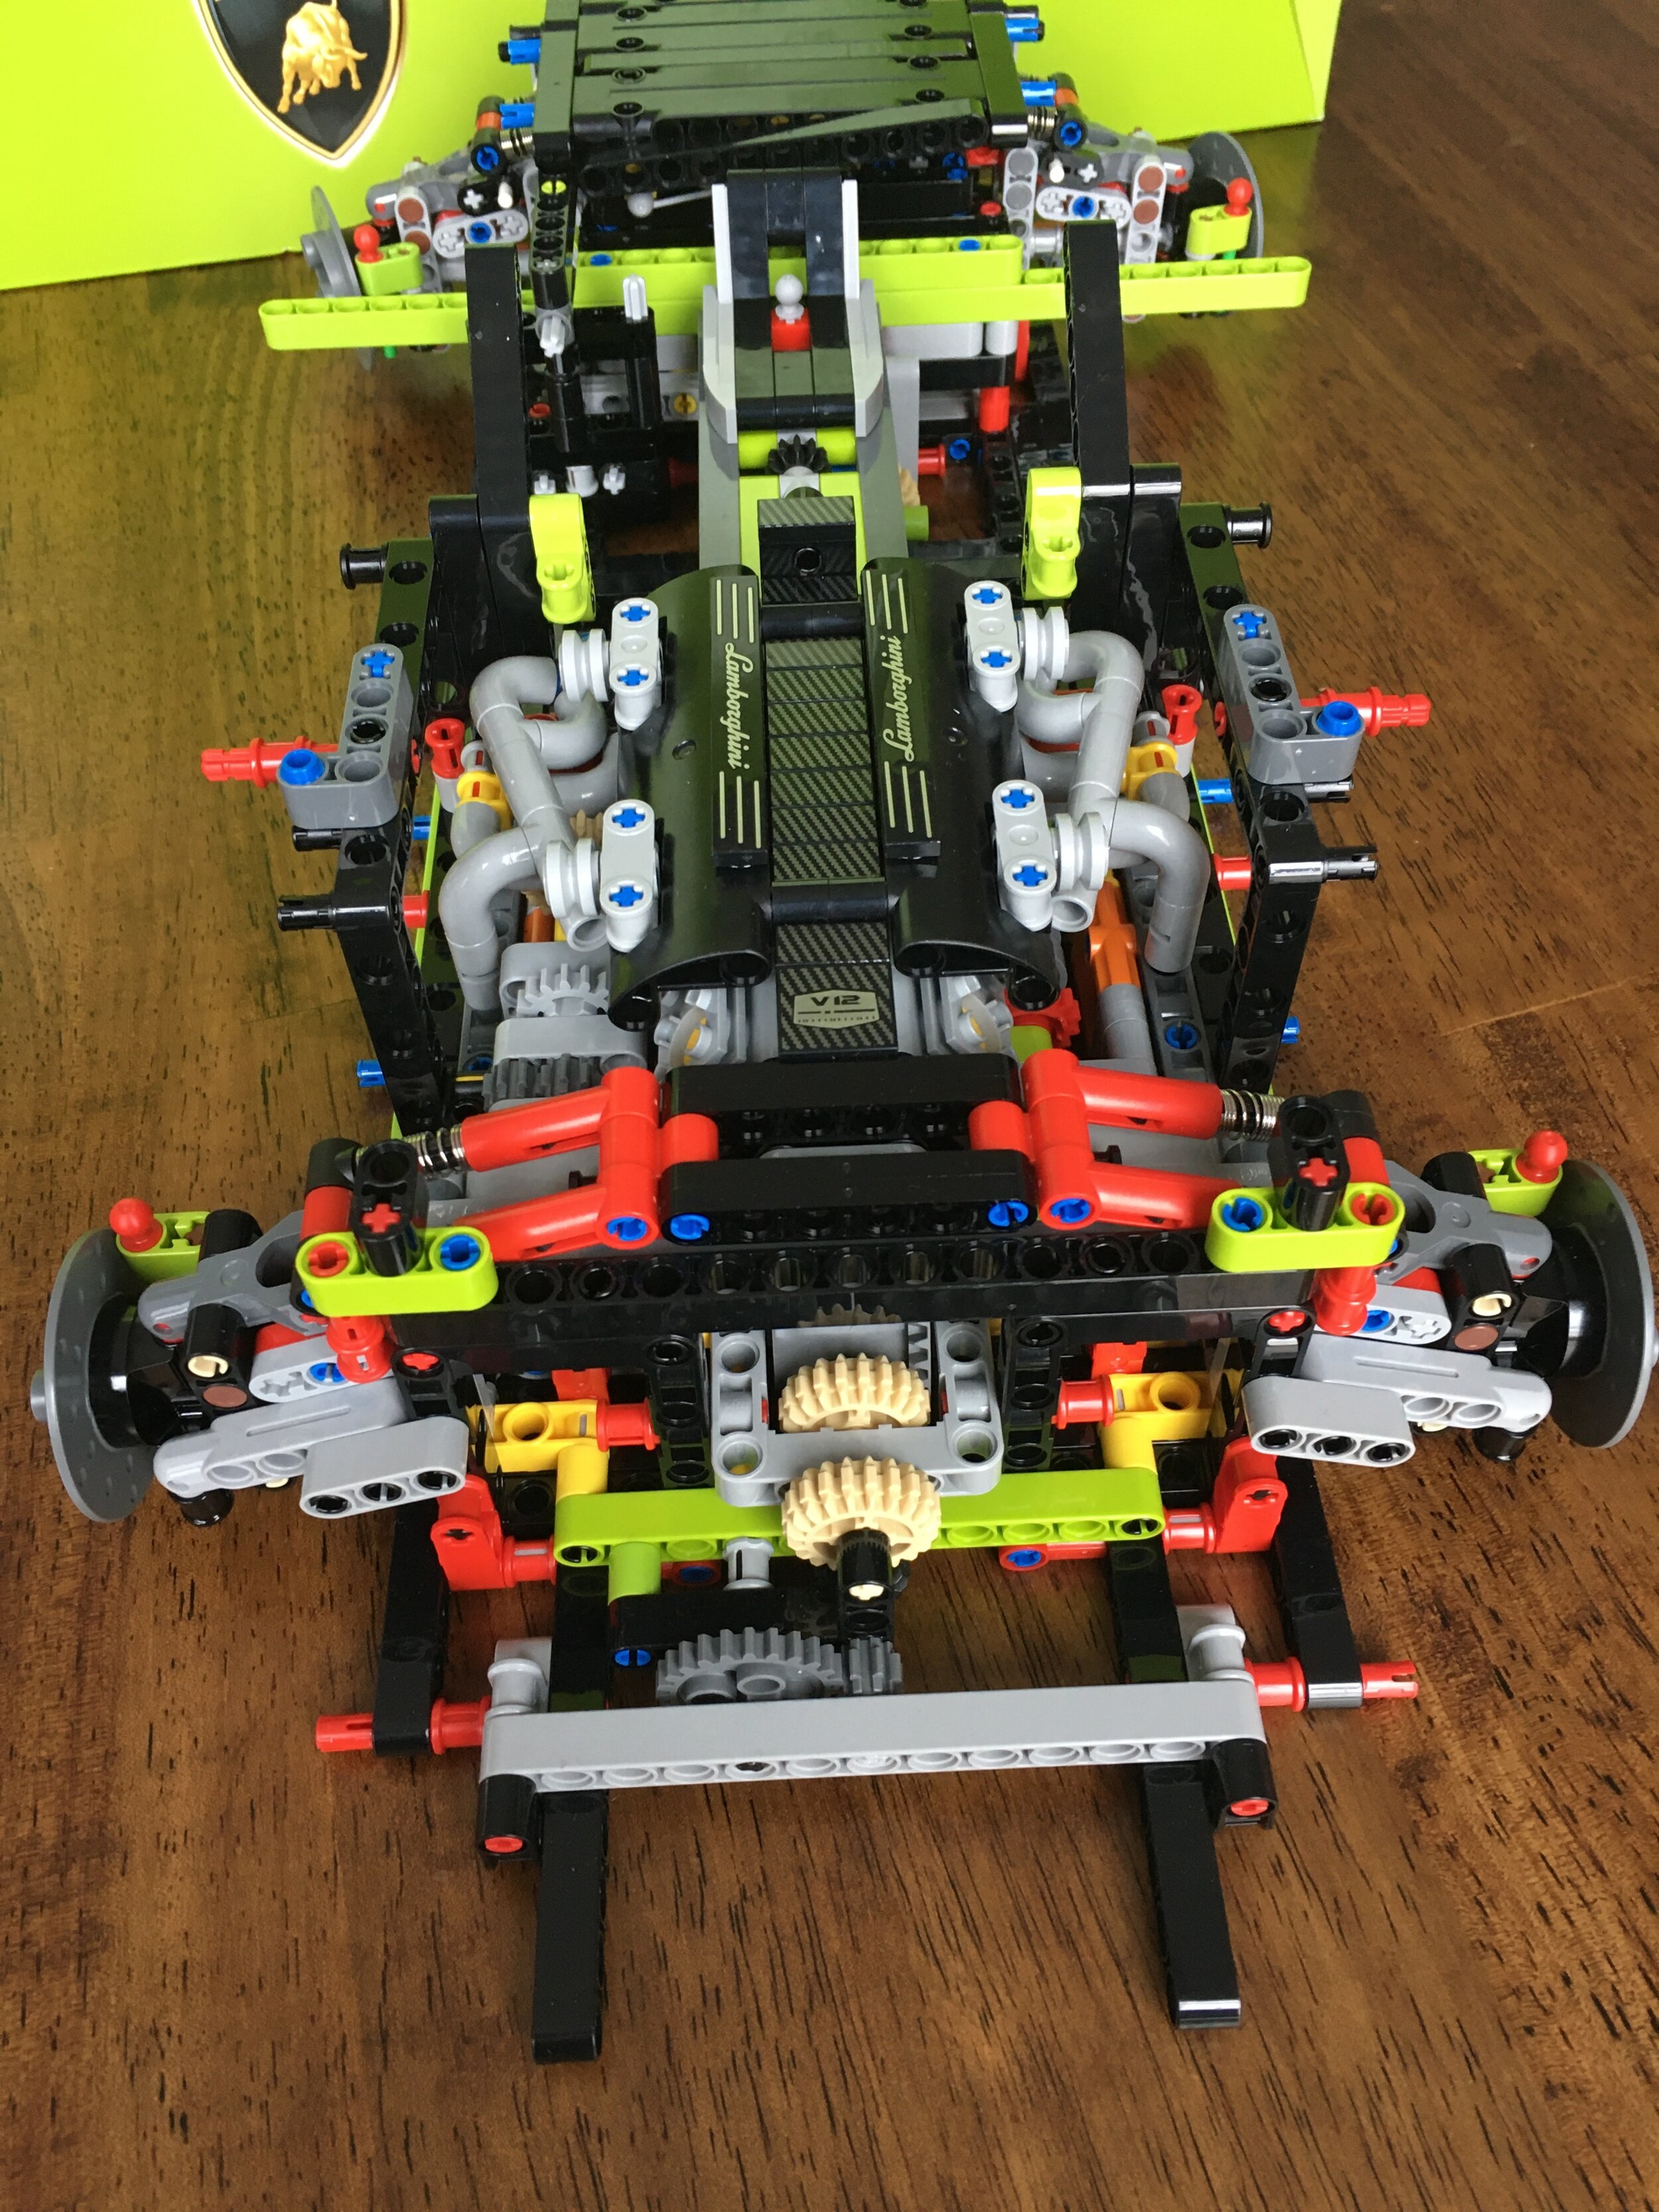
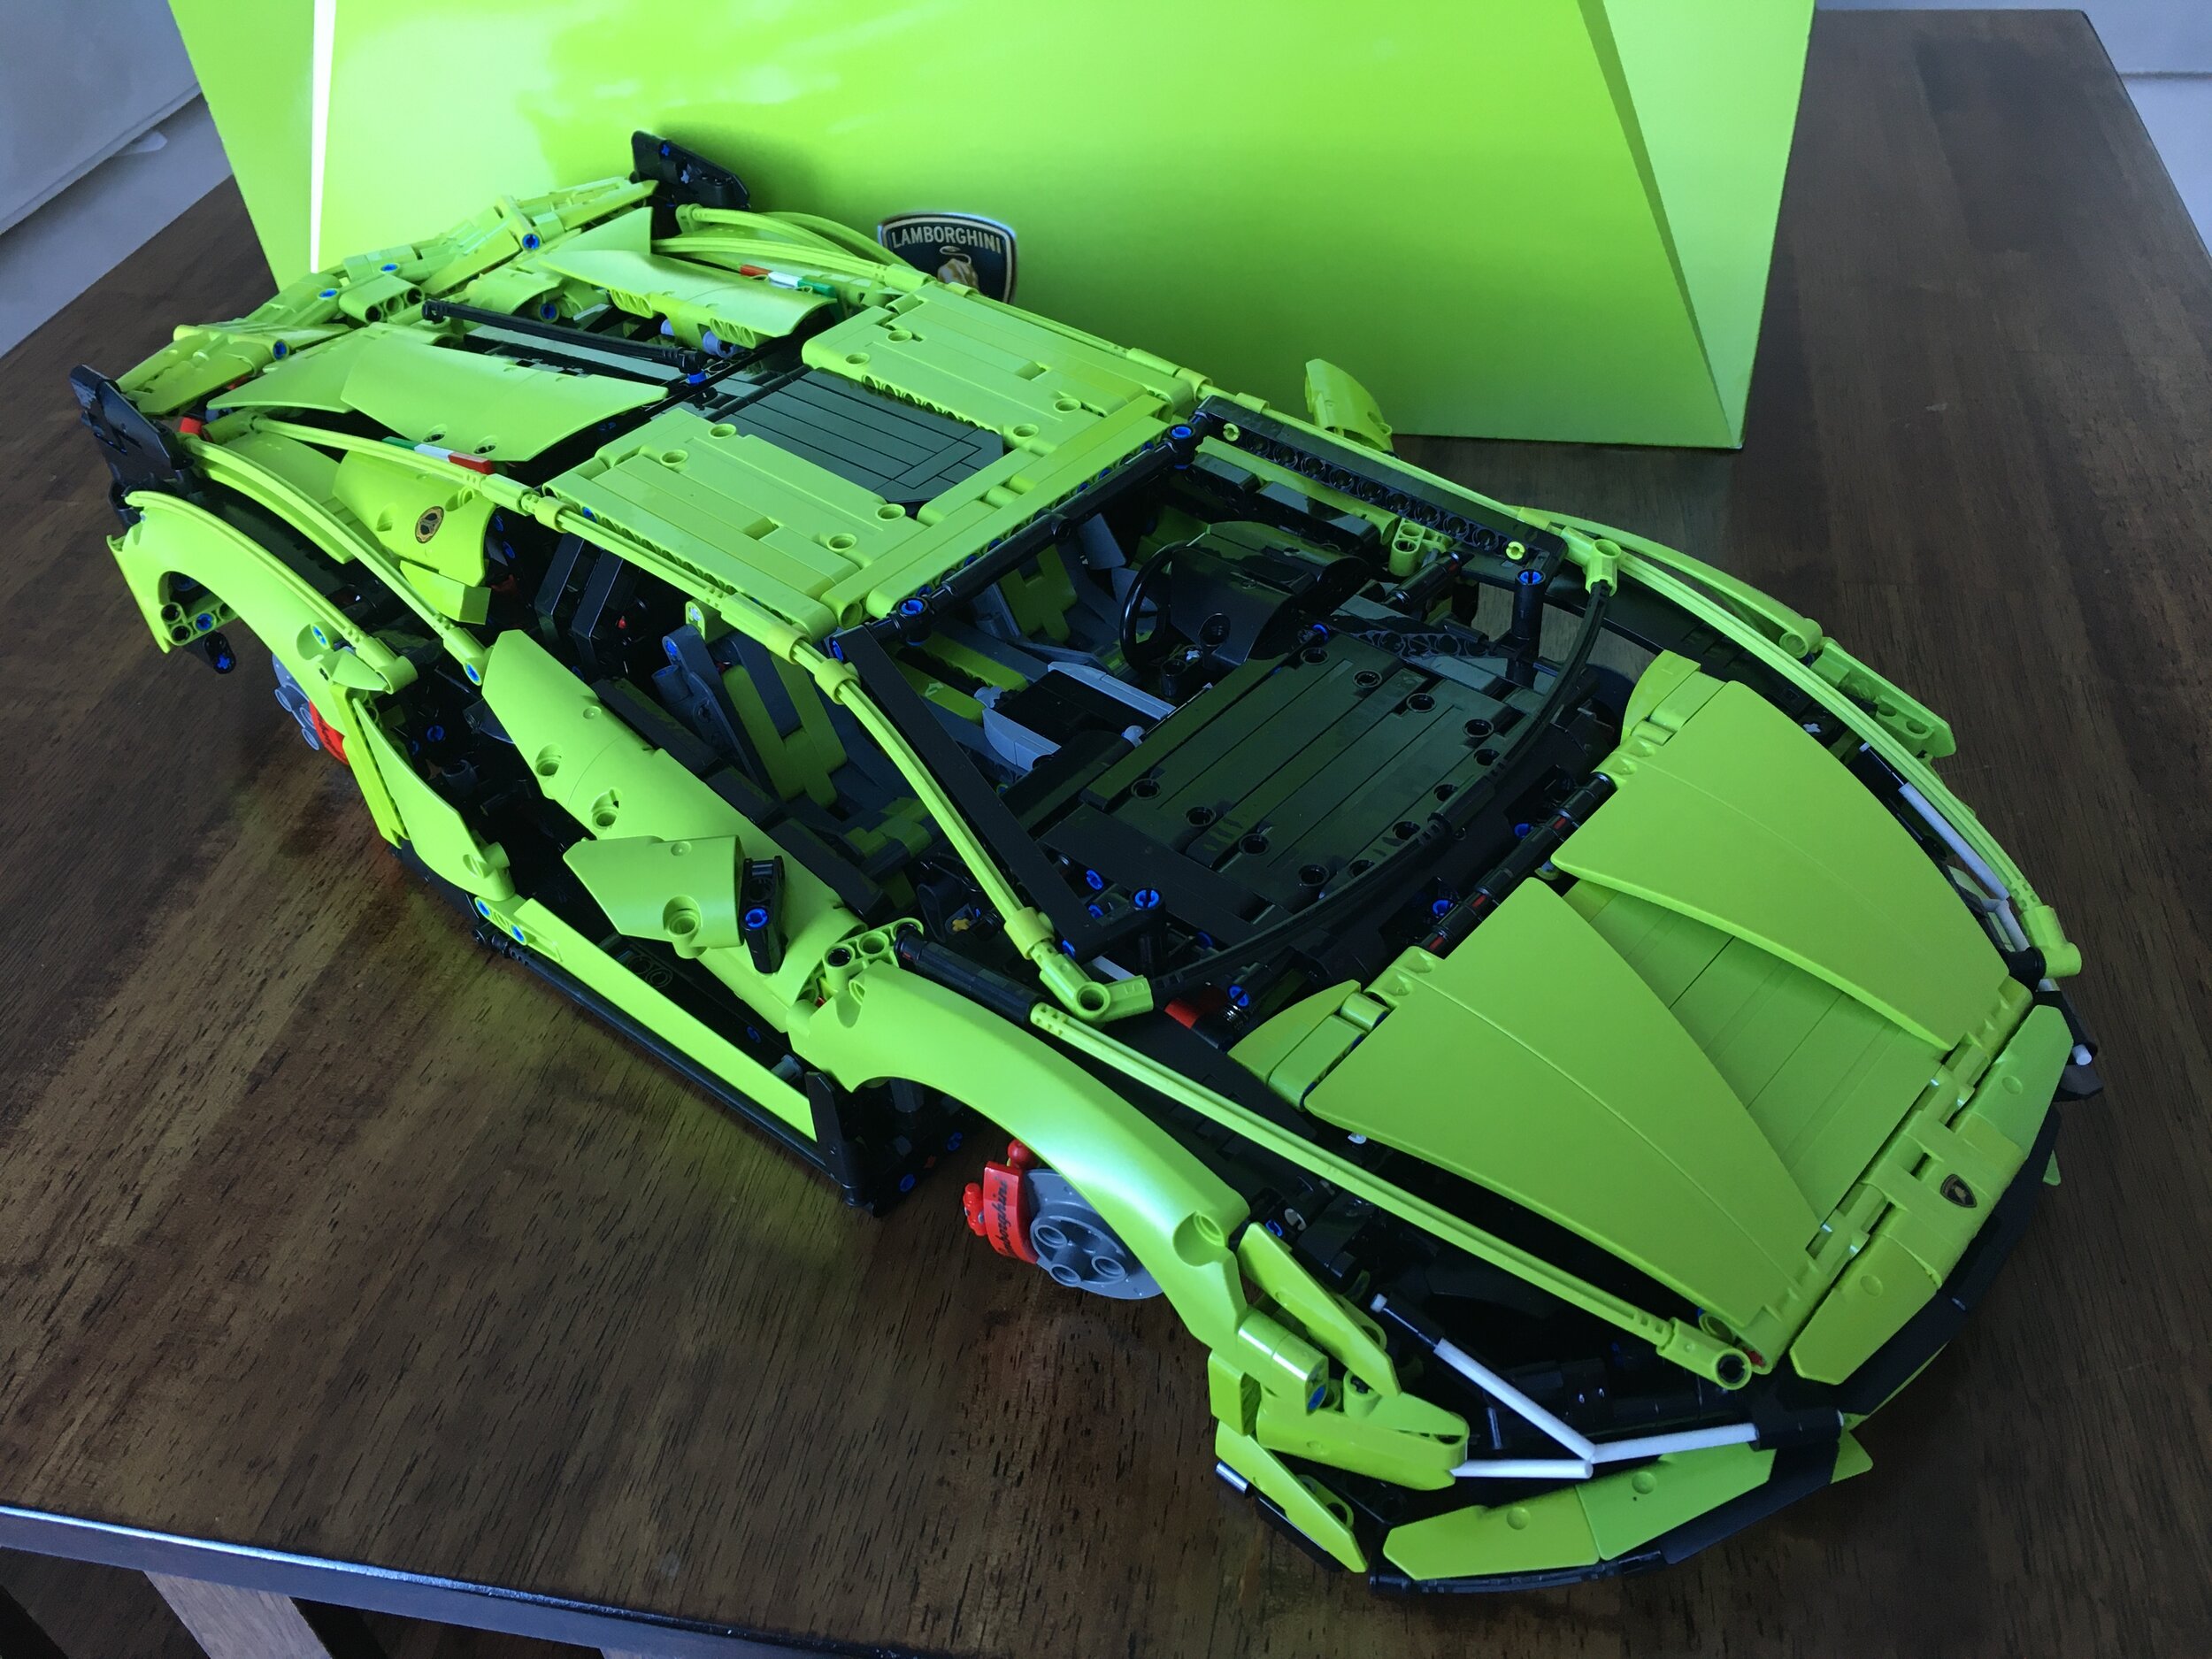
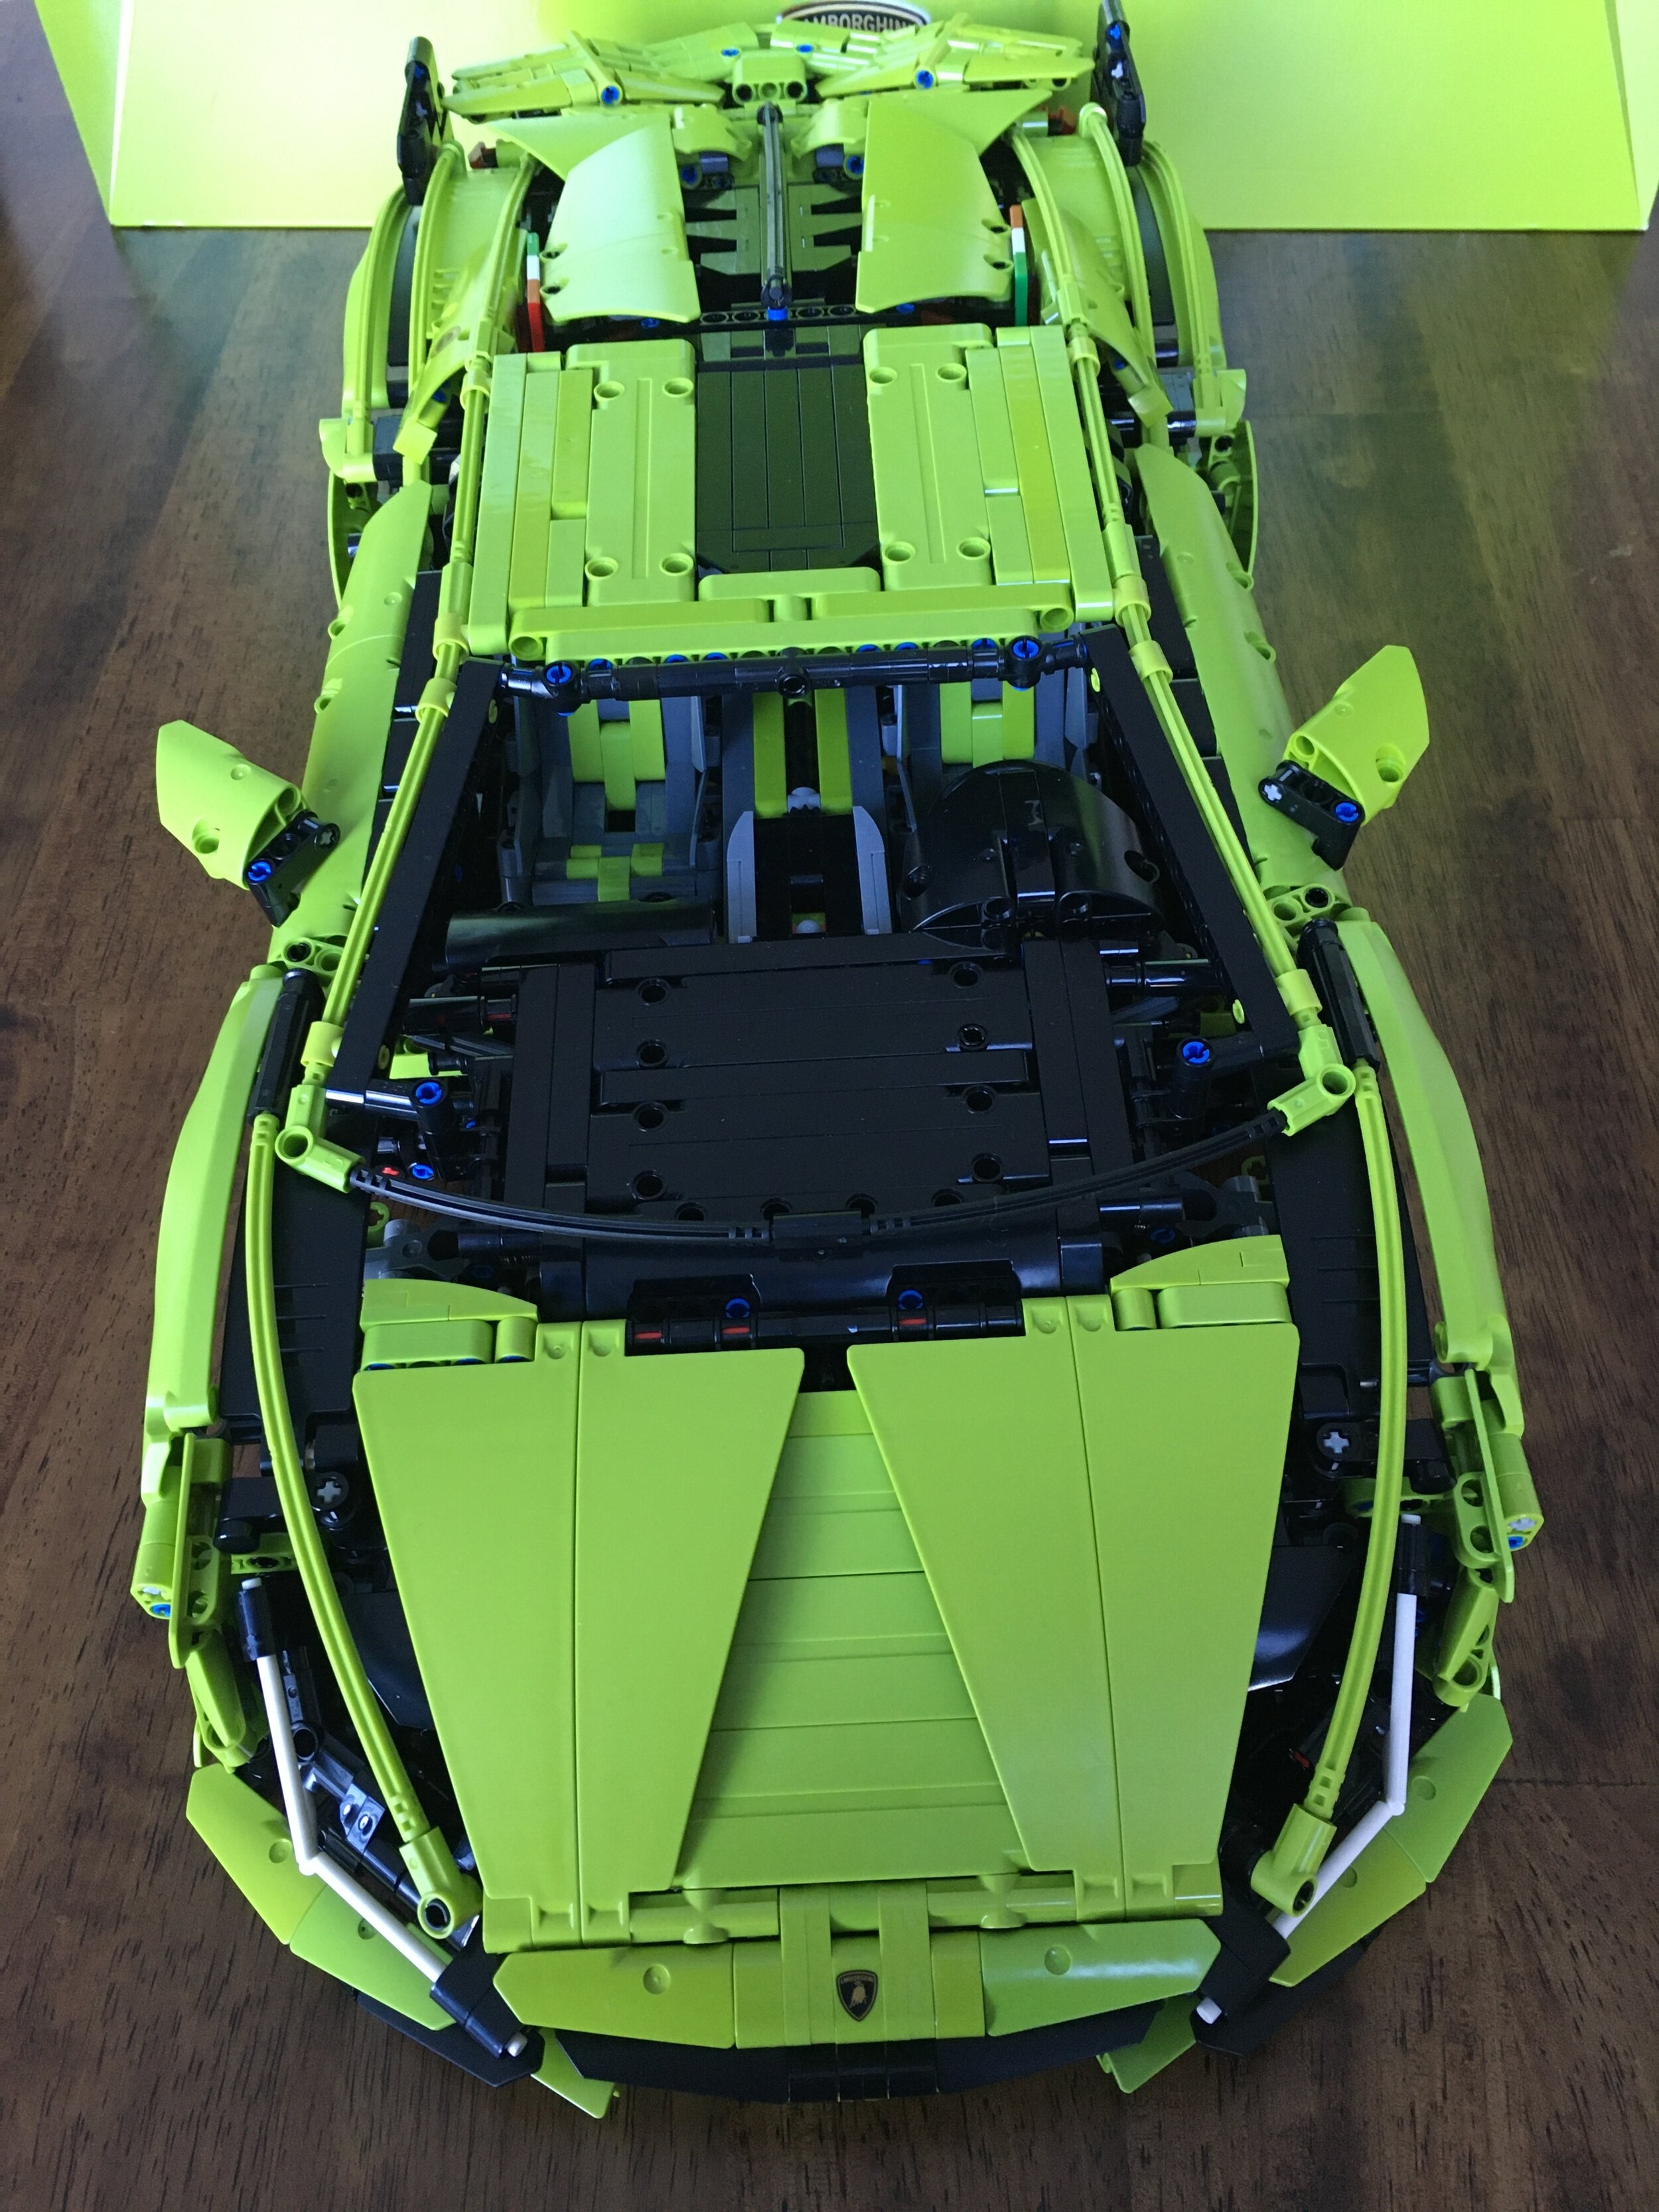
I was shocked that it all worked on the first try. It was actually fairly easy to put together despite having never done a kit like this before. The front headlights really look awesome. I think the one above the seats is a bit bright, but it does the job of lighting the cabin. You can also see the red LEDs in the rear spoiler which looks pretty good.

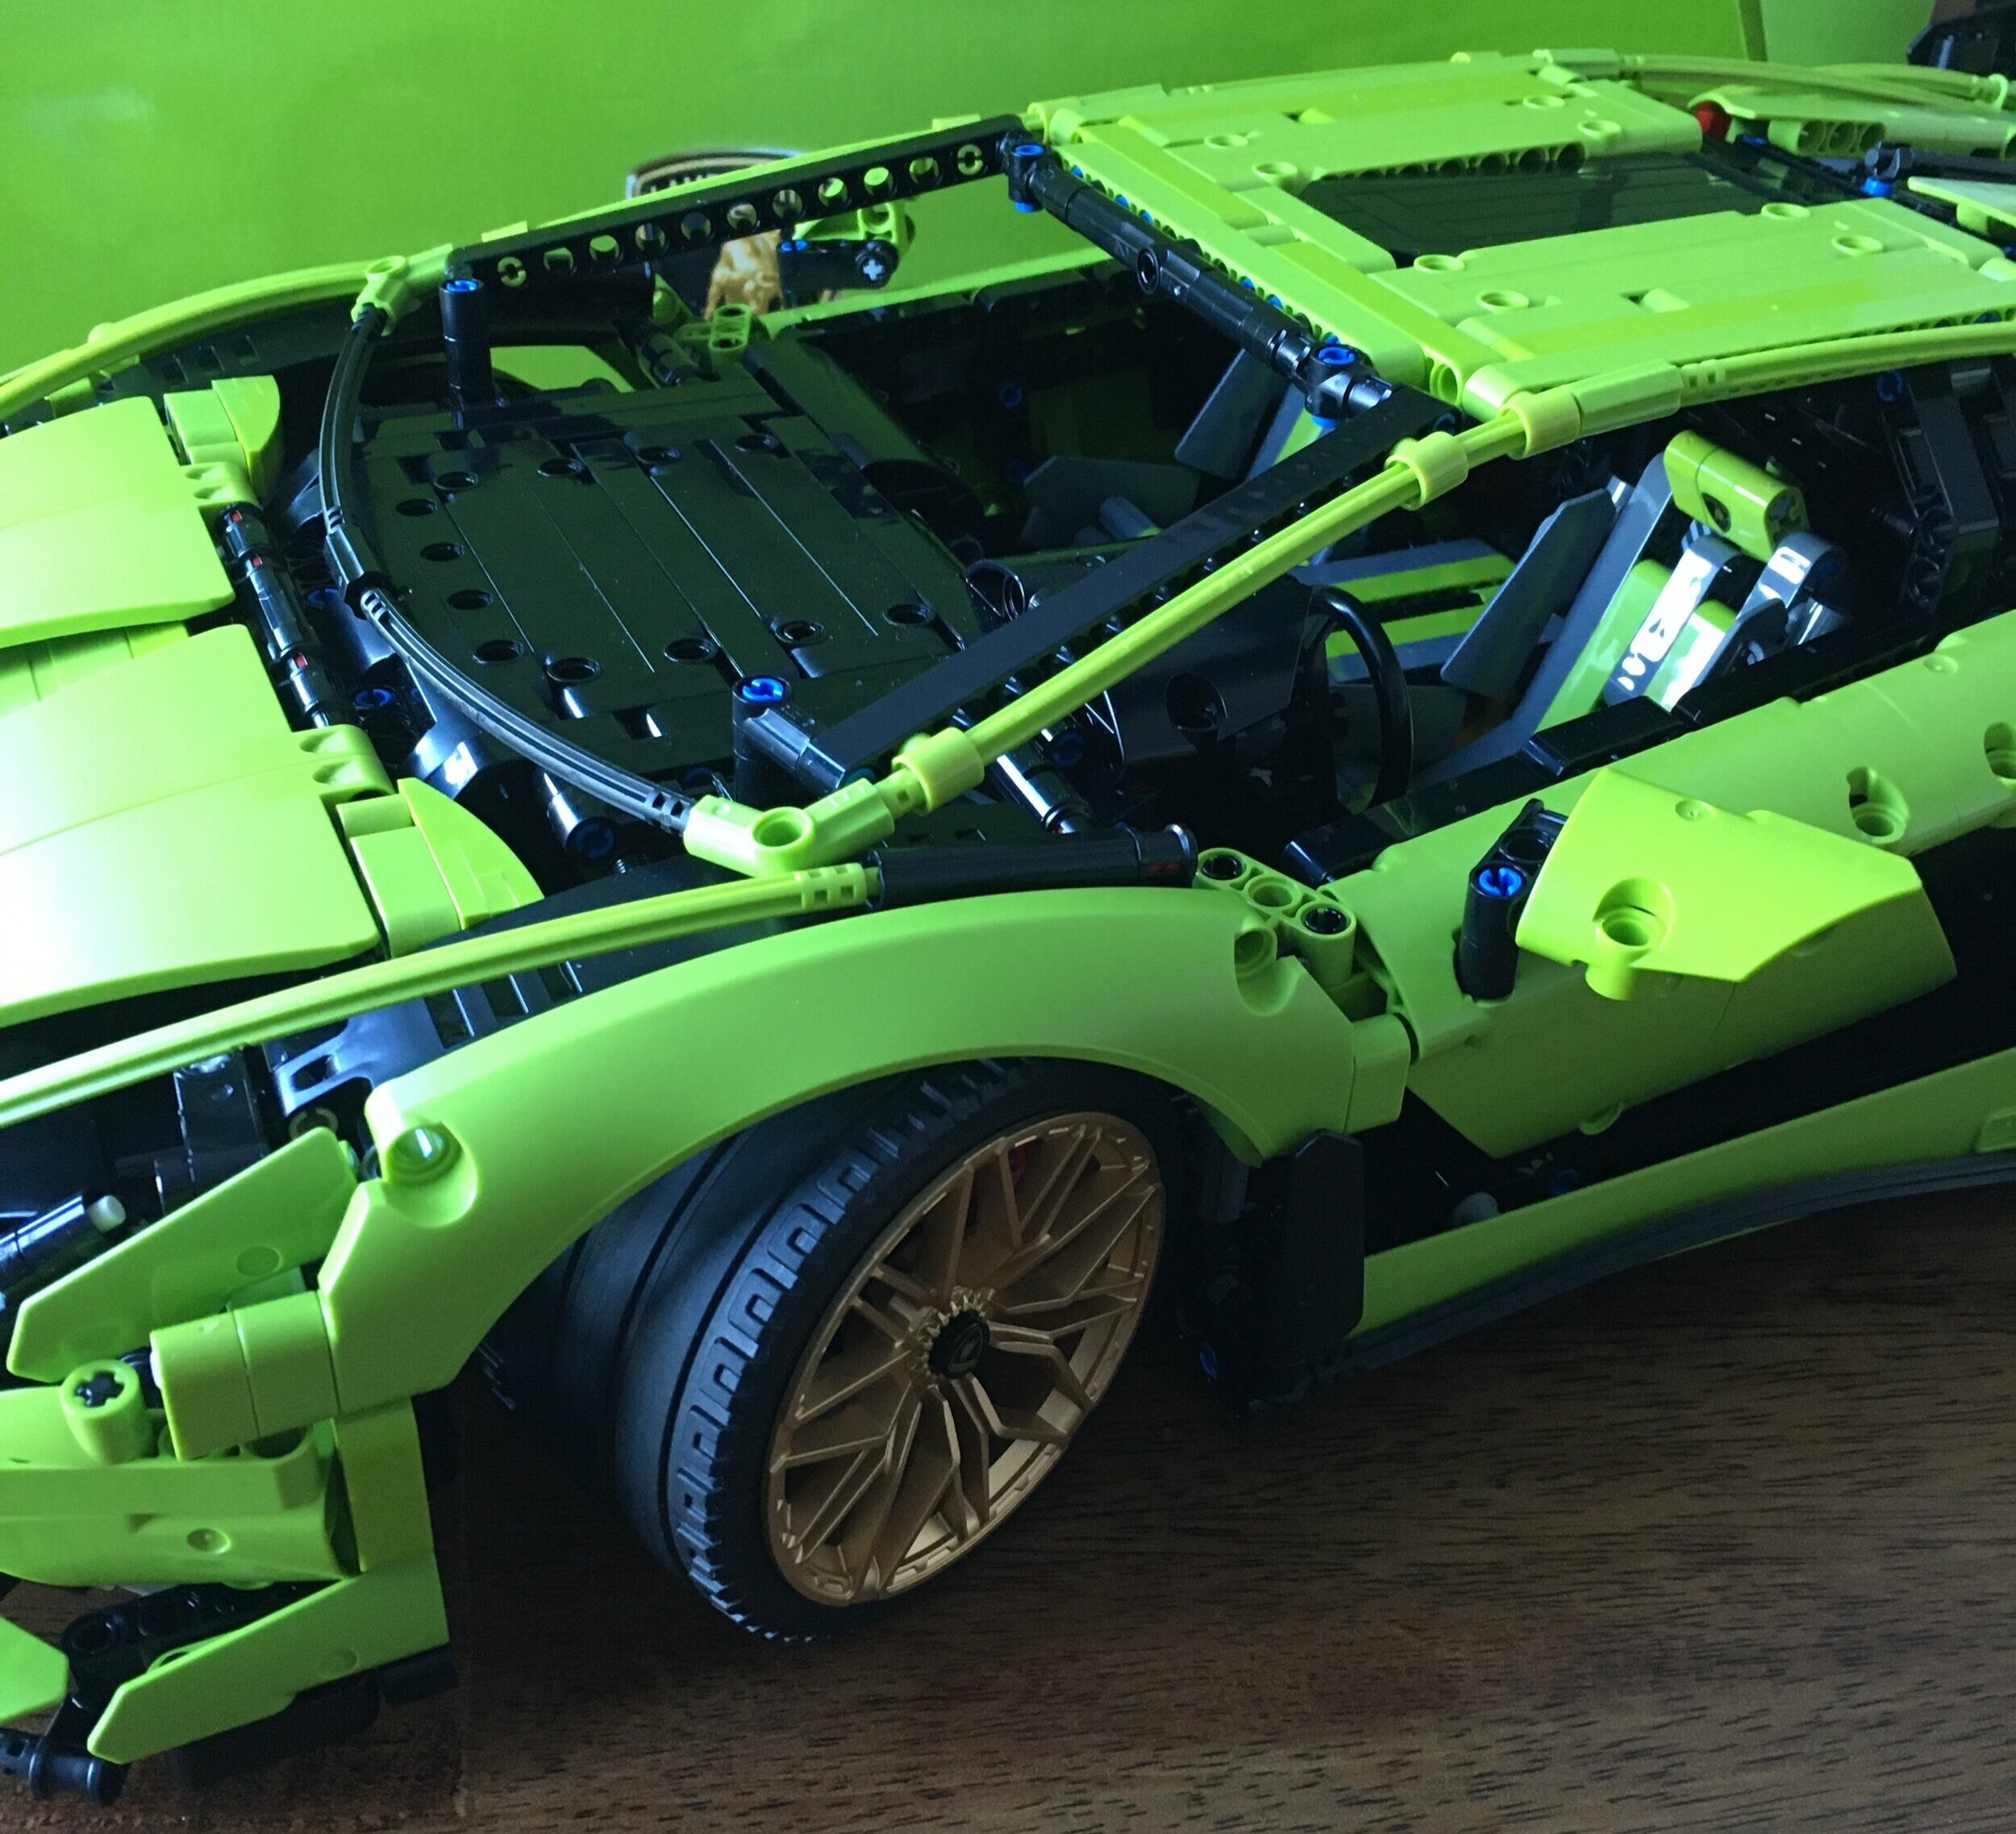
I think the back looks awesome. The red LEDs along the brake lights looks great and the blue that shines down on the ground is a cool contrast from the red right above it.

Thanks to LeLightGo for sending this set for me to review. Overall, it was a good first experience at LED lights and I think it helps to make the Technic Bugatti Chiron look better. I have nothing to compare this to so I can’t say whether it’s better than other companies or not, but no big complaints on this one after I figured out which instructions to follow. This set would originally cost $48.99. As of the writing of this post, it’s on sale for $38.99 plus a buy one, get one 30% off sale if you buy another kit. If you’re looking to get a light kit, definitely watch for sales and opportunities to save some funds.

Have you used light kits before? What are your opinions? Have you used LeLightGo or others? Let me know in the comments.

Happy building!

Set Review: #42143-1: Ferrari Daytona SP3 - Technic

The LEGO Group has me hooked on a few of their product lines and one of them is the Technic Supercar series or now referred to as the LEGO Technic Ultimate Car Concept series. You can see my reviews of the previous cars here. This one is #42143-1: Ferrari Daytona SP3. It was released in the US on 2 June 2022 and contains 3,778 pieces. The initial retail price was $399.99 which worked out to $0.106 per piece. Then the LEGO Group raised prices on a bunch of sets to adjust for their input costs and it now retails for $449.99 which works out to $0.119 per piece. Yikes! I thankfully picked it up prior to the price increase and I cashed in a bunch of VIP points to make the purchase not as bad. However, it hurt and these suckers keep getting more expensive. I can’t wait to see what the 2024 car is going to retail for… or not.

The shipping box for this one is much different from the previous three. It is a smaller box and it showed up with the set in a box only in one box versus the set box being inside a box which is inside another box. My set came with a May 2022 production date on it so not bad considering the June release.

Here’s the set box with the build on multiple sides, the Ferrari logo on top, and the bottom has tire tracks that you can’t see in my photo.

Opening the box reveals three boxes that contain the parts and look like the rear of the vehicle which is some pretty cool packaging.

The first box contains the two instruction books on the top and some parts bags on the bottom. I’m not going to dive into the instruction books, but they have some information about Ferrari, the model, the design process, and then some pictures of cars and designs.

Box two is all parts and box three is parts, the wheels, and the hub caps.

The first build is labeled as the gearbox and engine in the instruction manual. This is one of the more challenging sections of the build. There’s a lot to pay attention to in order to make sure all of the gears, pins, and axles are in the right spot. It’s a lot of work for a transmission that is buried within the car. You can see the transmission from the bottom though so it’s not for nothing. Also, you will be able to lift the rear up so you can see the engine.

I don’t remember the previous cars well enough to know how similar this build is to the others, but I didn’t feel like I was building the previous cars all over again.

The second set of bags builds the suspension. You add in the front of the car frame, the front axle, and the steering system. To me, it’s amazing how all of this comes together to see how it looks now and how it looks at the end.

The third set of bags is the car frame/chassis. Here you install the start of the seats, the steering wheel, the pieces that will allow the doors to open and close later on, and a few other parts. The choice of blue and black for the seats is interesting as it’s a red car, but it works.

The fourth set of bags builds the front of the car. Thankfully, there are no stickers to install so the Ferrari logo on the hood, steering wheel, seats, and elsewhere are all printed. Yay! There is a trunk space in this car, but it does not come with a luggage bag like some of the earlier cars which is fine by me.

I like the use of System pieces to add detail to the car. The use of offset stacked plates on the bumper is a cool technique to replicate the shape on the actual car. It’s a nice touch here.

The fifth set of bags builds the rear hood. It also adds the front “windscreen” and some of the roof. Like the previous vehicles, there isn’t an actual windscreen and that’s okay.

The rear hood was a challenge for me to build as I had a hard time following what the instructions wanted me to do on some of it. I figured it out in the end. Note that there are a few errors in the instruction books. I went online and found some good articles highlighting them. Some I caught without looking them up, but a few required me to see why I had extra pieces left over at the end of a section.

The rear hood can be raised which is a nice addition. You can get a good look at the engine instead of burying it like in the last two cars. It doesn’t stay up well as it’s heavy, but I got it to stay long enough to take a few photos.

One part of the build that intrigued me was the use of rubber tubing to hold on some of the structure and give it a curved shape over the rear wheels. I wasn’t sure what the instructions were getting at initially, but when I saw the pieces installed, it’s cool to see how the shape was created with Technic pieces.

The sixth set of bags builds the doors and seats. I failed to get separate pictures of them. The doors swing up in the actual car and the Technic version does the same. The doors were a challenge for me to assemble as the instructions show you connecting pieces, but don’t always show where. One picture will show you assembling a section and the next will tell you to install it. Either I missed something or you have to be smart enough to figure out how to install it.

The seventh set of bags is the final part of the build. It completes the rear of the vehicle, adds the wheels, and the display plate. The rear of the vehicle uses a lot of System pieces to achieve the detail similar to the front. I like the look and the offset plates. There is another error in this section where the instructions don’t have a few parts listed, but I found them online and got it squared away. The wheels are a similar size as previous vehicles, but the rims are a silver color. The 1x1 round tile with the Ferrari logo on the rim is a nice touch.

The Lamborghini had a display plate, although much smaller, and the Ferrari has one as well only this one is larger. The plate is printed so I’m thankful to not have a sticker, but I’m not sure it really adds to the model. I could have done without the plate if it saved a few dollars in production costs and on the final set price.

Overall, it’s a very sleek vehicle. The build was great and it challenged me throughout. I enjoyed putting it together. I’m not a Technic fan or MOC builder so I’m not sure if I’d use the pieces elsewhere, but there are a lot to pick from. The price is high and I can only imagine the price going up for future vehicles so get ready. VIP points are the only way I purchased this one. I highly recommend this one if you’re into the Technic vehicle line or if you’re a System builder and you’re looking for a challenge outside of your building comfort zone. Look for ways to save on this one whether it is double VIP points, cool GWPs, or some other method.

Here are the 4 vehicles. My NLS has let me display them in the house as they are up high and out of the way. I’m sure she can’t wait for me to have a LEGO room of my own some day to contain the spread of ABS. This is a pretty cool line up in my opinion. I wonder what car will be next?

Happy building!

Just so you don't think I'm slacking off...

I try to put out a blog post once a week. Someday I’ll work to put out more, but for now with all of the other life commitments, we’ll stick to one. This one will be short as I’m busy with some new arrivals.

The first one is #21333-1: Vincent Van Gogh - The Starry Night. I was excited to see this one come out and I really liked the final design they came up with. I’m mid-build right now so no spoilers before the final review, but so far so good. I managed to pick it up with some VIP points and when #40567-1: Castle Hideout was the promotional set so I can’t complain.

And then in my building backlog…. I also picked up a copy of #42143-1: Ferrari Daytona SP3. I want to say it’s a Technic Supercar, but the official branding is now “LEGO Technic Ultimate Car Concept Series” so let’s get it right. My version is way easier to say. Thanks to a whole bunch of VIP points and then the recent double VIP point period, this one wasn’t so painful to get. I’m looking forward to digging into this one and I promise to get a review out.

Have you grabbed any of the newer sets that have come out over the past month or two?

Happy building!

Another Technic Supercar is Announced!!!!!

I by no means am the first one to announce this, but I am super excited that on 1 June 2022, the next LEGO Technic supercar will get released. Okay actually we are now referring to them as being a part of the “LEGO Technic Ultimate Car Concept Series.” Either way, a sleek red Ferrari will be a great addition to the existing sets. This one is #42143-1: Ferrari Daytona SP3. I will contain 3,778 pieces and retail in the US for $399.99. That works out to $0.106 per piece. Here are some of LEGO’s promotional shots of the model.

The packaging looks impressive from LEGO’s promo shots and some of the video reviews I have seen online. For $400, the packaging had better look awesome, right?

As per usual, we have a promo shot from LEGO by the real car. Some good photography here although they should have edited out the TV dish in my opinion. I couldn’t tell you much about the real car other than I’m sure it goes fast and I’m sure I can’t afford the real one.. Along with this set, LEGO is releasing a limited run book (5,000 copies) that highlights the set and LEGO’s relationship with Ferrari. I believe the book will be priced at $70. In my opinion, the set is expensive as it is, I don’t need to dump more money into a book.

This set is pricy and I’m not sure when I’ll pick it up, but I will at some point using VIP points to help lessen the blow. I’m looking forward to lining it up next to my other vehicles. You can see my previous reviews here:

#42056-1: Porsche 911 GT3 RS

#42083-1: Bugatti Chiron

#42115-1: Lamborghini Sian FKP 37

Happy building!

2 June 2022 update: LEGO released the designer video yesterday. Here it is in case you missed it.

Set Review - #42115-1 - Lamborghini Sian FKP 37 - Technic

There are a few themes LEGO has sucked me into. One is modular buildings. The other is the Technic "super cars.” The first one was #42056-1: Porsche 911 GT3 RS back in 2016. The second was #42083-1: Bugatti Chiron released in 2018. The third car was released on 2 June 2020 in the US. It’s #42115-1: Lamborghini Sian FKP 37. It contains 3,696 pieces and retails for $379.99 in the US. This works out to $0.103/piece. Considering a lot of those pieces are tiny Technic pins, this car is expensive! Thankfully, I found it locally for ~$286 which I think is a much more reasonable price for the set. So if you live in the US, now is the time to complain as the Europeans get some discounts that you never see.

Like the previous cars, the box is unlike your standard set. The top half of the box looks like the hood of the car with the Lamborghini logo. The bottom part is a picture of the completed set with the name logo in the upper left. Unlike the Bugatti which was labeled as 16+, this one is labeled as 18+.

42115_box_front.jpg
42115_box_back.jpg

The sides of the box continue on the car shape with the front and back of the vehicle on the box.

42115_box_sidea.jpg
42115_box_sideb.jpg

Taking the top of the box off reveals six boxes in the shape of the engine covering in the back of the car. The boxes are numbered 1 through 6. After removing the boxes, there are two instruction books on the bottom. When you put the books next to each other, you can see the completed model.

For reviews, I normally pull out all of the bags so you can how many parts bags there are in the set. I didn’t do that here as the parts bags are all contained in the numbered boxes. I didn’t count as I opened them either. Sorry…

42115_box_open.jpg
421153_box_contents.jpg

The instructions are similar to previous Technic super car models with a lot of details and extras on the actual vehicle and the model. I found the extra details interesting. You are also given some QR codes that you can scan to take you to YouTube videos about the design process. The videos were interesting with some interviews of LEGO and Lamborghini personnel. I tried to watch while building, but couldn’t focus enough on the build so I watched them separately. I think I would have rather had one longer video versus a bunch of shorter clips, but not a major issue to me.

I bought my set in Germany so the instructions came in English and German. Not the North America version in English, French, and Spanish.

42115_ins1.jpg
42115_ins2.jpg

Box 1 - Gearbox and Rear Suspension

Each box is split up in the instruction book with a write up on that section and a corresponding video. Box one builds your transmission and where the back wheels go. The transmission is a challenging thing to build. I really had to pay attention to part types, angles, sizes, and how things were linked up. I made a few small mistakes, but thankfully caught them before I went too far.

The transmission is open on the bottom of the car so you can see the movement as you cycle through gears. This is different from the previous cars. While not realistic, it is a nice touch to see what is going on I guess. Also it’s on the bottom so it’s not like you see it all the time unless you flip it over.

I didn’t time myself on the build, but I think this part took a while for me. Might have been just because I was taking my time with it to make sure I got it right.

42115_build1a.jpg
42115_build1b.jpg
42115_build1c.jpg

Box 2 - Engine and Front Suspension

With box two you can attach all the wheels now and the engine is installed. You can also shift the car into drive, neutral or reverse now. The wheels have a pretty solid suspension. One of the things from the videos is the car actually has some bounce to it. It is not much, but is way more versus the Bugatti.

42115_build2a.jpg

The engine has 12 cylinders that you can’t see working, but you get to install them all anyways. It’s not a big deal that you can’t see them in my opinion. I think it’s more about the build experience. The engine covering includes some printed tiles which add to the detail. I like the ones with the Lamborghini name on them. Super thankful there are no stickers on this one.

42115_build2b.jpg
42115_build2c.jpg

Here’s a closer shot of the front of the car at the end of box 2. I didn’t take a before step picture so you can’t see the details underneath. It’s a challenging part to assemble, but it comes together well. There were a few instances where I really had to stare at the instructions and compare it what I built to make sure it was all right. Some trial and error too. No mistakes so far…

42115_build2d.jpg

Box 3 - Interior Details and Seats

This box adds some details as mentioned, but also adds some movements. You install the initial parts of the scissor doors to come later and the mechanism to raise and lower the spoiler.

42115_build3a.jpg

The steering wheel is installed and like the previous vehicles, the wheel is functional. The other picture shown is the passenger side where you can see the Technic part used to raise and lower the spoiler. You can also see how some System pieces are added to the Technic pieces for detail purposes.

42115_build3b.jpg
42115_build3c.jpg

A quick look at the back. Not a lot of detail is added. Mostly structure to install other parts later.

42115_build3d.jpg

Box 4 - Rear Spoiler

Now the car is starting to look more like a car. We’ve got a roof over where the passengers sit, a covering over the engine in the back, coverings over the rear wheels, and the spoiler. If you’ve seen anything about this car, you know that LEGO has had some issues with parts and colors. This is the part of the build where those issues became readily apparent. The spoiler itself has multiple shades of green on it. While the design of the spoiler is cool and fairly accurate compared to the real car, the color is disappointing. With a $380 price tag, you would expect a much higher quality.

42115_build4a.jpg
42115_build4b.jpg

Here’s a closer view of the back of the car. You can see the System tiles used to create the Italian flag which is a fun detail. I’m also a big fan of the brake lights. They used more System pieces mixed in with Technic pieces. If you look closely at the spoiler, you can see the color differences. The rear also has a cool “Lamborghini” tile in the lime green with black lettering.

42115_build4c.jpg
42115_build4d.jpg

Box 5 - Scissor Doors

The fifth box finishes up the majority of the car. This includes the front hood, the lights, the front bumper, and the doors. I found a few parts a bit challenging to put together as the instructions just show the assembly next to the spot it is supposed to go.

42115_build5a.jpg
42115_build5b.jpg

Here’s another view of the front of the car. It seems like the front dash is quite large compared to the rest of the vehicle. I’m not sure if it is proportioned correctly, but perhaps there is a reason.

The scissor doors have a piece you can push in behind the “cab” of the car. The doors pop up like a real Lamborghini. No complaints here. It’s a fun detail.

42115_build5c.jpg
42115_build5d.jpg

A few close ups from this part of the build. I’m not sure how I’d re-design the light bars, but I’m not a fan of how they were built. They do look similar to those of the actual car and I understand that the geometry is tough to re-create. I’ll have to think on this one…

I like the brakes with the printed brake calipers. I’m also glad they are not stickers. It’s a small detail that you really can’t see with the vehicle completed, but I’m a fan.

42115_build5e.jpg
42115_build5f.jpg

Box 6 - Rims and Tires

The lime green color issues with this model are disappointing, but the gold rims are awesome. They really make the vehicle stand out. It’s the same wheels as the Bugatti and there’s a small 1x1 round tile with the Lamborghini tile on it.

42115_build6a.jpg
42115_build6b.jpg

This second part of the build for this box is a brief case. The previous two cars had cases as well. This one has the fewest details of the three so far and in my opinion it seemed like a last minute add. The brief case doesn’t have much to it. It’s rather plain and bland. I would have rather done without the bag.

42115_build6c.jpg
42115_build6d.jpg

The last part of the build is a display plate. It’s a 4x6 plate with some studs. Impressively it is all printed on unlike a lot of the UCS type sets where there is a large sticker. It’s a nice addition to the model and for people who want to display it. They have it mounted on some Technic pieces so it can be angled up. A nice touch in my opinion.

42115_build6e.jpg

Here are a few pictures of the final product with the wheels on . Overall, it’s an impressive model. I enjoyed the build process and getting away from System builds. I enjoyed all of the details and the mechanical connections. I didn’t enjoy the price originally posted. I was super thankful to see the price come down in Germany and to get it at a substantially lower rate, but I have yet to see it go down in the US. I’m hoping LEGO can adjust pricing in the future… either more car/build experience or lower price. We’ll have to see what LEGO does in the future. In the meantime, what do you think? Is it worth it?

Happy building!

42115_final1.jpg
42115_final3.jpg
42115_final2.jpg
42115_final4.jpg
42115_final6.jpg

I have the Porsche in storage, but here is a picture of the Lamborghini and Bugatti together. The Lamborghini is slightly longer. Any thoughts on cool ways to display them? Here’s a Beyond the Brick clip where someone shows off his LEGO room and he has two of the cars hanging on the wall.

42115_42083.jpg

Motorizing the Crocodile Locomotive

The latest installment of LEGO® Train sets is #10277-1: Crocodile Locomotive. I reviewed the set last month and you can see my review here. As mentioned in the review, the set is just the locomotive and a display track. It does not include the motor so if you want to motorize the locomotive, you need to do something separate. You can attempt to motorize it on your own using a Power Functions or 9V motor on a separate car. Or you can use the new Powered UP set up that is now available. I decided to give Powered UP a try so here are my thoughts…

The first step is to remove the crew compartment from the cab area. This section comes out very easily without having to disconnect any pieces.

10277_cab.jpg

The motor is the Technic Large Motor (#88013) and it is currently retailing for $39.99 in the US. It’s a little pricey in my opinion, but the good part is you can use the motor in other models or sets.

The motor fits in very easily without having to snap it in anywhere. The only thing you have to do is remove the small Technic pin and gear. You place the motor in and then slide the pin in place. It was a pretty easy process.

10277_motor.jpg

The next piece to install is the Powered UP Hub (#88009). This part retails for $49.99 in the US. While it is a bit pricey in my opinion, you do save by not having to buy a controller or an IR sensor. The downside is you need to have a device which can handle the Powered UP app. I thankfully have a device which supports the app so that was good. The hub fits in easily and connects to the motor without any challenges. The only small concern I ran into was making sure all of the cable from the motor would fit in with the top of the cab installed. Not a major problem, but you just need to make sure the cables are arranged appropriately.

10277_hub.jpg

While assembly was easy, operations were not as easy for me. I installed some batteries and the app and expected to try it out, but it didn’t work right away. The instructions said to make sure the batteries were all the same. I did that, but it still didn’t work. I guess my batteries were too old as I bought some new ones and it worked after I installed them.

The app is easy to use with a control for the speed, a brake, and then some sounds (train whistle, conductor’s whistle, and then a bell). It also has sounds effects for starting, stopping, and braking. The downside is you can’t operate the train unless you have the app on. So don’t have any plans to send a text or check something out online.

Others noted issues with train operation. I didn’t install the rubber bands and I had no issues on the oval track I built. Granted I didn’t have it pulling any cars so that might make up the difference.

Overall, it’s a slightly expensive proposition. Given the expansion of sets using Powered UP, I’m hoping I can use the hub and motor elsewhere. One other concern is that LEGO® decides to stop supporting the app and it can’t be used anymore. We’ll have to see how the system evolves as it grows.

Or more importantly… we can hope LEGO® puts out more train sets for us to put the motor and hub in…

Happy building!

10277_ops.jpg

Is the New Technic Super Car Worth it?

LEGO released the next Technic super car on Thursday 28 May 2020. For those of you that missed it, the set is #42115-1: Lamborghini Sián FKP 37. The set contains 3,696 pieces and will retail in the US for $379.99. Initial release was through LEGO starting on 1 June 2020 with widespread sale across other retailers starting on 1 August 2020.

The Recognized LEGO Fan Media (RLFM) has exploded with articles, posts, videos, podcasts, etc. discussing this car. The comments range from it being an absolute stunning build to a giant waste of money.

I’m not going to give my opinion yet because I have yet to see the car in person or actually build the set. Here’s what I will say right now… $380 seems like a lot of money for this set. I wanted to do some analysis to see if it’s true, so here goes.

First some background data:


42056-1.jpg

#42056-1: Porsche 911 GT3 RS
Released 30 July 2016
2,704 Pieces
$299.99 in the US
$0.111 per piece
See my review starting here


42083.jpg

#42083-1: Bugatti Chiron
Released 2 June 2018
3,599 Pieces
$349.99 in the US
$0.097 per piece
See my review starting here


Photo from LEGO.com

Photo from LEGO.com

#42115-1: Lamborghini Sián FKP 37 Released 1 June 2020
3,696 Pieces
$379.99 in the US
$0.102 per piece
I don’t own this yet so no review yet


So is $380 a lot for this set?

The Porsche in 2016 was $300, the Bugatti in 2018 was $350, and now the Lamborghini in 2020 is $380. So $80 more than the first set four years ago and $30 more than the set released 2 years ago.

So at a price only look, the Porsche wins.

They are very different sets though so let’s start with piece count and see if we can normalize. What if they all had the same piece count as the Lamborghini with 3,696 pieces and retained their original price per piece?
-Porsche at 3,696 pieces and $0.111 per piece would be $410.26
-Bugatti at 3,696 pieces and $0.097 per piece would be $358.51

Factoring in the original price per piece and making them all 3,696 pieces, the Bugatti wins on cost.

It’s been four years and prices change. LEGO, like any other business, has to factor in inflation and increasing costs. So what if we added a 2% inflation factor? Let’s assume all three sets have 3,696 pieces, they all retain their original price per piece, but we add in a 2% inflation factor per year to come up with what the set would cost today (in 2020) if it were sold. The math gave me:
-Porsche at $444.08
-Bugatti at $372.99

The Porsche now looks expensive while the Bugatti seems closer in price to the Lamborghini.

How realistic is the last example? Probably not so much as I just randomly picked 2% a year. So next up I found an inflation calculator on the web (because everything on the web you read is correct, right?). I used usinflationcalculator.com. Again… you can call me wrong for using it, but I didn’t want to waste a ton of time searching for a better tool in the hopes of getting close enough. The tool goes by year versus by day so we’ll again say “close enough.”
-The Porsche in its original price with original piece count purchased in 2020 dollars would be $320.47 with a 6.8% cumulative rate of inflation. Factoring in the first example where we use the 3,696 pieces with the Porsche’s $0.111 per piece works out to be $438.26 with the same 6.8% cumulative rate of inflation. So maybe my 2% per year estimate wasn’t that far off?
-The Bugatti in its original price with original piece count purchased in 2020 dollars would be $357.35. That’s with a 2.1% cumulative rate of inflation. Using the same process as the Porsche, we’ll make the Bugatti match the Lamborghini’s piece count, but use the Bugatti’s $0.097 per piece cost and the Bugatti works out to be $366.05 in 2020 dollars.

Factoring in US inflation rates over the last 4 years, the price increase looks somewhat justified.


Back to Reality

If you followed all of that, you’re amazing. Bonus points if you are still reading…

Let’s get back to reality and consider some real facts for a few minutes.
-The Bugatti is still available at its original price 2 years after its initial release so the adjustments don’t make sense at this time.
-My guess is LEGO does not price by piece, but instead considers their actual costs to include plastic costs, design, packaging, licensing, paying their workers, shipping, foreign exchange rates, etc.
-I looked at the set from a monetary perspective, but what about from the buyer’s perspective. If you think you’ll get $380 value in buying and owning the set, then it is probably worth it. What if you think you’ll get $400 worth of value from the set? How is that even calculated?
-LEGO is a business and while we would love them to produce things for free, they have a goal of making a profit. There is definitely a profit margin baked into the price of this set. LEGO probably won’t ever tell us that amount, but keep it in mind.

What Can You Do?

Besides saving your change or hoping Santa Claus comes through this year, what are some ways to get this set at a discount?
- Use your VIP points. This assumes you have some of course, but they are easily applied to LEGO purchases.
-Wait for an opportunity to get a deal from LEGO such as a gift with purchase set or a double VIP point opportunity.
-I have a popular post here where I discuss how to find discounts and save money on LEGO purchases. One of those options is using companies like Rakuten where right now LEGO offers 2.5% back. The payments come quarterly and it isn’t a ton, but it helps slightly (~$9.50 on the Lamborghini). Add on VIP points, a gift with purchase, and maybe credit card points, and you’ve helped slightly on the price. (I’m not paid by LEGO or Rakuten)
-For those of us in Europe, LEGO has different discounting plans here. A few months back the Bugatti (#42083-1) was going for around 260€ at multiple stores around here compared to the 370€ original retail price. It makes sense to wait and see if discounts happen here. I have yet to see heavy discounting of sets like this in the US. We’ll have to wait and see if it happens again in Europe.


What are your thoughts? Has LEGO cross the line on price finally (or again)? Does the pricing of this new set make sense? I’m curious on your thoughts.

In the meantime happy (affordable?) building!

Celebrities Building with LEGO Bricks while Physically Distancing

If you’re reading this in April of 2020, you’re well aware of the COVID-19 pandemic impacting the world. I won’t beat the deceased Thoroughbred talking about it as I’m sure you are sick of the media reports about it, but it has been fun to see how LEGO has popped up through it all.

One side note… my work has been using the term “physically distancing,” We need to stay apart physically so we don’t spread disease, but socially we need to remain connected to get through this together.

From 18 March 2020, there was Conan O’Brien who posted the picture below on Twitter (direct link). It looks like they were building #42110-1: LEGO Technic Land Rover Defender.

conan.jpg

And then Daniel Radcliffe was interviewed by Stephen Colbert on “The Late Show” and he mentioned building #75936-1: T. Rex Rampage over three days with his girlfriend. Not bad for a guy who has characters who appear in LEGO sets. The clip is below, but you can advance to around the 7.55 mark if you want to hear the LEGO discussion.

That’s it for now. Have you seen any others? Send them to me at store@bricksforbricks.com or post them in the comments and I’ll do another post.

Are you building anything while at home? I’m working on #10270-1: Bookshop. Haven’t finished it yet, but I’ll get a review out when I’m done.

Happy building and stay healthy!

German LEGO Fans get Some Sweet Discounts on Amazon.de

One of my most popular posts is a conglomeration of various ways to save money buying new LEGO sets. You can see the post here. The post is focused on buying LEGO sets in the US, but what about outside of the US?

If you are new to my site, I am temporarily living in Germany for a few years as my non-LEGO job moved me here. With that, I’ve been able to see bricks across Europe. I have also been able to see some of the LEGO set deals here in Germany. I checked out Amazon.de recently (February 2020) to see what they had and here are some of the highlights

#21045-1: Trafalgar Square - Architecture
Currently 52,99€ versus the 79,99€ German retail price (34% off).
At the current exchange rate, that puts it at $57.87 versus the $79,99 retail price in the US.

#60233-1: Donut Shop Opening - CITY
Currently 54,90€ versus the 79,99€ German retail price (31% off).
At the current exchange rate, its $59.95 versus the $89.99 US retail price.

#75253-1: Droid Commander - Boost
Currently 139,00€ vs the 199,00€ German retail price (31% off).
$151.80 at the current exchange rate versus the US retail price of $199.99.

#42083-1: Bugatti Chiron - Technic
Currently 265,97€ versus the German retail price of 369,99€ (28% off).
That’s $290.46 at the current exchange rate versus the US retail price of $349.99.

And finally…
#42110-1: Land Rover Defender
Currently 139,00€ versus the German retail price of 179,00€ (23% off).
In US dollars that’s $151.80 versus $199.99 US retail price.

Why am I highlighting these? Well if you do a comparison of what’s on sale in the US, you won’t see any of these listed today. It’s interesting that these are on sale in Germany, but not elsewhere. Perhaps sales of these items are lower in Germany? Maybe Amazon.de has a lot of inventory to get rid of? It’s very interesting to see the differences and very tempting to dip in and take advantage of some of these sales I can’t get in the US.

What are your thoughts?

Happy building!

Store Review - LEGO® Brand Store - Saarbrücken, Germany

I wasn’t planning on it, but I had the opportunity to stop in a Brand Store in Saarbrücken, Germany during the Triple Force Friday sales event 2019 (4 to 6 October). The store front was full of some of the most recent new sets. With the focus on Star Wars, I’ll start there. The first picture I took included the new LEGO Boost Droid Commander (#75253-1), Kylo Ren’s Shuttle (#75256-1), another Millennium Falcon (#75257-1), and Yoda (#75255-1). They had all of the other new sets available as well. I didn’t look around at the sale sets to see what was available (sorry).

Additionally, they had the UCS Imperial Star Destroyer (#75252-1) assembled in the front window. Wow is it a big set! I was not the only one in the window taking pictures of the set. Still not sure if it is worth my money or not, but it’s definitely a cool display piece.

Star_wars_9_sets.jpg
imperial_star_destroyer.jpg

Additionally in the front window was the new Winter Village Gingerbread House (#10267-1). It was cool to see it up close and personal. I think I’ll be picking the set up at some point, but I’m not sure when.

Also on display was the new Disney Train and Station (#71044-1). Inside the store they had the Disney Castle built (#71040-1).

The LEGO Ideas Tree House (#21318-1) was on display in the front in the summer version. Inside the store they had it built in the fall version with the other set of leaves. It was neat to see how it looks with both versions if leaves.

gingerbread_house.jpg
2019_new_sets.jpg

LEGO Ideas Central Perk (#21319-1) from the TV show Friends was on display in two places. There was one in the front window and one inside the store. The one inside the store was a little easier to see and get pictures of so you get the picture here.

friends.jpg

The Technic Land Rover (#42110-1) was available for sale and they had a built set that they were letting people touch and pick up. Props to LEGO for allowing that!

technic.jpg
land_rover.jpg

The Pick-a-Brick wall or “Suche & Baue” wall was in the back. According to Google Translate, this works out to be “Search and Build.” The wall was one of the better ones I’ve seen. There were a lot of pieces that I wanted to get, but I decided against it. There were numerous “gold” colored pieces, some different flower pieces I have never seen before, some colors that are not always out there, and a few cool pieces that would look great on MOCs for buildings. Bravo to LEGO for stocking this wall well!

pick_a_brick.jpg

I thought this display was cool. Two Statues of Liberty in different formats. The Brick Headz version (#40367-1) and the Architecture version (#21042-1). It’s cool to see the different sizes and versions next to each other. Behind it is the Architecture Trafalgar Square (#21045-1).

statue_of_liberty.jpg

Most stores have some none standard builds that are usually larger in size. This one was no exception with a large Chewbacca holding a crossbow and then a Pirate Captain with a hook arm and a parrot sitting on his arm.

Overall, I was impressed with this store. They had everything in stock from what I could tell and a large amount of sets on display for viewing. There were numerous build stations for kids to play with in the store to see things before you buy. The workers were all very helpful with one dressed up as Princess Leia for Triple Force Friday. I talked to one who spoke German, French, and English and the one who rang up my purchase spoke English as well.

I purchased the LEGO® Brand Store (#40305-1) which is only available in Brand Stores. It was 24.99€ as compared to $24.99 in the US. The price I paid was roughly $27.37 with the exchange rate so the total varies since the VAT (value added tax) is factored in and the sales tax in the US varies by location. The last place I lived in the states had an 8.5% sales tax rate so it would have been $27.11… although we didn’t have a Brand Store. I’ll do a review of the set at a later date.

So if you’re in western Germany or eastern France and you’re looking for a LEGO® Brand Store, I highly recommend this one.

Happy building!

chewy.jpg
pirate.jpg