LEGO Icons

Set Review - #10321-1: Corvette - LEGO Icon

The LEGO Icons line has been kicking out some classic cars pretty regularly at a similar scale and 2023 was no exception with #10321-1: Corvette. This is the classic 1961 version according to the instructions. This set was released on 1 August 2023 and retails for $149.99 in the US. With 1,210 pieces, it works out to $0.124 per piece which is pretty steep. There are a lot of larger pieces and some non-standard ones so I’m sure that added to the cost. I grabbed this one before Christmas from LEGO when they were offering 3X Insider Points so it was a slightly better deal. Still, look for opportunities to grab this one at a discount or with something better than just the standard high price.

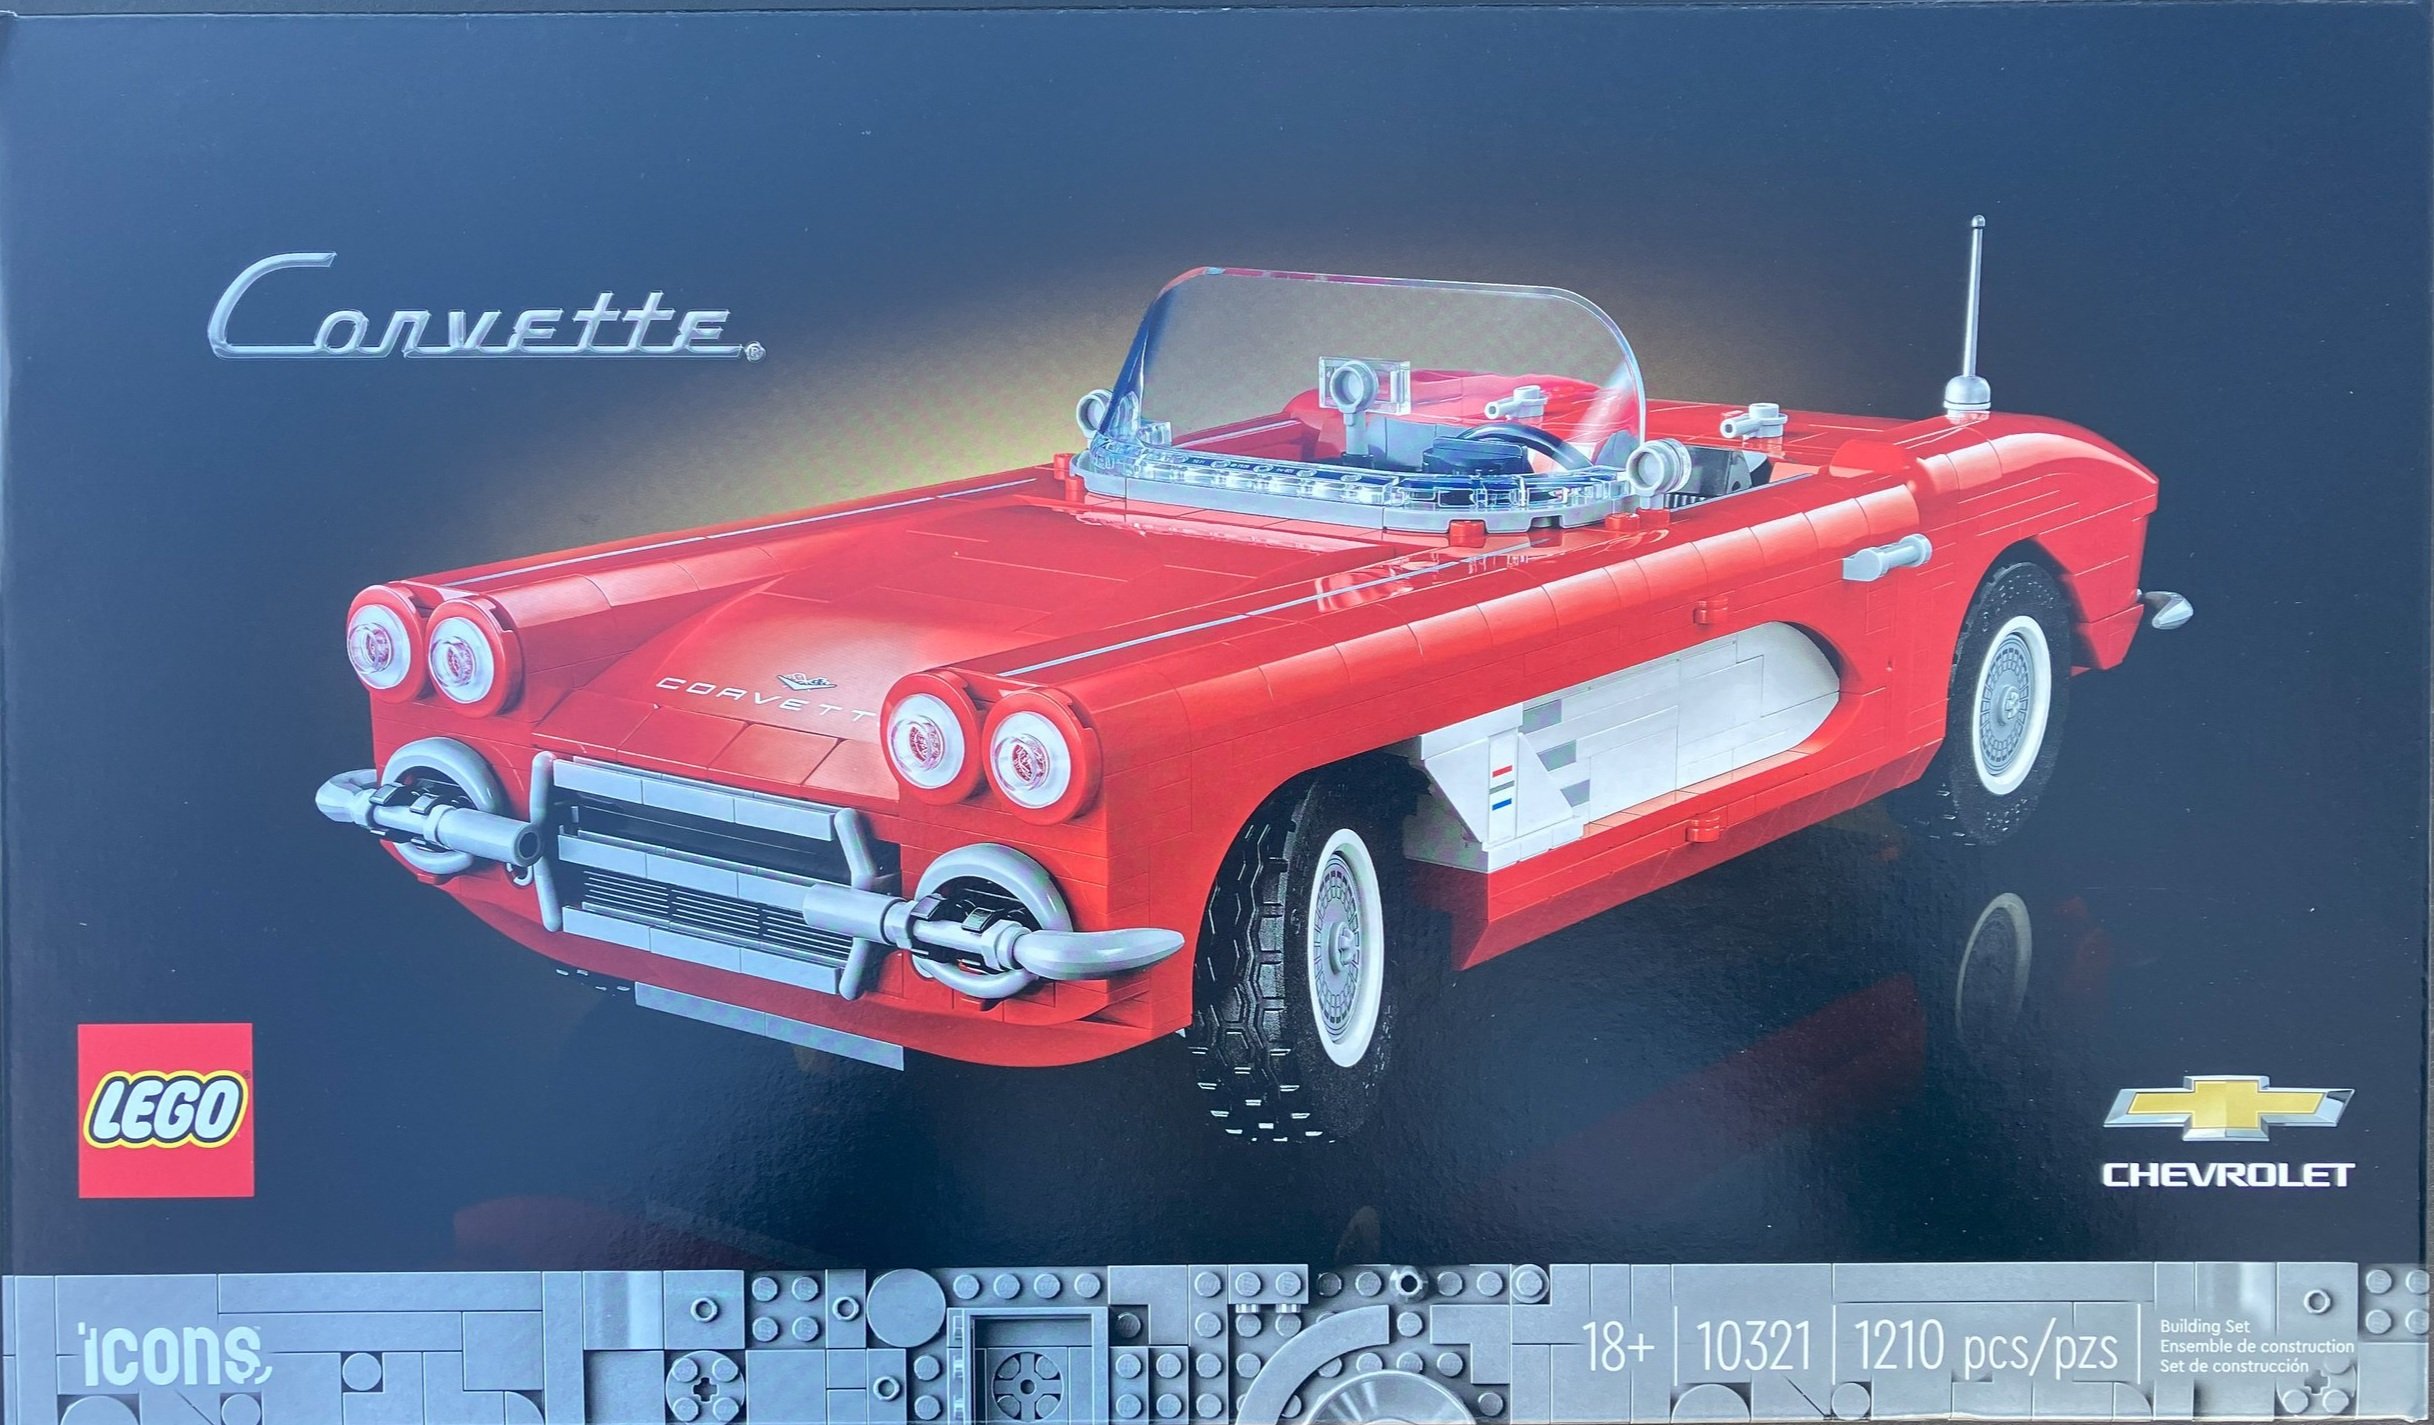
The box showed up in a cardboard box designed for the set which was slightly damaged during shipping. The front shows the set with the Corvette logo, Chevrolet logo, Icons logo, and 18+ greebling. The back gives some additional shots of the vehicle and a schematic with dimensions.

The box contains nine individually numbered parts bags, a bag with the wheels, and then I got two of the new paper bags with the two windshields in them. The instructions come in a paperboard envelope for protection.

The instruction book has a few details about the vehicle and the set in the front before launching into the build. Sadly, this set comes with stickers. Thankfully, they’re all pretty small and add some decent detail to the set overall.

Bags one and two start with the chassis of the vehicle. There are a lot of Technic beams and pins that get connected together before you start to attach pieces that will contain the outer mold line of the vehicle.

Bag three gets some of the trunk built along with a bit of the front.

Bag four adds more of the trunk space along with some of the curves. When I started this build, we had a few days of nice weather before the cold spell that hit the US and I brought a table to build outside while my kiddos played with friends. A neighbor who walked by saw the box and said “That’s LEGO? Wow!” I agree. It’s not the blocky, rectangular sets we’re used to. There are a lot of curves to make this a smooth vehicle. The question I have is whether it’s too far. While I think the vehicle looks sleek, have we gotten too far away from the LEGO concept where we are not making whatever parts we need to get the shapes we desire? I’m not sure there is a wrong answer here. It’s really up to the fan base.

Back to bag four… you add stickers to the license plates. You get three so pick what you like. Also, the bumper includes some gray banana pieces which is a fun detail.

Bag five adds some details to the front of the car to include the mechanism for the steering column. It’s pretty similar to past vehicles, but that’s okay. I don’t buy Icons sets for functionality. It’s more of an added bonus. If you want functionality, go for Technic sets.

Bag six builds the sides of the front of the car to include the wheel wells. You also add in the bumper which includes more gray banana pieces.

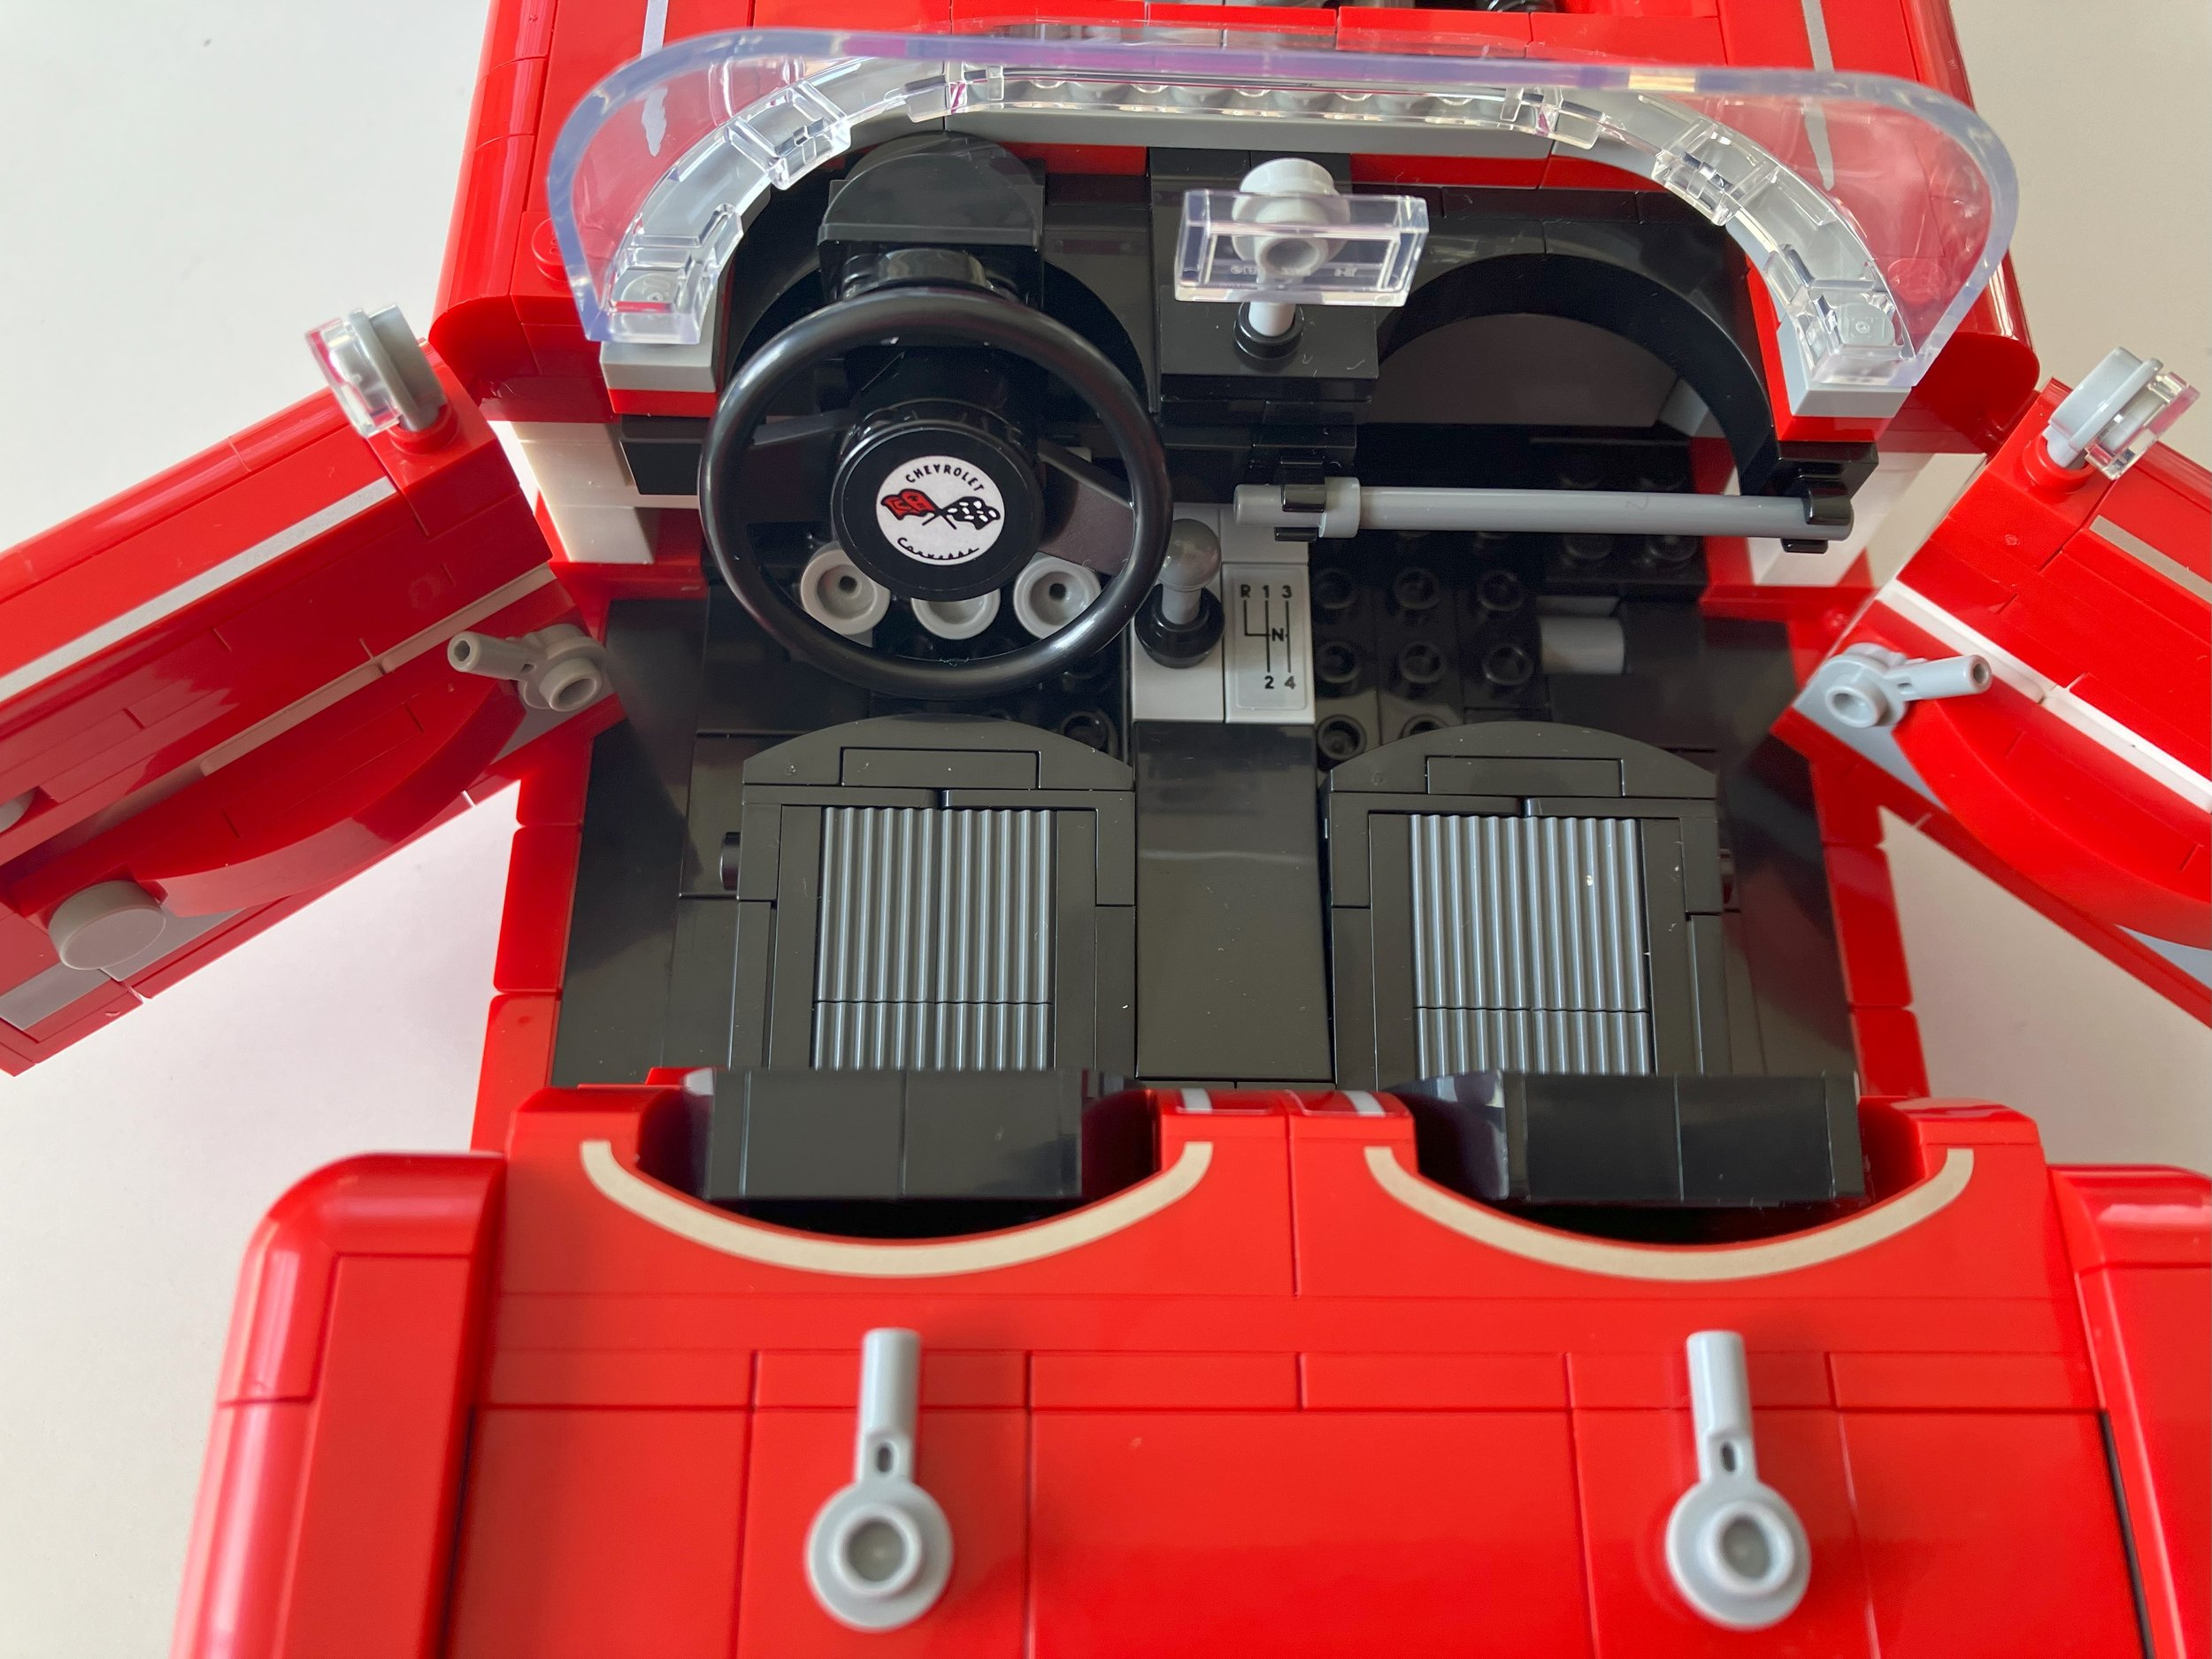
The seventh bag adds in headlights using a piece that I haven’t seen used before. Maybe it’s new? You also add the curvature to the top of the car over the wheels in the front. You add in some tiles which are printed to get the racing stripe look. This bag also adds in both doors. They are built in a similar way only mirrored. You use some interesting techniques to build them, but there are more pieces which seem a bit specialized so you be the judge here.

The eighth bag adds the front hood and trunk in the back. The hood in the front opens from the back up versus the front. The fit didn’t seem quite right to me and I’m not sure if I did it wrong or that’s just how it’s intended. Also, the hood piece doesn’t stay onto the assembly that connects to the front of the car real well as you open/close it. The hood has some larger curved tile like pieces… again, helps the model look great, but seem to be rather specialized. I forgot to get a picture here, but you’ll see the engine parts next. You build an engine with this bag. The trunk is added as well. There is a small Technic piece that is loose that seemed out of place that you added in earlier. This piece is used to help you open the truck as it is hard to do otherwise. A smart move and it doesn’t really stand out so I appreciate the effort. There is a sticker on the trunk and I think I centered it okay.

I also failed to take pictures of the seats, but they get added here too.

Here’s the final build with a few picture of the final vehicle. Bag nine adds in the windshields, roof, an antenna, and the steering wheel. Overall, it’s a sleek looking build. I’ve already complained enough about the specialized parts. I enjoyed the build, but wasn’t so sure about all the parts. Also this car is a bit overpriced considering the piece count. The 3X Insider Points along with GWPs helped encourage me to grab this one, but I wouldn’t buy it without multiple promotions.

What are your thoughts on this one? Could have been better? Just right? Awesome?

Happy building!
Set Review - #10318-1: Concorde - LEGO Icons

LEGO has gone into some different directions over the past few years and this set is another venture into something we haven’t seen before. #10318-1: Concorde is a model of the first supersonic, commercial airliner the world has seen. This set was released in the US on 4 September 2023. It contains 2,038 pieces and retails for $199.99. At that price, it works out to $0.096 per piece which is right about the 10 cent per piece average we all tend to use as acceptable for a set.

I ordered my set online from LEGO Shop @ Home. It arrived in it’s own box with some damage to the shipping box that caused damage to the set box (thanks UPS!). Nothing major and the set was still intact, but kind of disappointing.

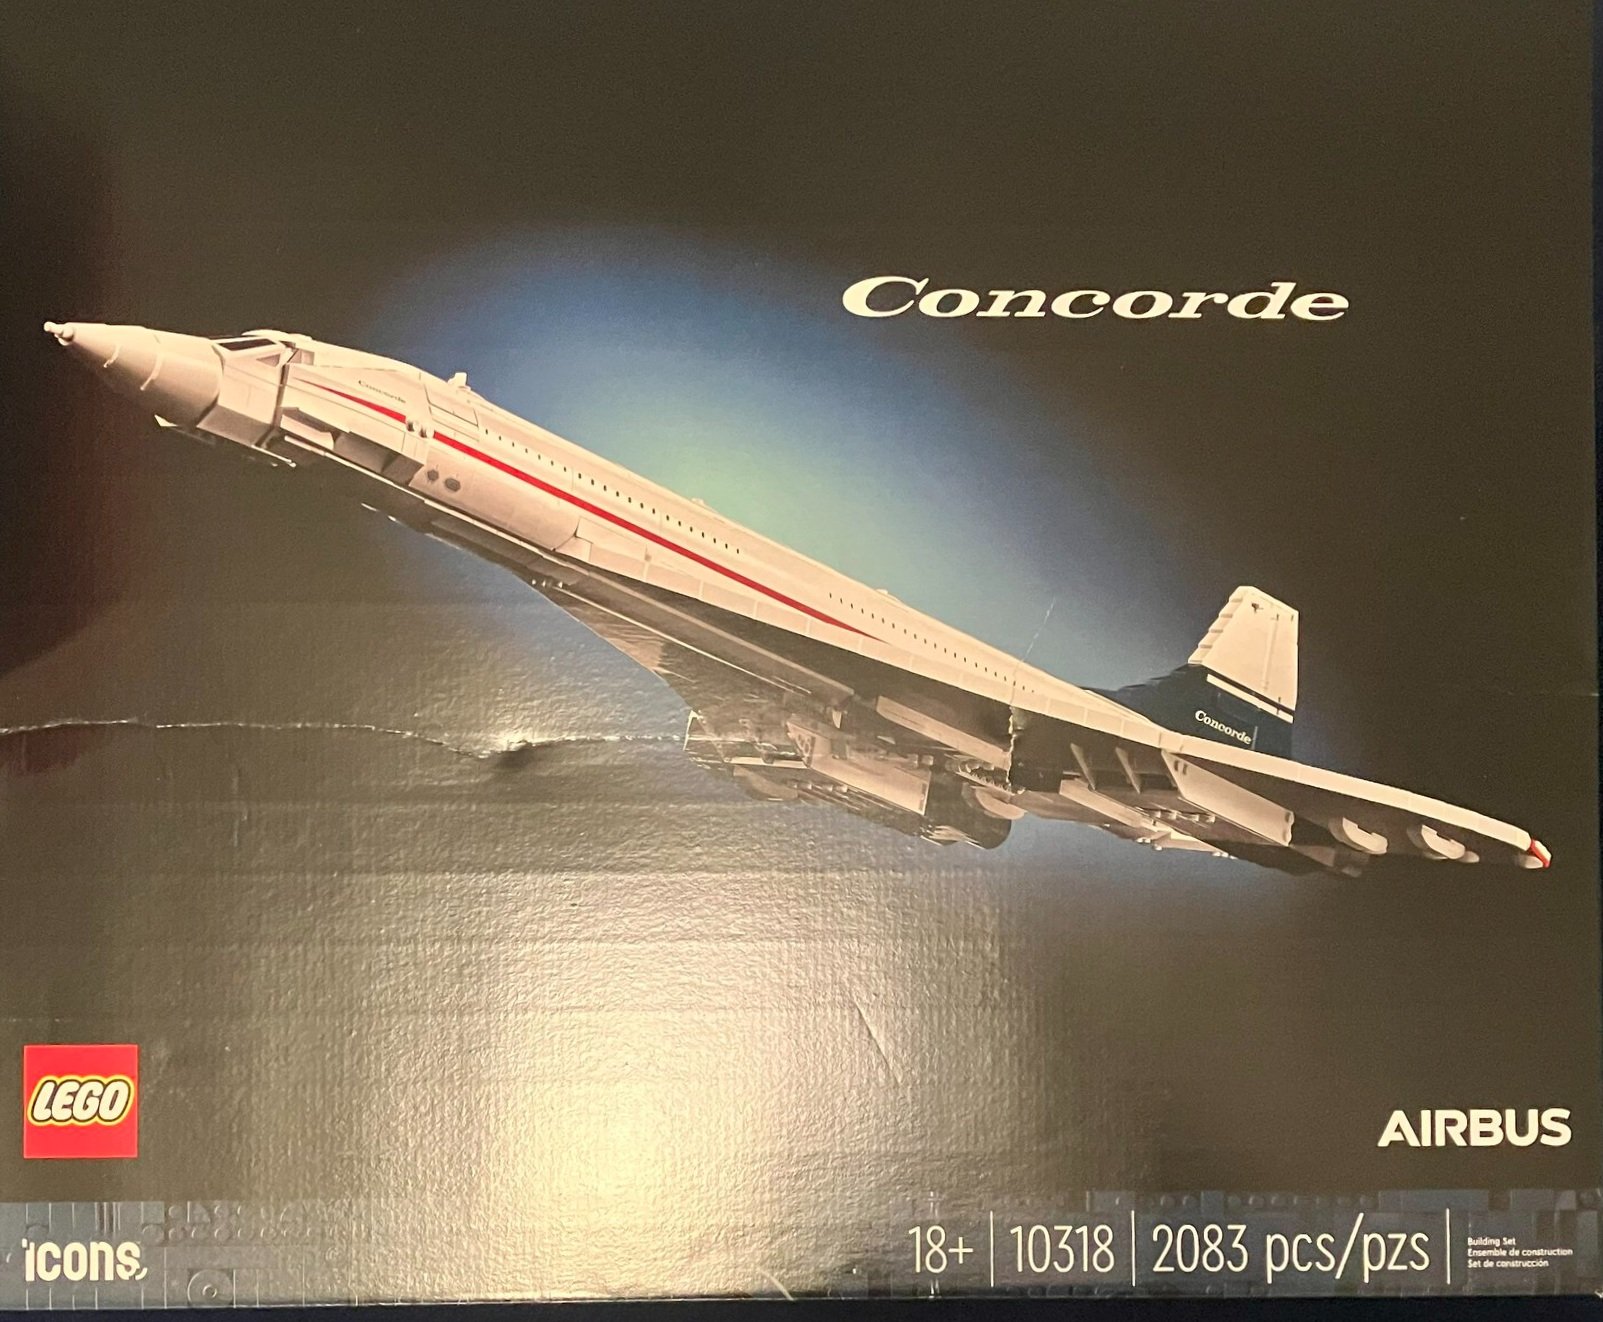
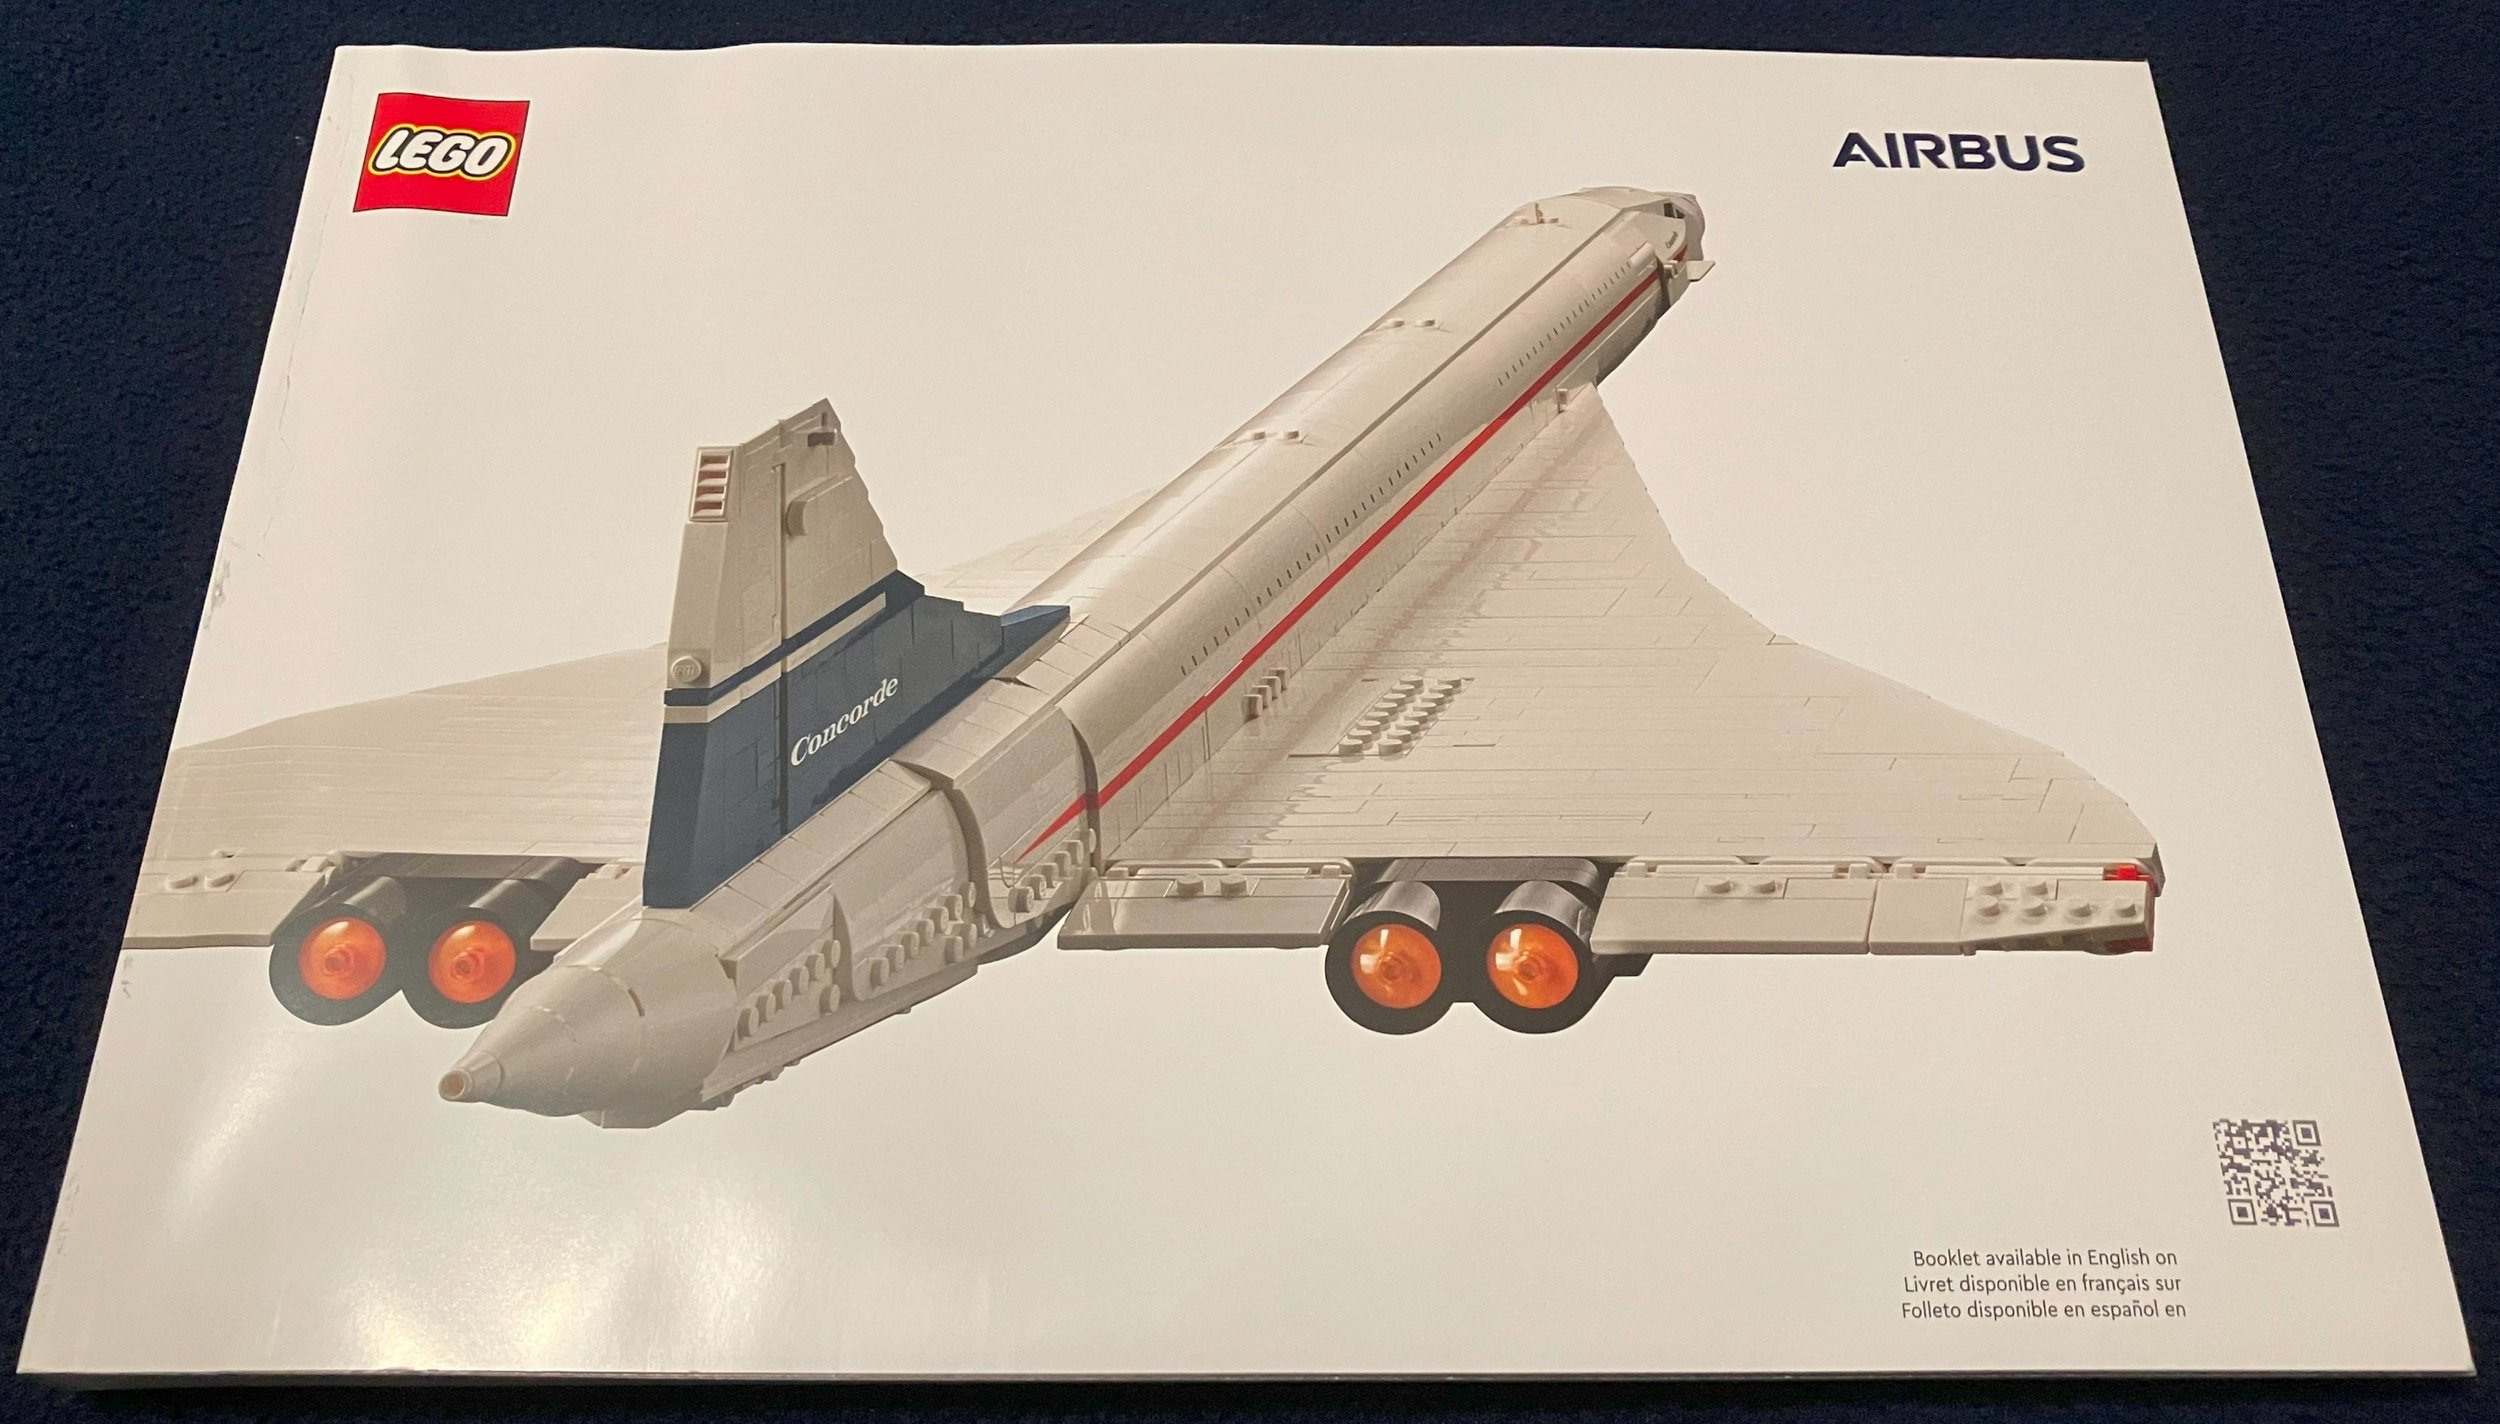
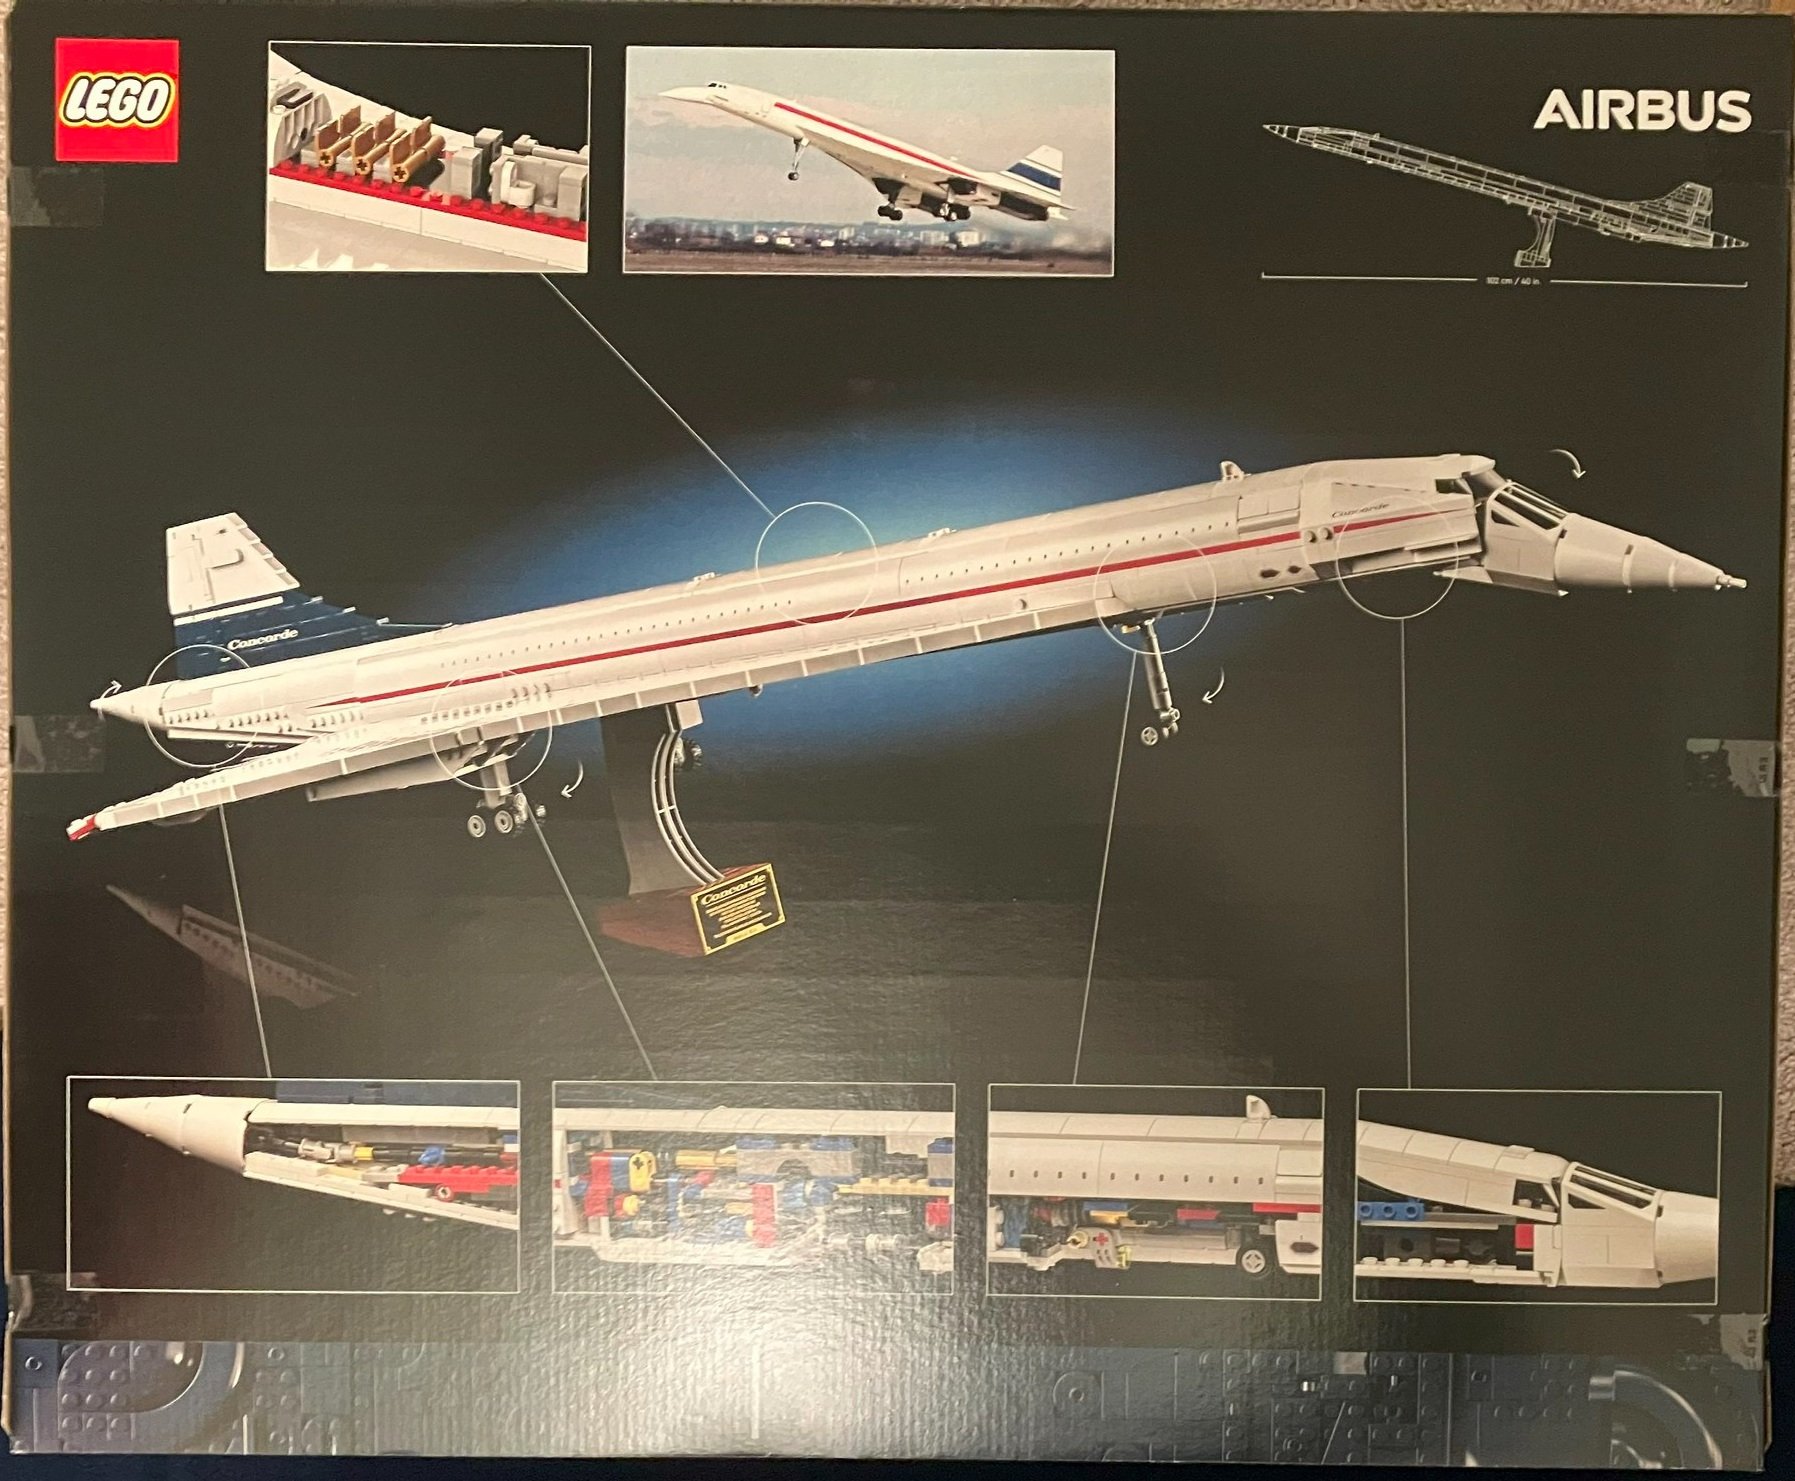
The front of the box shows the full set built minus the stand. It has the set name printed in the same font as printed on the aircraft. It also contains the Airbus logo. The box back includes some cut aways of the set to show what it looks like inside the various parts of the set. It also has a diagram showing the length of the set and a picture of the actual aircraft.

The set contains 12 parts bags and then another box inside with more parts bags. In the end you get 21 numbered parts bags with one bag per number. You also get a paper bag with the cockpit wind screen. This is my first look at the new paper bags. They look okay to me. I’m glad LEGO made the switch to something a little more Earth friendly. The instruction book comes in a paperboard envelop so it’s nice and protected.

The instruction book includes details on the aircraft, its design, and information on the LEGO design team.

Bag one starts off the build of the wing. It starts with the back of the wing and starts to move forward. The center of the wing box starts to build the hardware that will work the landing gear movement.

Bag two continues to move forward with the delta wing and Technic pieces to continue the gear mechanisms. Additionally, you build some orange pieces into some parts that help you build the wing assembly. These pieces clip on and are removed later on in the build.

I failed to take separate pictures of bags three and four. They build out the wing further and you get some of the main hardware of the rear landing gear assemblies.

Bags five and six continue to build out the wing box and the center fuselage section with the landing gear mechanisms. The bag five picture is of the top of the aircraft and the bag six picture is the bottom of the aircraft.

The orange build support pieces are removed at the end of bag six. Bag seven continues the wing build and adds on some larger pieces as the top of the fuselage. These pieces have printed windows on them. Bag eight continues the wing, Technic parts, and fuselage.

Bags nine and 10 build the forward edge of the delta wing and then the front fuselage section of the aircraft without the nose section. The bag 10 picture shows the place where the front landing gear will be stowed. For bag 10, you really had to pay attention to how the Technic pieces were assembled, but I think the instructions did a good join pointing that out. You install more orange plates for ease of build in bag 10. These are removed shortly, but they help to keep the set together during assembly.

Bags 11 and 12 start to look more like an aircraft with the wing compete. You also start to build the fuselage out more. Bag 12 includes a small section of the passenger compartment with two bathrooms and some seats. This is the only section of the aircraft with an interior and I’m okay with that. It’s a display model and not a play model (in my opinion).

Bag 13 adds in the wheels and completes the landing gear. The Technic axle in the rear of the aircraft is what will spin to raise and lower the gear. It’s an impressive assembly and I’m a fan of how the design team put it together.

Bags 14 and 15 add the engines on either side of the aircraft. The builds are mirror images of each other, but the slight repetition wasn’t too bad.

Bag 16 begins the cockpit assembly. It doesn’t look like much when completed as you can see, but it will come together in the next bag.

Bag 17 finishes the cockpit area along with the paper bag that was included with the windscreen piece. I was thankful for the printing and no stickers. The set is mostly white, but the red stripe and logo help to distinguish the set. As advertised, the nose does the “droop snoot” movement like the actual Concorde did which is some great functionality for the large set.

Bags 18 and 19 add the tail section of the fuselage. Bag 18 is mostly internal structure and then bag 19 adds the external panels and connects the section with the rest of the aircraft. Spinning the tail cone section will raise and lower the landing gear.

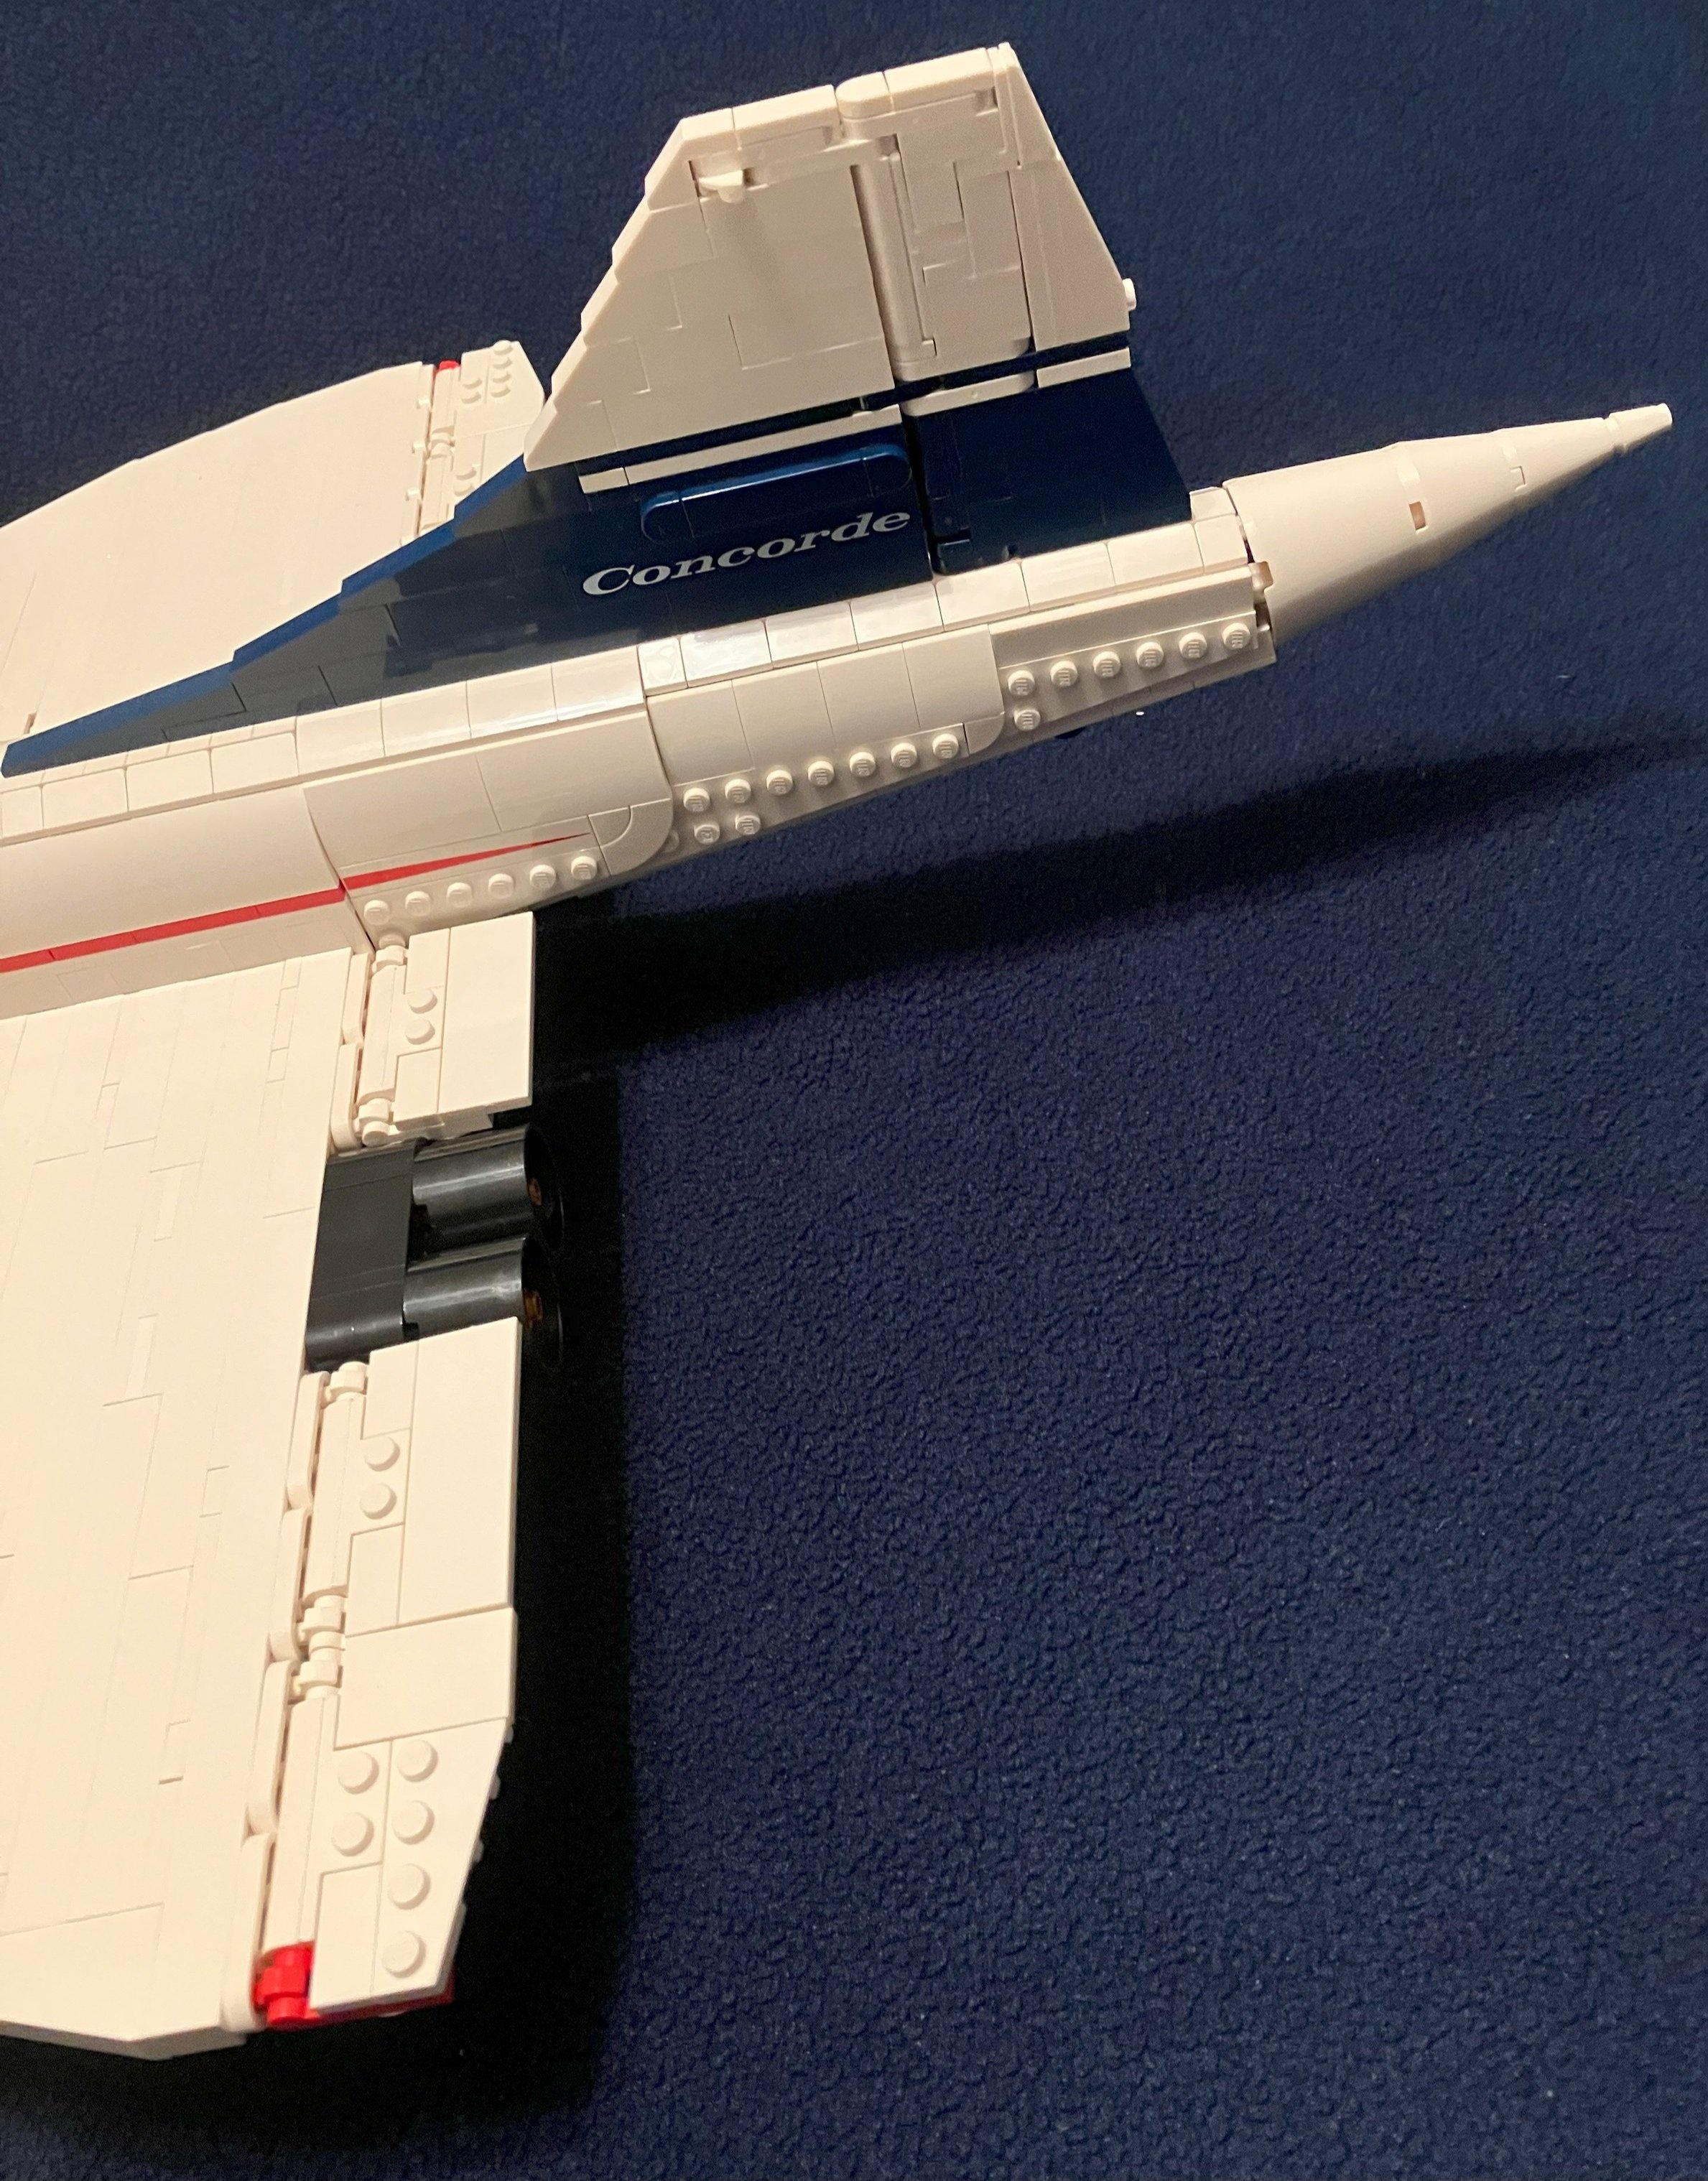
Bag 20 completes the aircraft. This includes the ailerons and flaps on the main wing, the tail, and rudder. This is all minor functionality, but another great addition to the model to make it seem more realistic.

Bag 21 finishes the build with a stand. Despite the massive size of the model, it all sits rather well on this small stand. The stand also includes a printed tile with studs on the back. So glad that it wasn’t a sticker!

Here’s the final monstrosity. It was a great build and I think it looks incredible. Despite the abundance of white pieces, there are a lot of great pieces for future MOCs (inside) if that’s what you do with your sets. I really enjoyed this one and would recommend it to anyone, but I will say that you need to consider your space limitations. It’s big and finding a spot for it could be a challenge if you don’t have a dedicated LEGO display location. Maybe hanging it from a ceiling would work? I haven’t found a spot for it yet.

I think it would be great if LEGO did more sets like this one. Is anyone else on board with that thought?

Happy building!

Set Review - #10312-1: Jazz Club - LEGO Icons - Modular Building

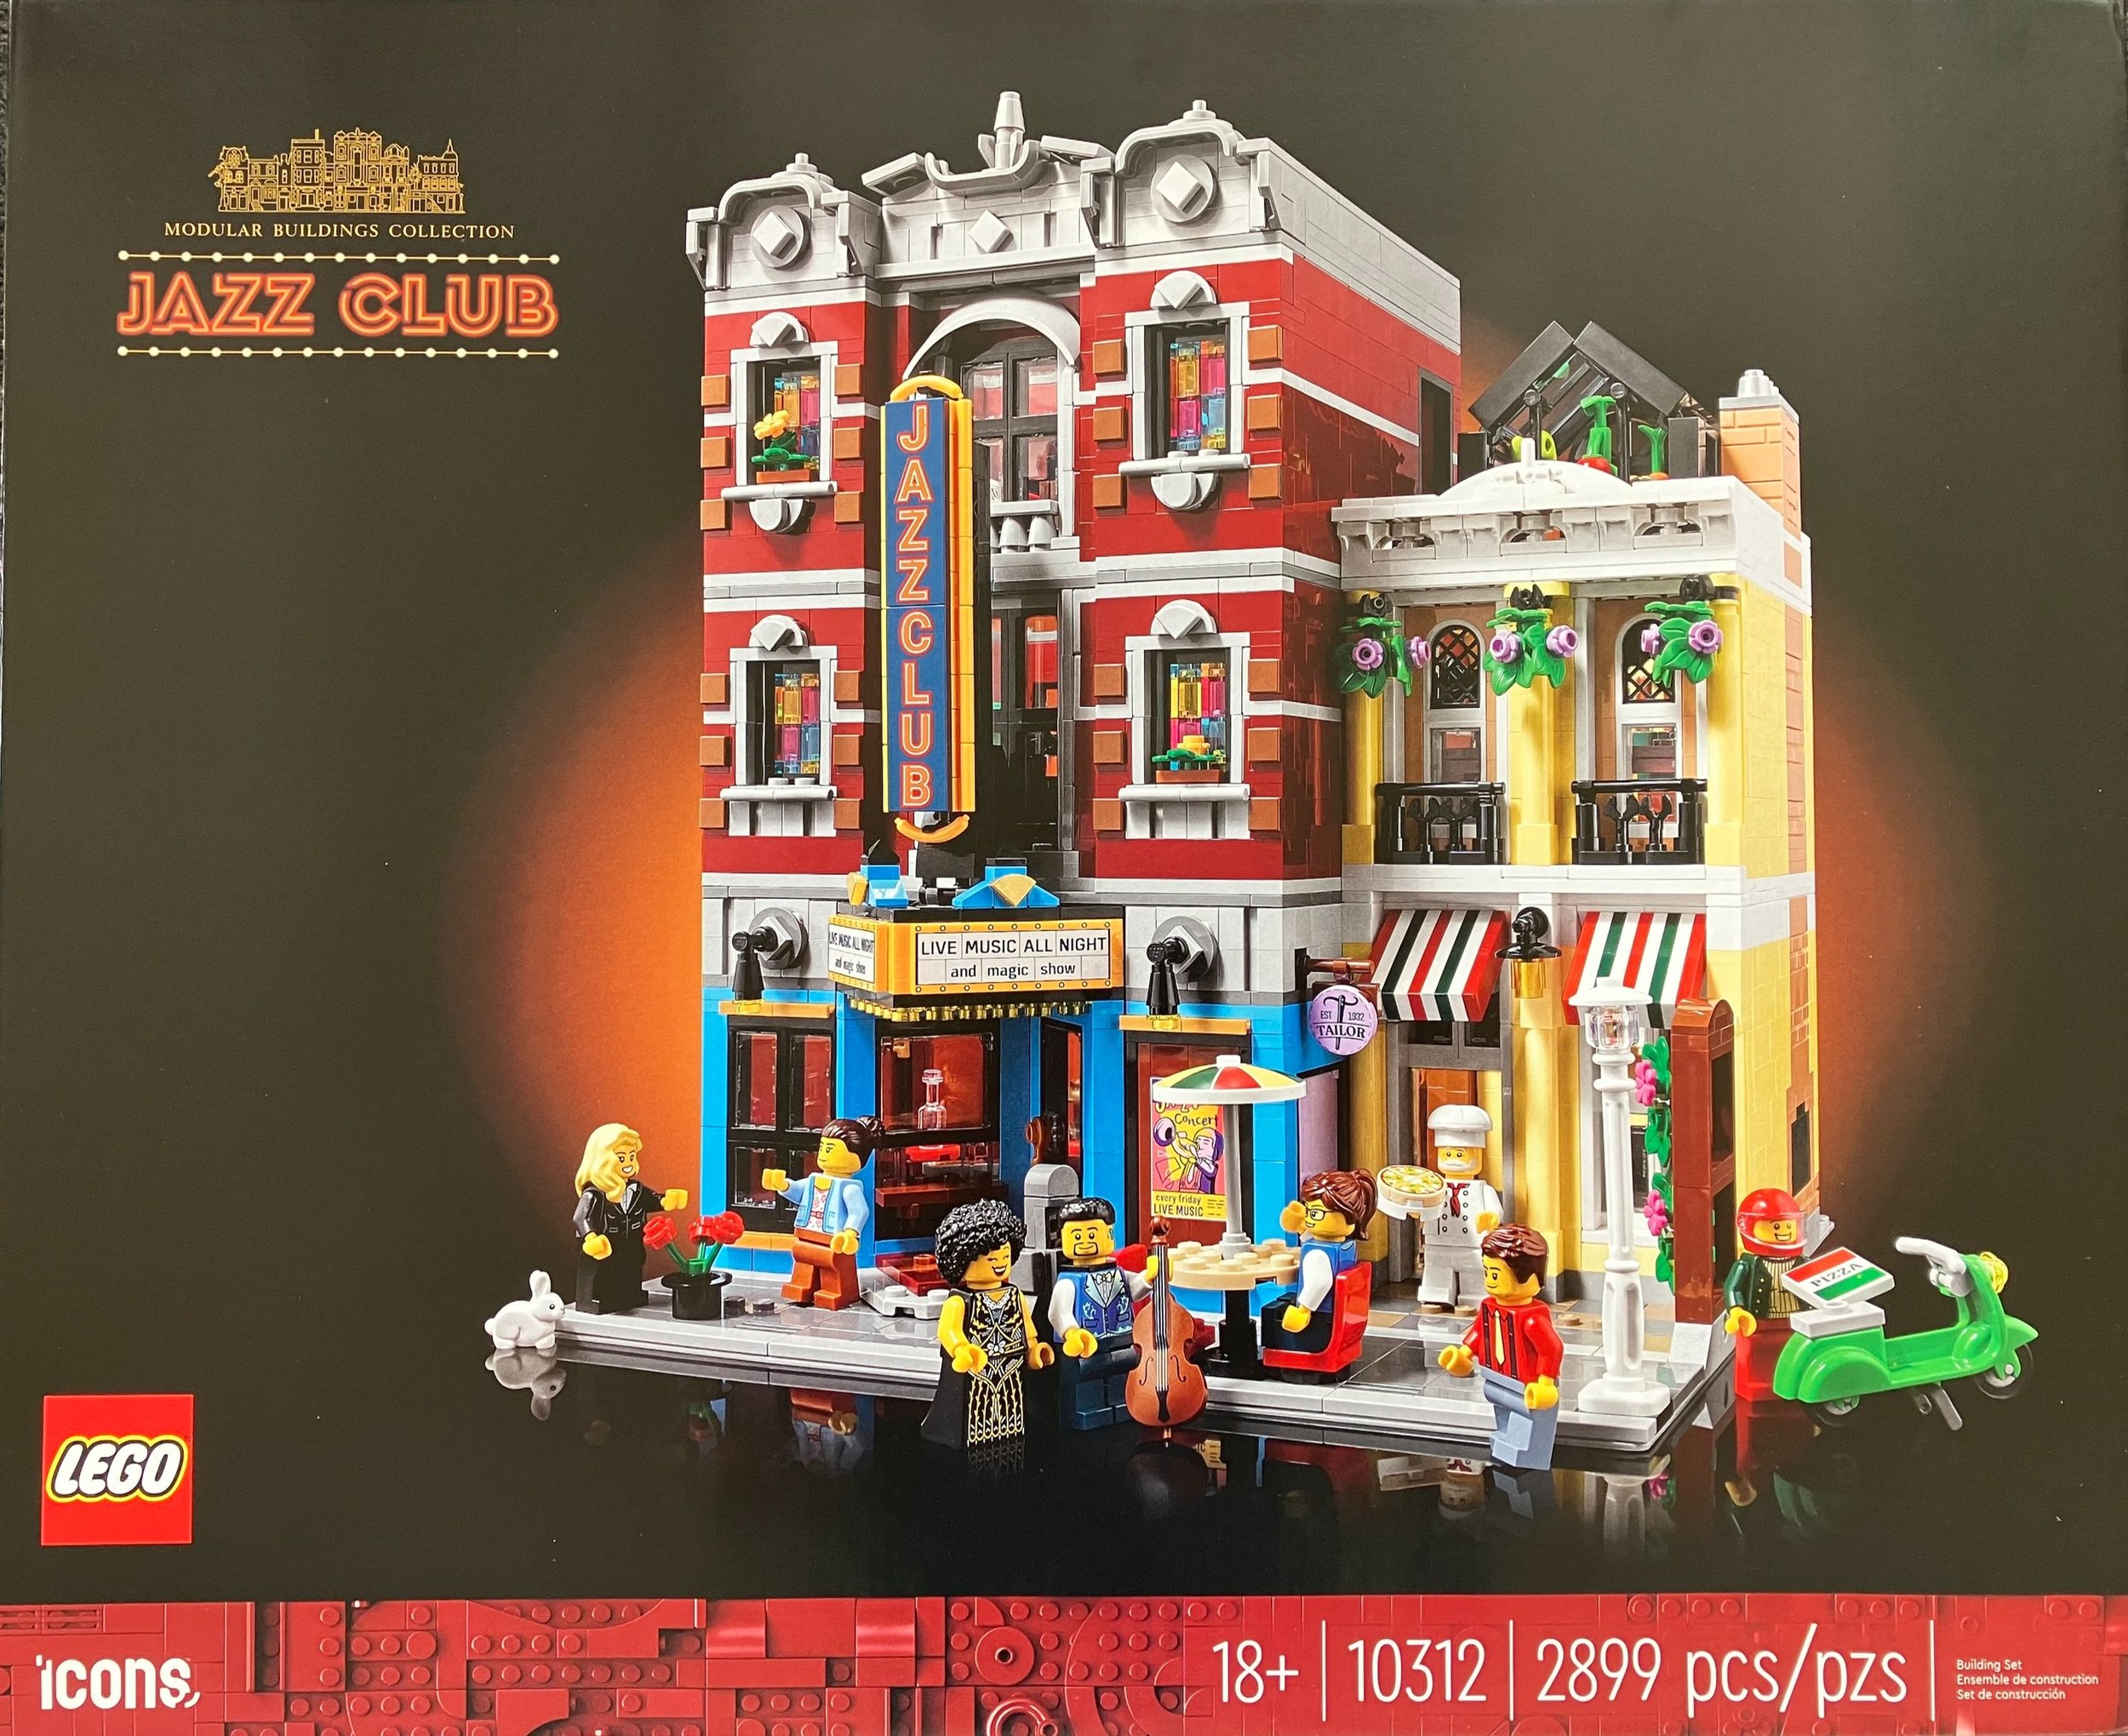
Thanks LEGO! You’ve hooked me onto the modular buildings and now I’m addicted. 2023’s modular building is #10312-1: Jazz Club. It was released on 15 December 2022 and it contains 2,899 pieces. The set retails for $229.99 and costs $0.079 per piece. It consists of a Jazz Club with an office on the second floor and a practice room on the third floor. To the side of the building is a small pizza parlor. Above it is a tailor shop. At the top of the smaller building is a green house. I’ve heard/read a number of reviews, but tried to go into it with an open mind. So here goes…

The front of the box shows the full set with a black background. It appears to be in a spot light. The set name is in the upper left with a number of architectural type drawn buildings and in small letters it says “modular buildings collection.” The Icons logo is on the bottom with the 18+ greebling in the same brick red color as the top two floors of the jazz club.

The back shows the set placed in-between #10278-1: Police Station and #10297-1: Boutique Hotel. In the upper right is a drawing of the set with dimensions. On the left side shows the different floors of the set. The bottom shows some of the details on the inside of the set.

Onto the build…

The set contains some parts bags and then a white box with parts bags. When you open up the box, there are 22 parts bags numbered one through 15. There is a light grey baseplate and then the instructions are in a cardboard envelope.

The instructions come in a white book which helps you see the set build better versus the previous darker colored instruction books. There is a page about the set inside before going into the build. Throughout this set, there are small references at the top of some pages about how certain parts of the build relate to previous modular buildings. This didn’t do too much for me and I could have done without the connective storyline LEGO tried to build. I like the modulars because they are fun to build and I can connect them up to make a larger city. I don’t need to know how the story goes between the minifigures who live there.

Bag one builds the floor of the buildings. You build the sidewalk and then you start building the flooring of each building.

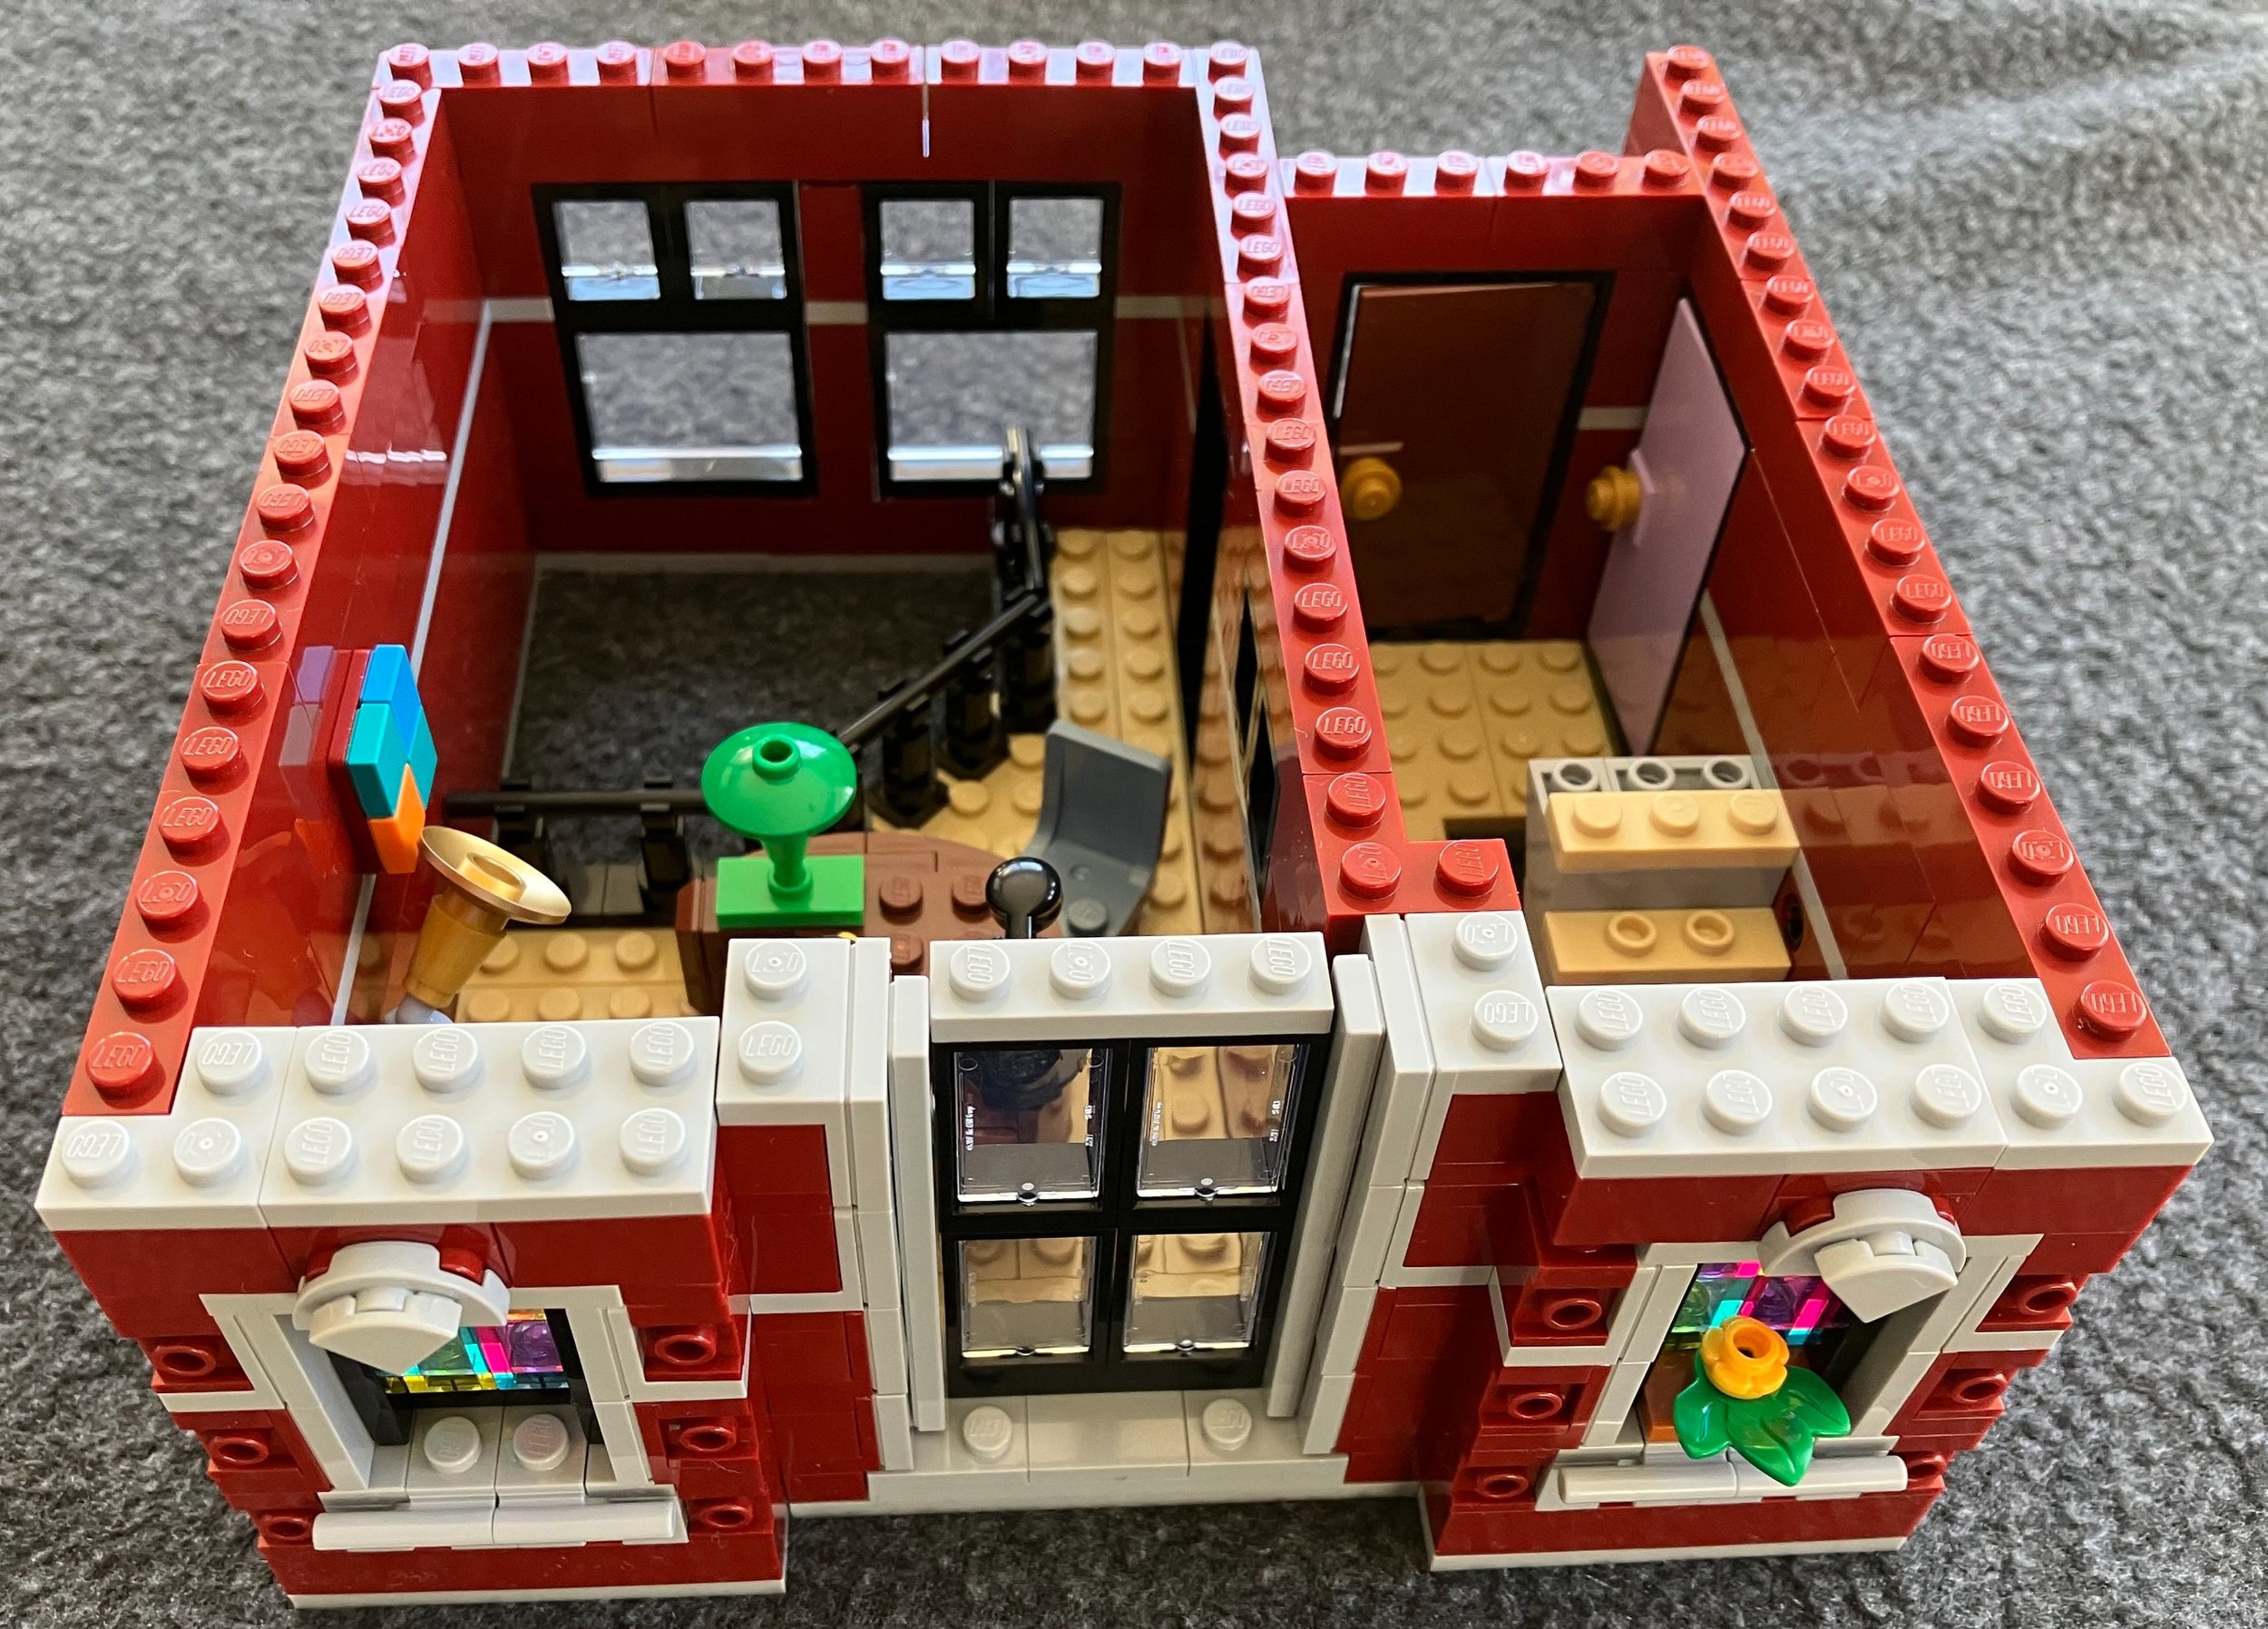
Bag two adds to the walls of each building and finalizes the floor designs. You also build the stage with a drum set and a drummer. There’s a saxophone on a stand too. In the center of the building is a small bathroom. In this bag you build a small sink and a toilet.

Bag three builds the walls higher all around. You add in a door to the outside and in the back, you build a small case to put in “wood” pieces for the pizza shop store. Inside the Jazz Club, you add in some tables and chairs. There is also a string bass player with a bass, bow, and a backpack case. The pizza place has a wood stove and a chef minifigure who is working on a pizza with some toppings nearby. Instead of a 2x2 round printed pizza tile, the pizza is four quarter rounds placed together which is different from past sets. Above the bathroom are stairs that go up to the next floor.

The fourth bag tops off the walls and adds tiles with a few studs to connect to the second floor. You add in a front façade with windows, structural decorations, an advertisement on a window for an upcoming show, and some space for the entryway in a future bag. The pizza shop adds in some windows, a door, a light, and a small structure on the outside with plants growing on it.

The fifth bag finishes up the first floor. In the front of the Jazz Club, you add in the entryway. Instead of a flat space, you add in a 45 degree offset door area with a ticket booth and signage above. This is a neat design that helps to break away from the flat look of a normal façade. In the pizza shop, you add some awnings over the windows in the green, white, and red pattern potentially reminiscent of the Italian flag.

Inside the Jazz Club, you add the curtains around the stage and some spot lights to shine down on the stage. This section is easily removable if you want to change it up as it just clips into place.

Bag six starts the second floor. On the left side of the picture is the Club Manager’s office. There’s an opening in the floor so you can watch and listen to what’s going on below which is interesting. Not sure I’d want that in my office, but it works okay here. The right side has an opening for the stairs and then an opening to connect to the second floor above the Pizza Shop.

Bag seven continues this floor with some more office details to include a desk, lamp, phone, and record player. The manager minifigure also comes in this bag. I have her placed at her corner desk. The walls continue to get higher and you add in some Technic pins to connect to the other side of the modular. I was trying to figure out why this was done and I can only assume it’s because they wanted to keep the walls the same color on either side. I guess that works as the red and yellow sides are separate, but it’s not super sturdy. When you go to remove the second floor once the whole thing is finished, you need to make sure you grab it the right way or it will come apart pretty easily. The good part is that it’s easy to reassemble if it does come apart.

Bag eight just about finishes up this side of the second floor. The walls are higher, the windows are added in, there are some decorations on the front façade, there are doors between rooms, and then windows on the back.

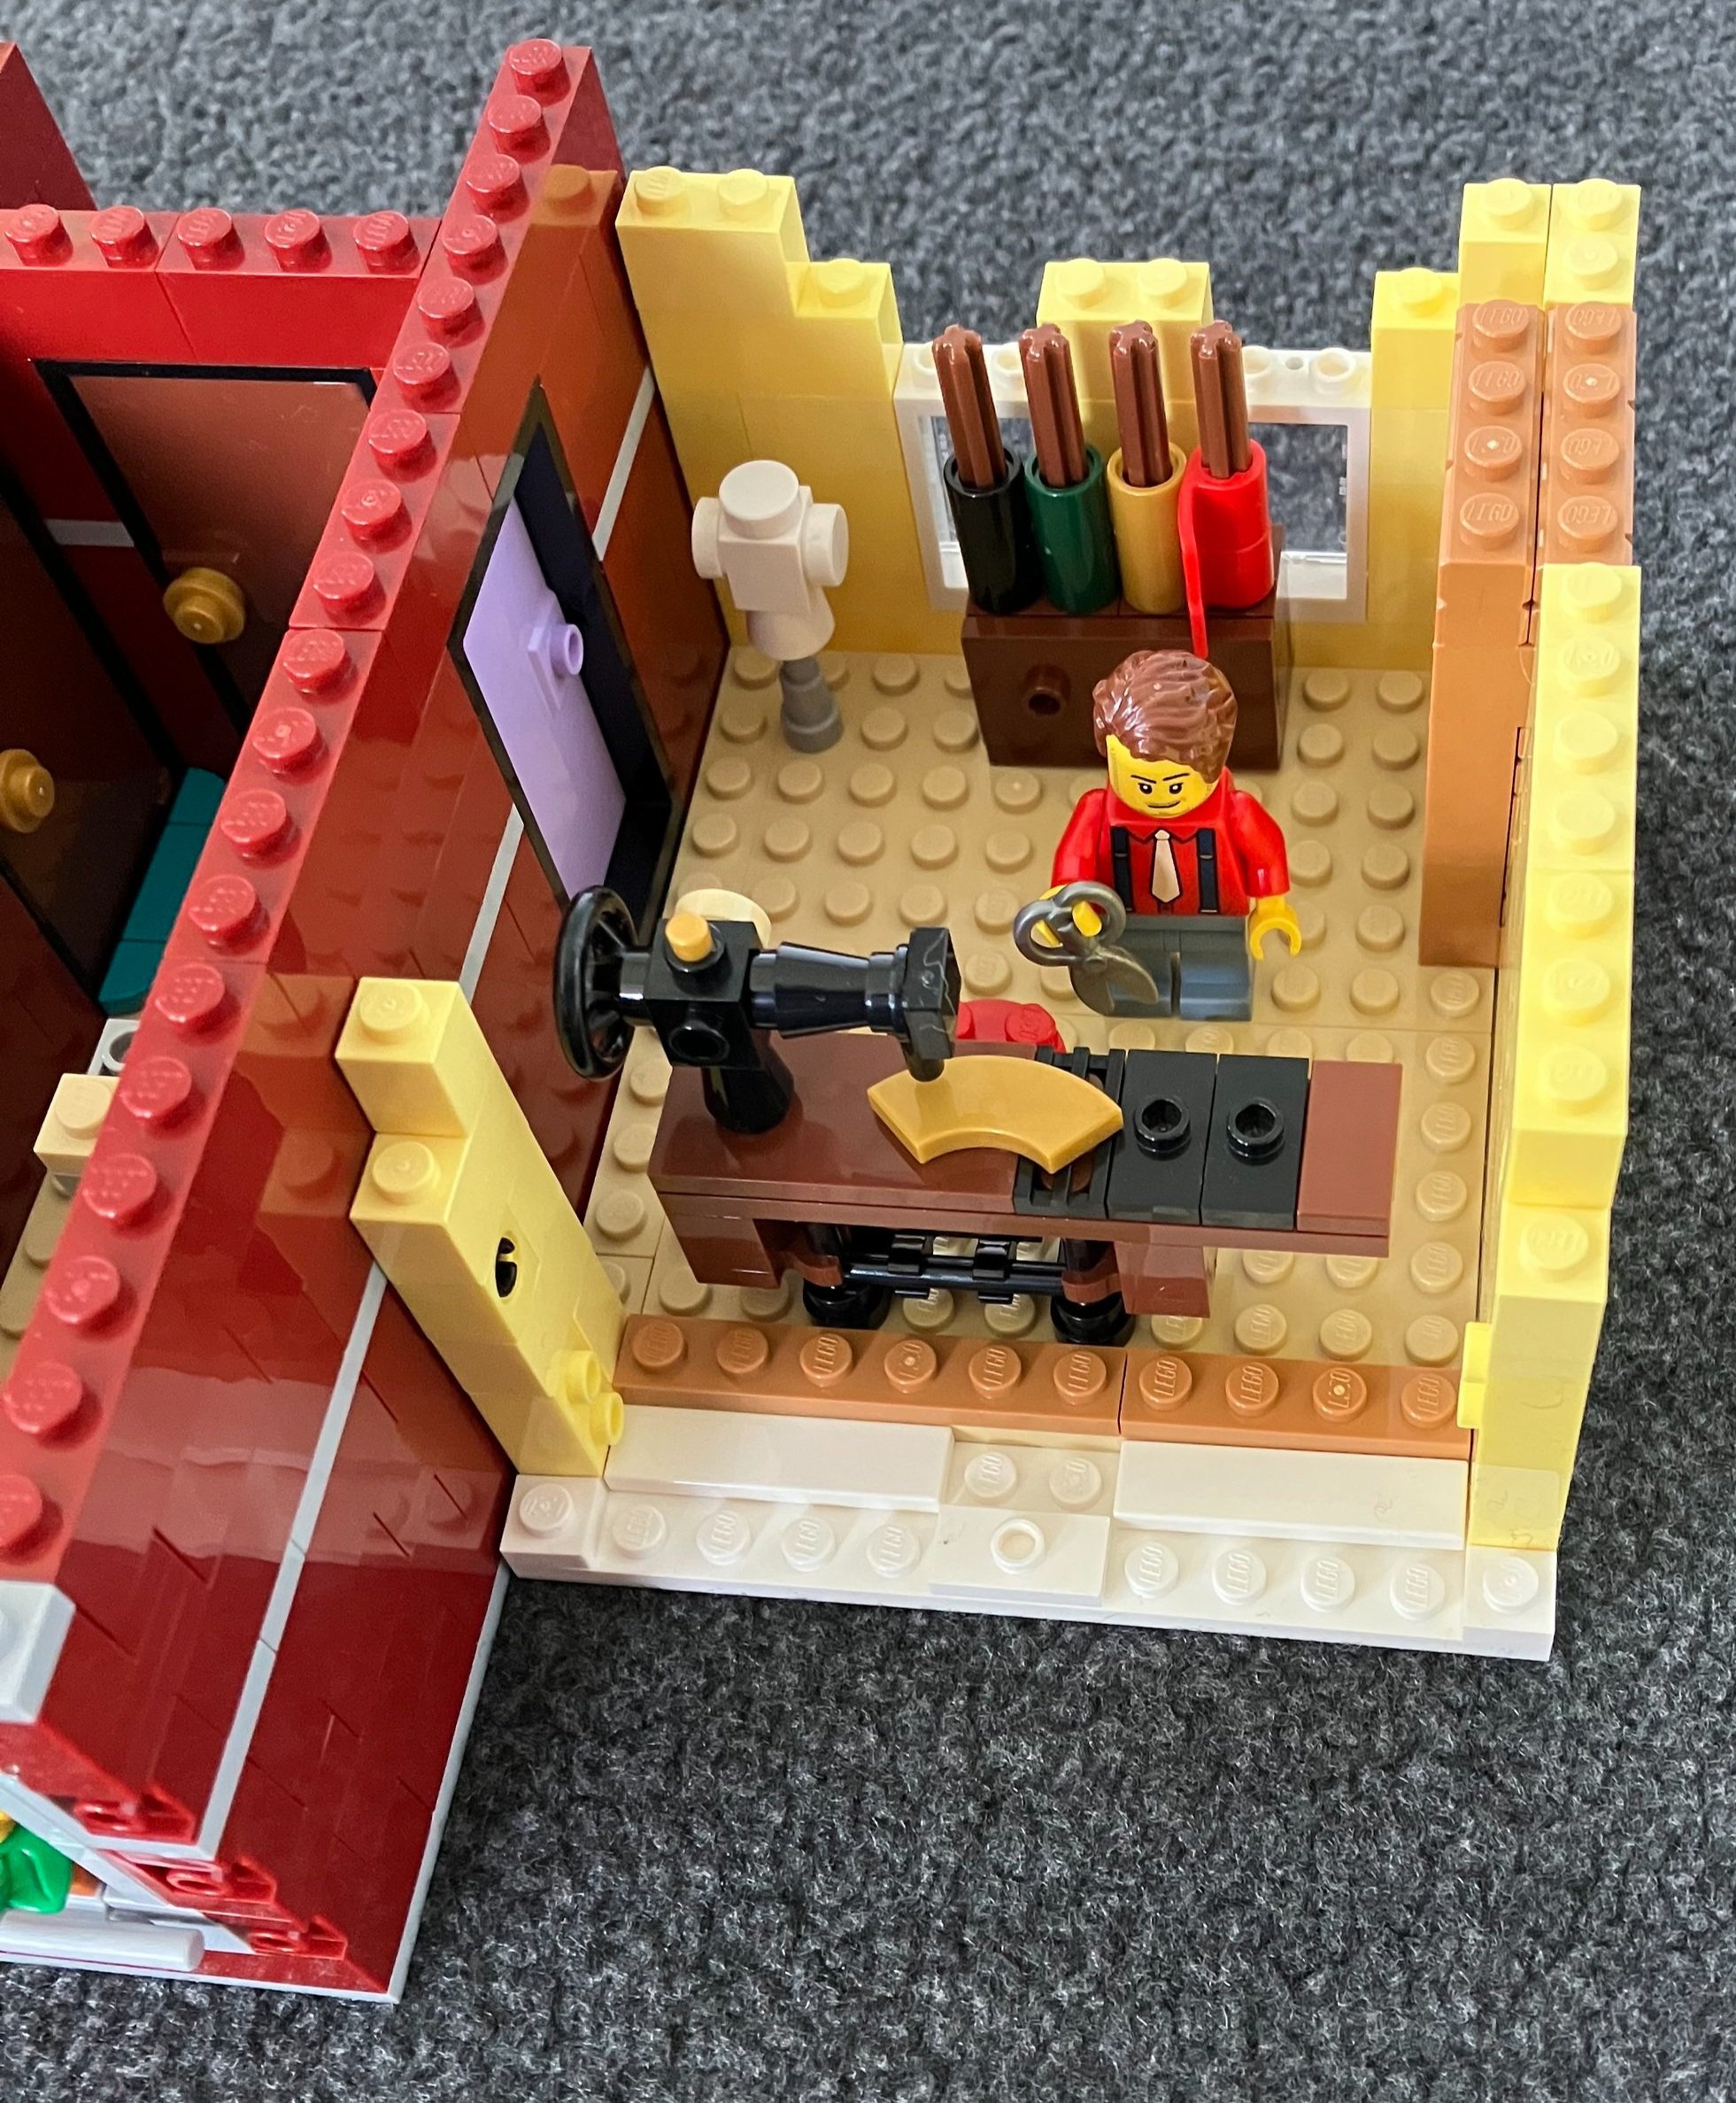
The ninth bag starts assembly on the tailor shop which can only be reached by going through the Jazz Club section of the building. Not really a big deal, but interesting that they share a stairwell. The tailor shop is the same yellow as the pizza shop. Inside is a big sewing machine, some rolls of fabric, a mannequin, and the chimney from the pizza shop continues through this room. This bag comes with a minifigure to work as the tailor.

Bag ten wraps up this floor. You add tiles and a few studs around the tops of the walls to make for easy connections with the higher levels. You also finish up the front façade for the tailor shop with some windows and plants.

Bag 11 starts the third floor of the Jazz Club. Besides the floor and a start to the outer wall, you build a couch, music stand, plant, and a railing around the stairway entrance. This bag comes with the singer minifigure. She has a dress, microphone, and some big hair. The music stand comes with a printed tile with some music for her to practice.

Bag 12 builds up the walls and adds in some windows. Two of the front windows are made of translucent bricks and plates for a colored glass window. On the inside, you add a chair next to a table and mirror for the singer to use to put on makeup or fix her hair.

Bag 13 adds in some art on the wall of the practice room, the outer hallway gets a ladder to go up to the roof, and the entire floor gets more pieces for the walls, doors, windows, and tiling for the top of the walls. This bag comes with the magician who has a few parts for one of her tricks and a small bunny as well.

Bag 14 builds the roof of the Jazz Club. The details fit right into the rest of the build and while not overly complicated, the build was different using techniques you don’t usually see. For example, you attach a piece in upside down in the front of the roof, in the center section so you can attach a decoration piece. The back corner of the roof has a small nest for a squirrel to live in. A trap door opens up to the ladder in the hallway on the floor below.

This bag also builds the Jazz Club sign. I was thankful that the sign is printed and I like the yellow on the dark blue. The yellow rails along with the yellow sausage pieces really help to make it pop. I’ve seen a few reviews were people didn’t like the colors of the building, but I’m good with it. It looks awesome with the brick red color of the building.

The final bag, bag 15, adds in a small outdoor seating area in front of the pizza shop and includes a driver with a mini motor bike to deliver pizzas to customers. On top of the pizza shop is a green house. There are a few plants inside the greenhouse and then there’s an interesting design using clear door/wall pieces to let in light for the brick plants to grow. I followed the instructions, but there is space and some extra plant pieces to mix things up as desired.

The set comes with eight minifigures. Here they are in case you couldn’t see them well in the earlier pictures.

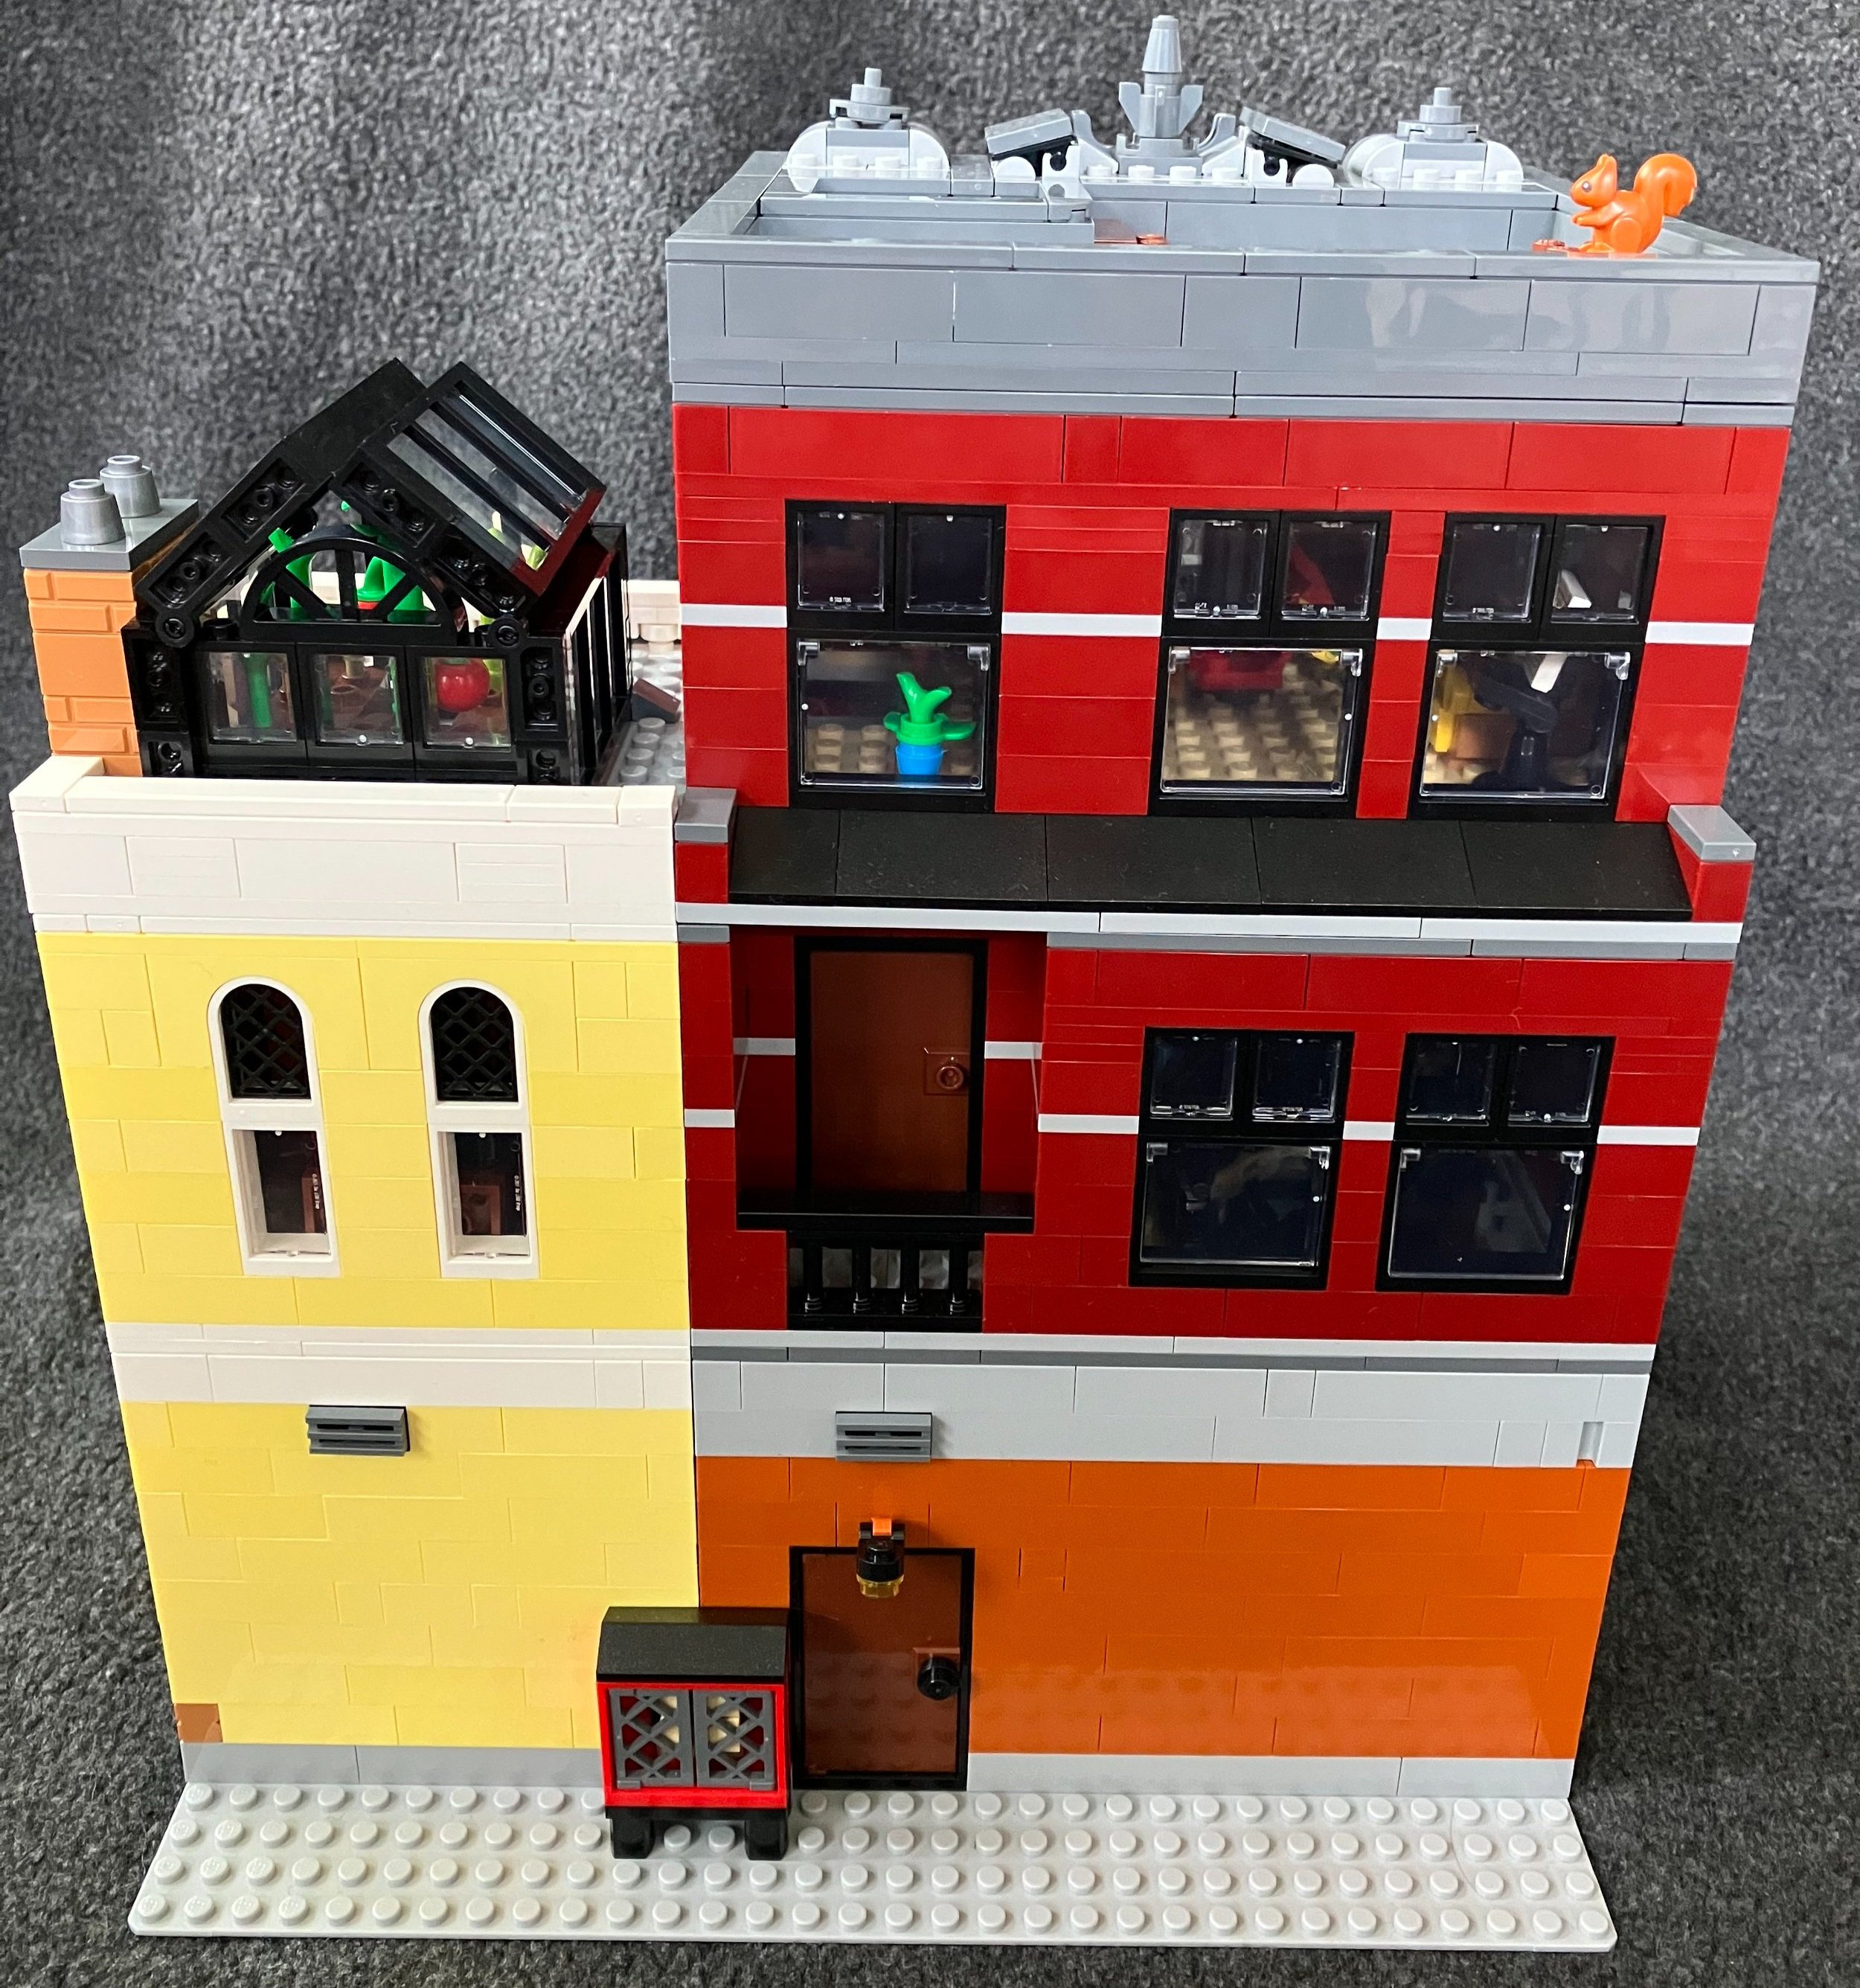
Here’s the final build. The sides don’t look that great, but that’s to be expected as you connect modulars to each other. The back is pretty boring as well, but that’s not too big of a deal to me. Overall, is this my favorite modular building ever? No. Was it a great build with a fun design? Yes. I enjoyed this one. I actually ended up building it with my 5-year old kiddo. He had some challenges with the harder sections, but he did great with a lot of the areas I didn’t think he’d be able to handle.

As for the price, I am not a fan that the price keeps going up for modulars, but I am glad the price per piece is still fairly reasonable. I used VIP points and purchased the set during a double VIP point period so that helped. If you’re a modular fan, you have to pick this one up. If you’re on the fence, I’d dive into this one. You’ll enjoy the build and if not, you get some fun pieces for future MOCs. Look for great GWPs or double VIP point options to get a better deal.

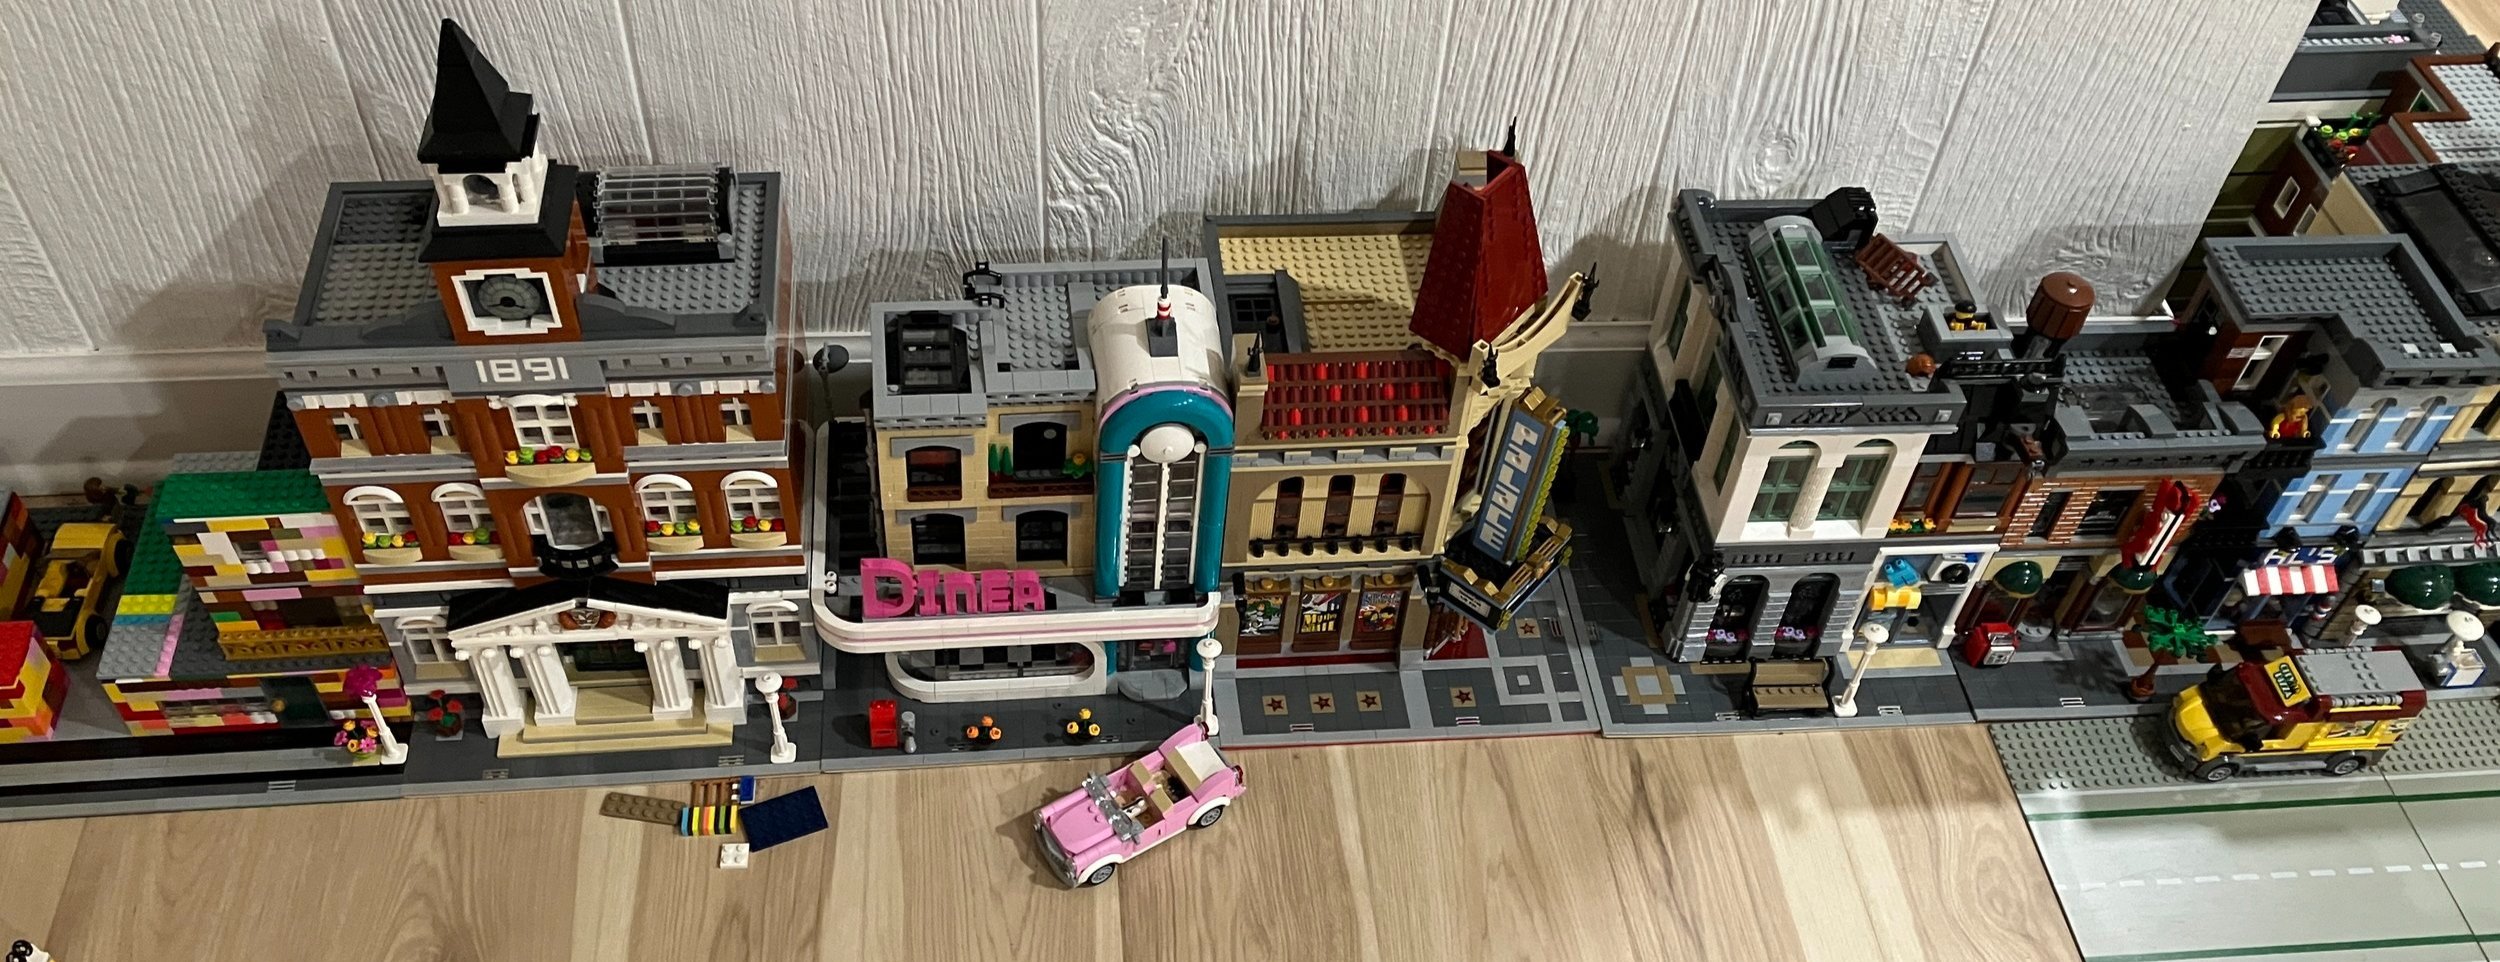
I think this is the first time that I’ve had another modular still built. Here is the Jazz Club next to #10297-1: Boutique Hotel. I think it looks better with the Jazz Club on the left side, but that’s just my opinion. Some day, I hope to have the time to rebuild them all and the space to put them all together for a photo shoot.

Happy building!

Set Review - #10497-1: Galaxy Explorer - Icons

About a year ago, LEGO ran a vote for the favorite theme to bring back for the 90th anniversary of the company. The votes were tallied and Castle ended up winning. The #10305-1: Lion Knight Castle was the resulting set from the vote. As a bonus to fans, we also got this set which is #10497-1: Galaxy Explorer. This set is a remake of 1979’s set #497: Galaxy Explorer. The original set had 338 pieces and retailed for $32. The new set contains 1,254 pieces and retails for $99.99 in the US. This works out to $0.08 per piece. The set was released on 20 June 2022 in the US and it is still out at the time of this post. I purchased the set on pre-order straight from LEGO Shop @ Home, but Walmart has had the set on sale for $75 for the past week or so. I’m not sure how long that sale will last, but it’s crazy to see a new set discounted so quickly after it’s release. It makes me wonder if the set isn’t selling as well as LEGO had hoped.

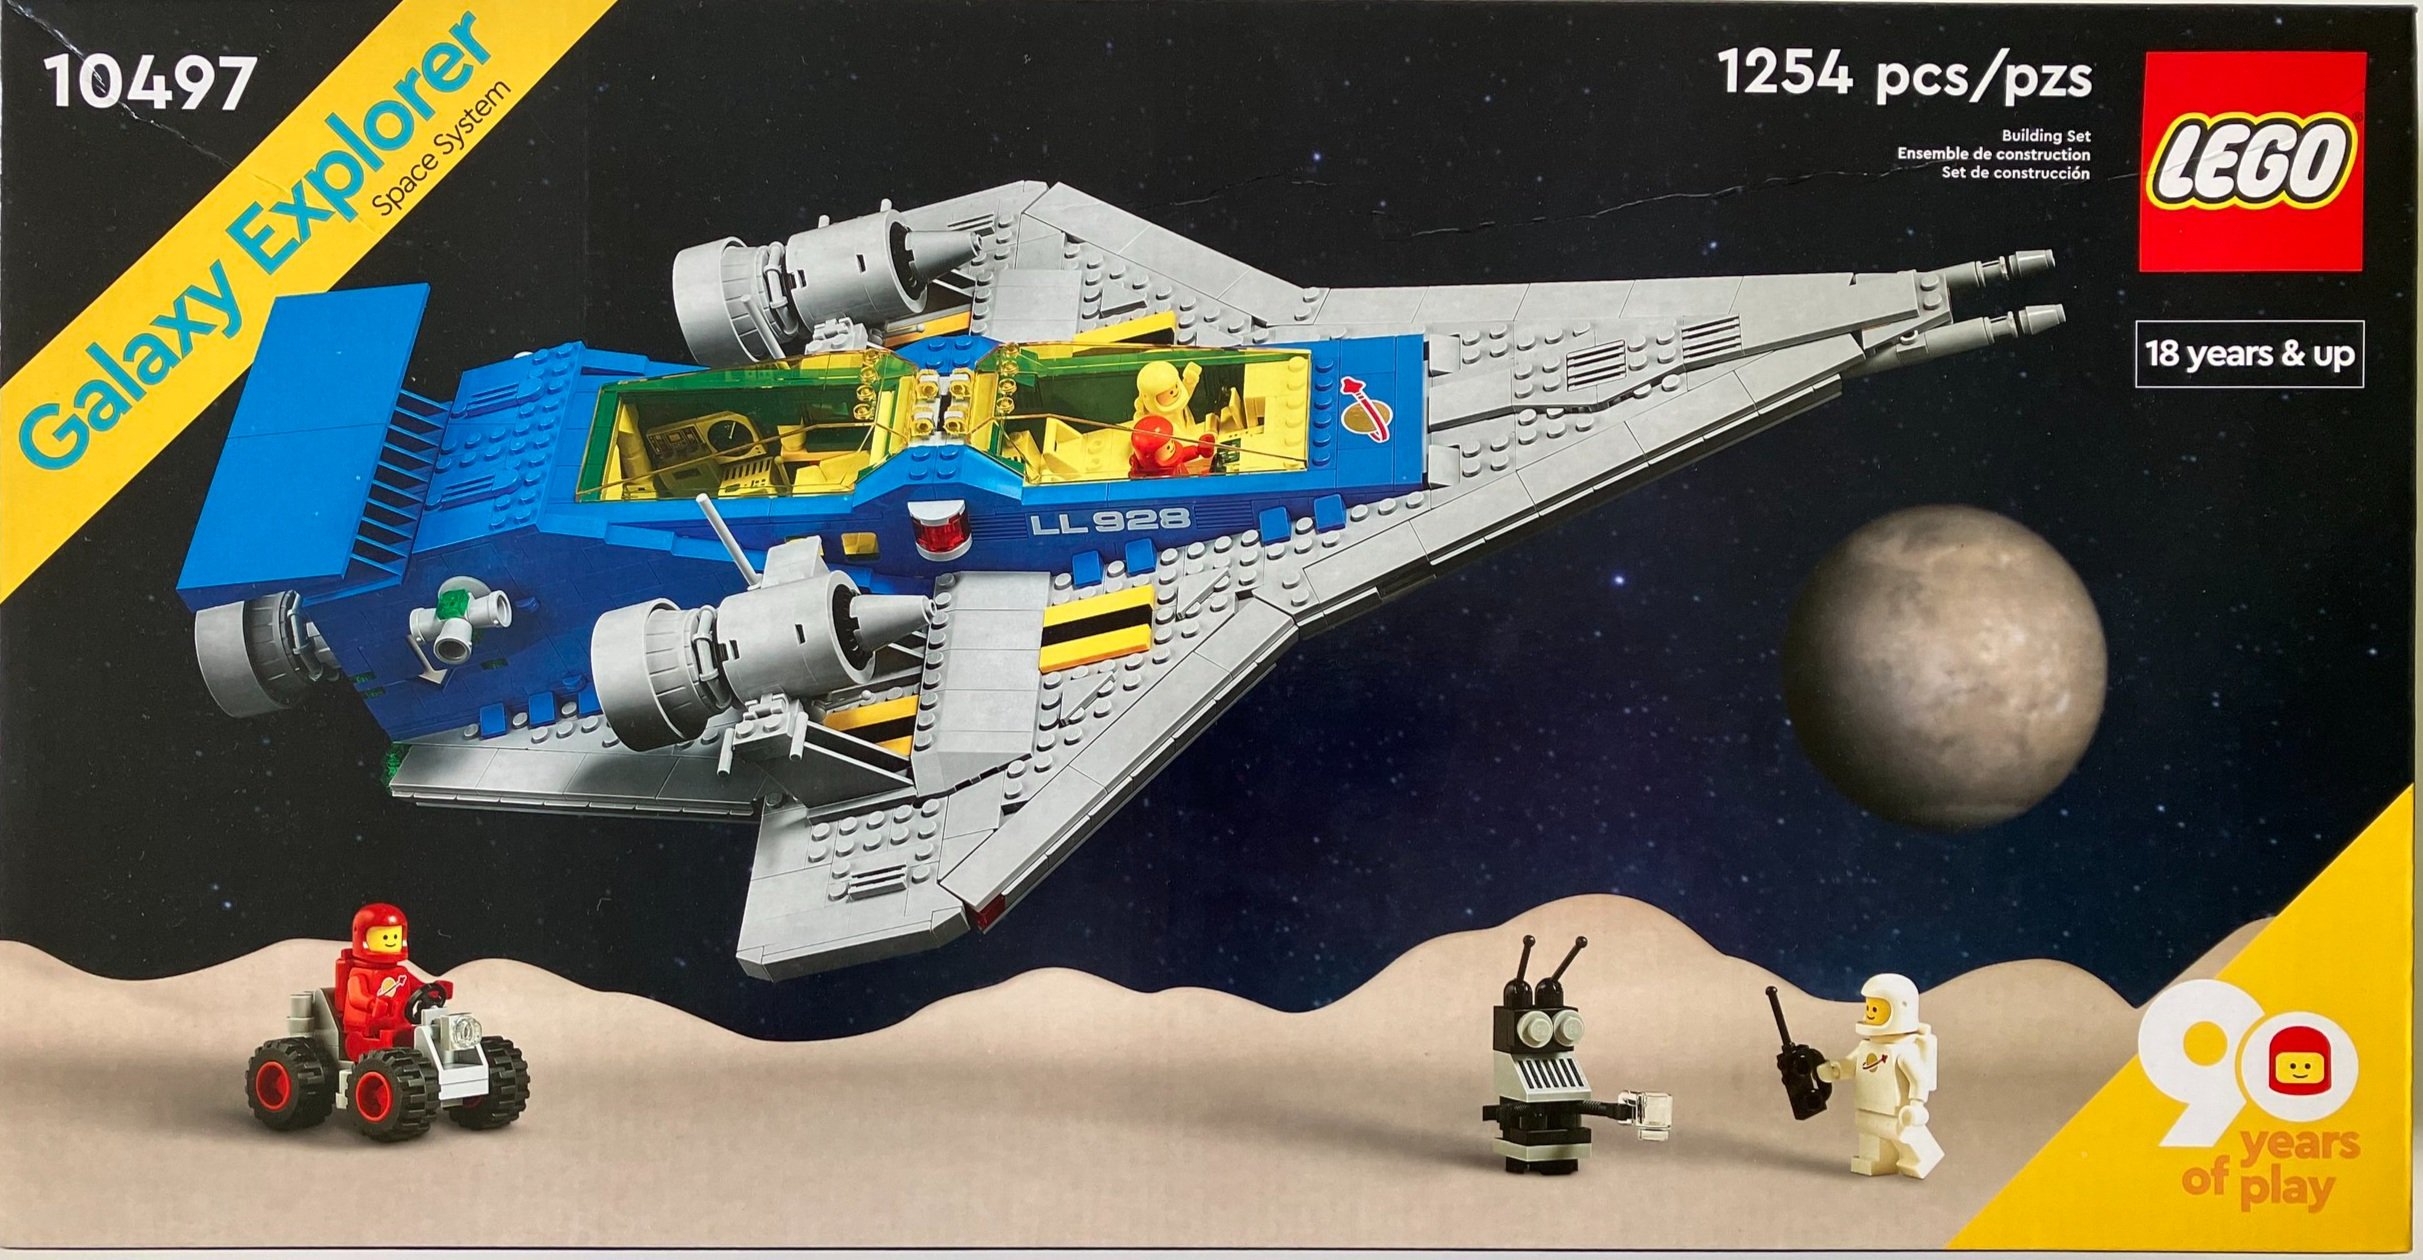
The box is designed after the old box style and is similar to #21322-1: Pirates of Barracuda Bay. It has the 90th anniversary logo on the bottom right on the front and a few other changes like the “18 years and up” for the age versus sets from the 1970s and 1980s. The back of the set shows some of the various play features of the set.

The contents of the set are 9 parts bags, an 8x16 black tile, the instructions (in a sealed bag), and a sheet telling you that some day LEGO will switch over to paper parts bags, but in the meantime you can keep throwing out your single use plastic bags.

The build starts with some inner substructure made of mostly Technic elements. You also build what will become the landing legs that extend down and then retract.

I failed to add it in the picture, but you get a space minifigure in a red suit here as well as a brick separator.

The second bag starts to give the ship it’s shape and adds some of the crew compartment. It’s great to see the printed tiles and bricks from the past return. From the bottom view, you can see the three landing legs. Each of them have a piece that is flat on the bottom and then has studs on top to connect with the rest of the ship. I’m not sure if this is a new piece or not, but it’s a cool use of this part.

Builds three and four help to create more of the shape of the ship. The use of LEGO geometry to create the angles is impressive. Not only are plates used, but the various leading and trailing edges of the ship still match the angles with very little gaps. Well done LEGO design team!

I found the build to be a bit fragile as I was putting it together. There were a lot of parts that kept coming off. This was rectified by the end, but just a note to be careful as you assemble the set.

Throughout the instructions, LEGO included various fun tidbits about the set which were nice to include. You’ll notice the use of colors. The designers only used colors available back in 1979 except for the light gray which was slightly different back then.

Bag three adds another space minifigure. This time it is in white.

Build 5 adds more detail to include the “shooters” on the front, some colored tiles on the top, and the start of the crew compartment. Initially, you attach an assembly of parts to the main structure of the ship with a Technic pin. For a while it just looks awkward as it sits at a weird angle and looks out of place. As you go further, you see that it fits right in and matches the angles perfectly. The fifth bag also includes another red colored space minifigure.

The sixth bag adds more detail to include additions to the crew compartment (beds that support leaving your oxygen tank on), storage for gear, the rear storage section for the space buggy with a ramp that folds out, and the start to where the engines connect.

Build 7 includes a white space minifigure and finishes off the crew compartment. You get additional control panels to add into the back compartment. You also add in the two yellow windscreens. I heard numerous complaints about these screens being scratched, but I didn’t have any issues. The set also comes with more printed parts to include the Classic Space logo and the numbers on the side.

Build 8 completes the rear tail, storage compartment, maneuvering thrusters, and the functionality that lets the rear compartment flip open to let the vehicle out.

This set comes with 4 space minifigures. While we didn’t get any new colors from the past, it’s still great to have additional space suited minifigures to add to the crew. Also included is a robot/droid. It wasn’t in the original set, but was in some of the other Classic Space sets. This one can carry coffee mugs which is fun considering they are in space and the coffee wouldn’t actually stay in the cups.

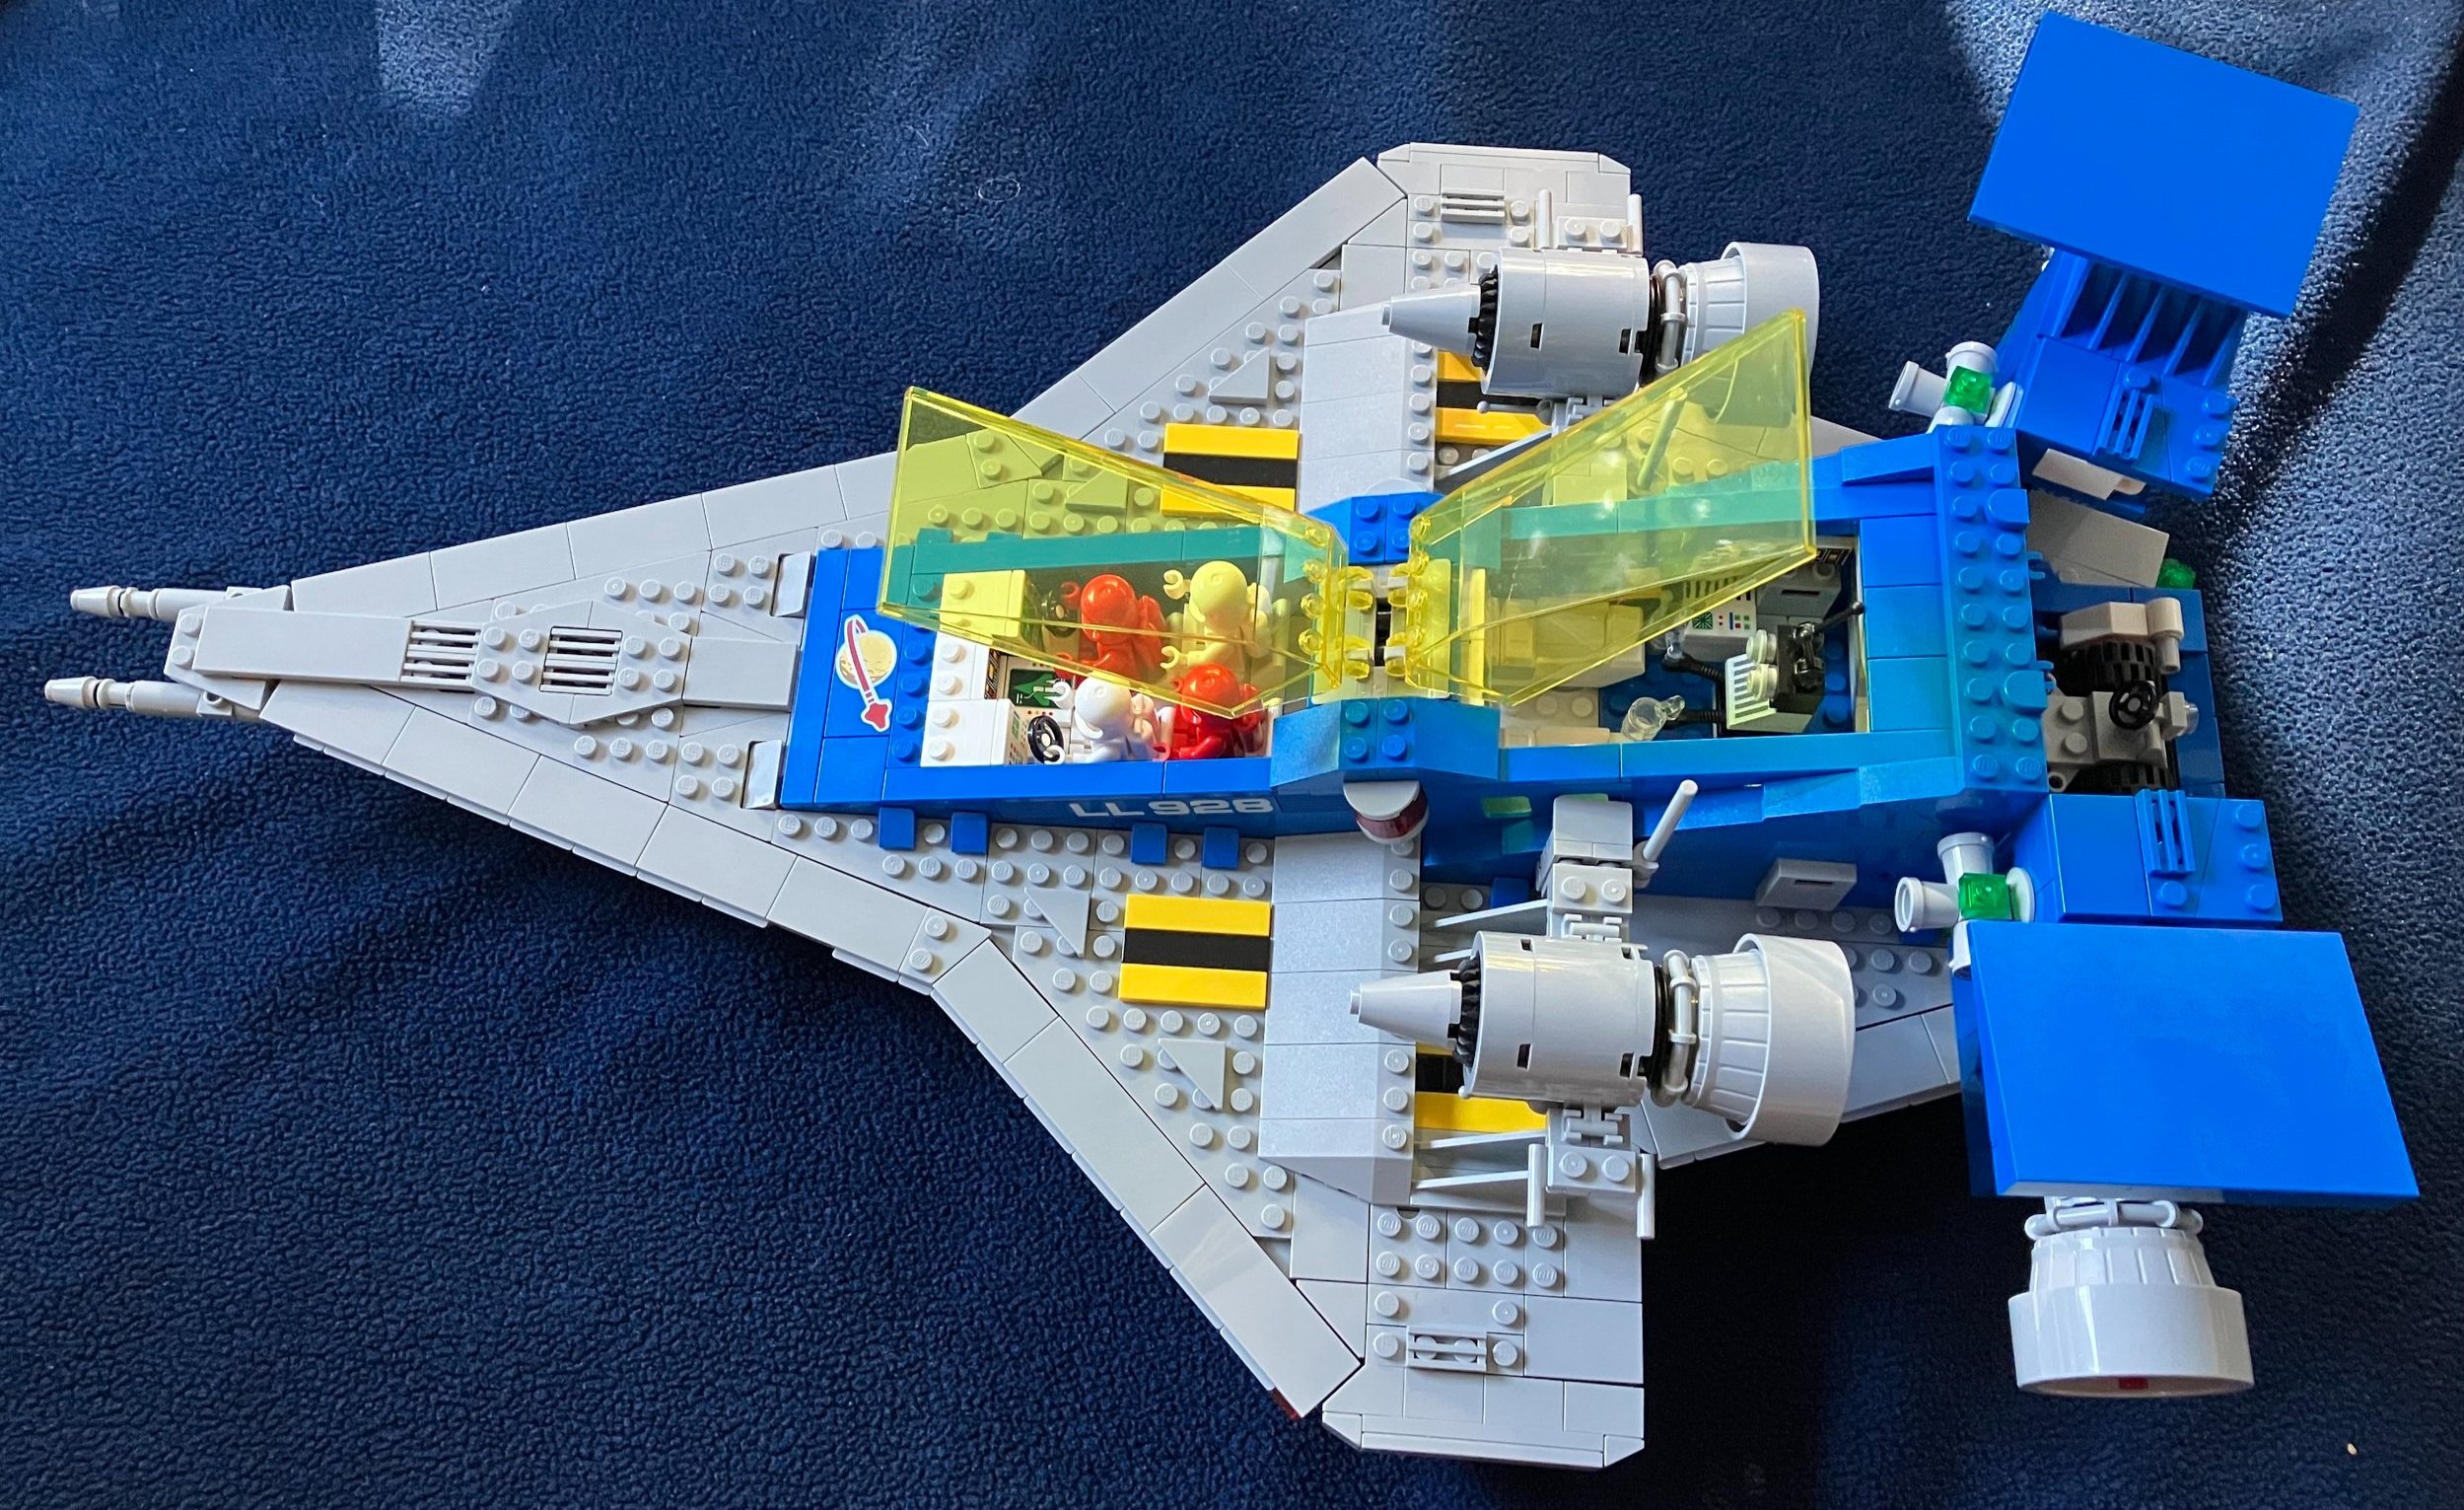
Here’s the final set. The ninth bag adds the engines. Two are on the sides in the back and two are attached to the back. The two on the sides can be removed and you can stick a minifigure on top to ride them. The ninth bag also adds the space buggy. You can open the rear of the ship, pull out the ramp, and it slides out. This is another cool addition to the set.

I highlighted the landing gear earlier and I took a picture of it extended here. The new piece is great and I like how it extends out to land and then folds up and tucks into the ship to allow it to swoosh away.

Overall, it’s a great set. I think it’s priced well and $75 is an even better deal if you grab it from Walmart. As a Classic Space fan as a kid, I was pumped to see space return and I appreciate the addition of this set to the line. Side note, I voted for the M-Tron theme to return…

I recommend this set for fans into the nostalgia of older LEGO sets as well as new fans. My 5 year old enjoyed playing with the space buggy and minifigures and I’m sure others as well. Also, it’s a great way to get into the 90th Anniversary sets without dropping $400 on the Castle.

Happy building!