Icons

Set Review - #10314-1: Dried Flowers Centerpiece - Icons - Botanicals

The Botanicals line has continued strong with set #10314-1: Dried Flower Centerpiece which was released 1 February 2023. This one was priced at $49.99, but with all the sales can be found for around $38 right now. It’s going to be retiring soon so look for it to fall even lower as retailers look to get rid of inventory. The set contains 812 pieces which works out to $0.062 per piece. This isn’t bad although most of the pieces are rather small. If you really like the set, you can get more than one to make a larger display as shown on the back of the box. I just purchased one to build so onto the review…

The set contains seven parts bags and two instruction booklets. It’s possible to split the set up between two people so you could have one person build bags one through three and another builds bags four through seven.

Bag one assembles the base of the first half of the arrangement. Nothing overly extraordinary to report here.

The second bag adds in some of the plants around the edges of the base. The use of pieces is great with pumpkin pieces, crowns, whips, and Technic gears along with some of the usual plant pieces. Even if you don’t like botanical sets, you get some great colored foliage pieces for MOCs or forest scenes so it’s a good parts pack.

The third bag finishes up this half of the arrangement. The standout is the flower with the oar pieces connected to orange wrenches around a steering wheel type piece. The Ninjago hat as the center is great too. You also add in some other flowers to include some made with orange epaulets.

Bag four starts the other half of the arrangement. It looks very similar to bag one.

Bag five is similar to bag two. The build isn’t exactly the same, but there is some repetition between the two. It’s a smaller build so not too painful here.

Bag six finishes up most of this arrangement with the highlight being the rose. It’s impressive how the designers figured out how to overlap the wheel well pieces to create a flower like shape.

The last bag connects the two halves and also gives you the option to build a separate connecter piece. Buying two sets would allow you to connect the four halves and make a fun arrangement. You could put a real candle in the center or some other fun brick designed item to have a cool table decoration.

Here are a few shots of the final build. It’s not very large, but my NLS found a way to display it in our house for the fall and it looks great. If you’re a fan of the Botanicals line, I recommend picking this one up before it is gone if you haven’t already. If you are looking for a good parts pack with some foliage pieces, this is one to look for some sales on Black Friday to grab it at a discount for parts.

Happy building!

Set Review - #10332-1: Medieval Town Square - Icons

After the success of #10305-1: Lion Knights’ Castle, it’s no surprise that LEGO returned to the theme with #10332-1: Medieval Town Square. This one is a re-make of #10193-1: Medieval Market from back in 2009. It’s also the third set in a line of larger sets LEGO has brought back if you include the Ideas set from 2021, #21325-1: Medieval Blacksmith. Back to the set at hand, this one was released on 1 March 2024 and it contains 3,304 pieces. The retail price in the US is $229.99 so the price per piece works out to $0.07. This isn’t too bad, but you also need to factor in that it’s not a licensed theme and there are a lot of small pieces mixed in too.

I ordered my set from LEGO Shop @ Home. It arrived in an outer cardboard box designed for the set. The sticker on the outside says the set was produced in March 2024 and it looks like it was made in Mexico I wonder how long it will take for us to see sets from the US once the plant in VA is complete?

The set box itself shows one side of the set on the front with the Icons logo and 18+ greebling. The back shows some of the play features

The set contains 25 individually numbered parts bags, an un-numbered bag with some of the larger plates, and an envelope containing the instructions and stickers.

The set contains two instruction books in the paperboard envelope. Book one includes some details about the set, designer, and history of the castle theme.

Sadly, there are stickers in this set which you’d hope wouldn’t be there at this price point. The sheet isn’t super big, but there are a few larger ones which are always a pain for me to put on.

Bag one starts off with some small accessory builds. It includes a chair, a desk/furniture piece, a food stand, a stand for the wood worker, and then a spinning wheel for making string/yarn. There’s also a minifigure with a hammer as she is the woodworker.

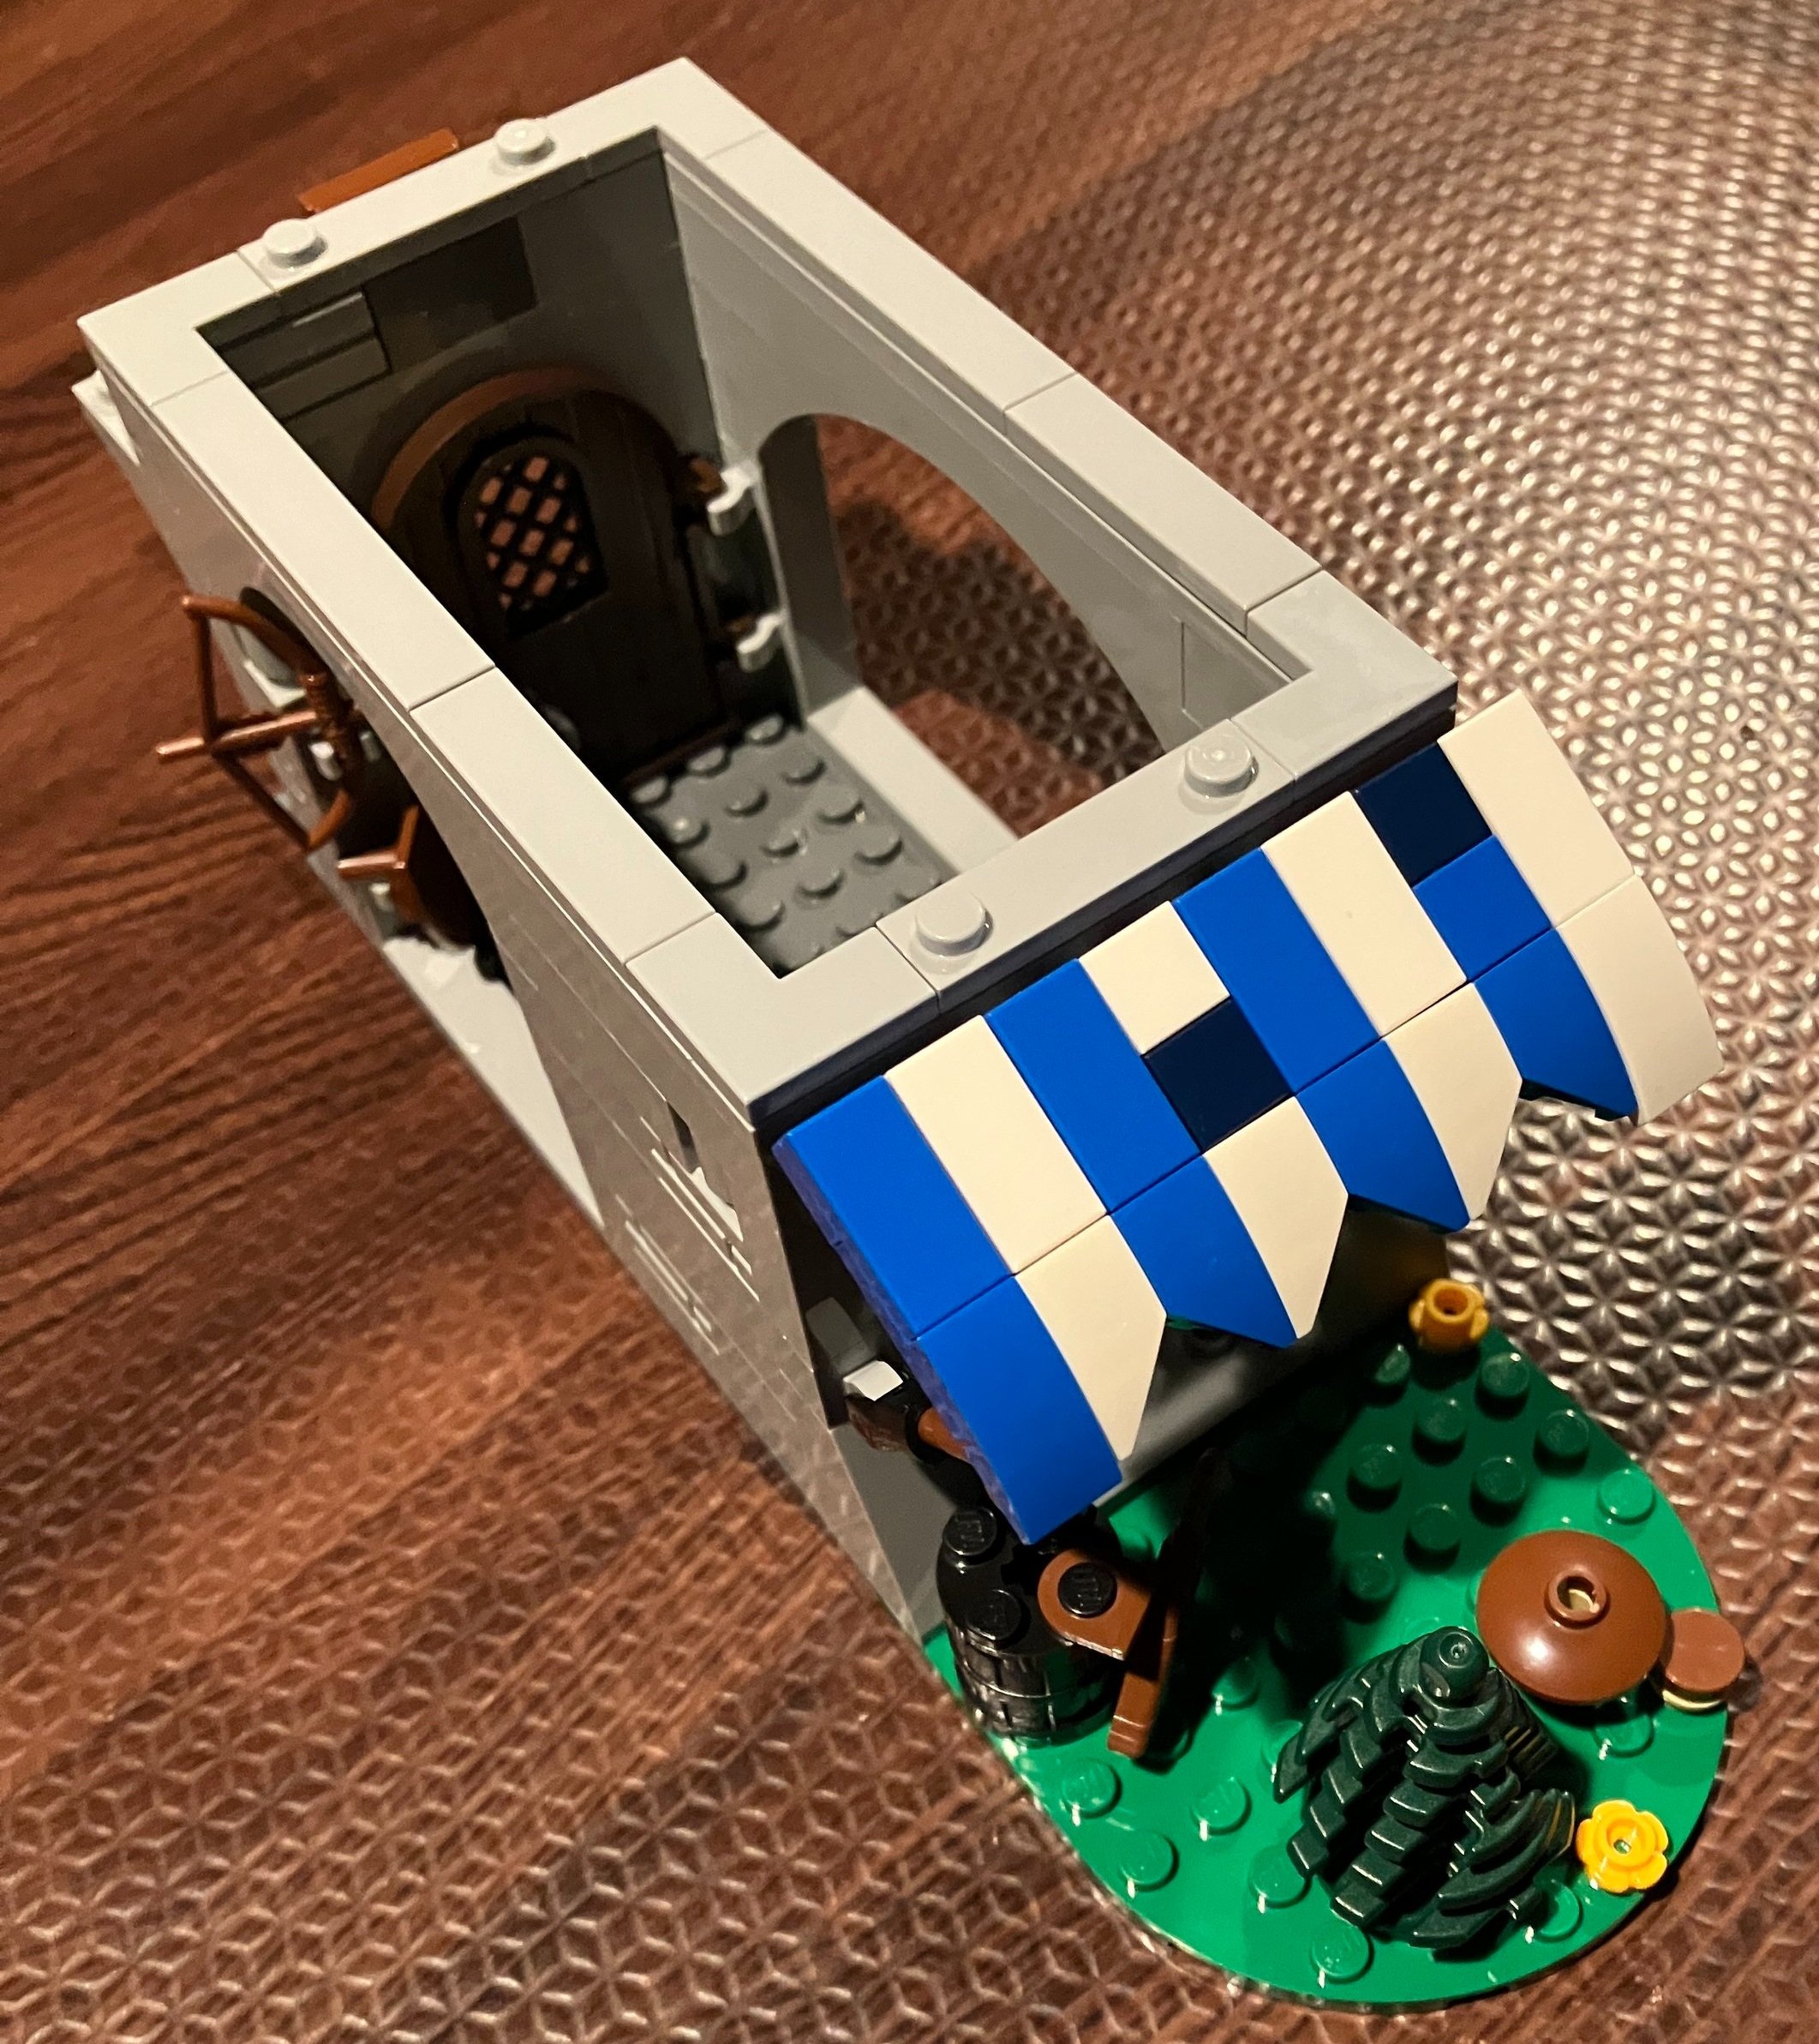
Bag two starts to build a building for the wood worker. It includes an awning with some discoloration (different colored tiles) and some weapons inside.

Bag three adds the second floor and a crane/pulley system to lift stuff up. There is a wagon wheel up top and you attach one of the pulley system. The pulley has a Technic gear on the outside to raise or lower the hook. Inside the building you assemble a latch system so that the hook doesn’t just fall to the ground if you let go. It’s not too complicated to build and is a nice small touch for this section.

Bag four adds the thatched roof to the building. It is placed on top and stays with gravity, but can be easily removed for playability.

Bag five builds the section for the tapestry maker to work while bag six adds the roof to it. This section connects to the first building with some hinge pieces. This building is slightly different from the last one as it as a darker colored thatched roof and a small window built into the roof. Inside are some different string/yarn colors to use and you can attach a tapestry in work to the jumper plates on the floor as well.

Bag seven adds the chimney with a piece for smoke coming out which is used throughout the build. Outside of the set is a small garden area with some carrots, pumpkins, and a bee hive. The tapestry maker is included in this bag. He comes with some scissors and a small bag.

Bag eight starts to build the kitchen for the cheesemonger. I’m not sure how accurate it is for what it takes to make cheese, but close enough. This bag includes a small kitten and then a girl minifigure who is working in the kitchen.

Bag nine builds up the walls with a cool technique used throughout the build to make it look like there’s timber framing. I did some Googling and it said this is the Tudor style. Can anyone confirm that? There are a few plants on the window sills, and a flag on the outside for the shop.

Bag 10 adds the roof, chimney, and some smoke.

Bag 11 connects the three buildings together and adds some fencing so you can build a pen for the goat. This one is yet another print which is different from the original one and from the one that appeared in the Series 25 Collectible Minifigures. Everyone is so excited about the goat that they forget to mention that you also get a squirrel. WOOHOO!

Bag 12 builds a tree. On the tree you put some wanted posters which calls out the crook which happens to be a Wolf Pack minifigure. Then you get a Wolf Pack minifigure which is the first return of that subtheme in a while. Also in this bag is a small stand to place a log so you can hack at it with the ax.

Bag 12 ends the first instruction book.

Bag 13 begins to build the Broken Axe Inn. It starts to build the first floor with the start of what will be some furniture and fixtures. This bag includes the inn keeper minifigure who comes holding a glass.

Bag 14 completes the first floor and walls of the inn. There’s a keg, some candles, a lute, table/counter area, and a chess board with two large pieces.

Bag 15 gets to work on the second floor with some food and a cooking area. You get a loaf of bread, a crab, a fish, and a cooking space with some extra wood to stoke the fire.

Bag 16 completes the walls on the second floor, adds some windows, adds a pie cooling in the window, adds some kitchen utensils, and adds a roasted bird of some sort.

Before finishing off the roof on the inn, bag 17 takes you over to the shield painter’s area where she’s dripped a lot of paint on the floor. The shield painter minifigure comes in this bag.

Bag 18 completes the first floor of the shield painting space and adds in some stairs.

Bag 19 starts on the second story using the same Tudor style building technique as seen earlier.

Bag 20 builds a bedroom for the inn which includes a bed and some furniture.

Bag 21 adds a roof to the inn and then another floor to add more on top.

Bag 22 adds roofing over the inn.

Bag 23 adds a bedroom where the tax collector hangs out. If you haven’t read any reviews or seen any videos on the set, there is a fun hiding spot for the tax collector to store some extra coins.

Bag 24 adds a watch tower for a guard to hang out. The minifigure included is a Lion Knight so it fits in well as if this town square is near the Lion Knights’ Castle. I wonder why they did that? Hmmm???

Bag 25 finishes up the build. You add some plant life outside, a bird’s next, and a small tree. You also add the roof on top of the tax collector’s room. Finally, you include a stand for the shield painter to use when painting shields.

The set comes with eight minifigures. Many folks always complain that there are never enough minifigures in a set, but I think eight is a decent number for this one. I’ve introduced the rest already except I failed to show the tax collector. The tax collector has a cape and comes with a tile that you add a sticker to for his record book. He also has a quill for writing.

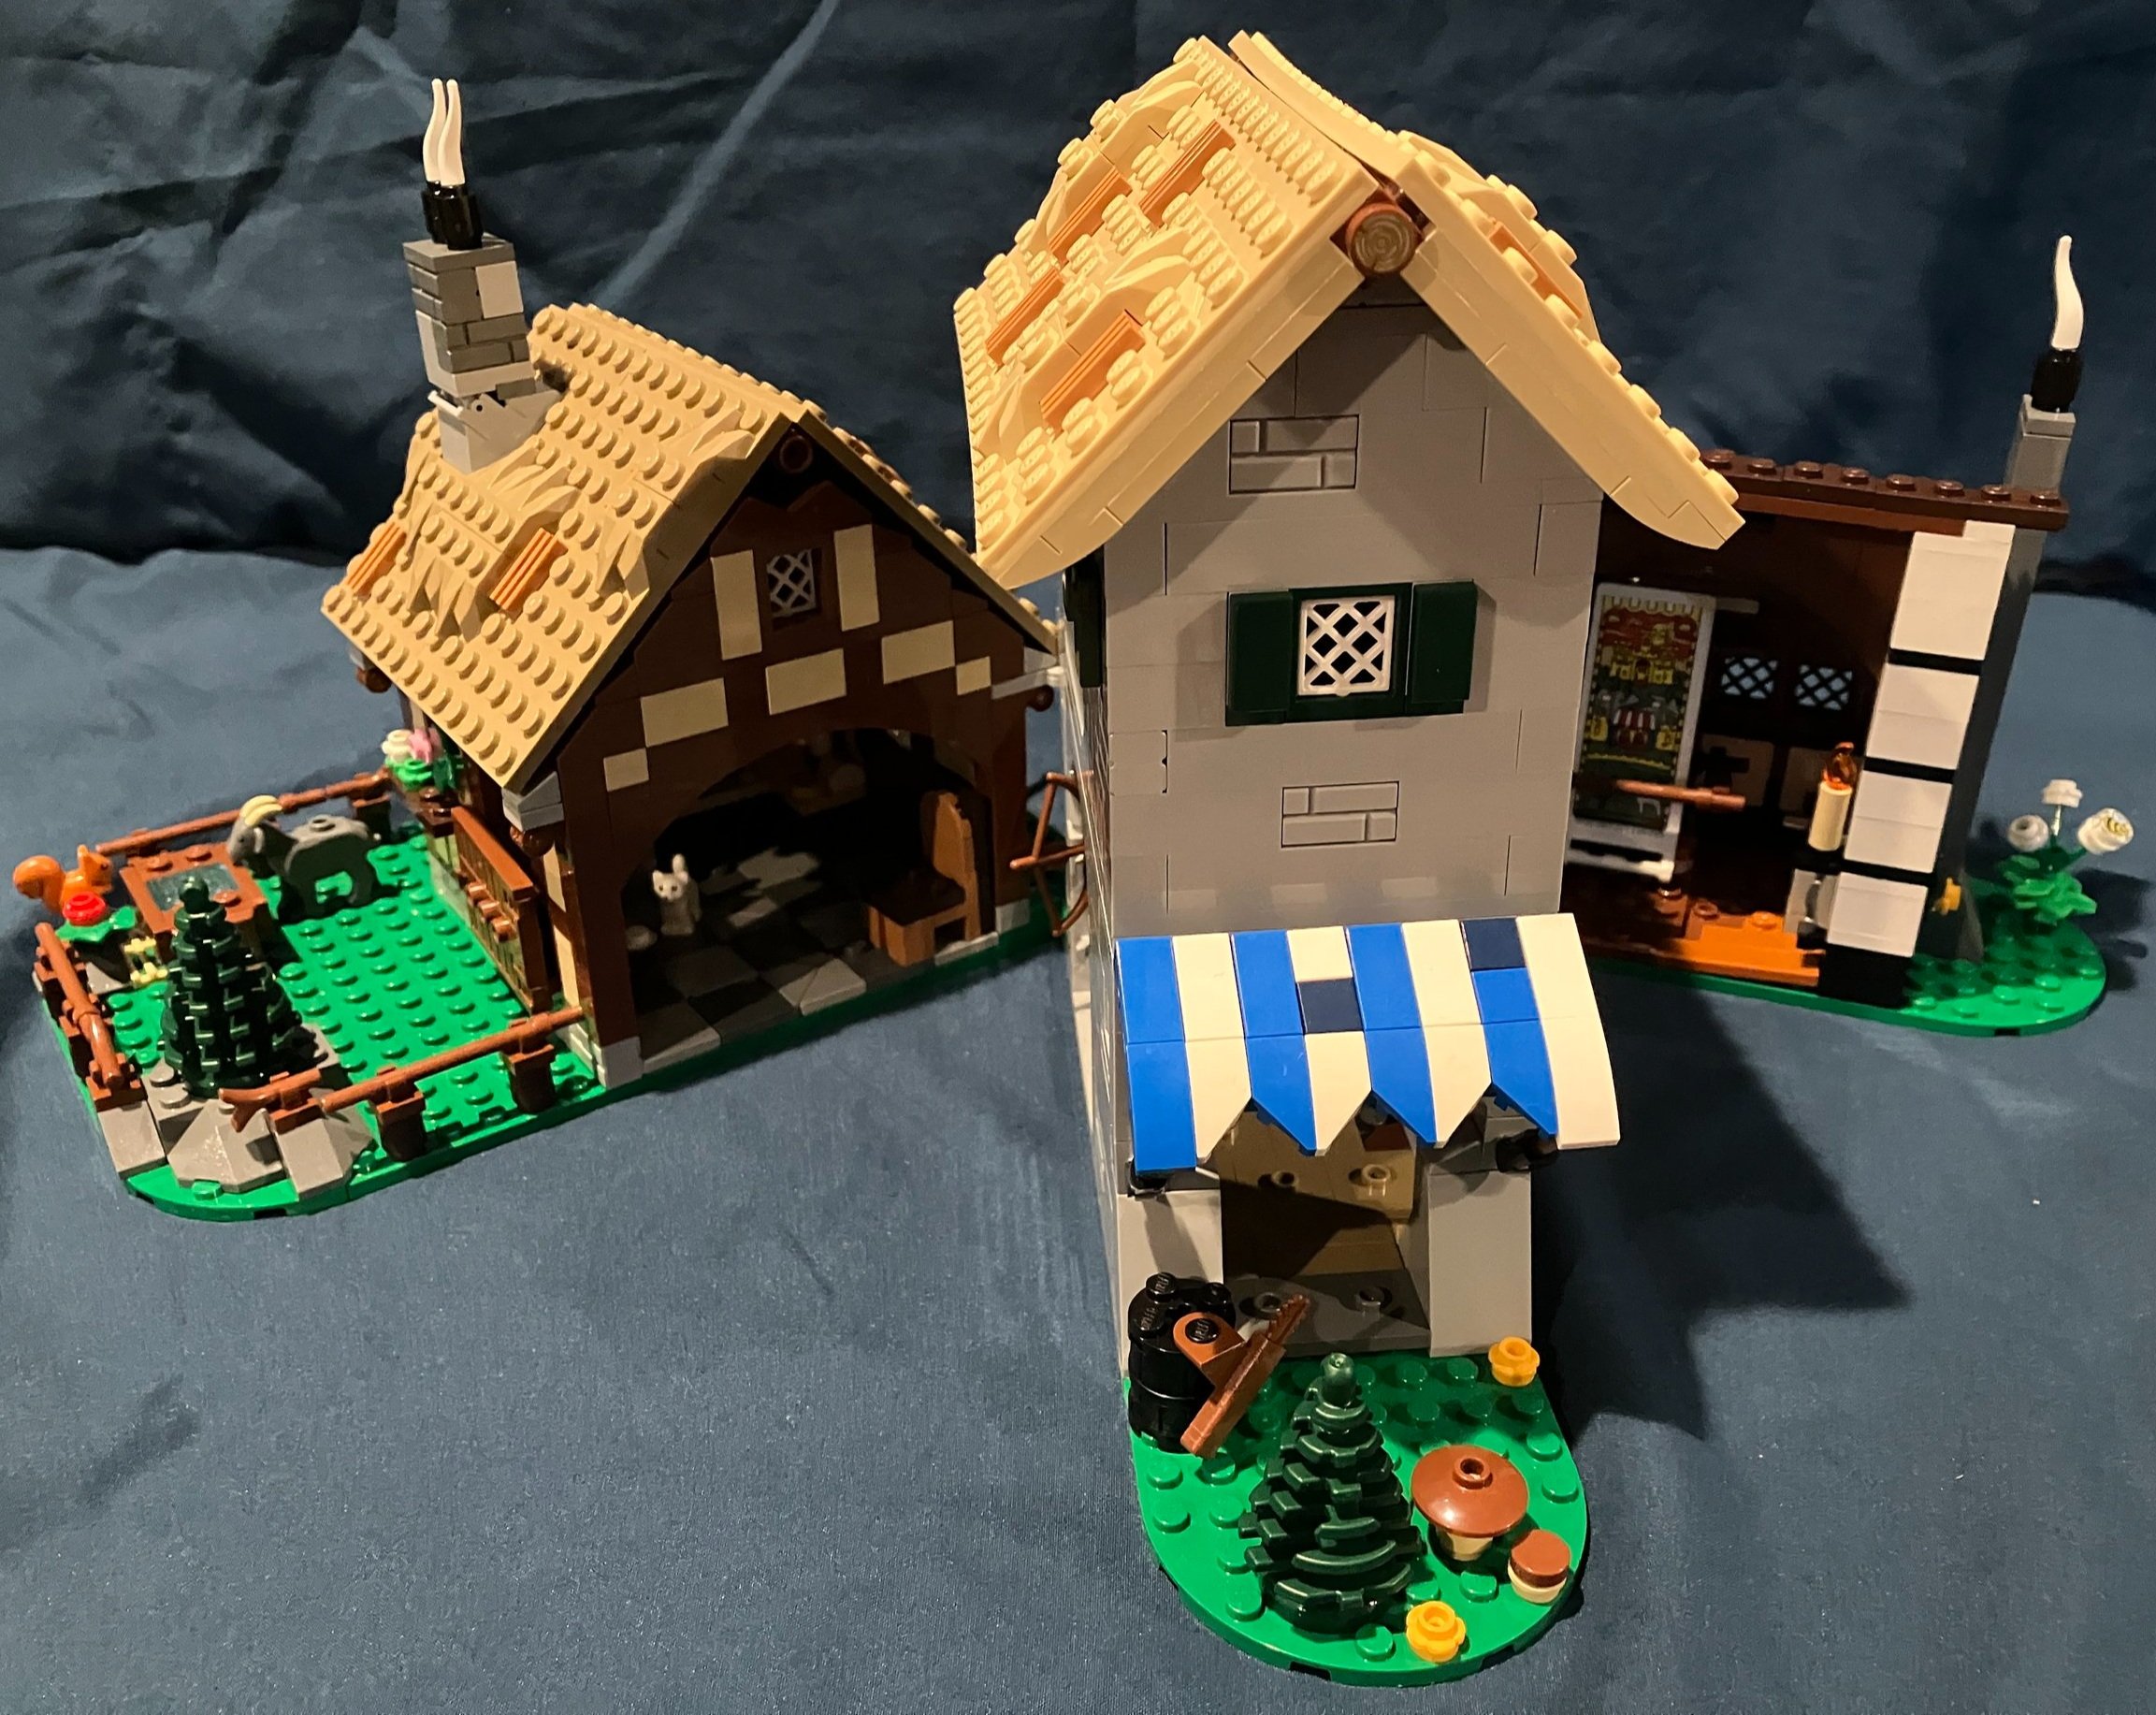
The Bricks for Bricks Bricklink store is closed and it’s still in transition so I don’t have access to my usual building spaces. At some point in the future, I hope to have a good space for taking photos. In the meantime, I set up the full set and took two pictures to capture the full thing. Overall, I thought it was a great set. It was fun to build, it has some great play features, and you get some fun pieces for future MOCs if you decide to take it apart. It’s a little pricy, but the price per piece is decent. I used this set as an opportunity to grab a cool GWP that I was interested in. Look for options to get double Insider points or a GWP or two to snag this one. I’m not sure if or when it will go on sale, if ever.

I did get the full thing in a top down photo.

As mentioned earlier, the buildings attach to each other with hinges so you can open them up for play. Here’s a picture of the inn and shield painter’s space opened up.

Finally, the buildings for the cheesemonger, wood worker, and tapestry maker opened up.

Happy building!
Set Review - #10326-1: Natural History Museum - Icons - Modular Building

LEGO knows that every year is they keep producing awesome looking modular buildings that I’ll shell out whatever price they set and this year is no exception. #10326-1: Natural History Museum was released on 1 December 2023 for $299.99. It contains 4,014 pieces which works out to $0.075 per piece. This one is bigger than past sets as it includes a 32x32 baseplate and a 16x32 baseplate. Lots to dig into so let’s go…

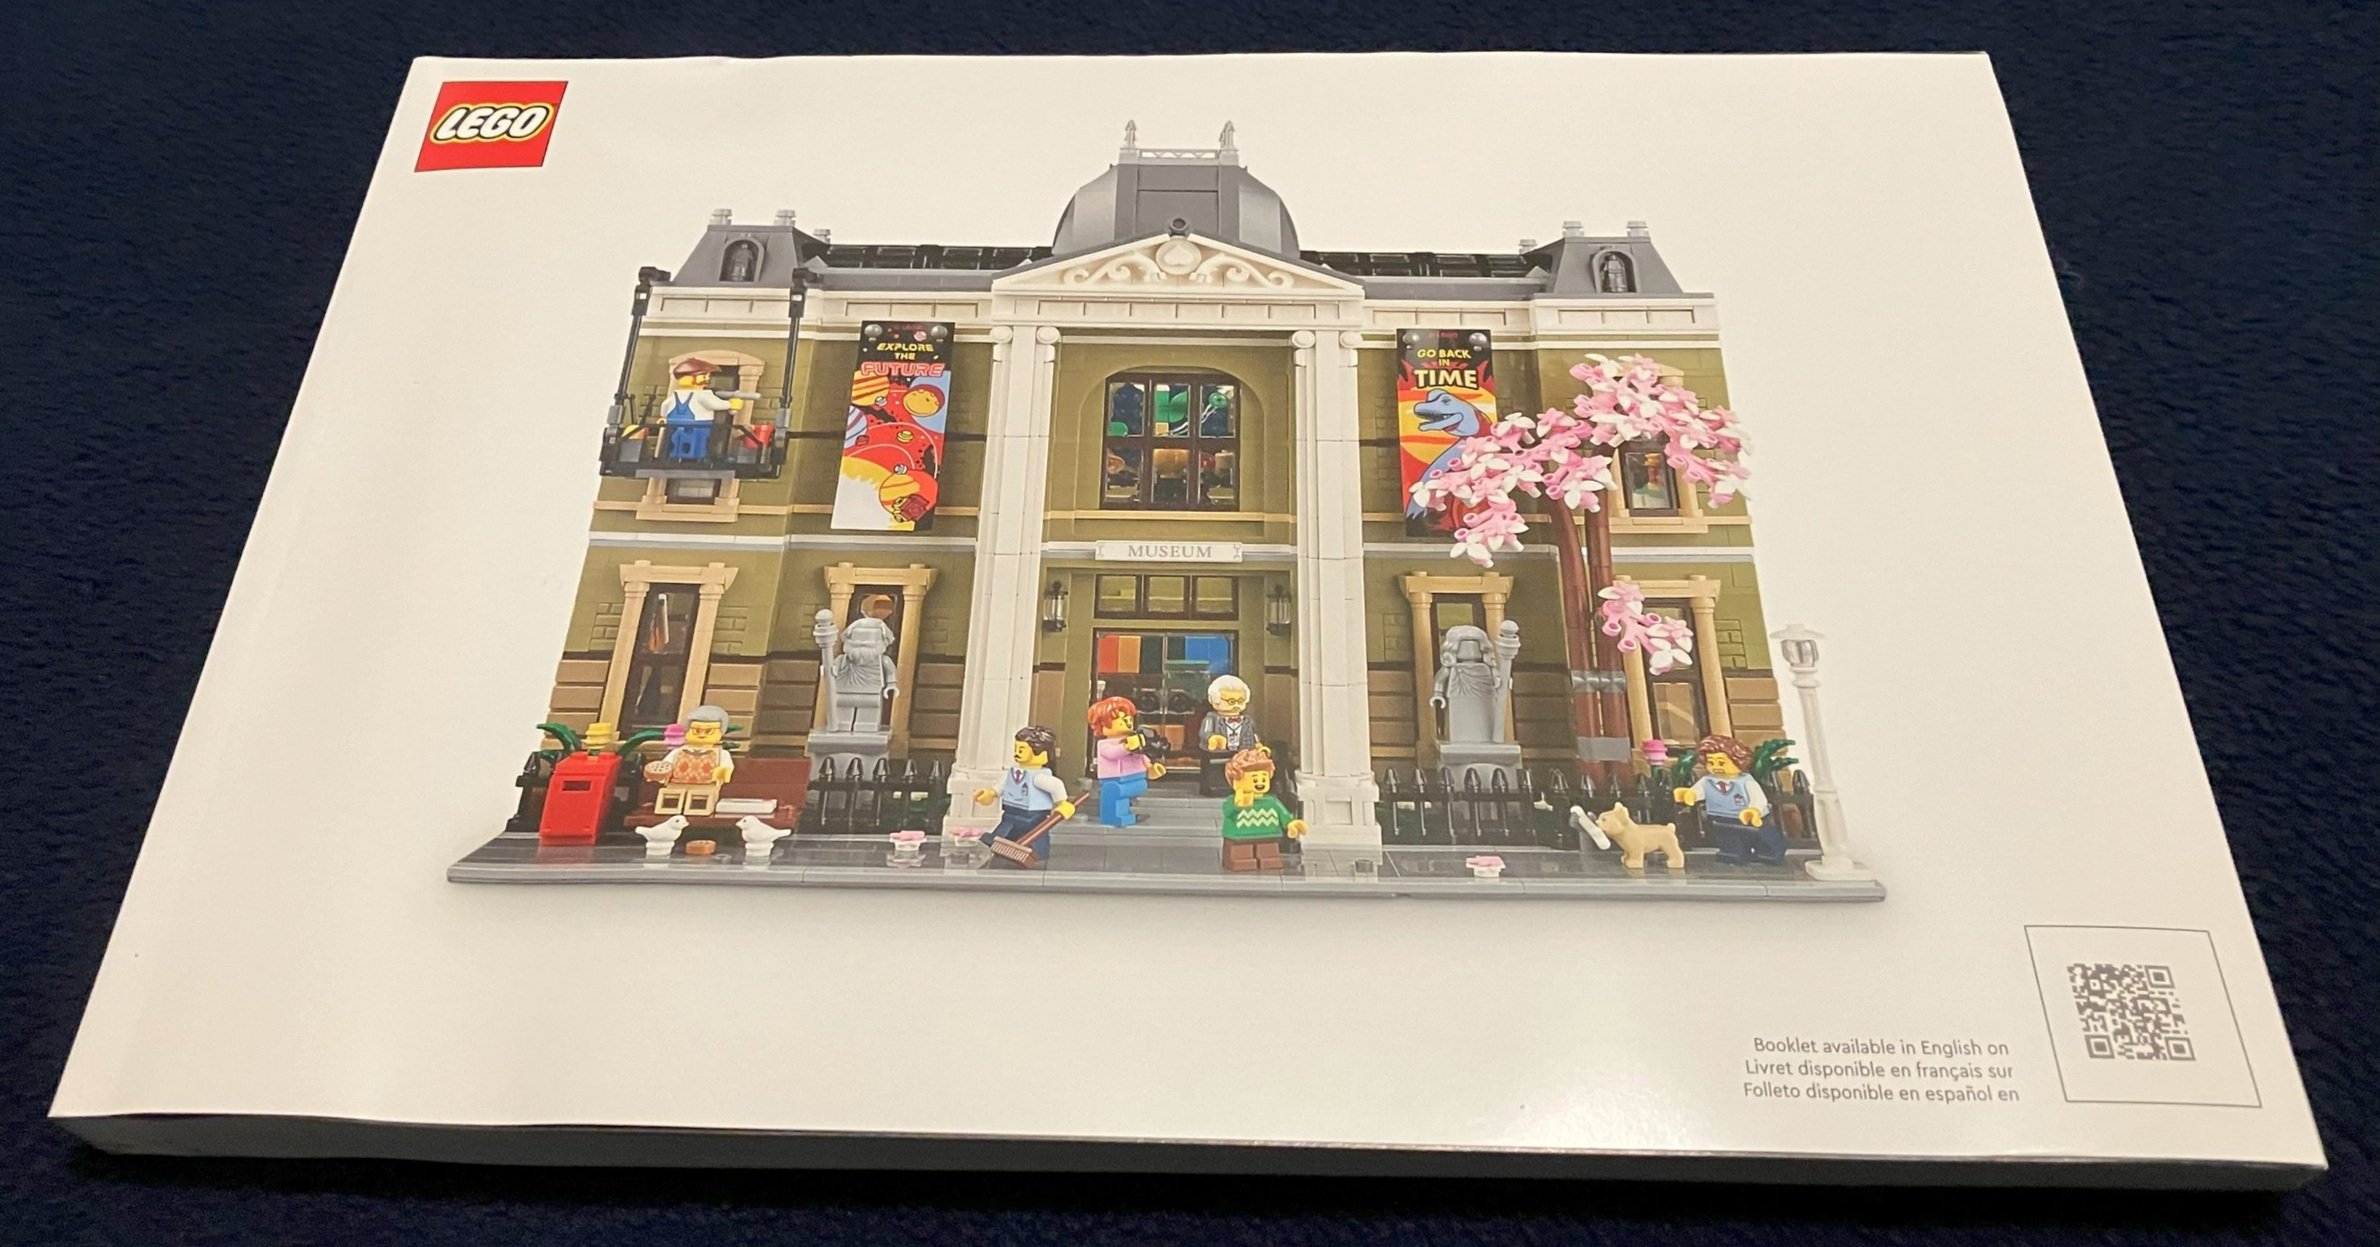
The box is pretty standard. The front shows the full set with a set name logo and mentions the modular building collection. It also has the Icons branding on the bottom. The back shows the other modular building sets available now along with some of the features of this set.

The box contains the parts bags for bags 15 through 33 and then another box. When you open that box, you get the remainder of the parts bags, a bag that isn’t numbered, the base plates, and the instructions.

The instruction book is pretty hefty as you would expect for a set of this size. You also get the banners to hang on the outside of the museum advertising exhibits.

The first bag adds the flooring to the 16x32 baseplate. You also get a female minifigure that works at the museum.

Bag two adds some of the flooring to the 32x32 baseplate and connects the two together. I like the addition of some bones in the floor that are eventually covered up to be found at some later date.

The third bag adds in more flooring. You also get some plants on the outside, and a toilet in the back. There are also some tile pieces on the floor that end up being a clay pot that has fallen over. There’s also another surprise under one of the floors that I’ll save for when you build it or another reviewer spoils it for you.

Bag four adds tiling on top of some of the raised floor areas and adds in the front steps to the museum.

Bag five starts to add in some more details including more to the bathroom, a small lab area, some steps, and finishes off the flooring patterns.

The sixth bag makes the walls higher and adds in some doors.

Bag seven starts to add in some of the displays at the museum along with the front desk area. I won’t go through each of the displays so you can have fun figuring them out when you build the set (or just read the captions in the instructions that describe each one). You also get another minifigure who is a worker at the museum.

The eighth bag builds up some of the front of the building.

Bag nine starts to build up the olive green walls. You get railings at the entrance of the building and some windows as well.

Bag 10 builds up more of the details of the front and the walls of the sides of the building.

Bag 11 continues to finish off the front of the building with windows and some more olive green pieces.

Bag 12 tops off the whole floor with tiles so it can be connected to other floors. You also add in a set of stairs to go to the second floor.

Bag 13 finishes off the first floor. The front of the building gets some columns on each side of the door and then some minifigure statues as well. There’s some additional plant life too. Since I haven’t shown the back yet, there are a few details including a pipe which leaks water to let a plant grow, and a dog checking out the trash to see if there are any bones. There is a door in the back as well.

Bag 14 builds the dinosaur skeleton. As shown on the front of the box, the skeleton is not permanently fixed to the floor so you can pick it up and move it elsewhere as desired. It’s a pretty decent build considering the size and where they had to fit it. It does have some non-white pieces for attachments, but the light gray works.

Onto the second floor…

Bag 15 assembles the plates that make the base of the floor with two spots to look down and also let the stairs connect and dinosaur skeleton peek through.

Bag 16 builds up some of the wall and adds the base for where the model of the solar system is placed.

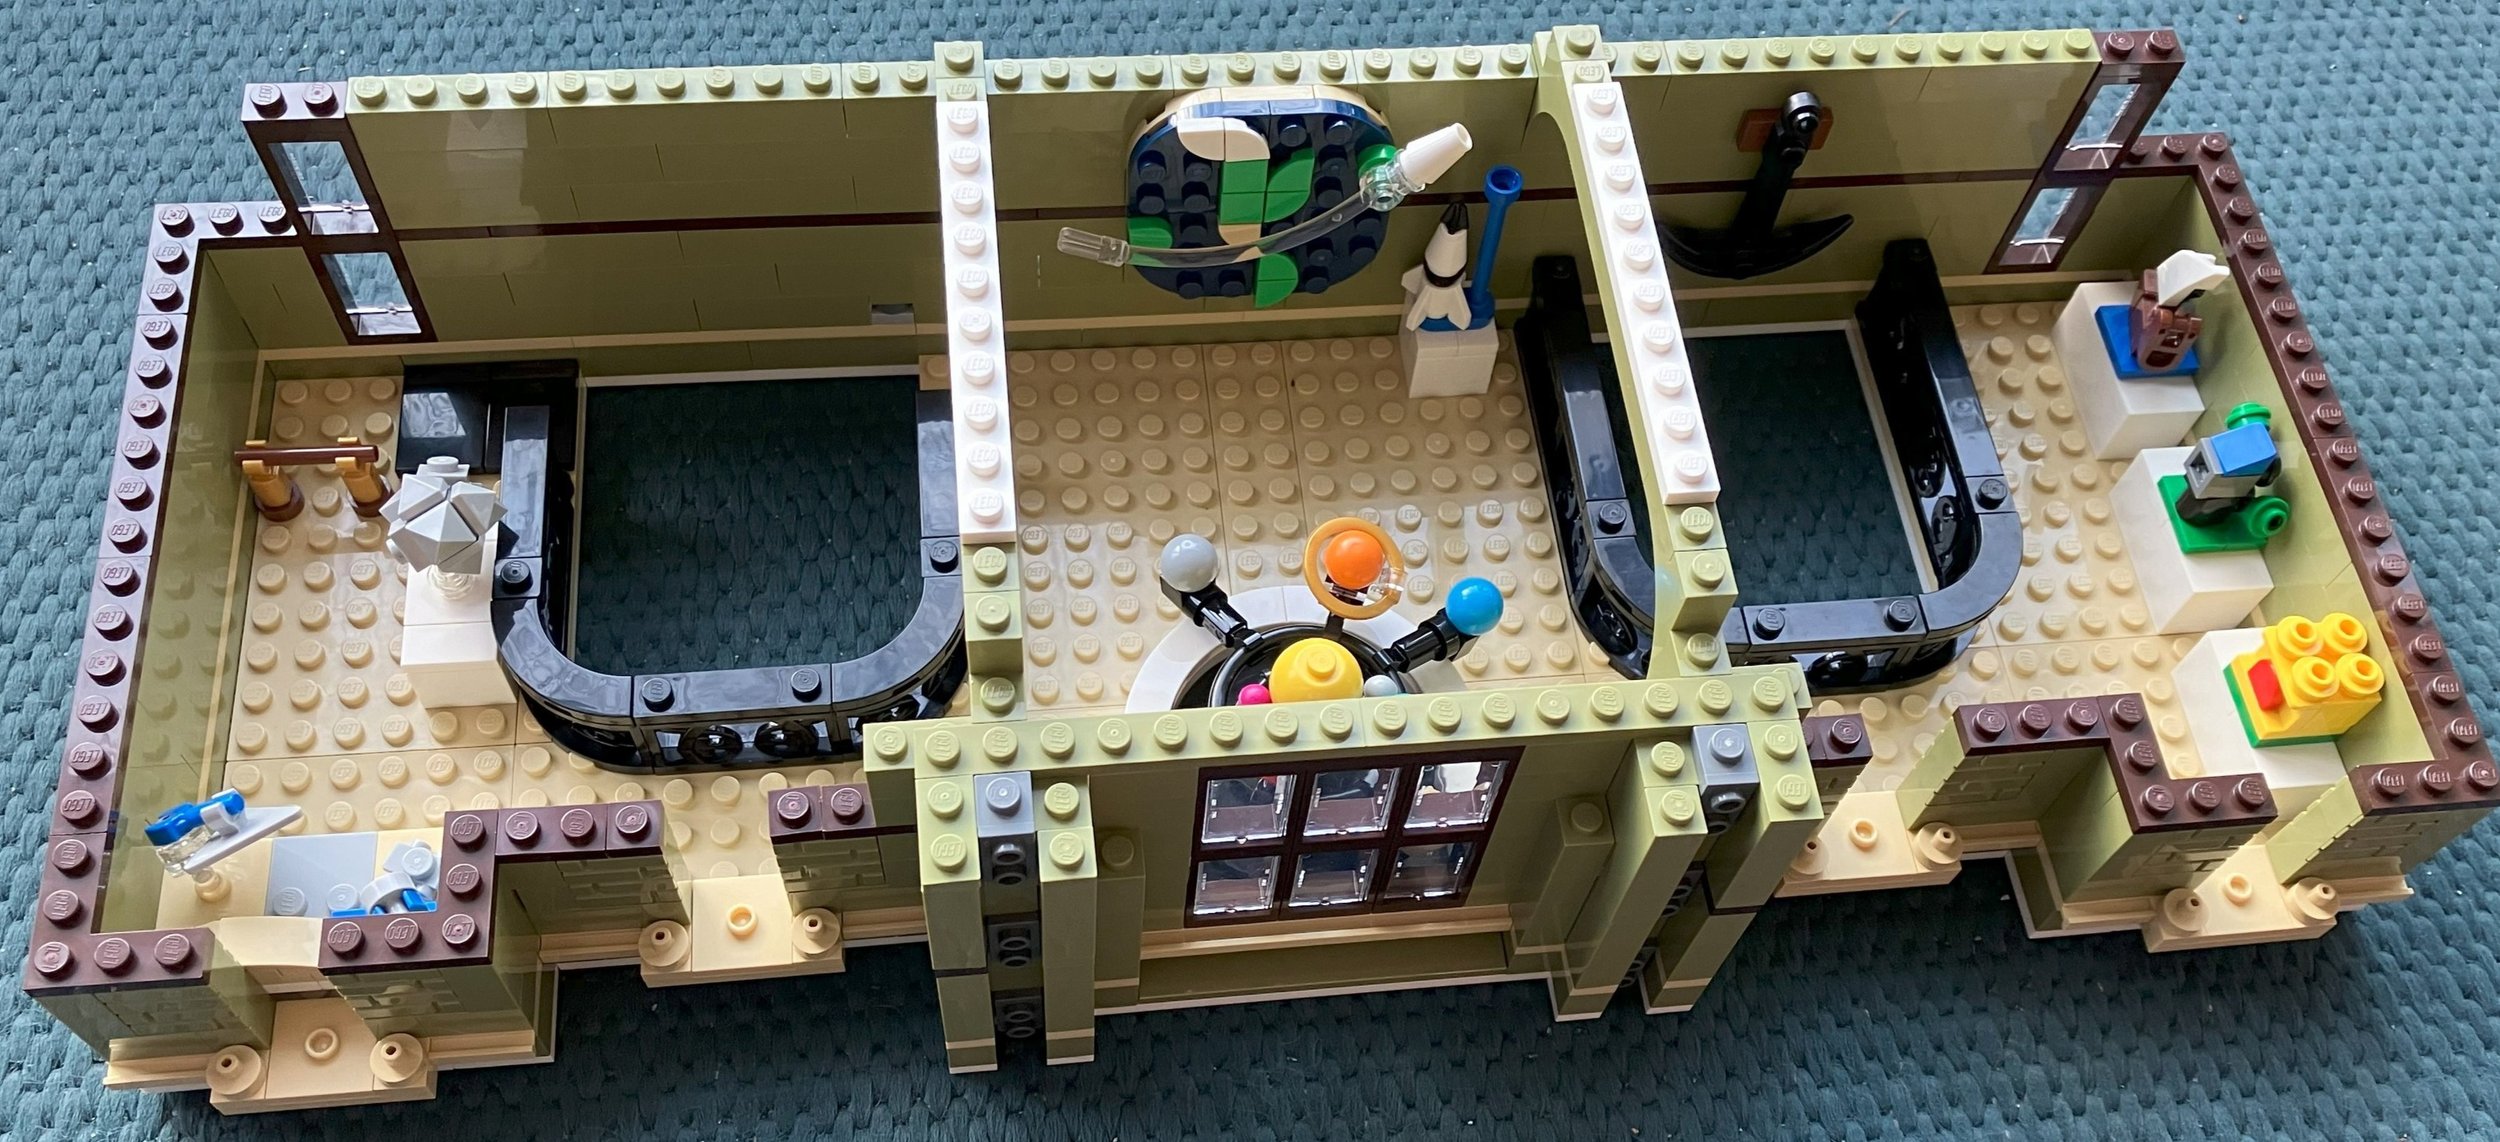
Bag 17 adds in some railings around the holes in the floor so no minifigures fall down. You also build the model of the solar system which is a great design at such a small scale. This bag comes with a boy minifigure.

Bag 18 adds some displays to the floor and adds a female minifigure with a camera. This minifigure has a prosthetic leg.

Bag 19 builds up the walls around this floor.

Bag 20 adds in some windows, more walls, and a few more displays to include a map with a rocket zooming by (Classic Space symbol???).

Bags 21 and 22 build up the wall structures and add in more windows.

Bag 23 finishes the floor with tiles on the top and you add on the plastic banners.

Bag 24 adds to the columns that match and fit right in with the first floor despite the break between the two floors.

Bag 25 attaches the plates that make up the third floor/roof.

Bag 26 begins to build up the roof area with a few plants and the start of some of the decorative architecture.

Bag 27 adds in more of the roof walls and the door to the stairs to the second level.

Bag 28 starts to add more detail. The roof level includes a small office and you build out some of the details of the office. This bag comes with the museum curator minifigure.

Bag 29 adds the structure around the office area which actually looks pretty good considering there is an office inside.

Bag 30 builds up more of the architectural details for the roof.

Bag 31 finishes off the structural details, adds in a telescope for the curator to use and then adds in some sky lights that open up to both levels of the museum below for some natural light.

Flipping the set around, bag 32 adds in the roof/awning section of the front of the building that covers up the stairs leading into the museum. Now that I’ve flipped it around, you can see on the left and right side, there are some arch/window pieces. It’s hard to tell from the picture I used, but there are microfigures inside as miniature statues which is a fun detail.

Before wrapping up the build, here are the seven minifigures you get with this set minus the two statues. You get a good mix of workers and museum goers. It’s always great to have more, but I can’t complain with the offerings that come with this set.

Bag 33 adds some final details to include a park bench, a mail box, the blossoming tree, a lamp post, some birds, and the stand for the window washer to use to clean the windows.

Overall, it’s another great modular building to build. Someday I hope to assemble all of my modulars in one place, but for now, you get just an individual picture. The price continues to go up on these, but the piece count on this one is higher and it is larger so not too many complaints there. There are plenty of great pieces inside too so if you’re a MOC builder, you won’t be disappointed. If you’re a fan of the modulars, definitely look for an opportunity to snag this one. Maybe with a good GWP or double VIP points. I think it’ll be a while before we see a sale on this one.

Happy building!

Set Review - #10318-1: Concorde - LEGO Icons

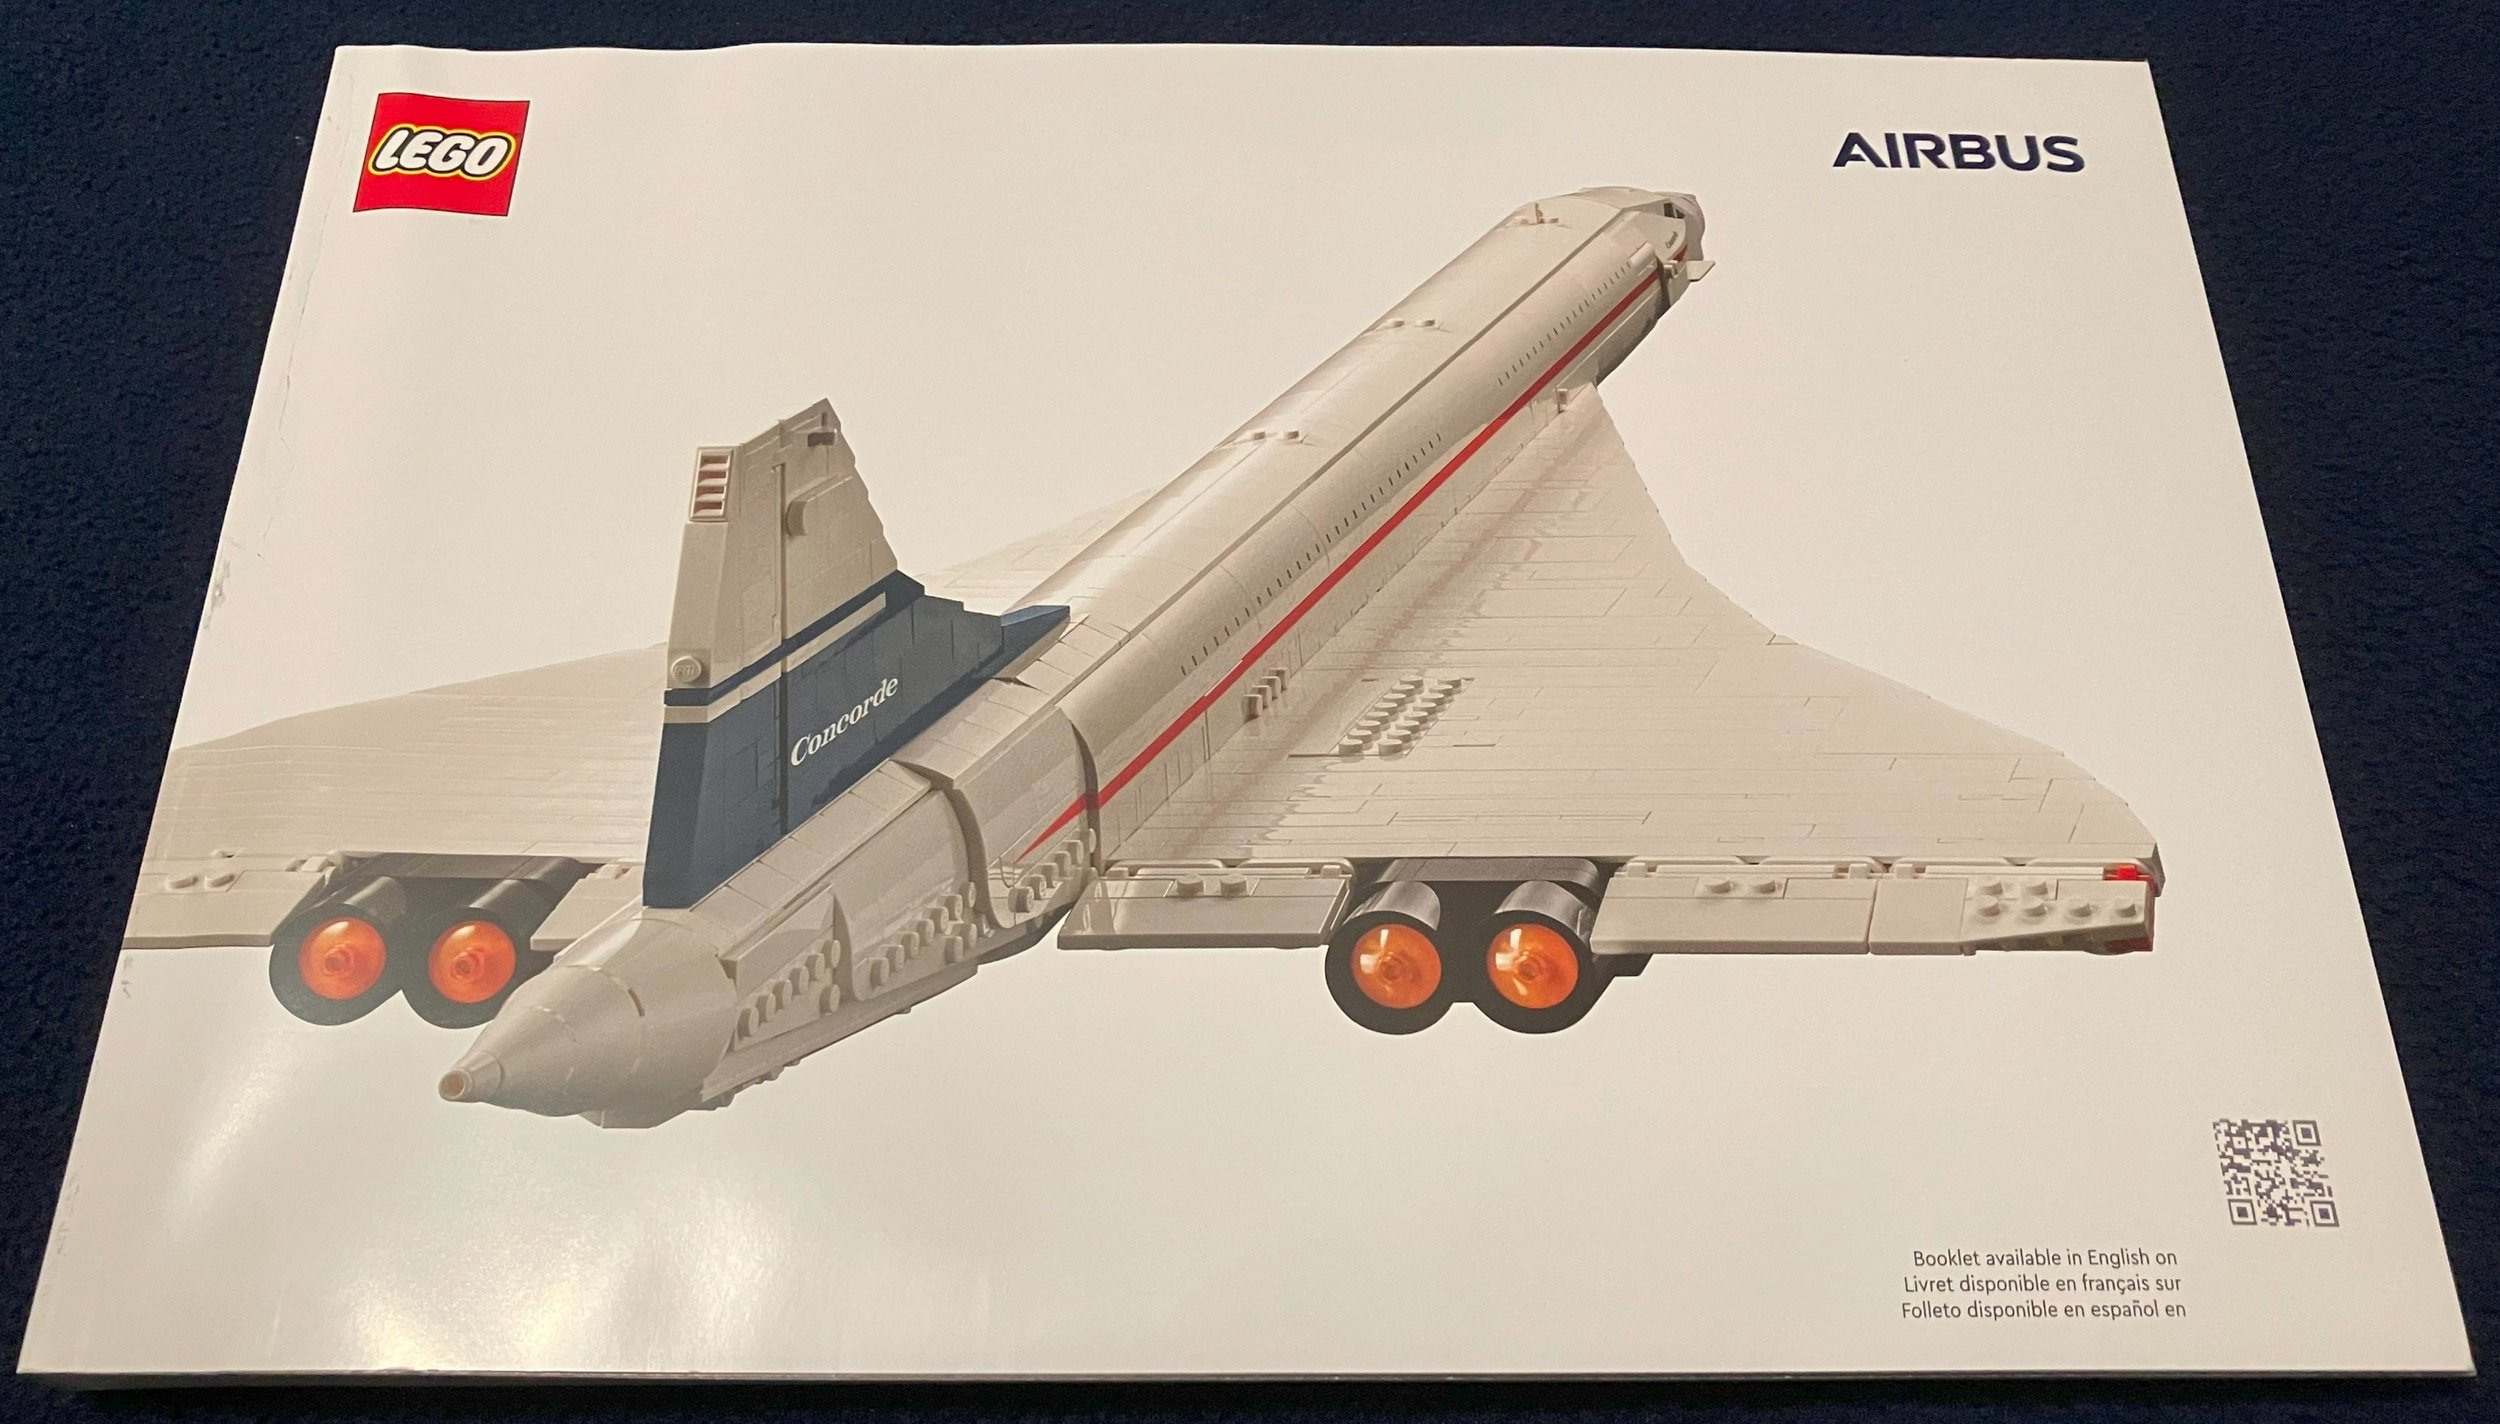
LEGO has gone into some different directions over the past few years and this set is another venture into something we haven’t seen before. #10318-1: Concorde is a model of the first supersonic, commercial airliner the world has seen. This set was released in the US on 4 September 2023. It contains 2,038 pieces and retails for $199.99. At that price, it works out to $0.096 per piece which is right about the 10 cent per piece average we all tend to use as acceptable for a set.

I ordered my set online from LEGO Shop @ Home. It arrived in it’s own box with some damage to the shipping box that caused damage to the set box (thanks UPS!). Nothing major and the set was still intact, but kind of disappointing.

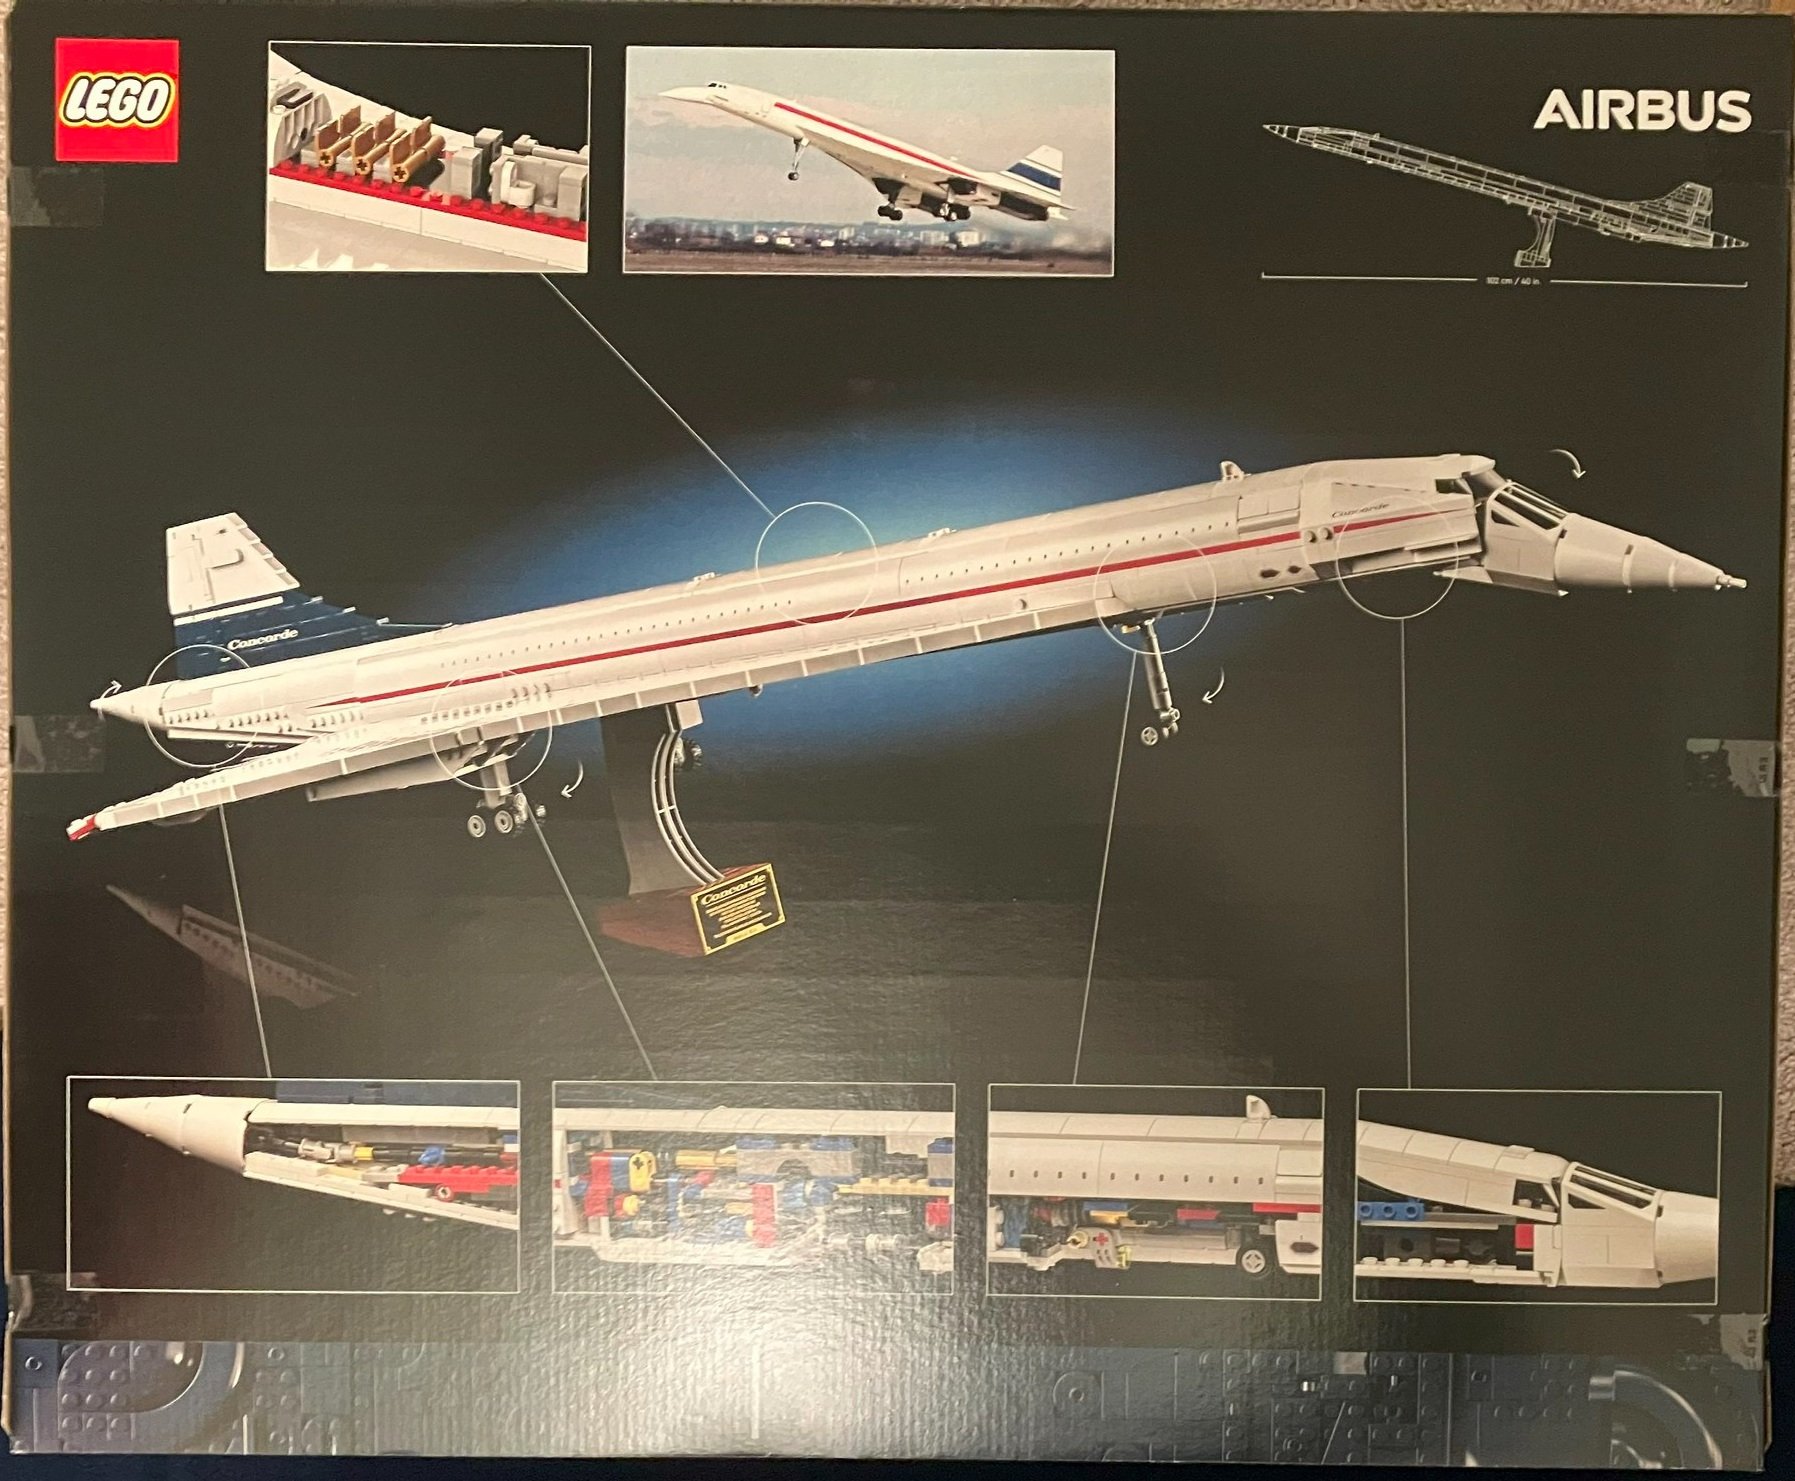
The front of the box shows the full set built minus the stand. It has the set name printed in the same font as printed on the aircraft. It also contains the Airbus logo. The box back includes some cut aways of the set to show what it looks like inside the various parts of the set. It also has a diagram showing the length of the set and a picture of the actual aircraft.

The set contains 12 parts bags and then another box inside with more parts bags. In the end you get 21 numbered parts bags with one bag per number. You also get a paper bag with the cockpit wind screen. This is my first look at the new paper bags. They look okay to me. I’m glad LEGO made the switch to something a little more Earth friendly. The instruction book comes in a paperboard envelop so it’s nice and protected.

The instruction book includes details on the aircraft, its design, and information on the LEGO design team.

Bag one starts off the build of the wing. It starts with the back of the wing and starts to move forward. The center of the wing box starts to build the hardware that will work the landing gear movement.

Bag two continues to move forward with the delta wing and Technic pieces to continue the gear mechanisms. Additionally, you build some orange pieces into some parts that help you build the wing assembly. These pieces clip on and are removed later on in the build.

I failed to take separate pictures of bags three and four. They build out the wing further and you get some of the main hardware of the rear landing gear assemblies.

Bags five and six continue to build out the wing box and the center fuselage section with the landing gear mechanisms. The bag five picture is of the top of the aircraft and the bag six picture is the bottom of the aircraft.

The orange build support pieces are removed at the end of bag six. Bag seven continues the wing build and adds on some larger pieces as the top of the fuselage. These pieces have printed windows on them. Bag eight continues the wing, Technic parts, and fuselage.

Bags nine and 10 build the forward edge of the delta wing and then the front fuselage section of the aircraft without the nose section. The bag 10 picture shows the place where the front landing gear will be stowed. For bag 10, you really had to pay attention to how the Technic pieces were assembled, but I think the instructions did a good join pointing that out. You install more orange plates for ease of build in bag 10. These are removed shortly, but they help to keep the set together during assembly.

Bags 11 and 12 start to look more like an aircraft with the wing compete. You also start to build the fuselage out more. Bag 12 includes a small section of the passenger compartment with two bathrooms and some seats. This is the only section of the aircraft with an interior and I’m okay with that. It’s a display model and not a play model (in my opinion).

Bag 13 adds in the wheels and completes the landing gear. The Technic axle in the rear of the aircraft is what will spin to raise and lower the gear. It’s an impressive assembly and I’m a fan of how the design team put it together.

Bags 14 and 15 add the engines on either side of the aircraft. The builds are mirror images of each other, but the slight repetition wasn’t too bad.

Bag 16 begins the cockpit assembly. It doesn’t look like much when completed as you can see, but it will come together in the next bag.

Bag 17 finishes the cockpit area along with the paper bag that was included with the windscreen piece. I was thankful for the printing and no stickers. The set is mostly white, but the red stripe and logo help to distinguish the set. As advertised, the nose does the “droop snoot” movement like the actual Concorde did which is some great functionality for the large set.

Bags 18 and 19 add the tail section of the fuselage. Bag 18 is mostly internal structure and then bag 19 adds the external panels and connects the section with the rest of the aircraft. Spinning the tail cone section will raise and lower the landing gear.

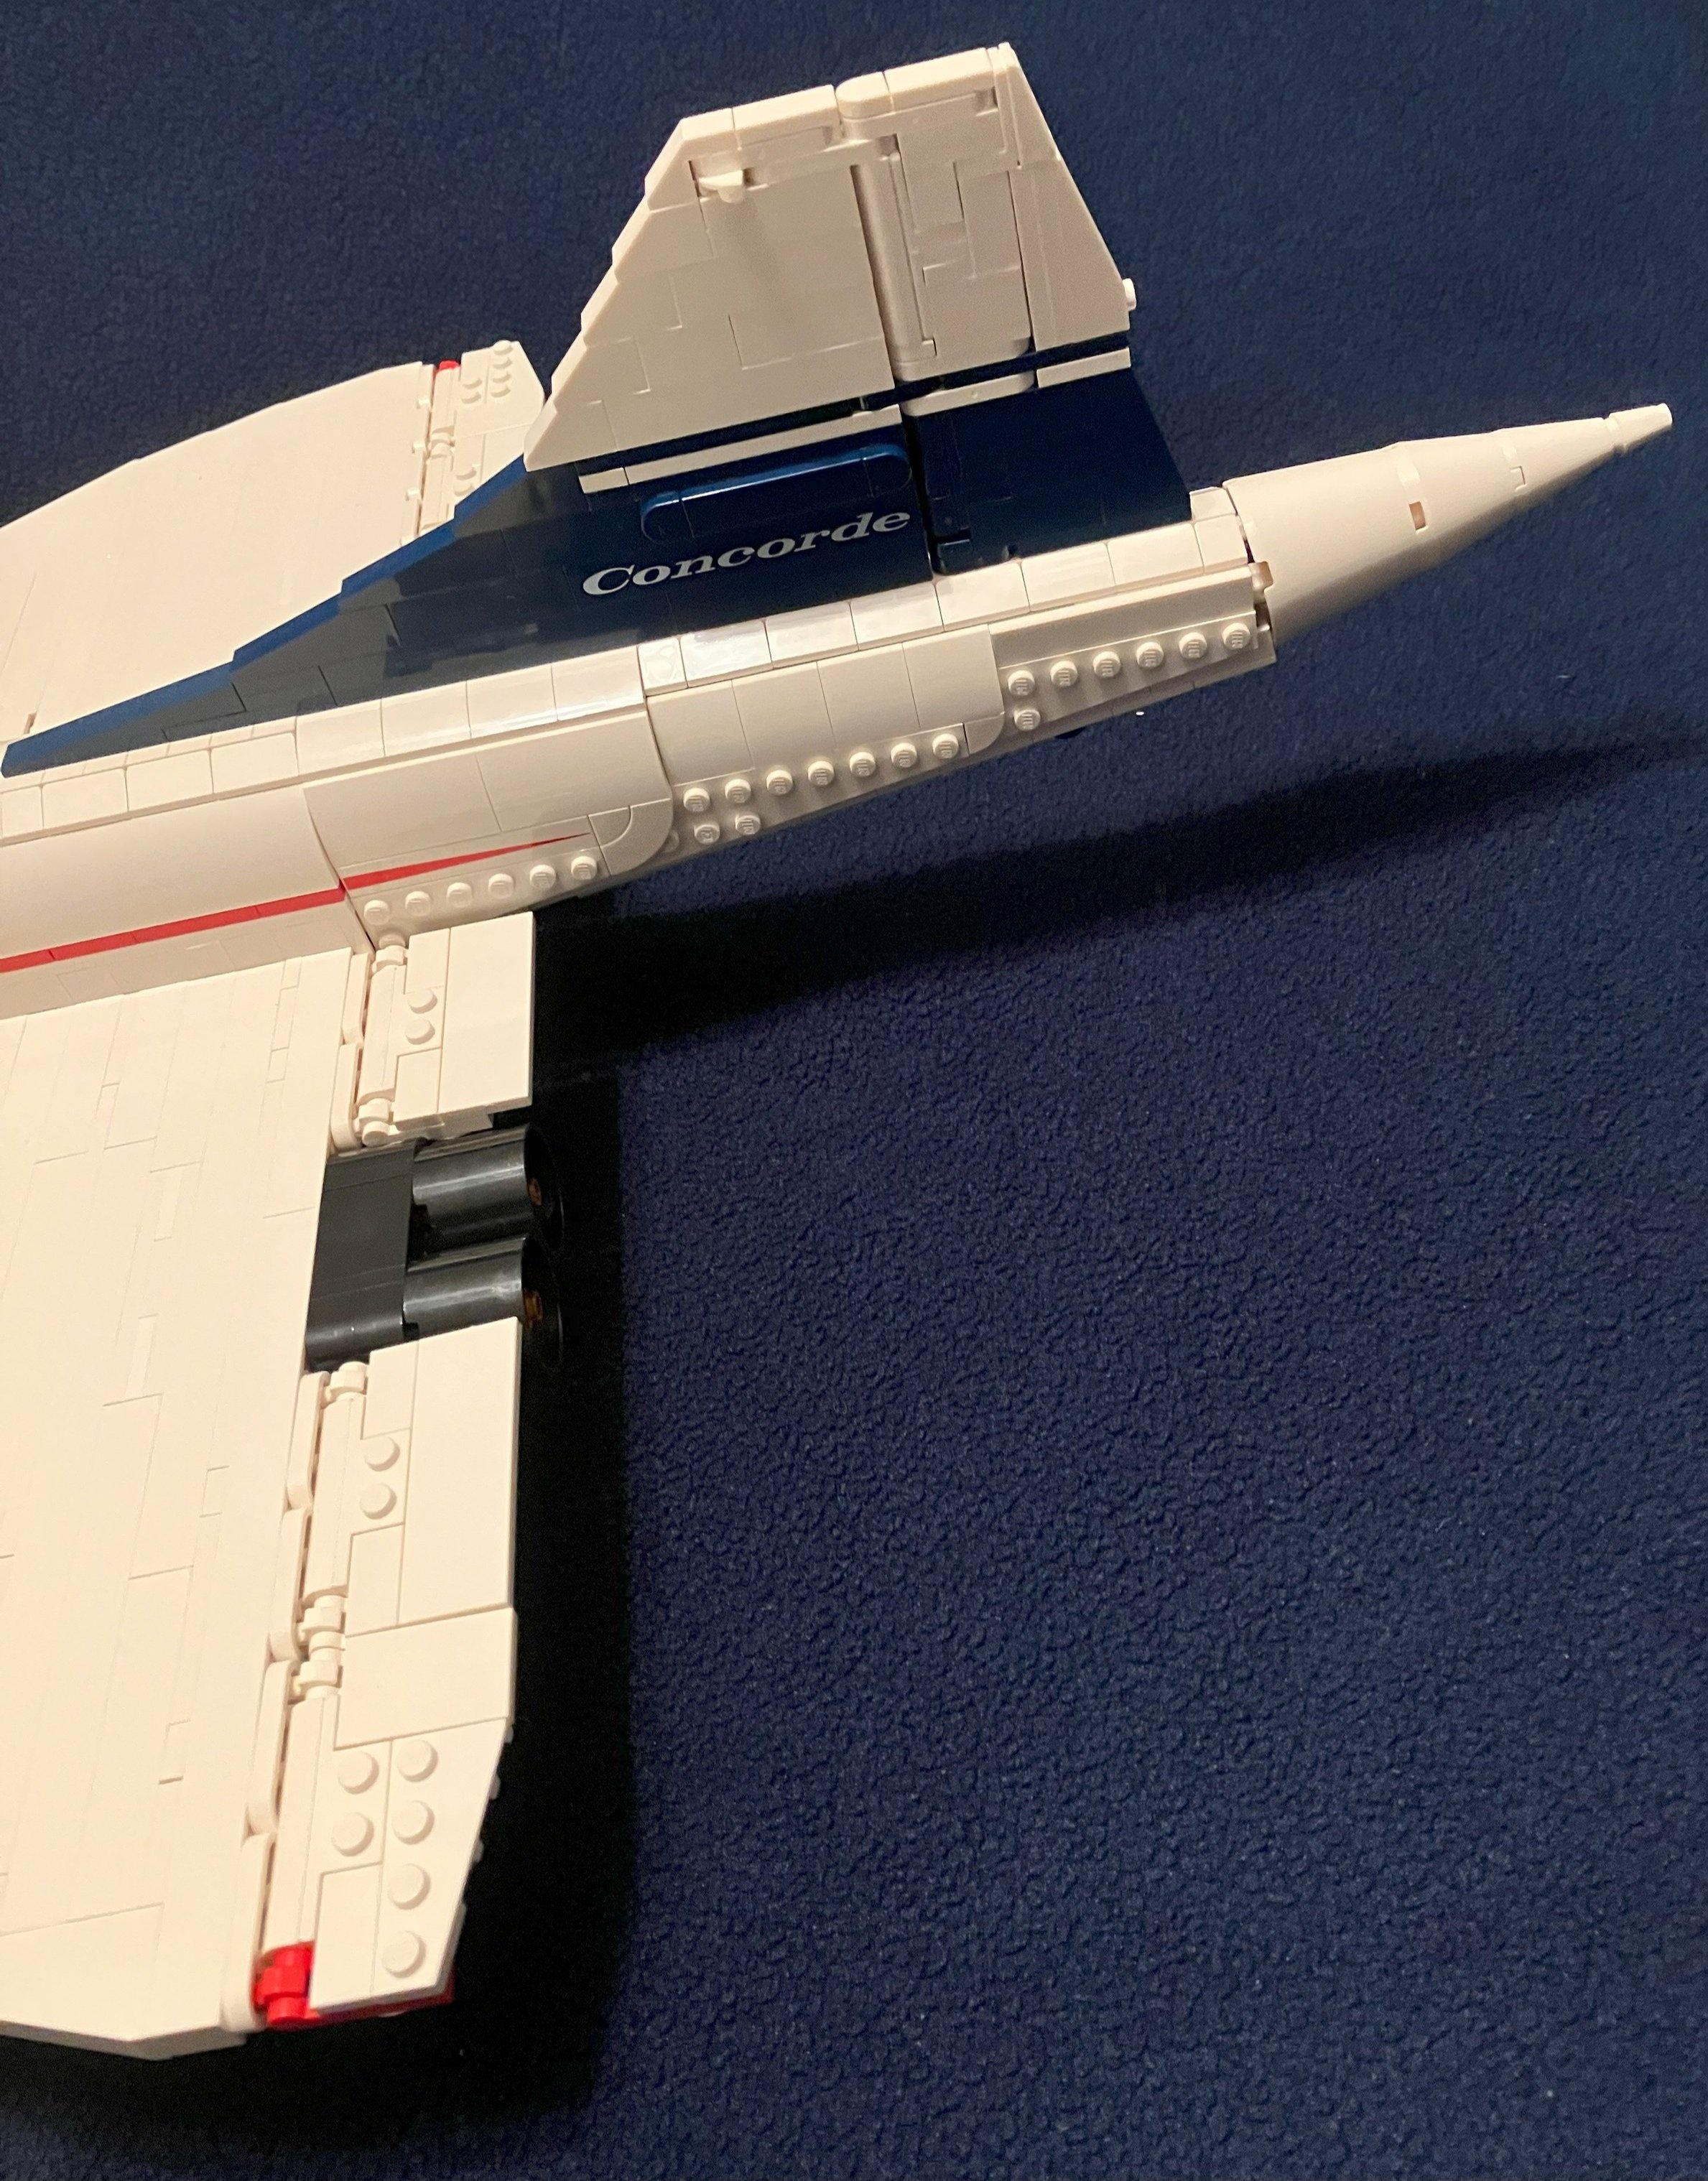
Bag 20 completes the aircraft. This includes the ailerons and flaps on the main wing, the tail, and rudder. This is all minor functionality, but another great addition to the model to make it seem more realistic.

Bag 21 finishes the build with a stand. Despite the massive size of the model, it all sits rather well on this small stand. The stand also includes a printed tile with studs on the back. So glad that it wasn’t a sticker!

Here’s the final monstrosity. It was a great build and I think it looks incredible. Despite the abundance of white pieces, there are a lot of great pieces for future MOCs (inside) if that’s what you do with your sets. I really enjoyed this one and would recommend it to anyone, but I will say that you need to consider your space limitations. It’s big and finding a spot for it could be a challenge if you don’t have a dedicated LEGO display location. Maybe hanging it from a ceiling would work? I haven’t found a spot for it yet.

I think it would be great if LEGO did more sets like this one. Is anyone else on board with that thought?

Happy building!

Another Set From the Pirates Theme to Build

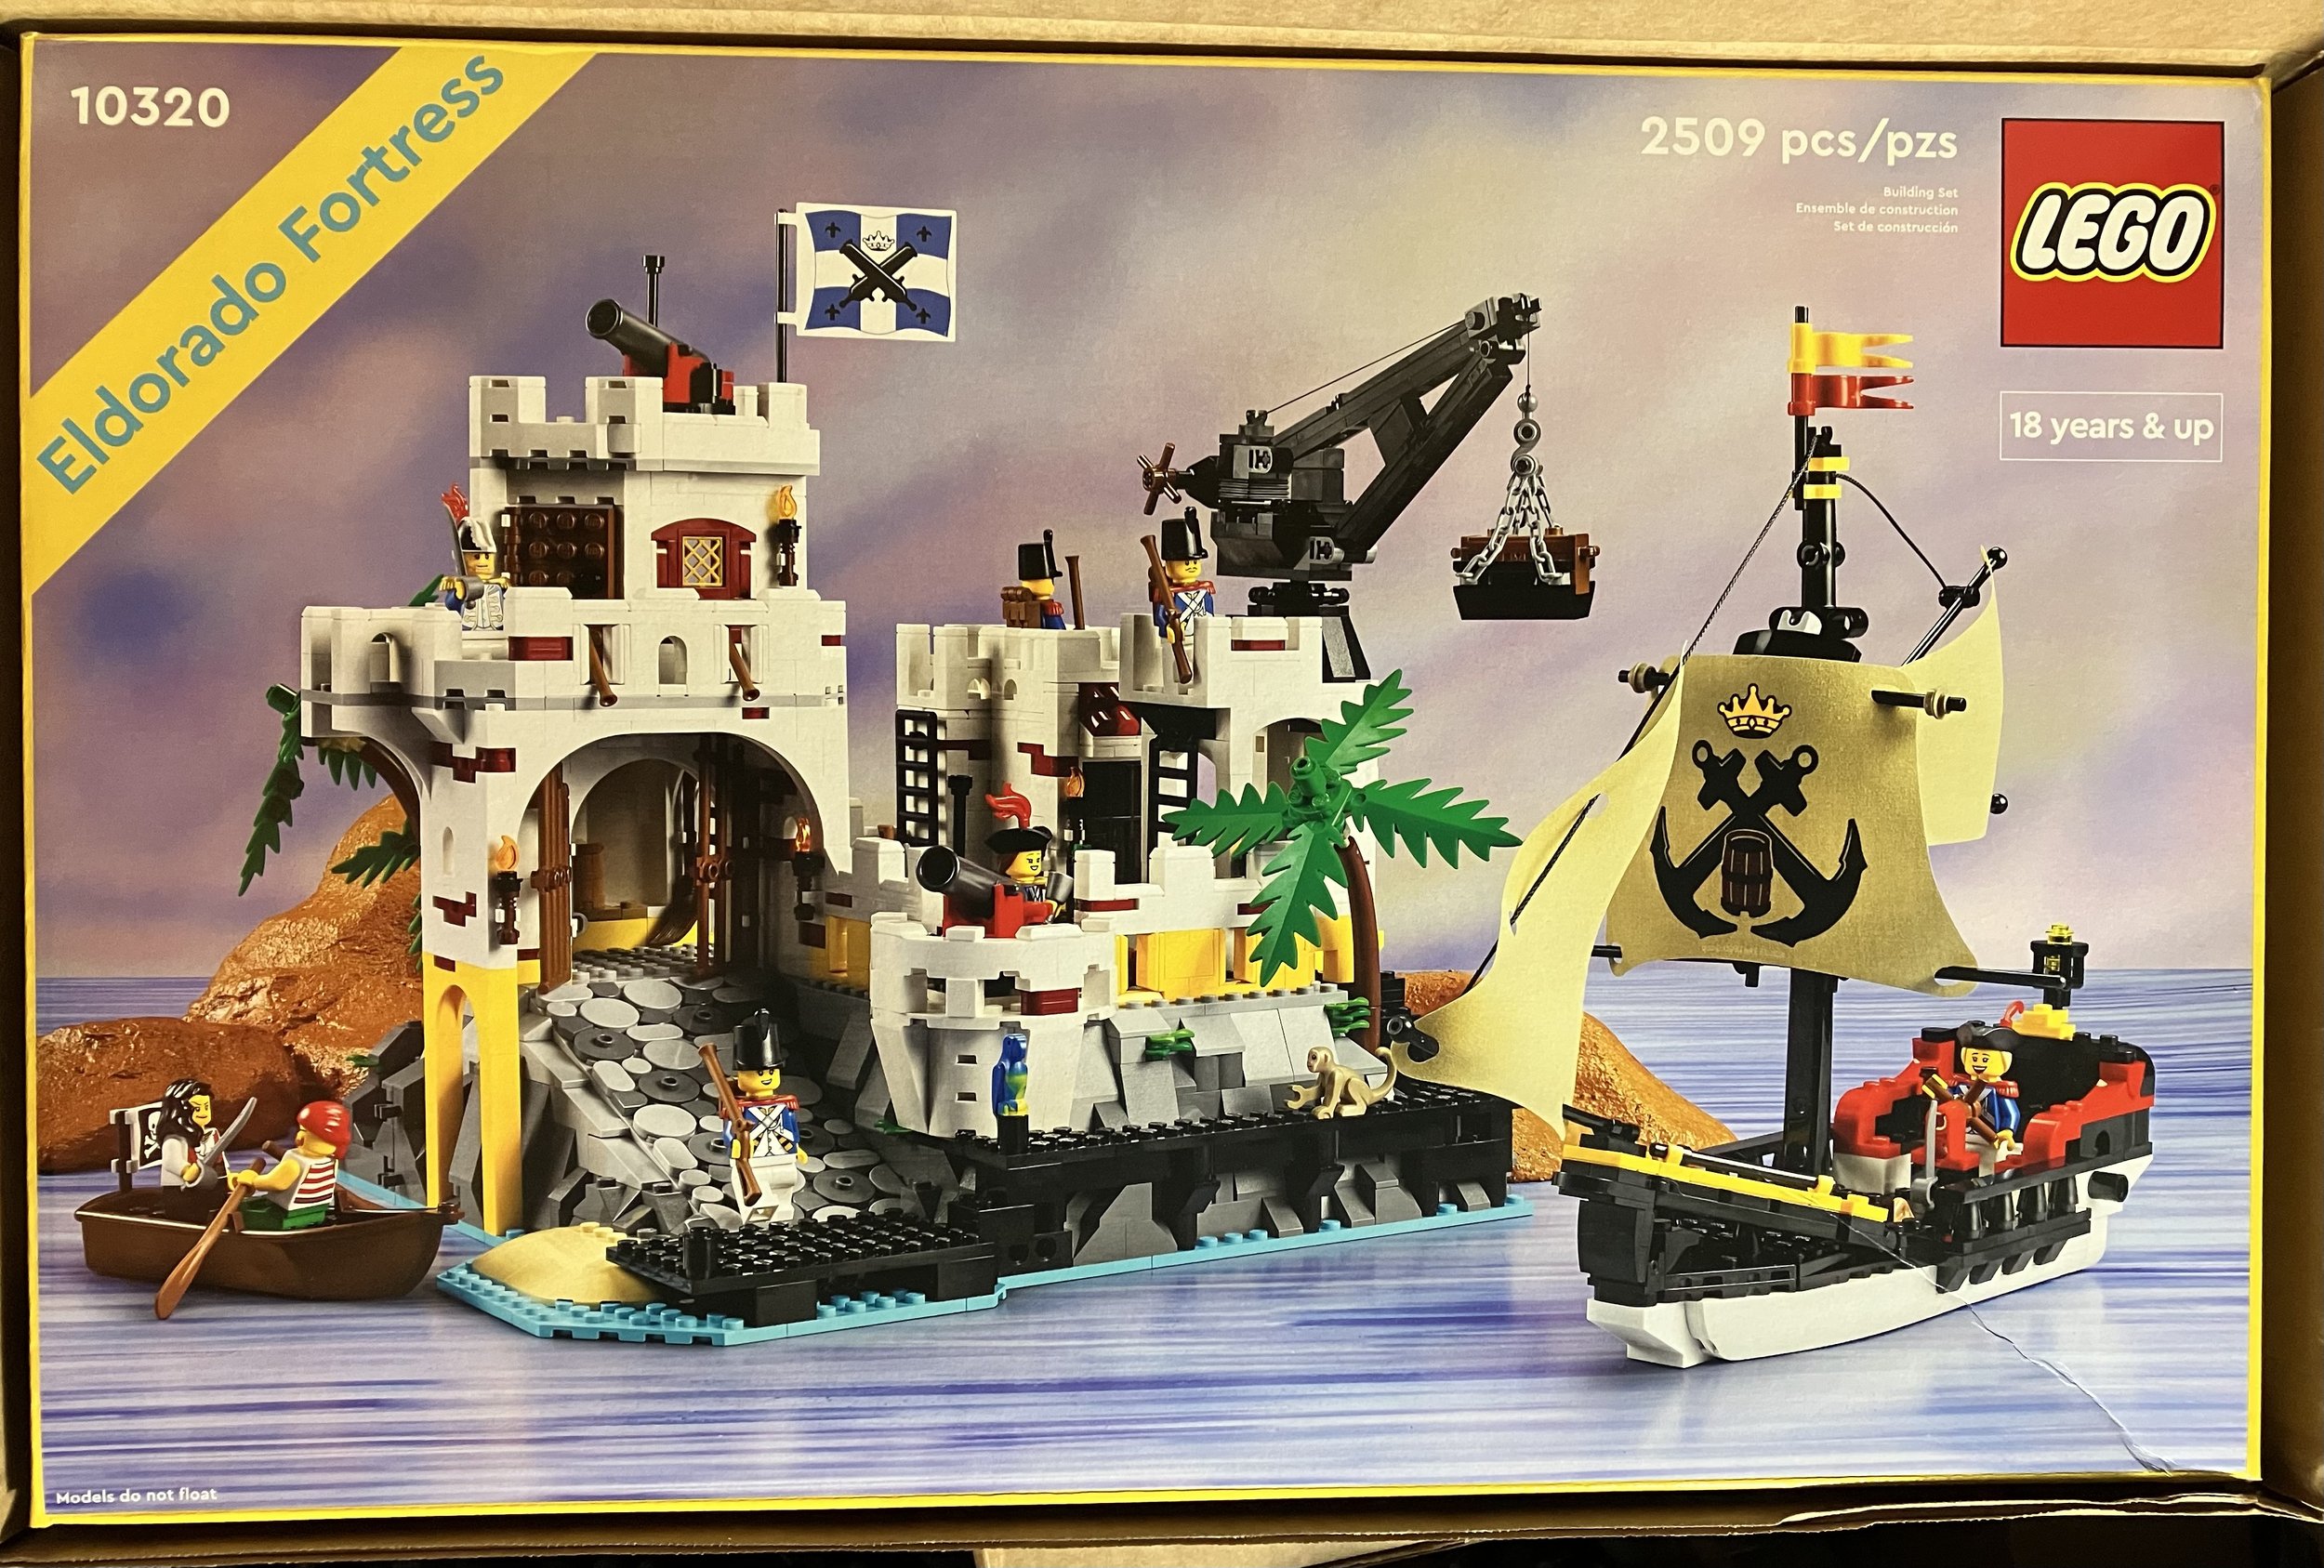
It’s been out since 4 July 2023 and I broke down and put my order in for it. Yesterday, #10320-1: Eldorado Fortress arrived at my home. I didn’t have the original set from back in the day, but I did have some of the smaller Pirates sets and I enjoyed playing with those as a kid. I’m looking forward to building this one and maybe even pulling out my #21322-1: Pirates of Barracuda Bay set, rebuilding it, and making a Pirates scene. I won’t do my full review yet, but I’ll give my first impressions. I like that the box has a similar look to the sets from the 1980s and 1990s with the yellow stripe saying the set name in the corner. I’ve seen a few folks say they are disappointed to not have the raised base plate like the original set. I’m okay with not having it. I’d rather have the pieces.

There are a bunch of great looking minifigures too. I’m glad to see the return of the Imperial Soldiers and to get some new ones to include females. I haven’t opened the box up yet, but from the box pictures, it looks like there are two female officers and the tricornered hat has hair attached which is cool.

The other one listed is shown on BrickSet.com as the Imperial Soldier, Governor. I never had one of these as a kid so this is a fun addition.

I’m looking forward to the build and the completed product. Now I just have to find the time to put it all together.

Have you built this one already? What was your take on it?

Happy building!

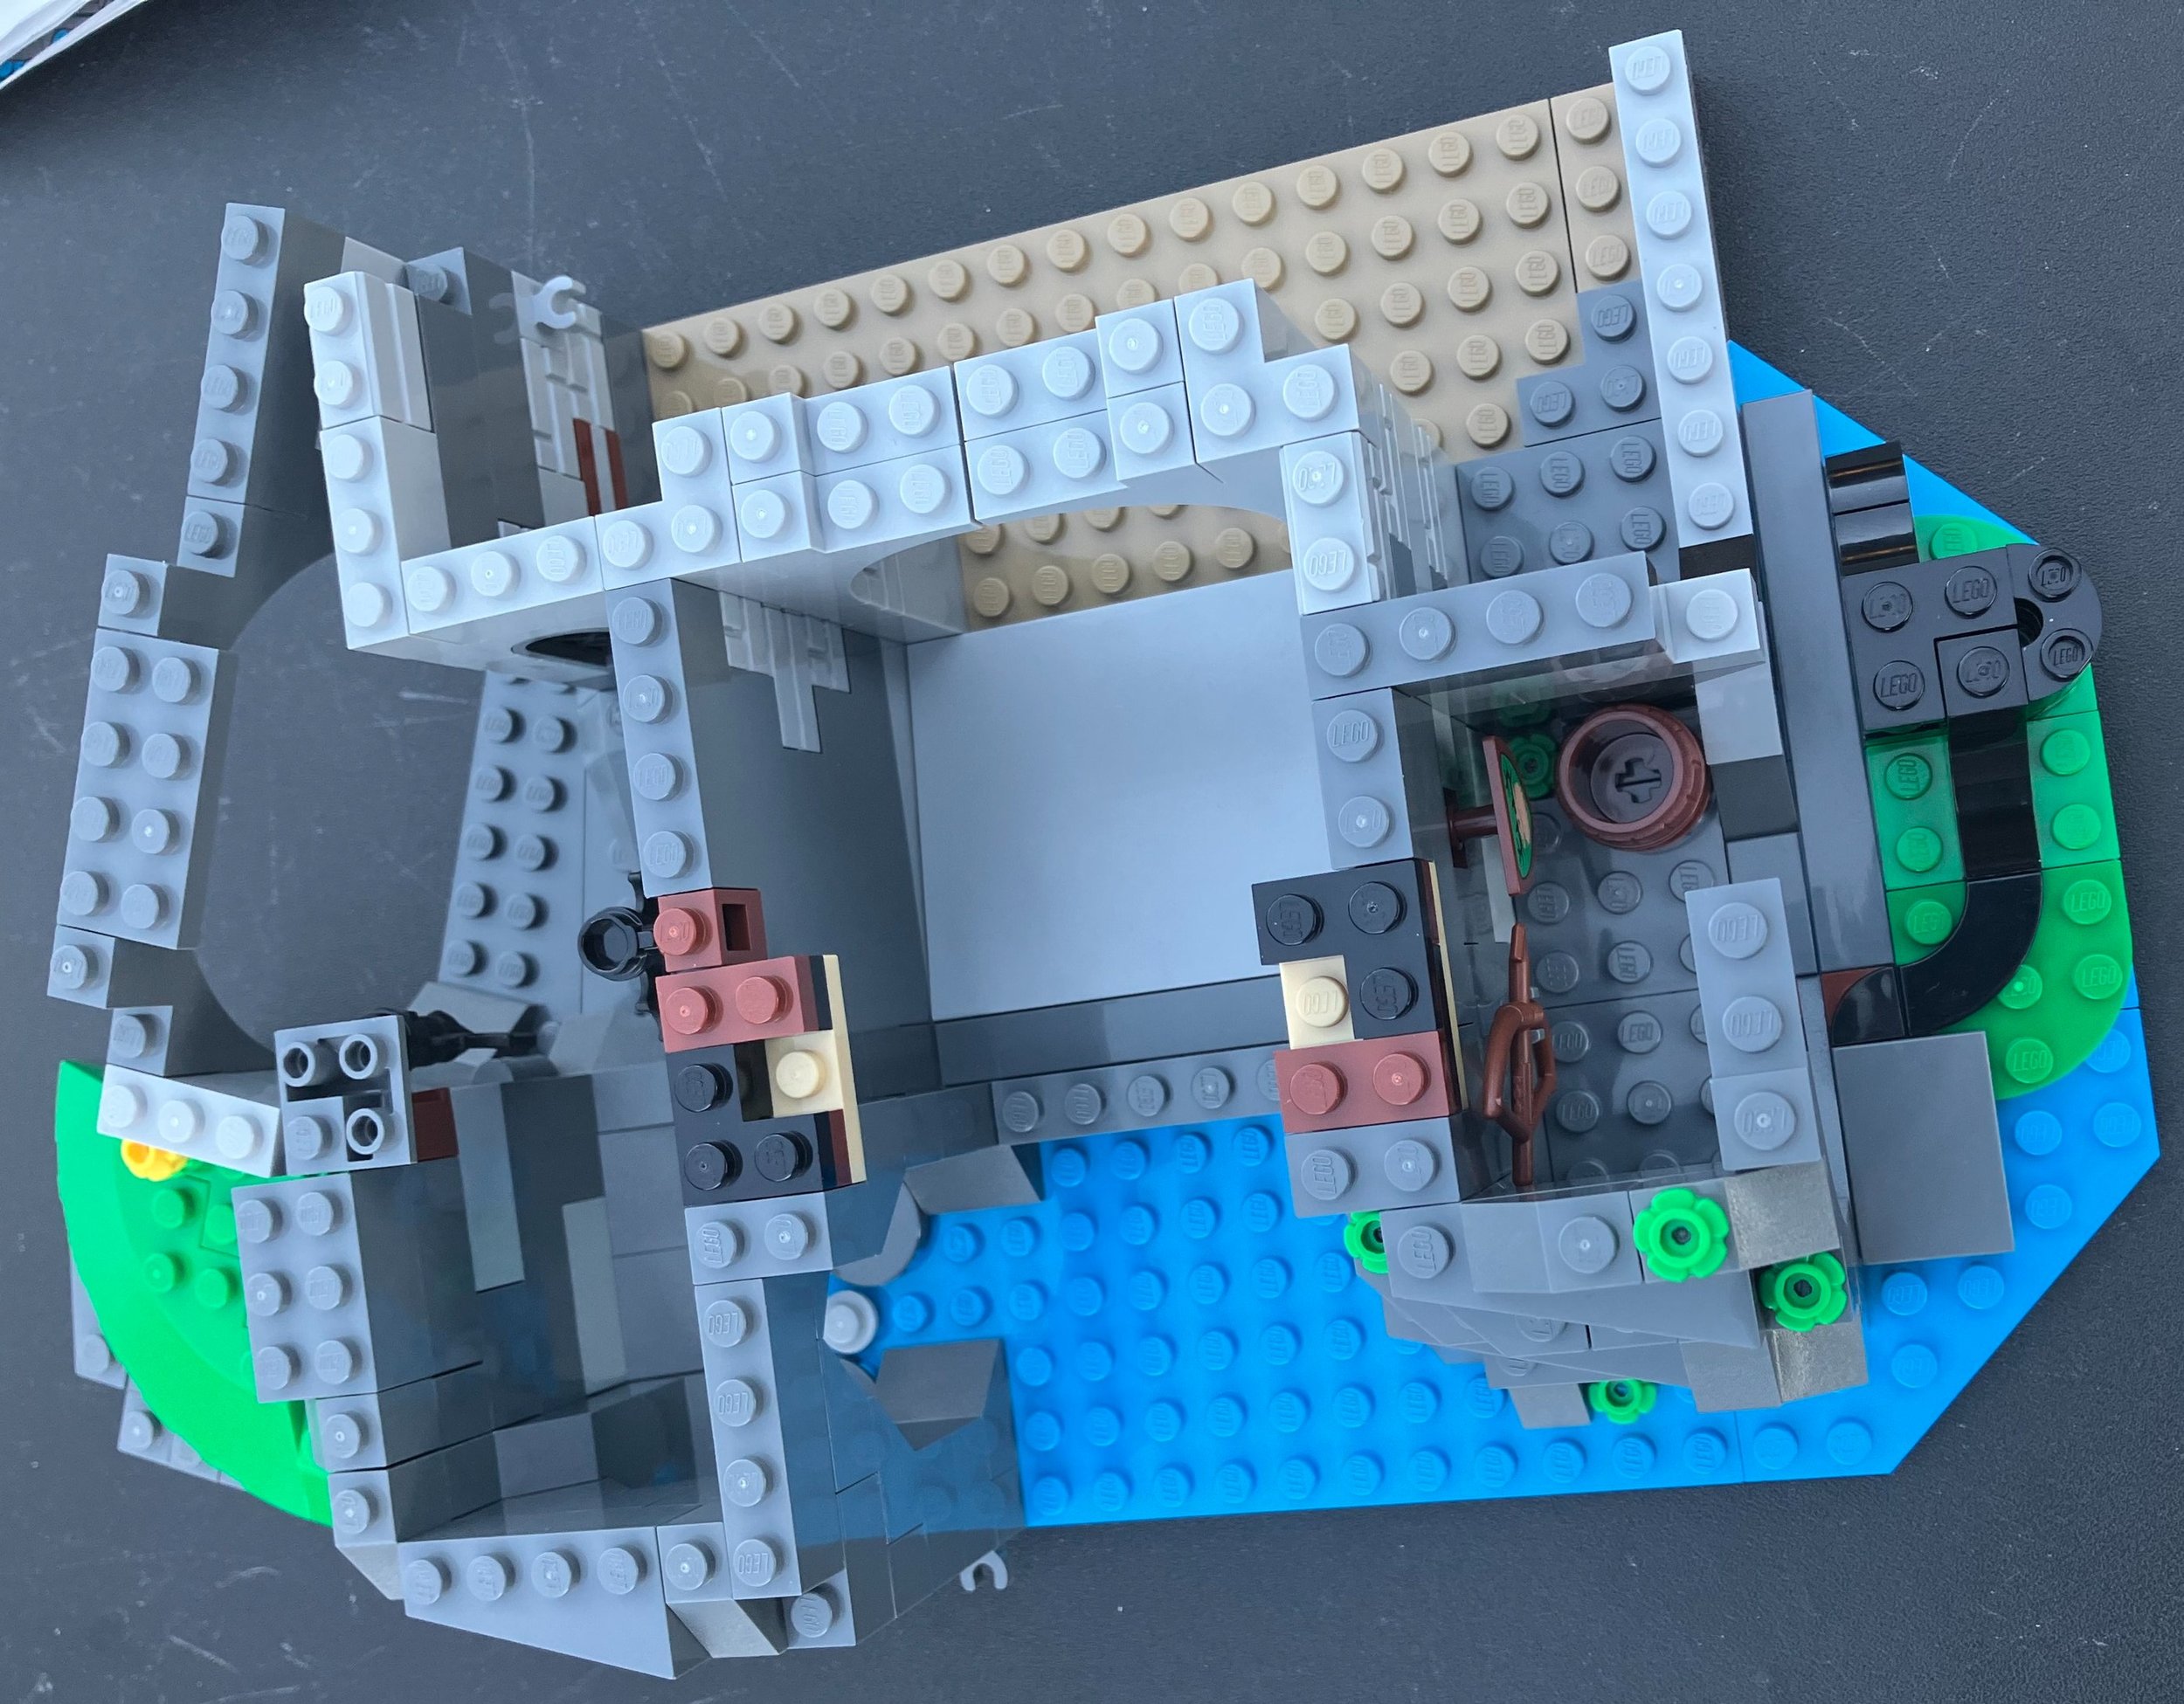
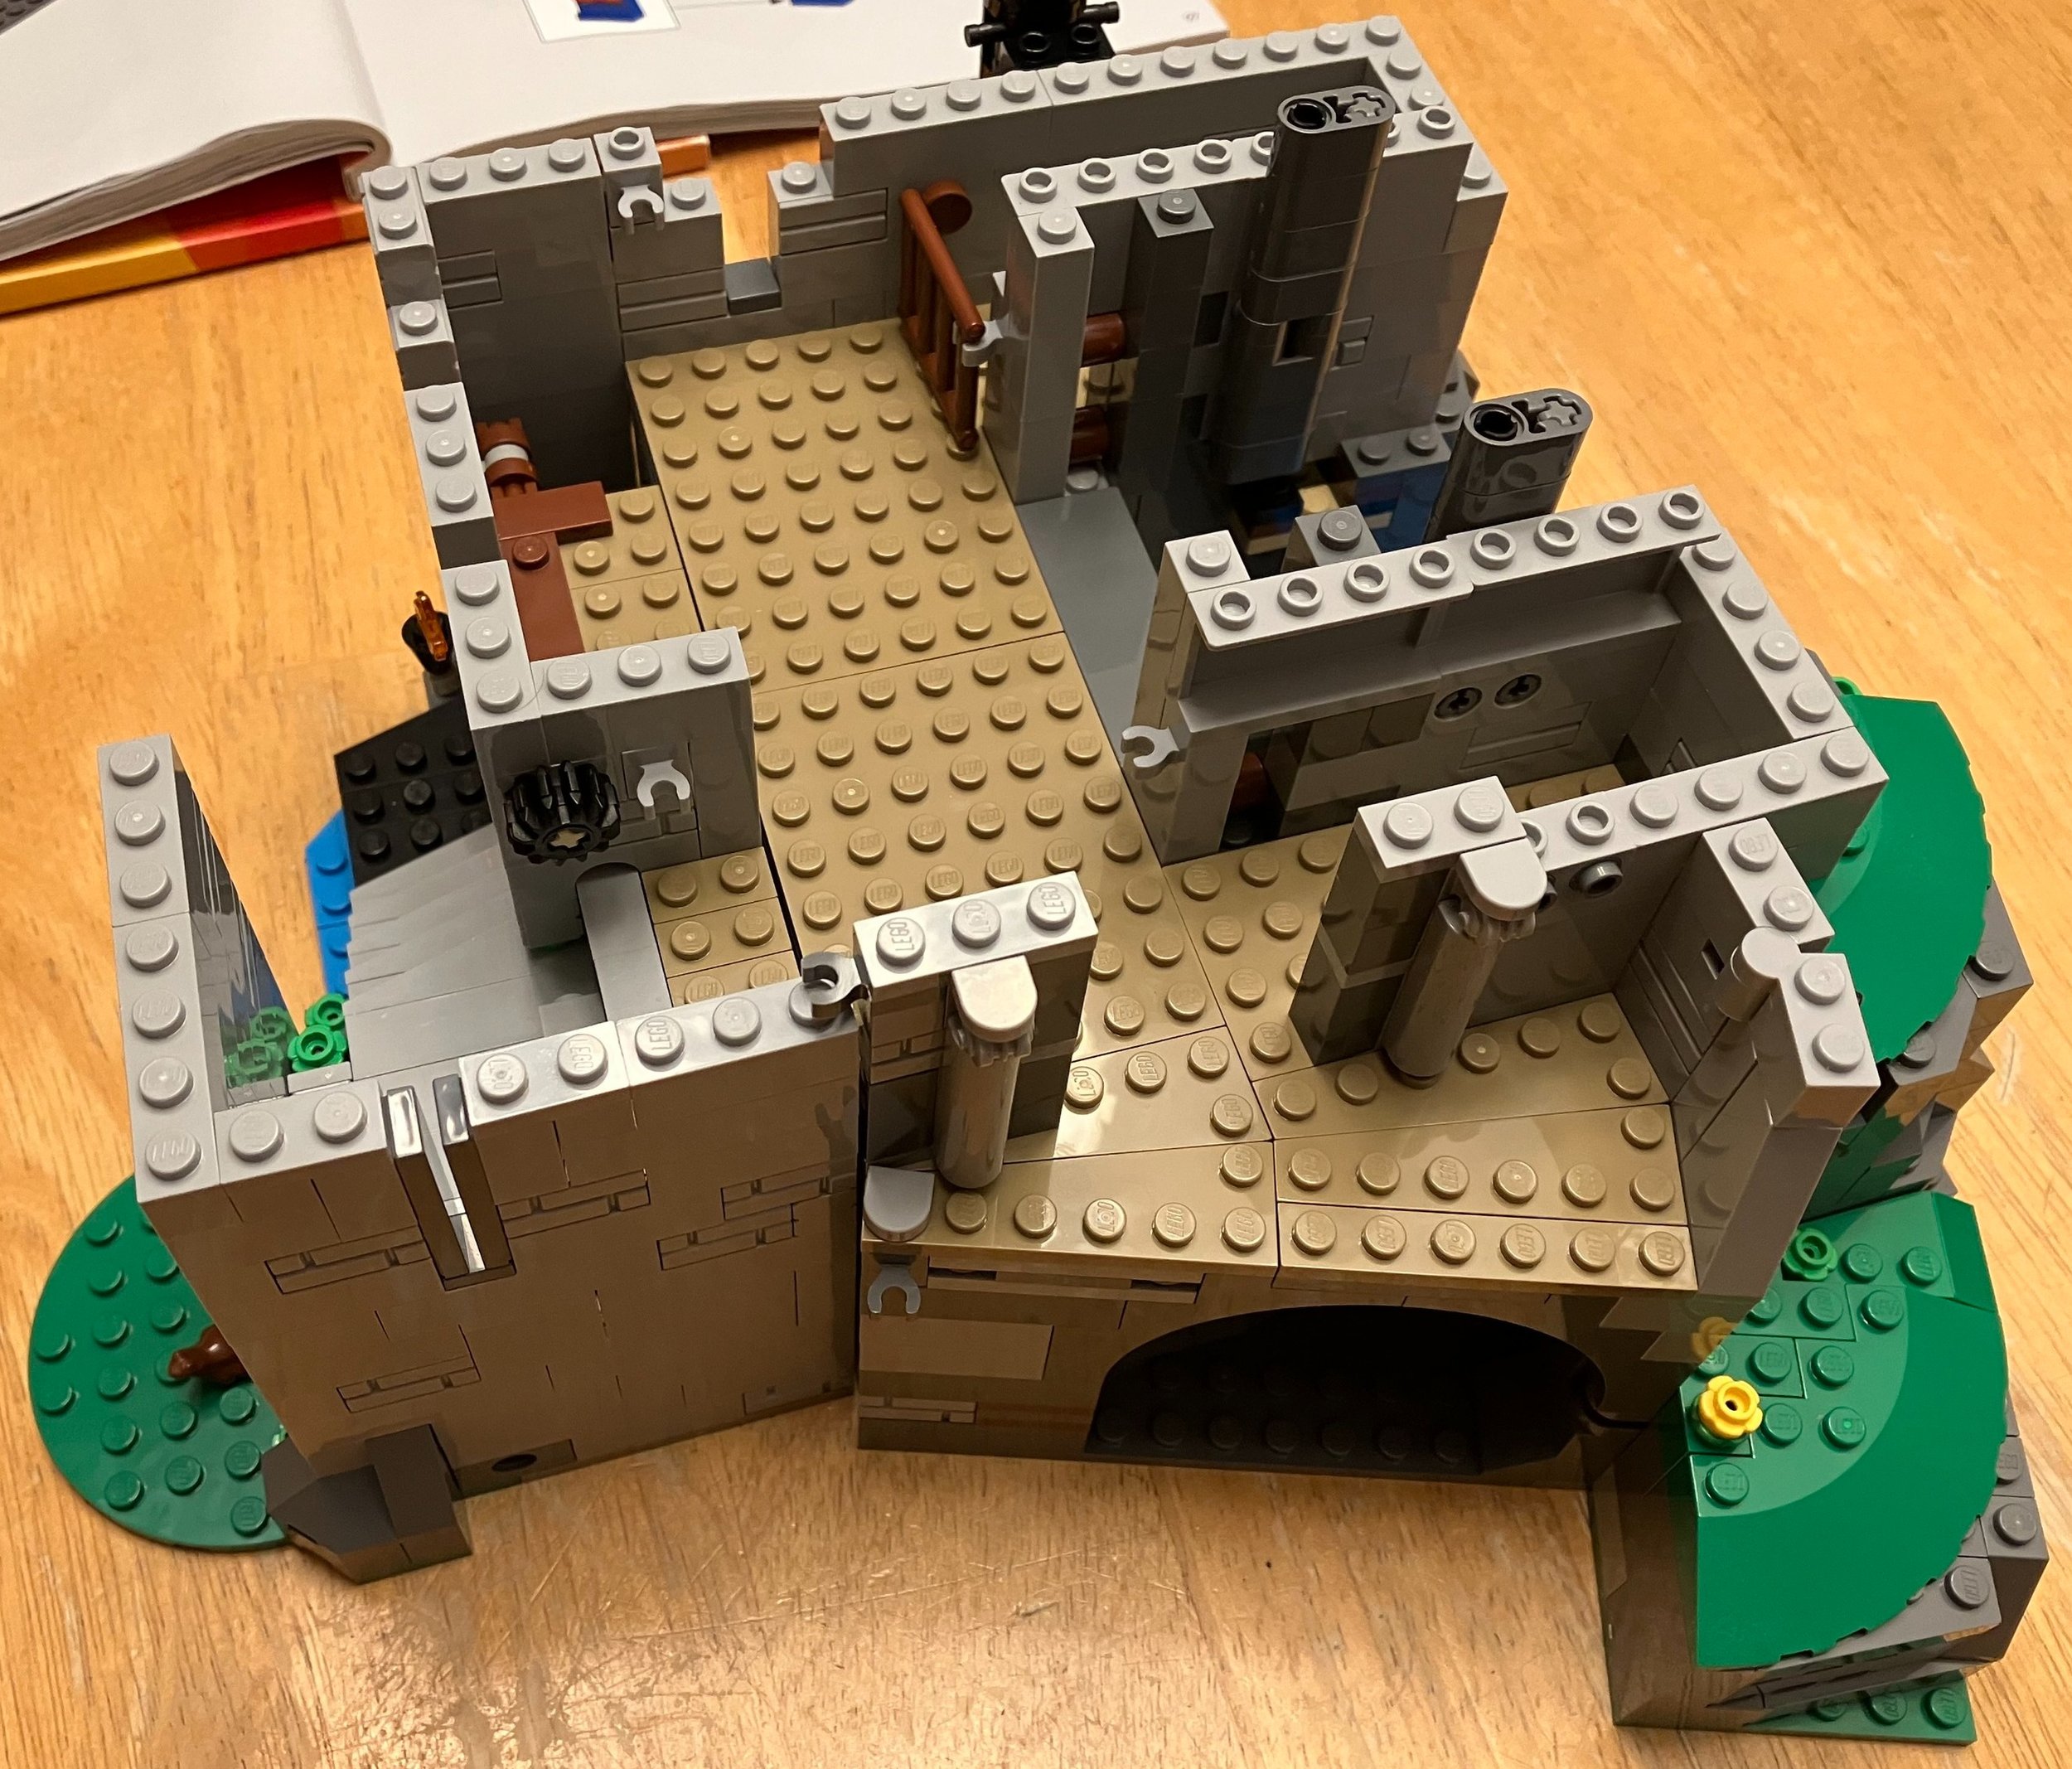
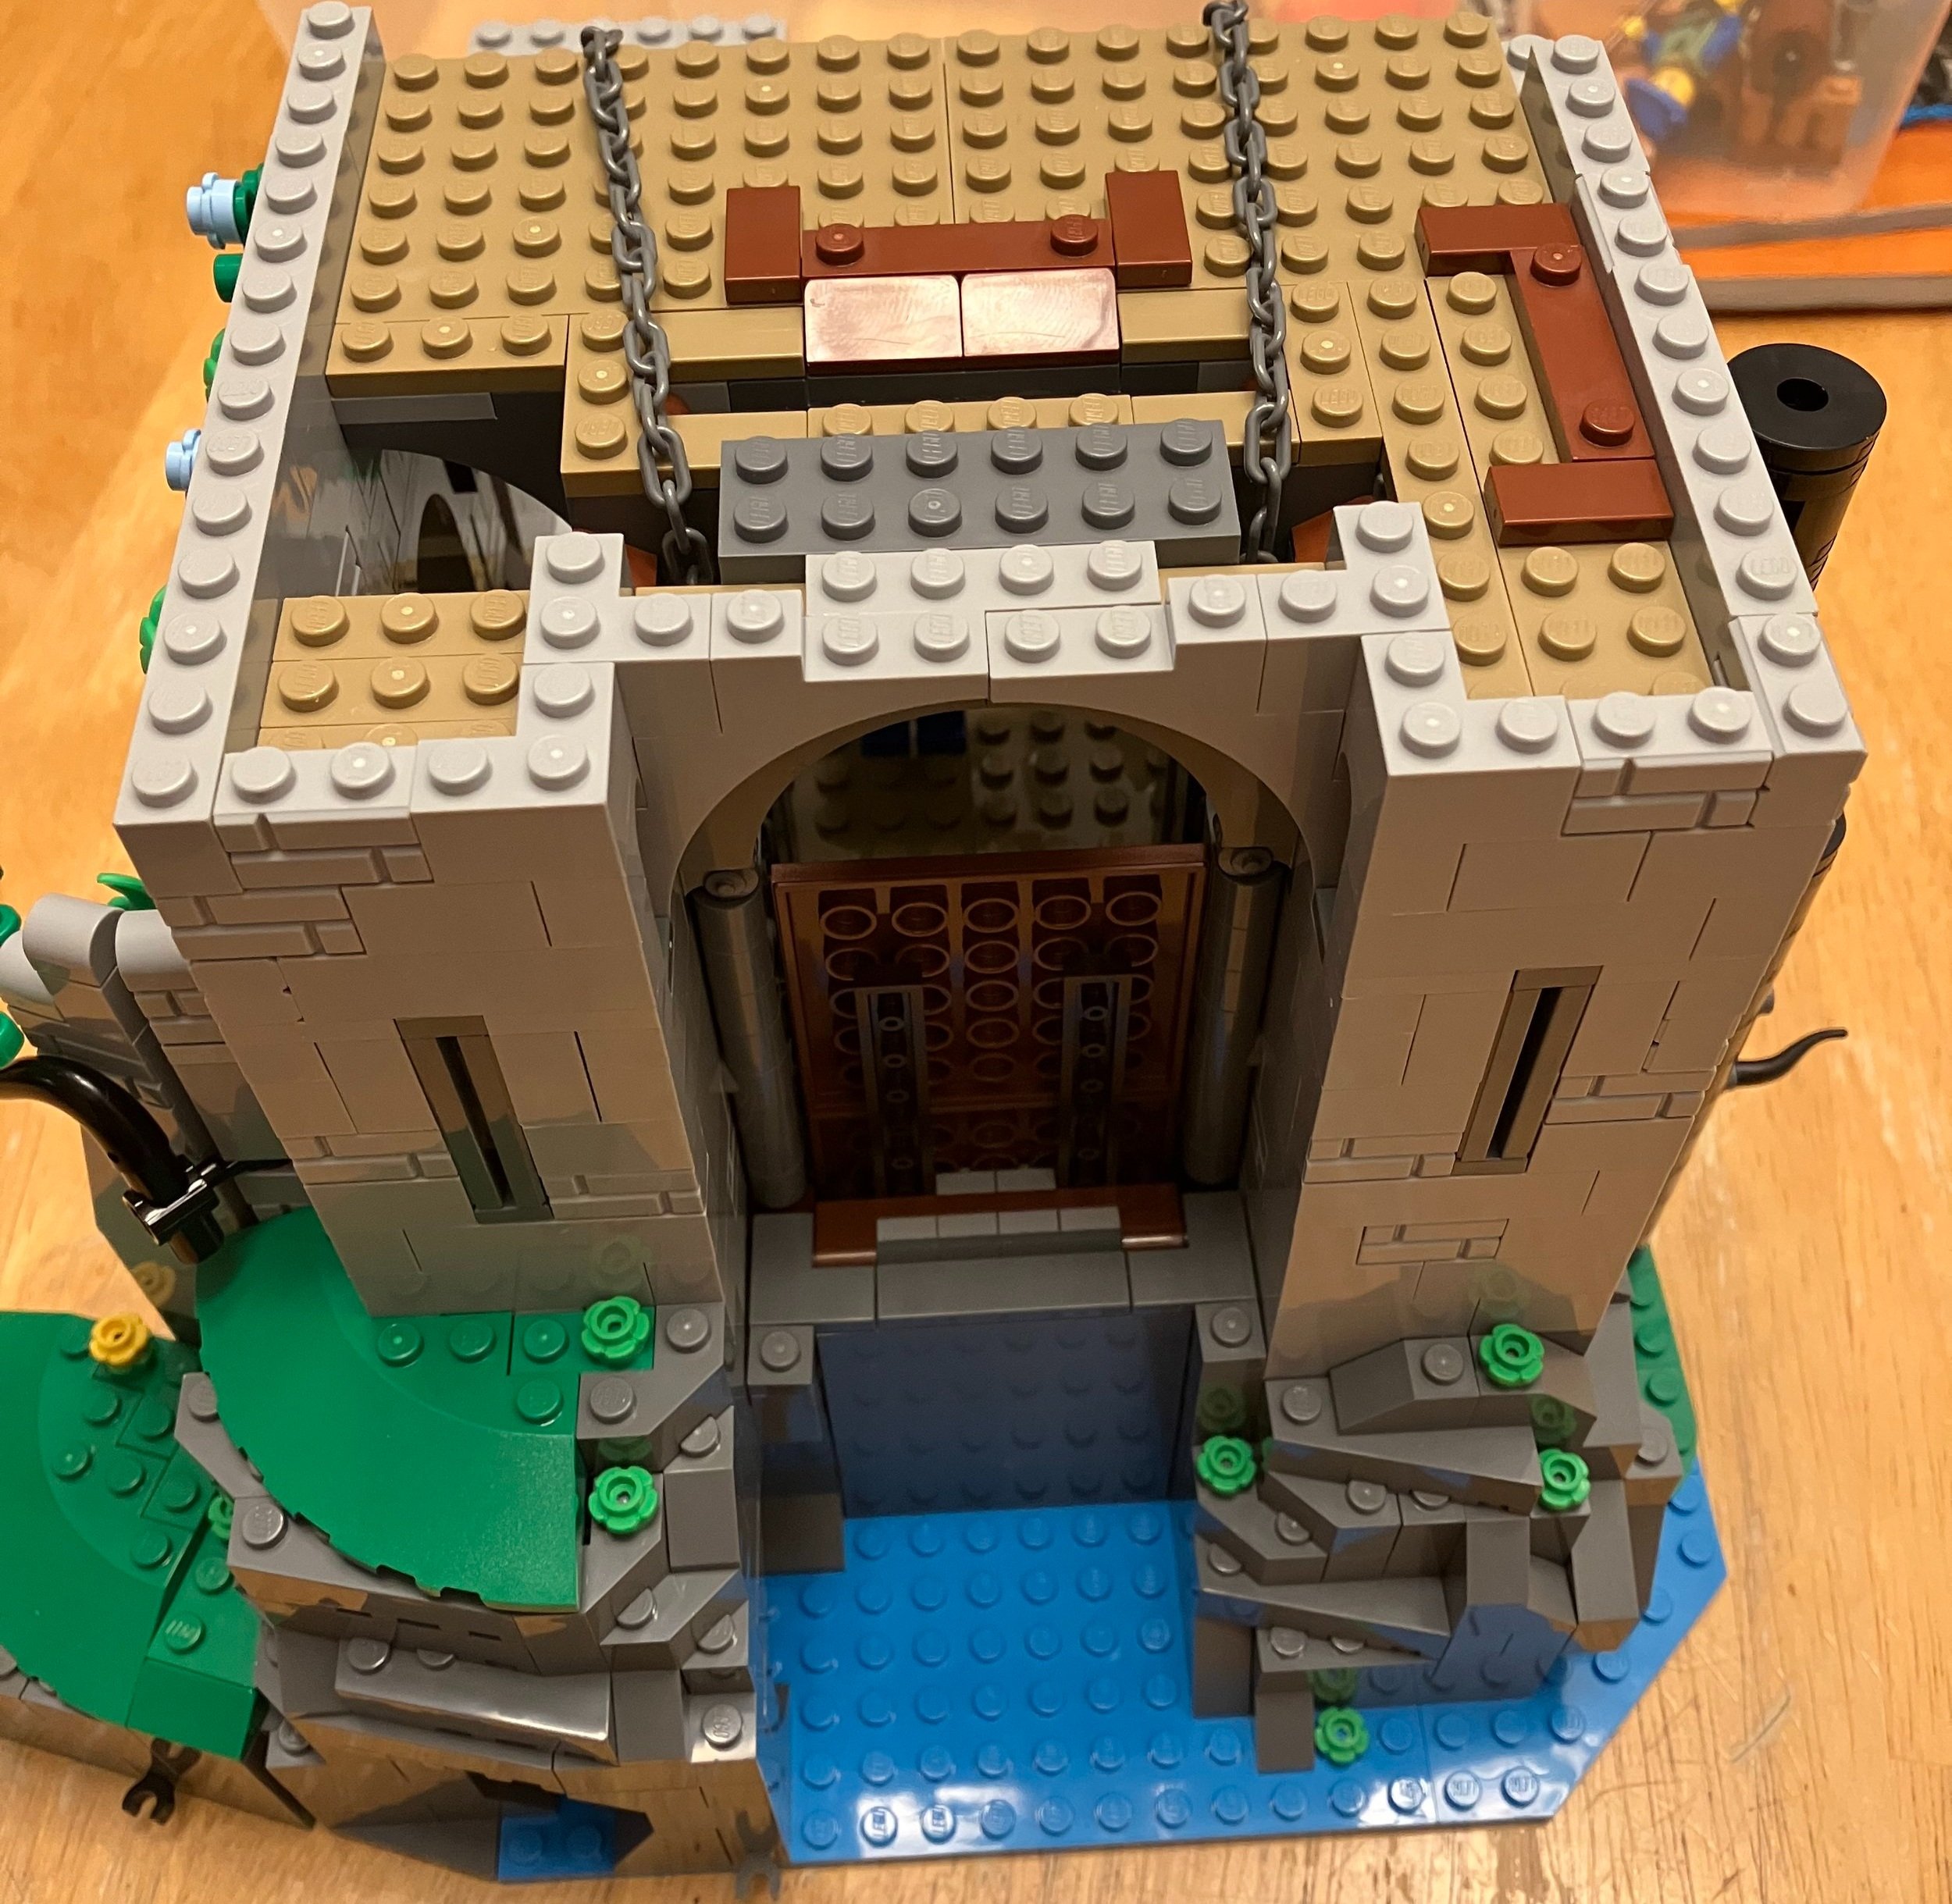
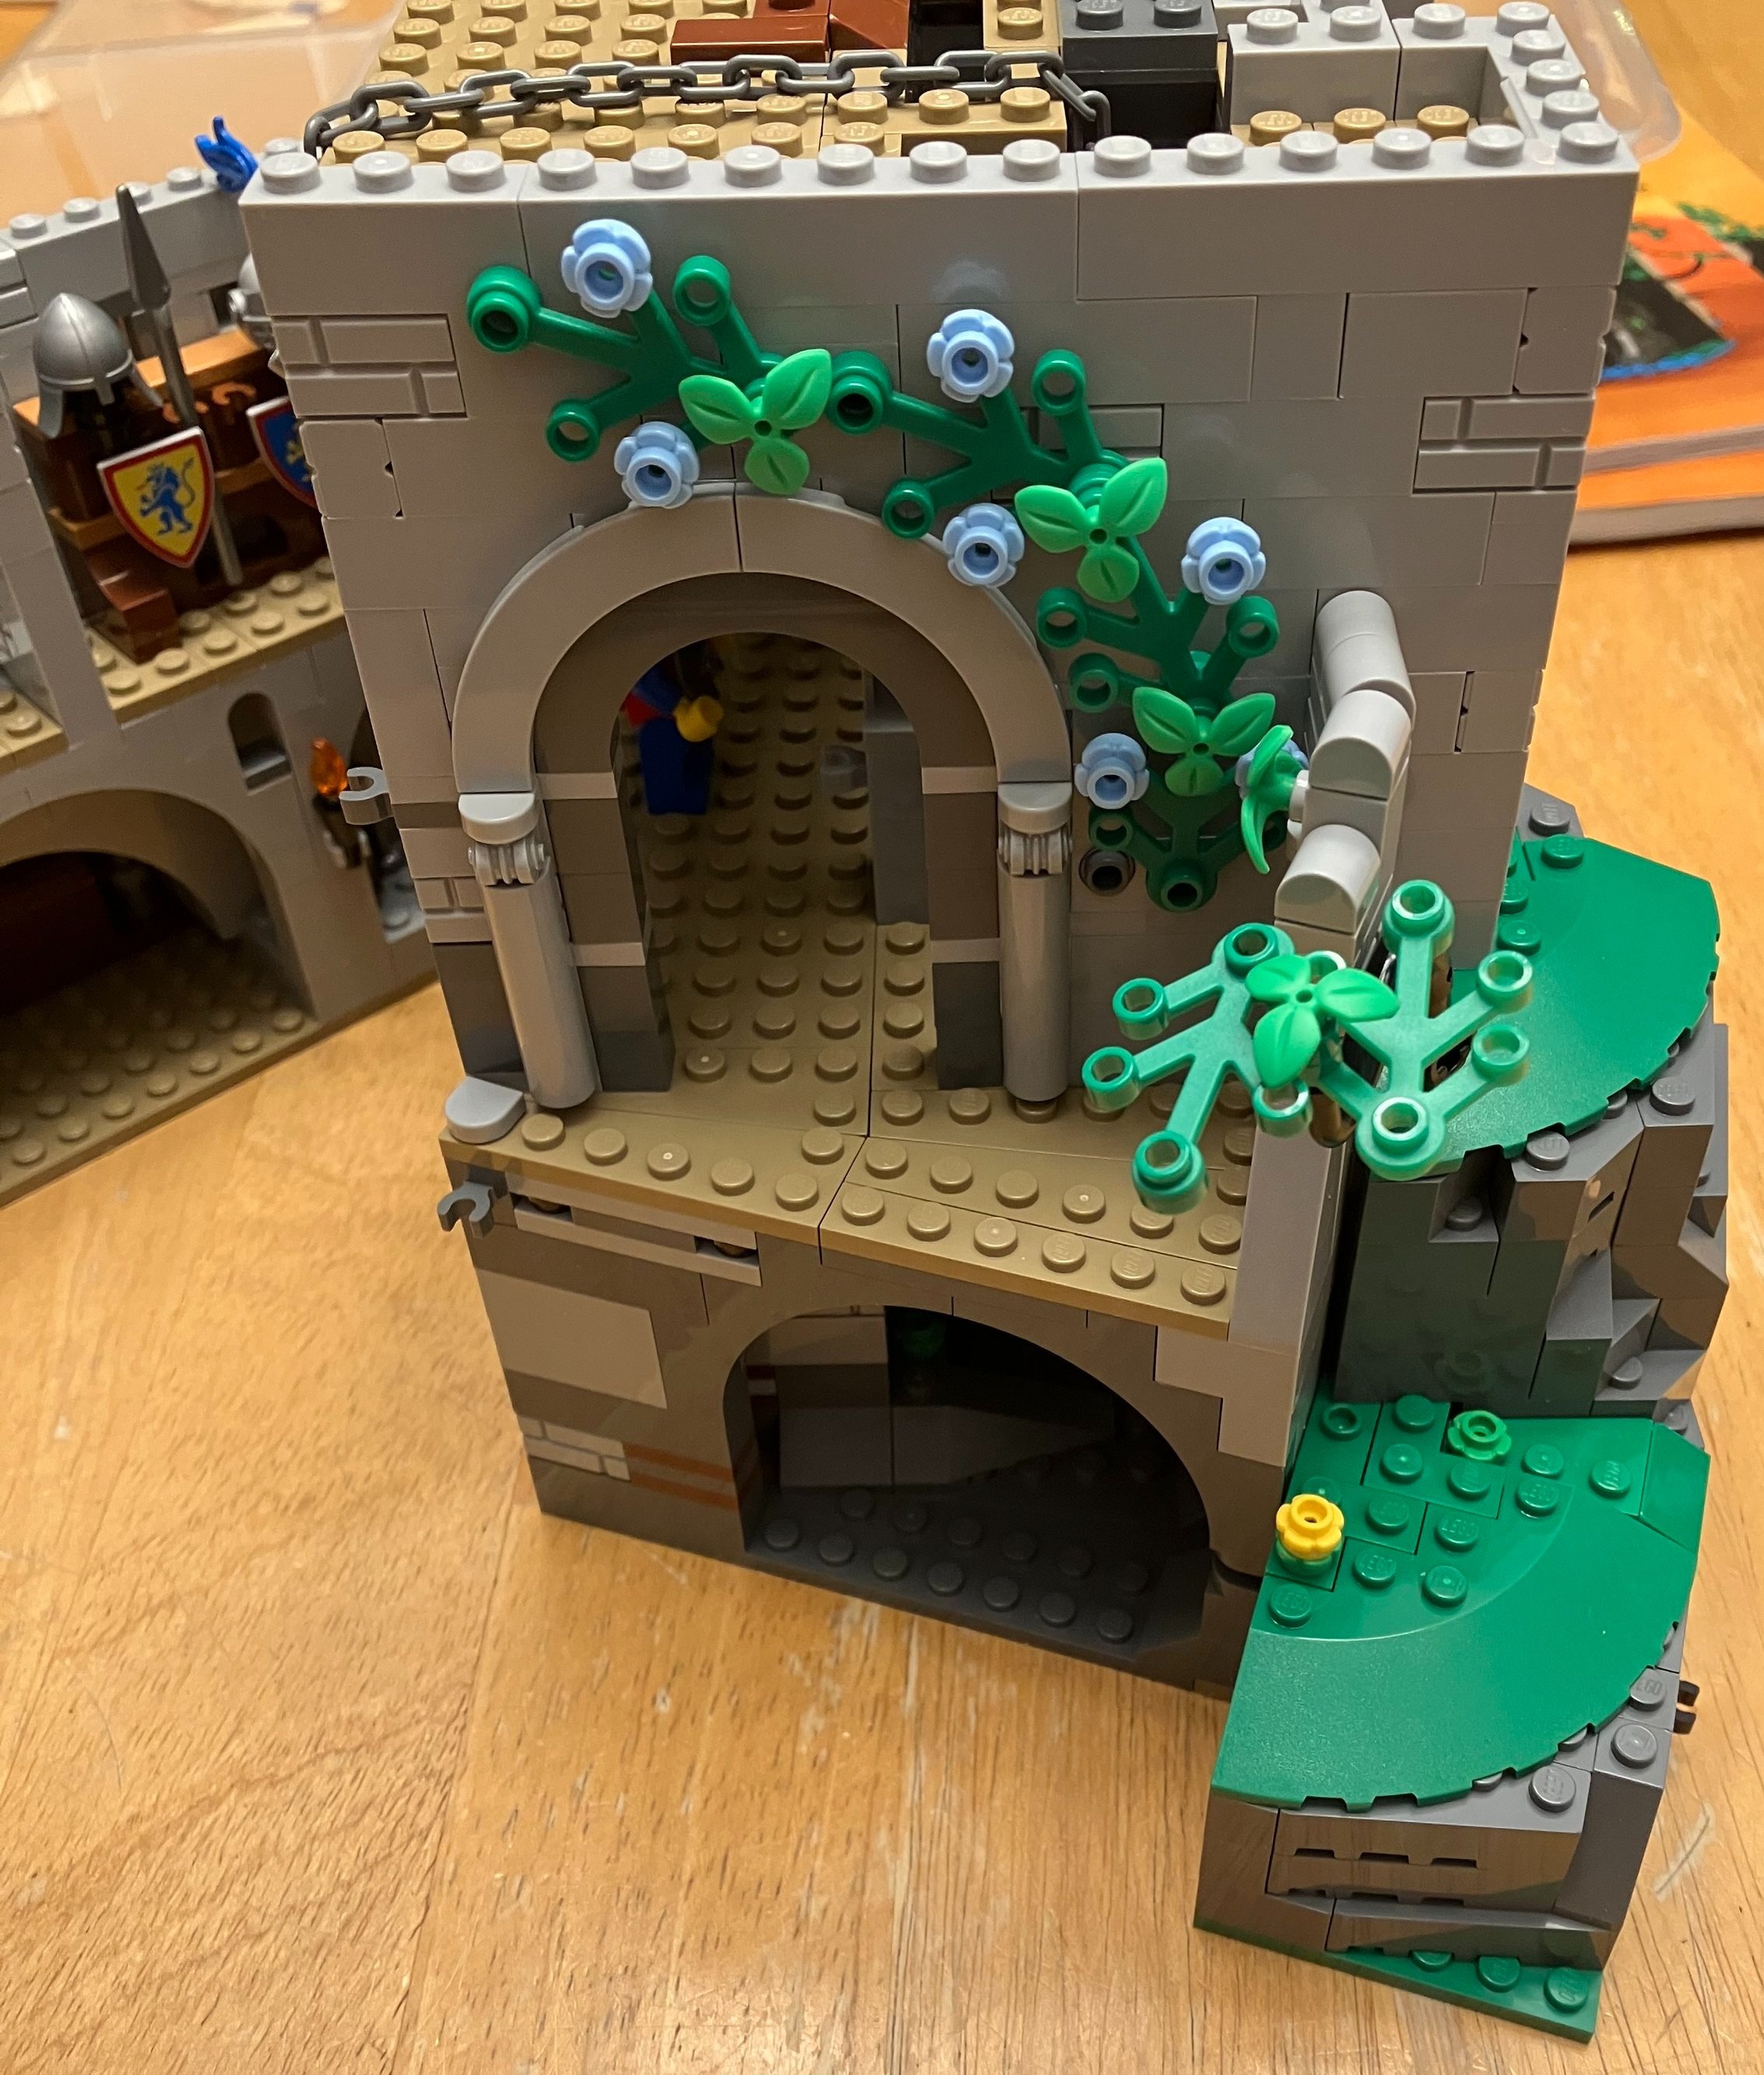
Set Review: #10305-1: Lion Knights' Castle - Icons

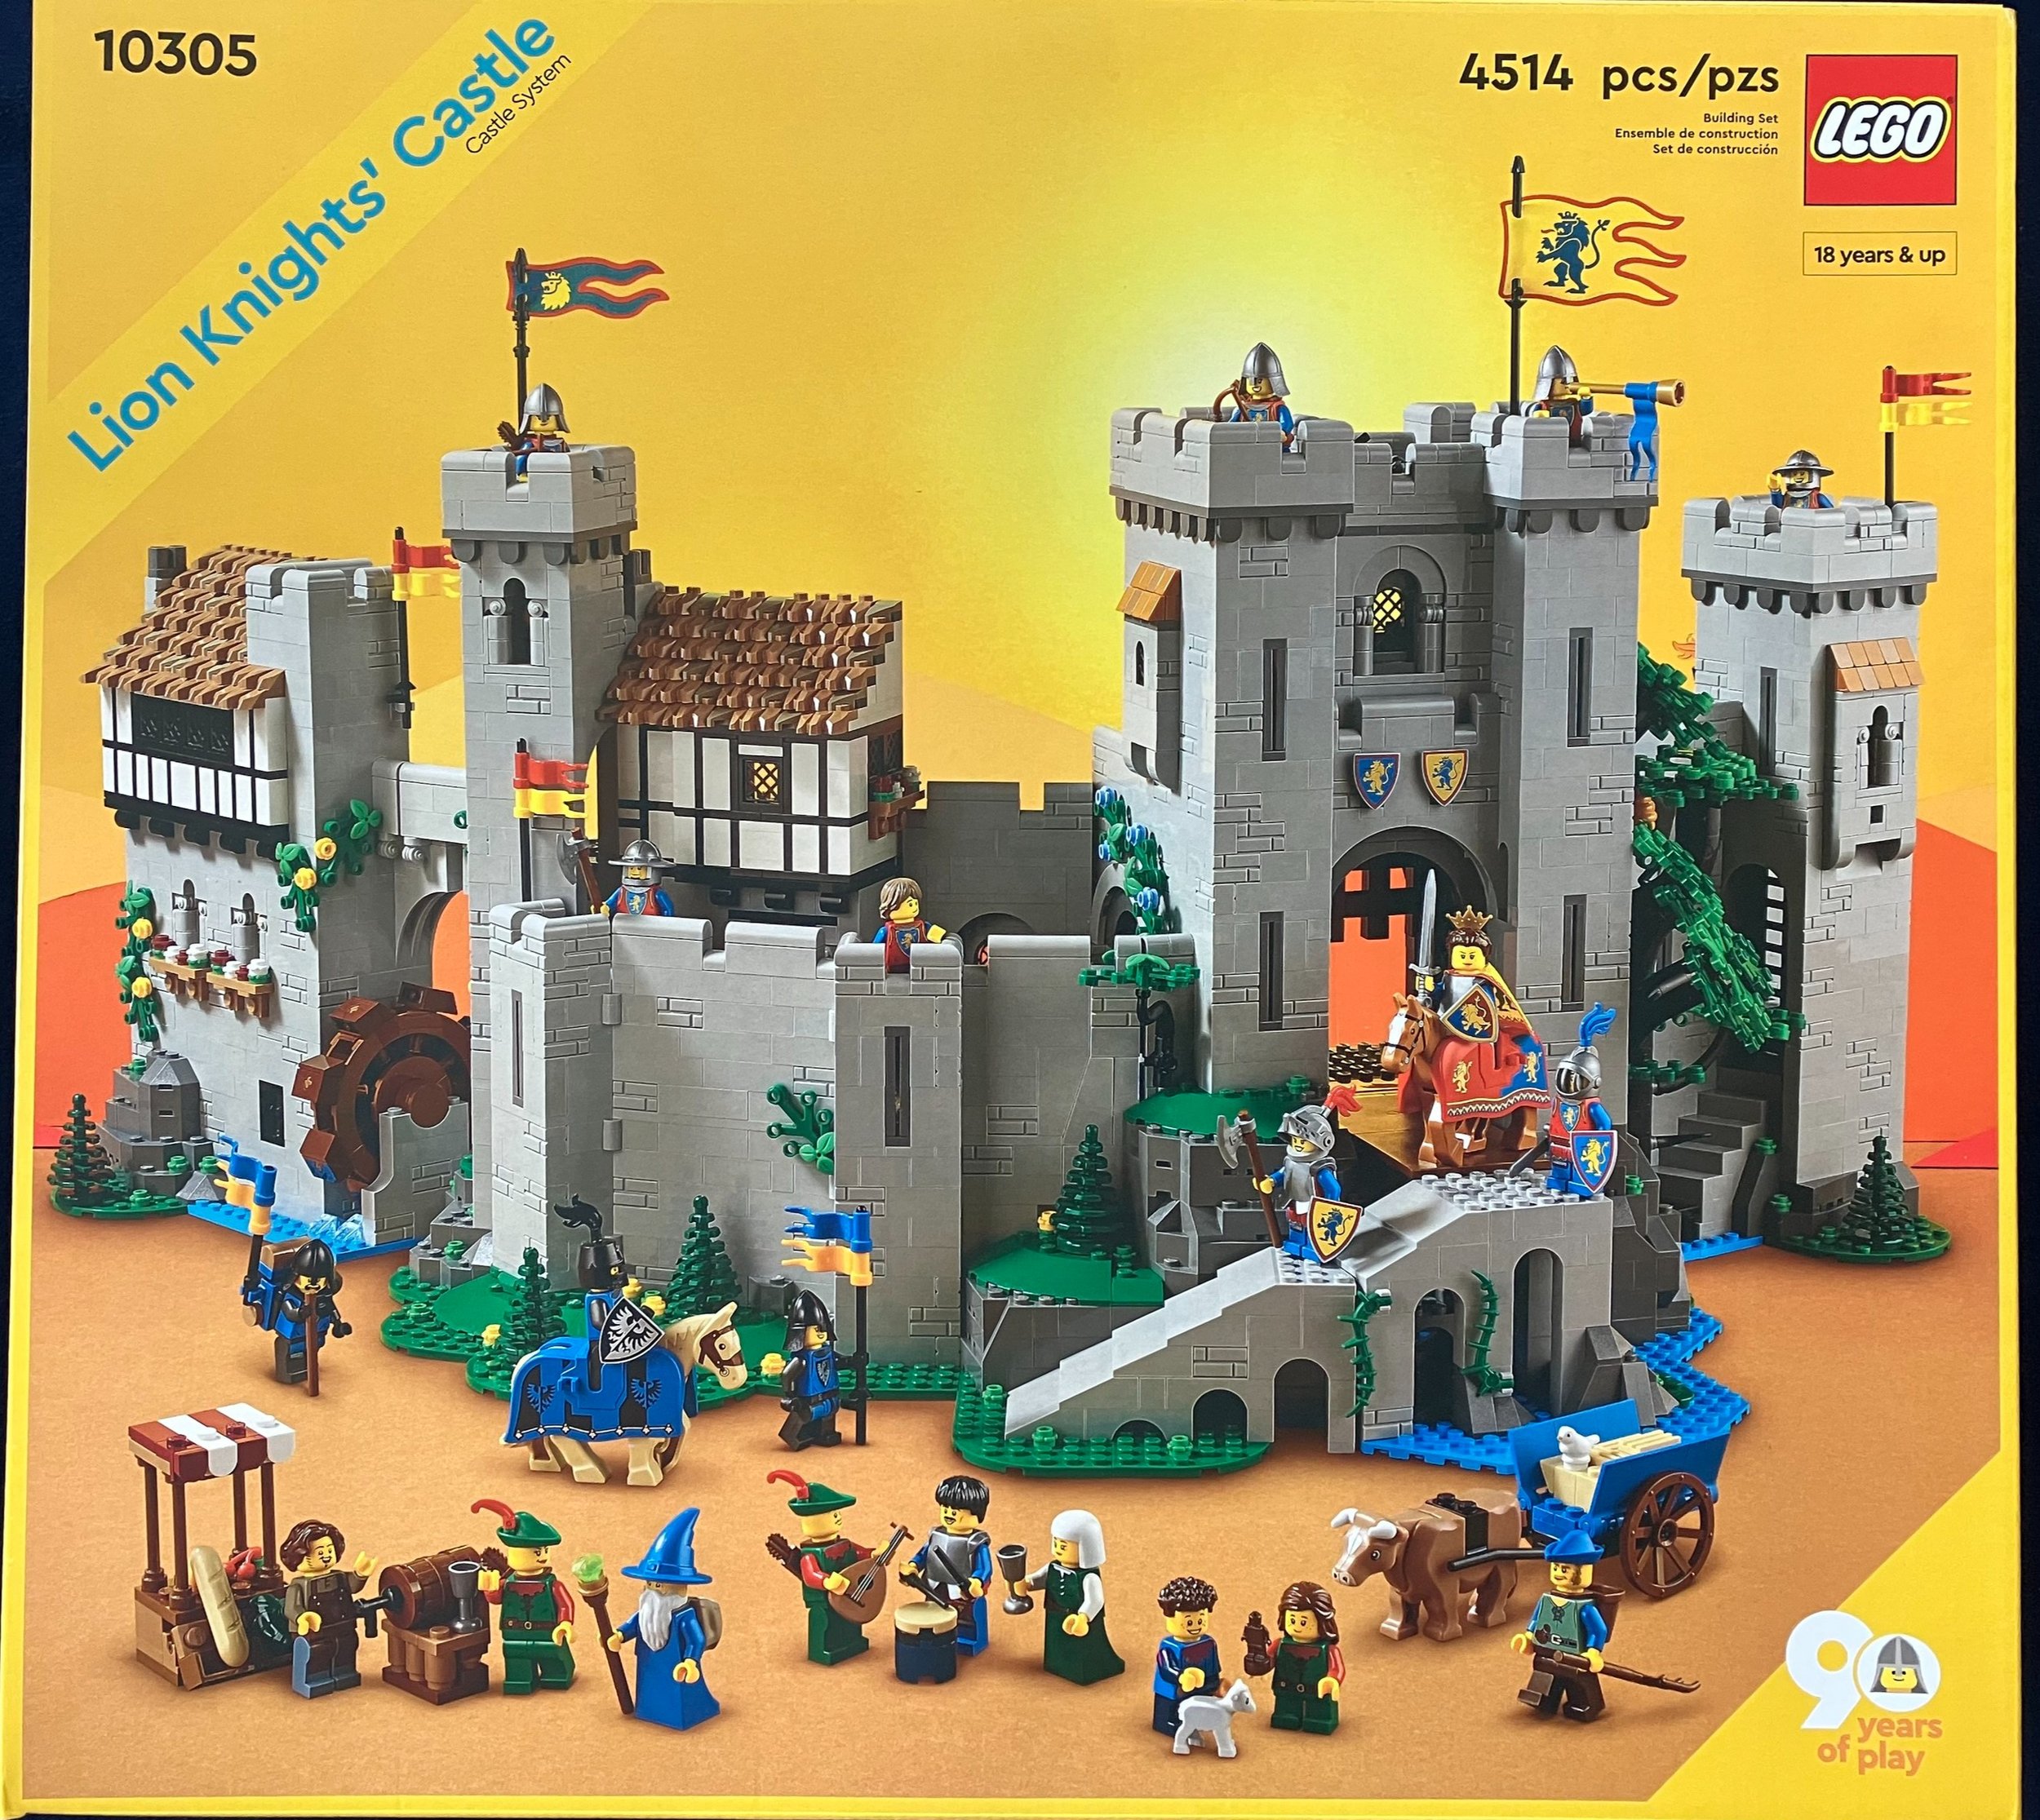
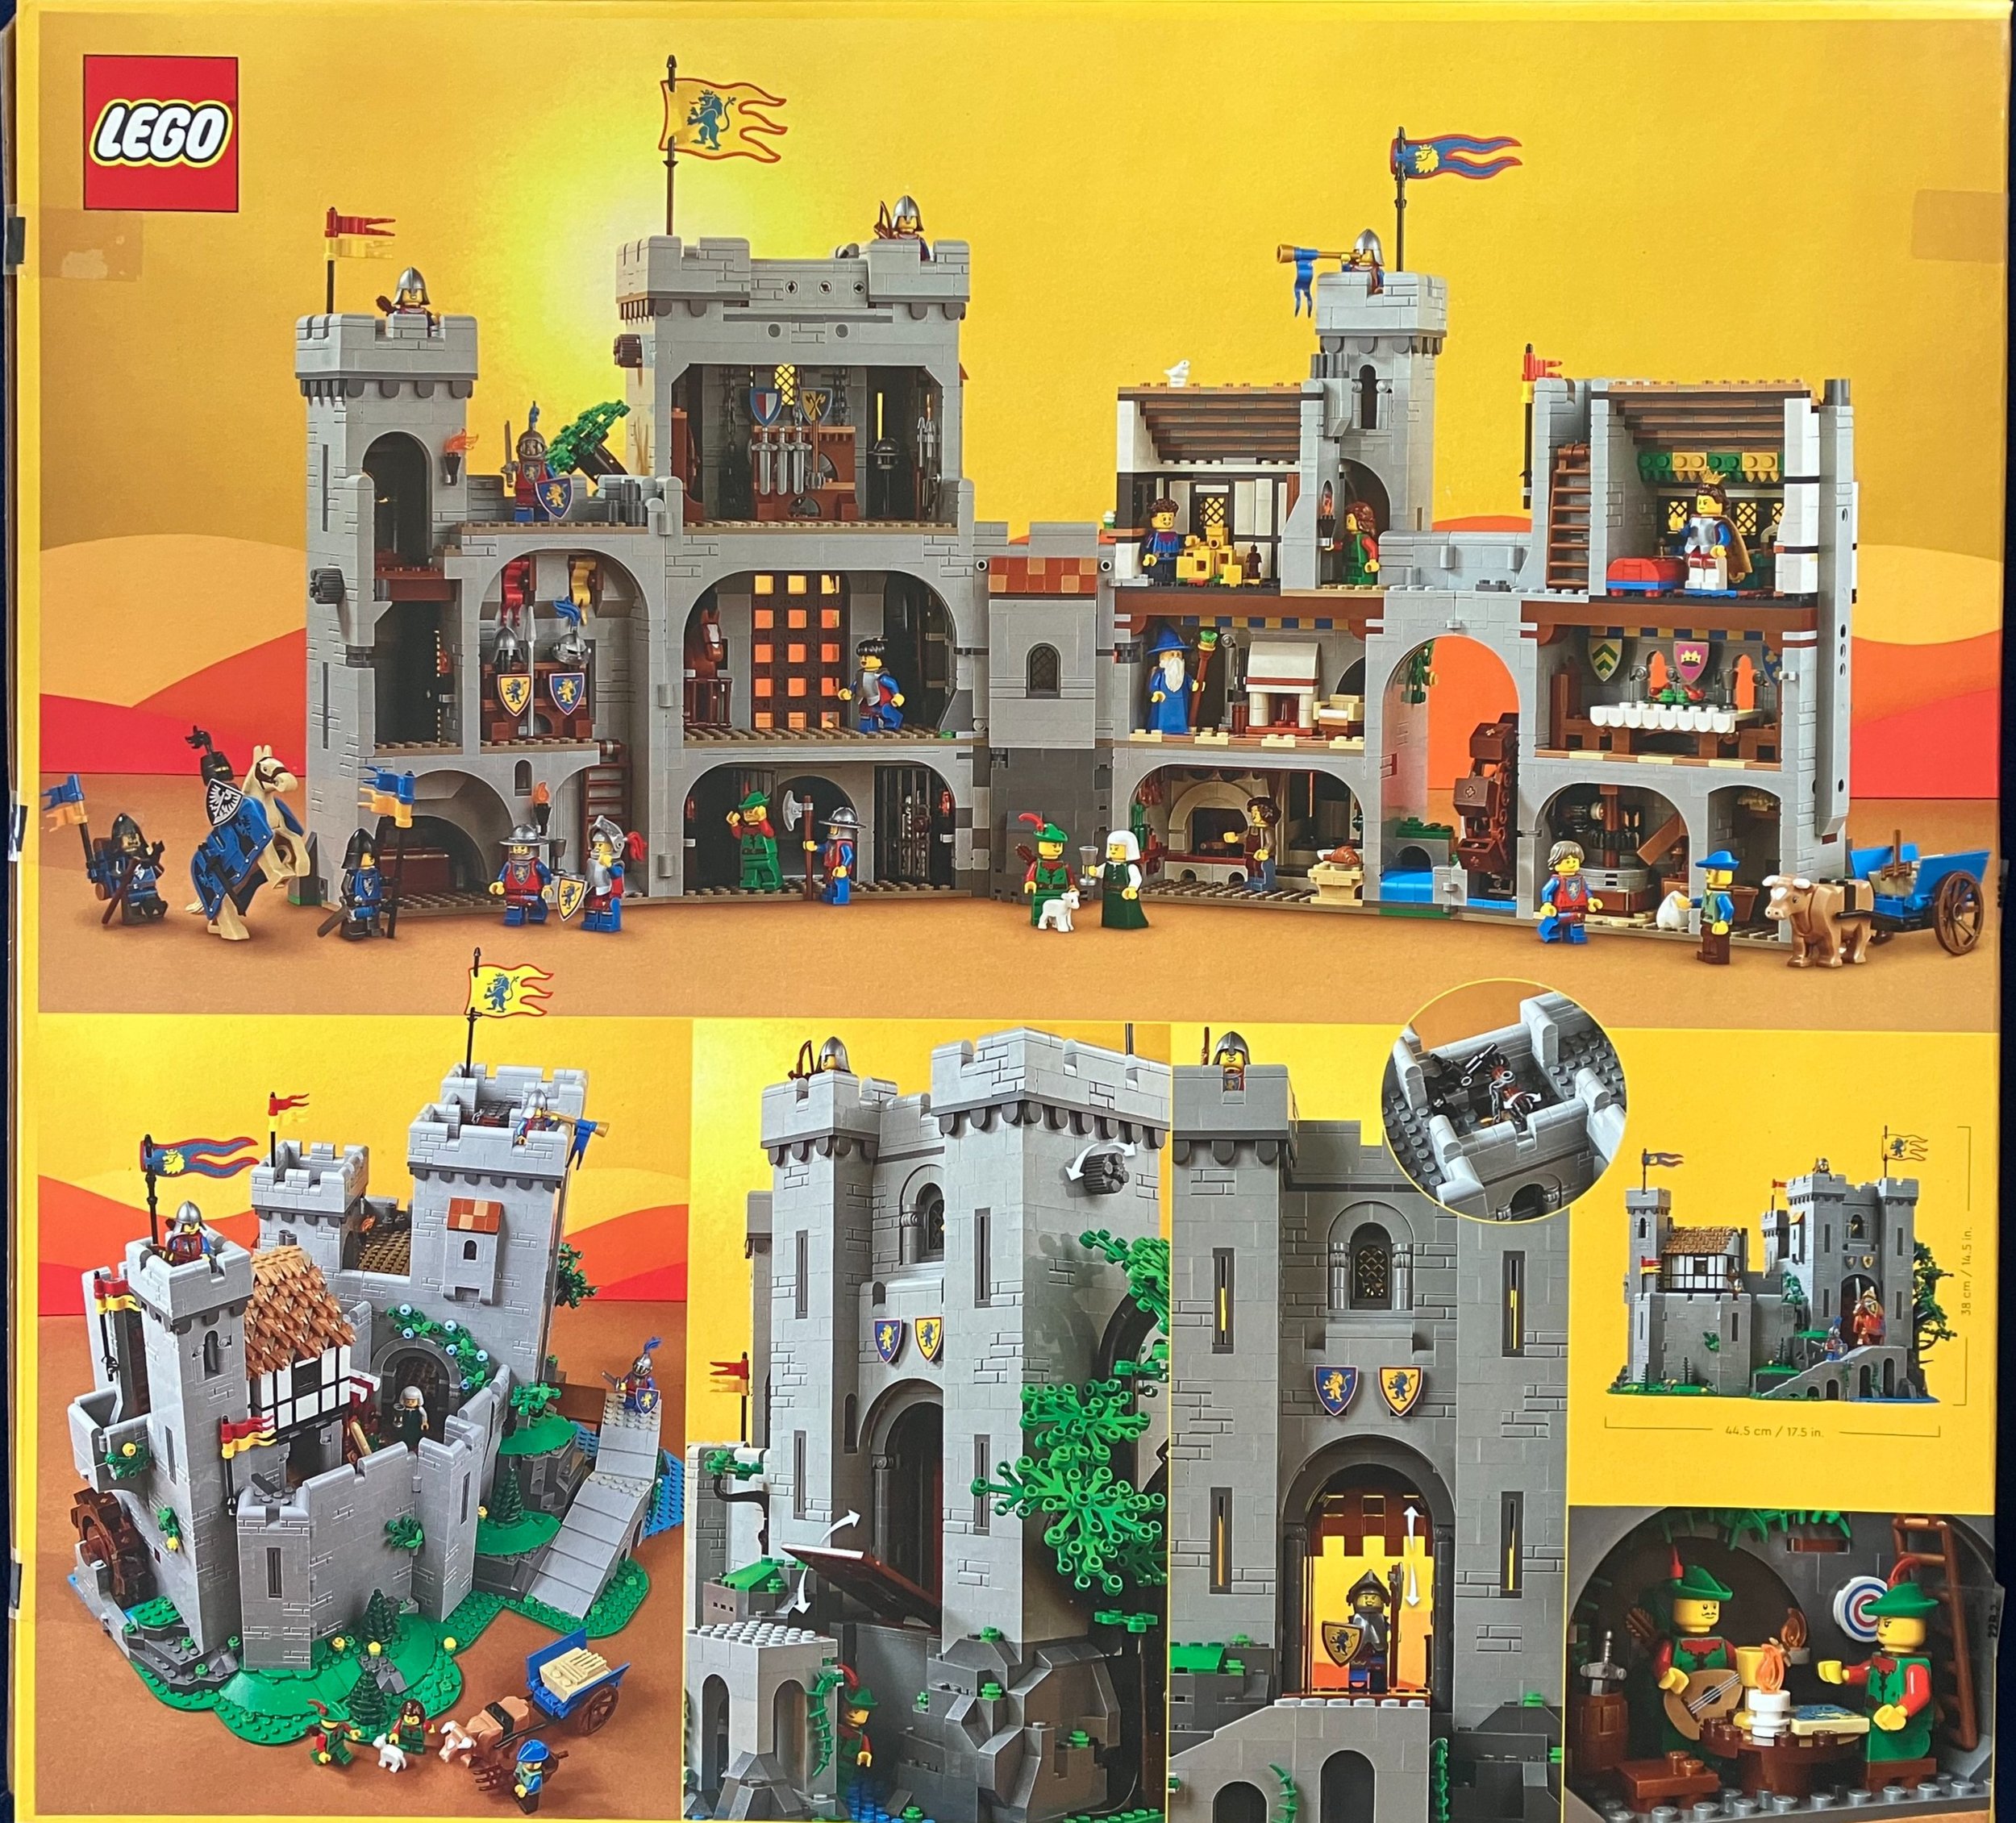
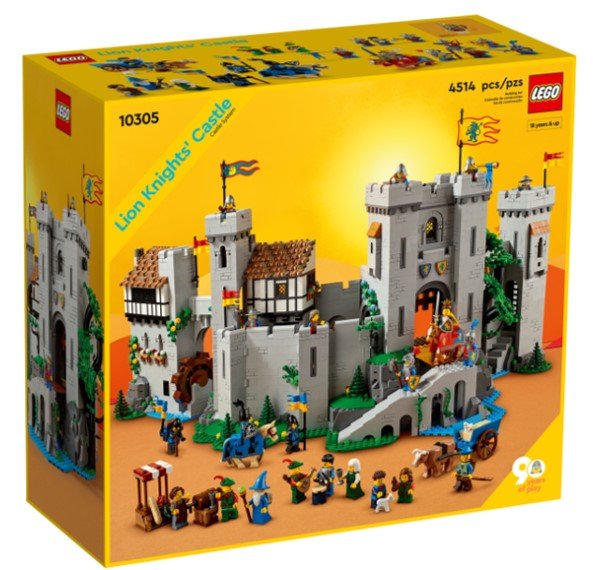
We haven’t had a castle in a while and thanks to the LEGO 90th anniversary and a fan vote, we get #10305-1: Lion Knights’ Castle. This set contains 4,514 pieces and retails in the US for $399.99. This works out to $0.089 per piece. The set was released on 26 July 2022 in the US and was announced at LEGOCon 2022. I ordered this one during a double VIP points period before Christmas 2022 and got a number of GWPs as well. I also used $200 in VIP points and a $50 gift card I received to help cut back on the cost.

This is a long review and I doubt many will make it all the way to the bottom so I’ll do the wrap up here. Overall, this was a great set. There were a lot of great building techniques and parts used and it was fun to build. I enjoyed seeing how the sections fit together and what little bits the designers threw in. There are also a lot of great minifigures to add into your collection which is awesome. It’s an expensive set and I’m not sure I would have purchased it without VIP points, a gift card, double VIP points, and GWPs. If you’re looking to buy this set, besides saving up for it, be sure to look for ways to maximize your purchase with GWPs, double VIP points, or other bonuses.

Here’s the box I received from LEGO Shop @ Home.

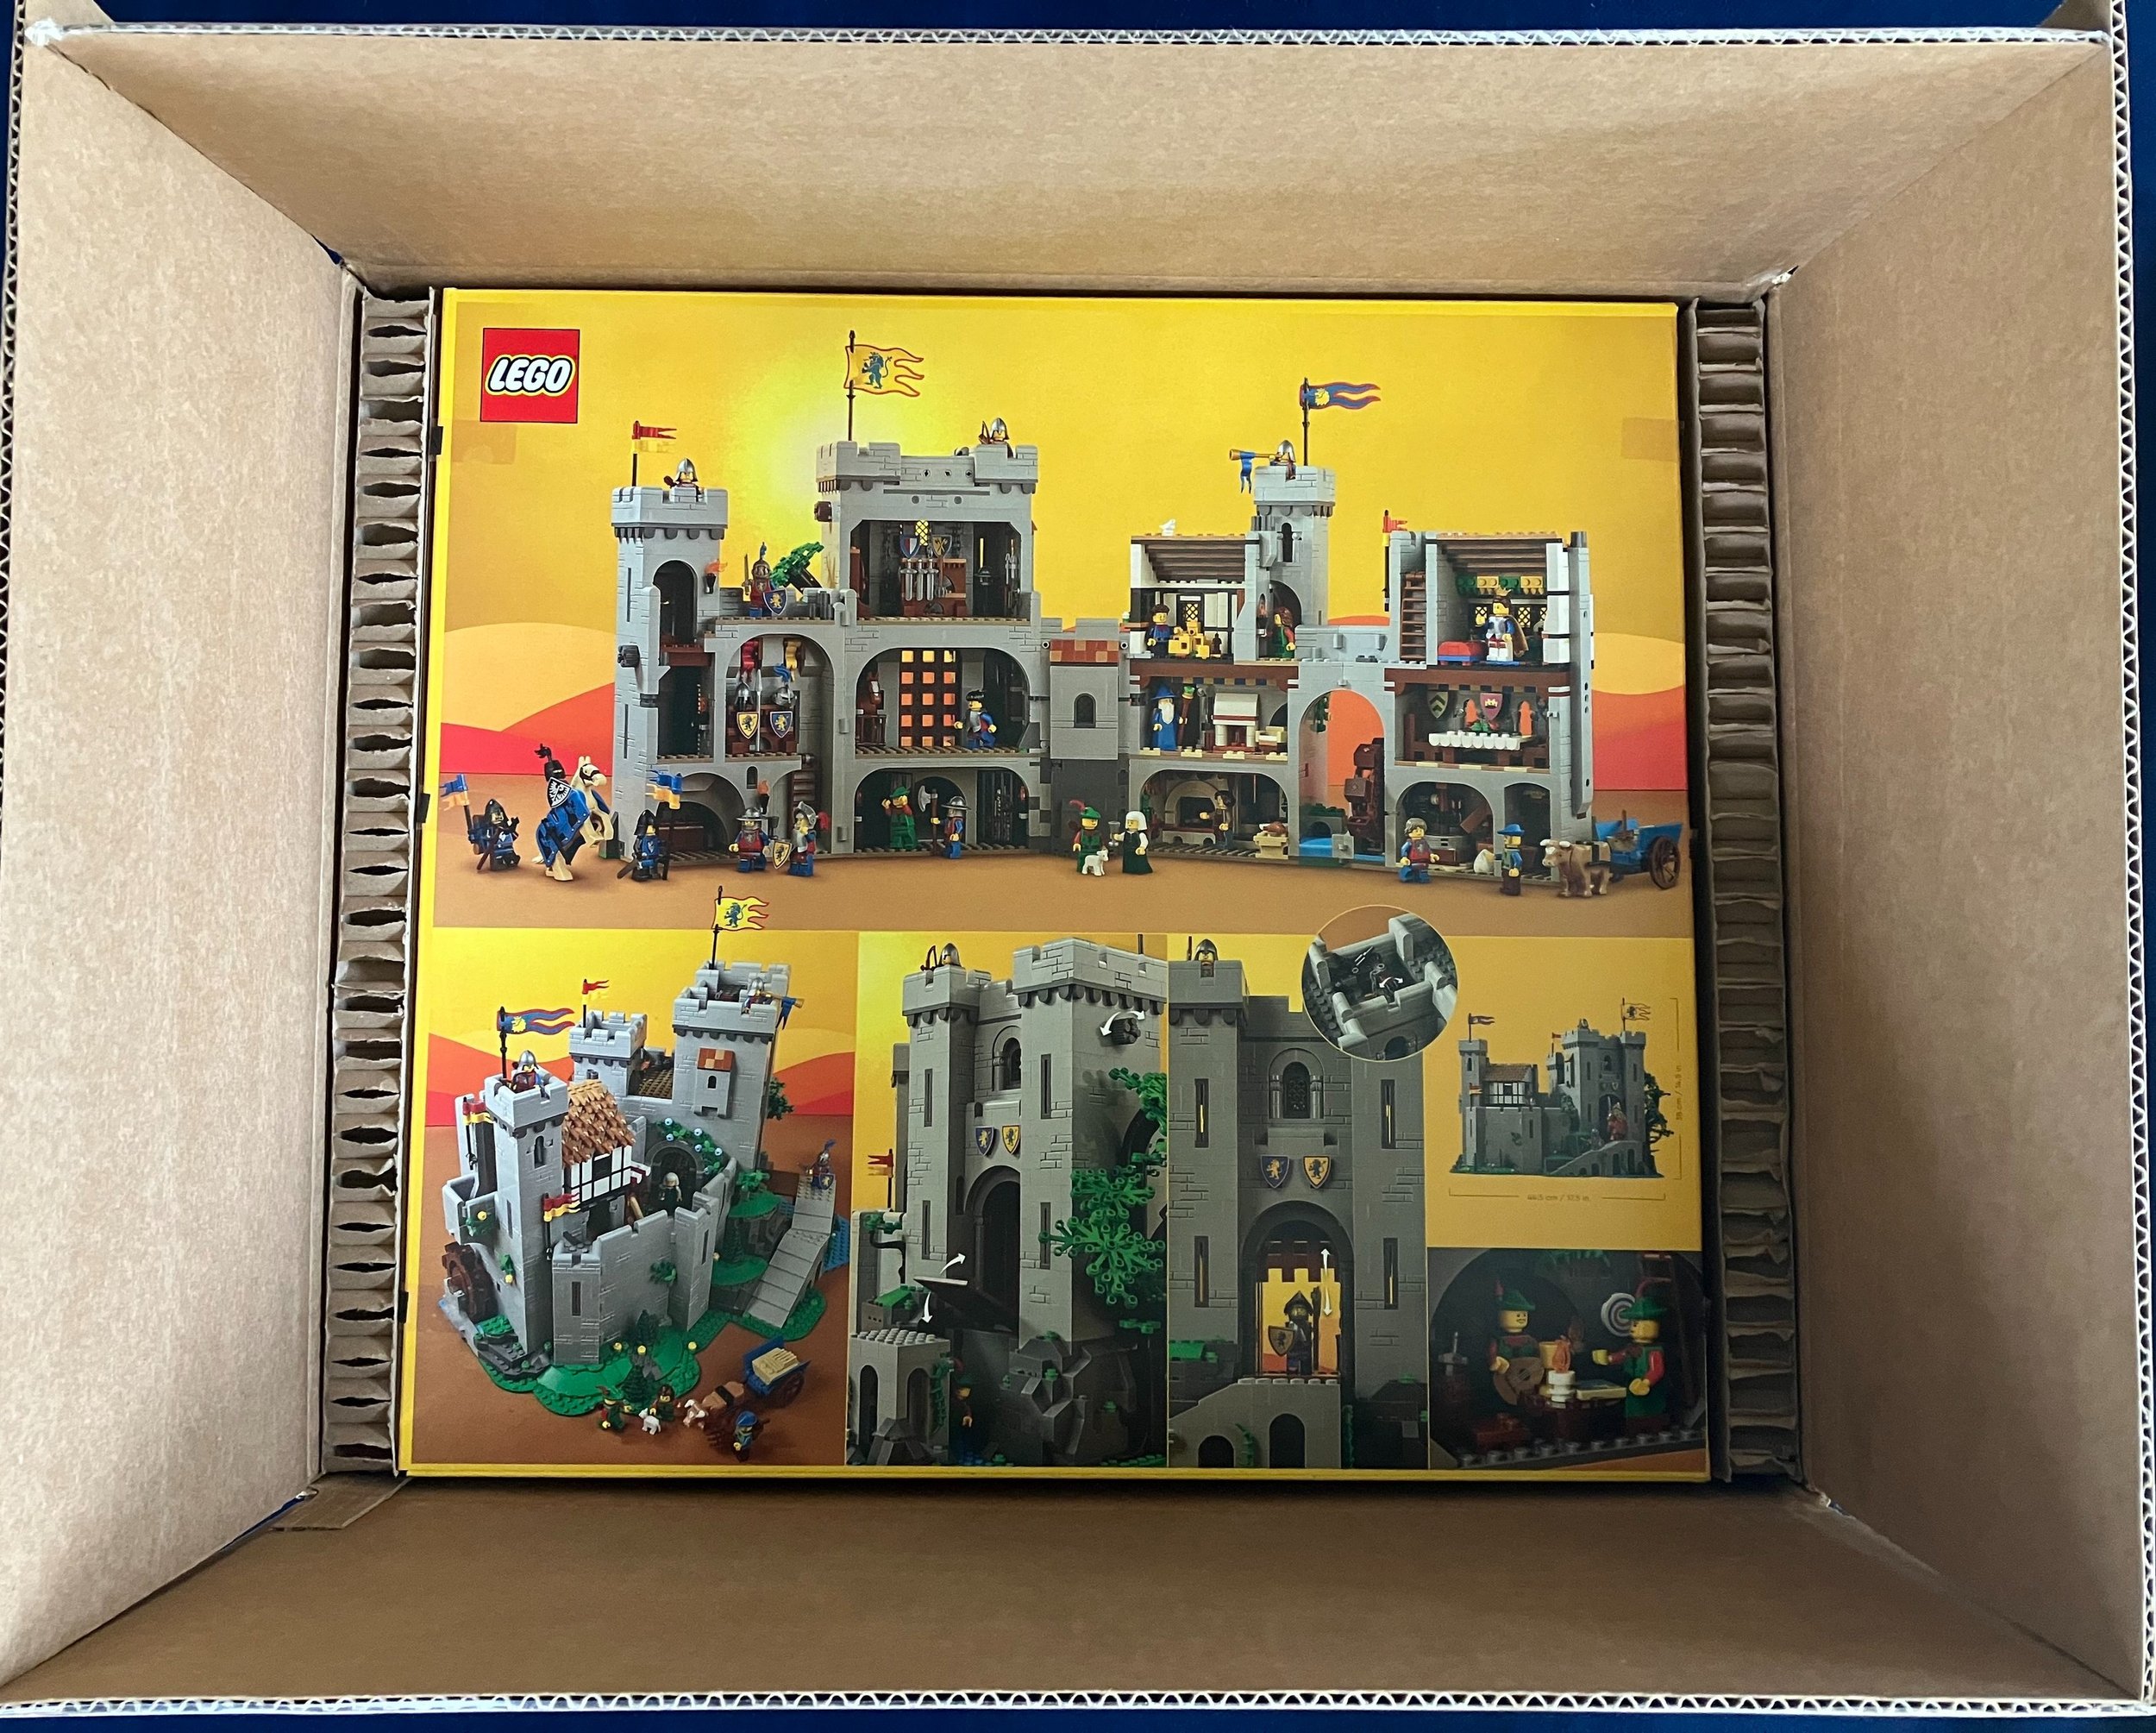
Here’s what it looks like when you open it up. The packaging is similar to how #42143-1: Ferrari Daytona SP3 was packaged with the set sandwiched between two thick pieces of cardboard.

Here’s what the box looks like. It’s got the old fashioned yellow coloring and the 90th anniversary logo. The front shows the full set while the back gives some details.

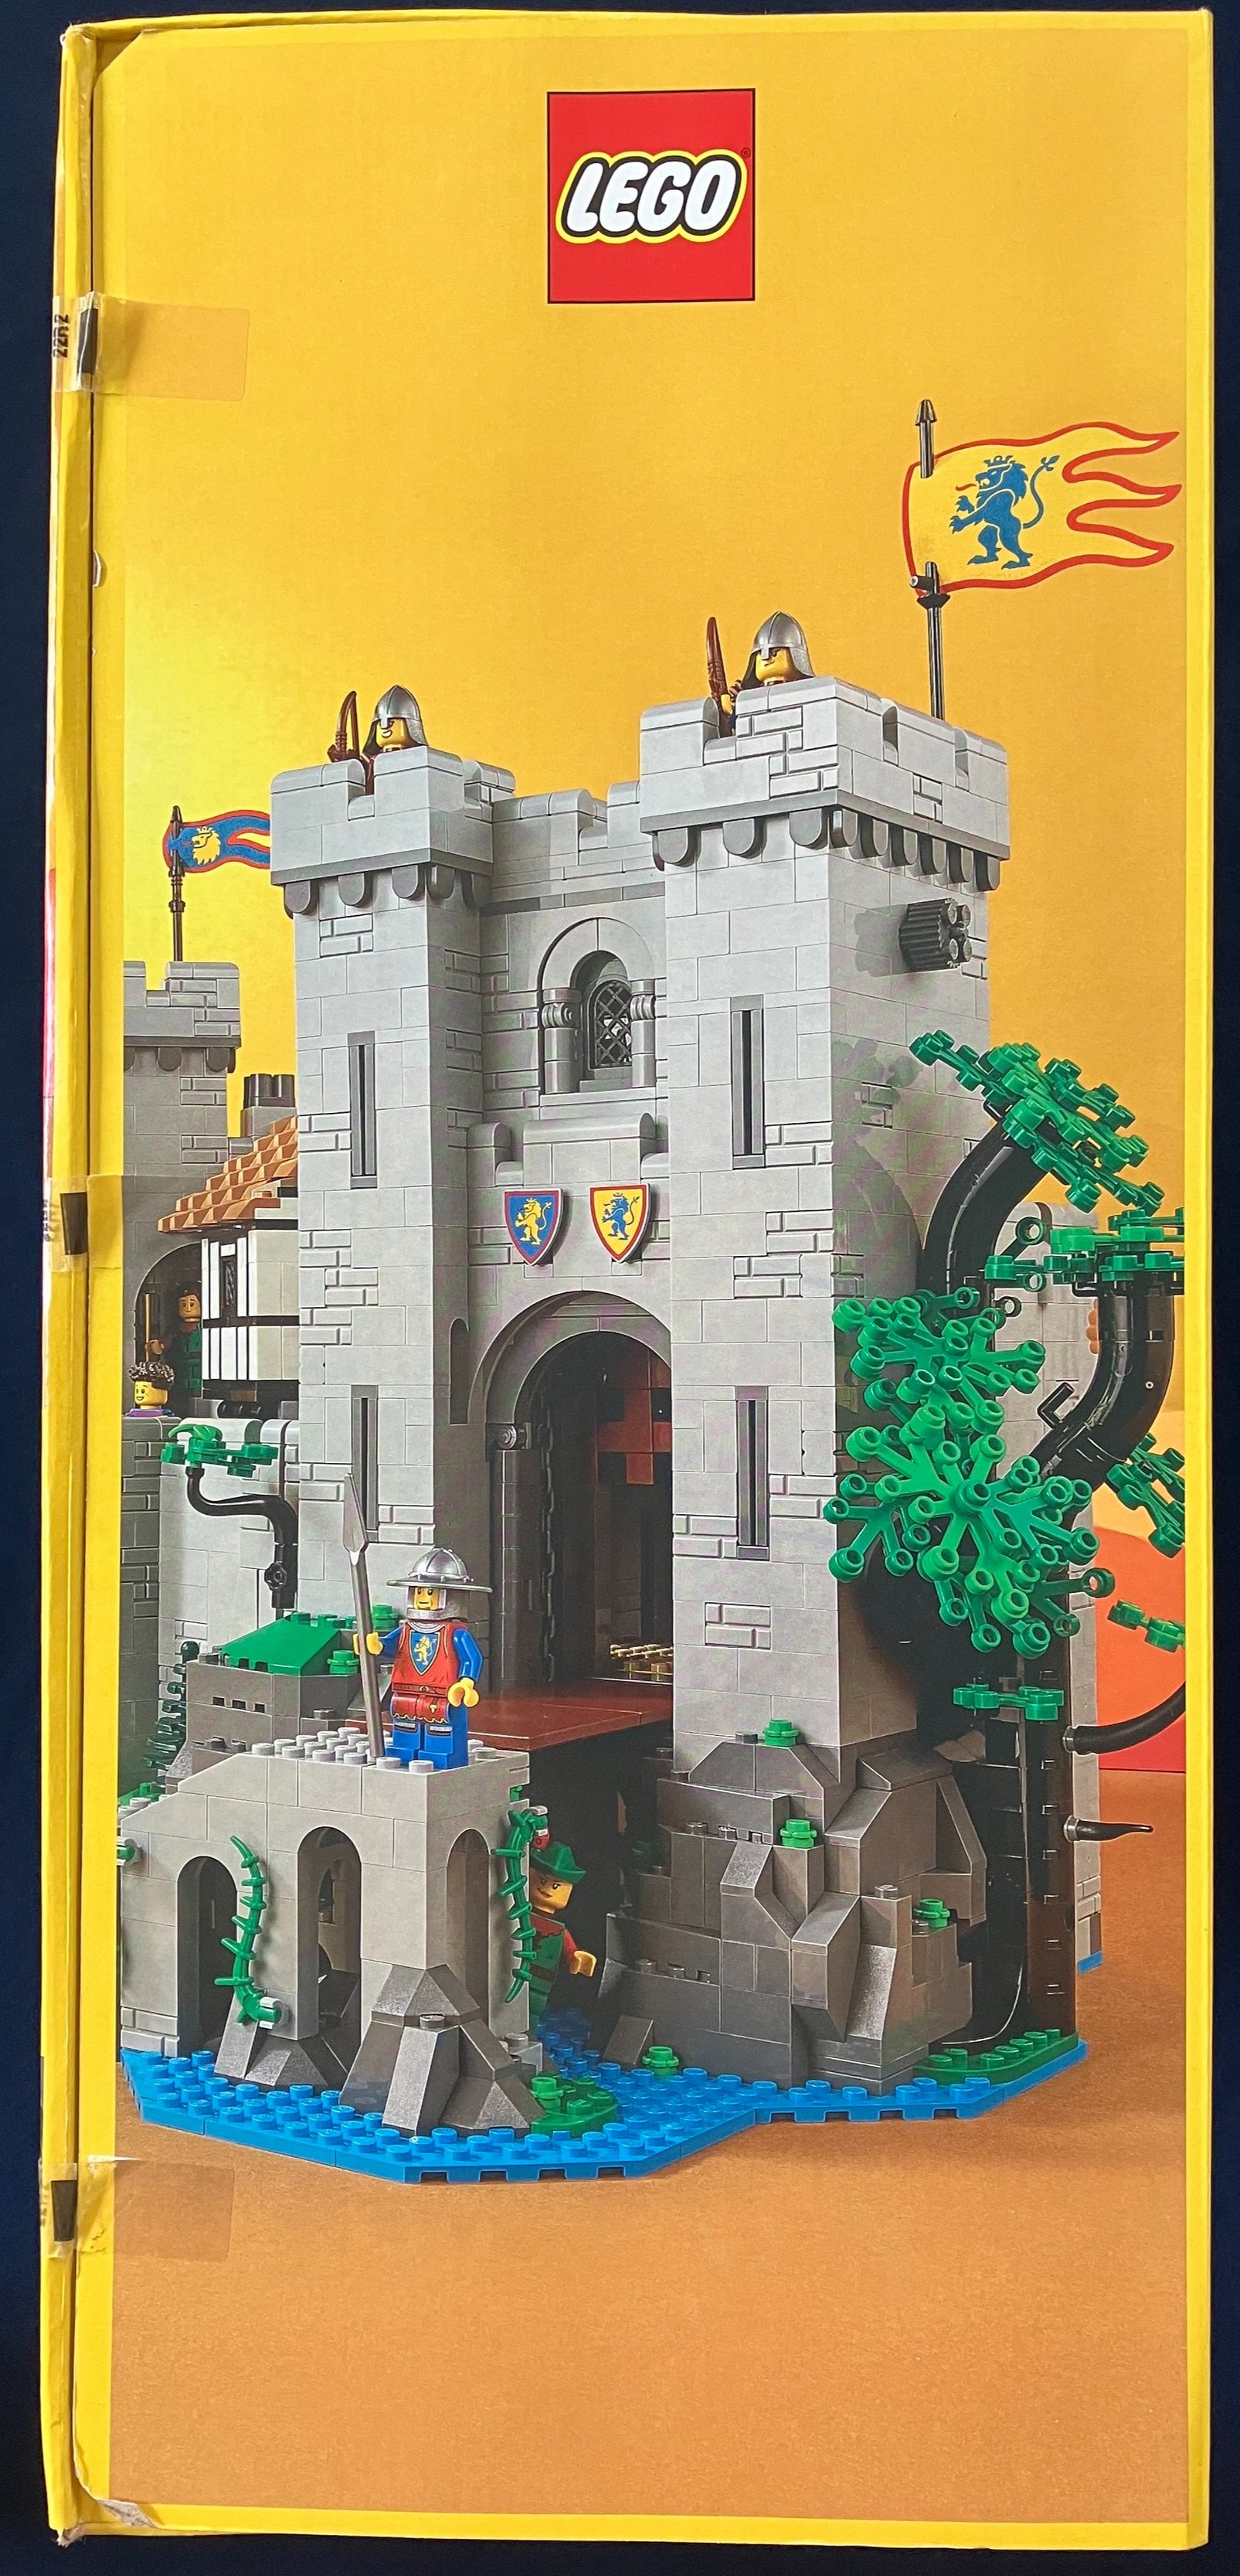
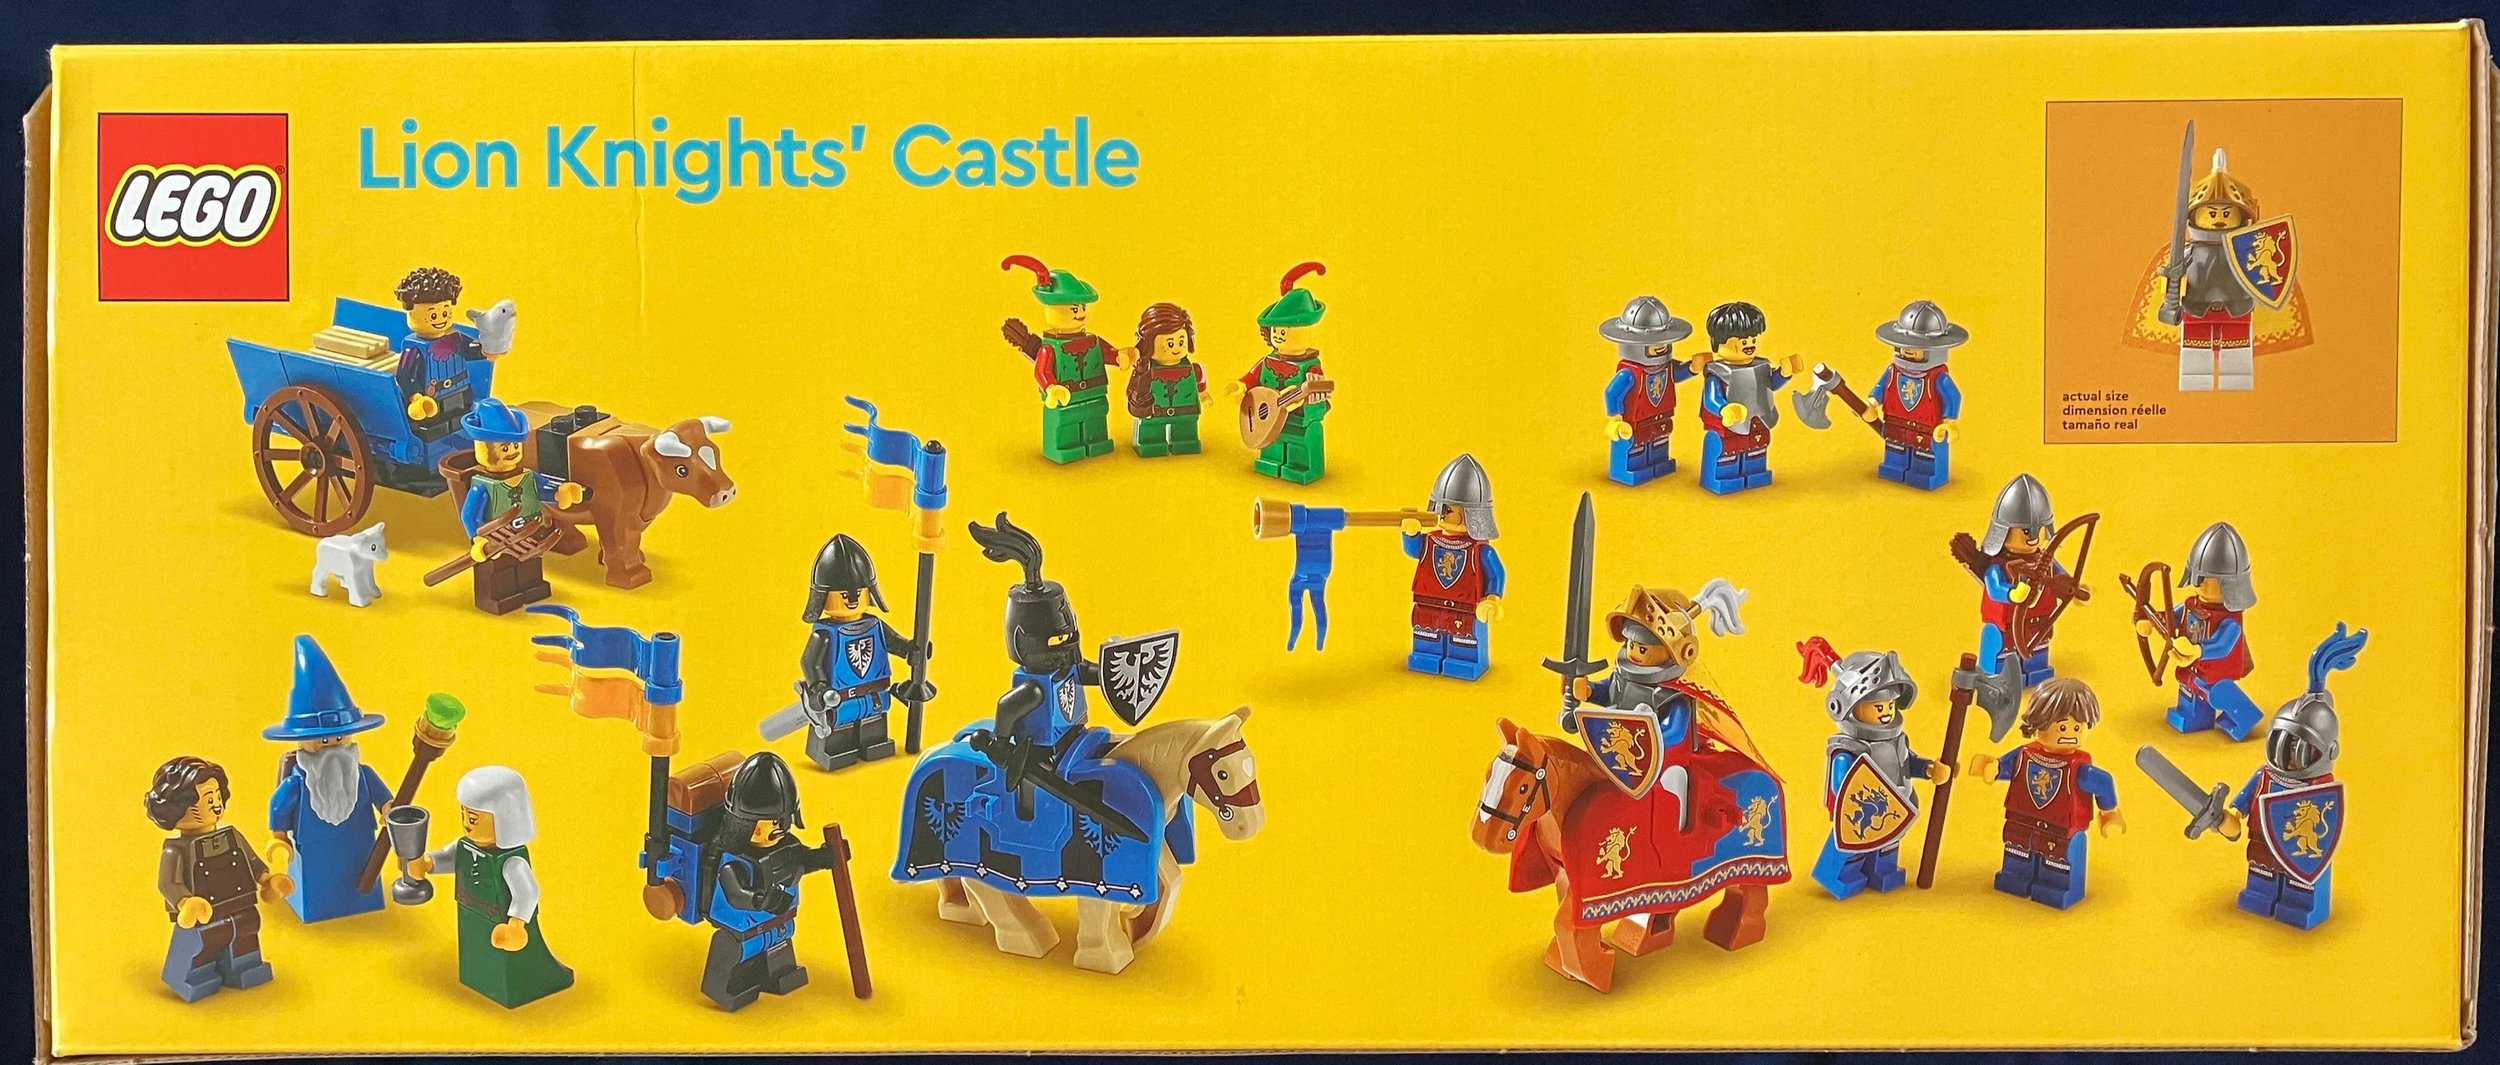
The sides of the box show a highlight of the anniversary and tribute to the castle theme, another view of the castle, and then the minifigures.

The set contents are some parts bags and then a box with more parts bags. Bag #26 for me was busted open. I was thankful that no parts were missing, but disappointed that this happened in a $400 set. Overall, there are 26 numbered bags (some have more than one bag per number) and an unnumbered bag. Also, the instructions are in a paperboard envelope for protection.

There are two instruction booklets. The instructions give some history of the castle theme and information on the designers. Also throughout the build, there are various notes written in an old English way talking about some of the various parts of the build.

I won’t go through each of the builds in detail, but will point out a few spots. Also, I built this set across different tables to include one that I brought outside (Florida was warm enough for outdoor building) so sorry for the different backgrounds.

Bag one builds a small market stand, a cart for the ox to pull, a beverage keg, and includes a farmer with a pitchfork.

Bag two builds the base of a section of the castle. This section is the start to a kitchen area and includes some food items.

The third bag finishes up the kitchen. It has a fireplace/oven, a water source, a large amount of utensils, and some supplies along with a cook.

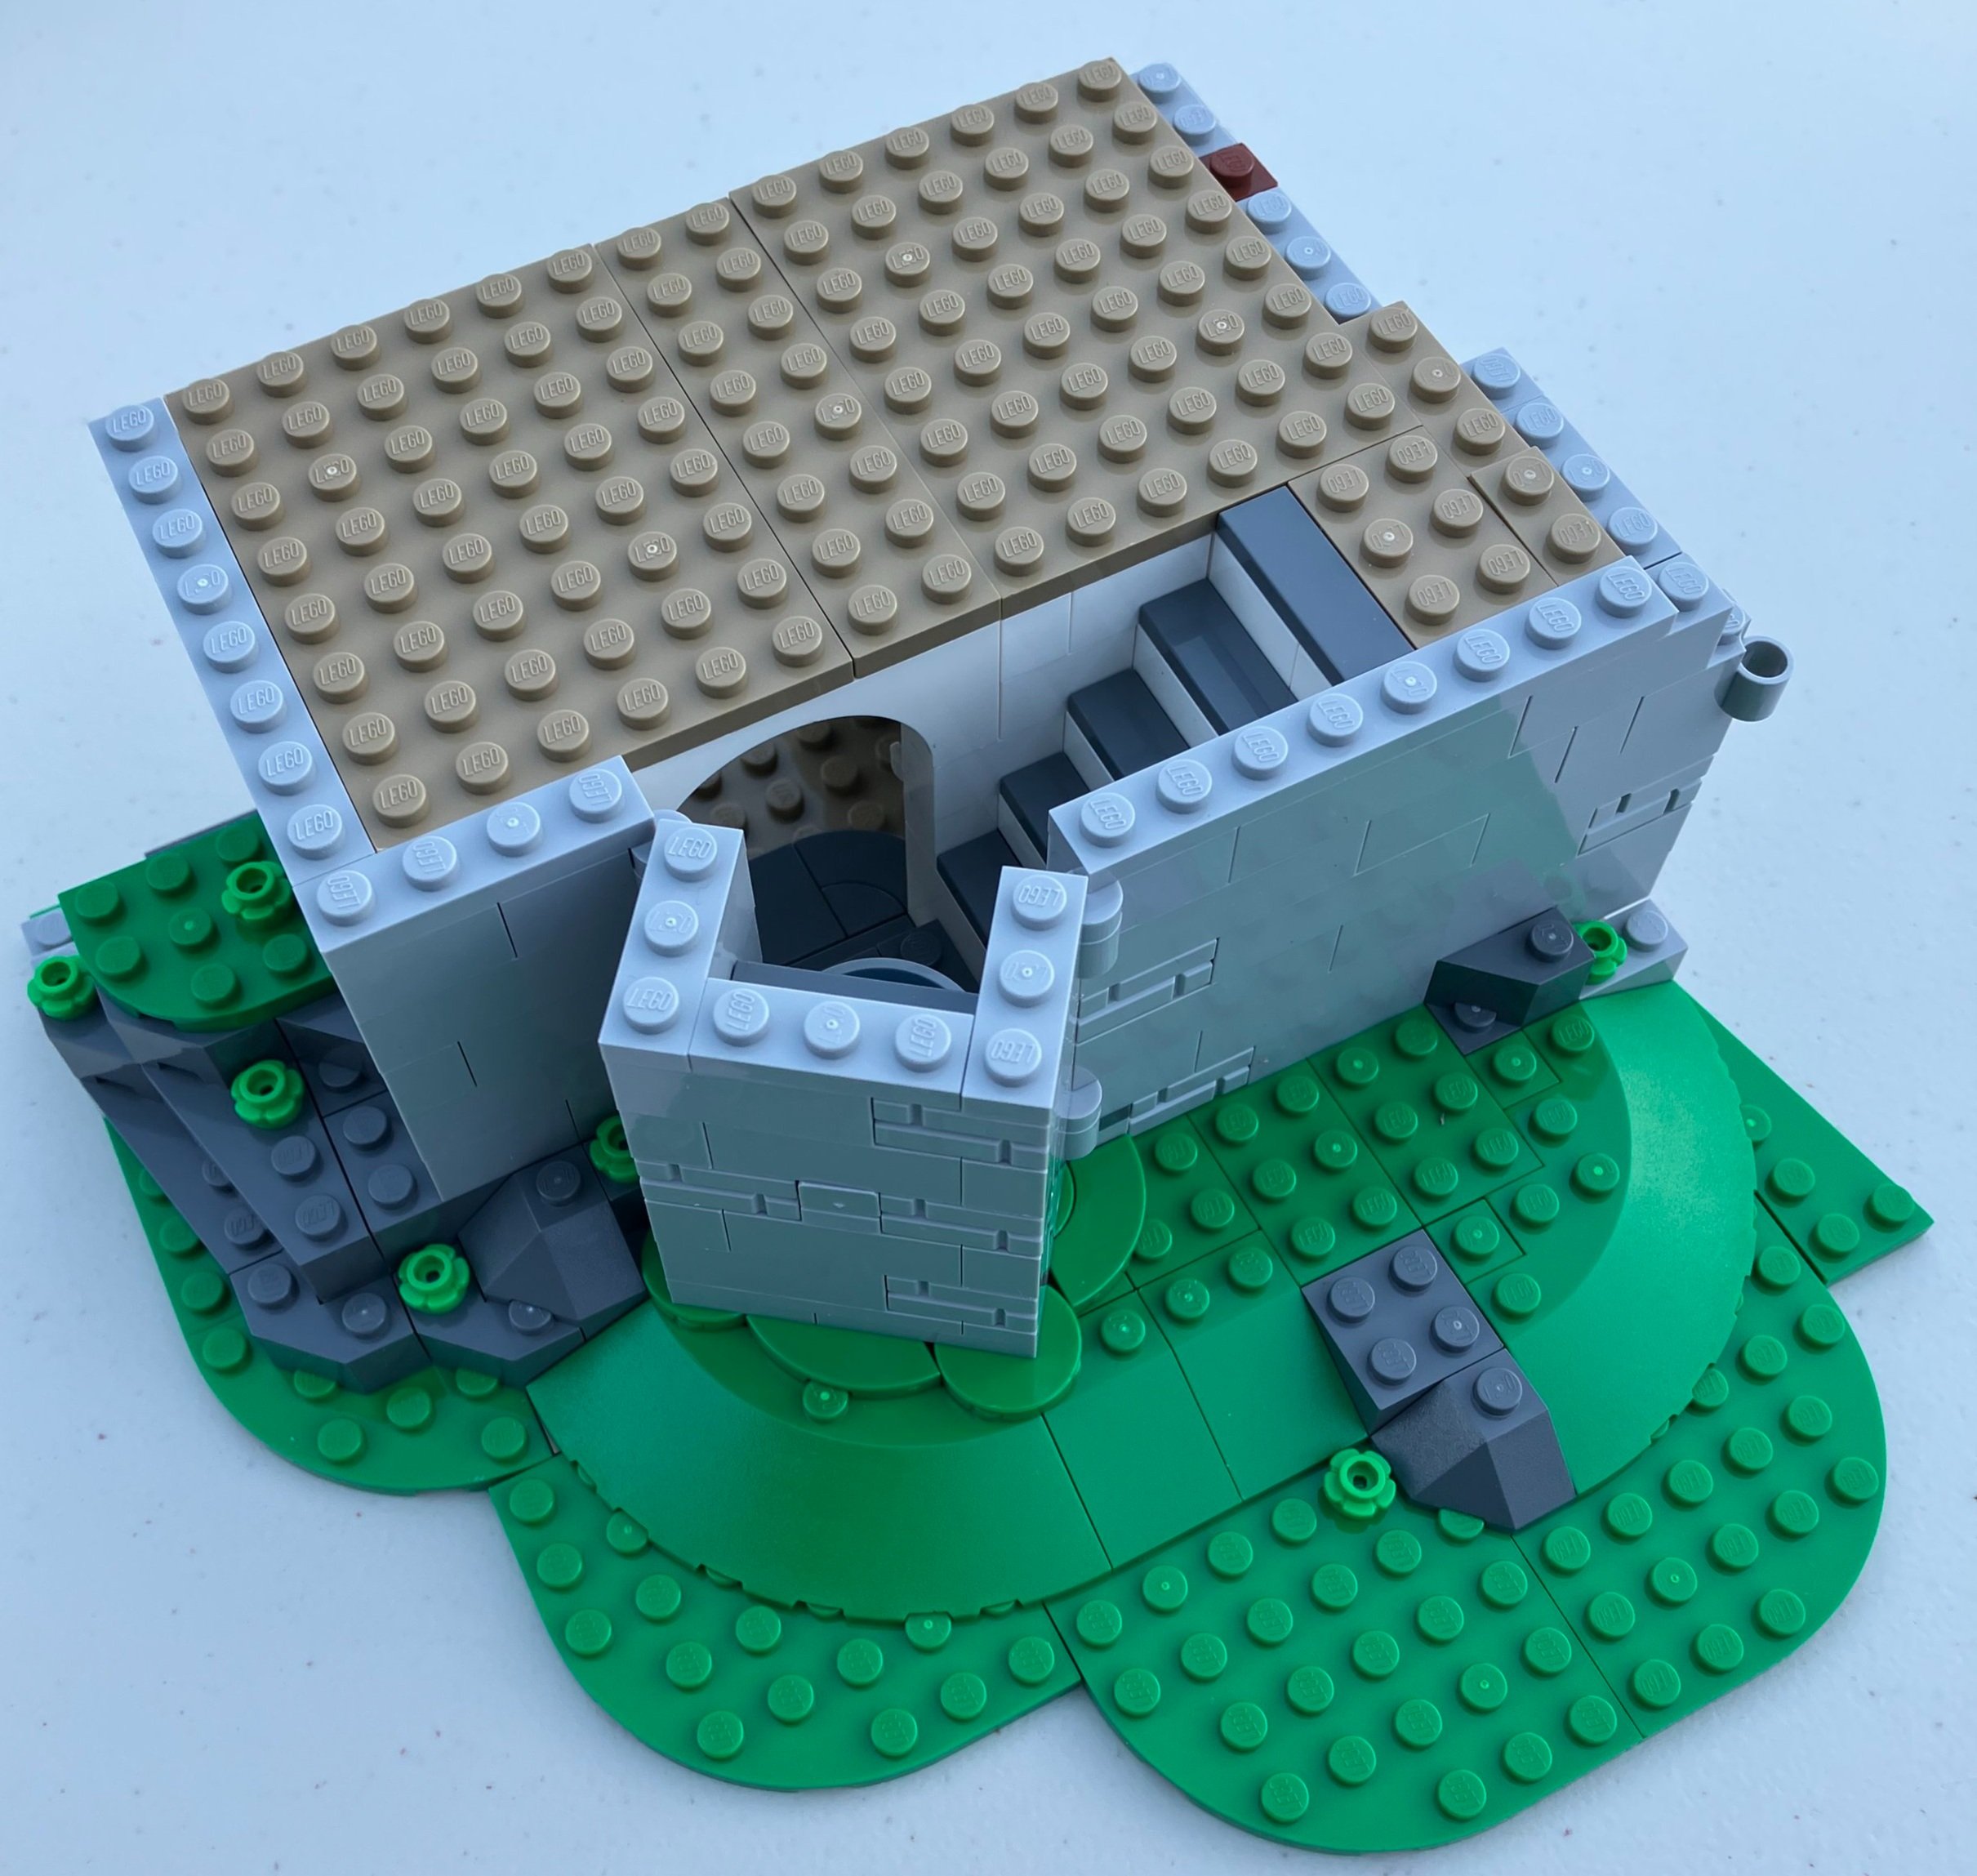
The fourth bag adds another section which includes a Forestmen’s hide out area. There are some weapons, a map to the treasure, and a target. This section is accessed via a trap door in the castle on the floor above.

The fifth bag builds up the next floor with includes a fireplace and harpsicord It also has a trap door to the hide out.

The fifth bag builds up the walls. I like how they spaced in textured bricks with the regular smooth bricks. There are also some plants growing throughout and the angles fit in well. It’s great that they are not all 90 degree angles and they change throughout.

The sixth bag finishes up some of the wall section and a roof section. You get a chamber maid and a knight with a sword and shield.

The seventh bag starts up the mill section.

The eighth bag builds the mill. There’s a water wheel that spins and is connected with Technic parts to the mill area. Then you build out a section to dump the wheat into for it to fall into the grinding wheels. It’s a lot of detail for a small space. You also get a minifigure guard with helmet.

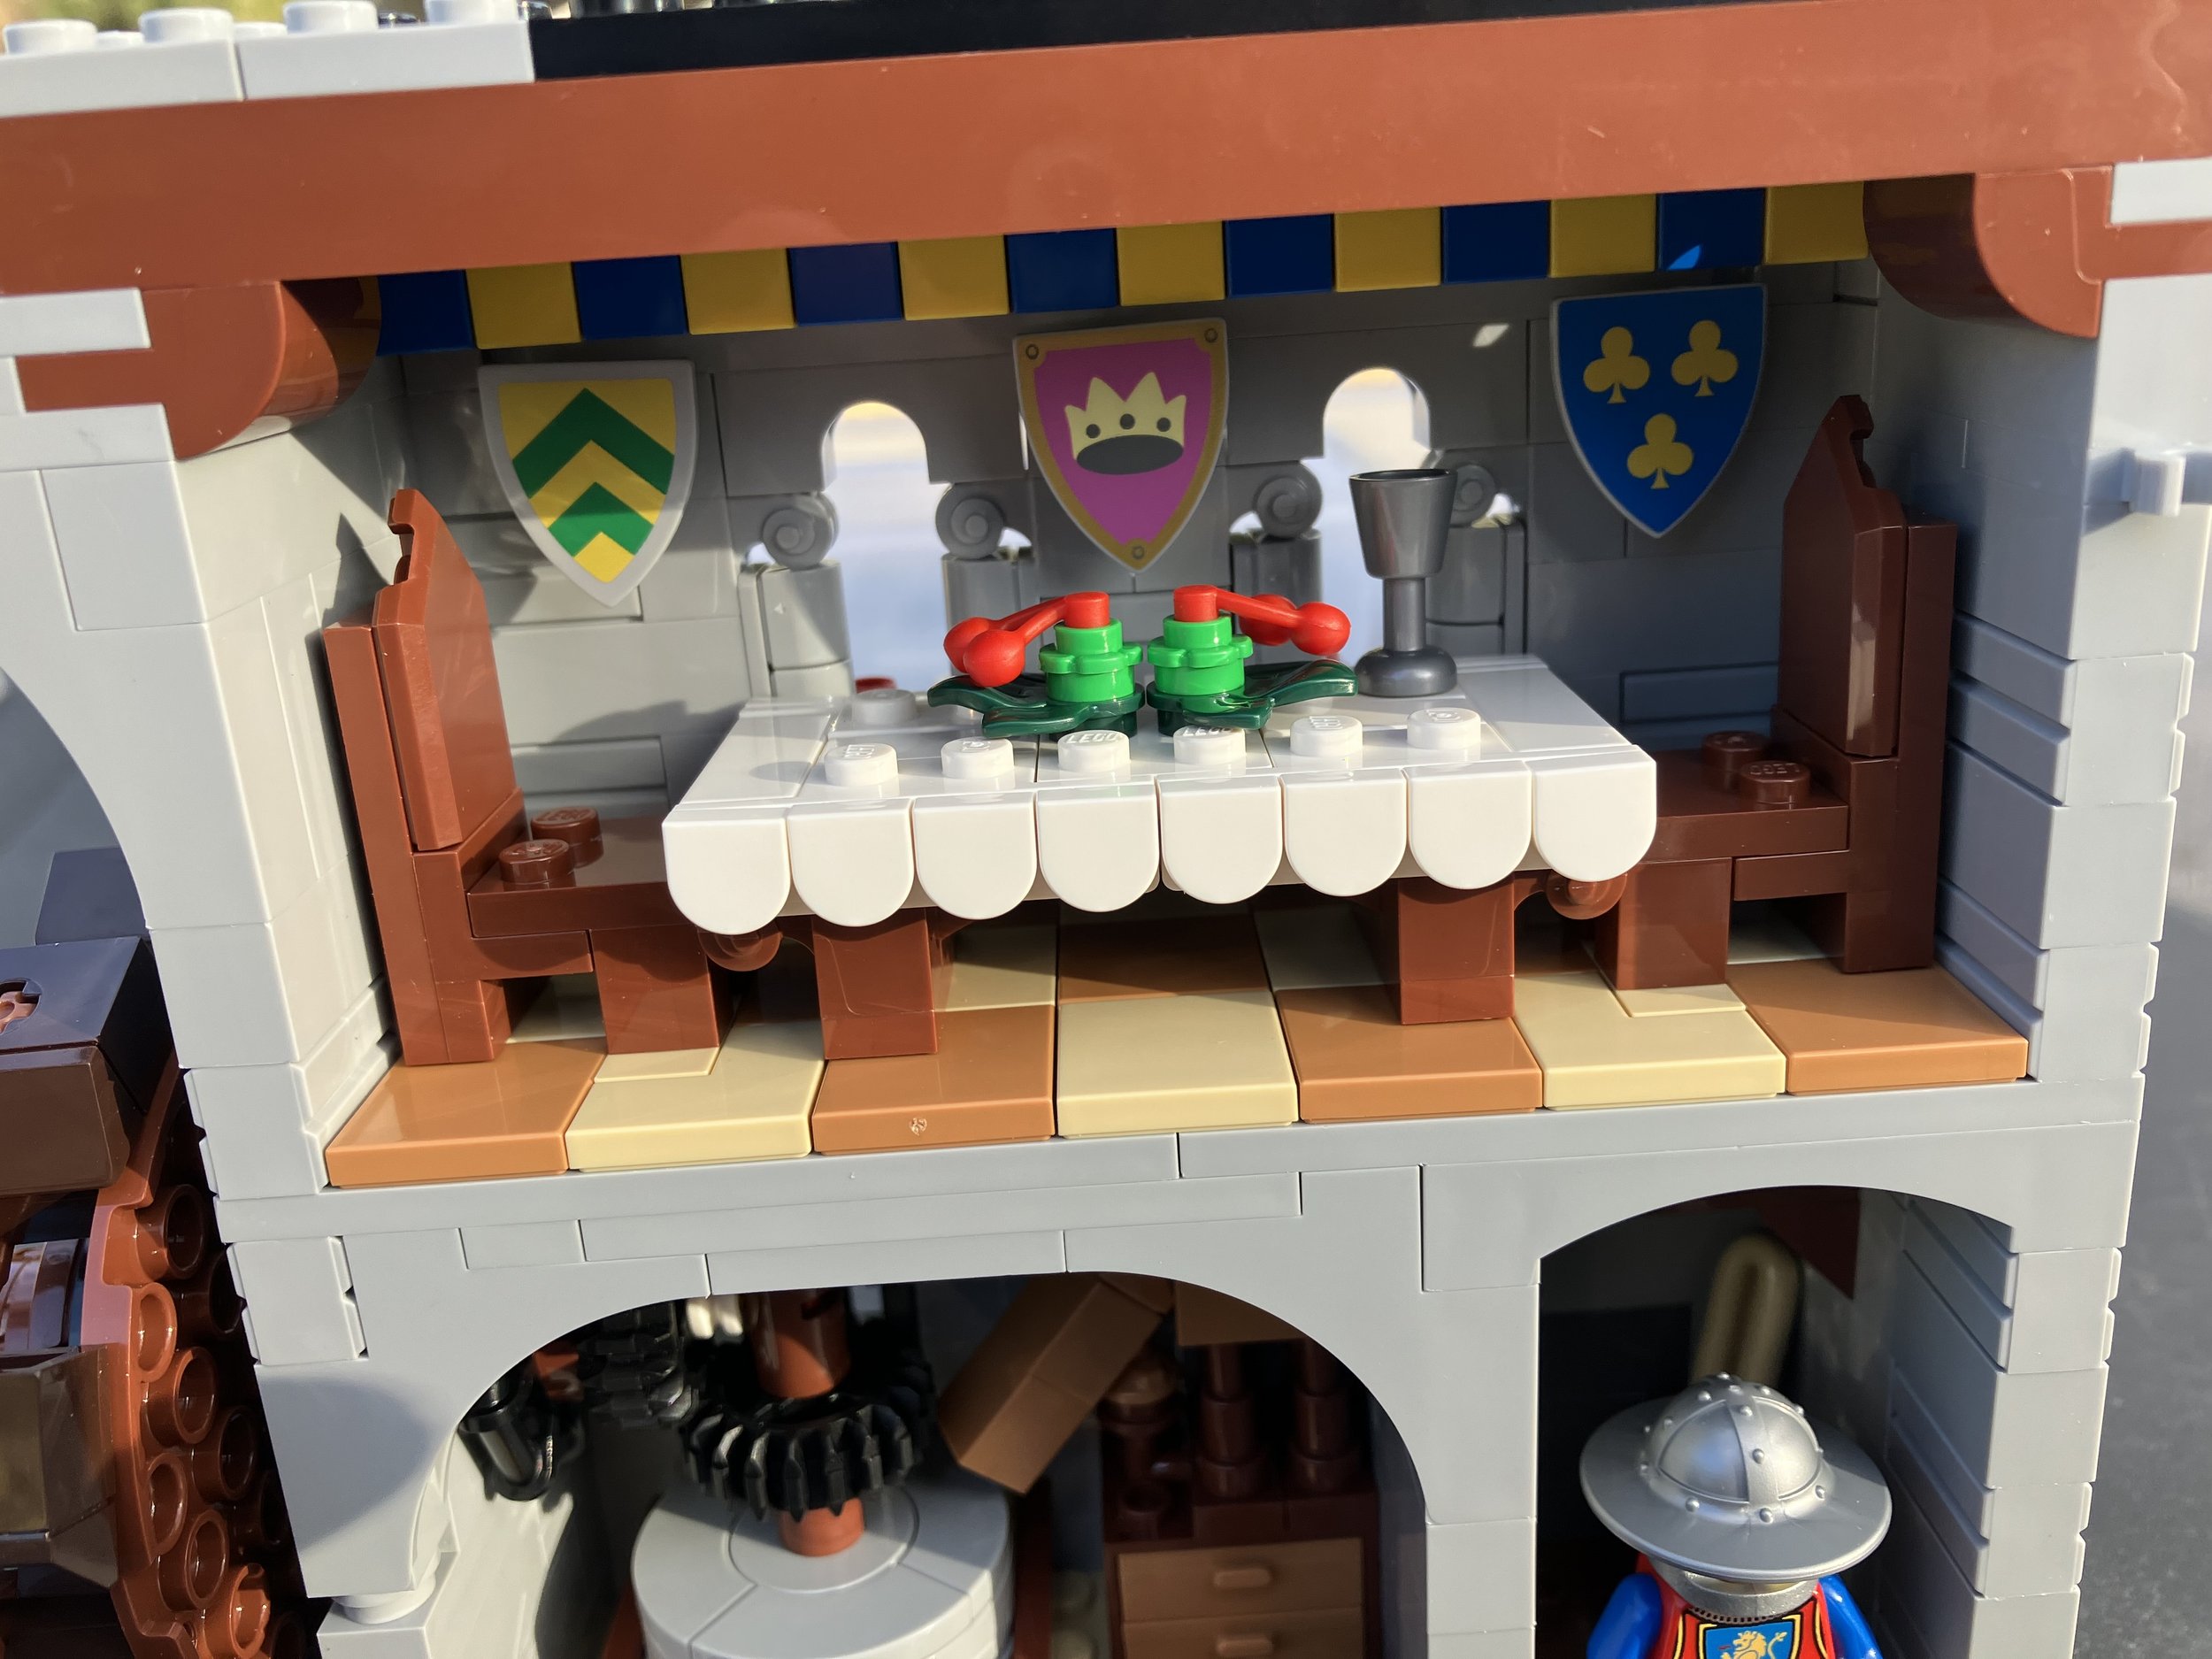
The ninth bag adds a banquet hall above the mill. This hall has a table with two chairs and then some shields on the wall with various prints (not stickers!!!!). The outside has some flowers for decorations and some plants growing up the side.

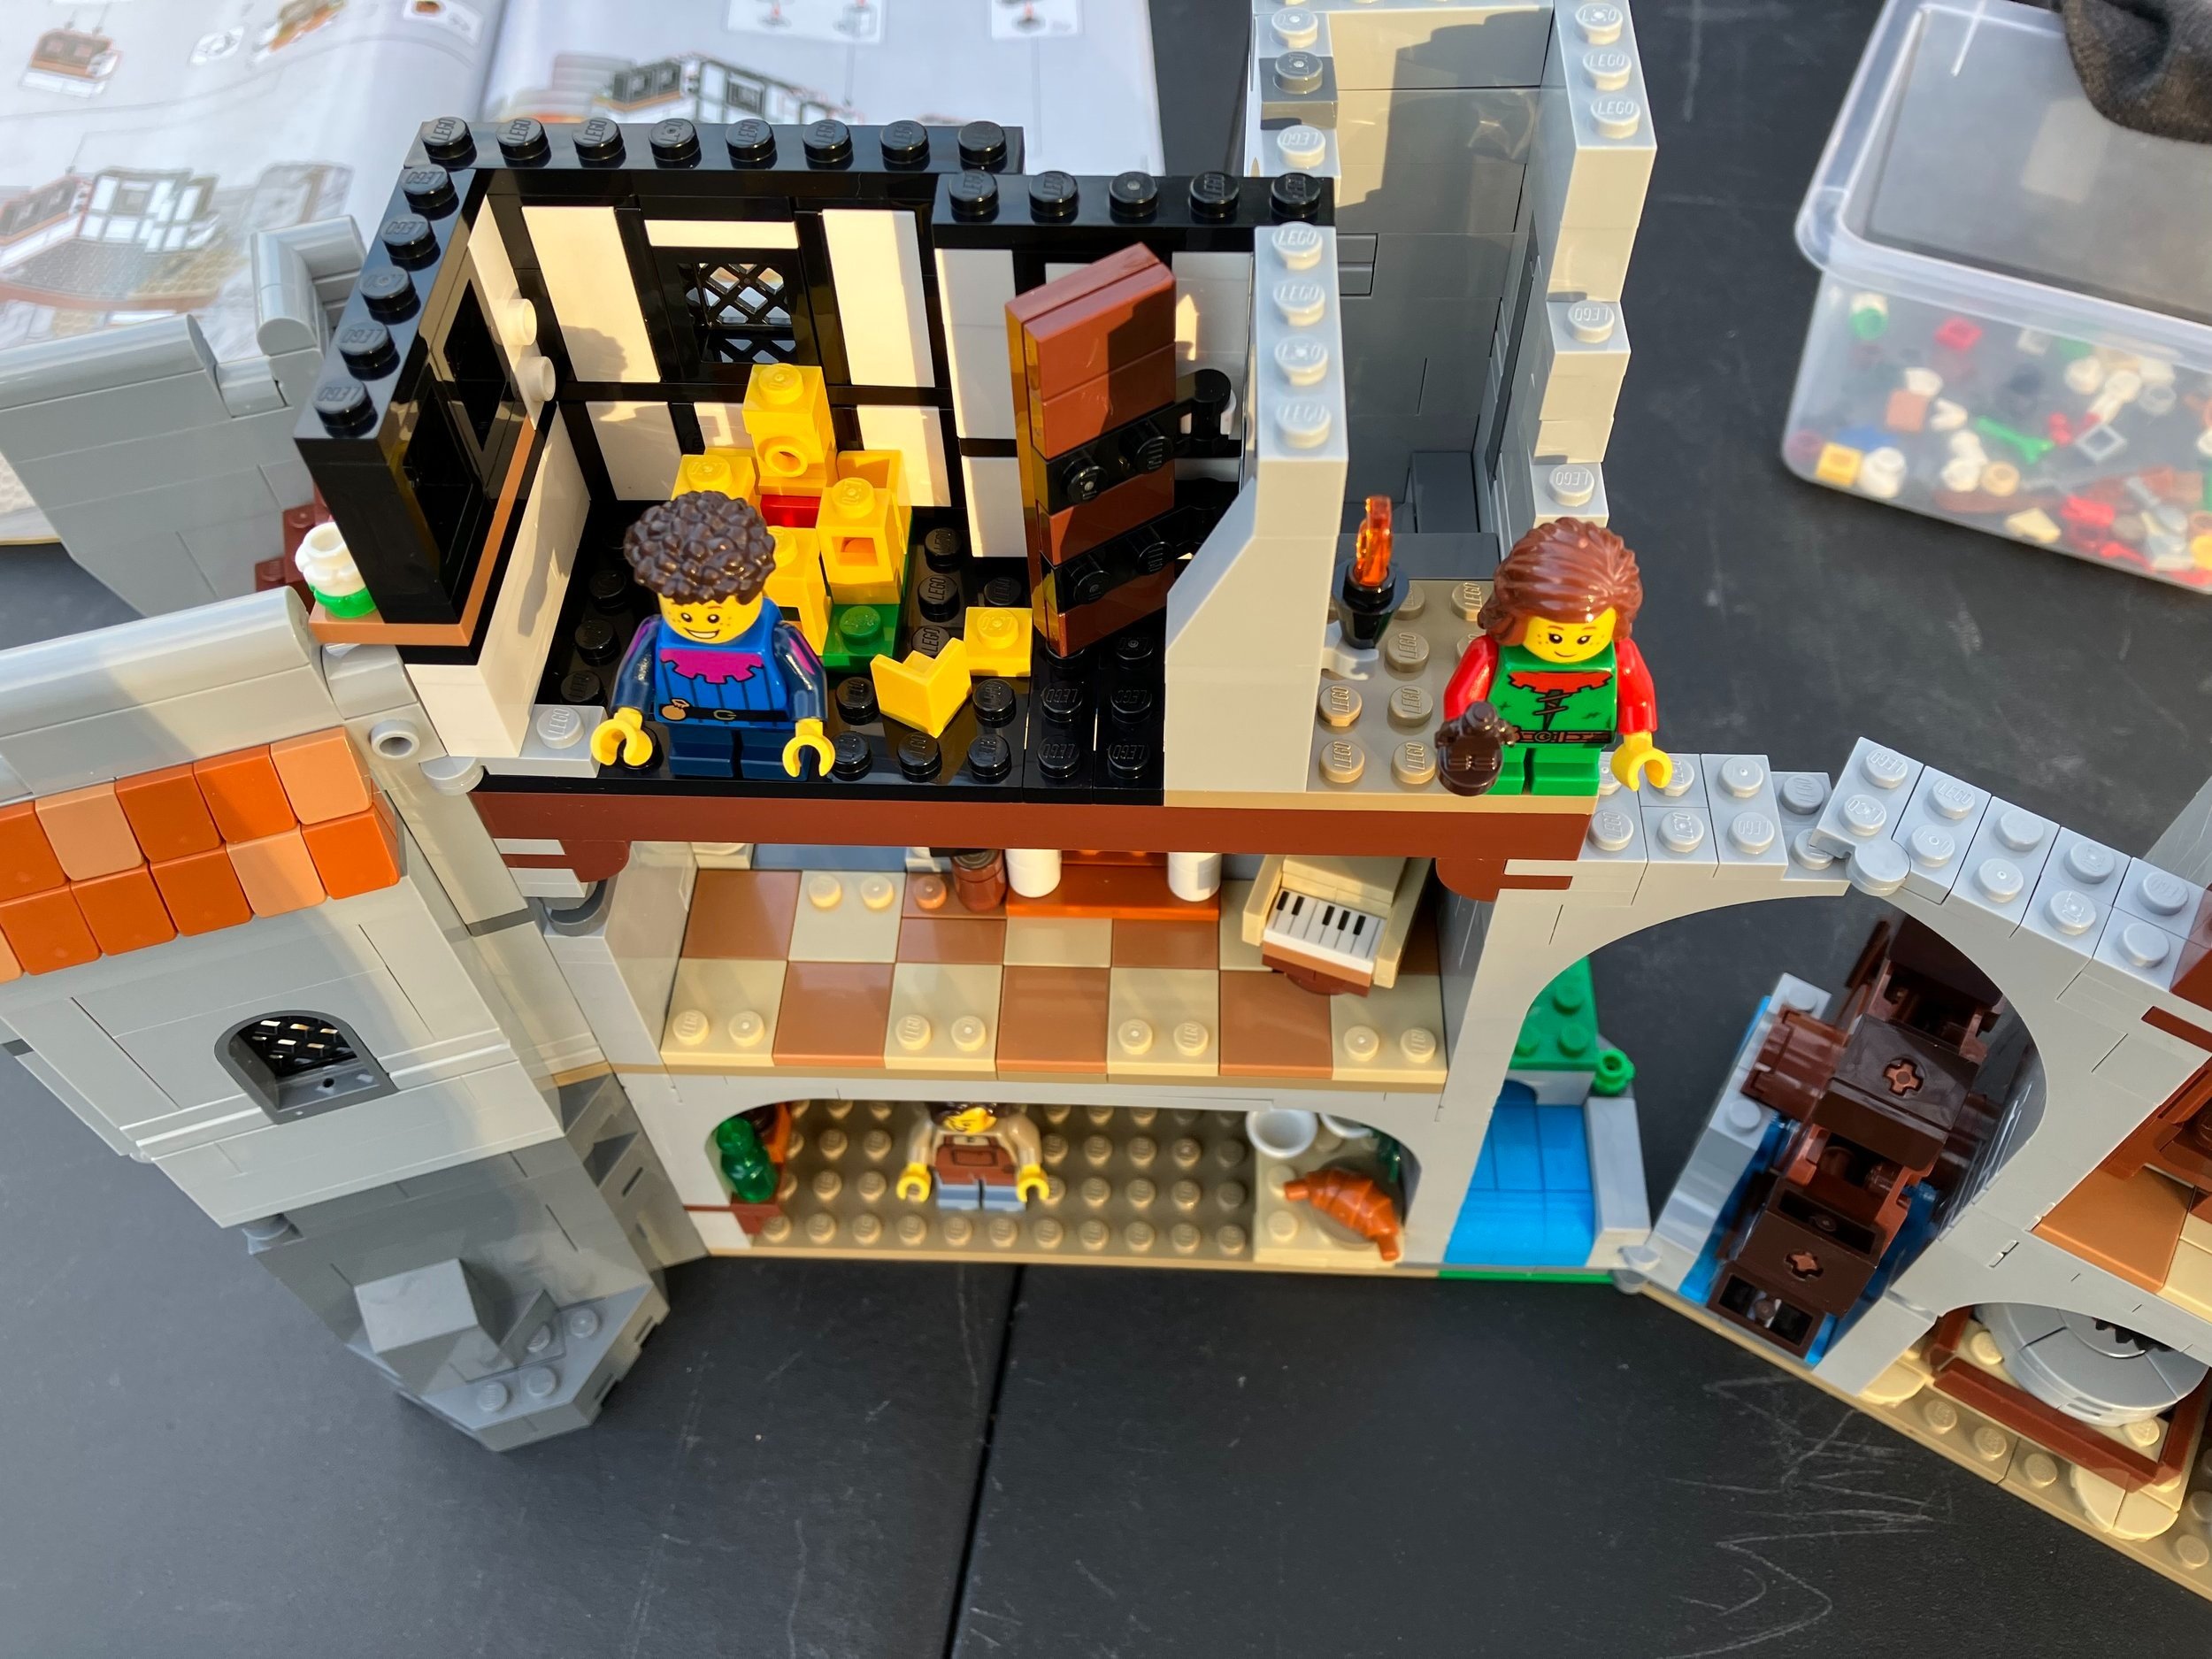
The tenth bag adds a play area for two kids. One has a Forestmen’s outfit and is holding a mini-minifigure. The other is wearing blue, but not in one of the normal uniforms from Castle. He is standing by a mini-model of the LEGO Castle #375 in my picture.

Bag 11 adds a bedroom area with a bed, small desk, rug, and a fireplace. It comes with a minifigure who has the Lion Knights’ uniform, but hair instead of a helmet. You can outfit him as a knight with some of the pieces from the armory. I didn’t picture it well here, but there’s a hidden door that opens when you open up the wall. Inside is a golden frog. I’m sure there’s a back story behind it, but it’s a fun detail to the set.

Bags 12 and 13 add in a thatched roof over the play and bedroom area. It also adds a tower for a look out to stand on. I like the piece use to make the roof look thatched.

Builds 14 and 15 build the next section of the castle. One fun part of the build was that I didn’t know what each section was as I was building it. I couldn’t tell at this point what exactly I was building. It made the builds more exciting. So don’t memorize any of the reviews you read/watch before building a set.

Build 16 puts together a wizard and a hidden treasure chest.

Bag 17 builds the dungeon with two cells and a poor skeleton minifigure inside one. It also comes with a Forestmen minifigure. There’s trap door so you can get in and out of this area. I posted pictures of the door open and closed.

Bags 18 and 19 build what ends up as an entry way through a ramp up to the castle and a connection to a draw bridge. More on that later. There’s a small armory inside with some helmets, weapons, and shields. You get another minifigure here.

Bag 20 builds the drawbridge, but you don’t make it functional until later. You add some plant growth around an archway and what ends up being a tree. I find it interesting that they chose black for the tree. Maybe it’s a specific kind? Or maybe they just thought black went better with the castle? I don’t know…

Bag 21…. I didn’t realize what this was until later on in the build…I also didn’t get a good picture of it (sorry). You build a castle bathroom here. That’s right! It’s a place for minifigures to use a medieval toilet. It’s pretty much a seat area with a hole that goes to the outside and then they have a stick for wiping I guess. And you’ll notice the chocolate frog on the ground outside. Yeah, it’s not a chocolate frog… unless that’s what comes out of minifigures. Hilarious!

You also build a door that can be raised/lowered using a textured 2x2 round brick on the outside. This blocks the entrance by the ramp when needed.

Bag 22 builds up more of the structure and adds to the armory. They apparently need a lot of weapons to defend this place.

Bag 23 continues to build this area up with some windows, a cheese slope awning over one of the windows, and arch window, and the armory.

Bag 24 builds up the tree outside. It also adds the mechanism to raise and lower the gate to the drawbridge. This is some interesting functionality as it can lock into place or be lowered quickly as needed. You also get the queen, a horse, and a knight. What’s fun about this set is you get a lot of female knight figures. It’s probably not historically accurate, but it’s a fun change to show a diverse castle populace.

Bag 25 adds some minifigures, tops off some of the towers and walls, and adds in some flags. I like the use of the rounded pieces for the tops of the towers. I’m not sure what we call these pieces, but they are fairly new to the LEGO system as I can recall.

Bag 26 builds up the ramp to get to the castle. It also adds some of the Black Falcon knights who look like they’ve journeyed to visit the castle. There is a knight of sorts on a horse, a guard on the ground, and then the poor minifigure with the huge pack to take care of the horse.

If you don’t like the minfigures in this set then you’re not into the castle theme. Ten Lion Knights (including the queen), 3 Black Falcons, 3 Forestmen, and 5 others to include the wizard. Oh and the skeleton that I forgot to include. Tack on 2 horses, an ox, a baby sheep, and a few birds, and you get a lot here. It’s a great selection!

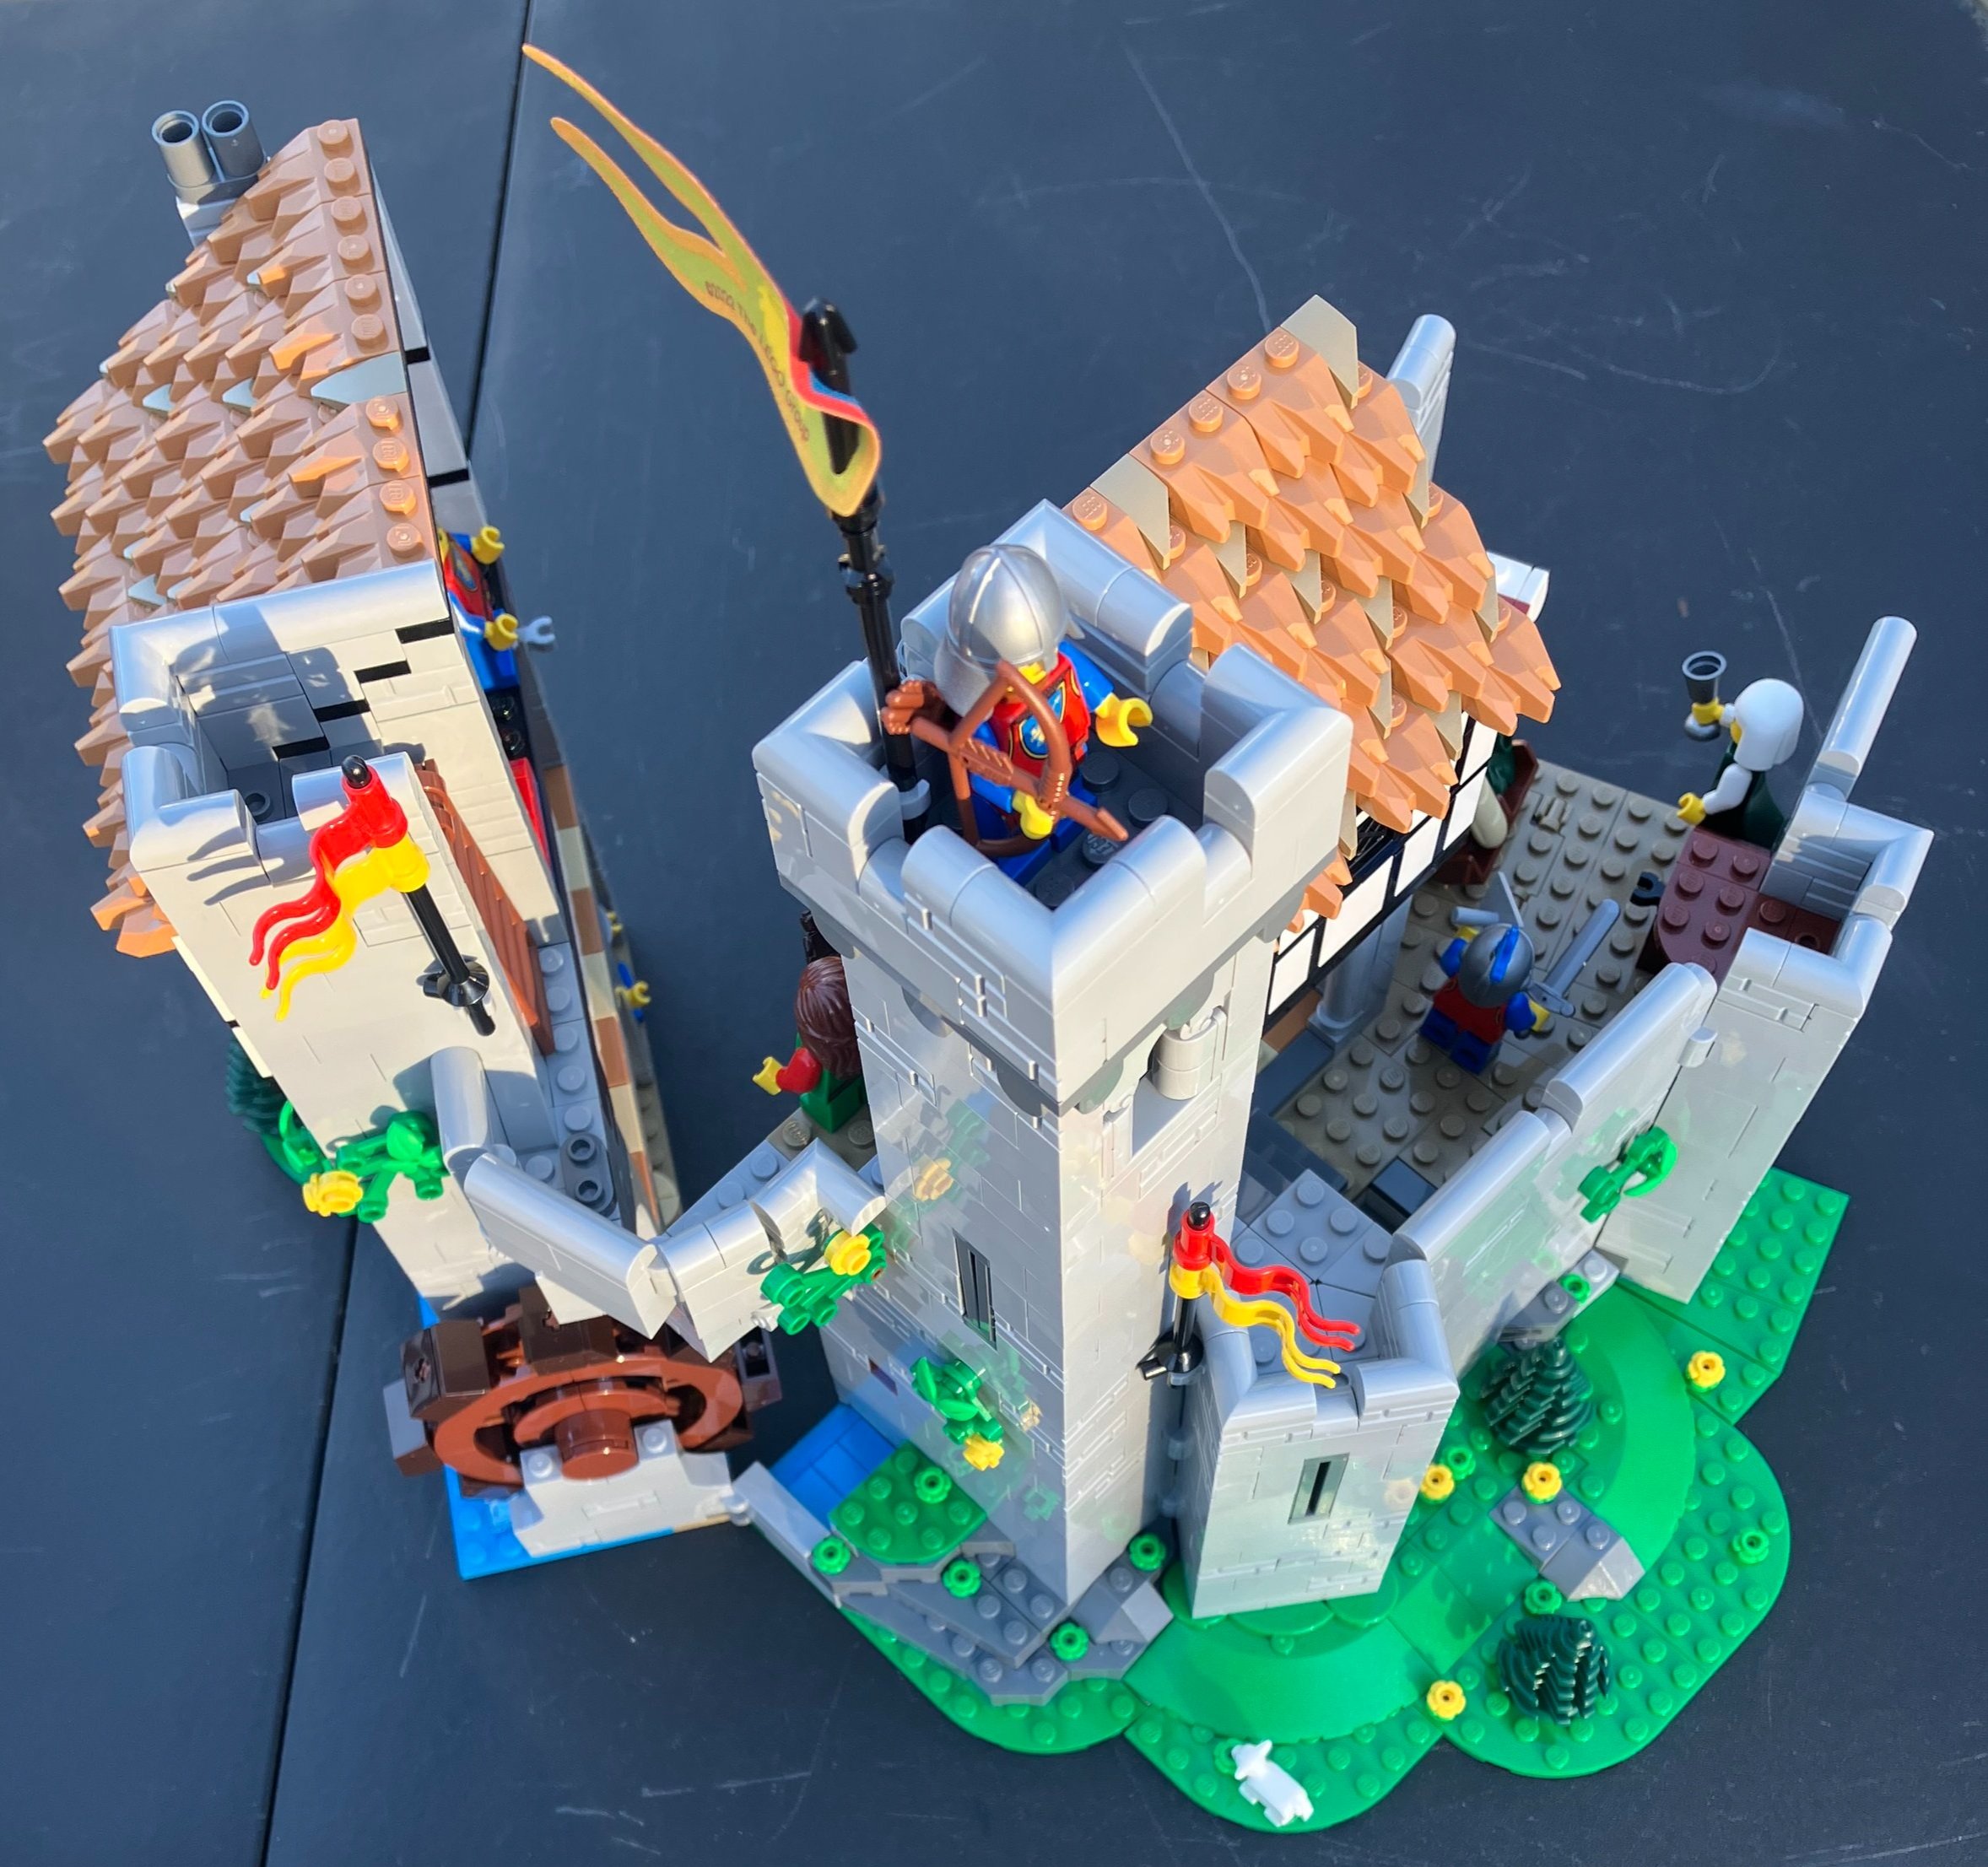
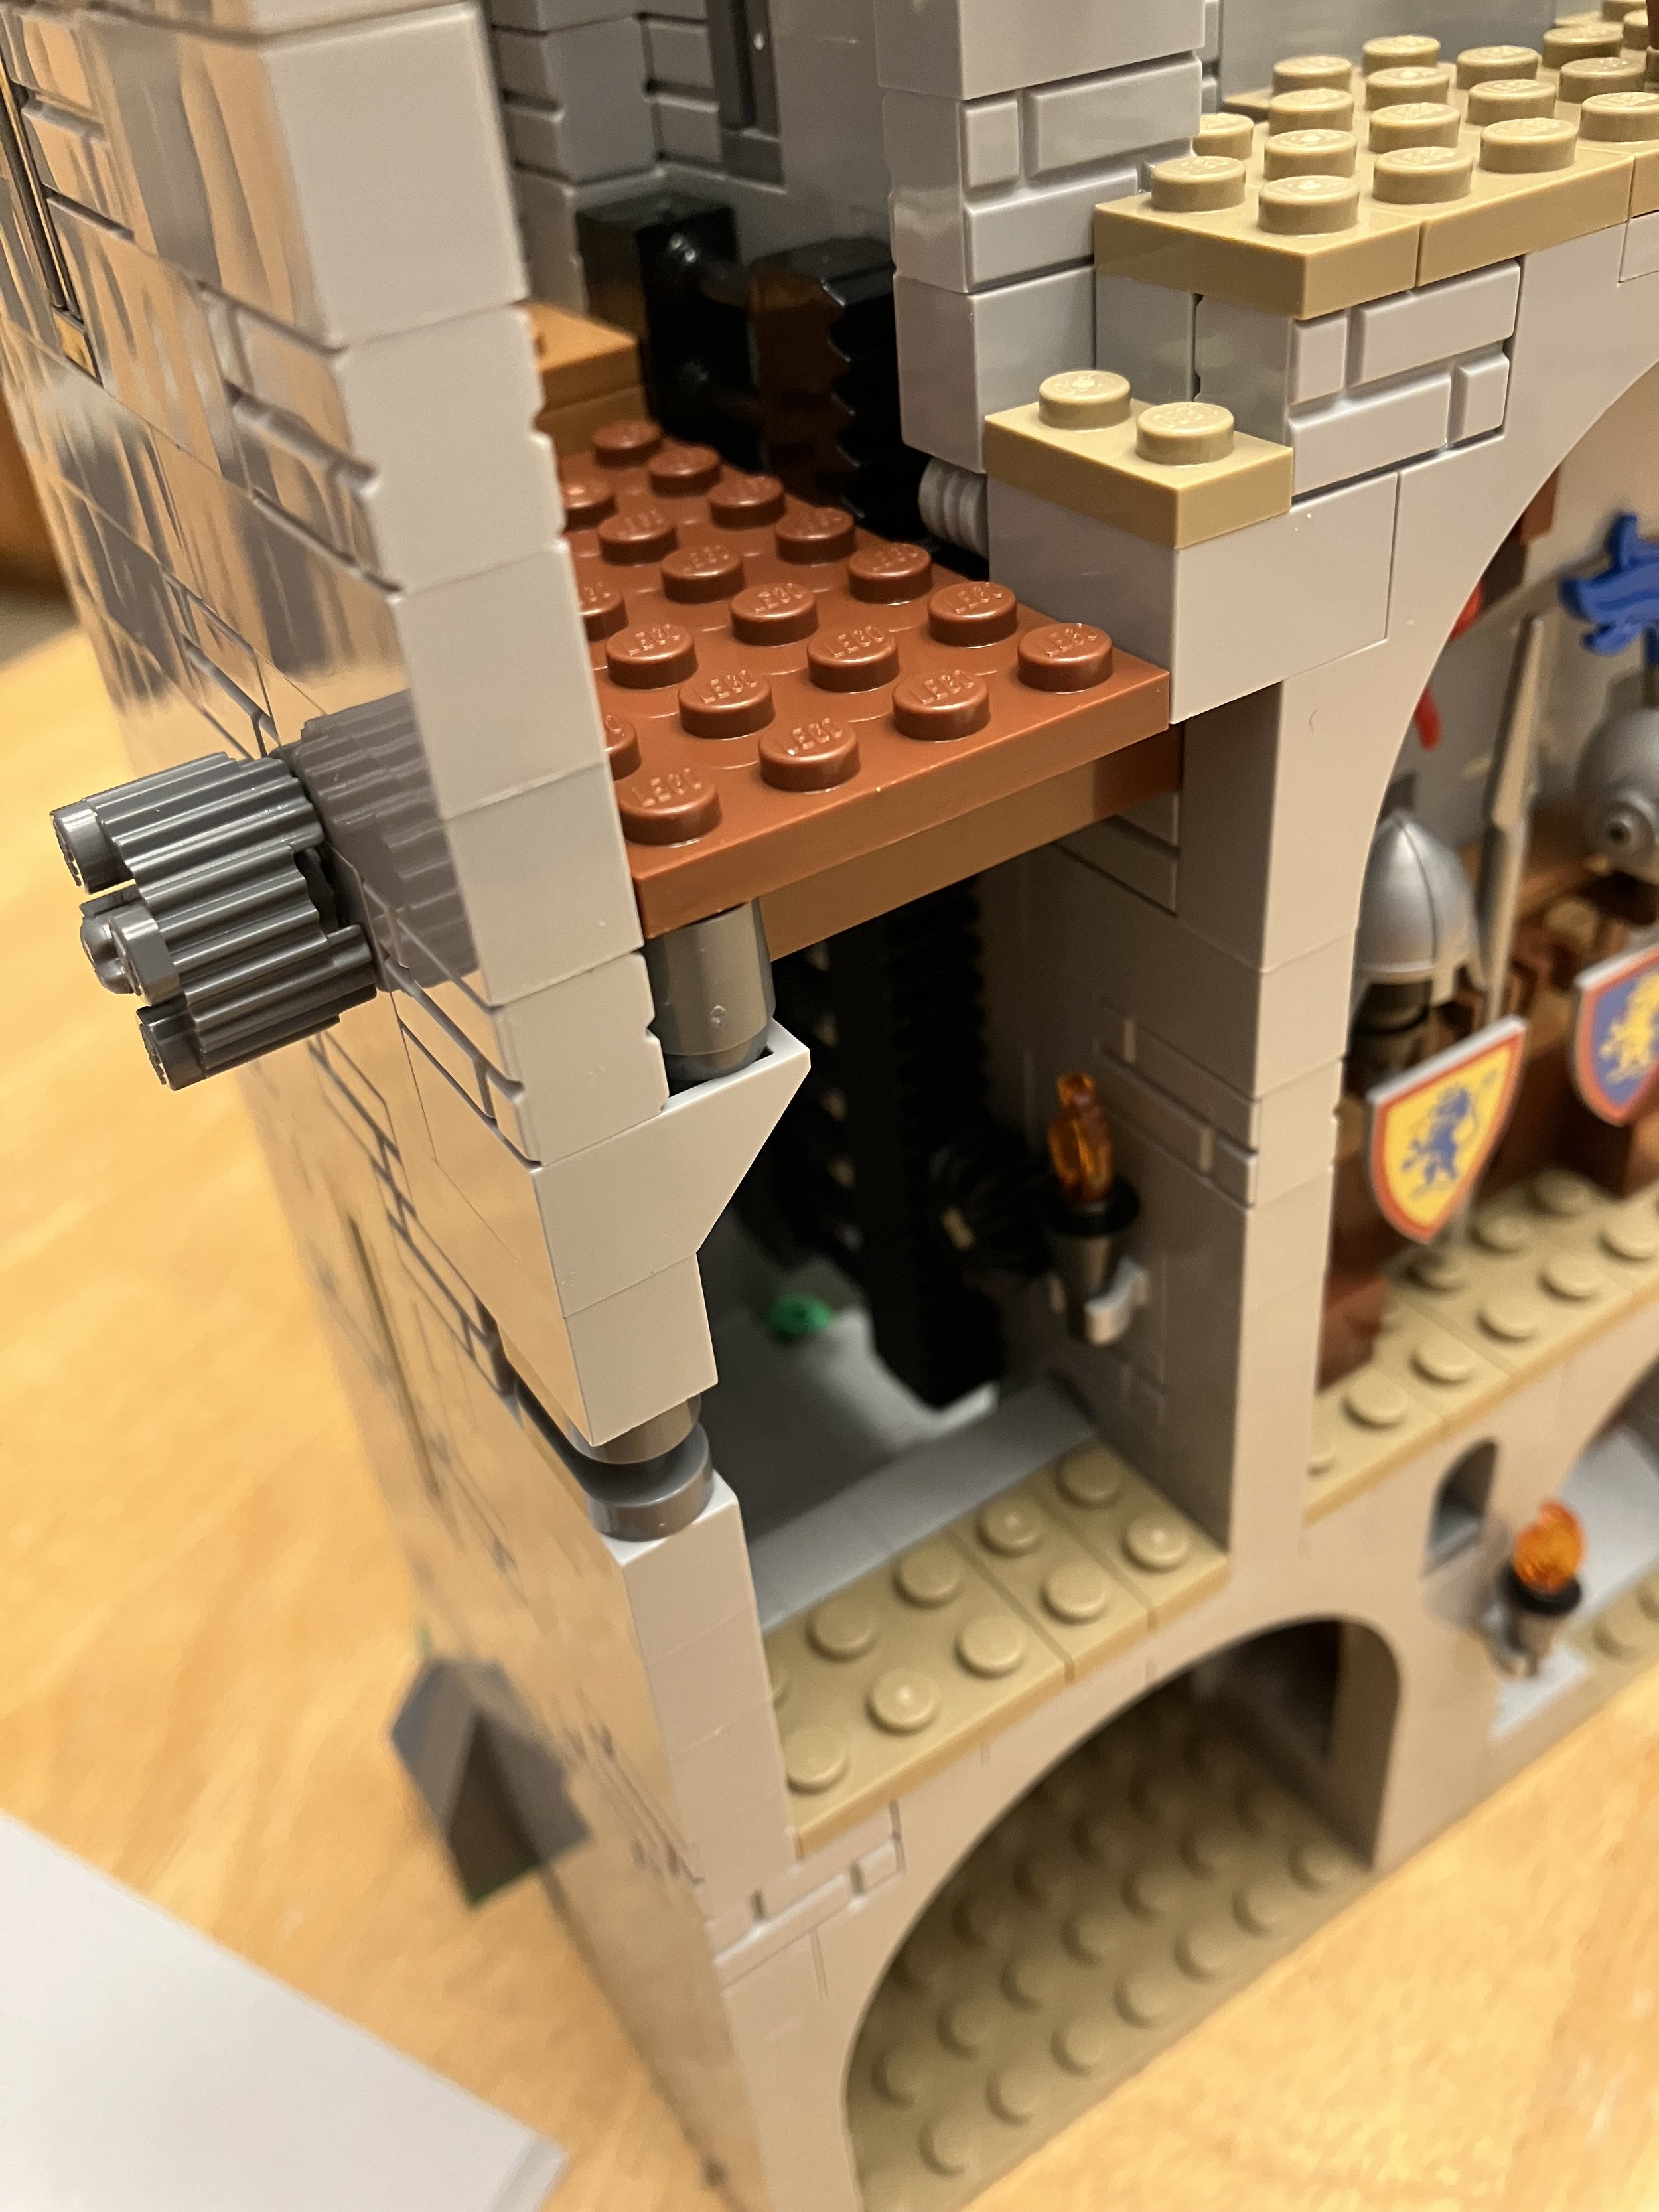
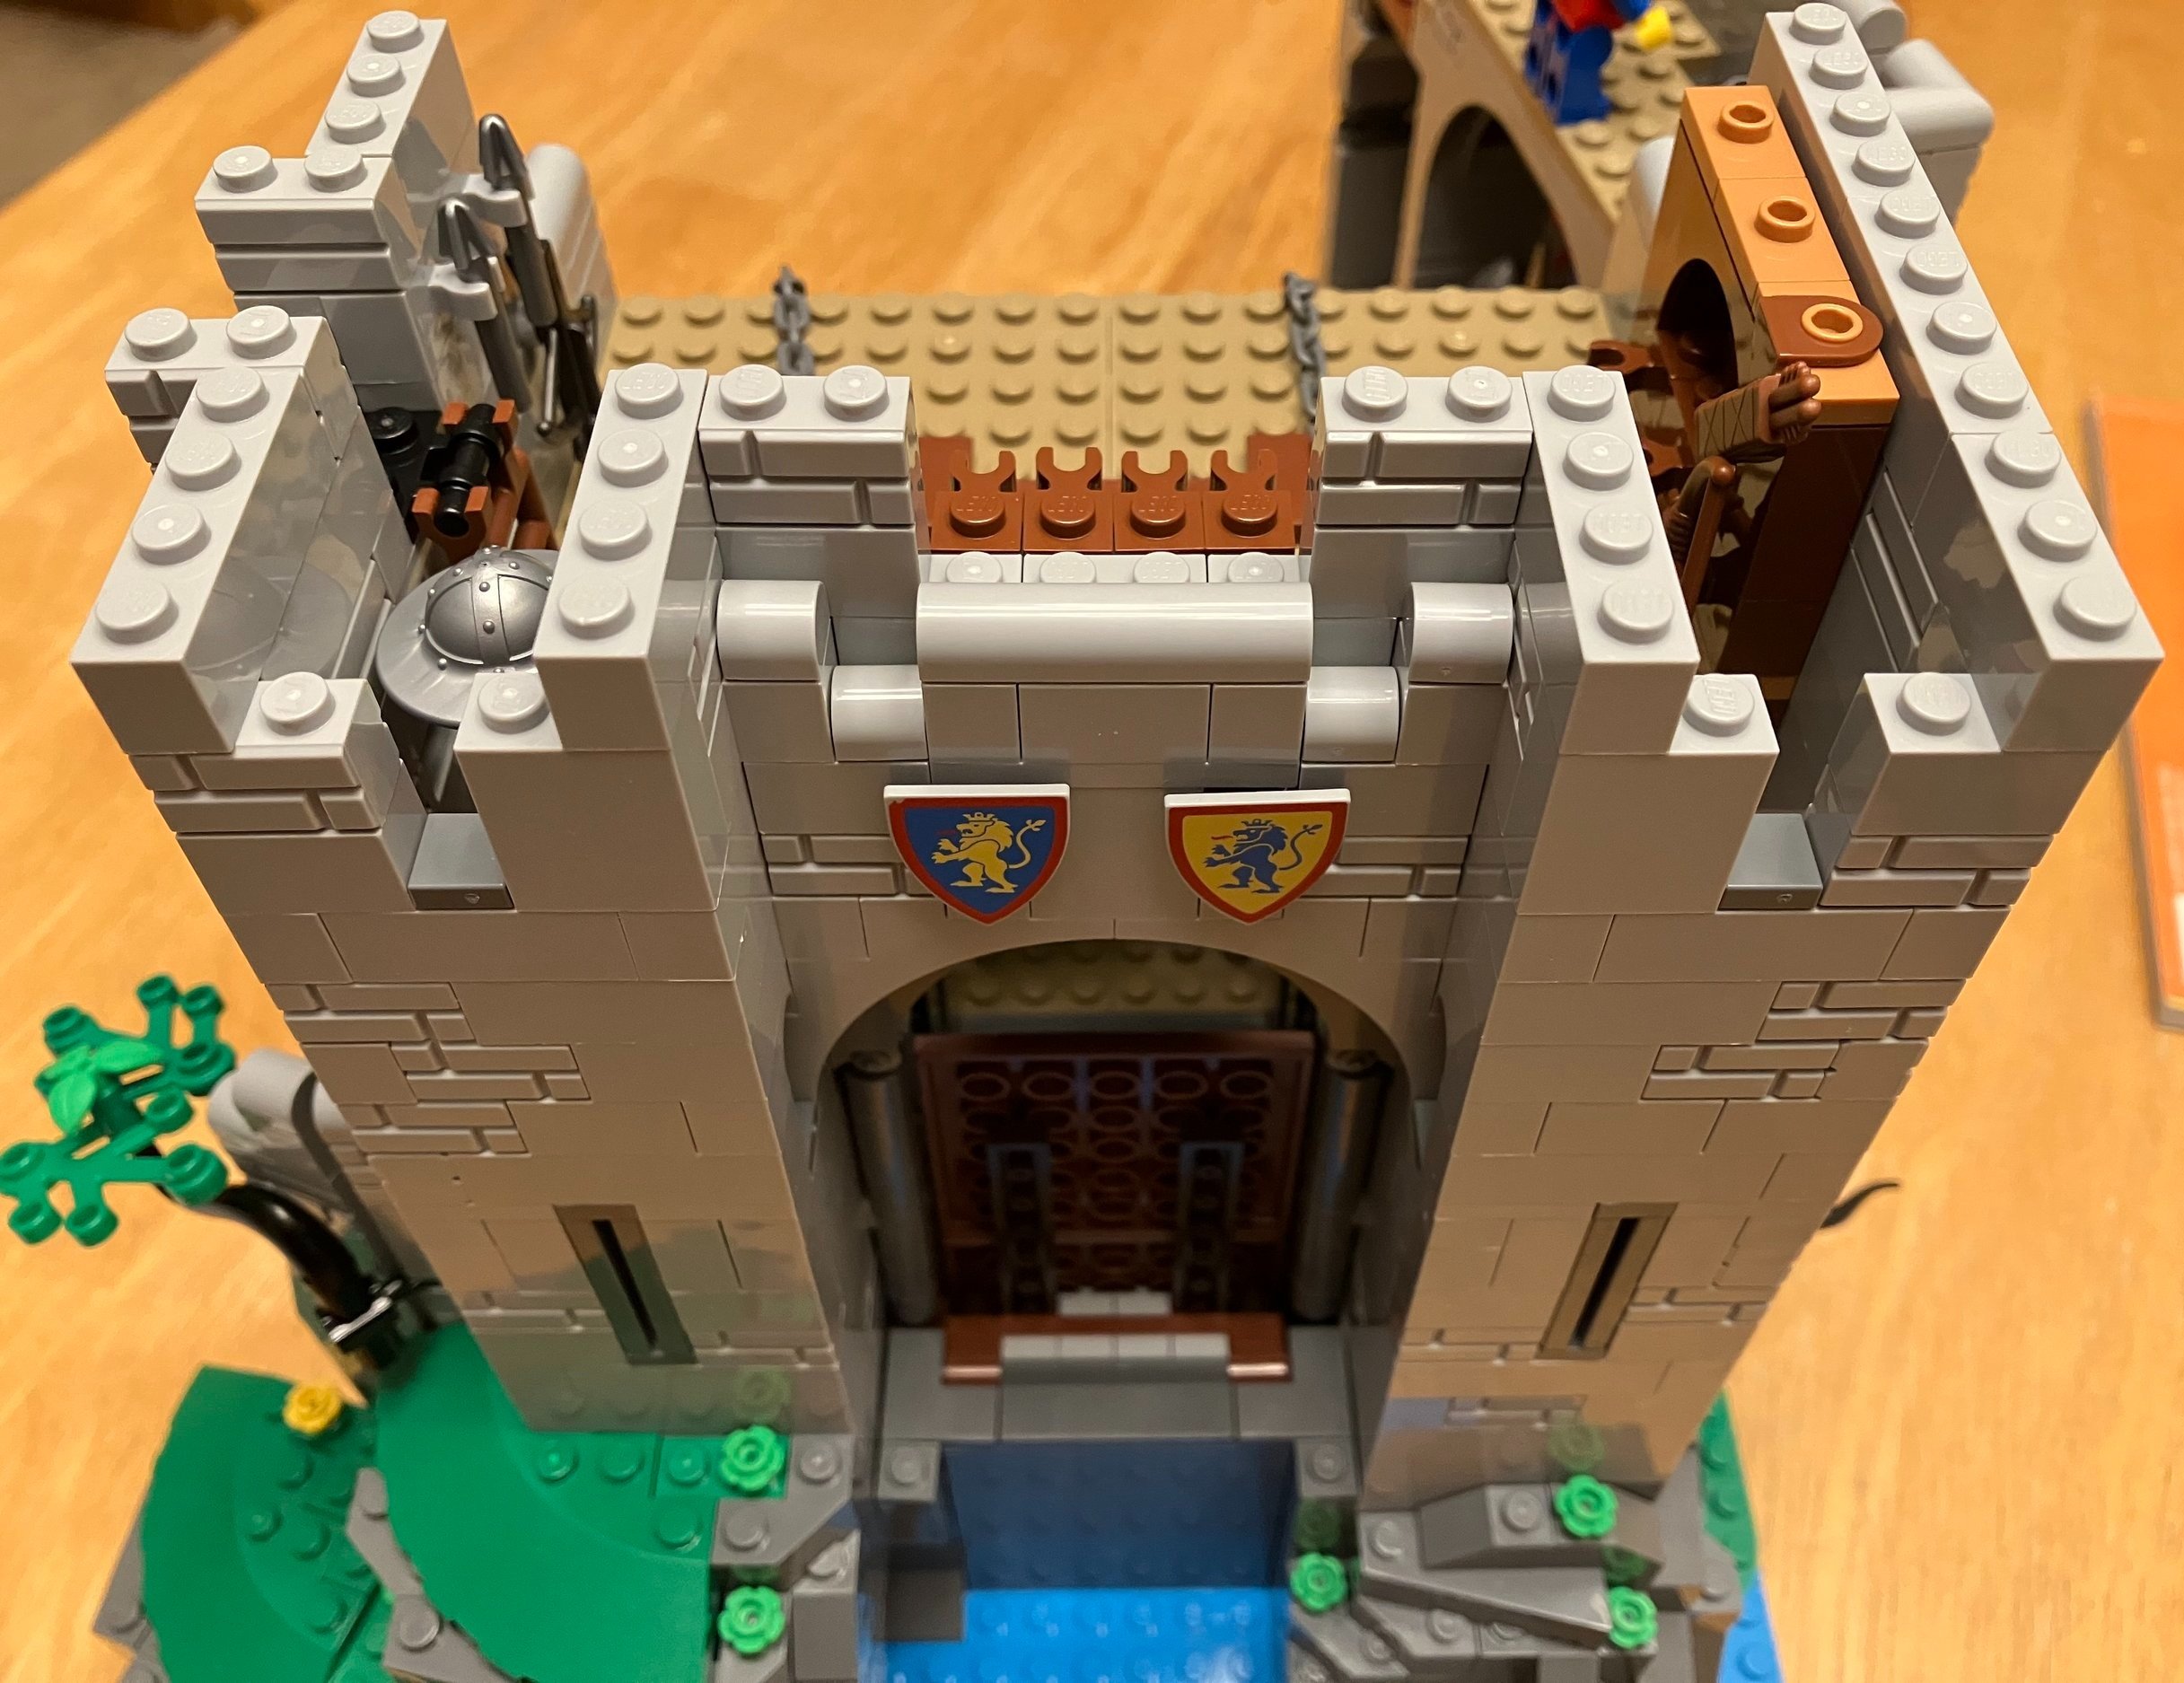
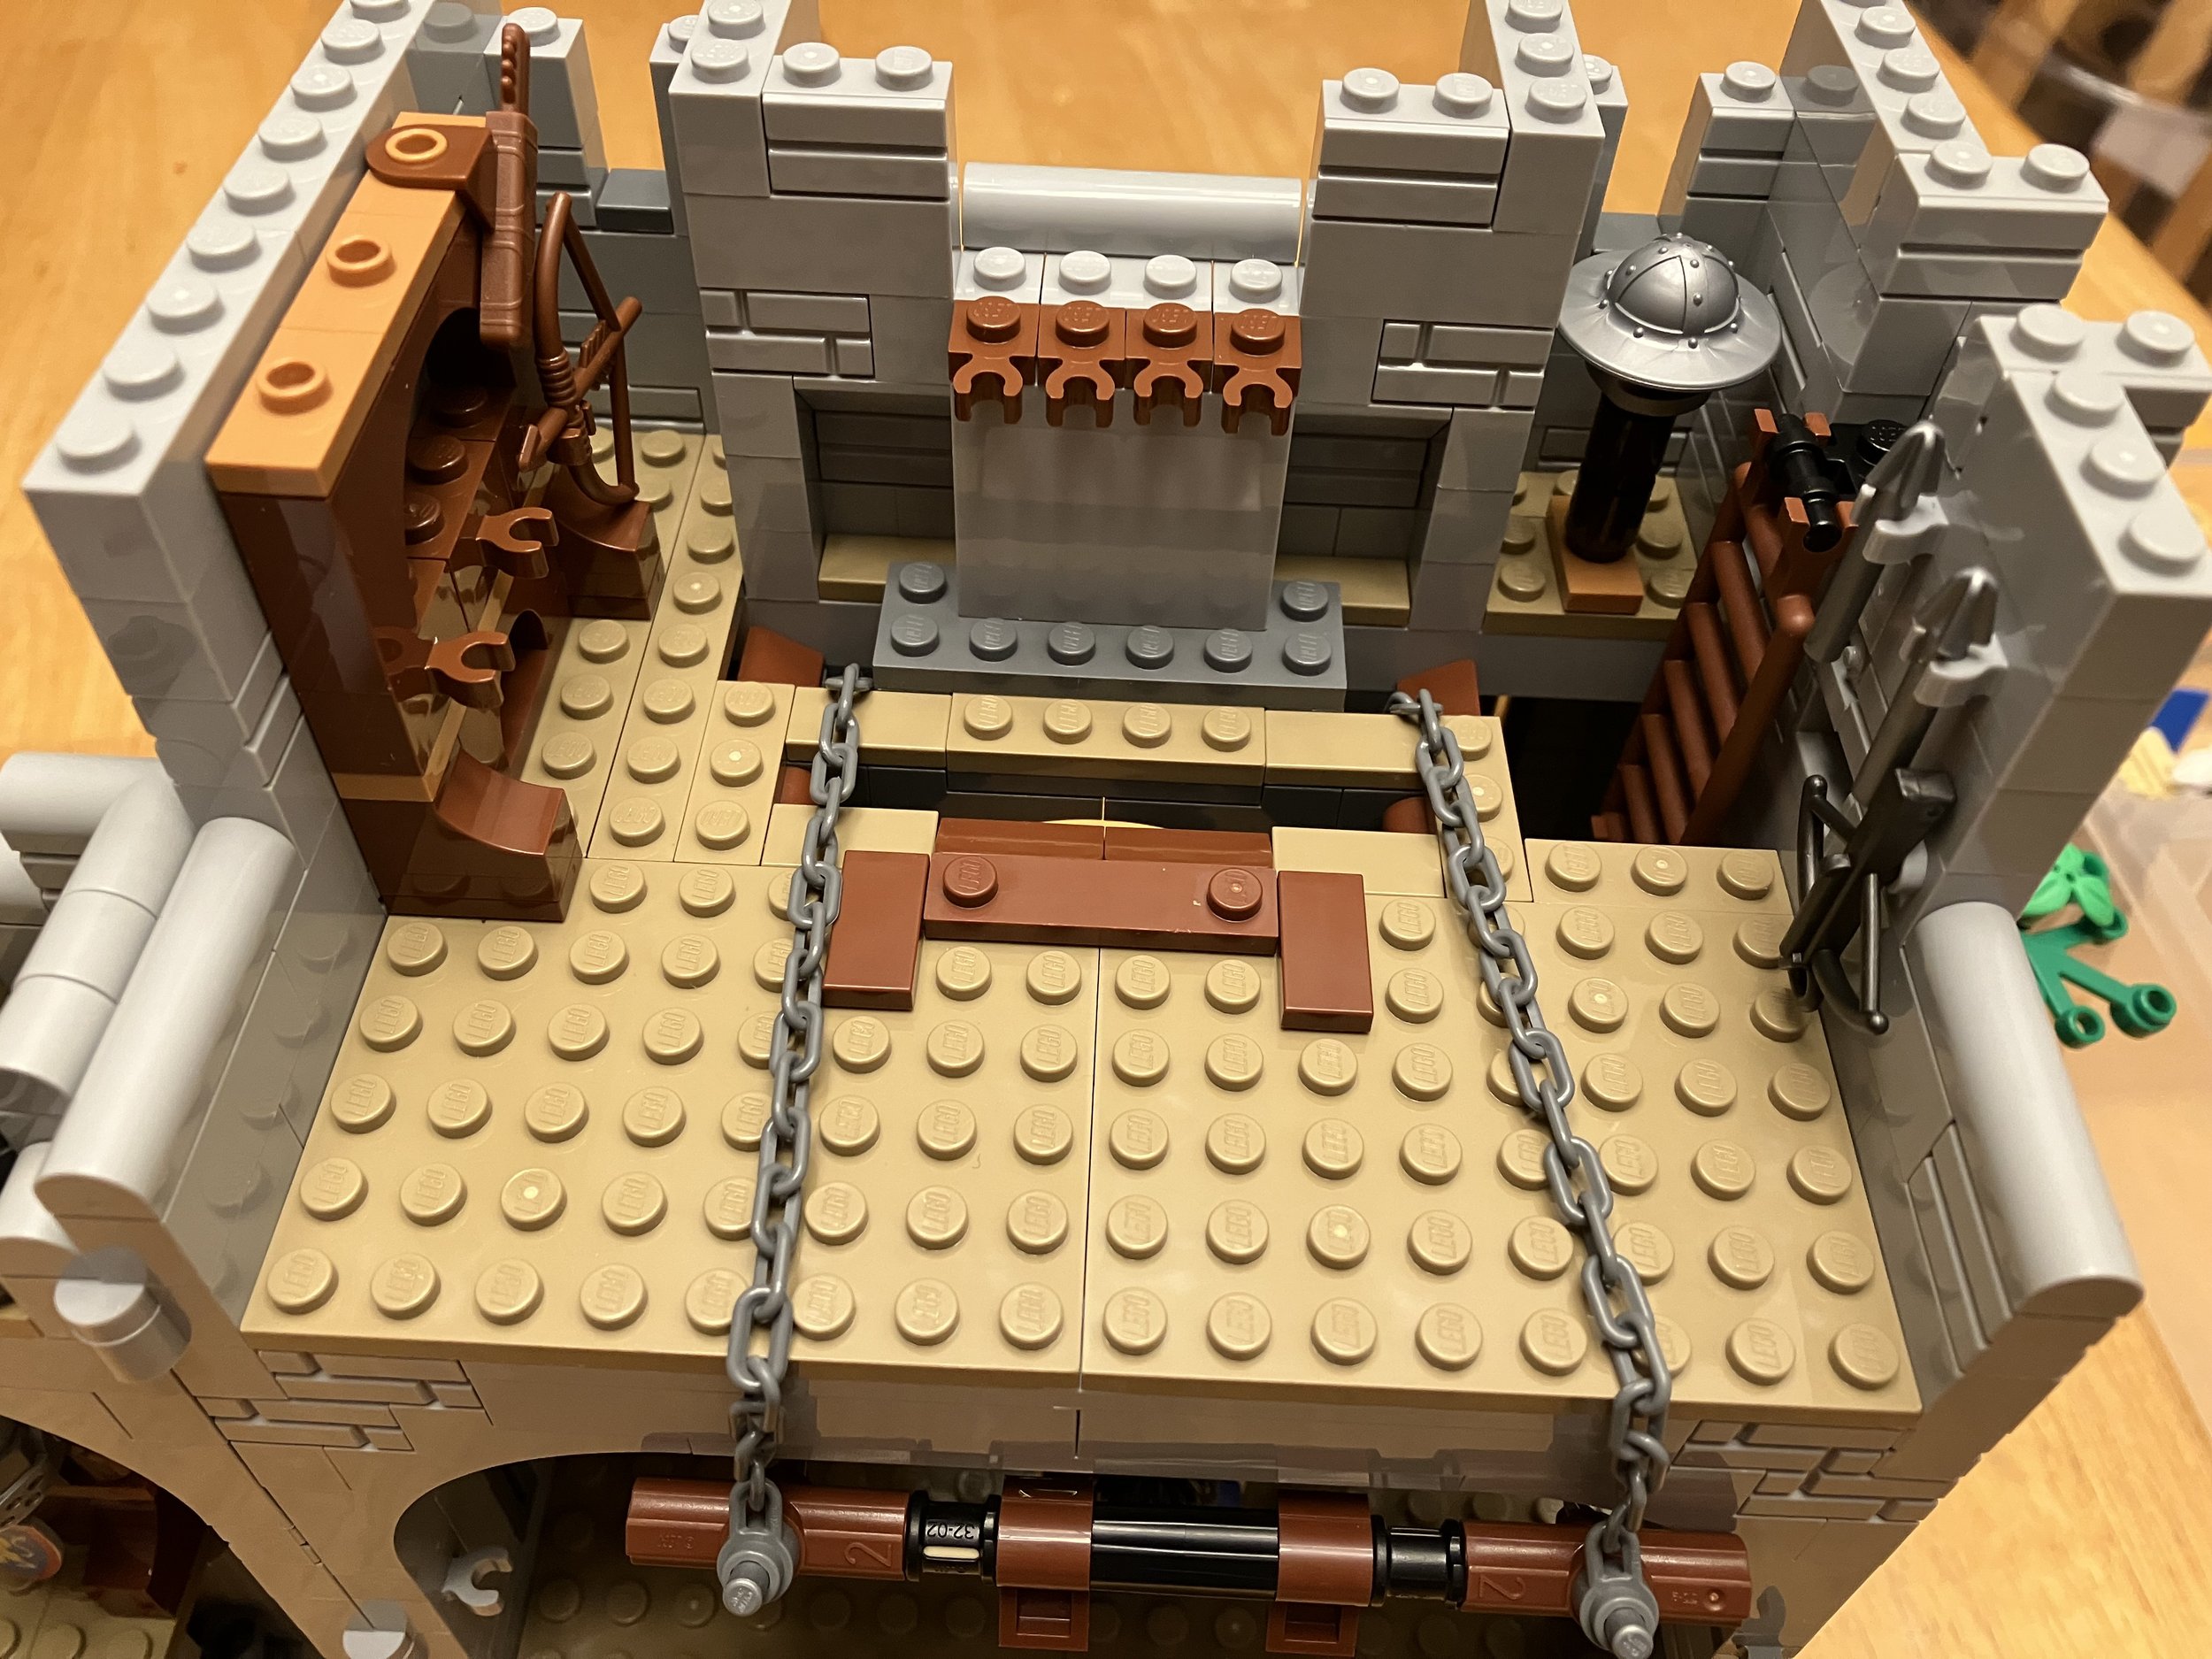
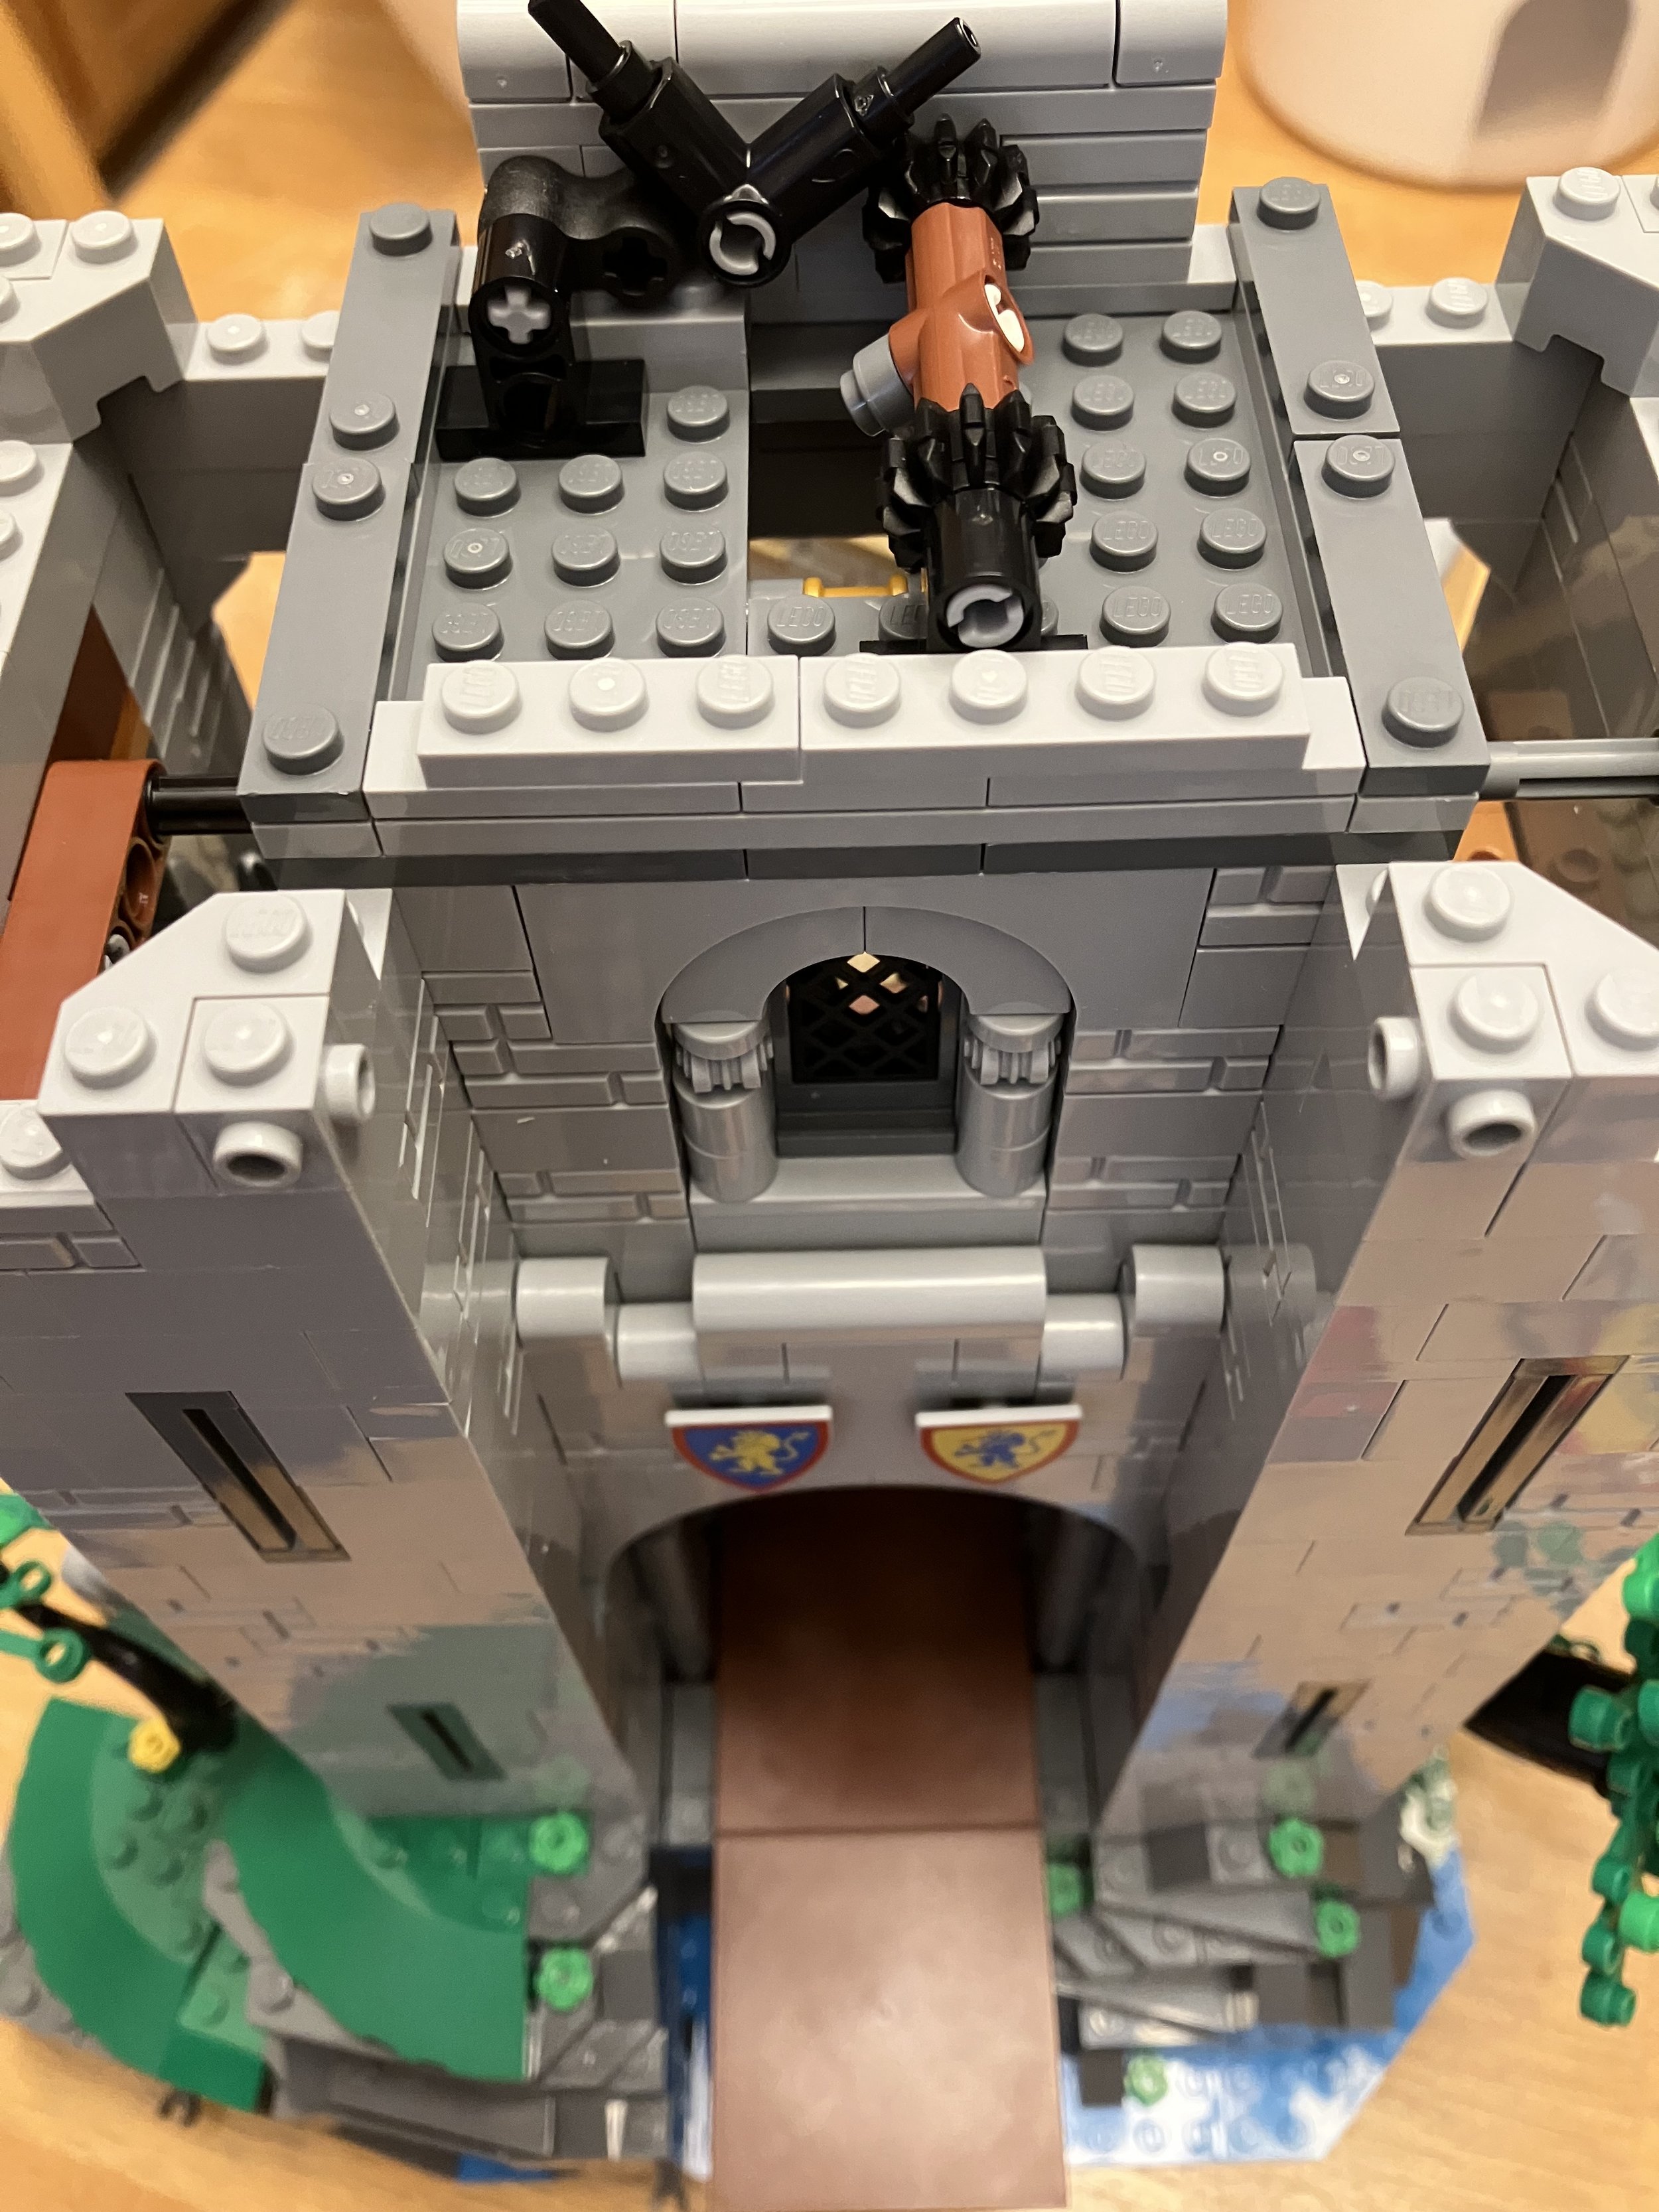
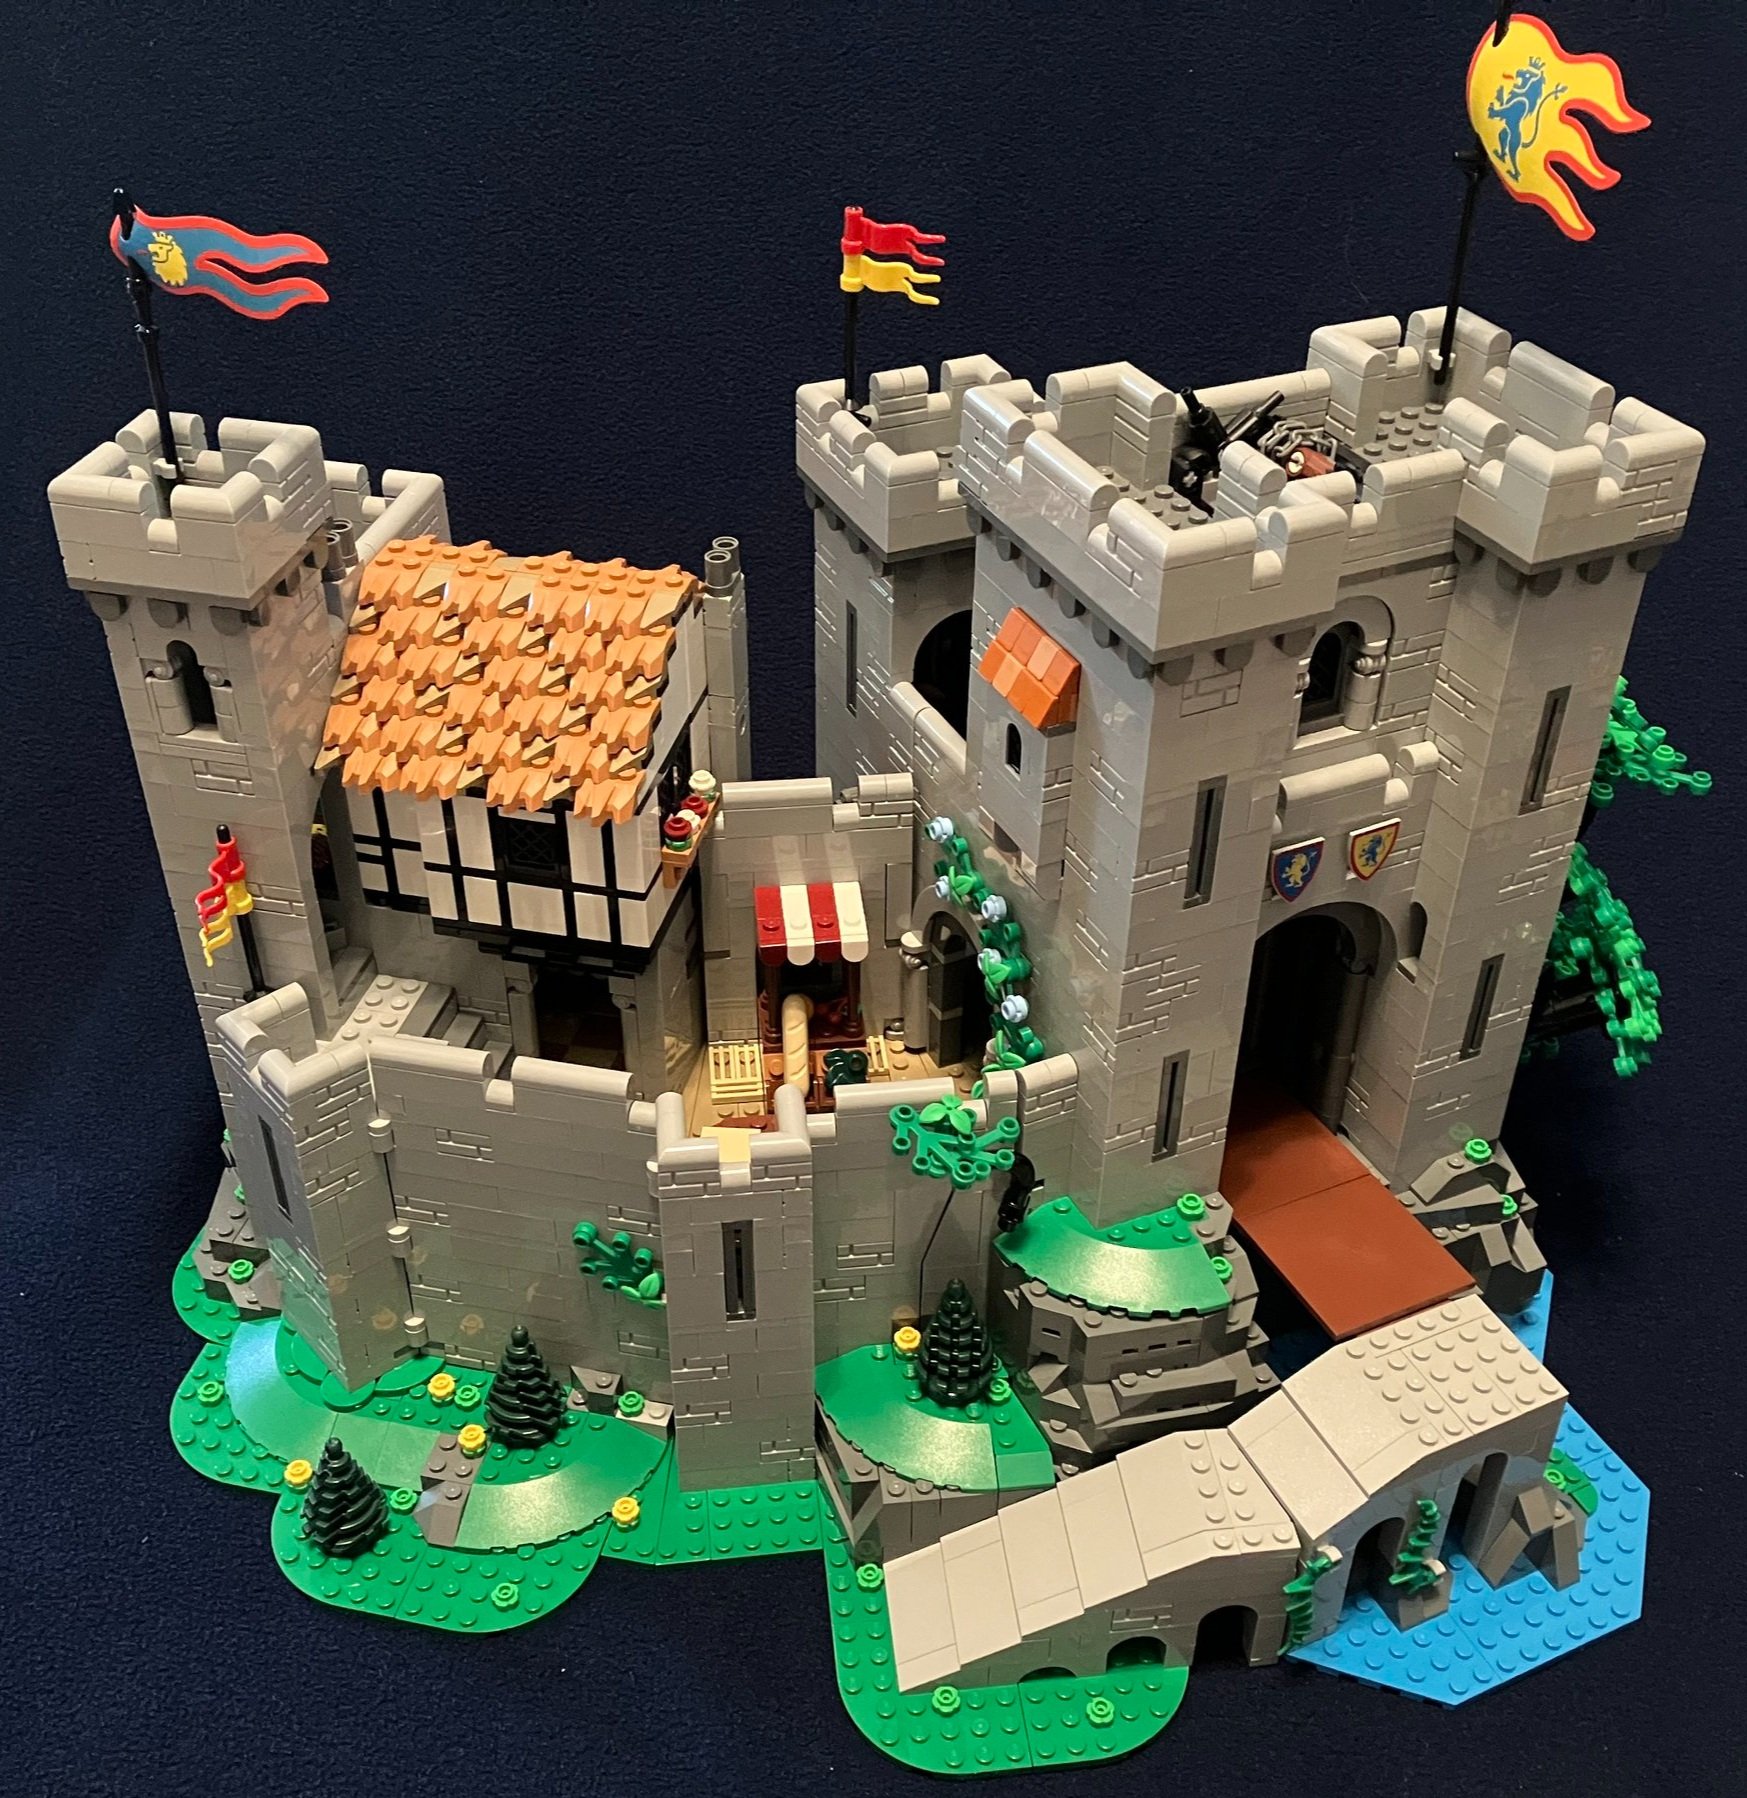
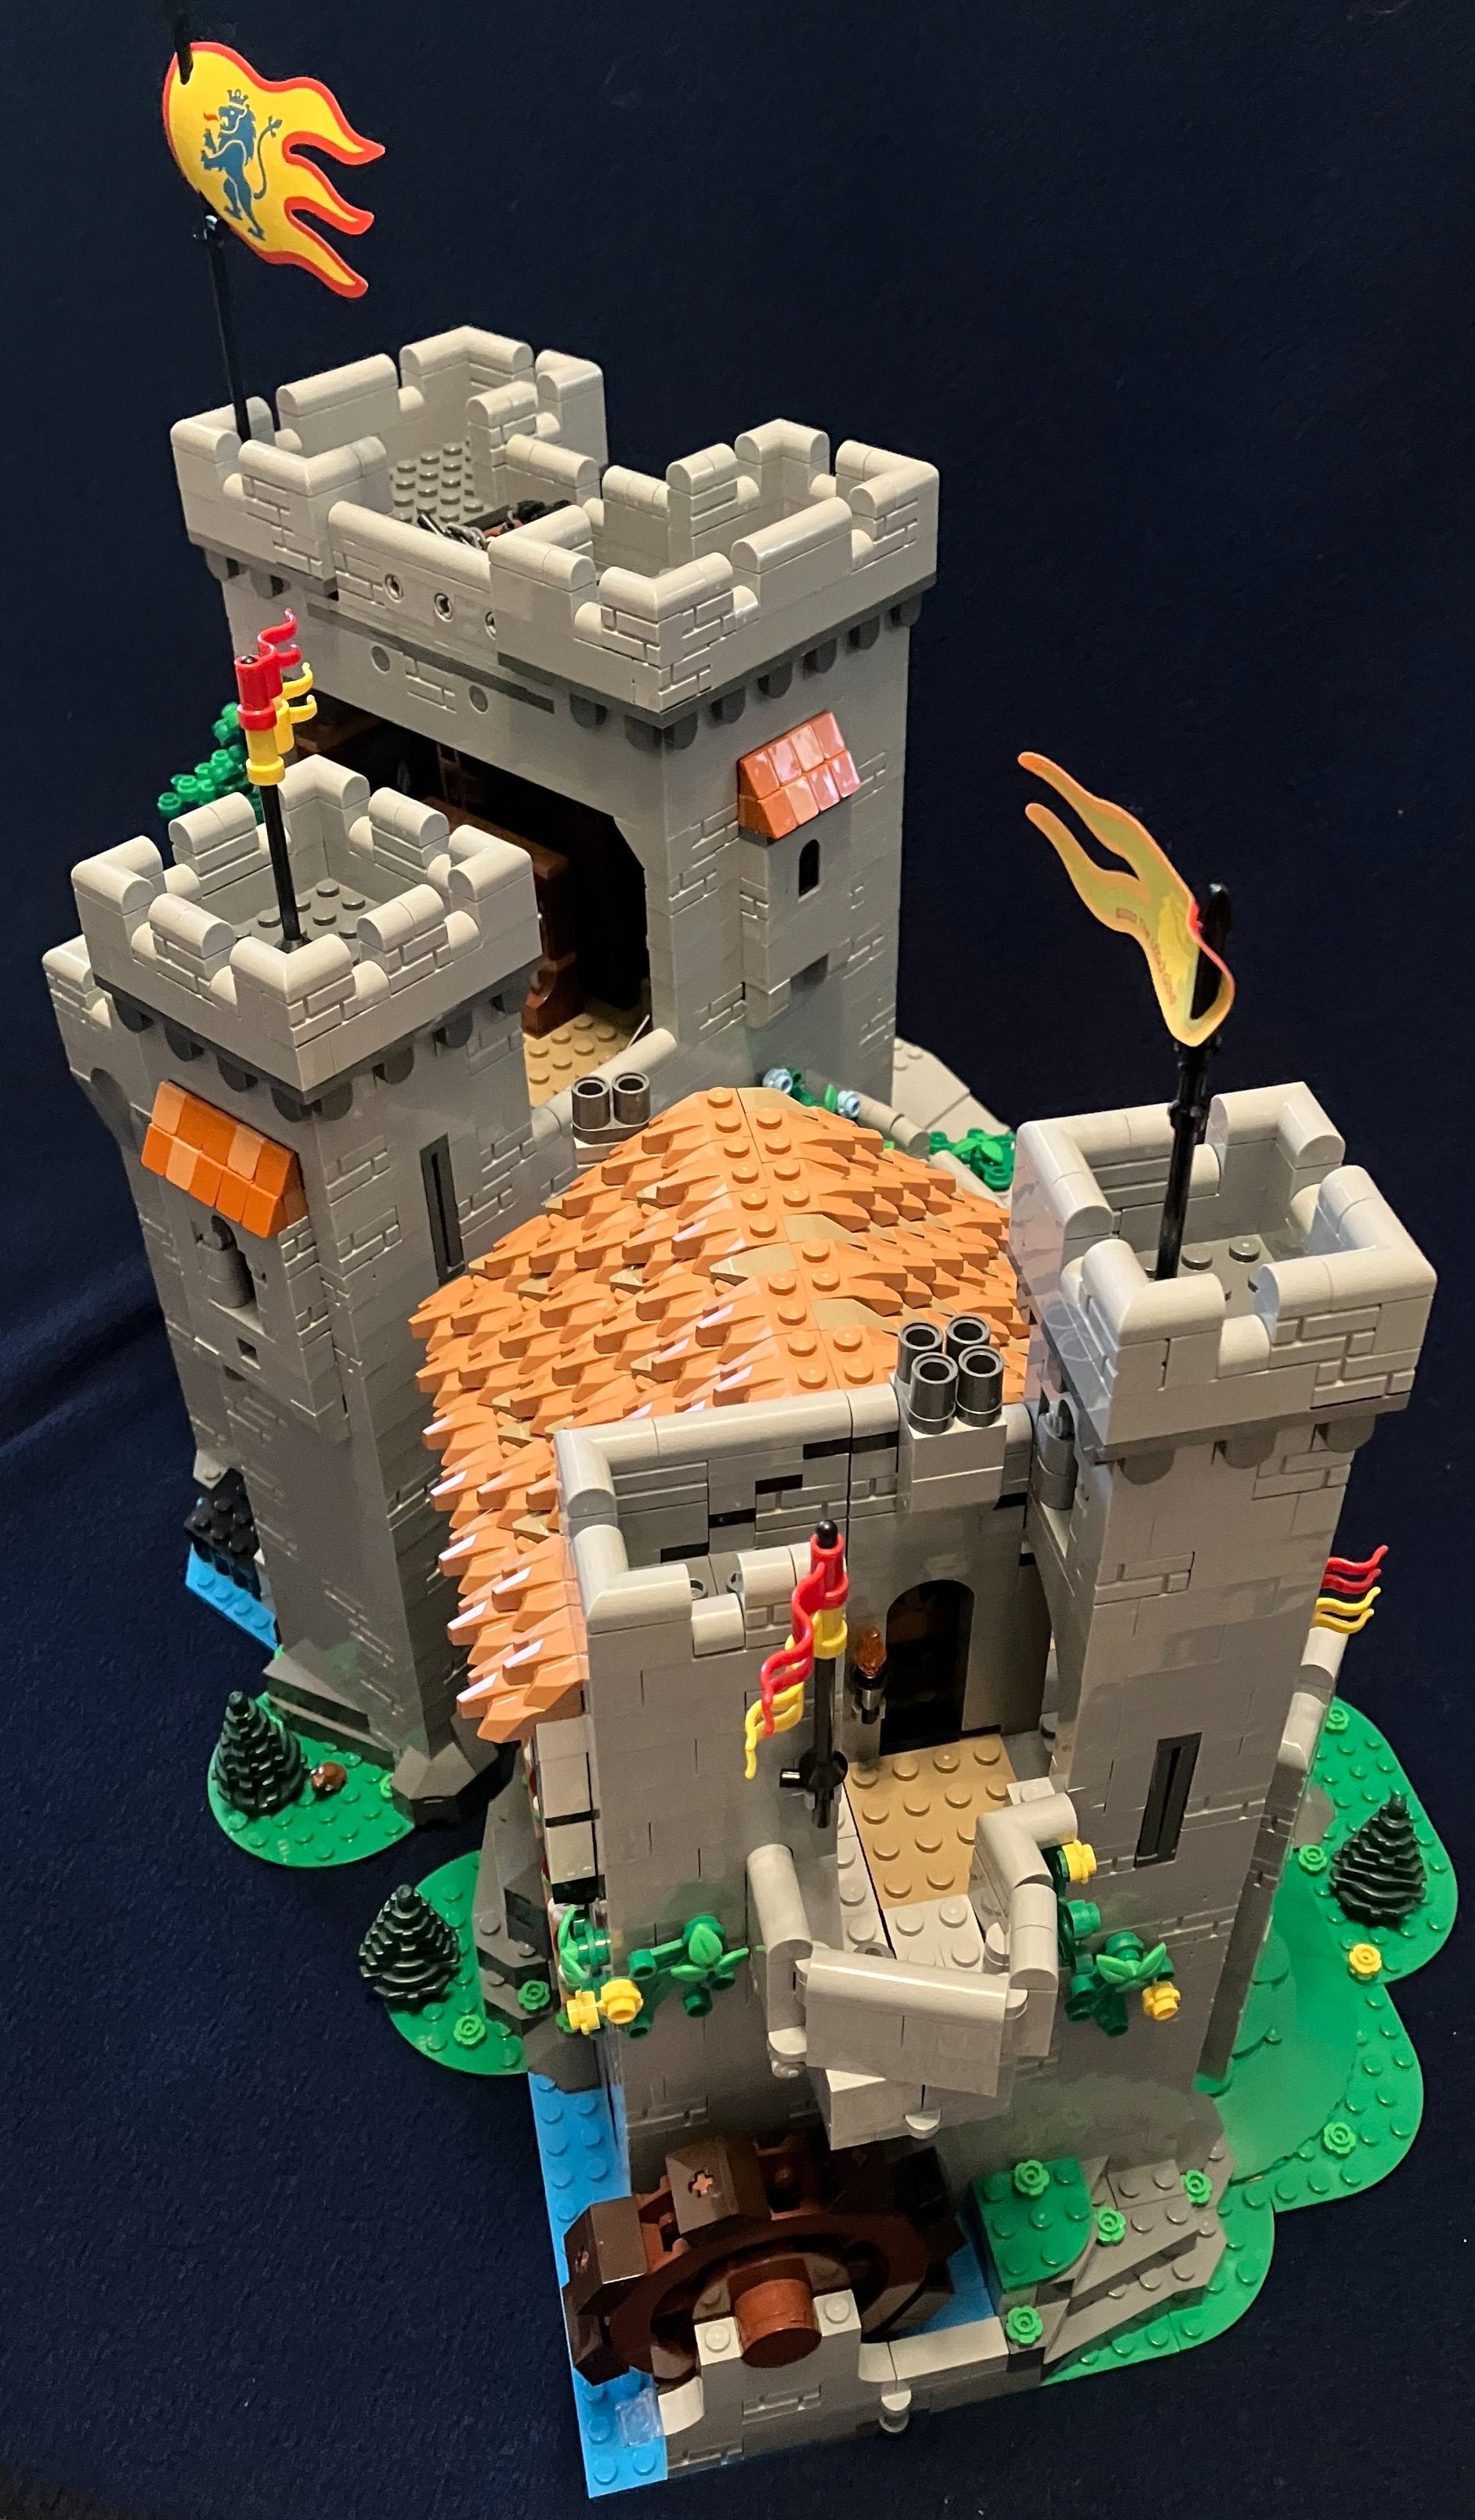
Here’s the final set all assembled without minifigures from a few different angles. The first two pictures show the draw bridge up and then down. There are a couple of other views as well.

Bonus points if you’ve made it to the bottom of this pose. You can open up the castle for play purposes and to see inside into all of the different rooms. Having this option is nice as it’s more than just a model castle, but one that you can play with.

Thanks for reading if you made it this far. Happy building!

Set Review - #10304-1: Chevrolet Camaro Z/28 - Icons

While some of the previous cars in the Creator Expert line turned Icons line seemed to have a lot of excitement, the Camaro seems to have been released and then it went quiet. I haven’t seen much about this one since it was released in the US on 26 July 2022. Part of the reason might be the pricing on this one. It retails for $169.99 in the US and contains 1,456 pieces. This works out to $0.117 per piece, which is a bit high. I took advantage of the Black Friday sale to spend 100 VIP points to get $30 off so I got it for $139.99 which brought it down to $0.096 per piece. I also grabbed a few GWPs so maybe that helped. Still it seems a bit pricy for an Icons set. I suspect that if LEGO put a discount on it this soon that it might not be selling real well. That’s just a guess on my part though.

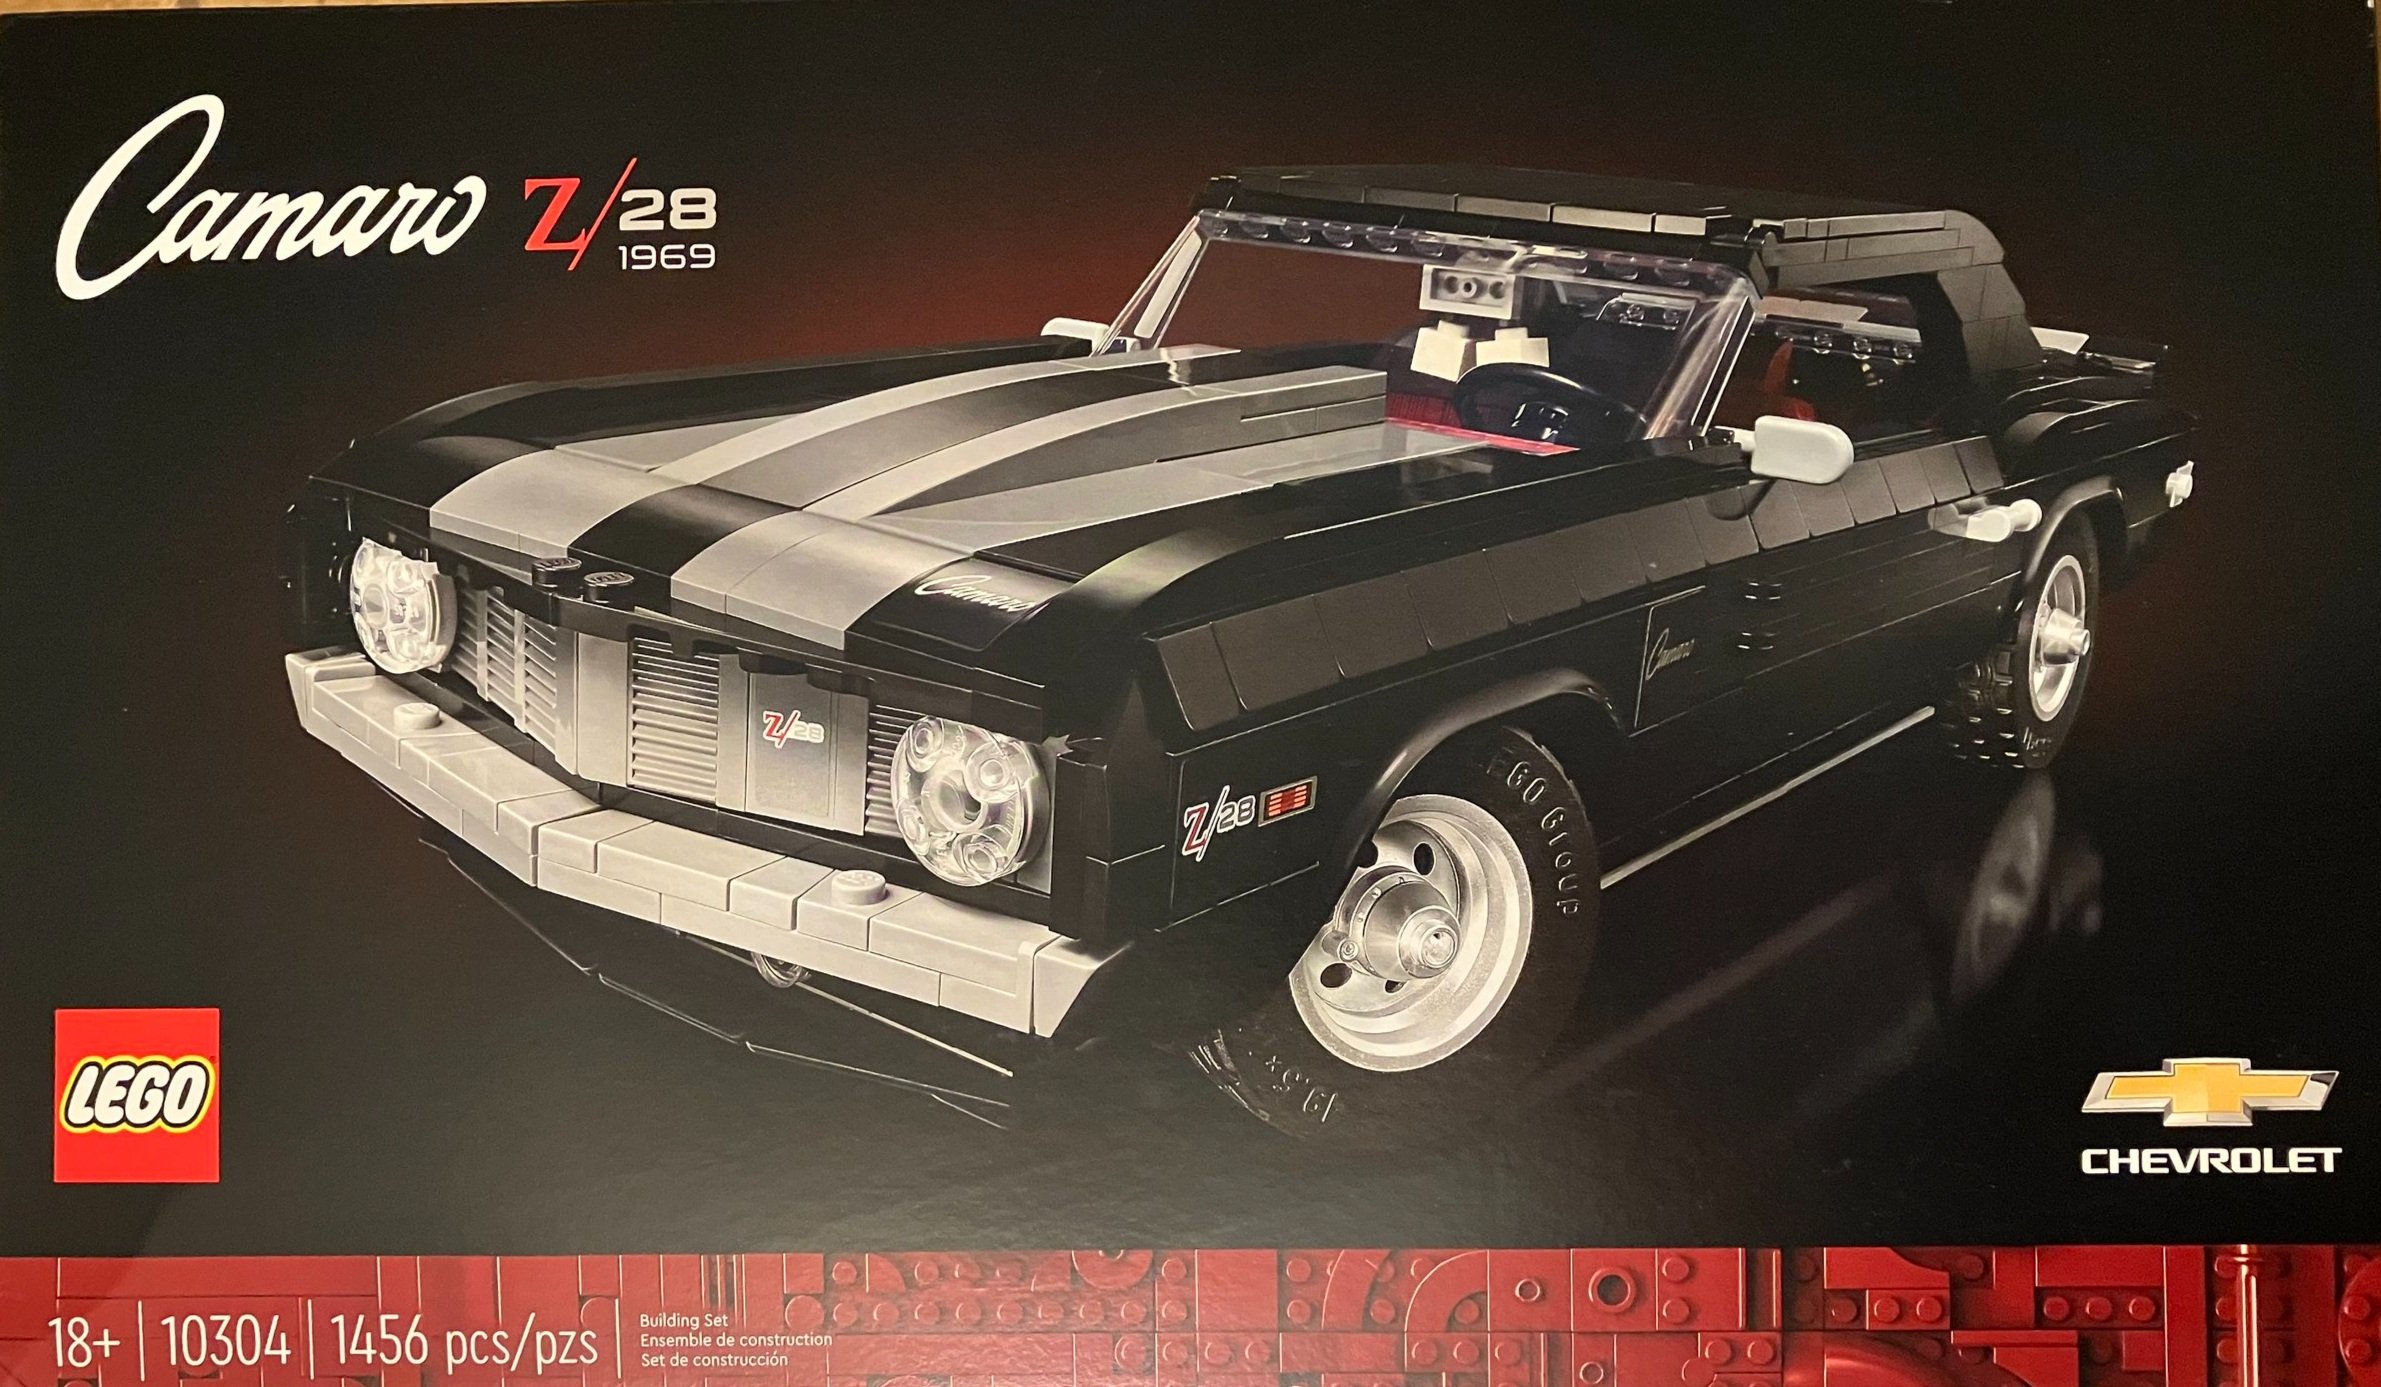
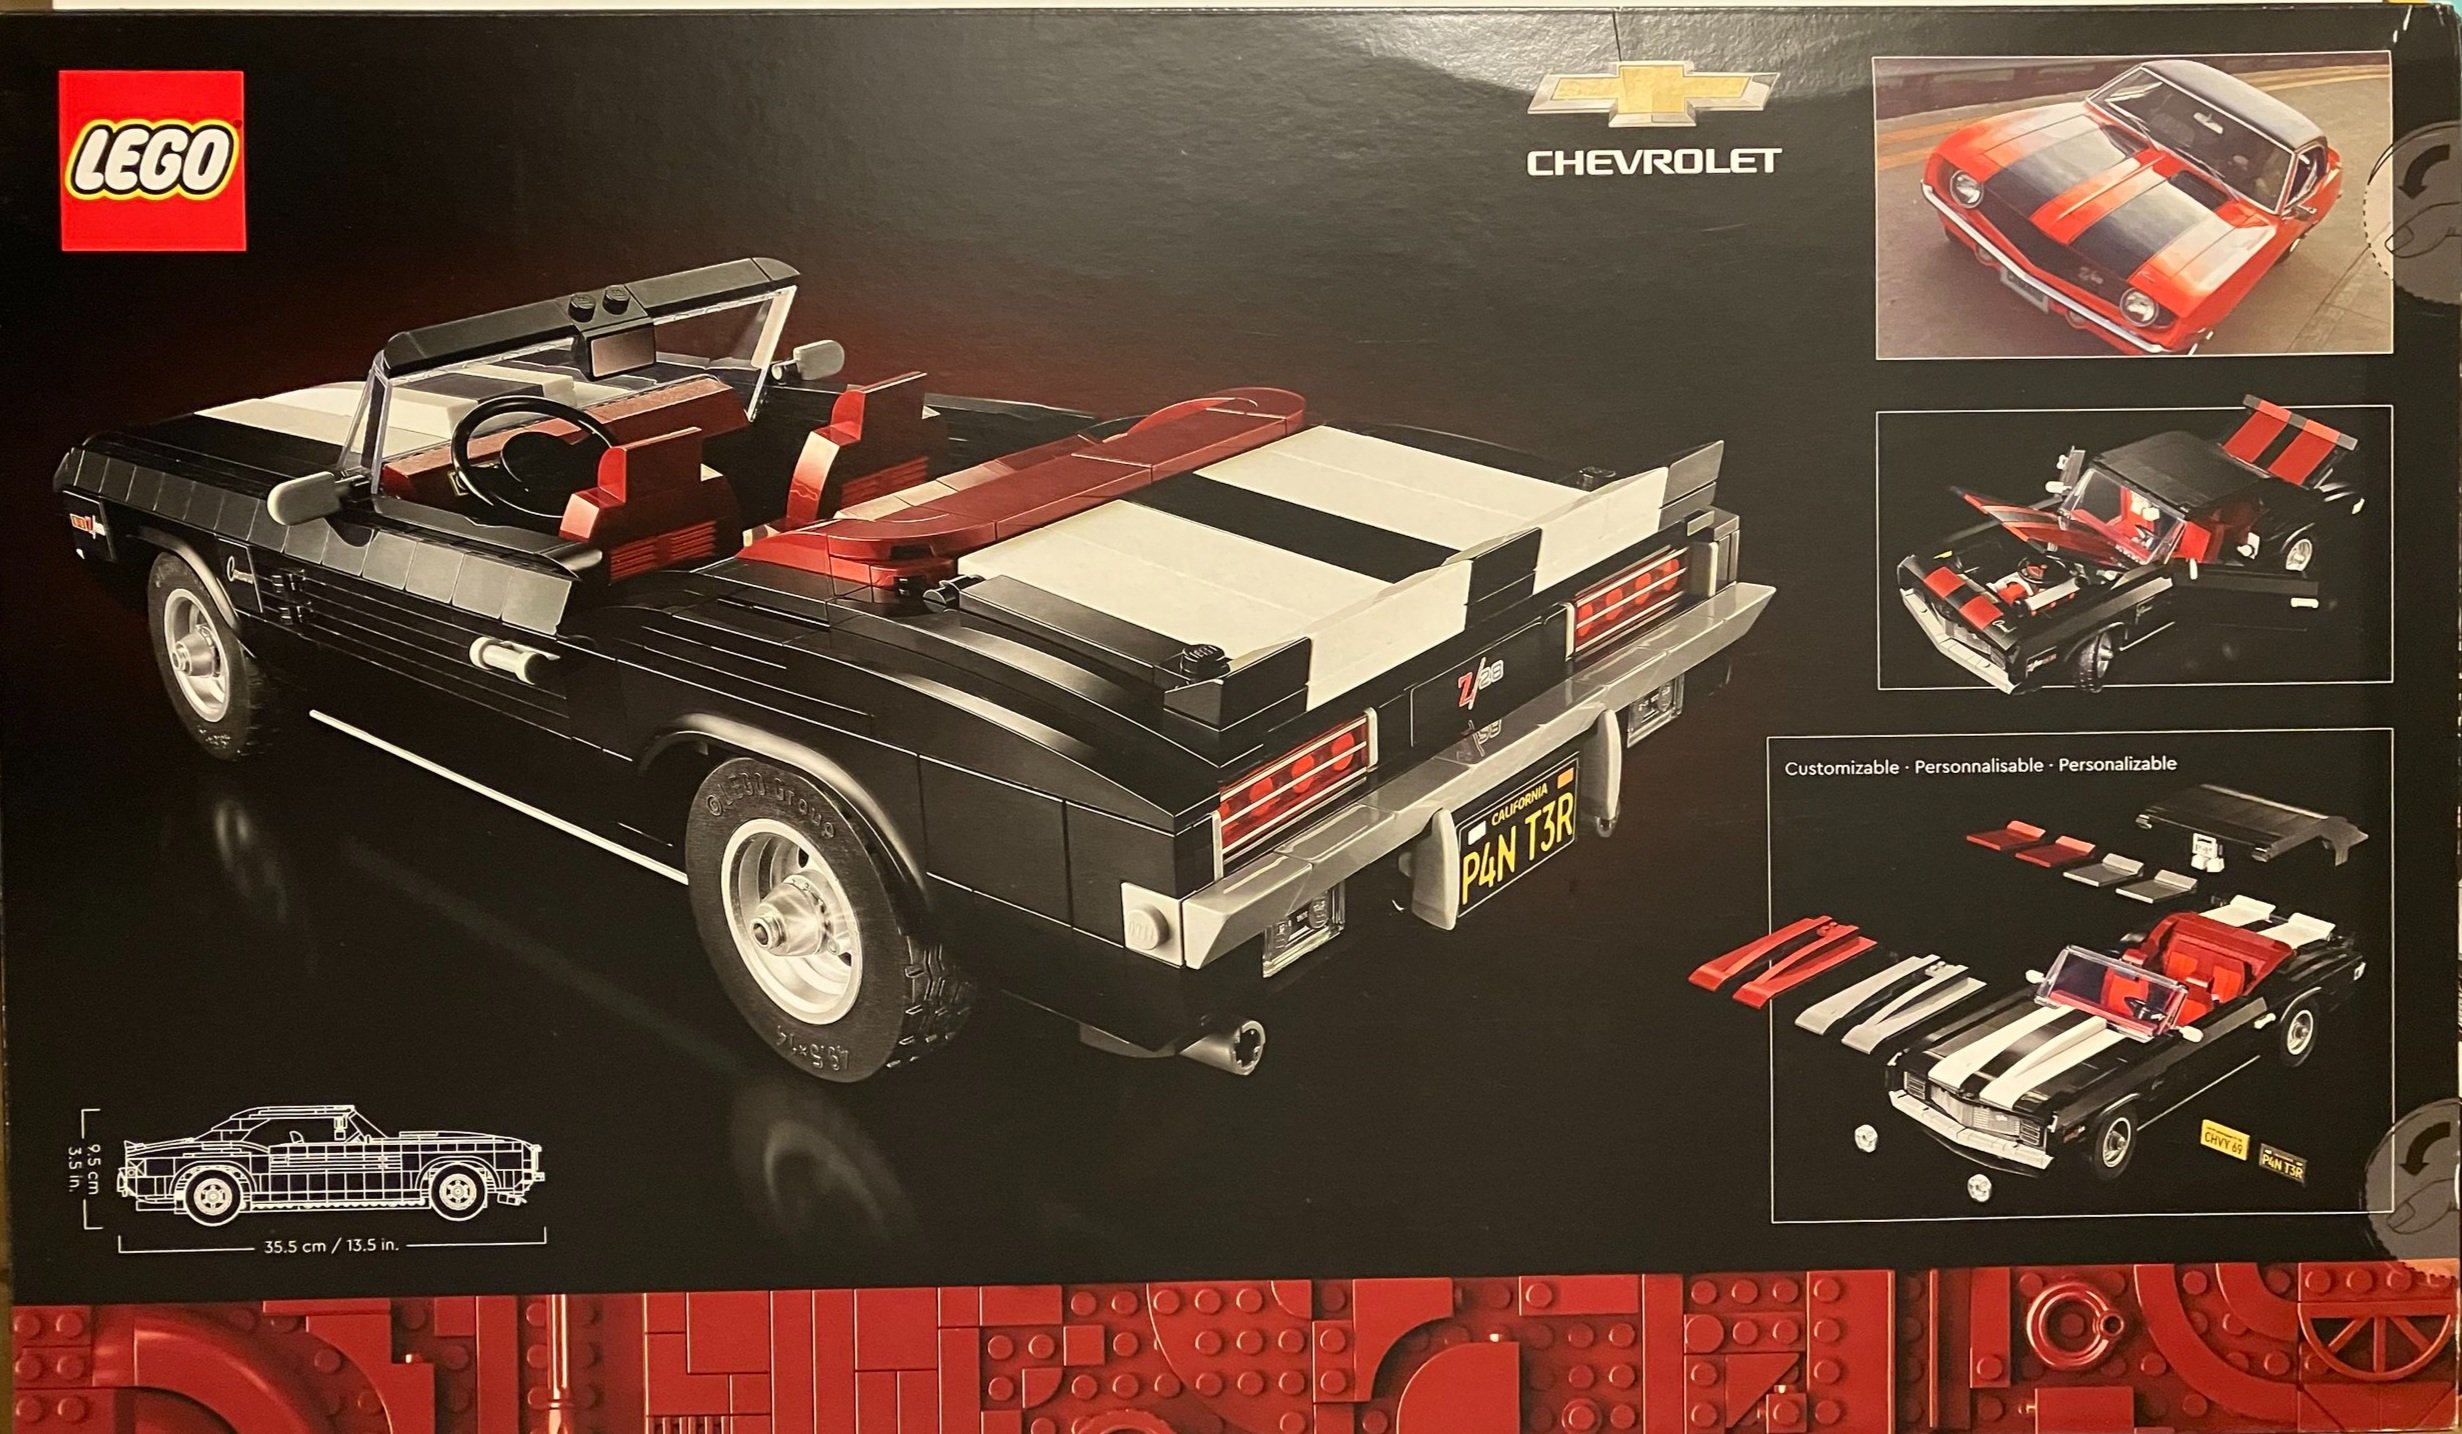
The box shows the final set on the front with some brick red colored greebling on the bottom. It also has the Chevrolet logo. The back shows a picture of the actual vehicle and some of the customization options you can use when assembling the vehicle.

This set comes with eight numbered parts bags, a sticker sheet, and the instruction book. The instructions have some information about the vehicle and its history, information on the design team, and little tidbits about the set as you go through the build.

There aren’t a ton of stickers, but still, I’d prefer to not see stickers in an 18+ set.

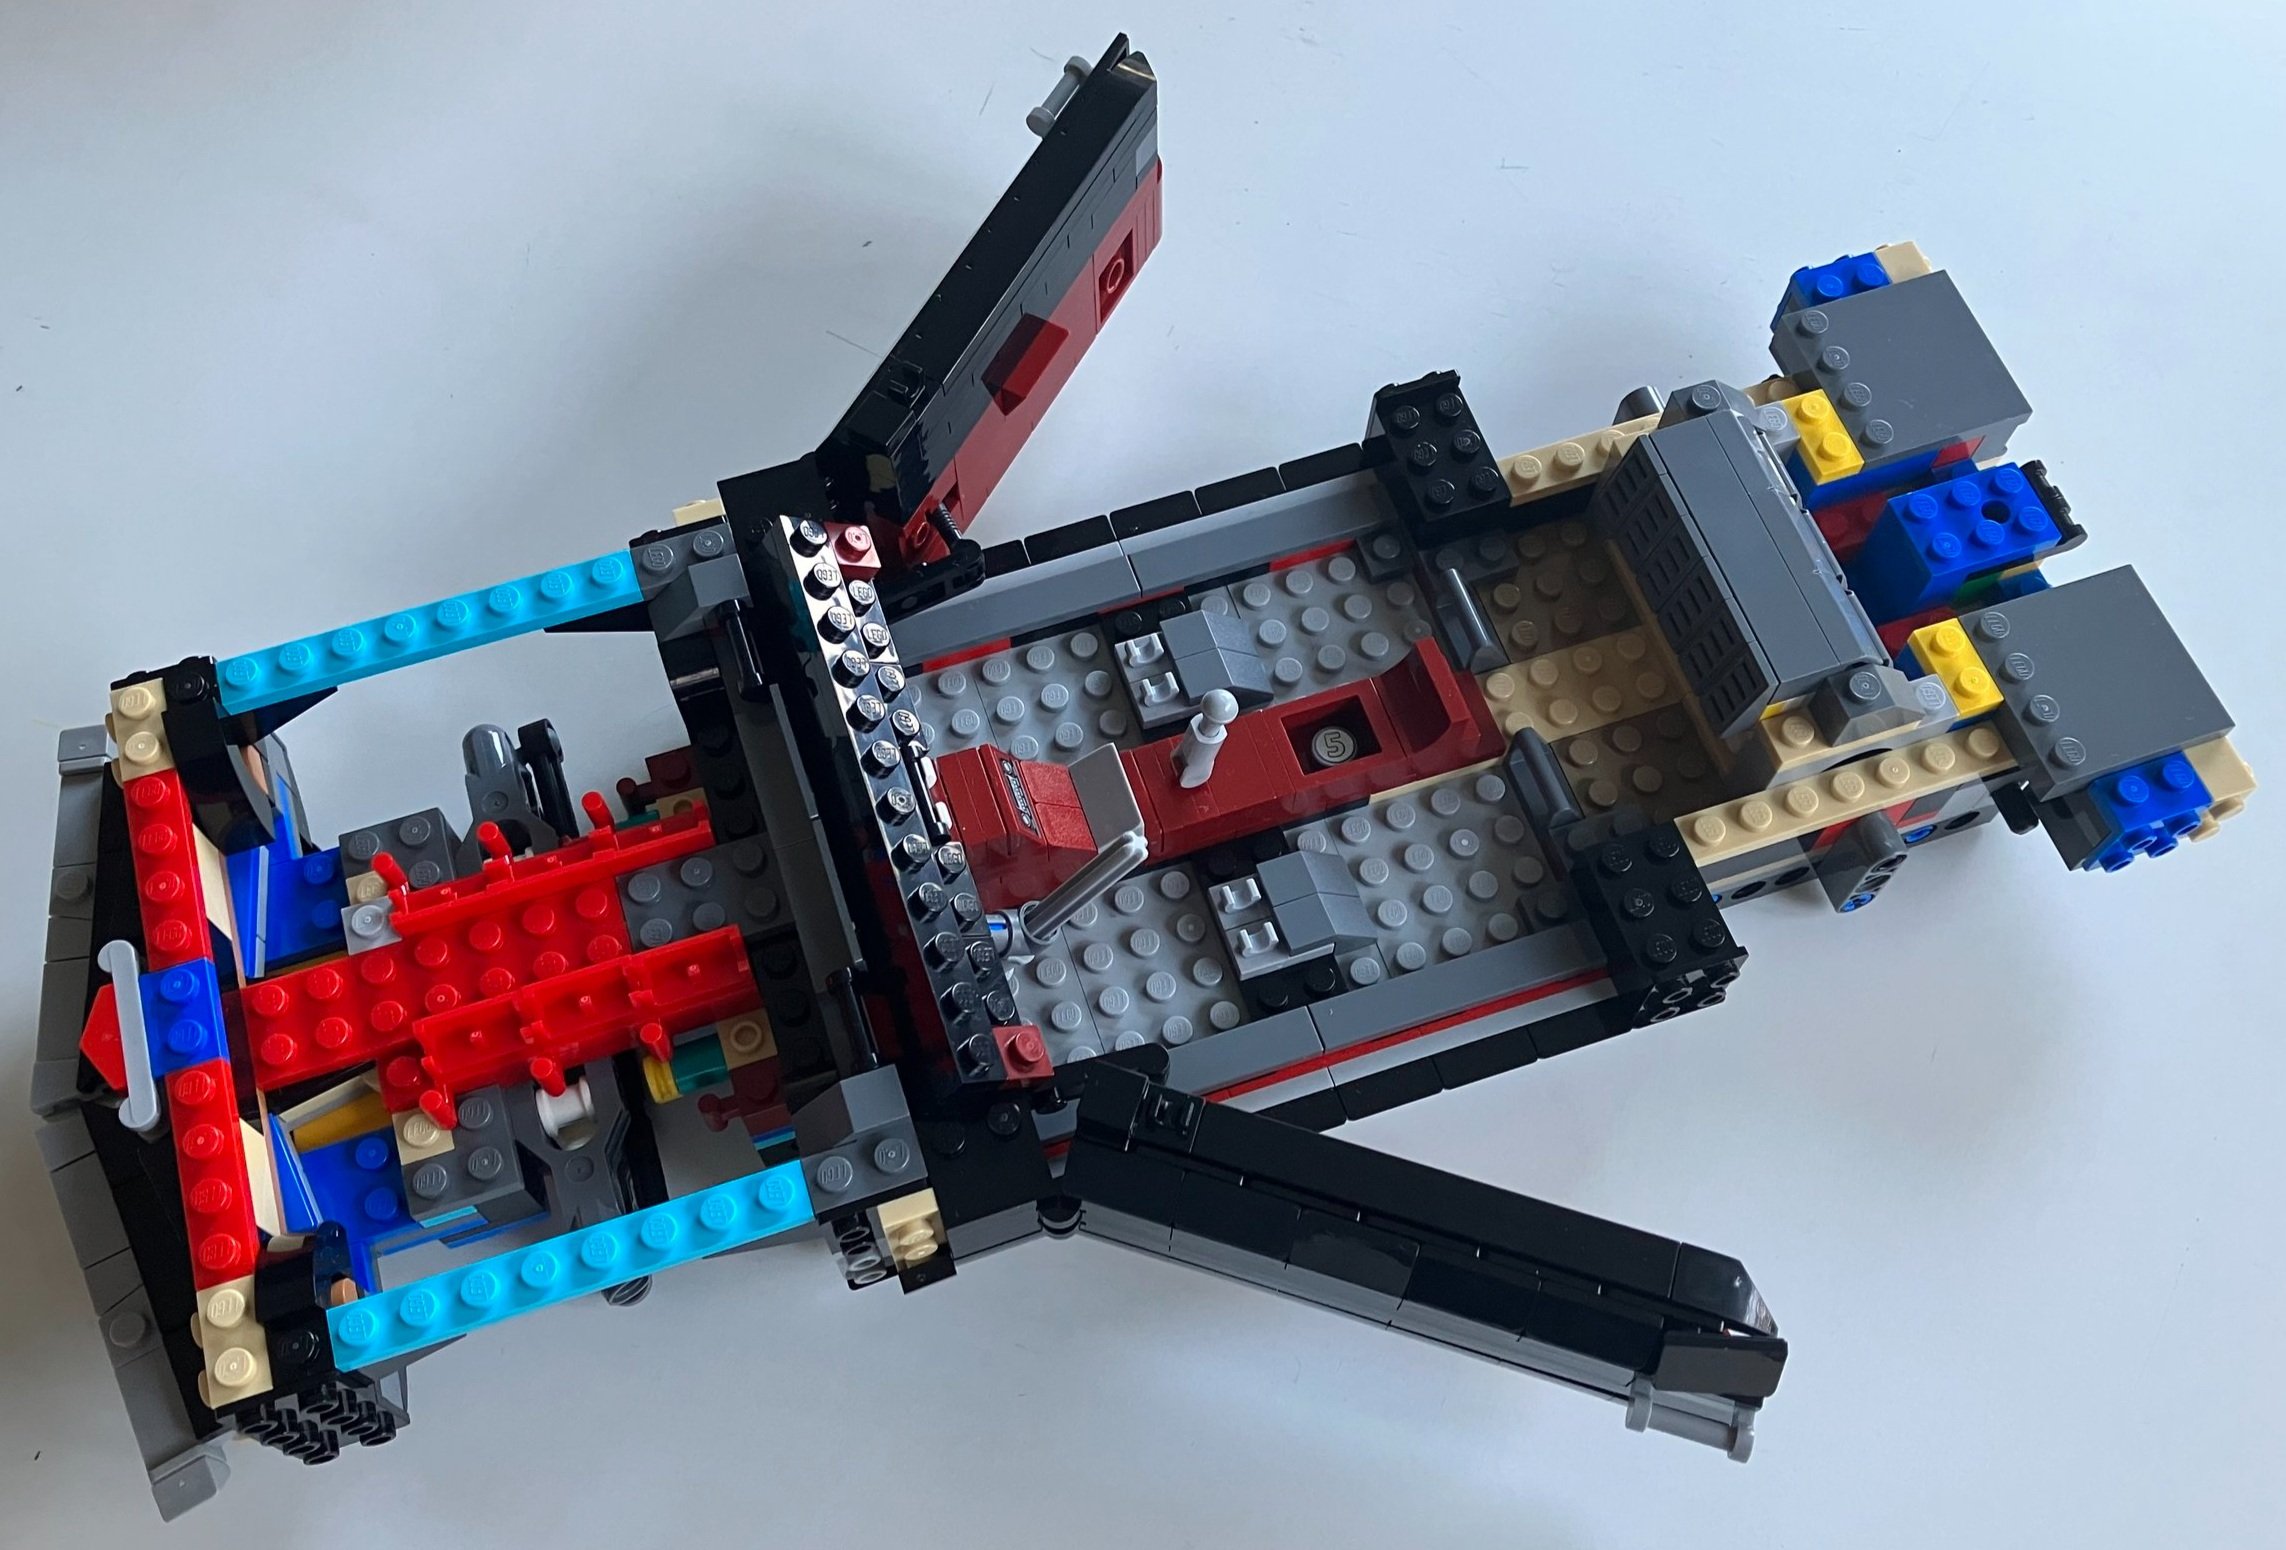
The first bag assembles the bottom of the vehicle. I didn’t show the bottom in the picture, but it has a Technic base that you build upon which helps to keep it sturdy.

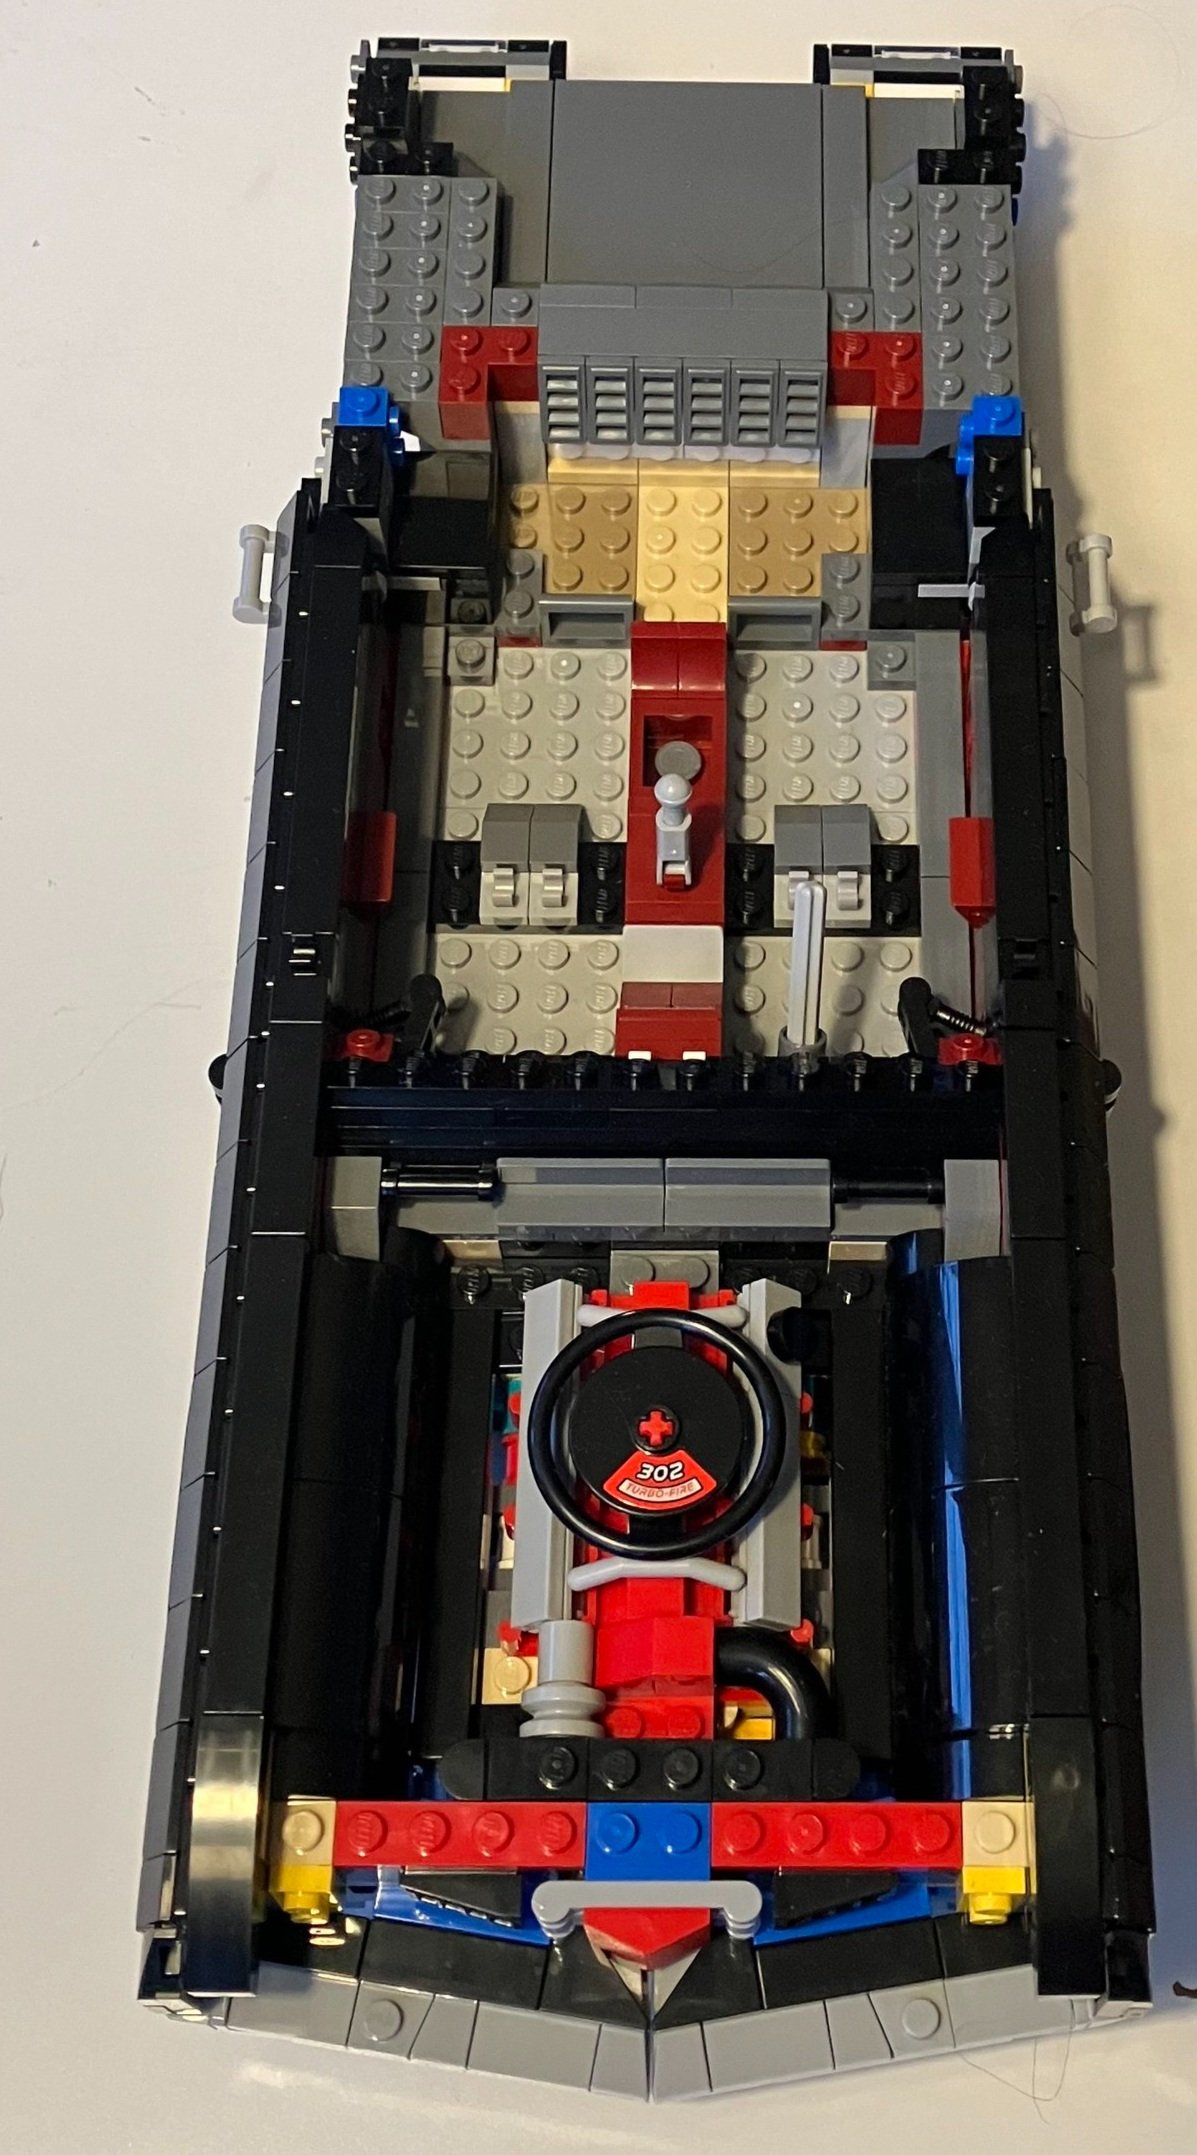
The second bag adds in more of the insides, some of the steering column, and the center console with the 1x1 printed tile with the number 5 on it for a nickel I guess.

The third bag adds some of the front bumper, the front axle attached to the steering column, and adds a few details to the engine area.

The fourth bag adds the doors. They swing open and closed pretty well. The mechanism to do it sticks into the seating area slightly and wouldn’t be ideal for actual passengers. The doors fit in pretty smoothly with the vehicle and there aren’t massive gaps which is good.

The fifth bag adds some detail to the engine area. I don’t know what an actual one looks like, but I guess it is realistic. You add in some larger pieces on each side of the engine which work well, but are on the verge of being BURP type pieces.

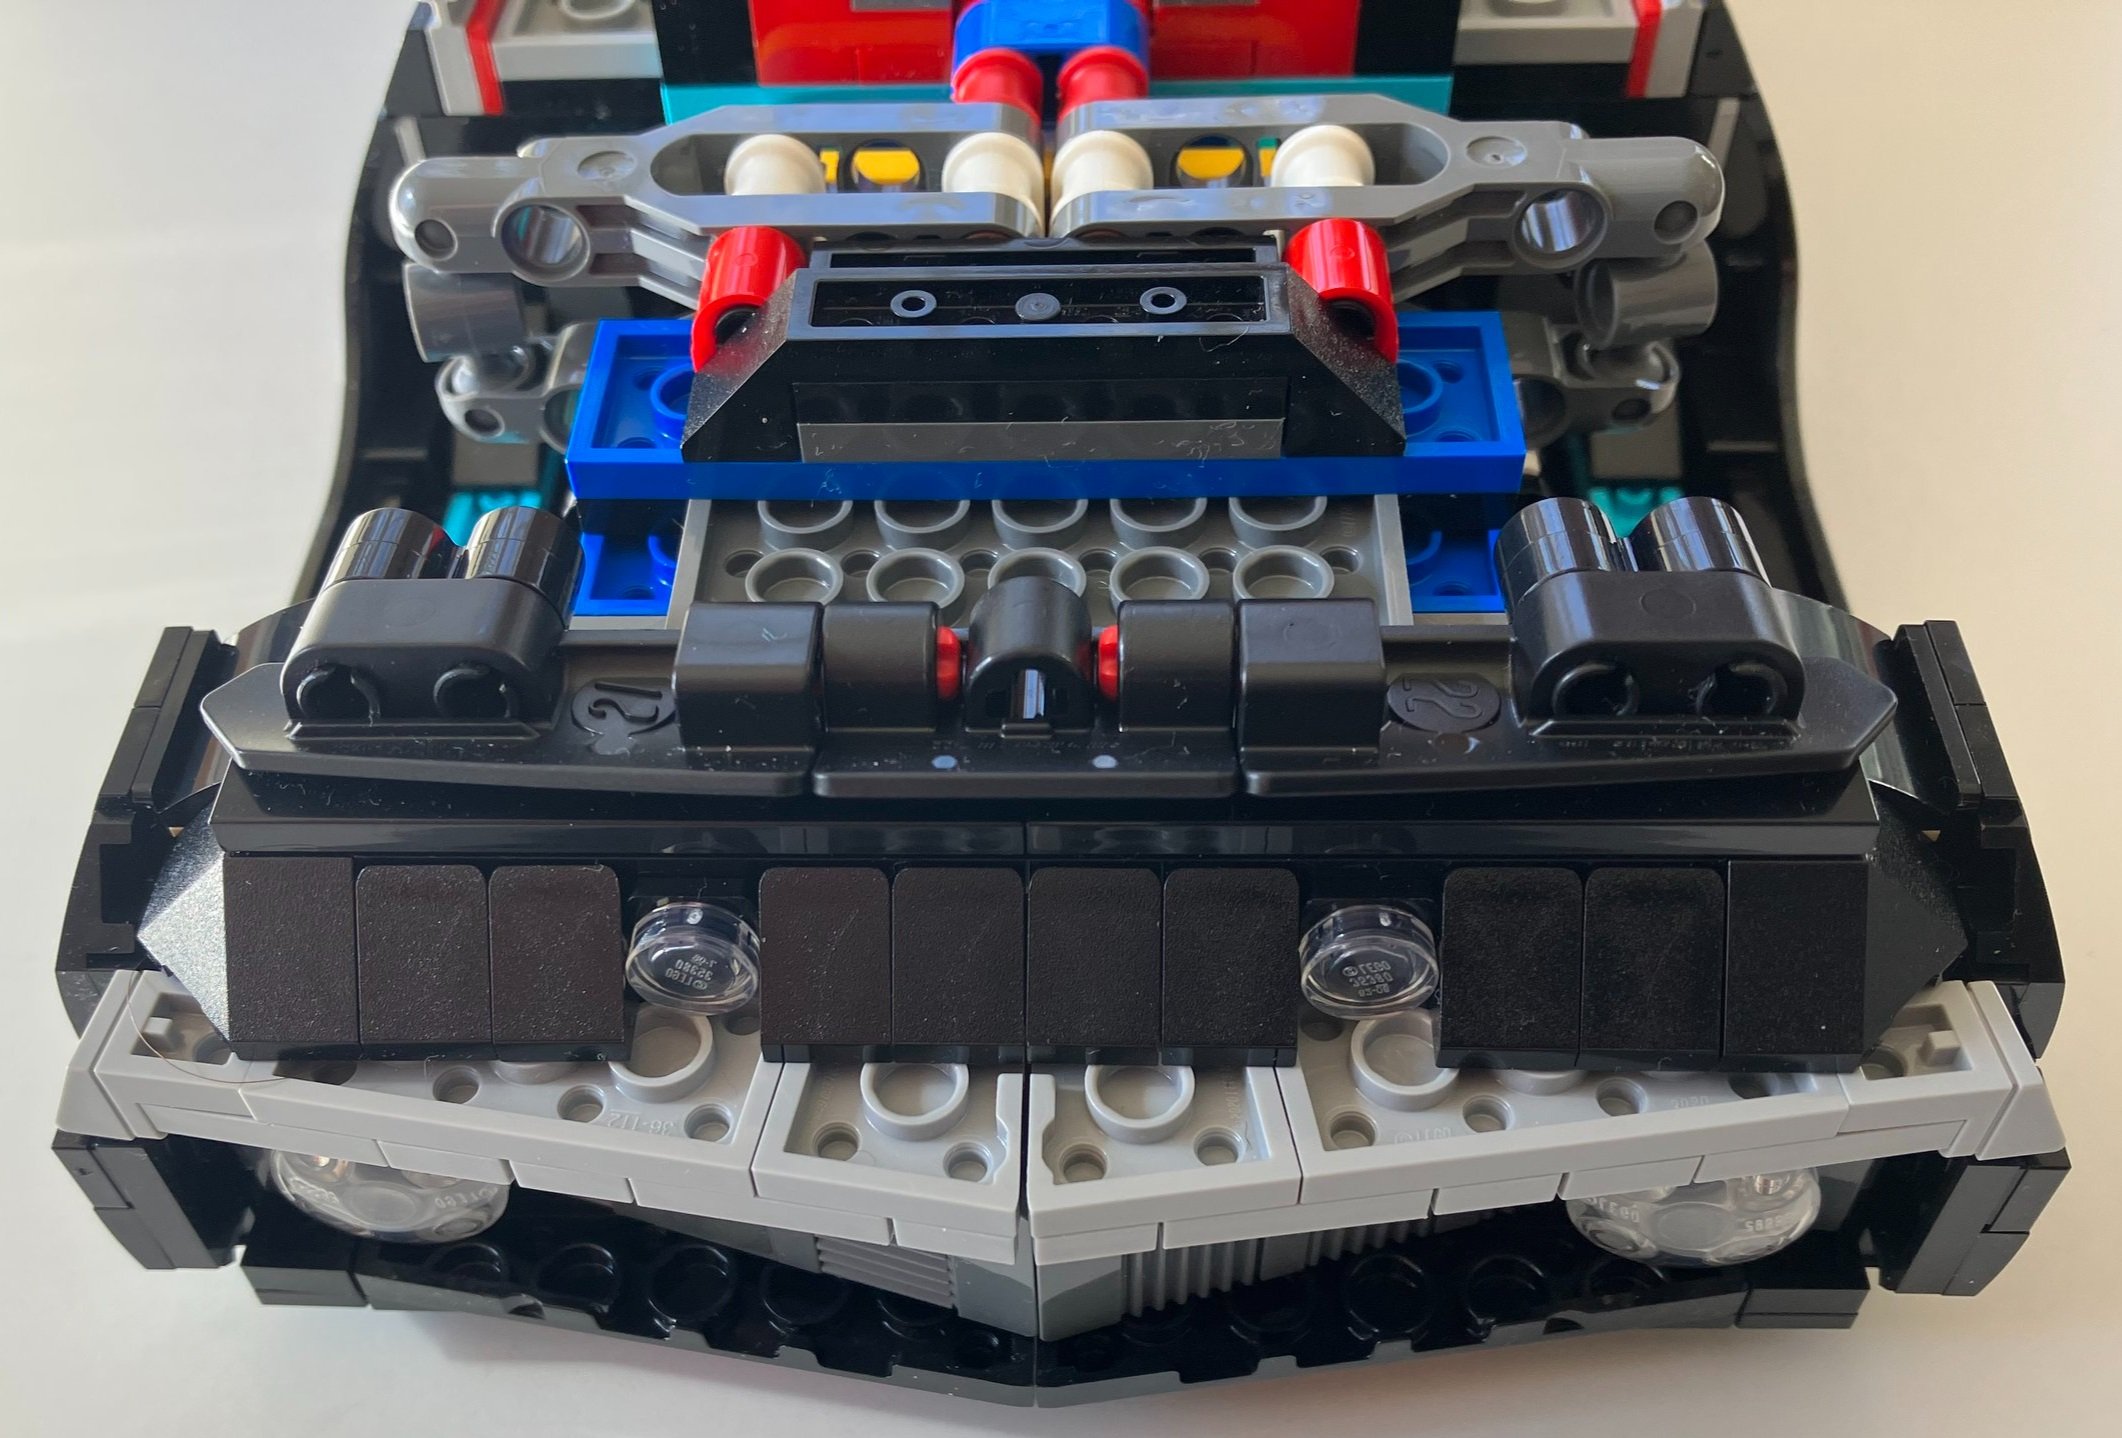
The sixth build adds in the front and back bumpers. This is where you can start to customize the build. I decided to go with the brick red stripe, but you have pieces to build each of the options shown (but only one option at a time). The instructions let you know you have options at first, but then you had to pay attention at a few steps to make sure you were doing the right version for the option you picked.

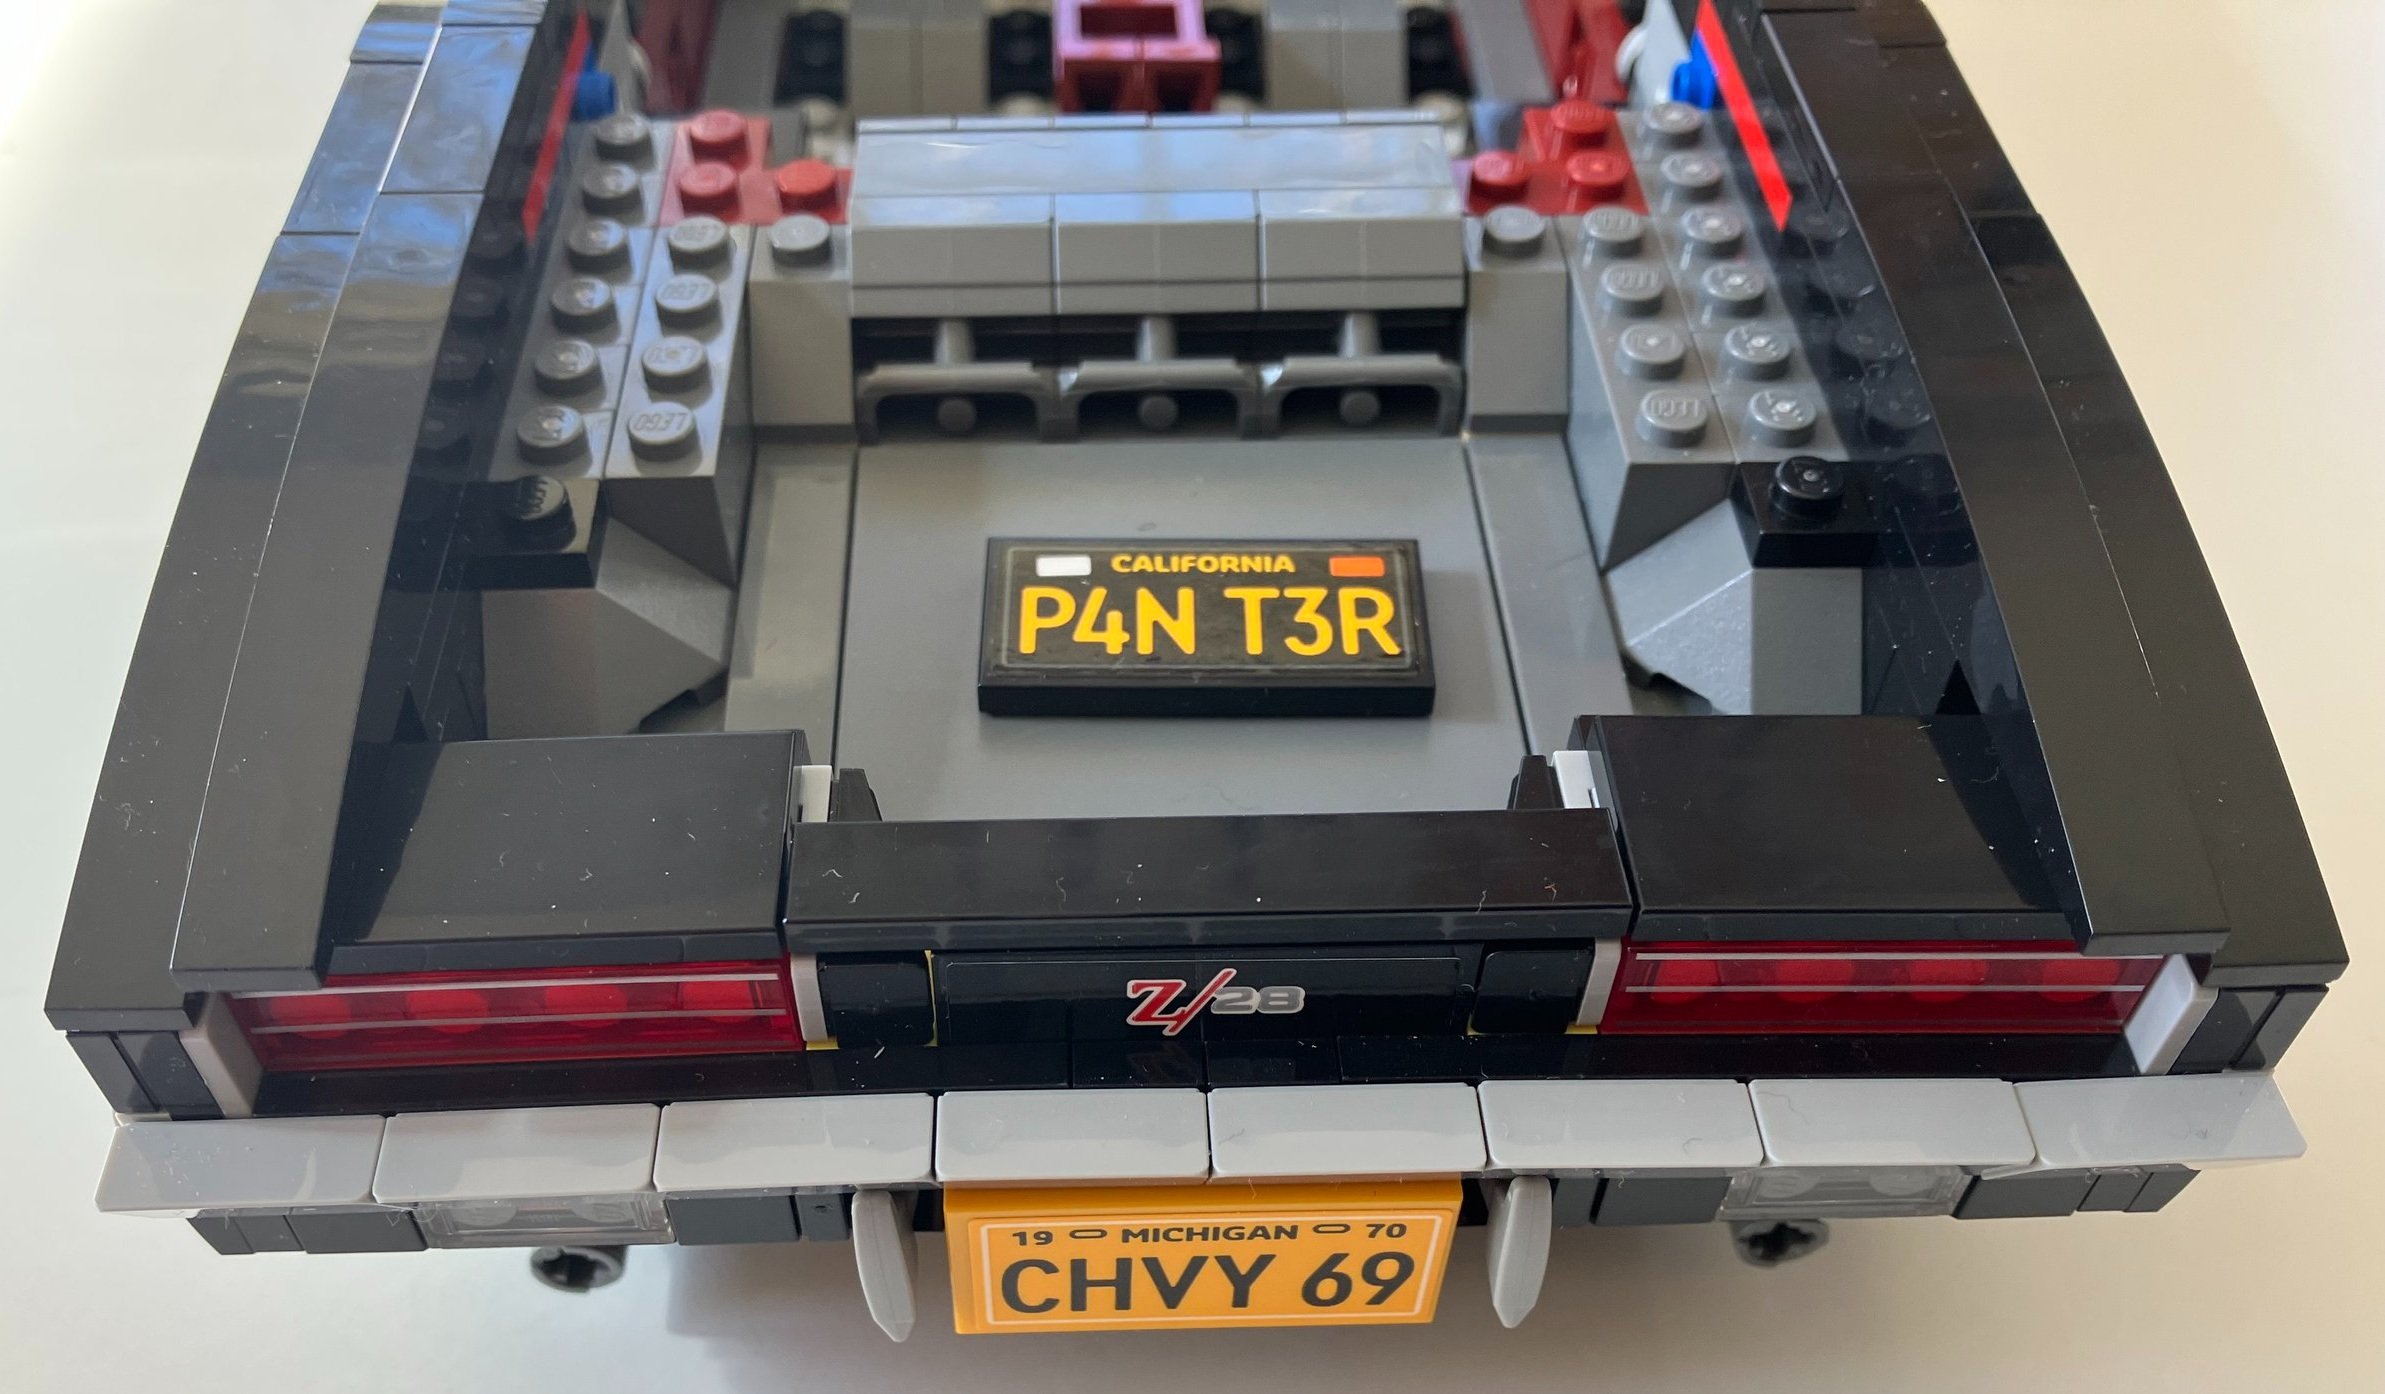
I think the designers did a good job capturing the angles for the bumpers. There are some small gaps, but overall it looks pretty good.

The back of the vehicle has some large ax pieces as one of the structures. I’m not sure what the specific detail is called nor do I know what set the huge ax piece is from, but I like the use of the piece and I think it fits there perfectly on either side of the license plate. You get two options for license plates. One is California and the other is Michigan. No options for Germany or outside the US like the Mustang or Porsche. Maybe that’s because this vehicle was only available in the US back when it was released by Chevrolet. I don’t know.

The seventh bag builds the front hood. No issues with the design here. It doesn’t open up very high due to the windshield, but it’s not a major limitation. You also build the bench seat in the back and the two seats in the front. I like the red stripe on the hood with the red seats. The steering wheel is a bit bigger than some of the previous vehicles. I’m not sure if it’s to scale or not, but it works okay for me.

Bag eight wraps up the set with the trunk, the rear window, and the roof (assuming you decide to build the set that way. My set didn’t have scratches on either of the windscreens. I’ve heard of a few folks complaining about this recently, but I haven’t seen it on any of the sets I’ve purchased with larger windows.

The hub caps are silver and you add another silver piece on top versus a Technic piece like you do with the Mustang and Porsche. I think this makes it look a bit more classy than the other two vehicles.

Overall, I enjoyed the build. It’s not super detailed, but I think there is enough detail considering the scale of the vehicle. I like that you have options for assembling the car and you can change it up as you want. As for downsides, the price obviously isn’t the best and when looking at the previous two vehicles, it does have some similarities which make you feel like you’re building the same car again. Unless you are a big fan of classic vehicles, I wouldn’t rush out to grab this one right away. Wait for a sale, double VIP points, a GWP, and/or some other bonus.

I still have #10295-1: Porsche 911 and #10265-1: Ford Mustang assembled and on display. They all look about the same size for length and width.

Here you can see the Technic piece that you put on the rim of the Mustang (left) which is the same for the Porsche versus the different piece of the Camaro. The Camaro also looks a little sleeker than the Mustang from that angle.

You can also see the wheels are different The Mustang (right) has thicker wheels which is the same as the Porsche (not pictured). The Camaro’s wheels are thinner. I have no idea if that is to scale or not. You can also notice the bottom of each vehicle, the lack of details (not surprising considering the scale), and the similar axles. The Mustang’s customization was related to making the car more of a hot rod versus changing color, which was okay with me.

Feel free to share your thoughts on the different vehicles in the comments below or send me a note at store@bricksforbricks.com. I’m curious to hear what you all think.

Set Review - #10497-1: Galaxy Explorer - Icons

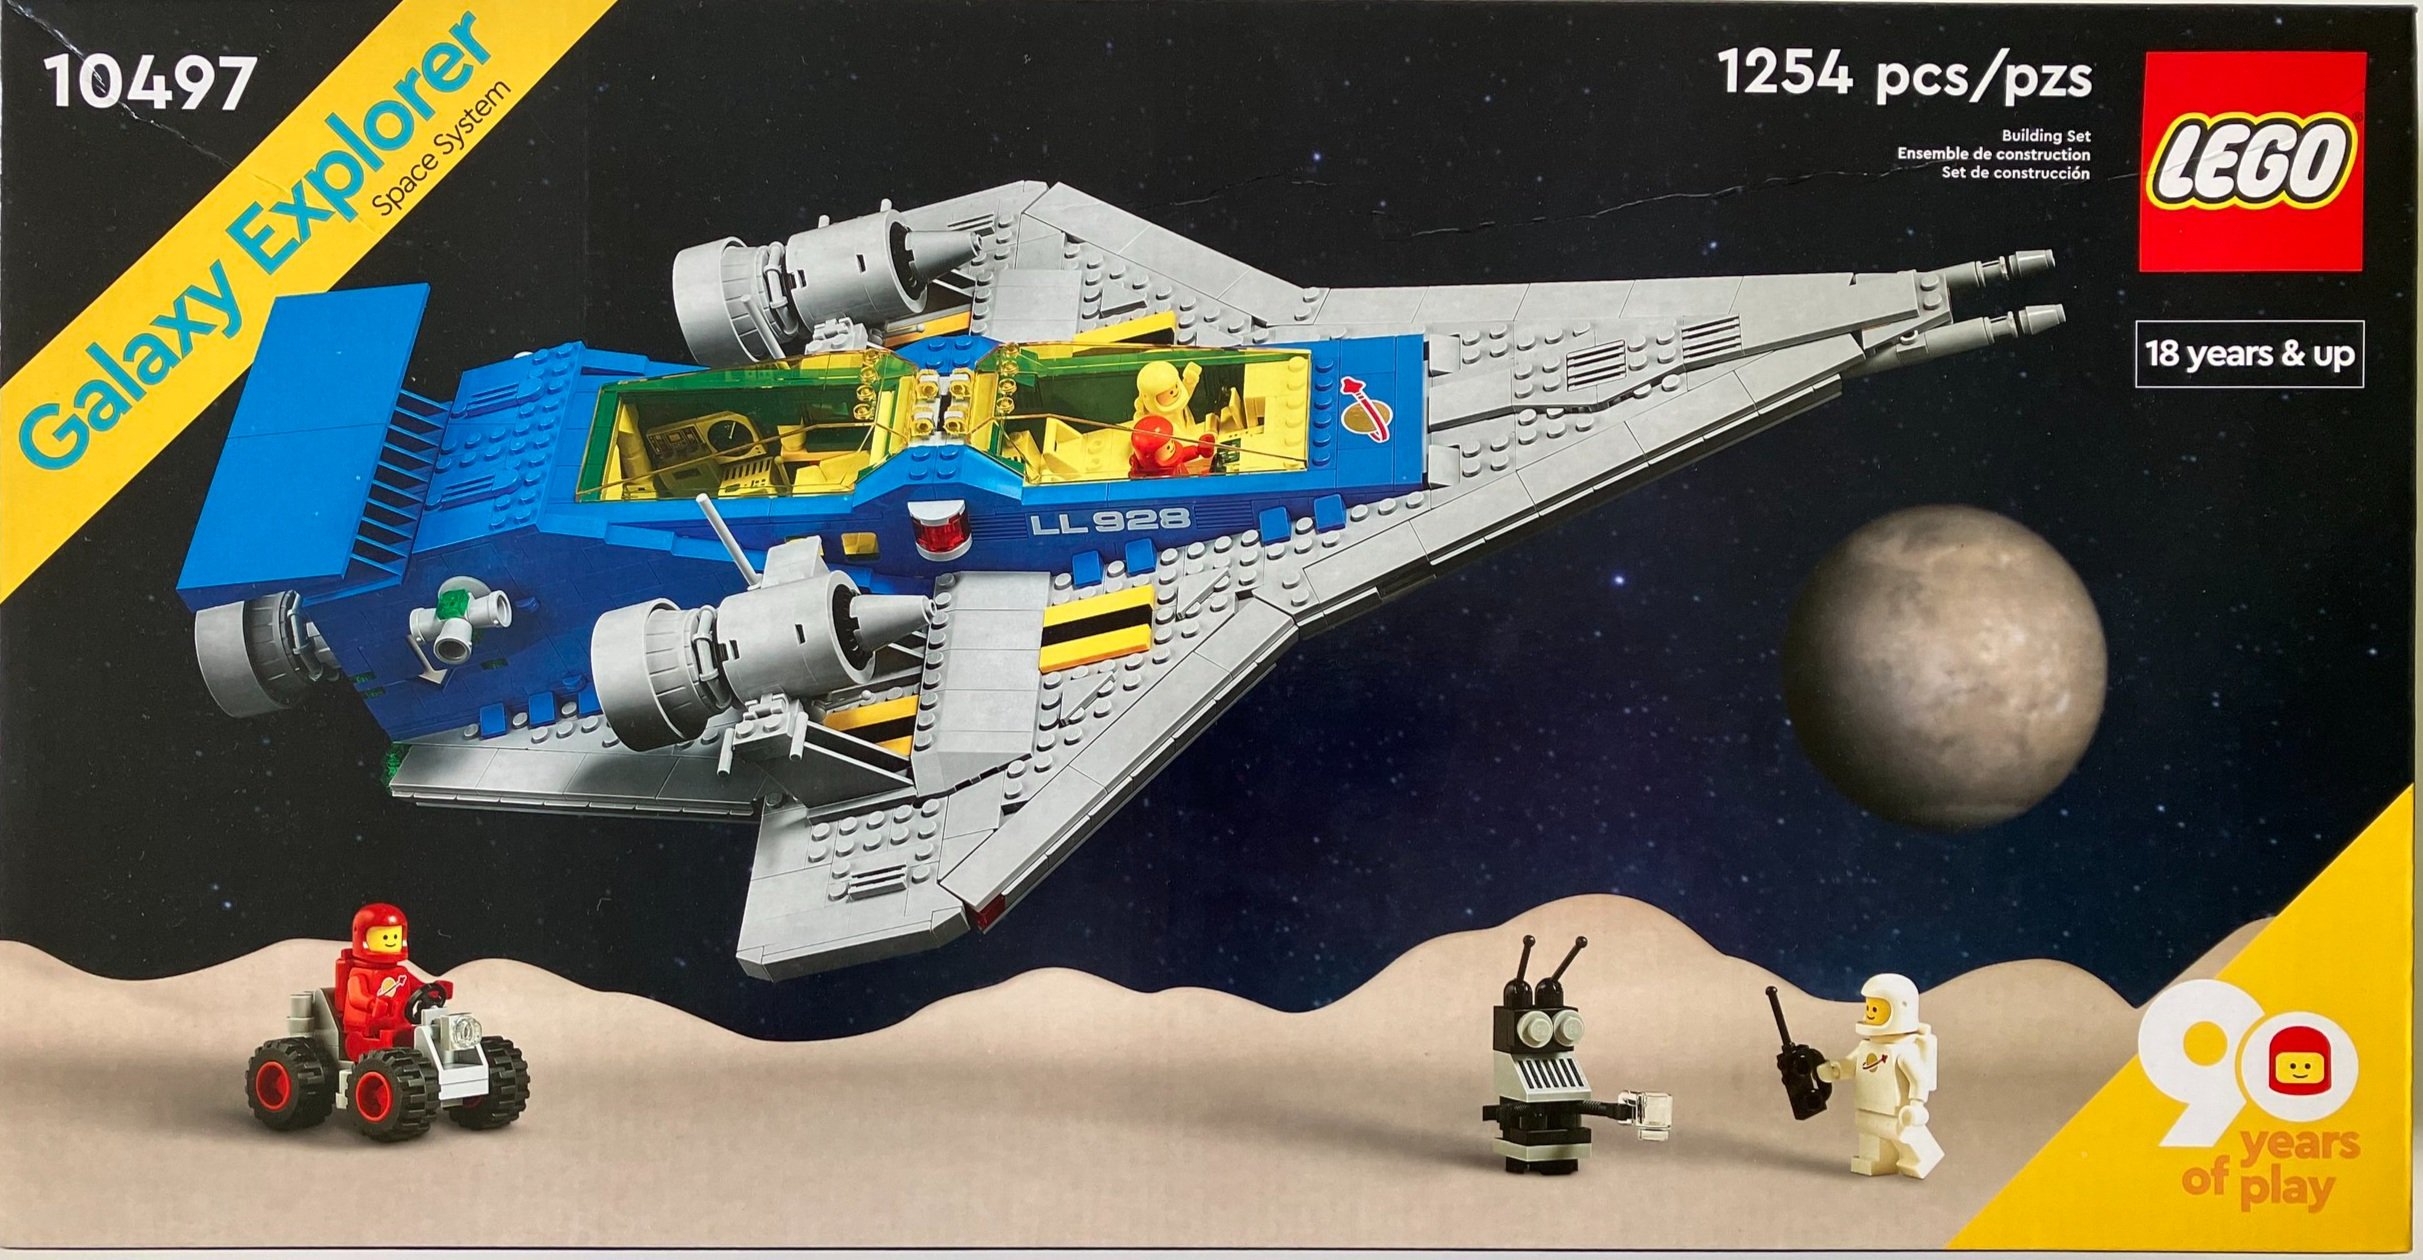
About a year ago, LEGO ran a vote for the favorite theme to bring back for the 90th anniversary of the company. The votes were tallied and Castle ended up winning. The #10305-1: Lion Knight Castle was the resulting set from the vote. As a bonus to fans, we also got this set which is #10497-1: Galaxy Explorer. This set is a remake of 1979’s set #497: Galaxy Explorer. The original set had 338 pieces and retailed for $32. The new set contains 1,254 pieces and retails for $99.99 in the US. This works out to $0.08 per piece. The set was released on 20 June 2022 in the US and it is still out at the time of this post. I purchased the set on pre-order straight from LEGO Shop @ Home, but Walmart has had the set on sale for $75 for the past week or so. I’m not sure how long that sale will last, but it’s crazy to see a new set discounted so quickly after it’s release. It makes me wonder if the set isn’t selling as well as LEGO had hoped.

The box is designed after the old box style and is similar to #21322-1: Pirates of Barracuda Bay. It has the 90th anniversary logo on the bottom right on the front and a few other changes like the “18 years and up” for the age versus sets from the 1970s and 1980s. The back of the set shows some of the various play features of the set.

The contents of the set are 9 parts bags, an 8x16 black tile, the instructions (in a sealed bag), and a sheet telling you that some day LEGO will switch over to paper parts bags, but in the meantime you can keep throwing out your single use plastic bags.

The build starts with some inner substructure made of mostly Technic elements. You also build what will become the landing legs that extend down and then retract.

I failed to add it in the picture, but you get a space minifigure in a red suit here as well as a brick separator.

The second bag starts to give the ship it’s shape and adds some of the crew compartment. It’s great to see the printed tiles and bricks from the past return. From the bottom view, you can see the three landing legs. Each of them have a piece that is flat on the bottom and then has studs on top to connect with the rest of the ship. I’m not sure if this is a new piece or not, but it’s a cool use of this part.

Builds three and four help to create more of the shape of the ship. The use of LEGO geometry to create the angles is impressive. Not only are plates used, but the various leading and trailing edges of the ship still match the angles with very little gaps. Well done LEGO design team!

I found the build to be a bit fragile as I was putting it together. There were a lot of parts that kept coming off. This was rectified by the end, but just a note to be careful as you assemble the set.

Throughout the instructions, LEGO included various fun tidbits about the set which were nice to include. You’ll notice the use of colors. The designers only used colors available back in 1979 except for the light gray which was slightly different back then.

Bag three adds another space minifigure. This time it is in white.

Build 5 adds more detail to include the “shooters” on the front, some colored tiles on the top, and the start of the crew compartment. Initially, you attach an assembly of parts to the main structure of the ship with a Technic pin. For a while it just looks awkward as it sits at a weird angle and looks out of place. As you go further, you see that it fits right in and matches the angles perfectly. The fifth bag also includes another red colored space minifigure.

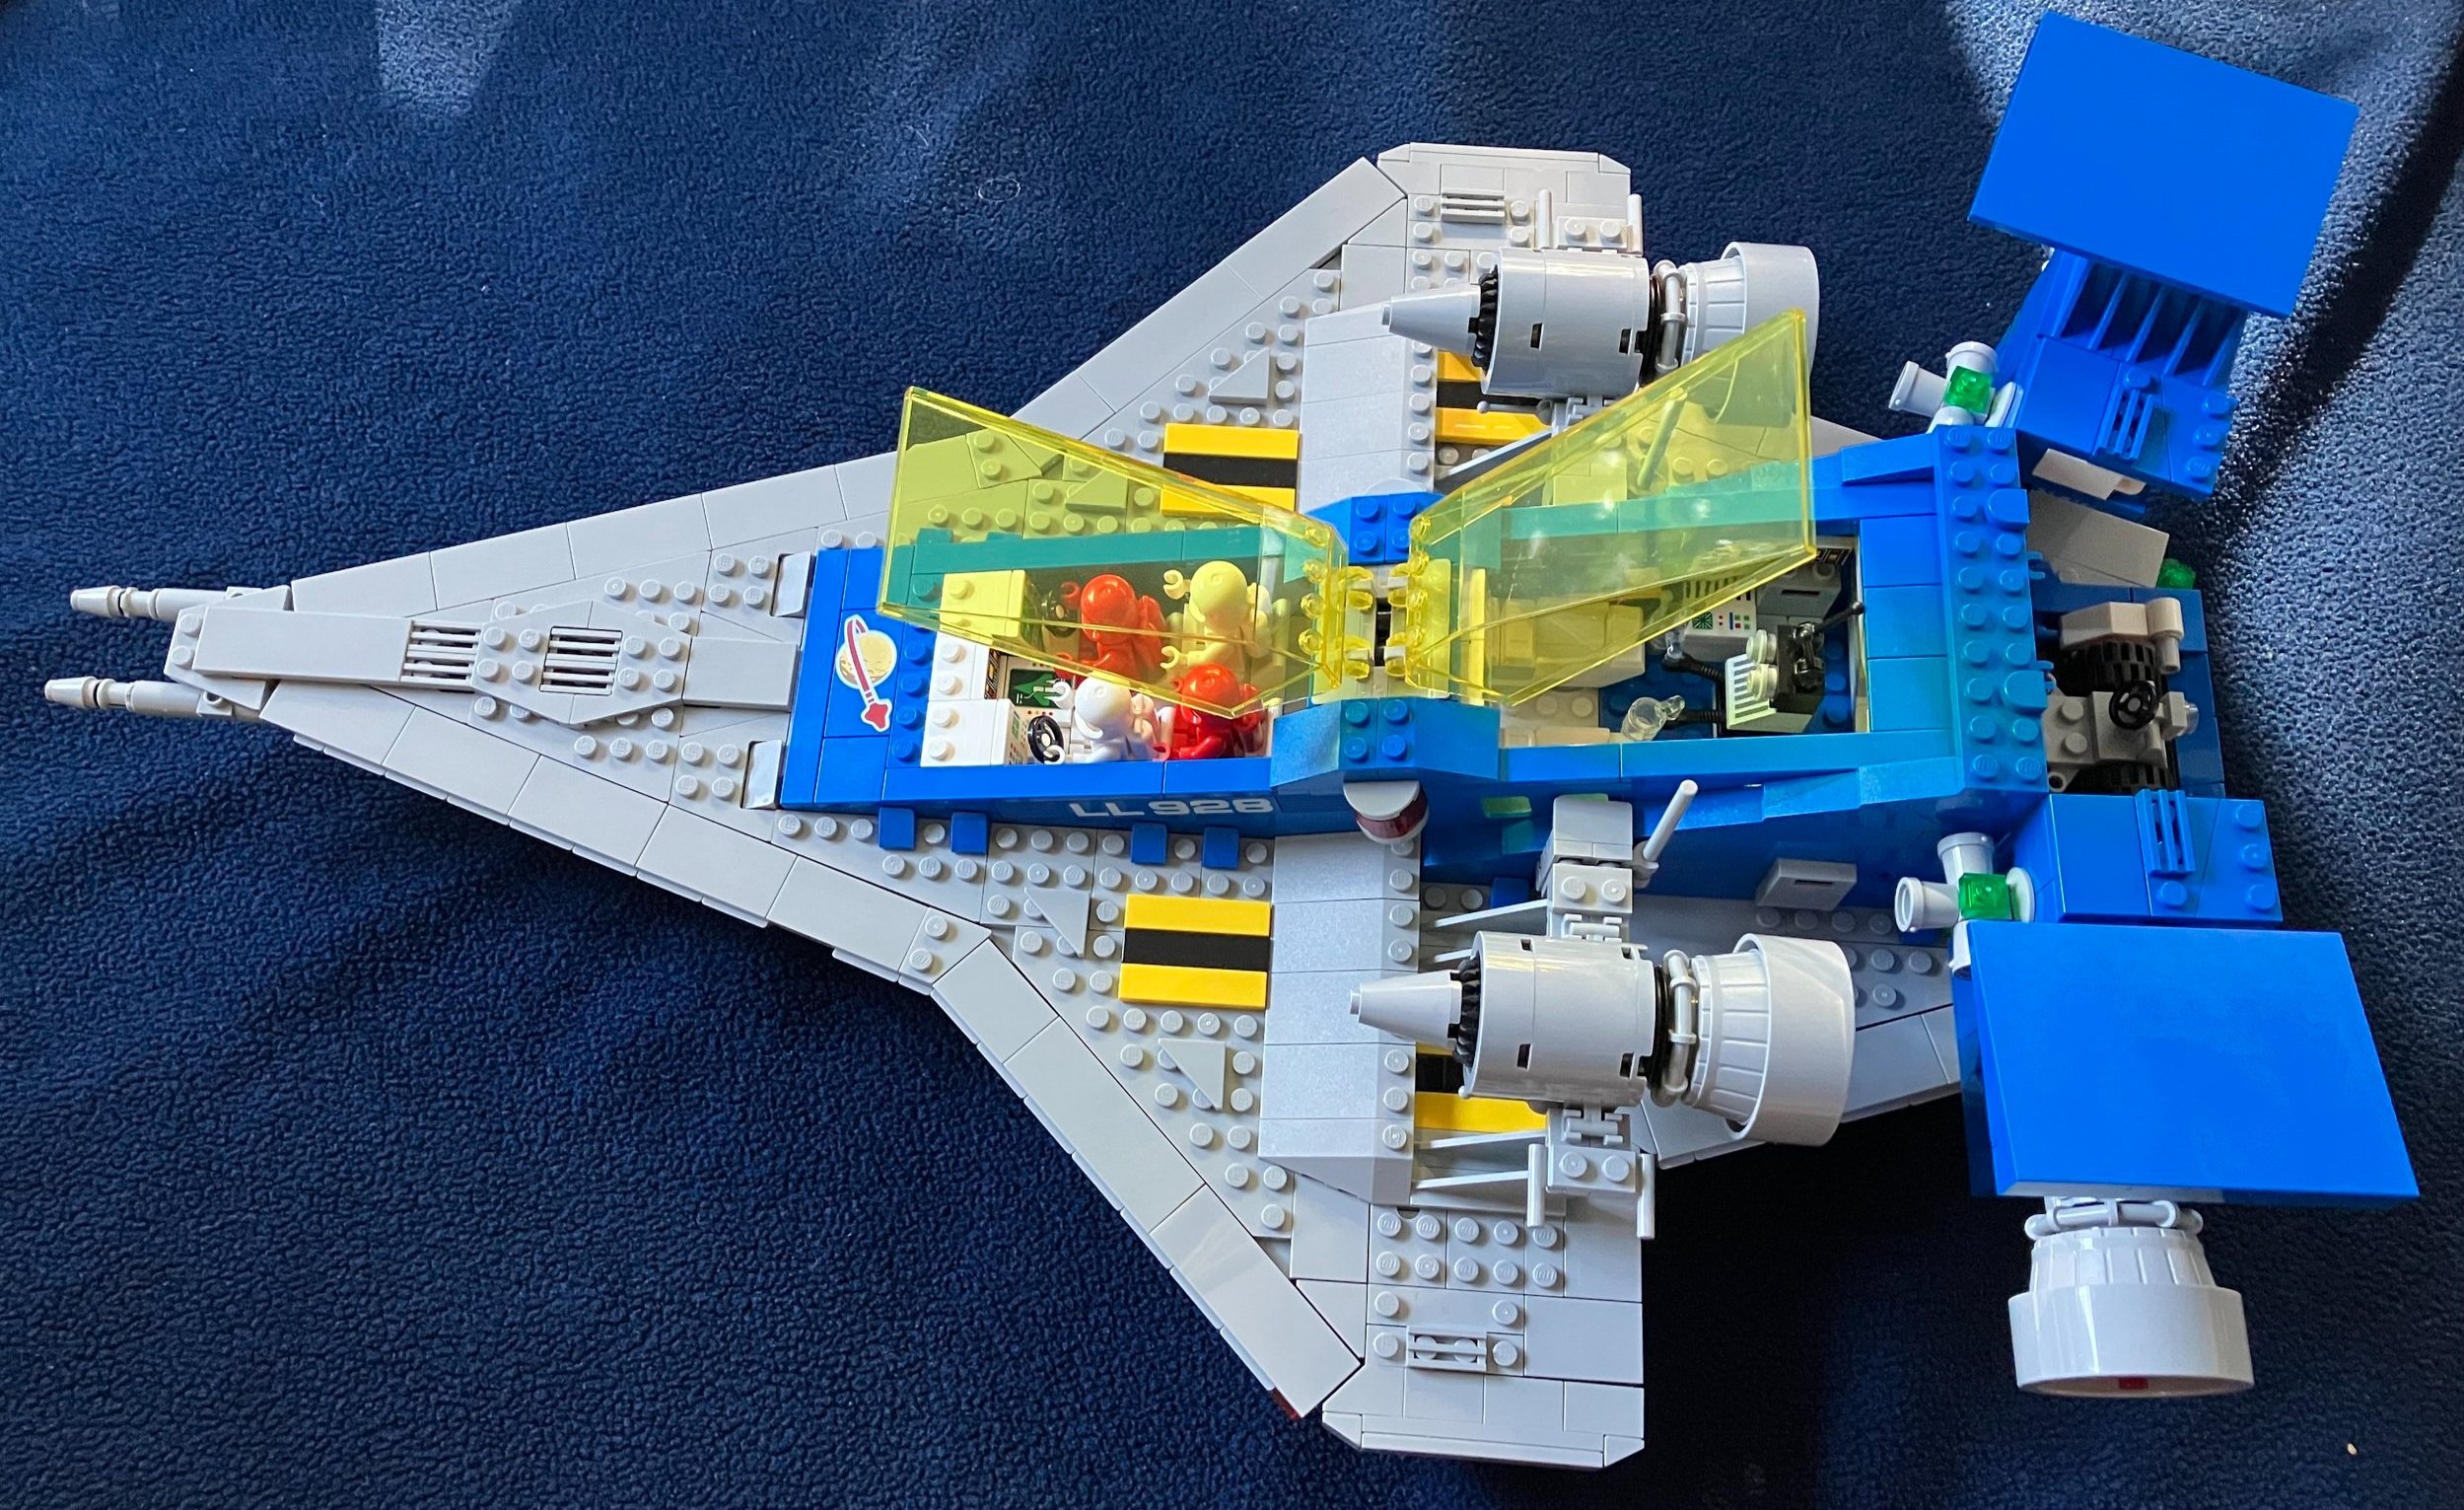
The sixth bag adds more detail to include additions to the crew compartment (beds that support leaving your oxygen tank on), storage for gear, the rear storage section for the space buggy with a ramp that folds out, and the start to where the engines connect.

Build 7 includes a white space minifigure and finishes off the crew compartment. You get additional control panels to add into the back compartment. You also add in the two yellow windscreens. I heard numerous complaints about these screens being scratched, but I didn’t have any issues. The set also comes with more printed parts to include the Classic Space logo and the numbers on the side.

Build 8 completes the rear tail, storage compartment, maneuvering thrusters, and the functionality that lets the rear compartment flip open to let the vehicle out.

This set comes with 4 space minifigures. While we didn’t get any new colors from the past, it’s still great to have additional space suited minifigures to add to the crew. Also included is a robot/droid. It wasn’t in the original set, but was in some of the other Classic Space sets. This one can carry coffee mugs which is fun considering they are in space and the coffee wouldn’t actually stay in the cups.

Here’s the final set. The ninth bag adds the engines. Two are on the sides in the back and two are attached to the back. The two on the sides can be removed and you can stick a minifigure on top to ride them. The ninth bag also adds the space buggy. You can open the rear of the ship, pull out the ramp, and it slides out. This is another cool addition to the set.

I highlighted the landing gear earlier and I took a picture of it extended here. The new piece is great and I like how it extends out to land and then folds up and tucks into the ship to allow it to swoosh away.

Overall, it’s a great set. I think it’s priced well and $75 is an even better deal if you grab it from Walmart. As a Classic Space fan as a kid, I was pumped to see space return and I appreciate the addition of this set to the line. Side note, I voted for the M-Tron theme to return…

I recommend this set for fans into the nostalgia of older LEGO sets as well as new fans. My 5 year old enjoyed playing with the space buggy and minifigures and I’m sure others as well. Also, it’s a great way to get into the 90th Anniversary sets without dropping $400 on the Castle.

Happy building!

Classic Space and Castle Themes Back to Drain Our Wallets

If you follow any of the LEGO Fan Media sites or LEGO itself, you saw that LEGOCON 2022 had some big set announcements. I was surprised at the number of announcements and also the scale of some of the sets. It wasn’t like an introduction of the LEGO CITY line for the next year. There were some big drops which is pretty cool if you ask me.

The set I’m most excited about is #10497-1: Galaxy Explorer. This is probably because I was a big LEGO Space fan as a kid (M-Tron was one of my favorite themes), but it is cool to see a set like this show up. It has four minifigures, 1,294 pieces, and with a retail price in the US of $99.99, it works out to $0.08/piece which isn’t too bad. It’s available starting on 1 August 2022, but you can pre-order it on LEGO.com now.

The box design is reminiscent of the sets of the past with the yellow coloring and packaging design. This started with #21322-1: Pirates of Barracuda Bay and returns here. I’m looking forward to putting this set together some day.

LEGO.com

LEGO.com


The other big reveal was #10305-1: Lion Knights’ Castle. This one will also be released on 1 August 2022 in the US and I don’t believe there is a pre-order option. The set will contain 4,514 pieces and will retail for $399.99 in the US. That will work out to $0.089/piece which isn’t too bad. I count 21 minifigures which may or may not be accurate, but is pretty darn close. This one is pretty pricy, but it’s great to see Castle finally come back in a big way. I suspect this one will fly off the shelves and will be hard to get for a bit.

LEGO.com

LEGO.com


Andres Lehman from Zusammengebaut.com just recently posted an interview he did with the set designers from LEGO. Mike Psiaki and Milan Madge are well known from previous set designs they’ve had and they show some of the cool details and functions of these sets. It’s worth the just under 16 minutes of your time to see what is up.

Happy building!