Modular

Set Review - #10326-1: Natural History Museum - Icons - Modular Building

LEGO knows that every year is they keep producing awesome looking modular buildings that I’ll shell out whatever price they set and this year is no exception. #10326-1: Natural History Museum was released on 1 December 2023 for $299.99. It contains 4,014 pieces which works out to $0.075 per piece. This one is bigger than past sets as it includes a 32x32 baseplate and a 16x32 baseplate. Lots to dig into so let’s go…

The box is pretty standard. The front shows the full set with a set name logo and mentions the modular building collection. It also has the Icons branding on the bottom. The back shows the other modular building sets available now along with some of the features of this set.

The box contains the parts bags for bags 15 through 33 and then another box. When you open that box, you get the remainder of the parts bags, a bag that isn’t numbered, the base plates, and the instructions.

The instruction book is pretty hefty as you would expect for a set of this size. You also get the banners to hang on the outside of the museum advertising exhibits.

The first bag adds the flooring to the 16x32 baseplate. You also get a female minifigure that works at the museum.

Bag two adds some of the flooring to the 32x32 baseplate and connects the two together. I like the addition of some bones in the floor that are eventually covered up to be found at some later date.

The third bag adds in more flooring. You also get some plants on the outside, and a toilet in the back. There are also some tile pieces on the floor that end up being a clay pot that has fallen over. There’s also another surprise under one of the floors that I’ll save for when you build it or another reviewer spoils it for you.

Bag four adds tiling on top of some of the raised floor areas and adds in the front steps to the museum.

Bag five starts to add in some more details including more to the bathroom, a small lab area, some steps, and finishes off the flooring patterns.

The sixth bag makes the walls higher and adds in some doors.

Bag seven starts to add in some of the displays at the museum along with the front desk area. I won’t go through each of the displays so you can have fun figuring them out when you build the set (or just read the captions in the instructions that describe each one). You also get another minifigure who is a worker at the museum.

The eighth bag builds up some of the front of the building.

Bag nine starts to build up the olive green walls. You get railings at the entrance of the building and some windows as well.

Bag 10 builds up more of the details of the front and the walls of the sides of the building.

Bag 11 continues to finish off the front of the building with windows and some more olive green pieces.

Bag 12 tops off the whole floor with tiles so it can be connected to other floors. You also add in a set of stairs to go to the second floor.

Bag 13 finishes off the first floor. The front of the building gets some columns on each side of the door and then some minifigure statues as well. There’s some additional plant life too. Since I haven’t shown the back yet, there are a few details including a pipe which leaks water to let a plant grow, and a dog checking out the trash to see if there are any bones. There is a door in the back as well.

Bag 14 builds the dinosaur skeleton. As shown on the front of the box, the skeleton is not permanently fixed to the floor so you can pick it up and move it elsewhere as desired. It’s a pretty decent build considering the size and where they had to fit it. It does have some non-white pieces for attachments, but the light gray works.

Onto the second floor…

Bag 15 assembles the plates that make the base of the floor with two spots to look down and also let the stairs connect and dinosaur skeleton peek through.

Bag 16 builds up some of the wall and adds the base for where the model of the solar system is placed.

Bag 17 adds in some railings around the holes in the floor so no minifigures fall down. You also build the model of the solar system which is a great design at such a small scale. This bag comes with a boy minifigure.

Bag 18 adds some displays to the floor and adds a female minifigure with a camera. This minifigure has a prosthetic leg.

Bag 19 builds up the walls around this floor.

Bag 20 adds in some windows, more walls, and a few more displays to include a map with a rocket zooming by (Classic Space symbol???).

Bags 21 and 22 build up the wall structures and add in more windows.

Bag 23 finishes the floor with tiles on the top and you add on the plastic banners.

Bag 24 adds to the columns that match and fit right in with the first floor despite the break between the two floors.

Bag 25 attaches the plates that make up the third floor/roof.

Bag 26 begins to build up the roof area with a few plants and the start of some of the decorative architecture.

Bag 27 adds in more of the roof walls and the door to the stairs to the second level.

Bag 28 starts to add more detail. The roof level includes a small office and you build out some of the details of the office. This bag comes with the museum curator minifigure.

Bag 29 adds the structure around the office area which actually looks pretty good considering there is an office inside.

Bag 30 builds up more of the architectural details for the roof.

Bag 31 finishes off the structural details, adds in a telescope for the curator to use and then adds in some sky lights that open up to both levels of the museum below for some natural light.

Flipping the set around, bag 32 adds in the roof/awning section of the front of the building that covers up the stairs leading into the museum. Now that I’ve flipped it around, you can see on the left and right side, there are some arch/window pieces. It’s hard to tell from the picture I used, but there are microfigures inside as miniature statues which is a fun detail.

Before wrapping up the build, here are the seven minifigures you get with this set minus the two statues. You get a good mix of workers and museum goers. It’s always great to have more, but I can’t complain with the offerings that come with this set.

Bag 33 adds some final details to include a park bench, a mail box, the blossoming tree, a lamp post, some birds, and the stand for the window washer to use to clean the windows.

Overall, it’s another great modular building to build. Someday I hope to assemble all of my modulars in one place, but for now, you get just an individual picture. The price continues to go up on these, but the piece count on this one is higher and it is larger so not too many complaints there. There are plenty of great pieces inside too so if you’re a MOC builder, you won’t be disappointed. If you’re a fan of the modulars, definitely look for an opportunity to snag this one. Maybe with a good GWP or double VIP points. I think it’ll be a while before we see a sale on this one.

Happy building!

Set Review - #910008-1: Modular Construction Site - Bricklink Designer Progr

It took a while for me to get to this one, but better late than never. This one is #910008-1: Modular Construction Site. It was from the Bricklink Designer Program that ran in 2021, but the set wasn’t released until 2023. This set contains 3,371 pieces and retailed for $319.99 which puts it at $0.095 per piece. The fan designer was user name ryantaggart which also happens to be his name, Ryan Taggart.

I’m a fan of the modular buildings and I thought this one would be something different to spice up the street with a building under construction. I had a blast building #910002-1: Studgate Train Station so I figured I’d jump into this one next.

Speaking of Bricklink, a quick plug for the Bricks for Bricks Bricklink store. 15% of our profits up through the end of November will be going to Creations for Charity so thanks in advance for your purchase. Onto the review.

The box is similar to the other Bricklink sets with the white packaging and pictures of the set. The front shows the full set assembled. The back shows the modularity of the set… which isn’t a whole lot. You can remove one partial floor off the top, but the rest is still attached. I guess it’s modular in that it can connect to the other modulars only it doesn’t have the usual Technic pin attachments to link up to other buildings.

Inside the box are three smaller boxes and a 32x32 baseplate. Inside those three boxes are 22 numbered bags (most with more than one bag per number), a few un-numbered bags, a 16x32 baseplate, and a card telling you to get the instructions online or in the app. I prefer the paper instructions over the electronic version as I can get away from screens and just build. I think that’s why this build took me a while to complete. I had to get my device set up instead of just opening the instructions and building right away.

The first bag starts off with some of the inside of the building. You build some of the outer wall foundation and then some of the tiling inside. A construction worker is inside with a jackhammer. Nearby are some “extra” tiles to put down and a bucket.

The second bag finishes off the base with the sidewalk outside, more flooring, and the rest of the foundation of the building. There are a few planters outside. One has plants and the other does not.

Bag 1

Bag 2

Bag three adds the 16x32 baseplate. This one is mostly covered in tiles and it contains the base of what will become the crane. There’s also a gate to allow entry into the construction site.

Bag four starts to build up. You add the first section of the base of the crane, you start a stairwell, you add a few beams for the main structure of the building, and you add some tiling inside the building. At this point of the build, I was curious to see how strong the building would be given it’s height. Would it just be stacked bricks or do the long yellow beam pieces really add support?

Bag 3

Bag 4

Bag five adds some windows and structure around the stairwell. You also add some bricks around the tall yellow beams and a few on their own. So far it seems structurally sound. As you build up, Technic pieces are incorporated connecting the beam to the rest of the build.

Bag six adds more beams, more windows, and more building up bricks around the beams. It’s an interesting way to build as most of LEGO’s modulars are just brick built. This one seems to follow what an actual building would have with framing followed by building up around the frame.

Bag 5

Bag 6

Bags seven and eight continue to build up the sides of the building. The main supports get some architectural detailing which is nice besides just having bricks stacked.

Bag 7

Bag 8

Bags nine and ten continue to go higher with more structural beams on top of the previous ones and then stairwell is also built higher. There were a few challenges where higher sections weren’t anchored down well, but they eventually are locked into place with bricks or plates.

Bag 9

Bag 10

Bags 11 and 12 add in arches over the window areas and then some additional detail in bricks. There are a lot of smaller plates used to create the shapes. Then there are tiles added to the top of the walls with bag 12.

Bag 11

Bag 12

Bag 13 starts another floor. It includes another worker set up to paint. There is also a work table with a drill and table saw along with a board to help cut the floor boards. It also continues the stairwell up in a different location.

Bag 14 adds in more windows only these are black. A few of the windows do not have clear panes to help create the look of a building under construction.

Bag 13

Bag 14

Build 15 tops off this floor with tiles and some jumper plates to allow for the floor above to connect to it.

Build 16 assembles the floor of the top floor.

Bag 15

Bag 16

Bag 17 adds some tiles, a few windows, and wall supports. It includes a minifigure with an ax. There’s also a recycle bin, a bucket, a small, portable cement mixer, a table with a coffee cup on it, and then some additional bricks that need to be added to the build.

Build 18 continues the build with some additional framing around the windows, a ladder going up, and some fencing around the edge so workers don’t fall off.

Bag 17

Bag 18

Bag 19 adds in the tower where the crane is attached. The tower works okay, but the ladder in-between the structure doesn’t attach well. It falls off pretty easily whenever you move the tower or shift the building around. You also add in a few containers of… I’m not sure what… oil? There’s a small sink as well. You also build a small structure with supports. I’m not sure what it is supposed to be for. Maybe a future addition to the building? There’s a minifigure as well. This one is a female that looks like a building inspector. She has a camera and briefcase.

Bag 20 starts building the actual crane section. It contains a lot of Technic pieces. It is also on a larger turn table so it can pivot all the way around.

Bag 19

Bag 20

Bag 21 continues the crane build with a cab and minifigure to operate the crane. It also adds in some supports for the top of the crane and then connections to hold up the front and back of the crane.

Build 22 is the final section of the build which adds in the string and “hook” for the crane. You then build a small porta-potty that the crane can then lift up. The crane holds up okay, but it is not very sturdy. I’m not sure how to make it better, but the crane comes off pretty easily as you turn it and move it around. Maybe construction in full Technic pieces instead of using both System and Technic? I’m not sure.

Bag 21

Bag 22

Before we wrap up, there are six minifigures. There are four males and two females. Five are construction workers and one is the inspector or an engineer. It’s a small crew considering the size of the building, but I can’t complain too much. Construction minifigures are fairly easy to get in CITY sets.

Here’s the final set. I enjoyed the build. It’s a challenging build with some great details. It’s a good display piece, but not great for playability as it comes apart pretty easily and parts aren’t really stable. The cost was rather high, but thankfully there are a decent number of pieces. It’s a great option too if you’re looking for parts. The back and one side of the building aren’t finished off with anything. They look like more work needs to be done. It’s hard to say if an additional wall should be added or if the building should be larger. It’s okay to display from the front for a front facing MOC.

Overall, it’s a great build. A little pricy, but it works. There are some areas that could use a re-design. I’ll add it to my long list of sets I’d like to redesign.

This one is off the market now so your chance to get it is on the secondary market at a higher price. The good part is the instructions and bill of materials are online so you can use your own pieces or buy some to re-create this set.

Happy building!

Set Review - #10278-1: Police Station - 18+ - Modular Buildings Collection

It’s an annual event for LEGO. They announce the modular building in the fall and it comes out in the January timeframe. Or at least that has been the recent way it has worked. This year’s set is a Police Station as the main piece with a small donut shop and news stand on either side. The set contains 2,923 pieces and 5 minifigures. The US retail price is $199.99 which works out to $0.068 per piece. This set came out on 2 January 2021 in the US and went out of stock rather quickly. I wasn’t able to get it until April and am just getting to the review now. Before I do that, here’s the link to the Designer Video if you’re interested.

The box is black with the 18+ graphics. While I like the 18+ graphics, I don’t like the black background. It makes the set seem dark and dreary in my opinion. The front shows the full up set with a logo in the upper left corner stating this set is part of the modular building collection. I like how they’ve finally acknowledged the subtheme in writing and hope it continues.

The back shows the set next to #10270-1: Bookshop. The two look pretty good together and you could easily picture seeing them on a real street. It also has a graphic of the building showing the dimensions of the model and then how the completed build is assembled in sections. On the bottom of the back are a few snap shots of inner details.

10278_box_front.JPG
10278_box_back.JPG

The box contains another parts box and then the bags numbered 1, 4 through 9, 13 and 14. Opening the separate box reveals the remaining parts bags. In total, there are 24 parts bags numbered 1 through 14, a grey 32x32 base plate, a grey 16x16 plate, two nougat 8x16 plates, and the instruction booklet. The instruction booklet is wrapped for protection which is prevents damage.

10278_contents1.JPG
10278_contents2.JPG

The instruction book contains one page of details about the set and designer.

10278_instructions.JPG
10278_inst_details.JPG

Really LEGO? Only the best is good enough… except for these pages of instructions. Need to get quality control on these. $199 for smeared instructions. I don’t think so.

10278_instruction_damage1.JPG
10278_instruction_damage2.JPG

So if you missed it, LEGO announced it would be doing away with the black background instructions. Thank goodness. The dark brown pieces are very hard to see. At least the black pieces have white outlines, but the brown ones have black outlines. Unless you have the light just so, you can’t see the pieces!

10278_dark_instructions.JPG

I thought these computer models of the modular buildings all lined up looked pretty cool. Can you pick out all of the different modulars?

When will they do a re-release of the Green Grocer or Market Street?

10278_sketch1.JPG
10278_sketch2.JPG

Onto the build… Bags one and two assemble the base. While the donut shop starts immediately, the police station has a foundation and is raised up slightly. This allows the inclusion of steps and an attempt for a prisoner to tunnel out of the jail cell using the hidden spoon placed below the cell.

The news stand includes some papers with printed stories related to the set. Thankfully, no stickers!

10278_build1.JPG
10278_build2.JPG

The third bag almost completes the donut shop featuring a decent display of donuts available. I like the use of the collectible minifigure poseable piece (not sure the official name) to angle the donut display shelves) This bag also includes the donut shop worker with a coffee pot to carry around. Additional details include a water cooler for the police station, and furniture for the jail cell (toilet and bench).

The fourth bag adds in stairs to the police station. A new design is used and I am a fan of the SNOT techniques used. I’m glad it’s not just the big stair piece seen in other sets. A piece of furniture is added along with a window in the back and more of the wall sections. Over to the donut shop, there is a fun front façade with a stripped awning and the donut tiles.

10278_build3.JPG
10278_build4.JPG

Build five completes the front facade for both the police station and donut shop. The donut shop includes some vines that will eventually go up the whole building. The police station has doors, some lights, a sign and some SNOT work to create the architectural designs. It isn’t overly complicated, but it does look pretty sharp. This bag includes a police officer with a radio.

Bag six finishes up the news stand, the jail cell, the top of the walls for the first level, and adds some shrubs out front of the police station. The sidewalk gets a bench and a street lamp.

10278_build5.JPG
10278_build6.JPG

The bags numbered seven start the second floor. This floor has a base and then starts to build up the second floor of the police station to include a spot to take pictures of criminals. There is also a small apartment above the donut shop with a bed, dresser, and fire escape. To add to the story, the bed flips up to reveal a hole where the donut thief can try and reach down to get free treats.

10278_build7.JPG

The eighth bag continues to build up floor 2 with higher walls, and it just about finishes up the small apartment. There is a door out to the fire escape and then a window with decorations around it and some greenery. The police station side has some windows added in.

10278_build8a.JPG
10278_build8b.JPG

Build nine includes another level of steps similar to the previous floor. No railing so be careful on the way up! This floor contains two desks, a small plant, and an investigation map on the wall. Another police officer is included in this bag. This one has some handcuffs.

The tenth bag finishes up the front façade of the police station side. It is similar in design to the first floor only it has windows versus doors and dark blue shades over the windows. The plants that started by the donut shop continue their way up the building on the second floor.

10278_build9.JPG
10278_build10.JPG

Bag 11 tops off the donut shop and studio apartment. Then then starts the third level of the police station. The plants crawling up the side of the building continue onto the top in this build.

10278_build11.JPG

The twelfth bag adds more to the police station with the start of an interrogation room with some sort of recording device on the wall. There is also a small bathroom next to the room. I think this is this first official set with two bathrooms.

Through a door in the hallway leads to an evidence room. There are some gems, tools used by a crook, and a hat. The top of this small room comes off fairly easy for access.

This bag includes the female police chief minifigure sporting her warm beverage mug.

10278_build12a.JPG
10278_build12b.JPG

Build 13 finishes off the third floor with the finishing of the front façade. The corners of the police station match the lower floors and then there are columns added between the windows. There is a bird eating a donut on the window sill and there is a window air conditioner for the bathroom. You can’t see it in the picture, but there is also a table and 2 chairs in the interrogation room.

Bag 14 completes the roof. Above the apartment/donut shop is a small water tower. The police station roof has some toping off designs on the front. It includes a new piece that I have not seen before. Brickset.com calls it “Animal Head No. 15.” There is also an antenna which I assume is tied to the police radio system.

Pictured later, but added here is an ad on the side of the building. It’s for the laundromat from #10251-1: Brick Bank. This is a fun little reference to an earlier set. Thankfully, it is printed on and not a sticker.

10278_build13.JPG
10278_build14.JPG

Before wrapping this review up, there are 5 minifigures in this set. Modular sets used to have the old standard minifigure faces with just 2 dots for eyes and a line for a mouth. I think the facial expressions help to add some detail to the set. The police look stern while the donut shop employee looks pleasant. The last one I didn’t mention is the news stand worker. He comes with a news paper, a small over the shoulder bag, and a cap. He also had a device to try and fish for donuts from the apartment above the shop.

The set is built around a story with the police trying to find the donut thief while the donut thief keeps getting away. It’s a fun addition to the set I guess, but not overly exciting to me. My preference would be to have more bricks put into the building of additional detail into the set over adding bricks to keep up with a storyline. But that’s just my opinion…

10278_minifigures.JPG

To finish things up, here are a few shots of the completed set without the minifigures. You can get a good look at the two 6x6 tiles advertising the laundromat. You can also see the plants growing up the side of the building which is a cool build. Overall it’s a good looking building. It has some good build techniques and I think it mixes in well with some of the previous modulars. There are some good pieces for MOC builders too with a lot of sand green and the light purple-ish color of the donut shop. I will admit that this is not my favorite one that has ever been done, but probably not the worst either. To me, it’s somewhere in the middle.

The price of this one is a penny under $200 so not helpful there, but at least the price per piece isn’t too bad. If you’re into the modulars, look for double VIP point opportunities or cool gift with purchase opportunities. It is hard to get sales on these, so good luck there. I suspect this one will be out for at least another year plus so don’t panic if you haven’t found it in stock when you were looking.

Happy building!

10278_final1.JPG
10278_final3.JPG
10278_final2.JPG
10278_final4.JPG

10 Reasons to Attend Brickworld Virtual 2020

Full confession… I have never attended a LEGO fan convention before. I have been to a few shows where people display their MOCs, but that’s about it.

I heard about Brickworld Virtual 2020 that was held back in April after the fact and was excited to see it would be held again in May. I registered online and “attended” my first fan convention on 16 May 2020.

A bit of history… Brickworld was started by Bryan Bonahoom and Adam Reed Tucker with its first show back in 2007. Since then it has grown to Brickworld Chicago convention/expo and then expos in Milwaukee, Ft. Wayne, outside of Detroit, and Indianapolis. It was recently purchased by Mark Larson who had the misfortune of buying it during a global pandemic.

Not willing to give up, Mark has put together a virtual convention. You buy a ticket ahead of time and at the time of the convention, you log into your account and can join various ZOOM rooms to see presentations, MOCs, and interact with other fans.

Before I get into my list, if you missed out you can still attend virtual shows on 27 June 2020, 31 October 2020, and 12 December 2020. So you didn’t miss out if this sounds cool.

If you need more persuasion, keep reading…

1. Interact with your fellow fans of LEGO in real time.

I don’t live near an English speaking LUG and I don’t have any friends who are AFOLs. My brick interactions are with my kids, with my Non-LEGO Spouse (NLS) who tolerates my obsession, and one sided interactions with Recognized LEGO Fan Media (RLFM). This show was a great opportunity to interact with fans like me and as far as I know, COVID is not transmitted over the internet.

Not going to lie… I was super pumped to be a fan after the “convention.” It’s great to see I’m not the only fan out there.

2. Minimal cost compared to attending Brickworld Chicago in person.

My ticket to attend was $9. Granted that didn’t include my internet service provider fee, but I pay that regardless so I don’t think it counts.

If I were to go to Brickworld Chicago, I’d have to fly the ~4,300 miles to Chicago, figure out lodging, transportation, food, and be 7 hours off of my normal time. Instead I hooked my NLS’s laptop up to the TV, entertained my kiddos for a bit, had dinner, got my kiddos to bed, and logged back in for more brick fun without spending any funds I wouldn’t have spent on a normal Saturday evening. No complaints from me there.

As a joke, the Brickworld website says parking is $50 per tire. I thankfully parked offsite and avoided that fee.

3. Participate in presentations by various experts in the LEGO fan world.

There were 10 presentations by various experts. The May show included the following:
-Fractals and Functions and Knots, Oh my! with Brian Hirt from LOLUG
-LEGO Vines with Barbara Hoel from WisLUG
-Homeschooling with LEGO bricks with Maddie Jones from VirtuaLUG
-Building LEGO Domes with Peter Strege from EuroBricks
-LEGO® – Community Q&A with Jan Beyer, Community Manager from the LEGO Company
-Train Community Roundtable led by Nate Flood from LOLUG
-LEGO® – My Life in LEGO Bricks with Sam Johnson from the LEGO Company
-Medieval Roofs by David Gregory from IndyLUG
-LEGO® – Build a Tower with Your Bricks by Bo Stjerne Thomsen from LEGO Chair of Learning
-Flexible Surfaces with Barbara Hoel from WisLUG

I wanted to attend most of these, but wanted to see other things too so I missed out on a bunch. My NLS home schools my oldest kiddo (even before COVID) so she attended the homeschooling presentation and got a few ideas for things to do in the future with school. You can see my LEGO based home school day here. I also caught the end of the Community Q&A and the full LEGO® – My Life in LEGO Bricks presentation, but I’ll mention them later. Some good info was shared by many. Thank you to those who presented!

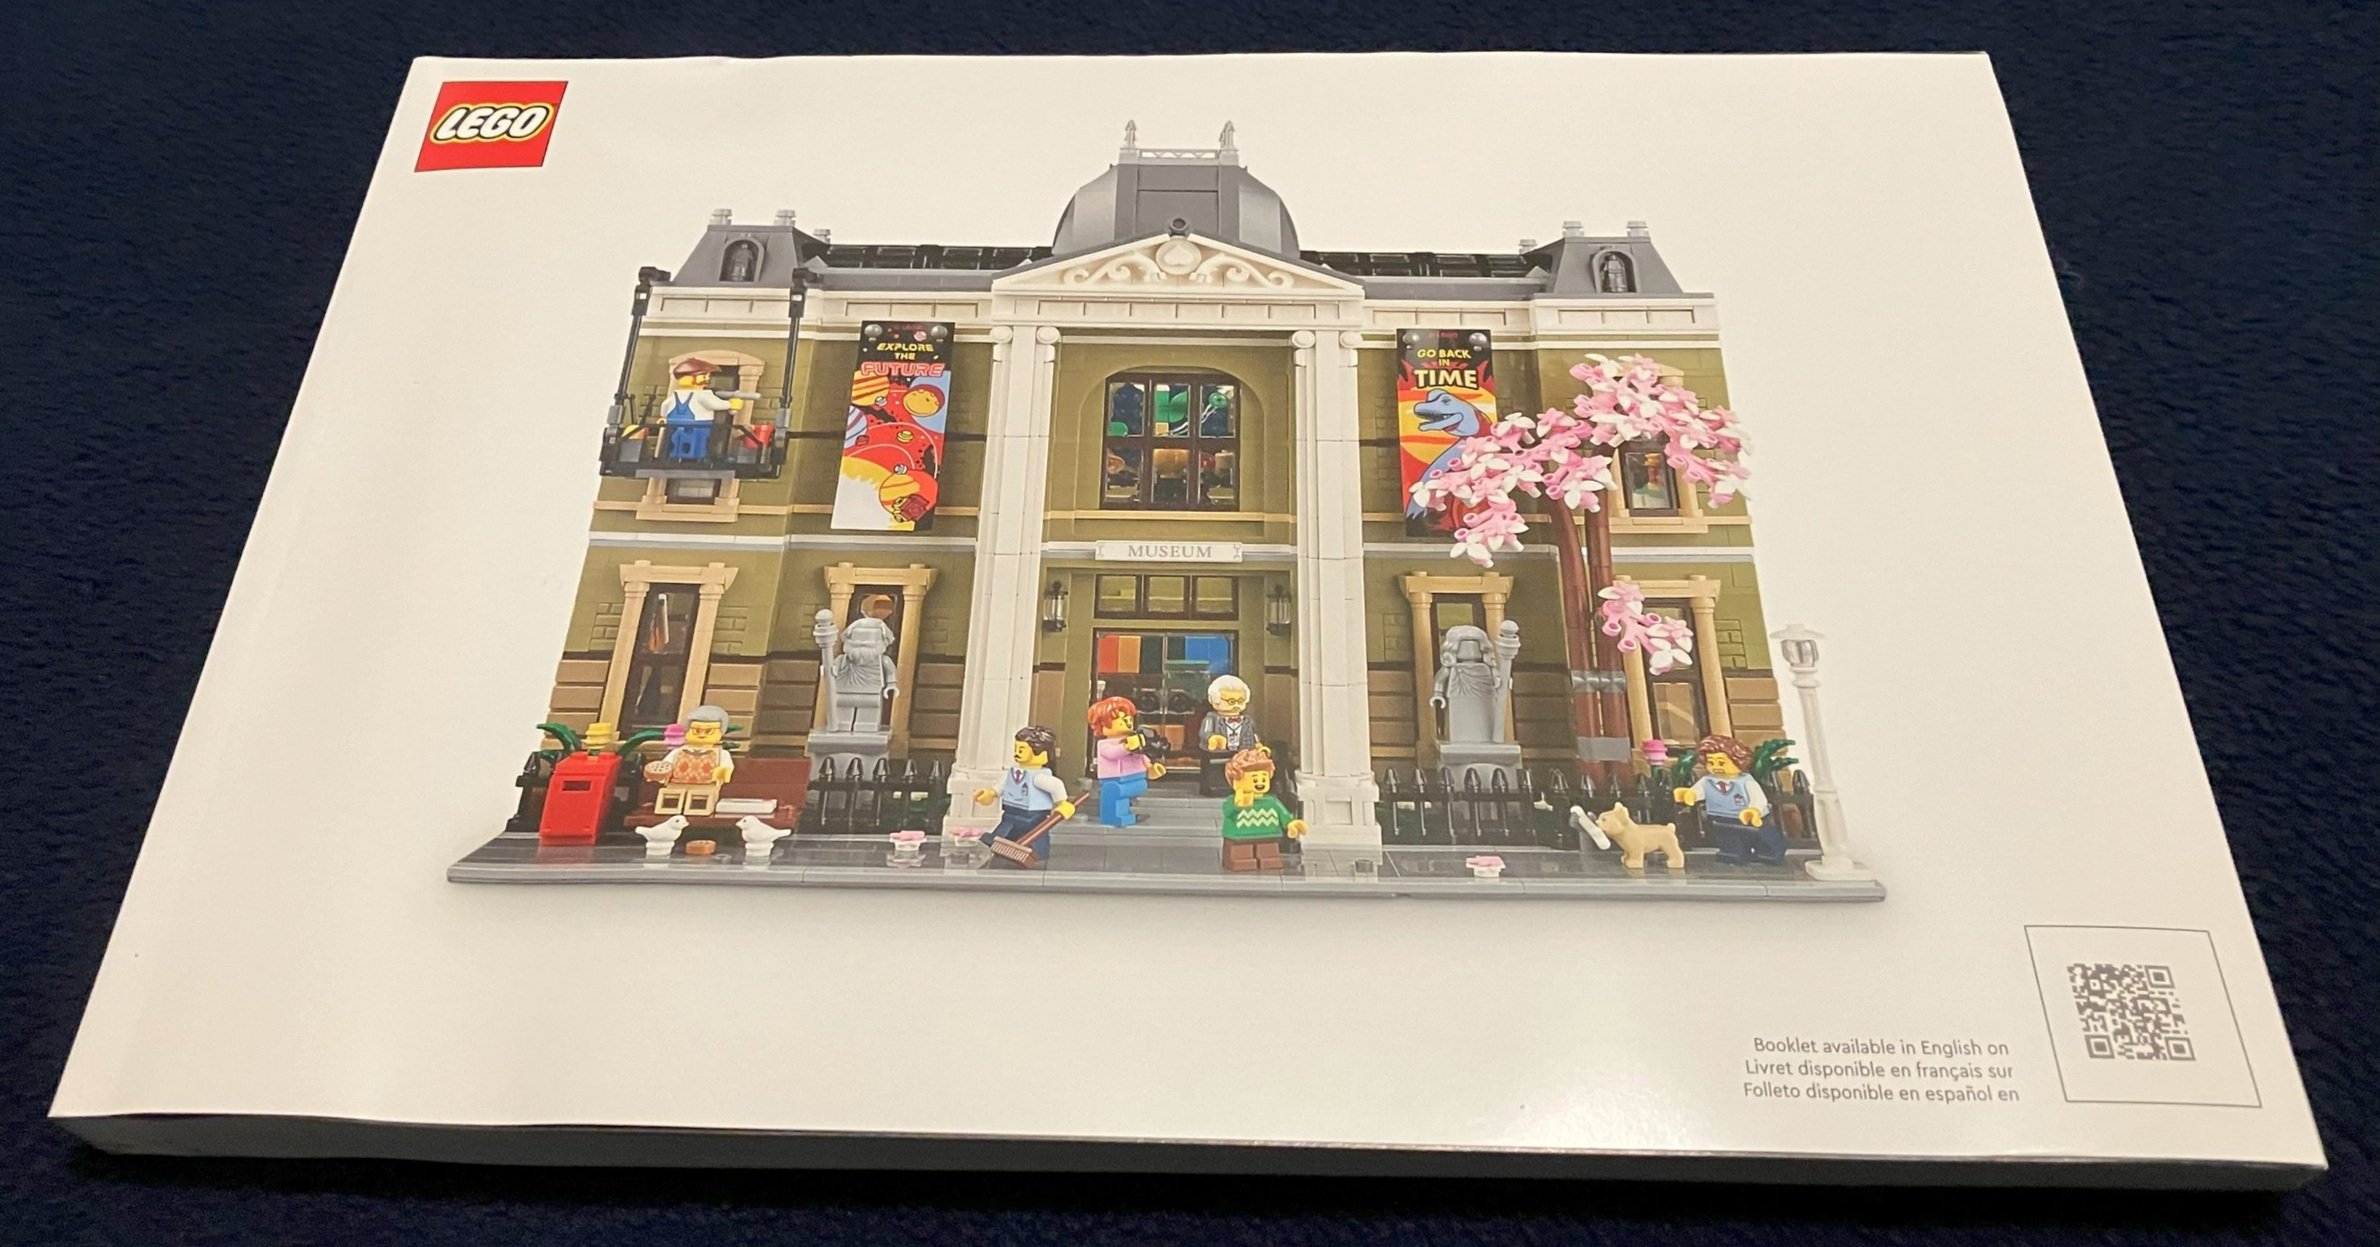
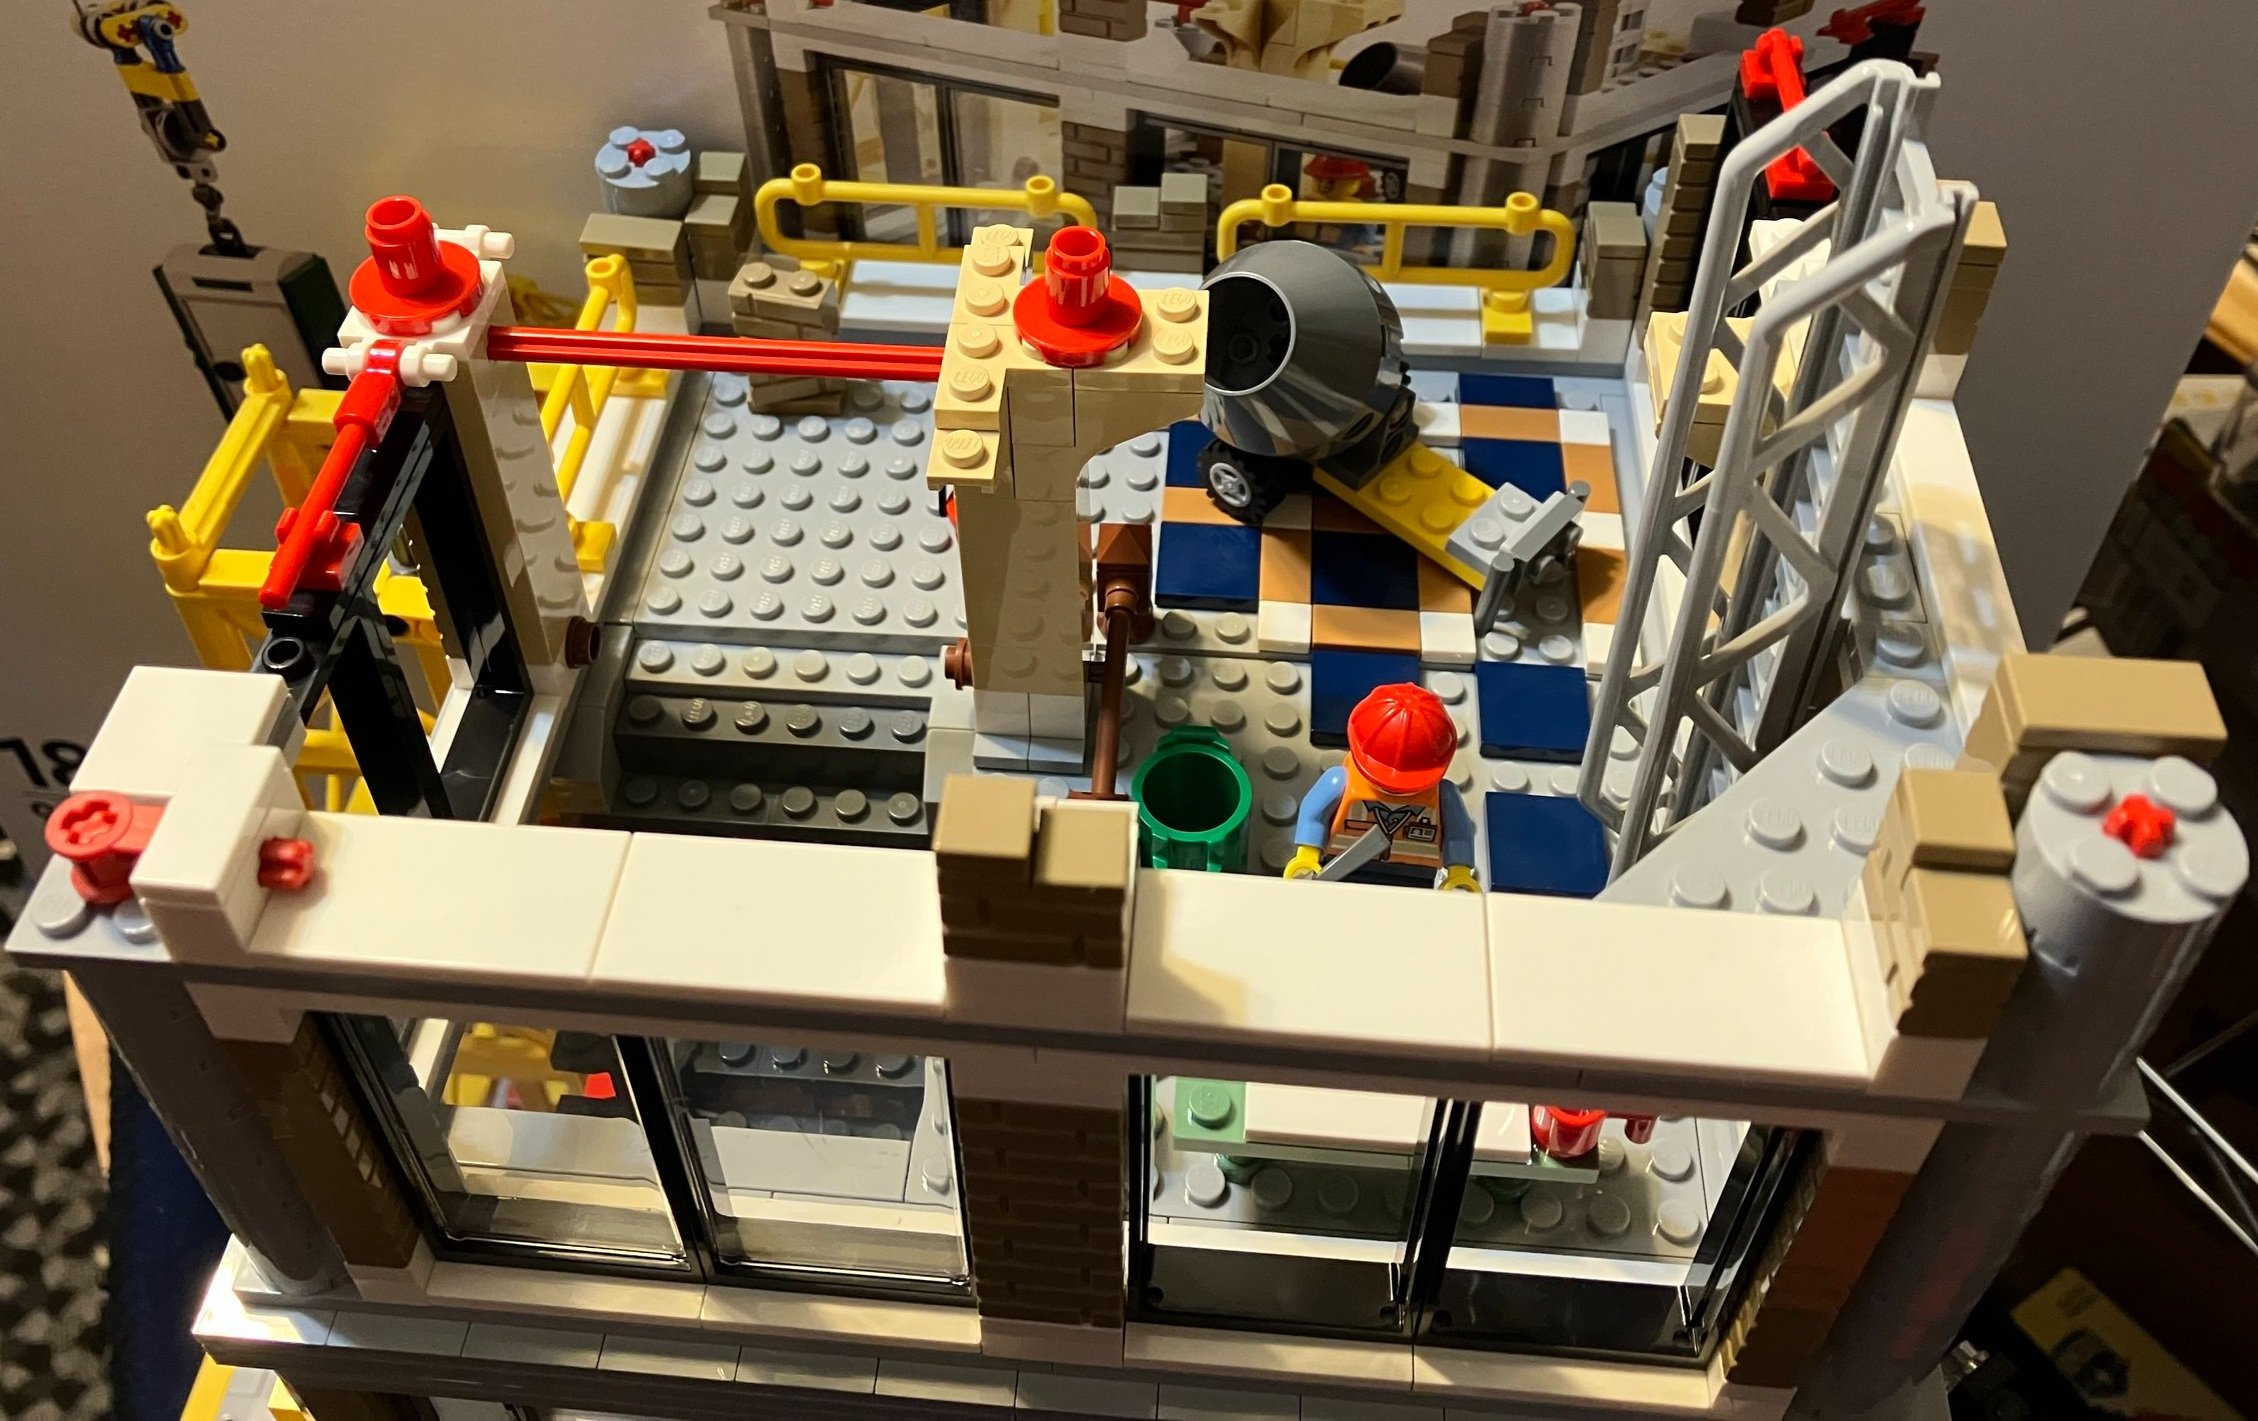
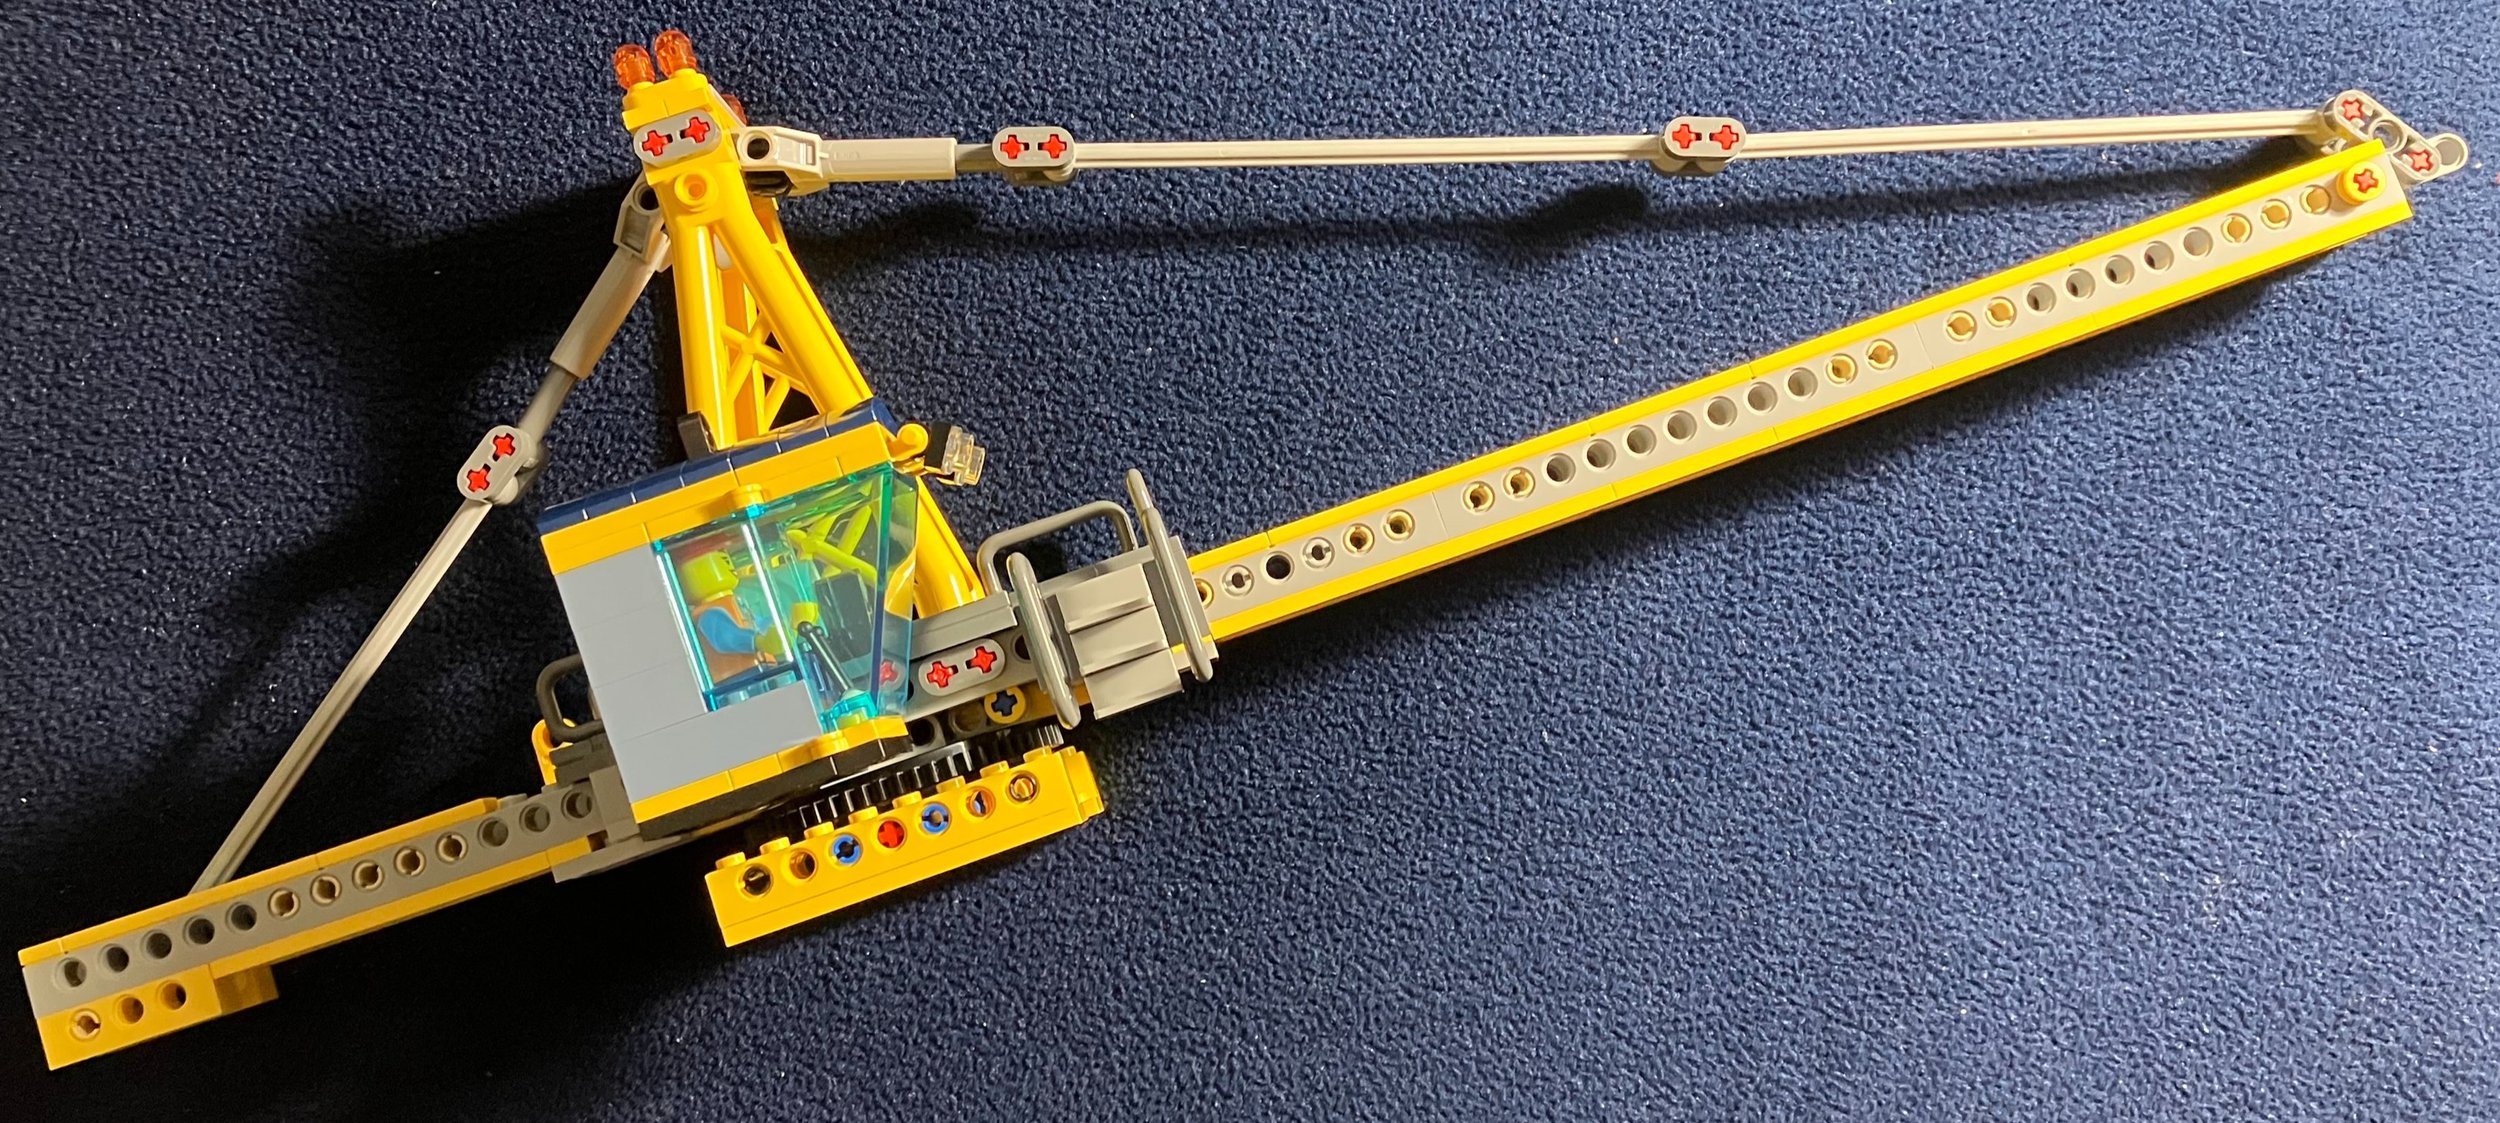
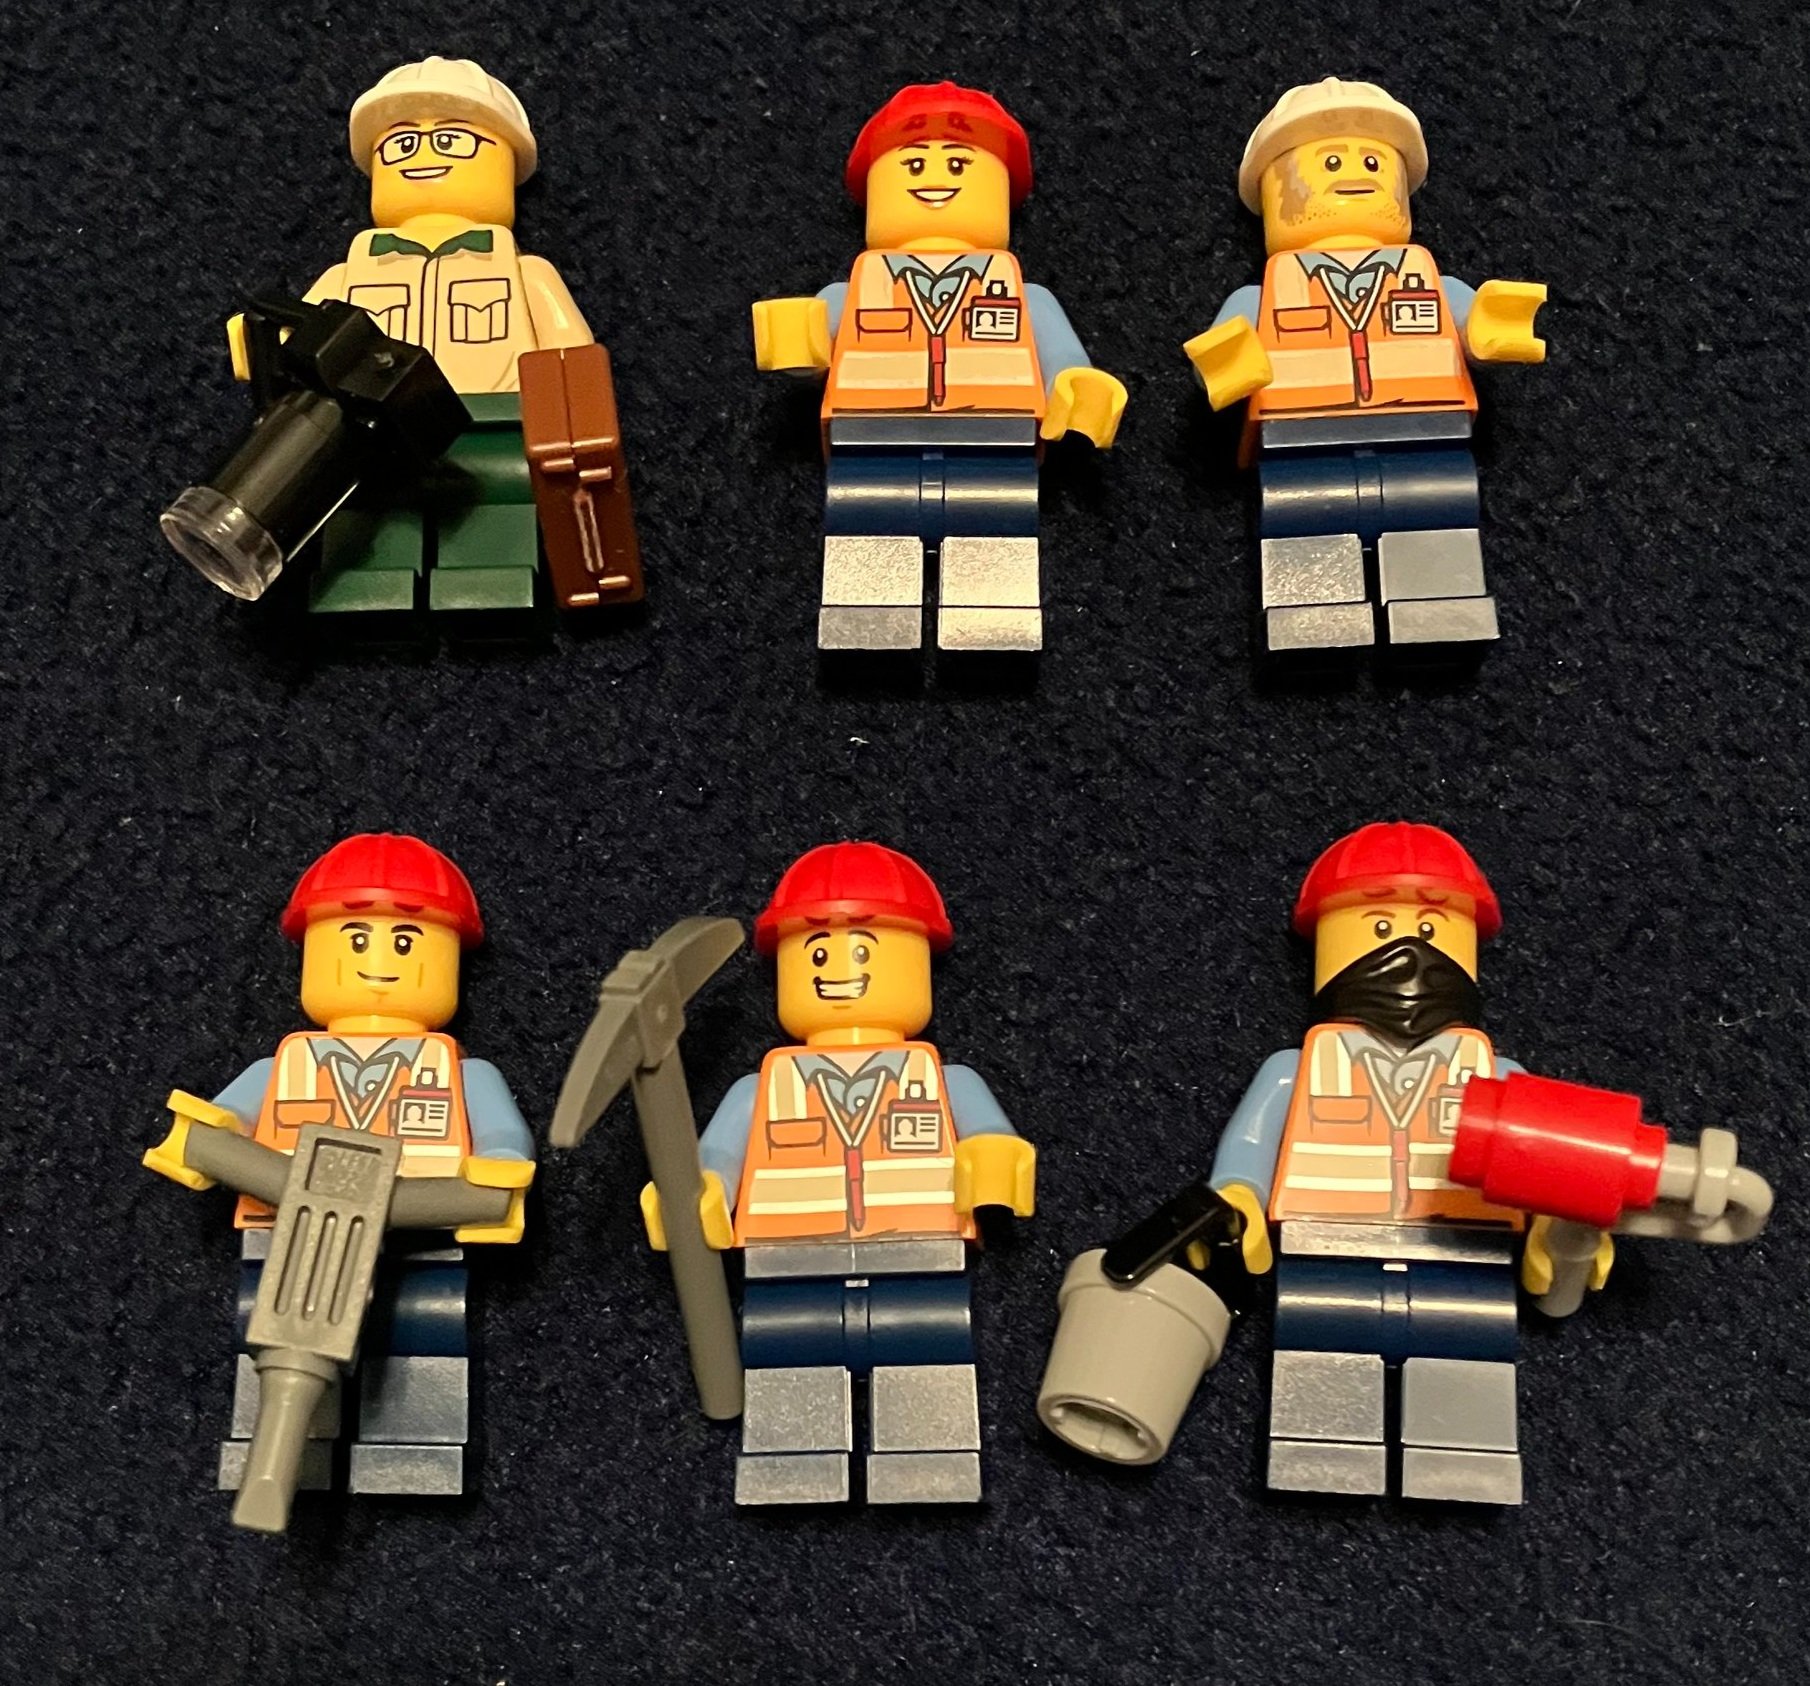
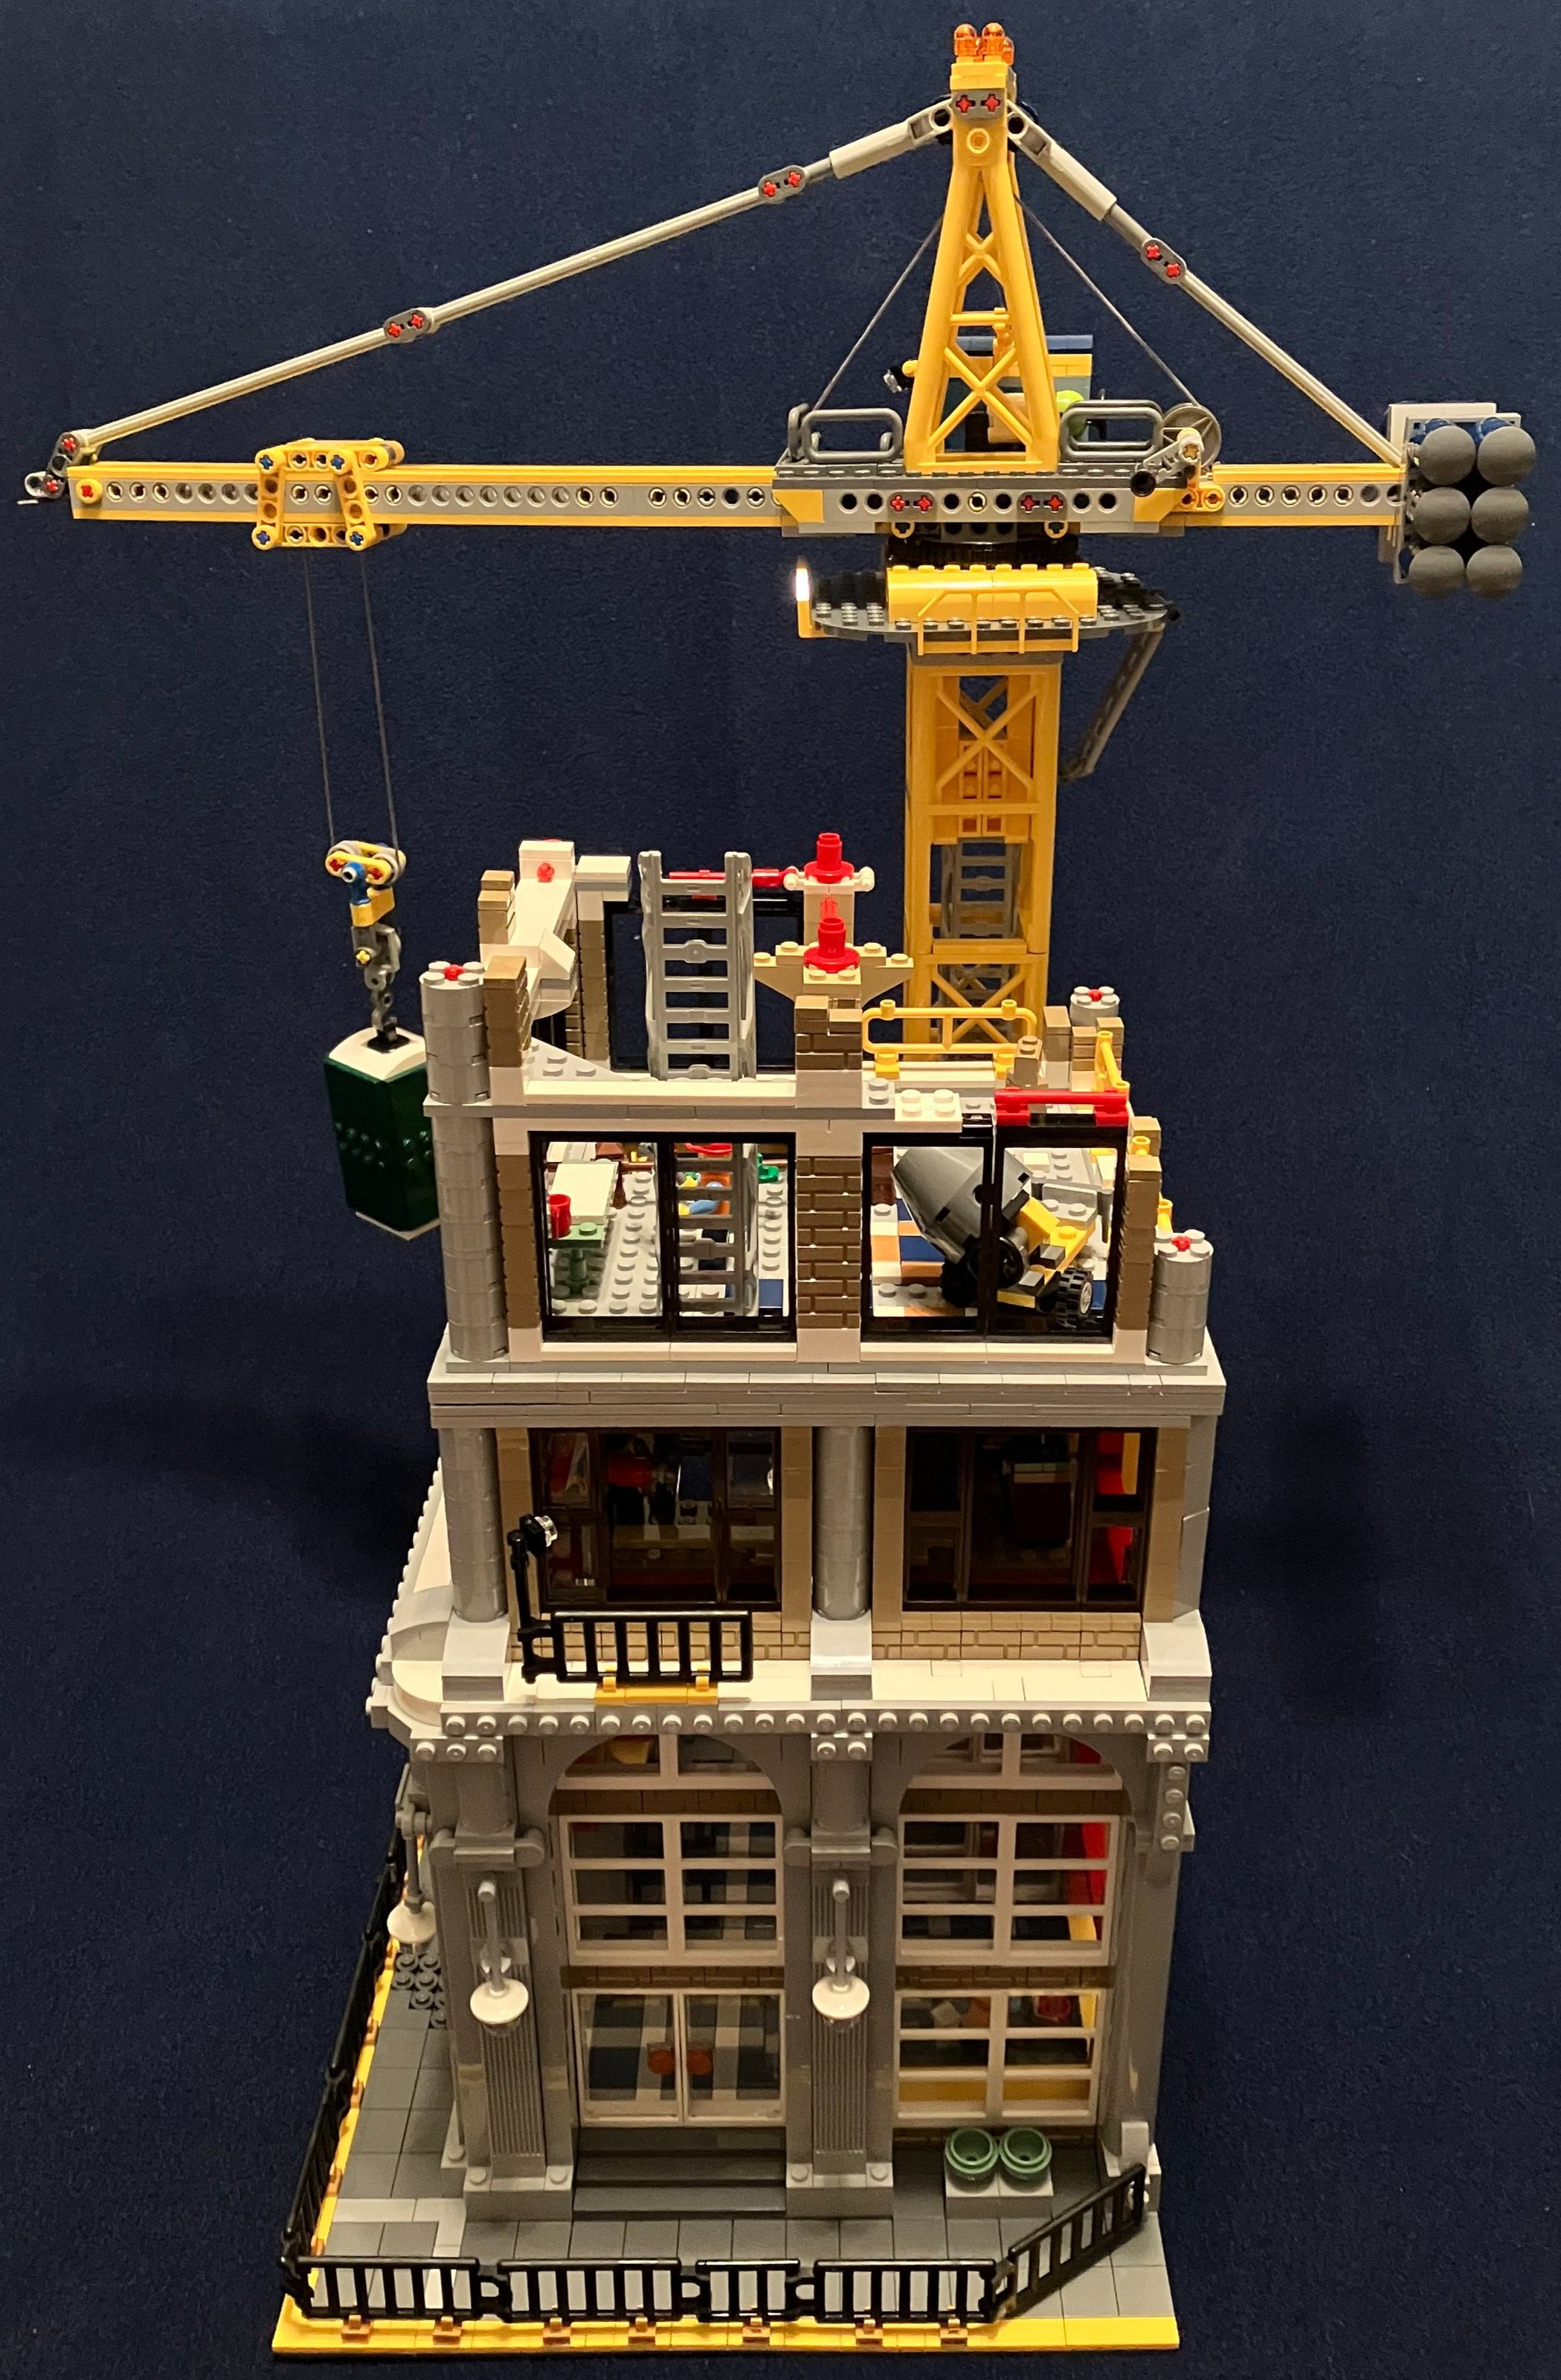
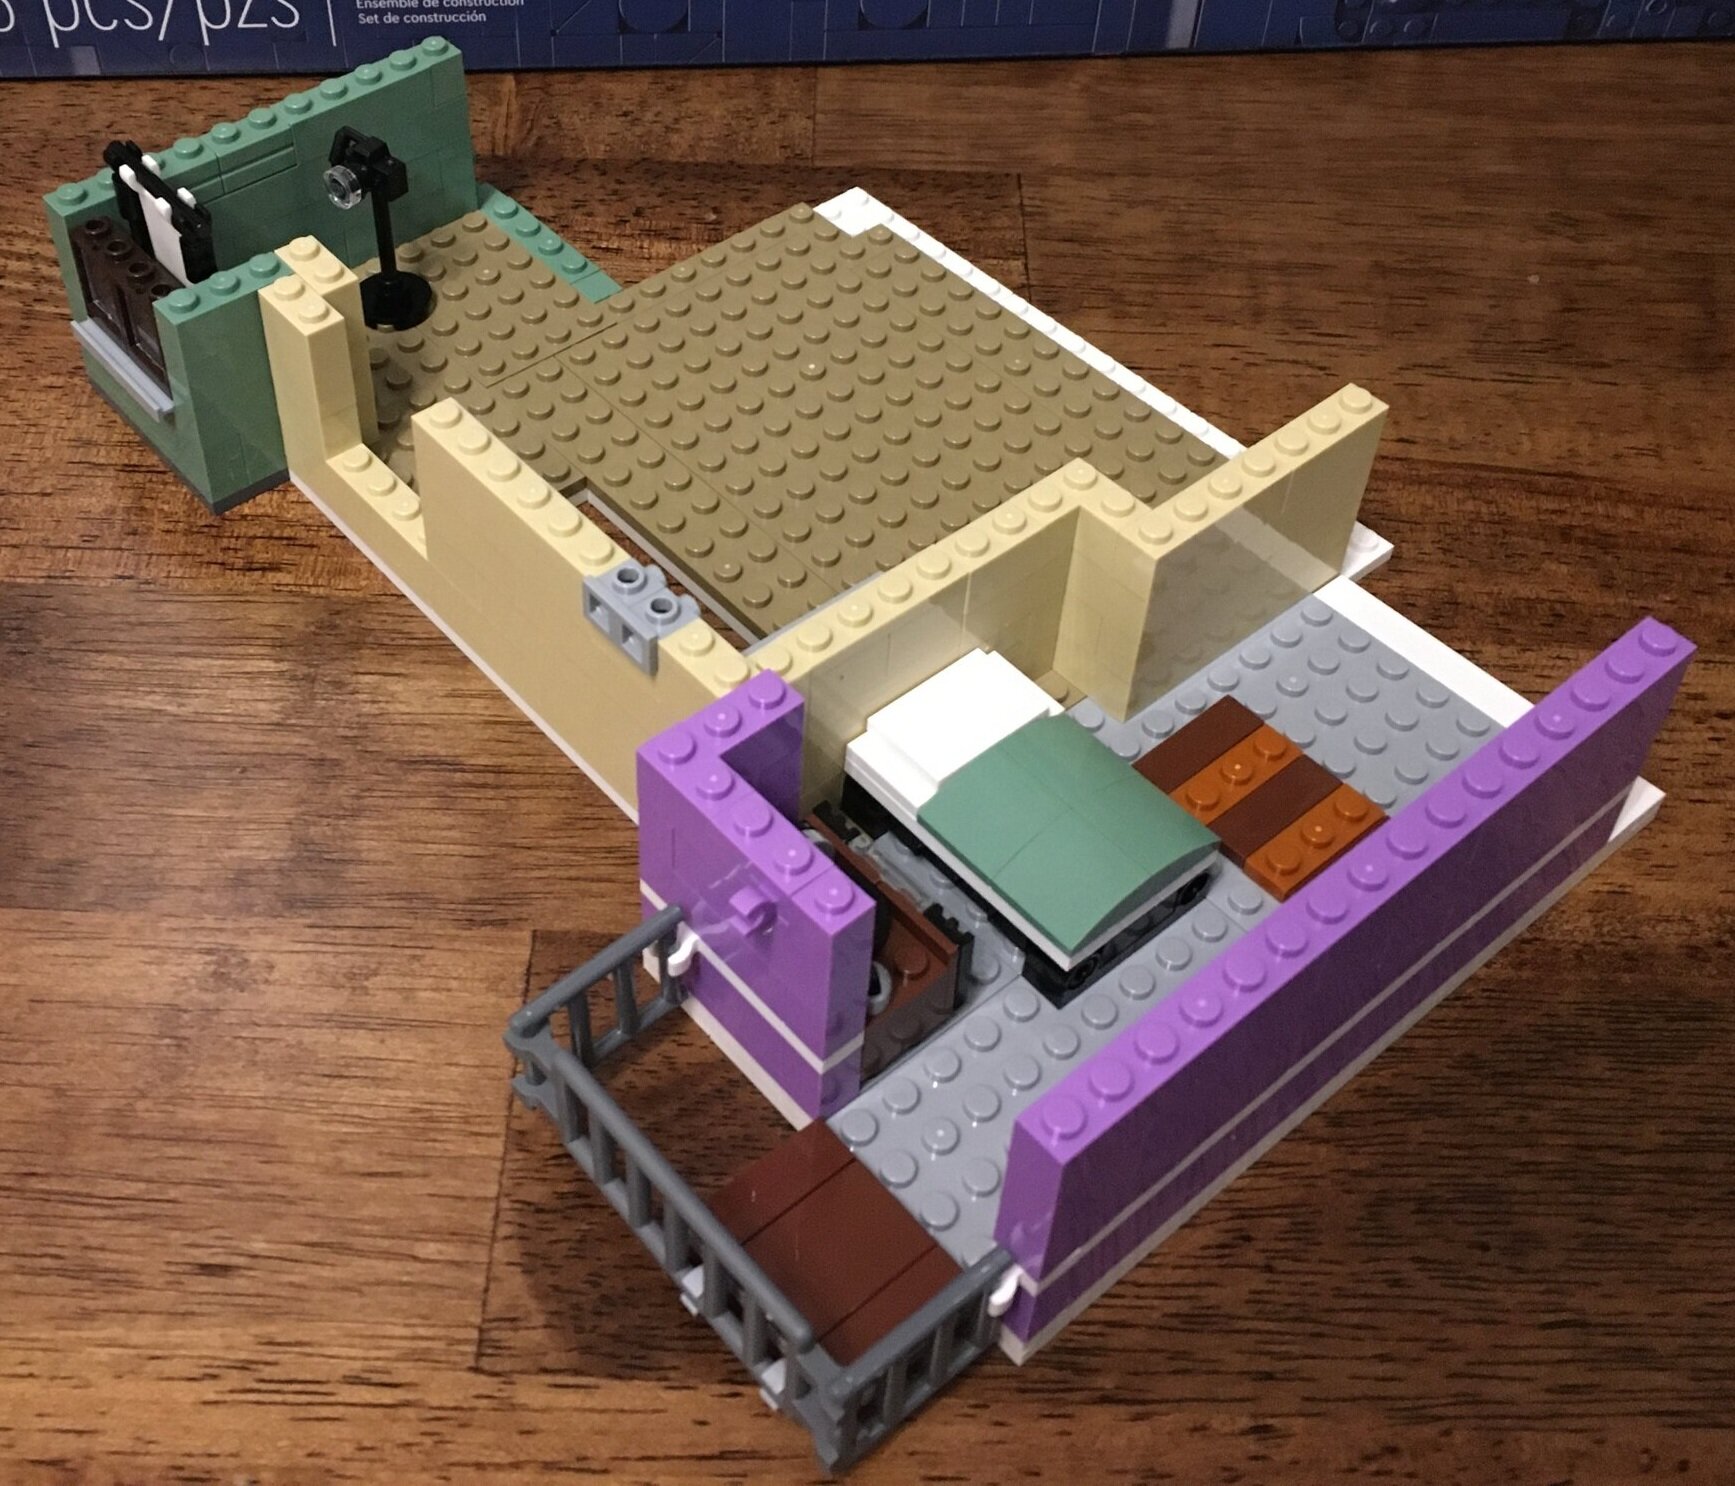
4. See amazing fan built creations in real-time and interact with their designers

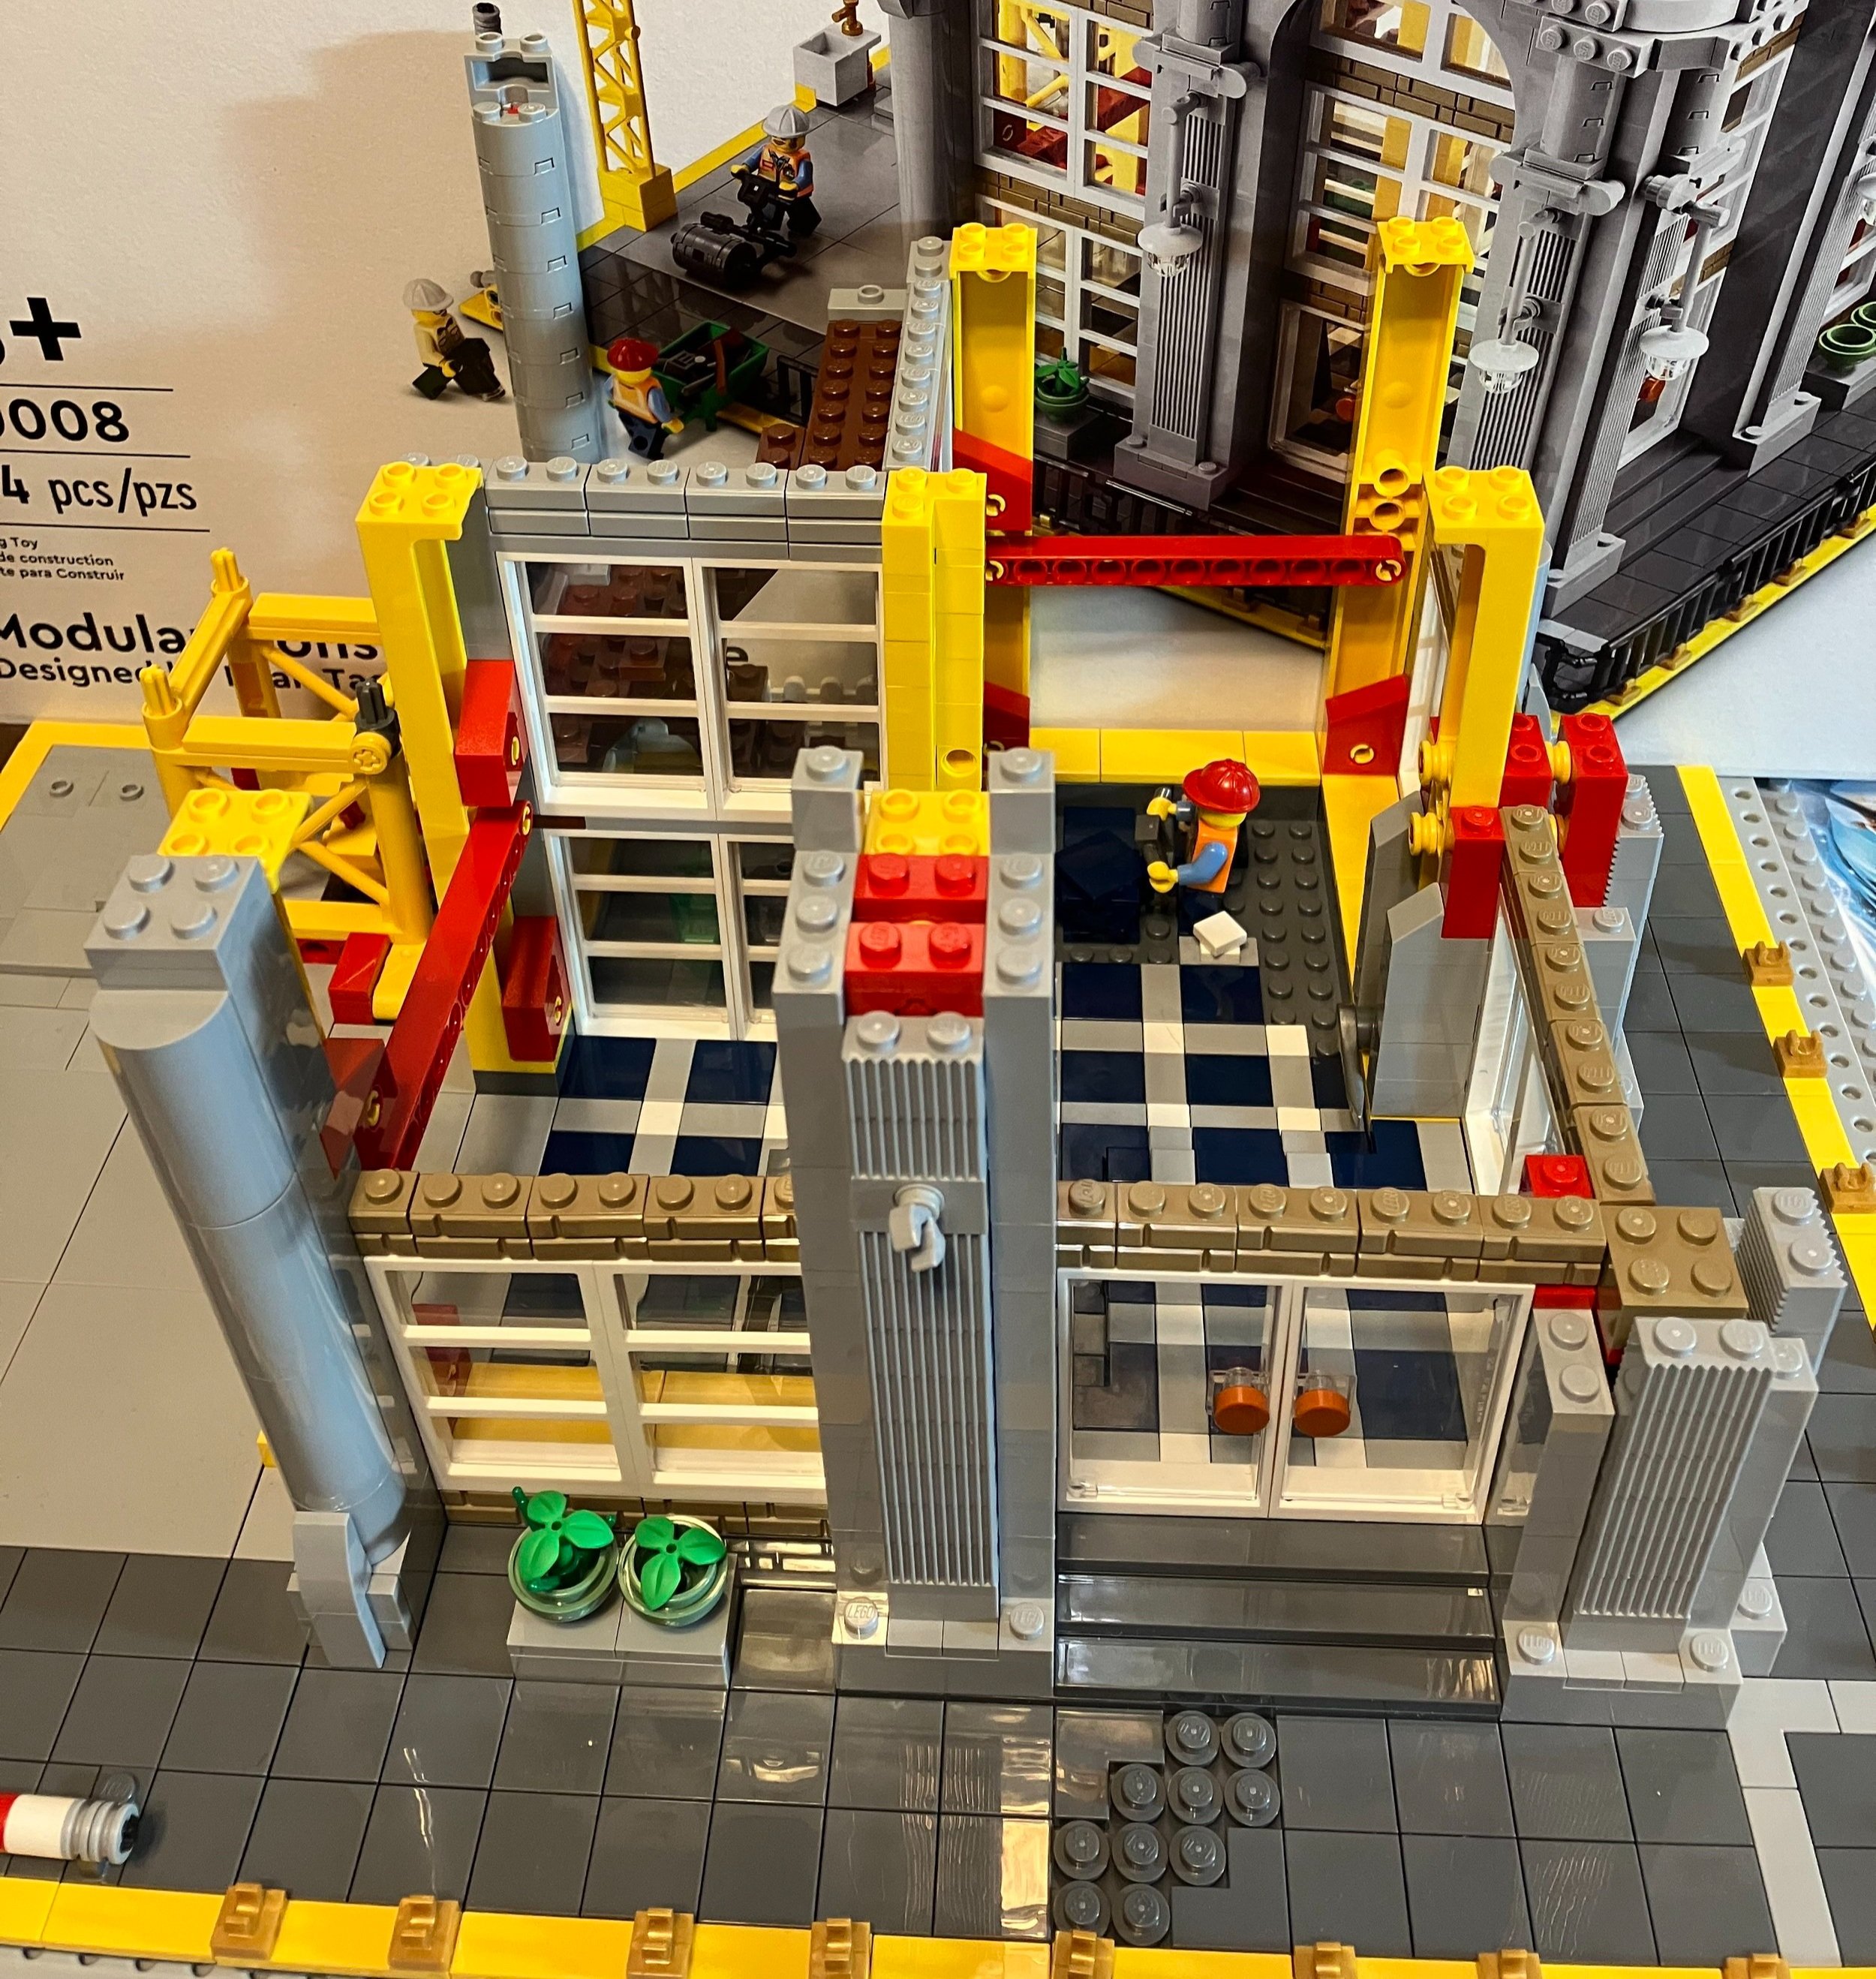
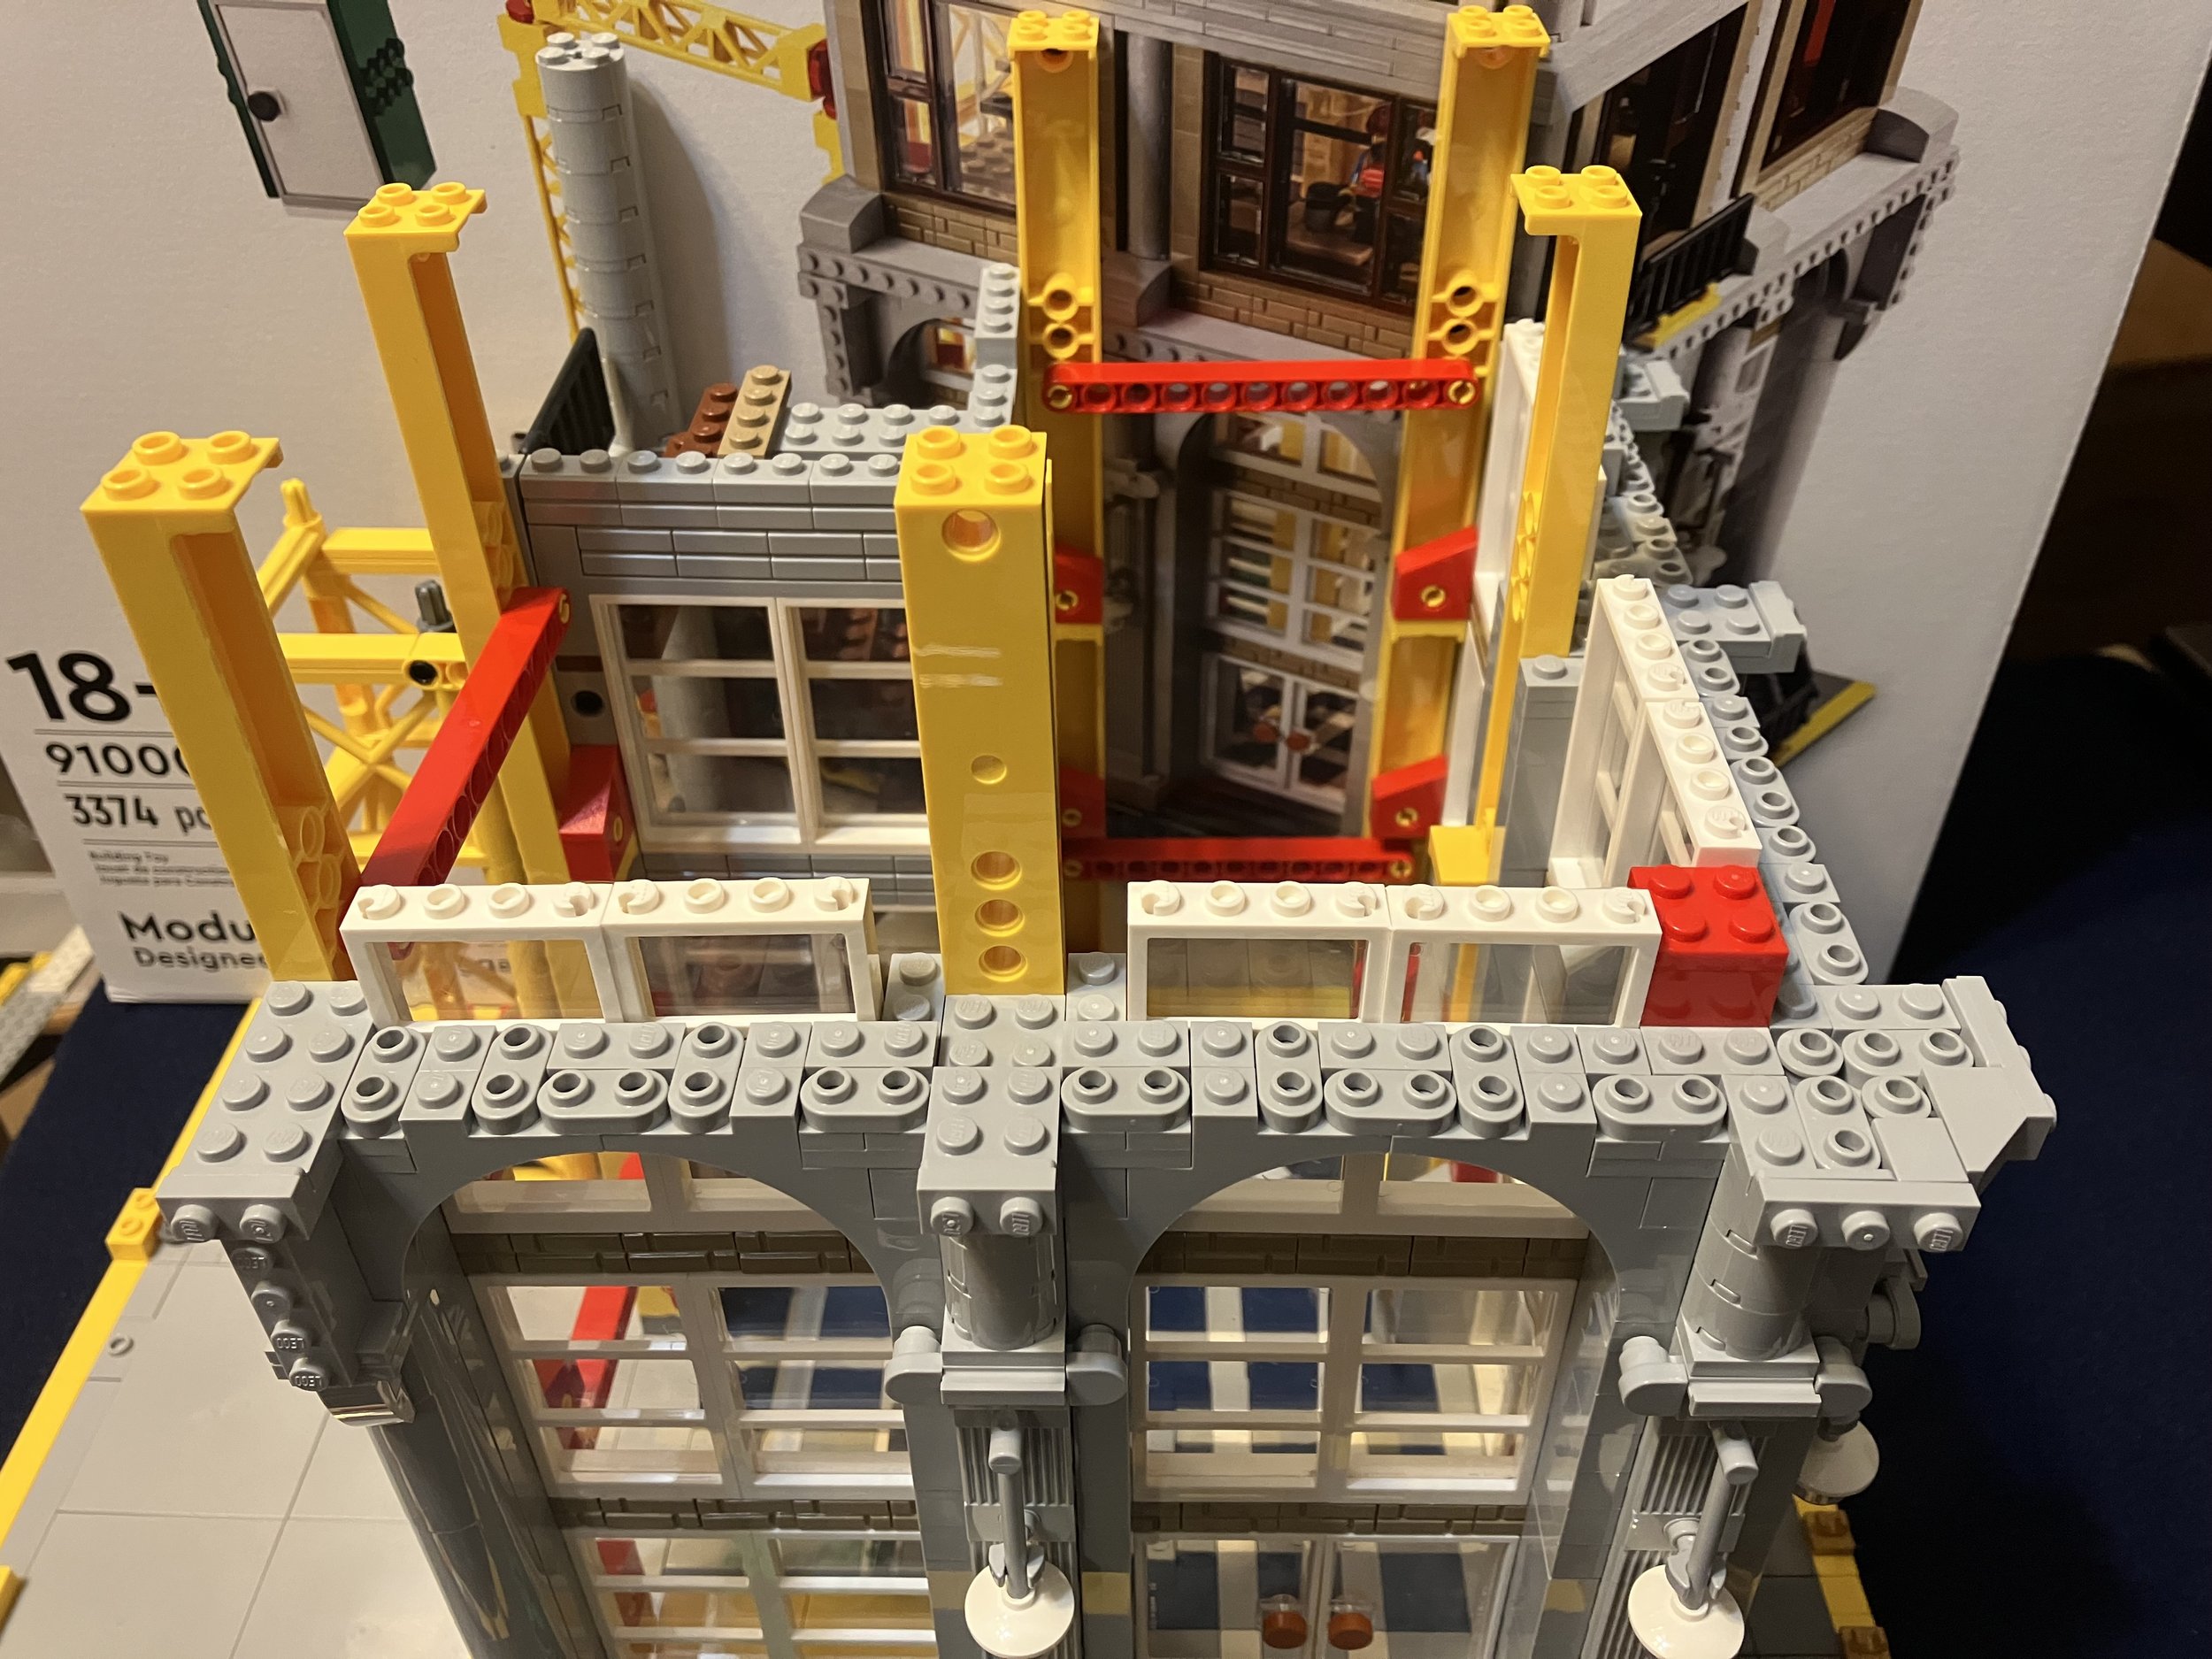
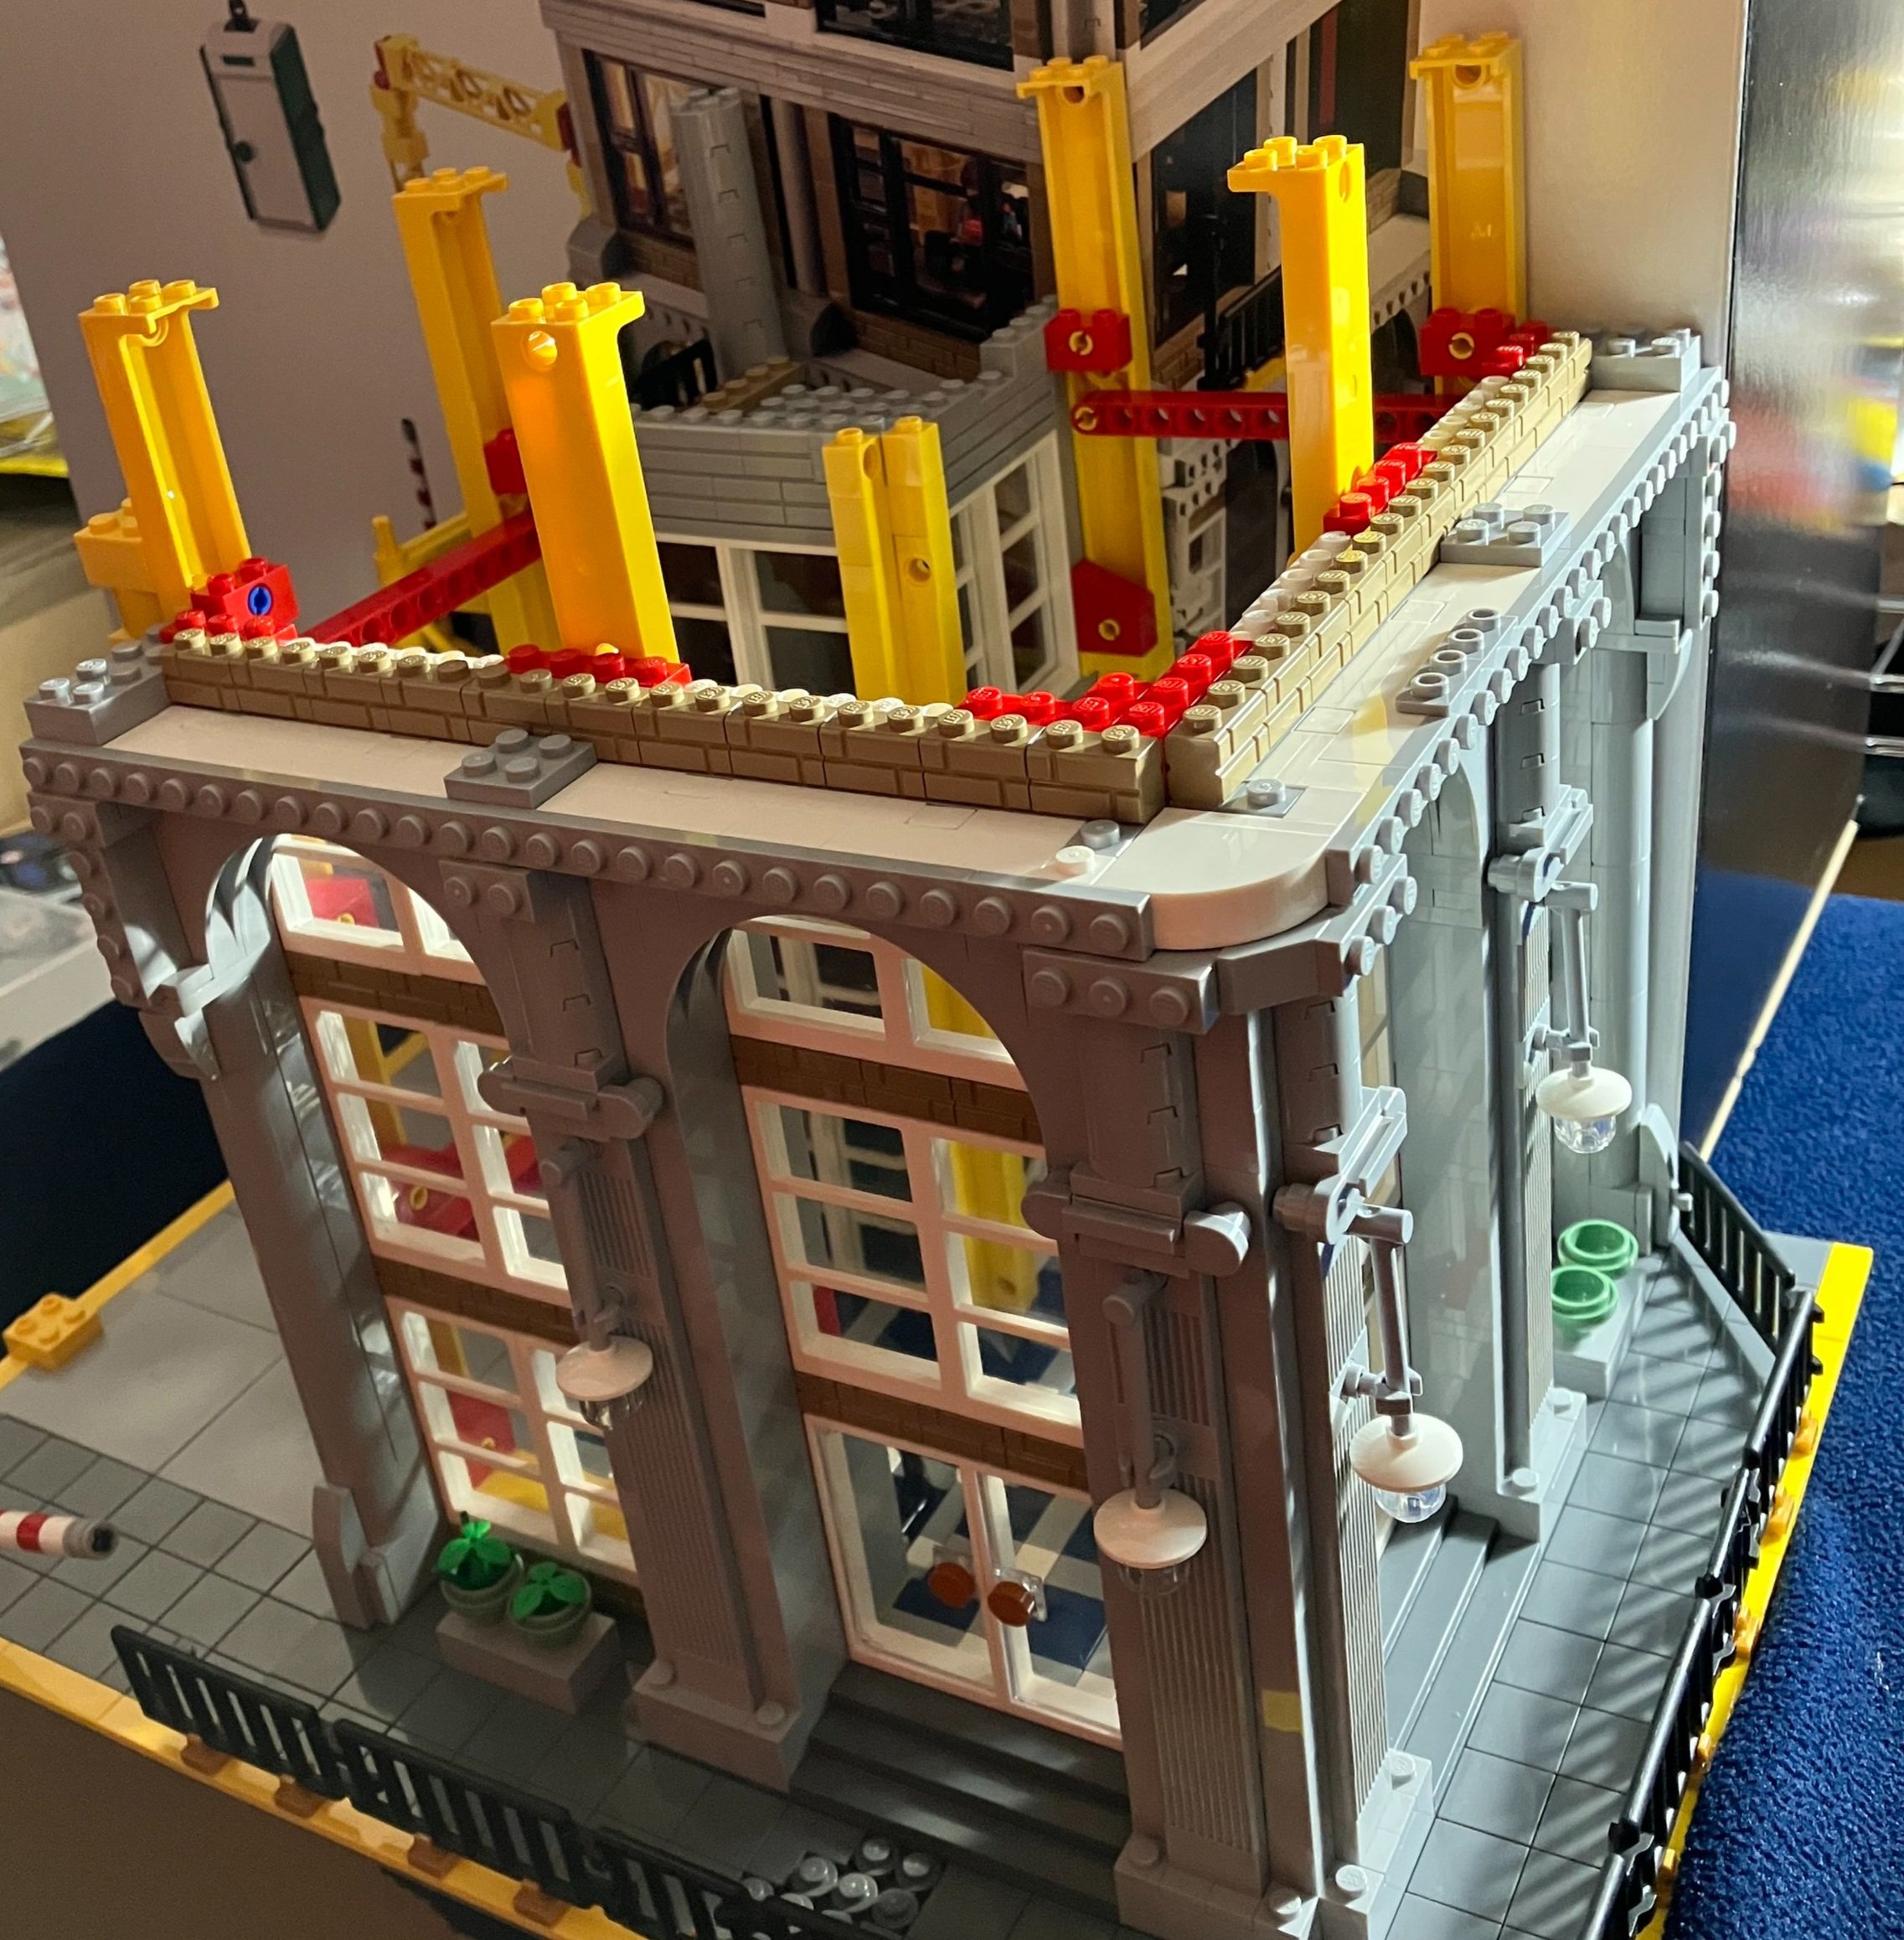
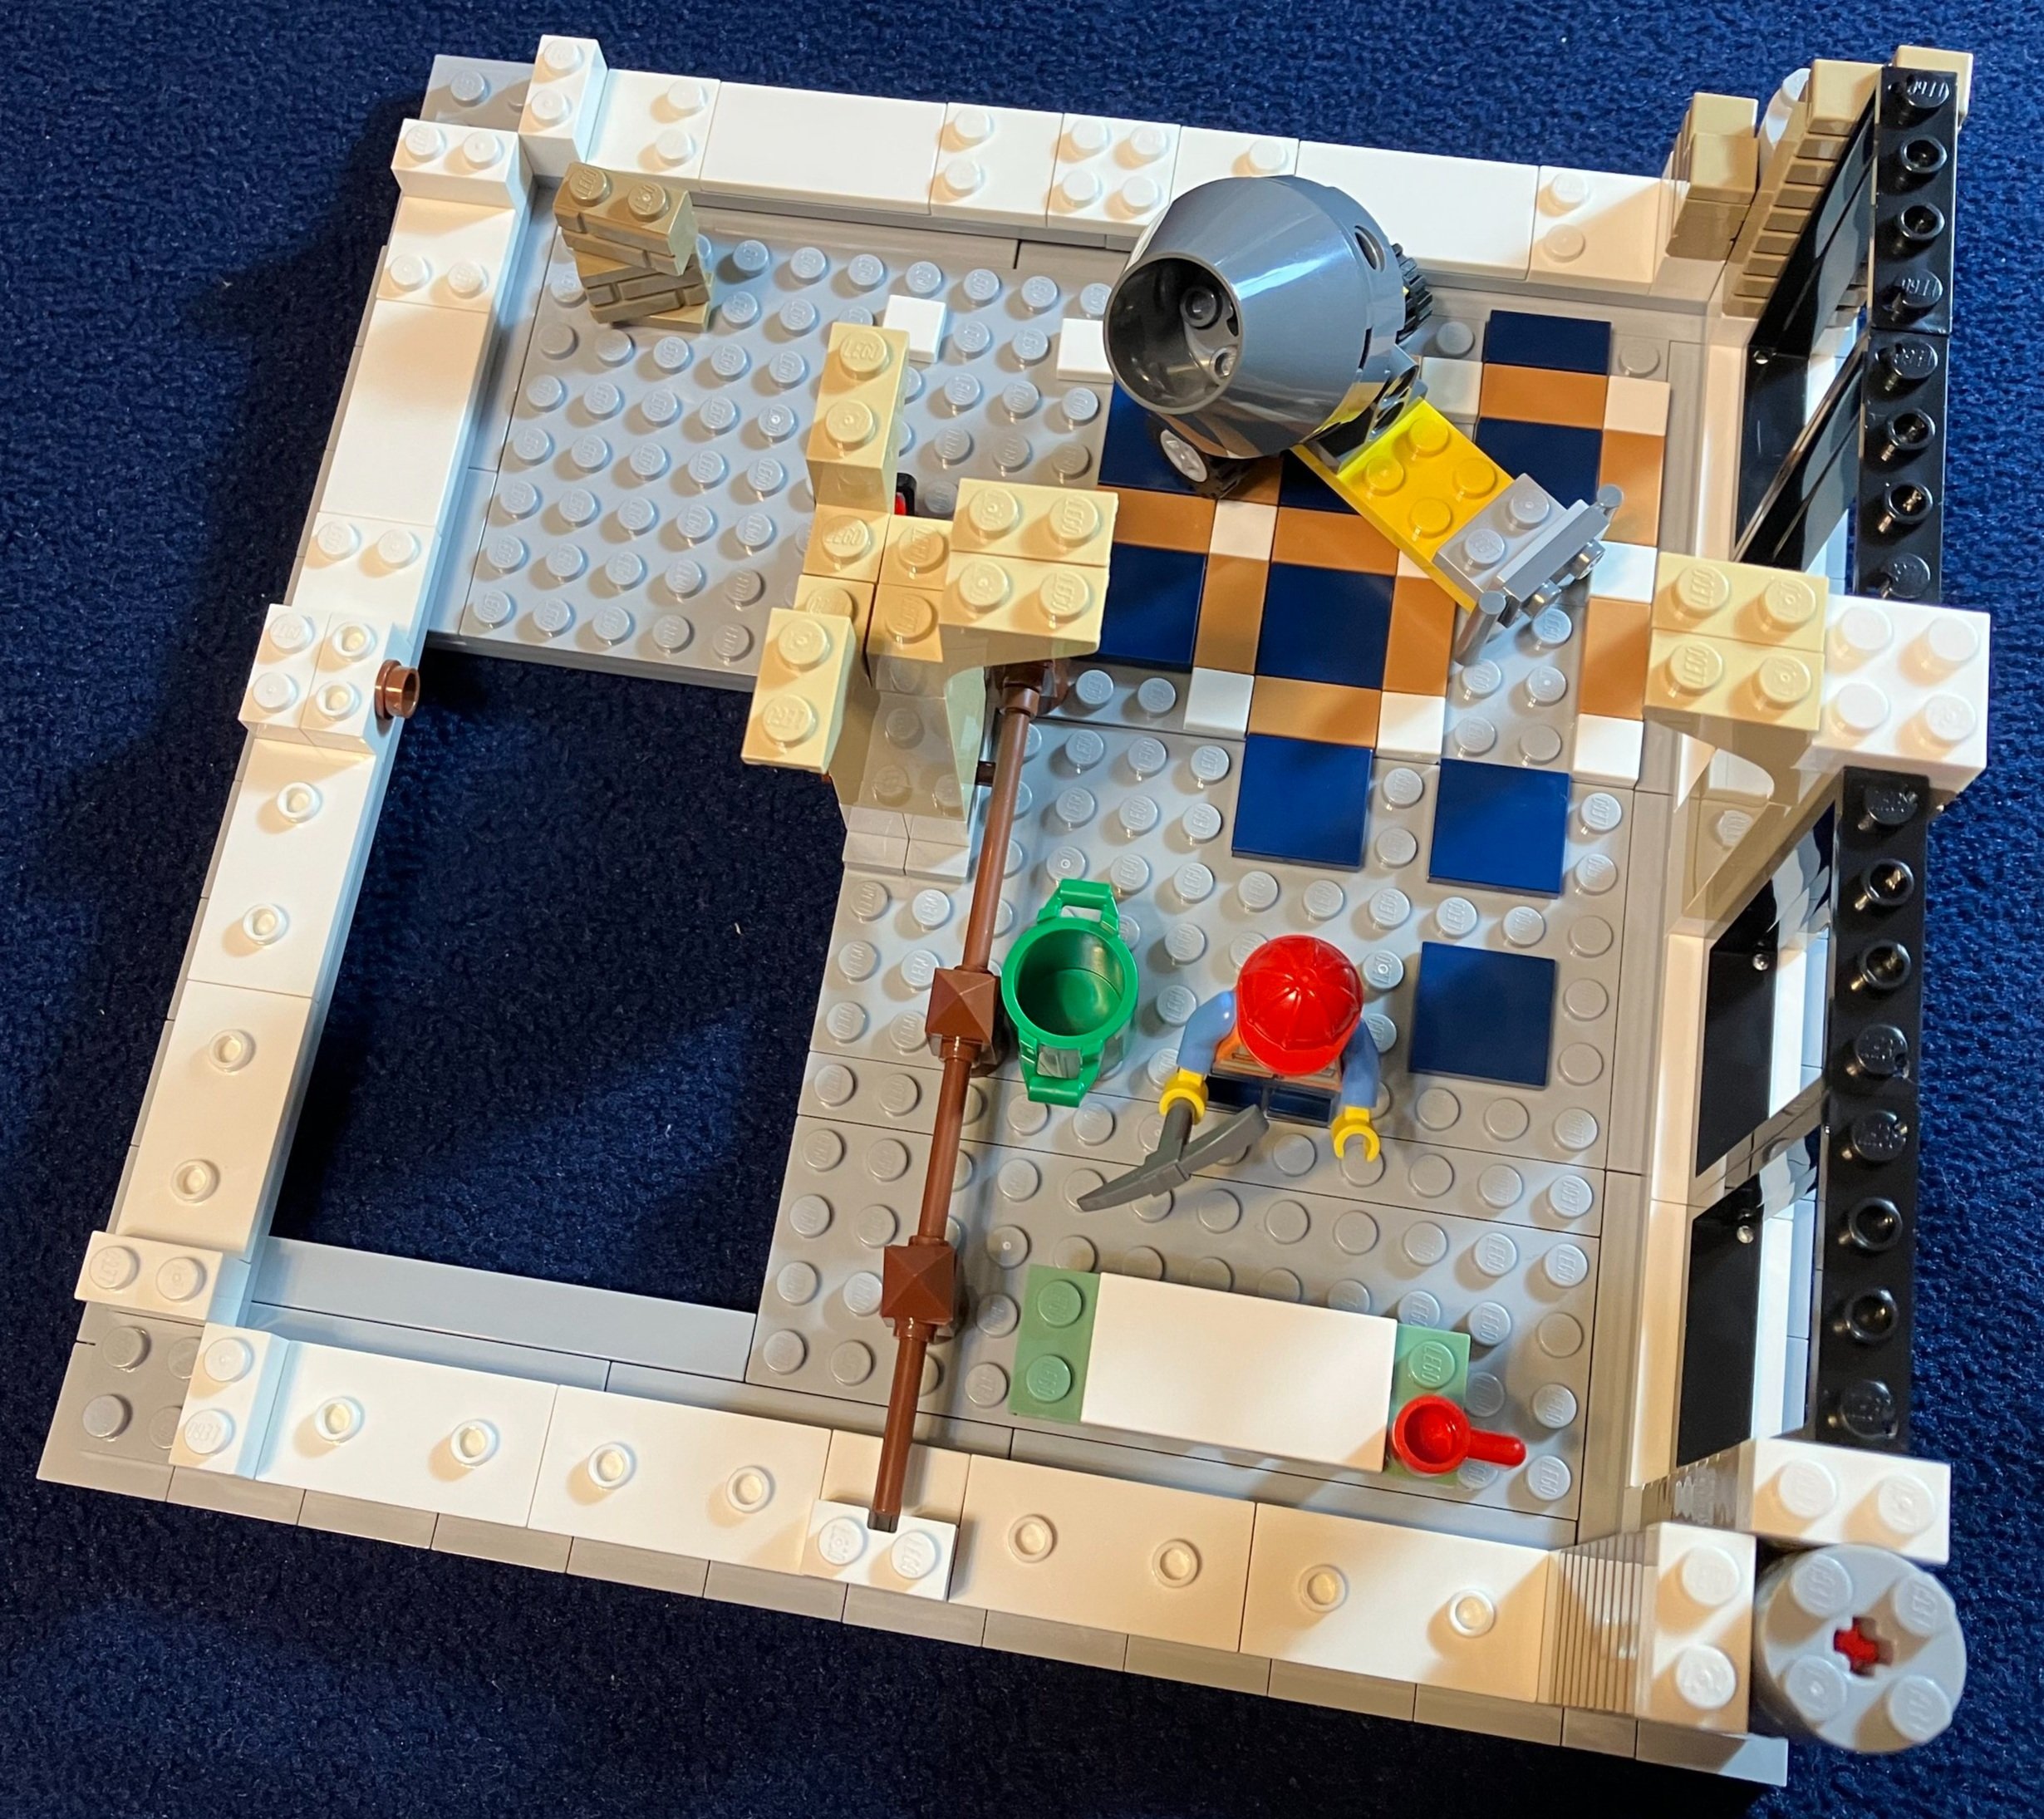
Modular City - Peter Strege

-If you missed the May 2020 Brickworld Virtual, you should check out his Flickr stream. It is here on Flickr. He makes some amazing MOCs to include some impressive building MOCs with cool domes and eye catching color schemes. Definitely take a look!

Bricks in the Middle - Kevin Hinkle

-I missed this one…

Great Ball Contraption (GBC) - Bob Luzenski

-More on this one later…

Star Wars® Creations - Carey Warren/Kevin Wagner

-I couldn’t find the display online that I saw to post a link to, but it was an impressive Tatooine display with the Cantina and creatures outside. I didn’t get to ask any questions because there was an excited young fan peppering the builder with questions. It’s all good. Great work and thanks for displaying!

Harry Potter® Creations - Eric Krans

-I found a clip of Eric’s display online. Go to the 2:45 mark if you don’t want to watch the whole thing to see the Harry Potter display. It’s pretty impressive and includes a lot of moving parts… some of which aren’t shown on the linked video. Thanks for displaying Eric!

Guilds of Historica - Eurobricks

-I didn’t spend too much time in this room, but the people involved in the Guilds of Historica forums in Eurobricks shared some of their builds. They had a schedule over the convention of who shared over which time block. I spent about 10 minutes watching a builder show his stuff. If you want to see more, you can check them out on Eurobricks here or on Flickr here.

Smurfs / Futurama - Kevin Lauer / Matt DeLanoy

-I did not see the Futurama display, but I did see the Smurfs display being shown by Kevin Lauer. I found an older post talking about it on the Brother’s Brick here. I’m not sure how much has changed since this older post, but it was cool to see. I spent most of the time watching it trying to explain to my 6 year old what Smurfs were…

Dragon Bricks & Activities - Alysa Kirkpatrick & Mark Haase

-I didn’t make it to this room…

Art and Mosaics - Abbie and EJ Bocan - AbbieDabbles

-I briefly checked into this room, but they were talking about some custom minifigures that they were selling. I didn’t spend much time here.

Still Life Creations / Blacklight Creations - Barbara Hoel

-I got to spend a few minutes in Barbara’s room when she was showing a blacklight creation. For those of you not familiar with Barbara’s work, you can see her Flickr page here. The display she showed was actually shown by the Beyond the Brick team back in November 2019. You can see that video here on YouTube. I wanted to ask a few questions, but my kiddos were ready to move on at that point. Barbara, I’ll bug you some other time…

Brick 101 - David Pickett

-I didn’t catch this one…

There was one other room and I’m not sure which one on the list it was. The individual was showing off a center build while explaining how to build various things. My kiddos were around when I went into the room and they didn’t find it interesting so we moved on. I would have liked to have watched for a bit to see if I could learn any good building techniques.

5. Hear from and ask questions to members of the LEGO Company

I think the LEGO Company has done a great job getting its employees out and about to interact with the fan community. With the pandemic, they’ve been doing lots of live streams and interviews with the RLFM teams around the globe so we get to hear about the company straight from the source. Brickworld Virtual had multiple LEGO Company employees present, but I only caught part of one session and then a full session of another. The first one I watched was of Jan Beyer.

Jan Beyer.jpg

Jan is listed as the Manager of AFOL Network Events (such as Brickworld). I unfortunately missed his talk, but I caught the end of the Q&A session.

Question one was related to regional releases and why items can’t be purchased everywhere. The response was that sometimes LEGO can’t get the product license everywhere and sometimes retailers in some locations don’t want those products. He did mention that LEGO was working to get rid of regional exclusives as we have seen recently with the Chinese New Year sets.

Question two was related to regional exclusivity and the LEGO® House sets. Why could they only be released in Denmark, the UK and Ireland? The answer was with the packaging. It was not built for worldwide releases as the plan was to only sell them at the LEGO® House in Denmark. I own all three sets and could not tell you what is different on the packaging, but there you have it. Jan mentioned LEGO is looking to correct this in the future.

The next talk I saw was called “My Life in LEGO® Bricks” and was given by Sam Johnson. If you’re not familiar with Sam, he’s currently a designer on the Ideas team and has worked on City, Jurassic Park,

Sam_Johnson.jpg

Legends of Chima, Nexo Knights, and Harry Potter. The picture is a few years old as it is from when the Dr. Who set came out in 2015, but it’s the same person.

His talk was about how LEGO goes from concept to actual sets. He used NEXO Knights and described how it was created, showed some concept art, explained the processes used, showed some initial models, and then showed some of the prototypes that eventually became one of the final models. I found the talk pretty interesting as it was cool to see how they go from idea to a final model.

There were a bunch of questions about Q&A. I asked if they were seeing any design delays due to having to work at home. He said he didn’t think so as they are used to connecting through digital means and future sets seem to be on track. He also mentioned that designers who like to build with physical bricks versus the digital design programs they have can go into HQ to get the bricks they need to build at home. Not a bad deal if you ask me.

Two others that stuck out to me:
-He said something to the effect of the LEGO Ideas Playable LEGO Piano is coming soon and it is awesome.
-While he was not involved with the Bricklink AFOL Designer Program he said it was a great program and LEGO did not see it as a competitor to the LEGO Ideas platform. I see that as good news. We can hope it picks up again someday.

6. Interact with LEGO Masters contestants

I checked into this room to see it quite busy. At the time there were around 45 people. The hosts were from a Bricks and Minifigs store. Contestants that I saw at the time were Boone, Jessie, and Emmanuel. At the time I checked in a number of younger viewers were asking questions to the contestants. There was a decent line in the chat to ask questions and I didn’t have a burning question so I left, but I was glad to see them taking the time to encourage younger fans.

7. Talk to vendors about their LEGO based products and maybe score some deals

I didn’t sign up to attend with the hopes of buying things so I didn’t visit any of the vendors present, but there were quite a few listed who were selling their items. Had I been looking for something, it definitely would have been a good opportunity to hit up some vendors.

In addition to the vendors, Brickworld was selling its own swag. I bought the convention printed 1x8 brick for $3.50 (including shipping). I’ll add a picture of it to this post once I get it. They also had some shirts for sale which looked pretty cool, but I did not buy.

8. Show off your own MOCs to the Beyond the Brick hosts

Beyond the Brick logo.jpg

Joshua & John Hanlon from the YouTube.com channel Beyond Beyond the Brick led a session called “You Show Us!” This was your opportunity to present what you were working on to the hosts. Both times I checked in, it was just Joshua. He was building one of the BrickLink AFOL Designer Program sets while talking with people. The first time I checked in, someone was showing him pictures of some original Star Wars helmets he had built. The second time, a younger builder was doing his best to show a build he was working on.

I put a few questions into the chat window for Joshua (lesson learned… I put “Josh” in the chat… sorry!) and he got to them when he was done chatting with the kid in front of me. I asked if Beyond the Brick had any plans to change at all and if they plan to continue the live stream format they have been using during the COVID-19 period. The answers were they plan to stick with the format they have for now and they plan to continue with live streams.

9. GBC!!!!!!

If you have never seen a LEGO Great Ball Contraption (GBC) in action, you are missing out. There are some very talented builders out there who have figured out the mechanics to move balls through various features and they are very creative. I found a few videos of parts of what I saw on YouTube here and here. My kiddos and I watched the GBC for a bit and we saw it with the room lights on and then when the lights were off and it was lit by glow in the dark balls and LED lights. It was very cool!

10. Play interactive an interactive robotic game online.

I’m aware that most LEGO Conventions have games you can play and while many of them are hard to do over the internet, the Super Robo Rally by Steve Hassenplug is not a problem. I am definitely not an expert with this game, but basically he has a game board with robots on it and users have to program brick built robots through a series of turns to win the game against competitors. Beyond that I won’t try to explain it because I would probably get it wrong. Definitely a fun opportunity if this is something you are into. Just be sure to sign up for one of the slots ahead of time.


Bravo if you’ve made it this far… I realize the virtual experience doesn’t compare to meeting in person, but given the situation, I applaud the Brickworld team for executing the idea and moving out with it. They had a tech support room you could join with questions and many of the rooms had moderators or the exhibitor spoke up every now and then to explain how they wanted to run things.

Did you attend Brickworld Virtual in April or May 2020? What were your thoughts?

In the meantime, happy building!