If you’ve followed the Bricks for Bricks blog for any length of time (it’s been going since 2014), you may have noticed that the location changed often. There’s been six different locations and I think we’re finally done. Whew! At least I hope so. With that means that all of those sets that have been kept in boxes for years can finally be set free. For years, I’ve been telling my kiddos about all of the modular buildings boxed away and that someday we’d rebuild all of them. Well it’s that someday…
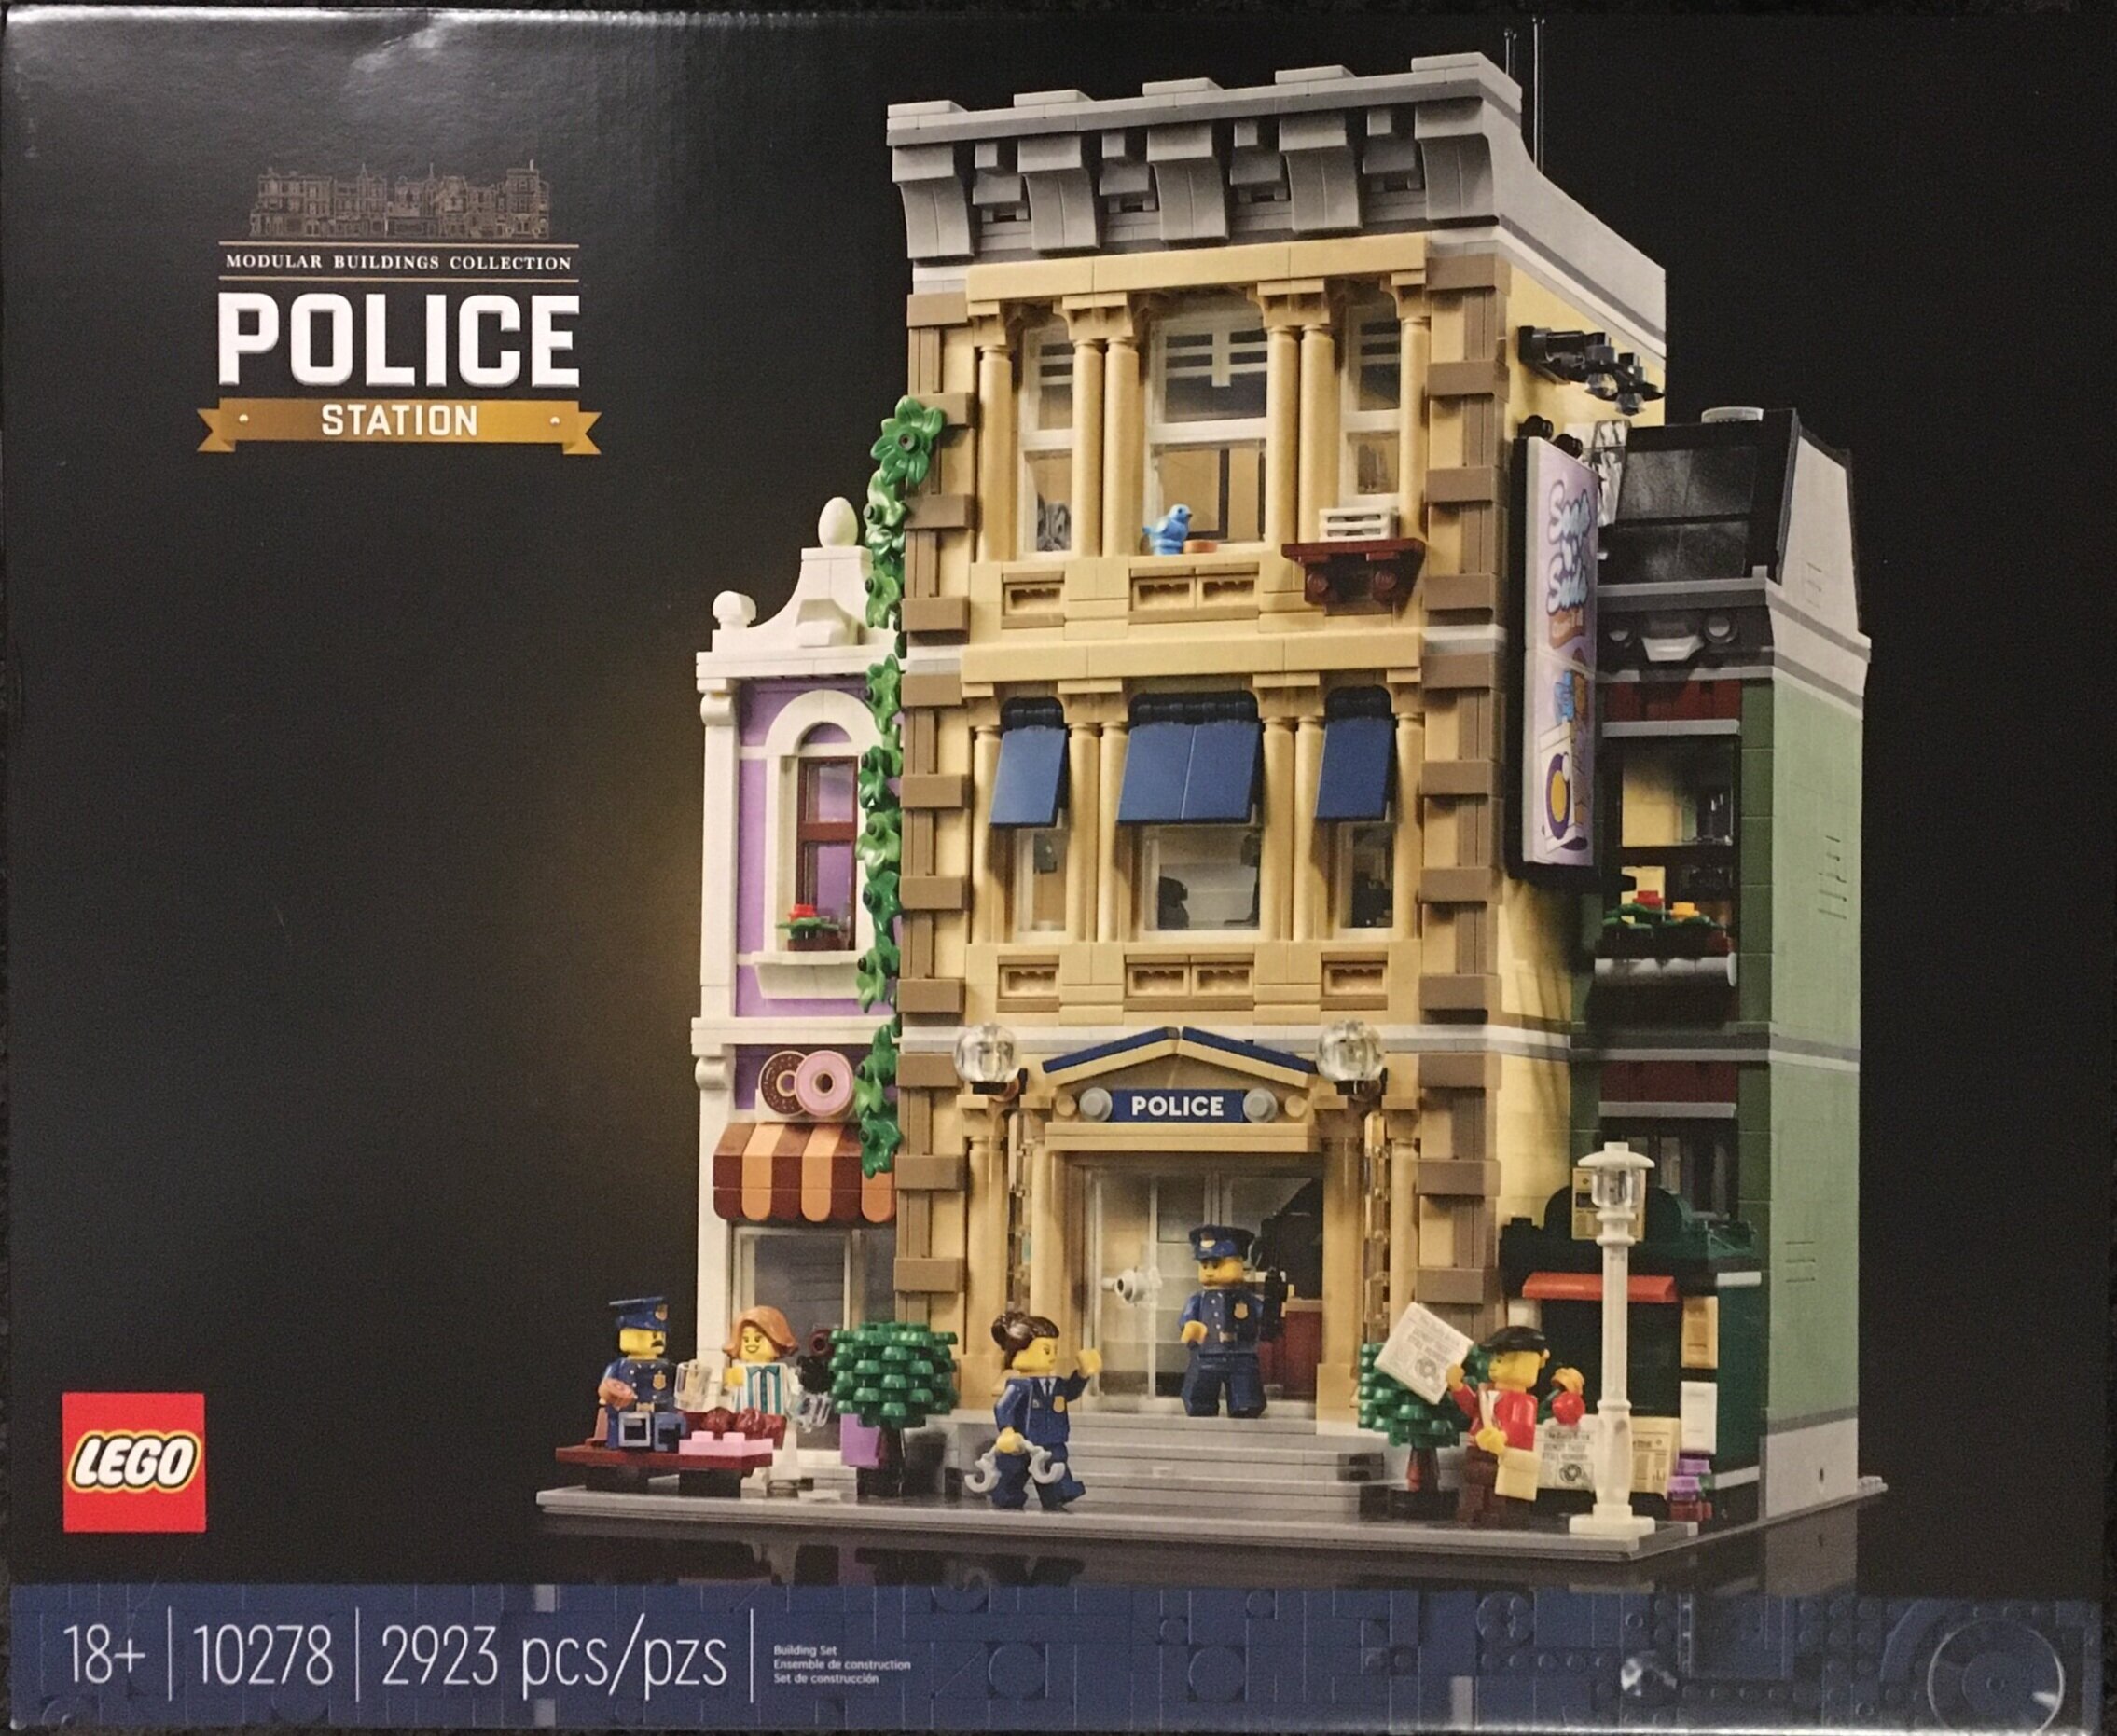
I have some new sets that I want to build, but they are on hold while my kiddo and I spend time re-constructing modular buildings. We have 16 complete with two to go (the Police Station and Tudor Corner). Also, I don’t have the Green Grocer or Market Street so we’ll max out at 18.

It’s been a fun experience to re-live building the sets and my kiddo has enjoyed building them with me. As you can see, we set some road plates in front and he’s put his vehicles on them. Additionally, he enjoys rearranging the minifigures and rearranging the buildings. It seems like the buildings are in different places almost every time I walk by.

My kiddo thought the people in the modulars wanted food so he has a lot of his food trucks out and ready to serve the people. I like how he split up #10218-1: Pet Shop to have the Pet Shop building separate from the apartment. He also makes sure the buildings are in line with the size of the road plates so they line up okay.

It was the first time for me to get to use a corner building on a corner. My kiddo is mystified that the early modulars lack all of the details of the newer ones, but #10211-1: Grand Emporium is a cool looking building. We also added #80113-1: Family Reunion to the road just to have some builds on the other side of the street. Once we finish building, hopefully we can liven up the street scene a bit.

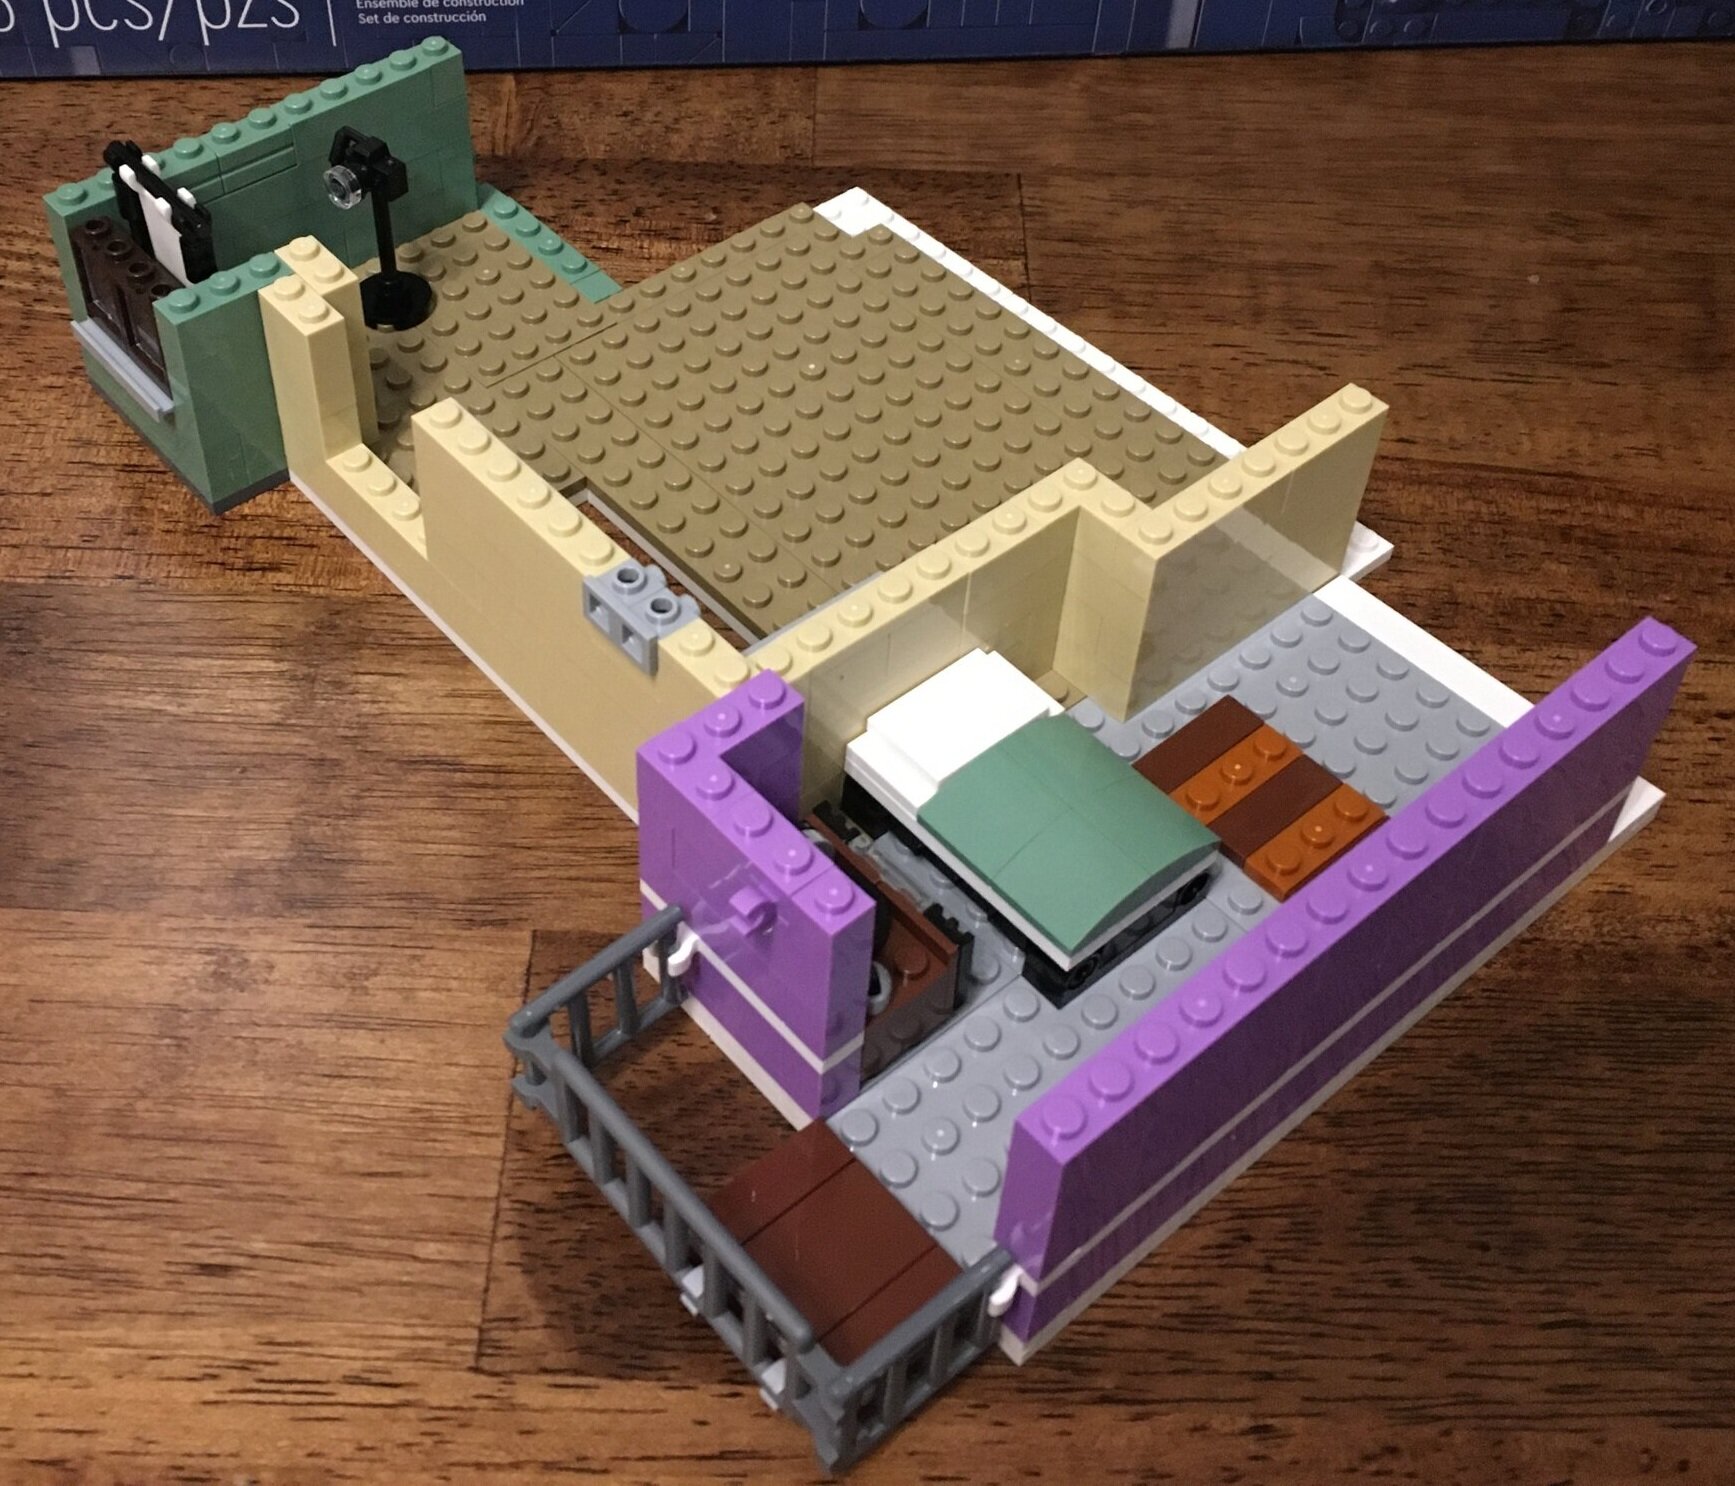
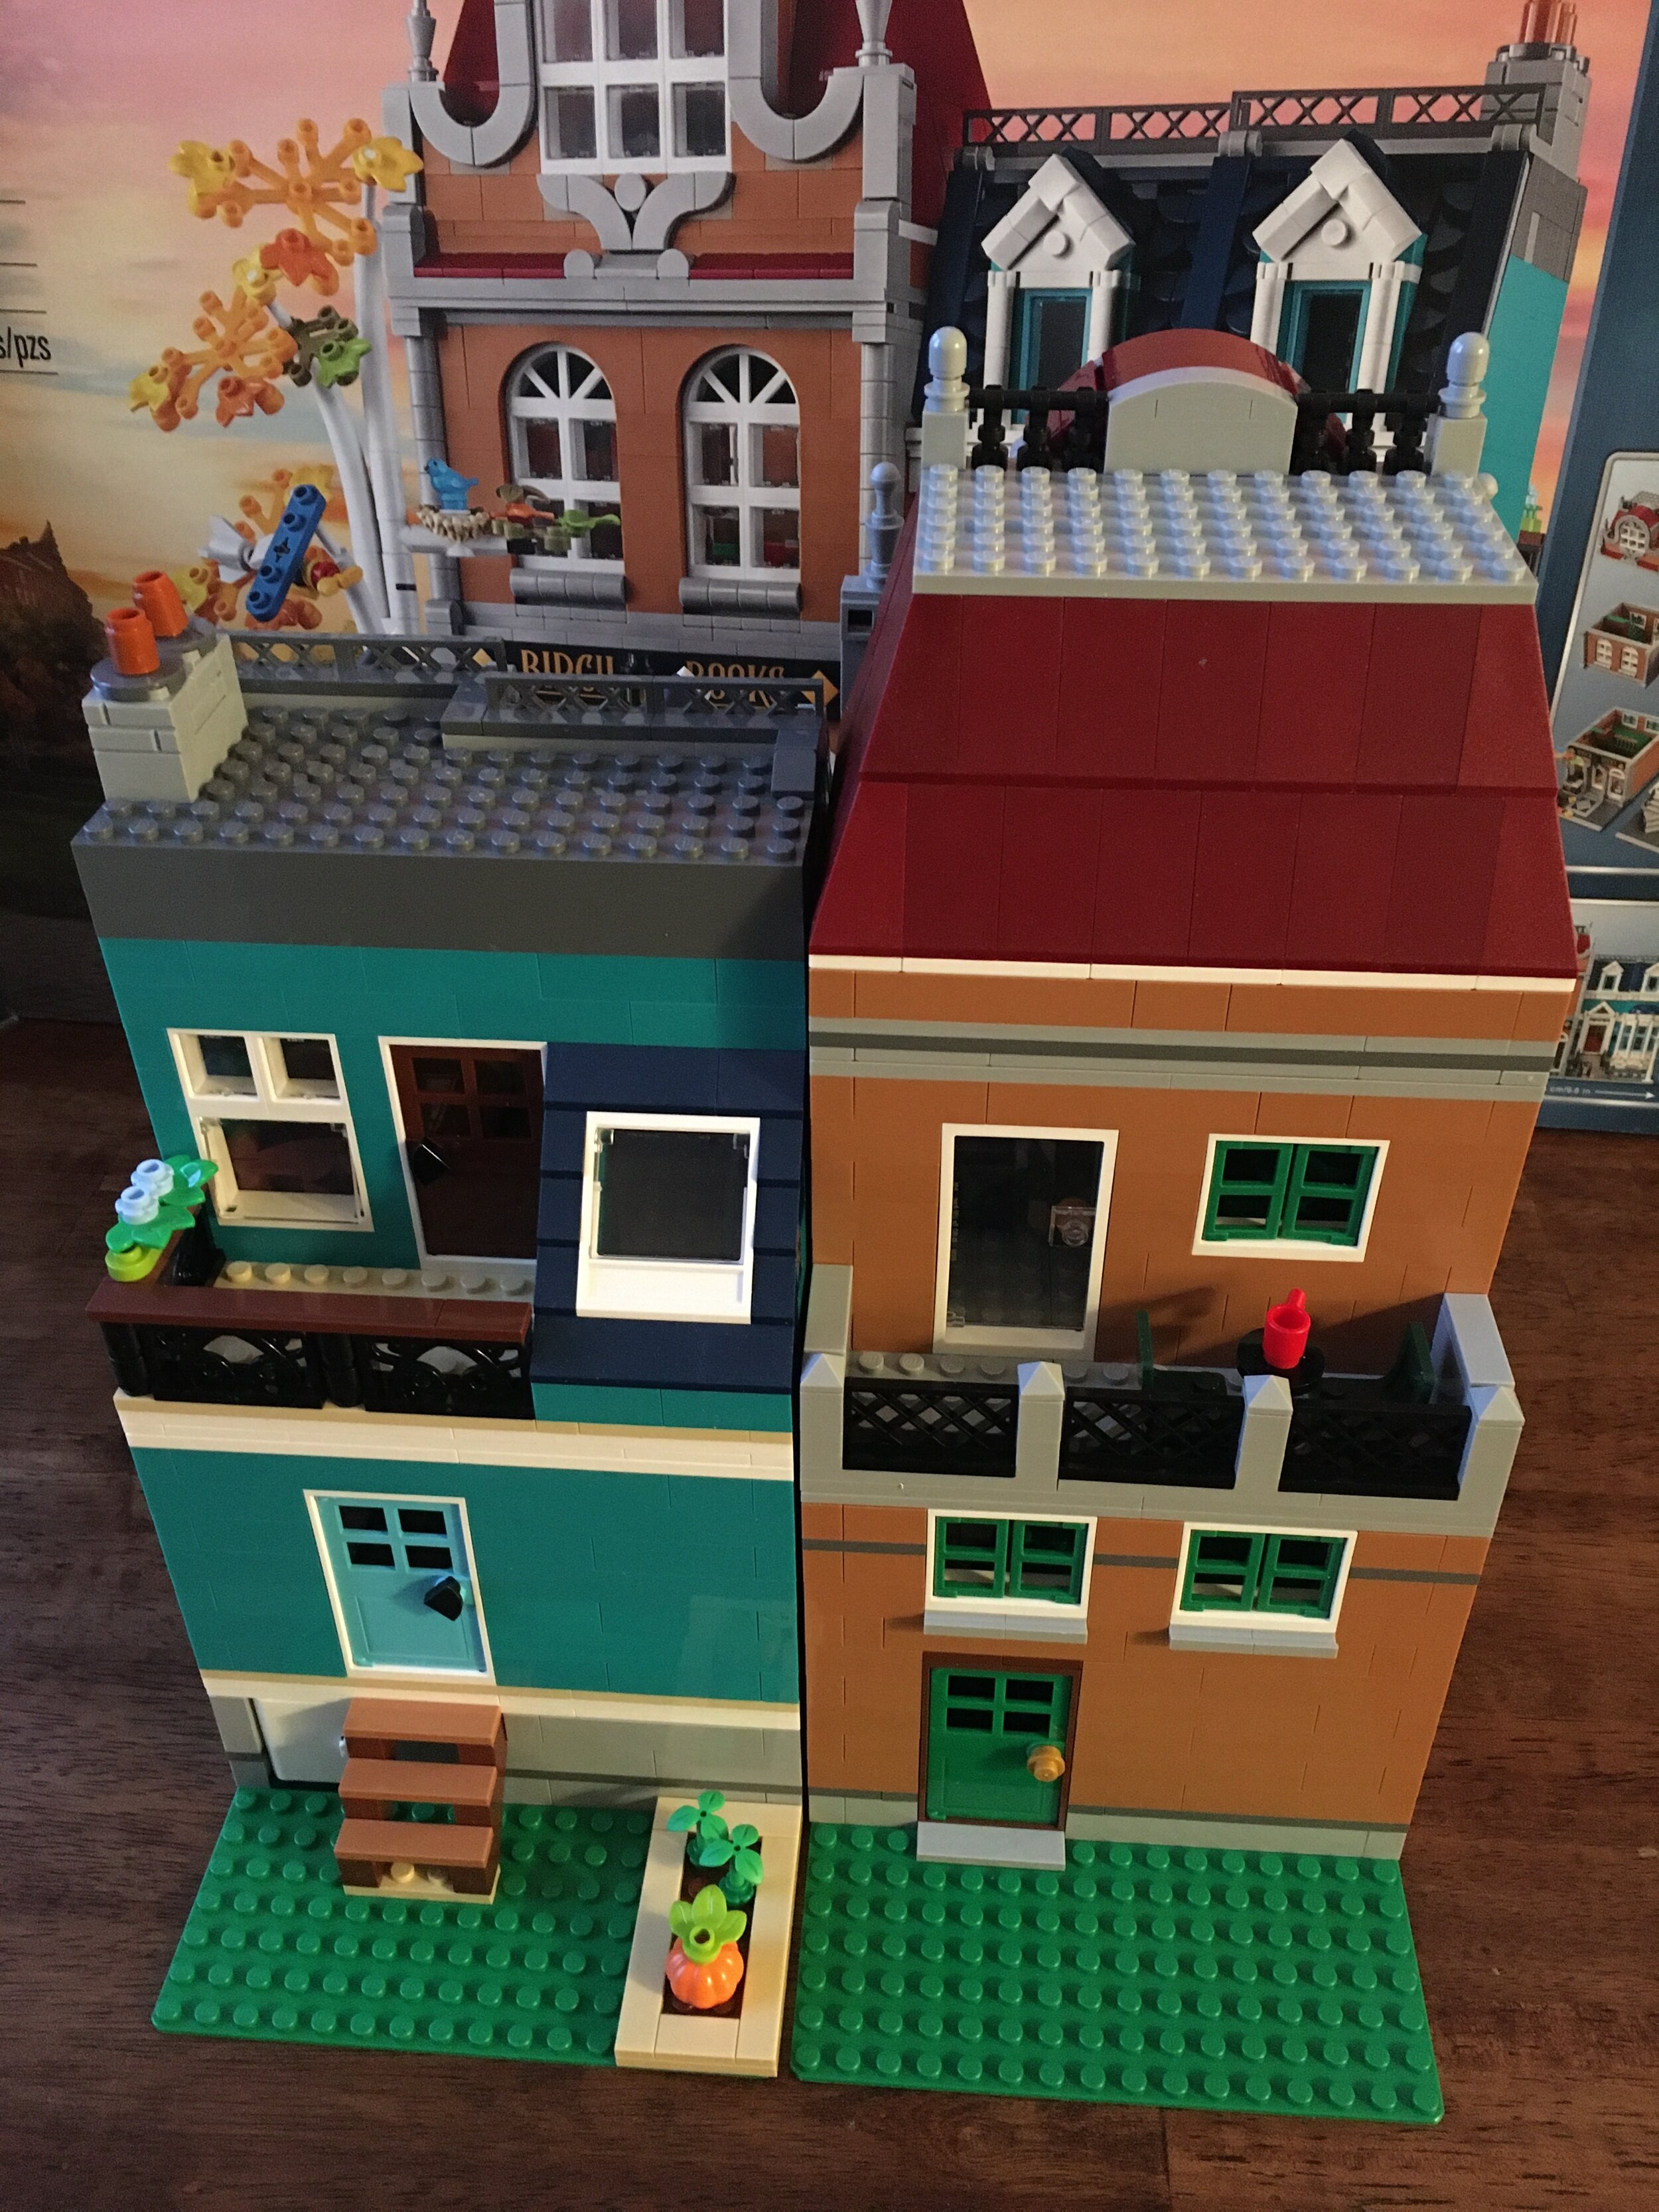
My kiddo added in his own modular building design next to #10224-1: Town Hall. He was very concerned with the difference in building heights, but I told him it was fine and he now has plans for more additions to the street. Not pictured, but next to it, he added a park as the wall goes the other direction and the modular buildings would look funny in that corner. He thought a park would help to make the corner work.
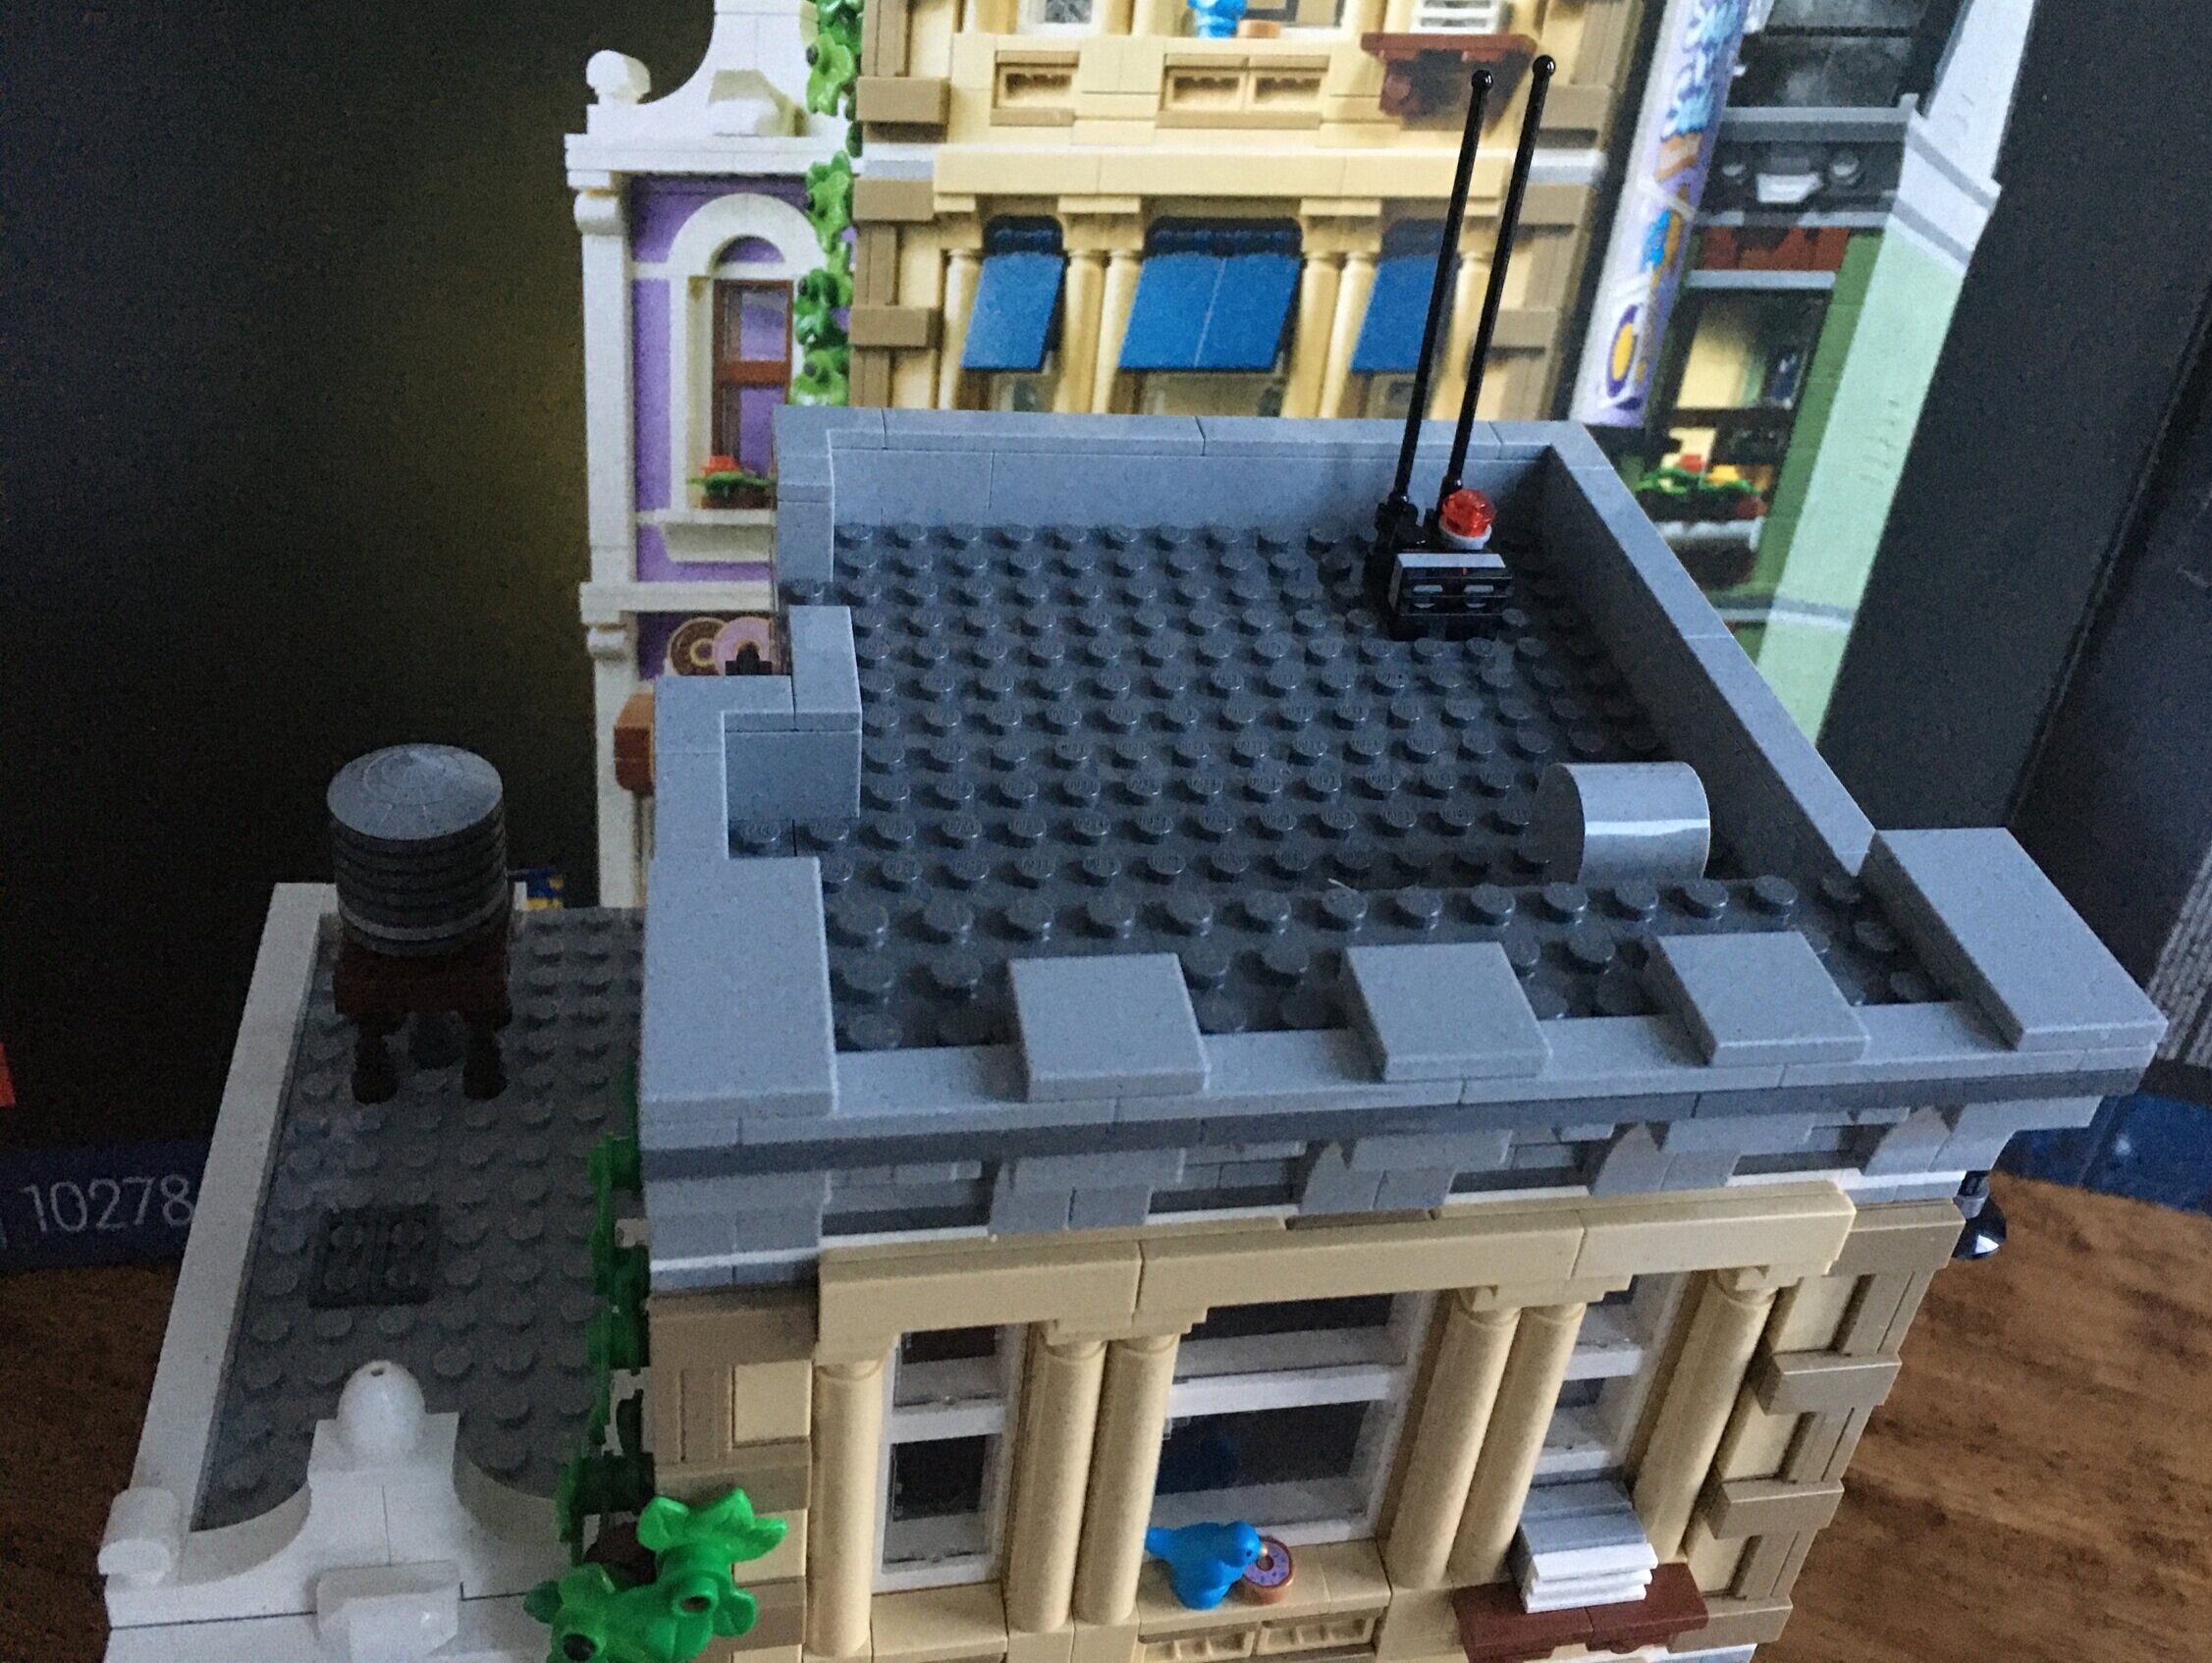
I also had never put two corner buildings next to each other, but I like how #10251-1: Brick Bank and #10232-1: Palace Cinema create a larger walkway for minifigures when placed next to each other.

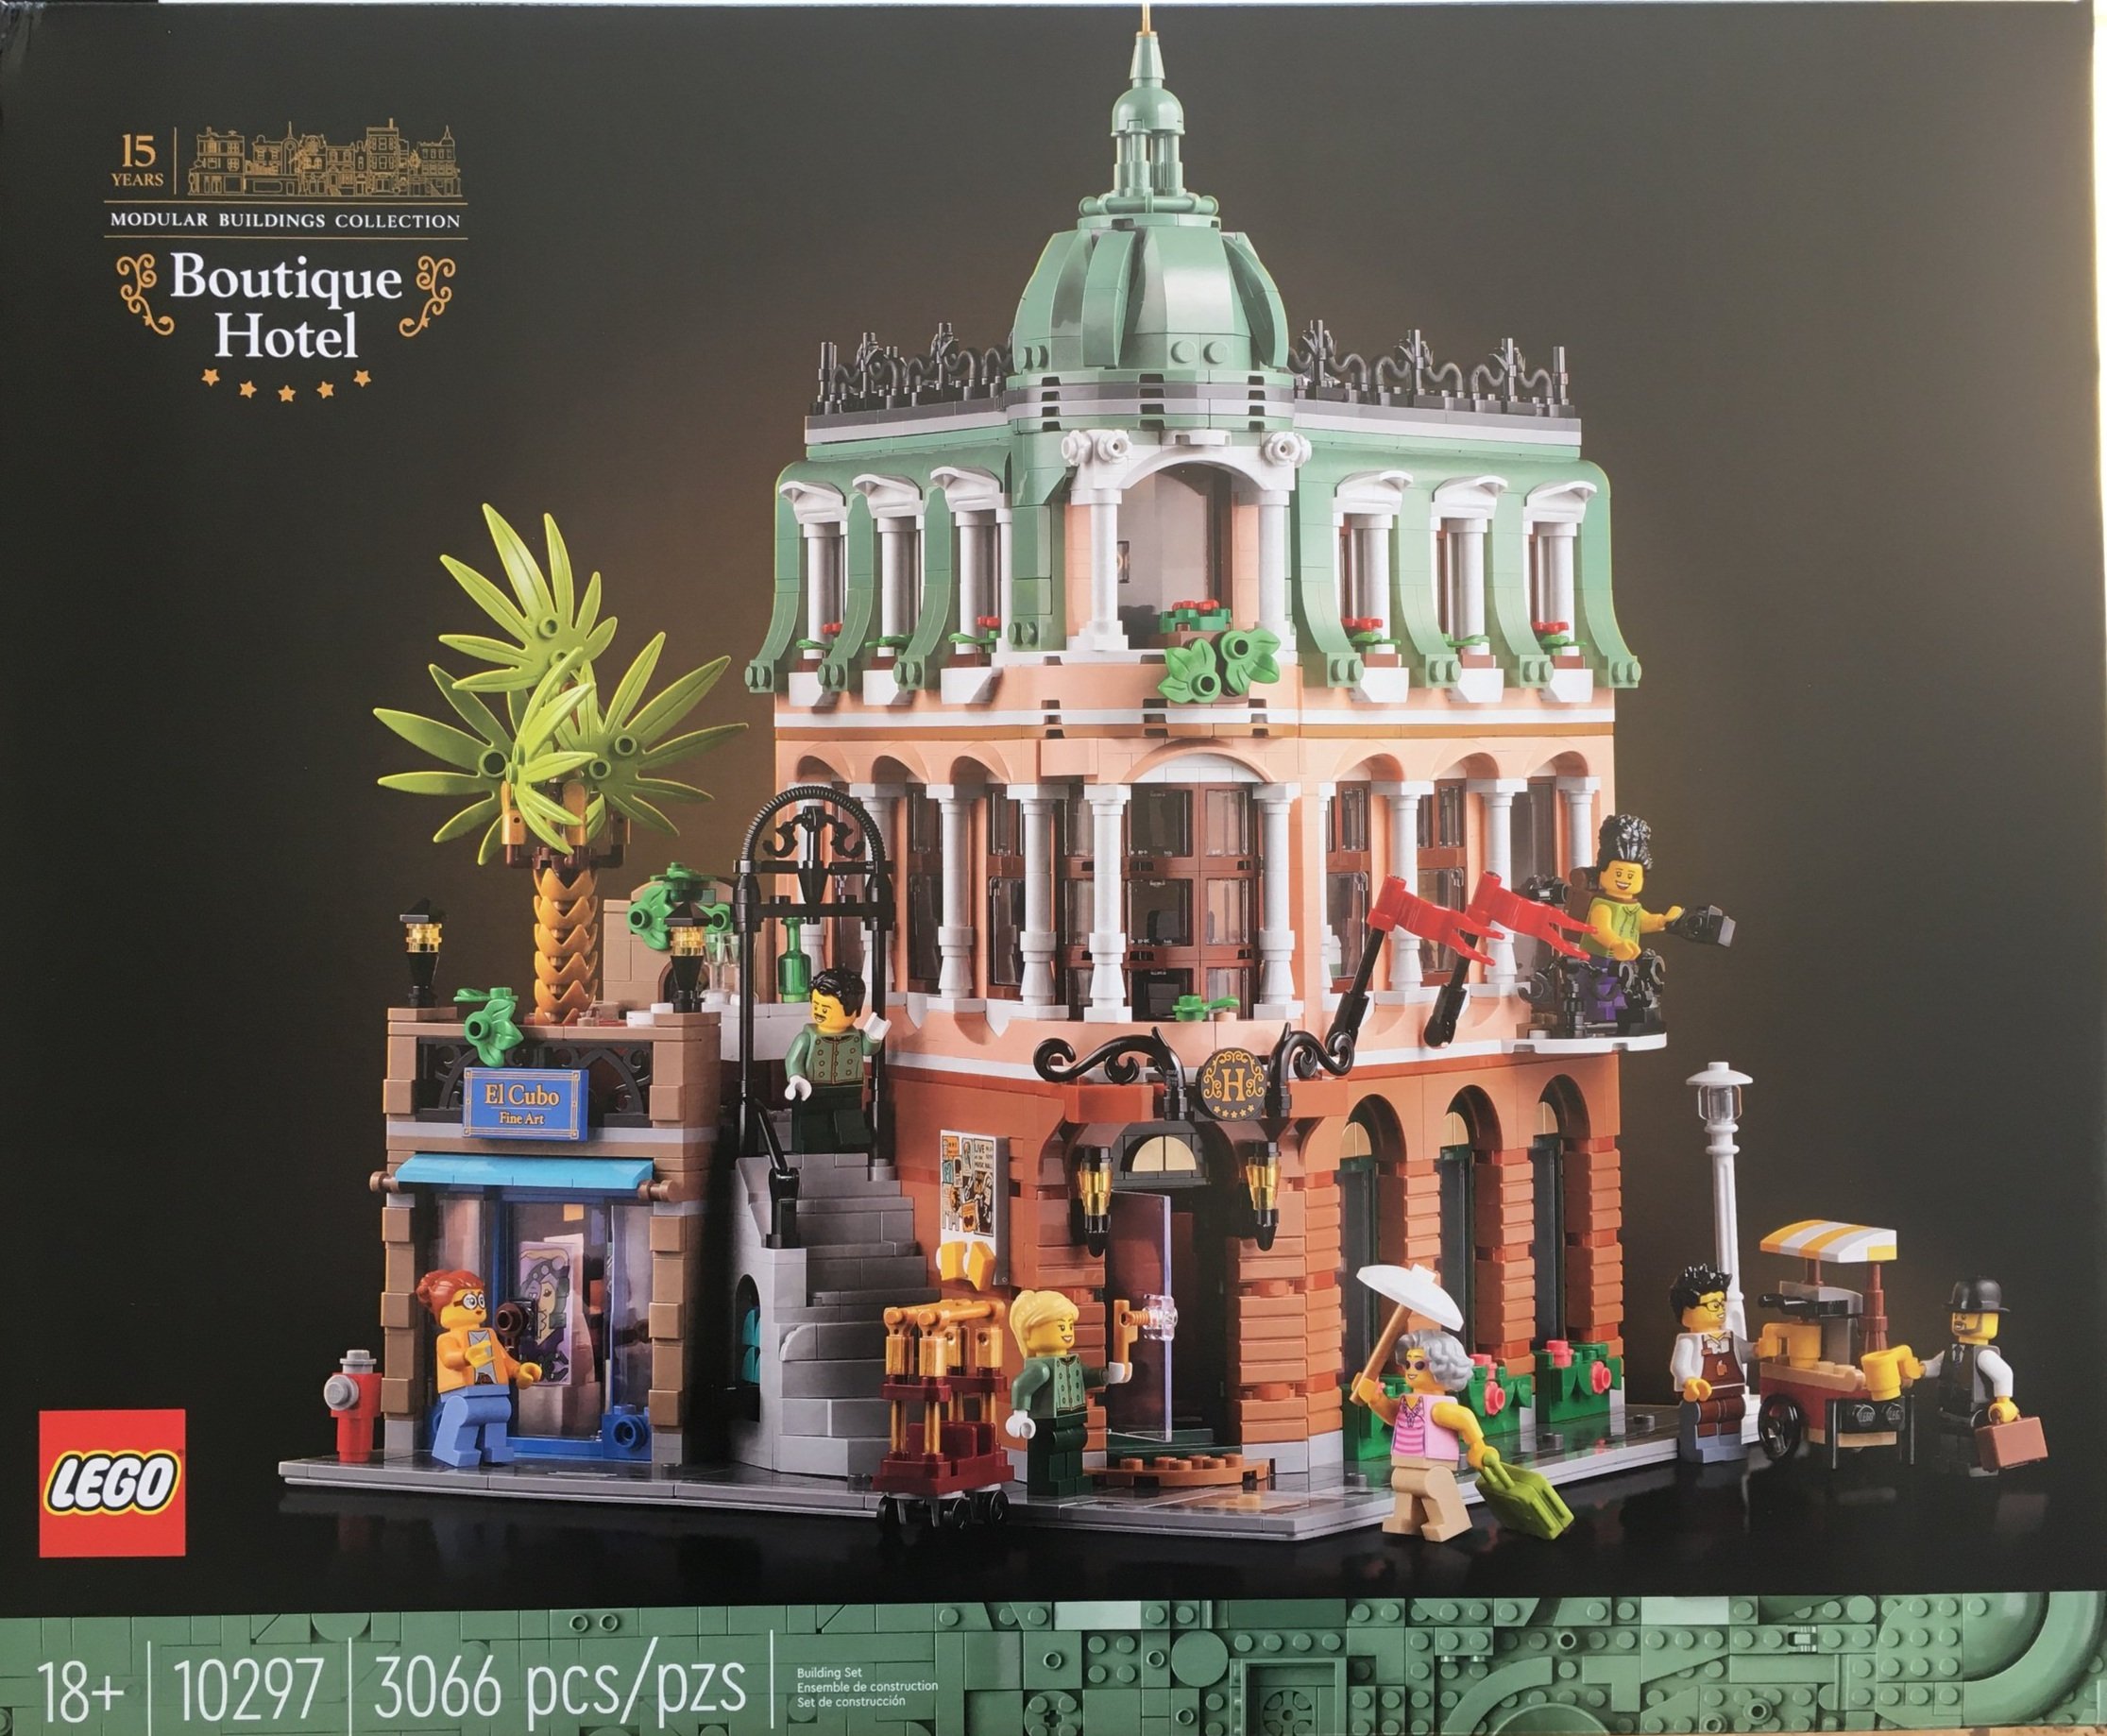
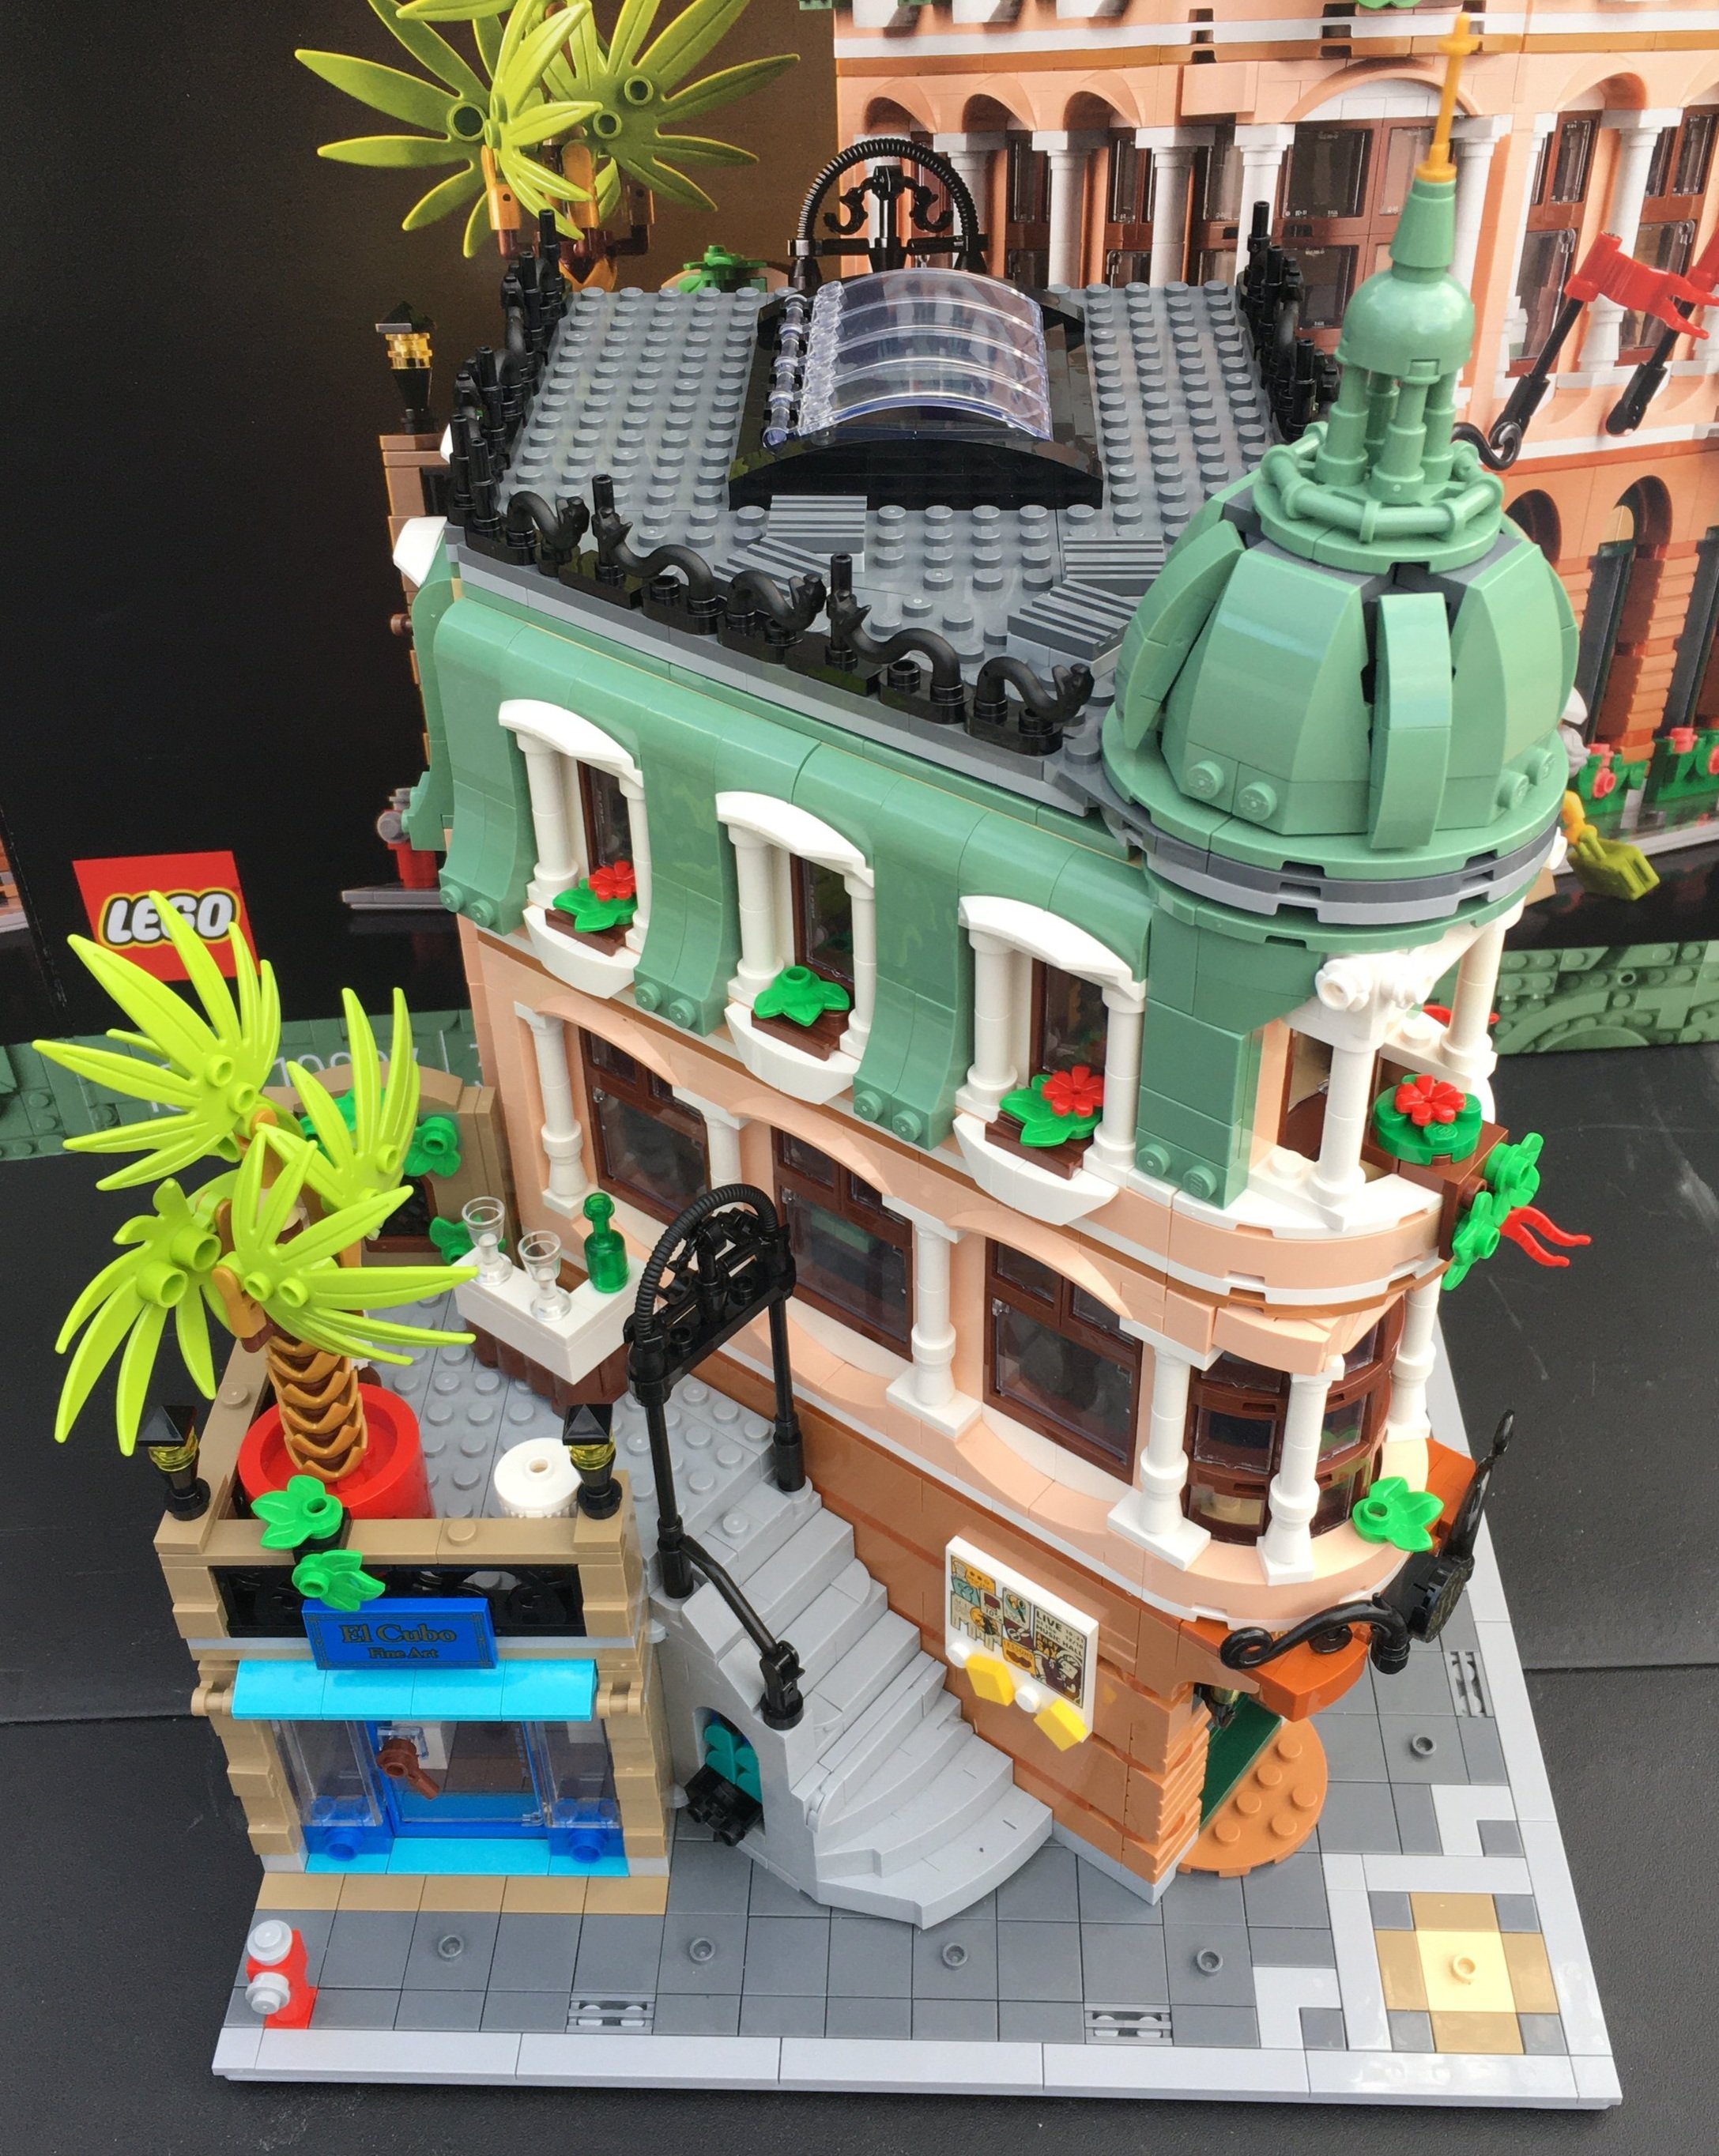
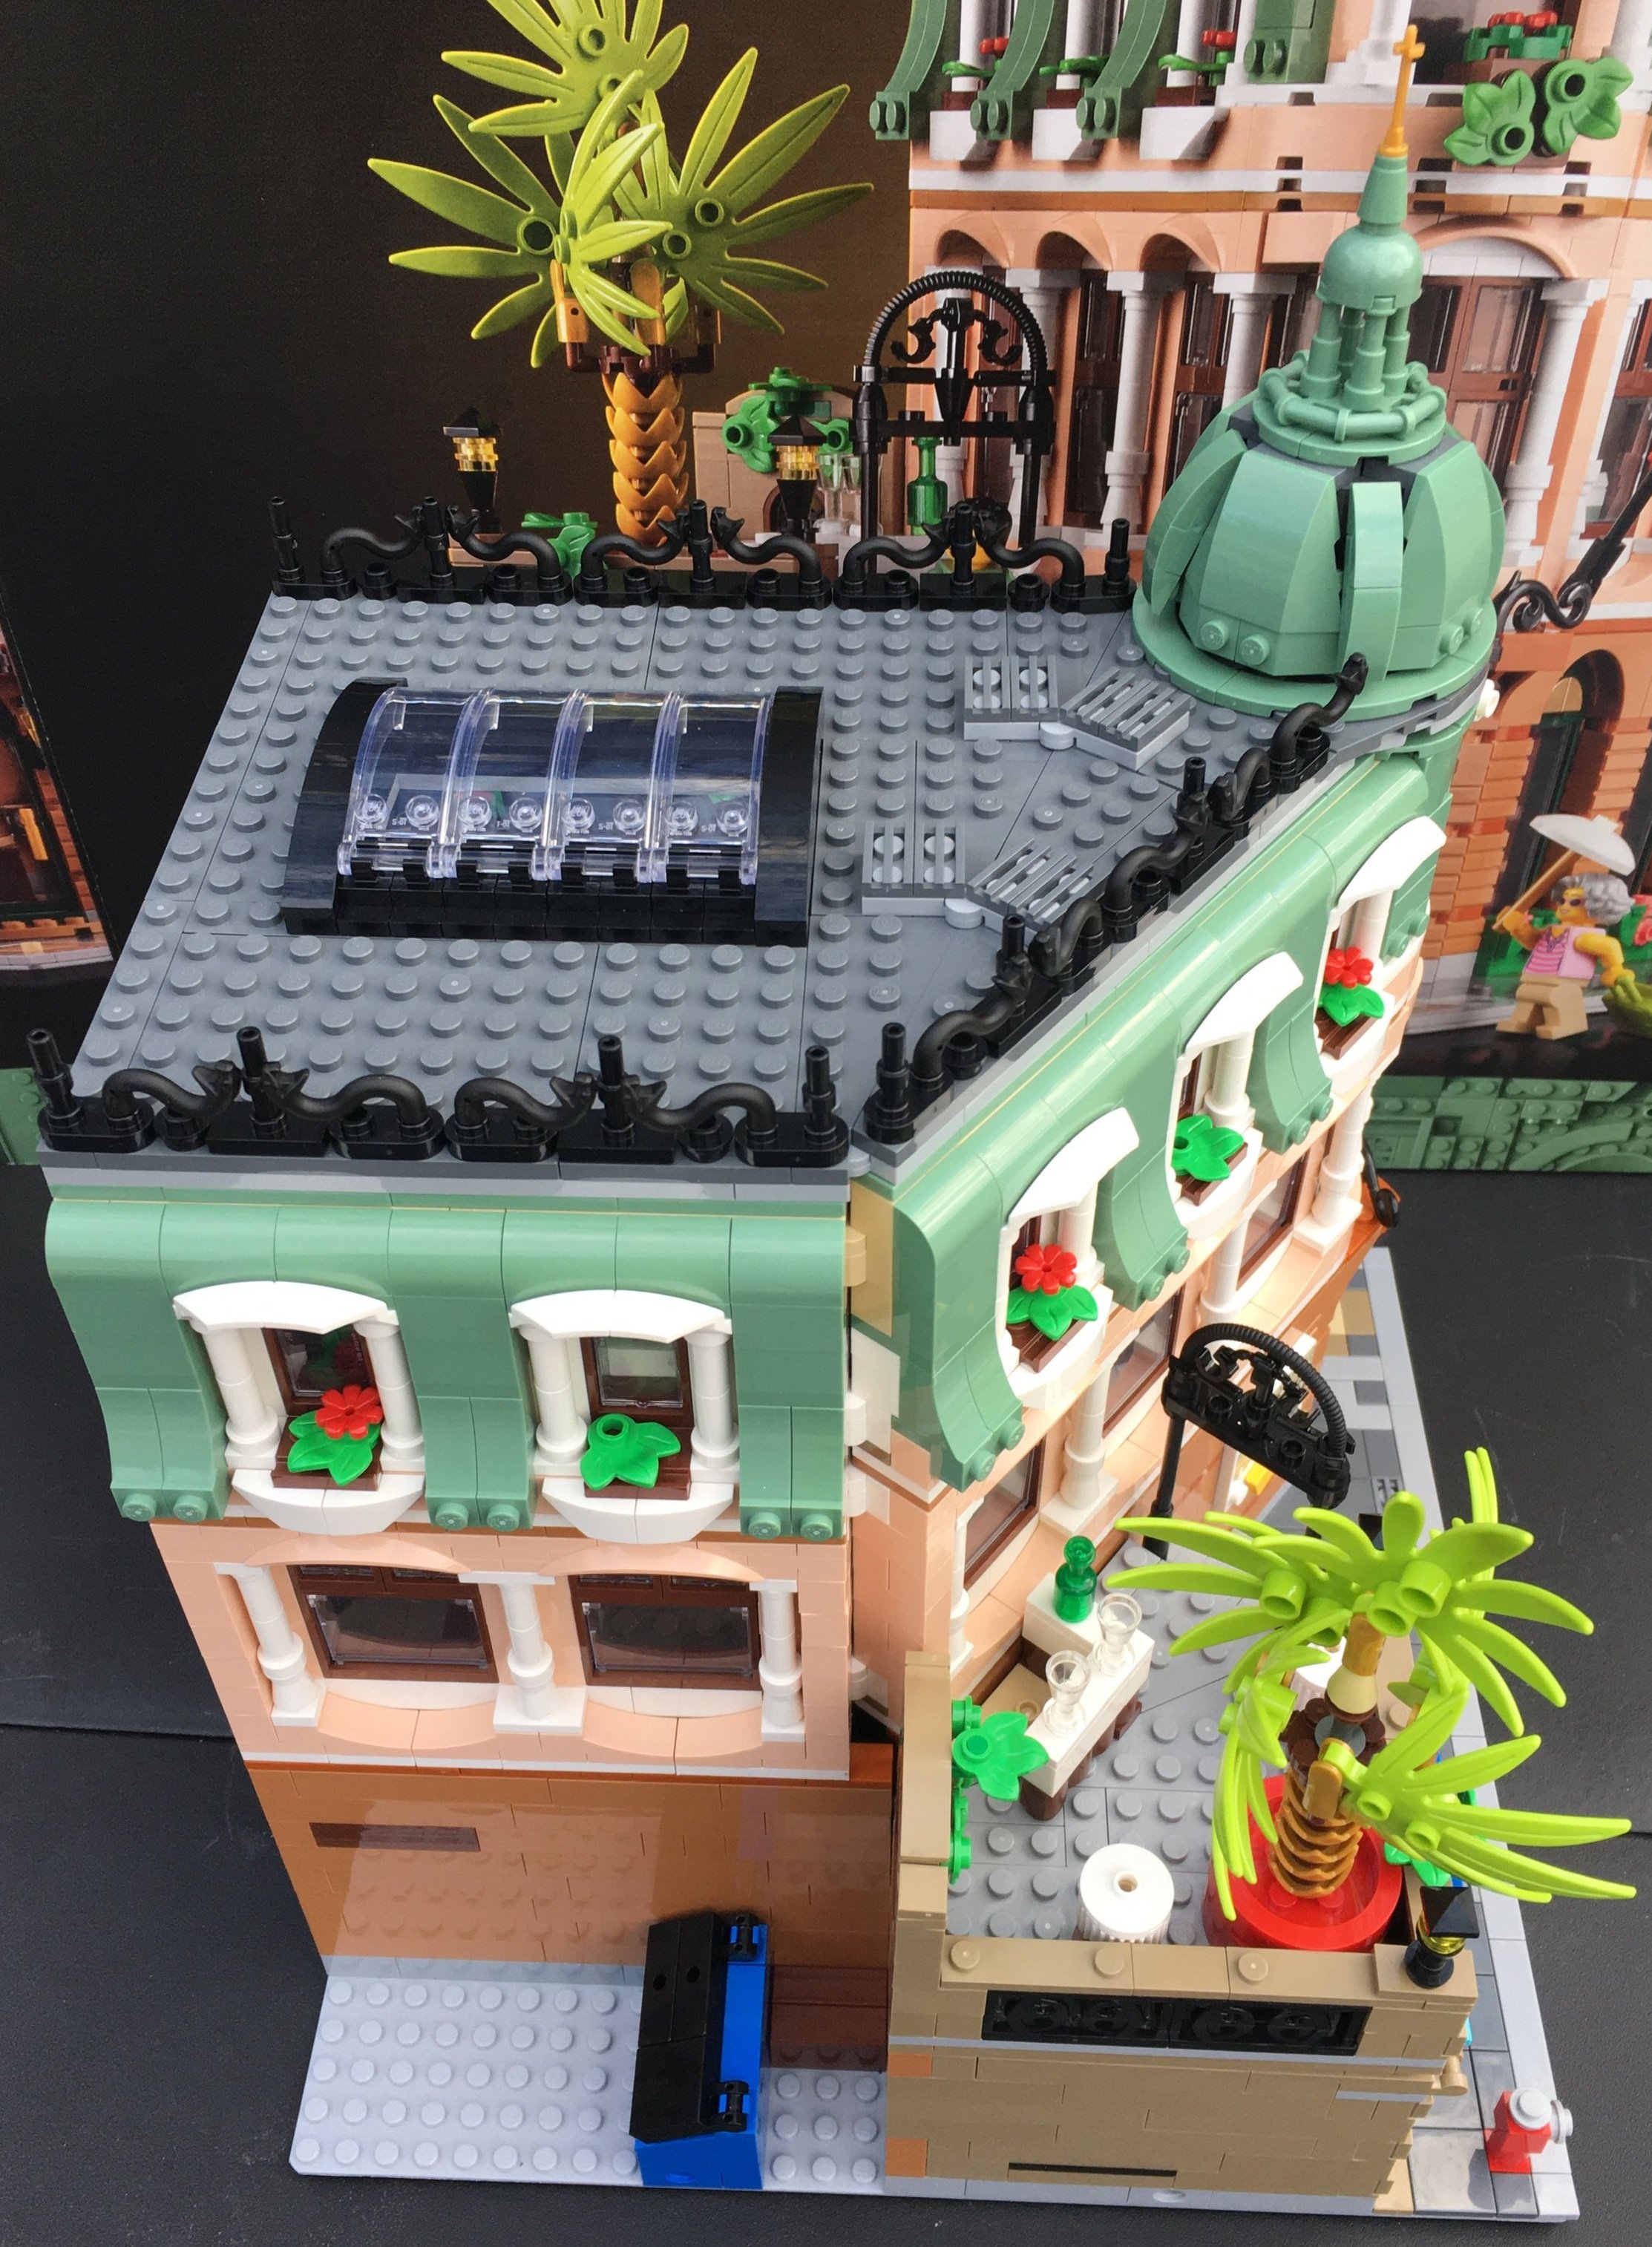
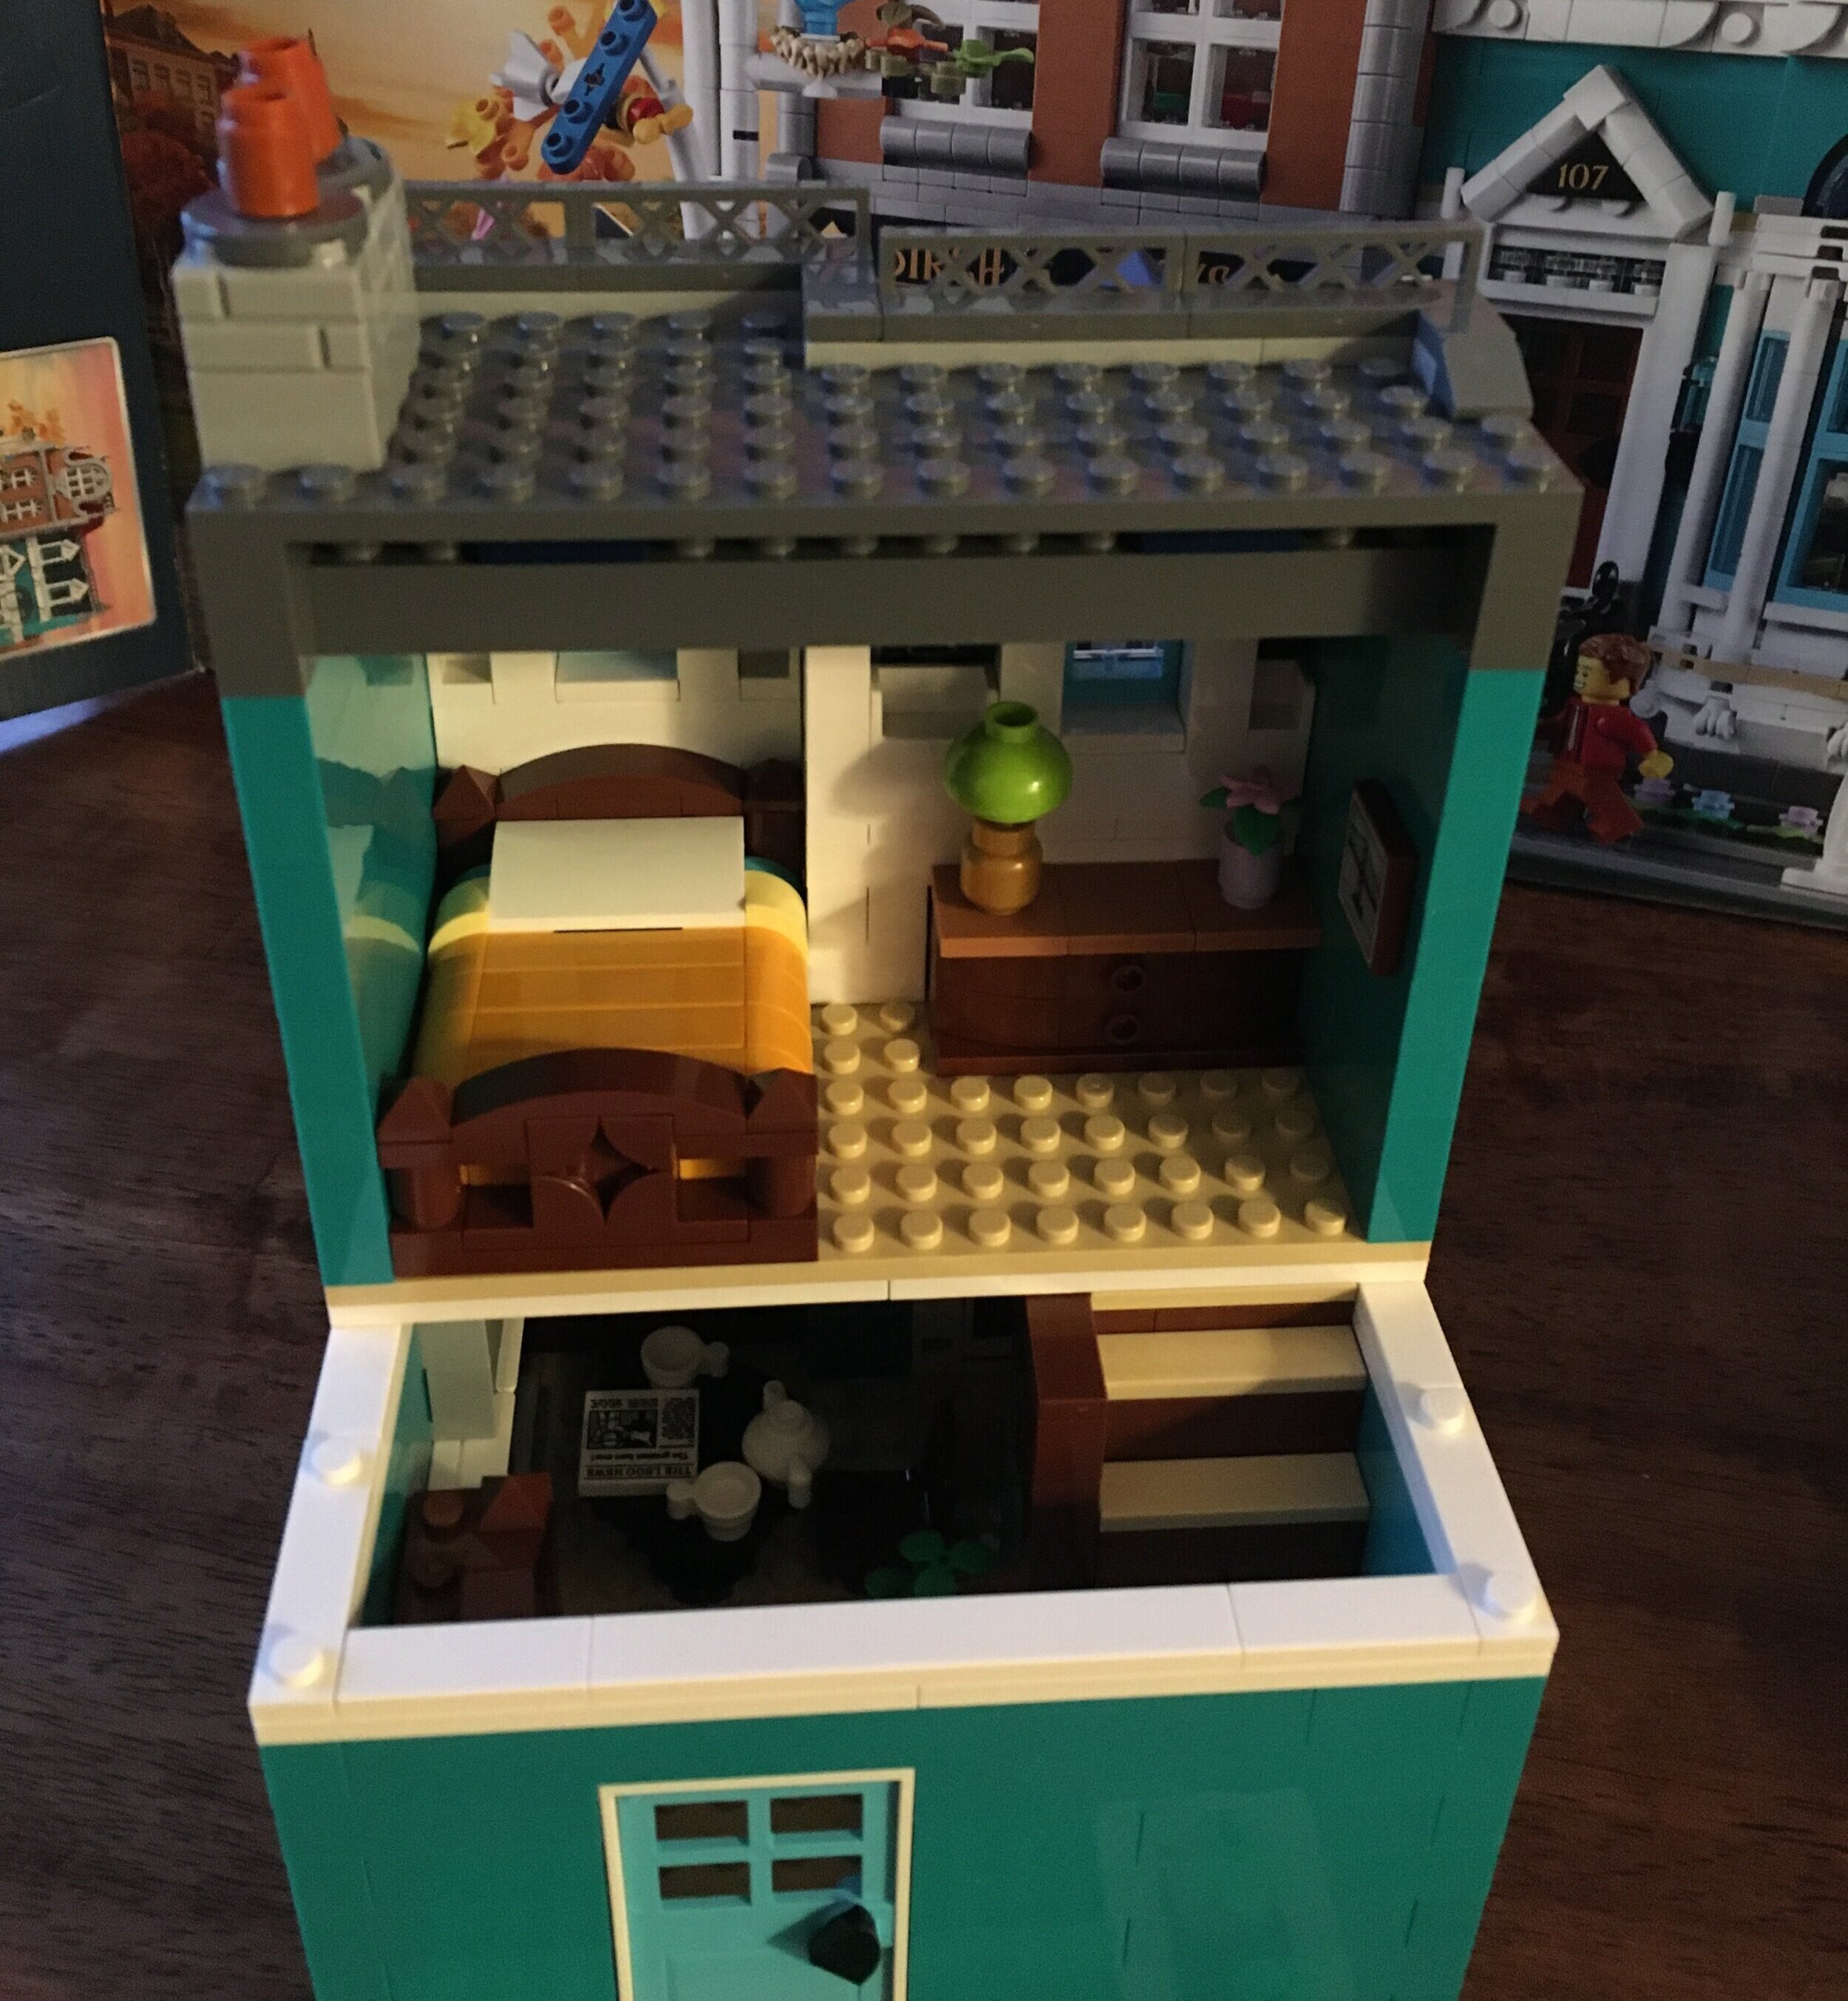
The last two we finished were #10182-1: Cafe Corner and #10297-1: Boutique Hotel. My kiddo didn’t want two hotels together, but I put them there as I wanted to see what they looked like together. He’ll move them soon I’m sure. He couldn’t fathom that there were no interior details, but he’s added “furnishing the Cafe Corner” to our list of things to do.
Do you build with your kids? How do you build with them? Just sets? Creative building? Create scenes together?
However you build with your family, happy building!