Bricklink

My Bricklink Designer Program Round 4 Picks

I’ve been writing about the Bricklink Designer Program that kicked off in 2023 for a while. I’ve voted on the last three rounds and a few of my picks are being turned into sets in the program. At the time of this post, Round 1 pre-orders just kicked off. Hopefully you survived the 30 minute website outage to grab the set(s) that you were interested in. Round 4 voting just kicked off and ends on 16 February. Like many of the past rounds, there are a lot of modular type buildings, castles, pirates, and some space items. This round also includes a number of Winter Village themed sets which corresponds to palette being released 1 December for a mid-January submission timeframe.

I made a few picks and listed them below. I also made sure to give all five “Love It” votes.


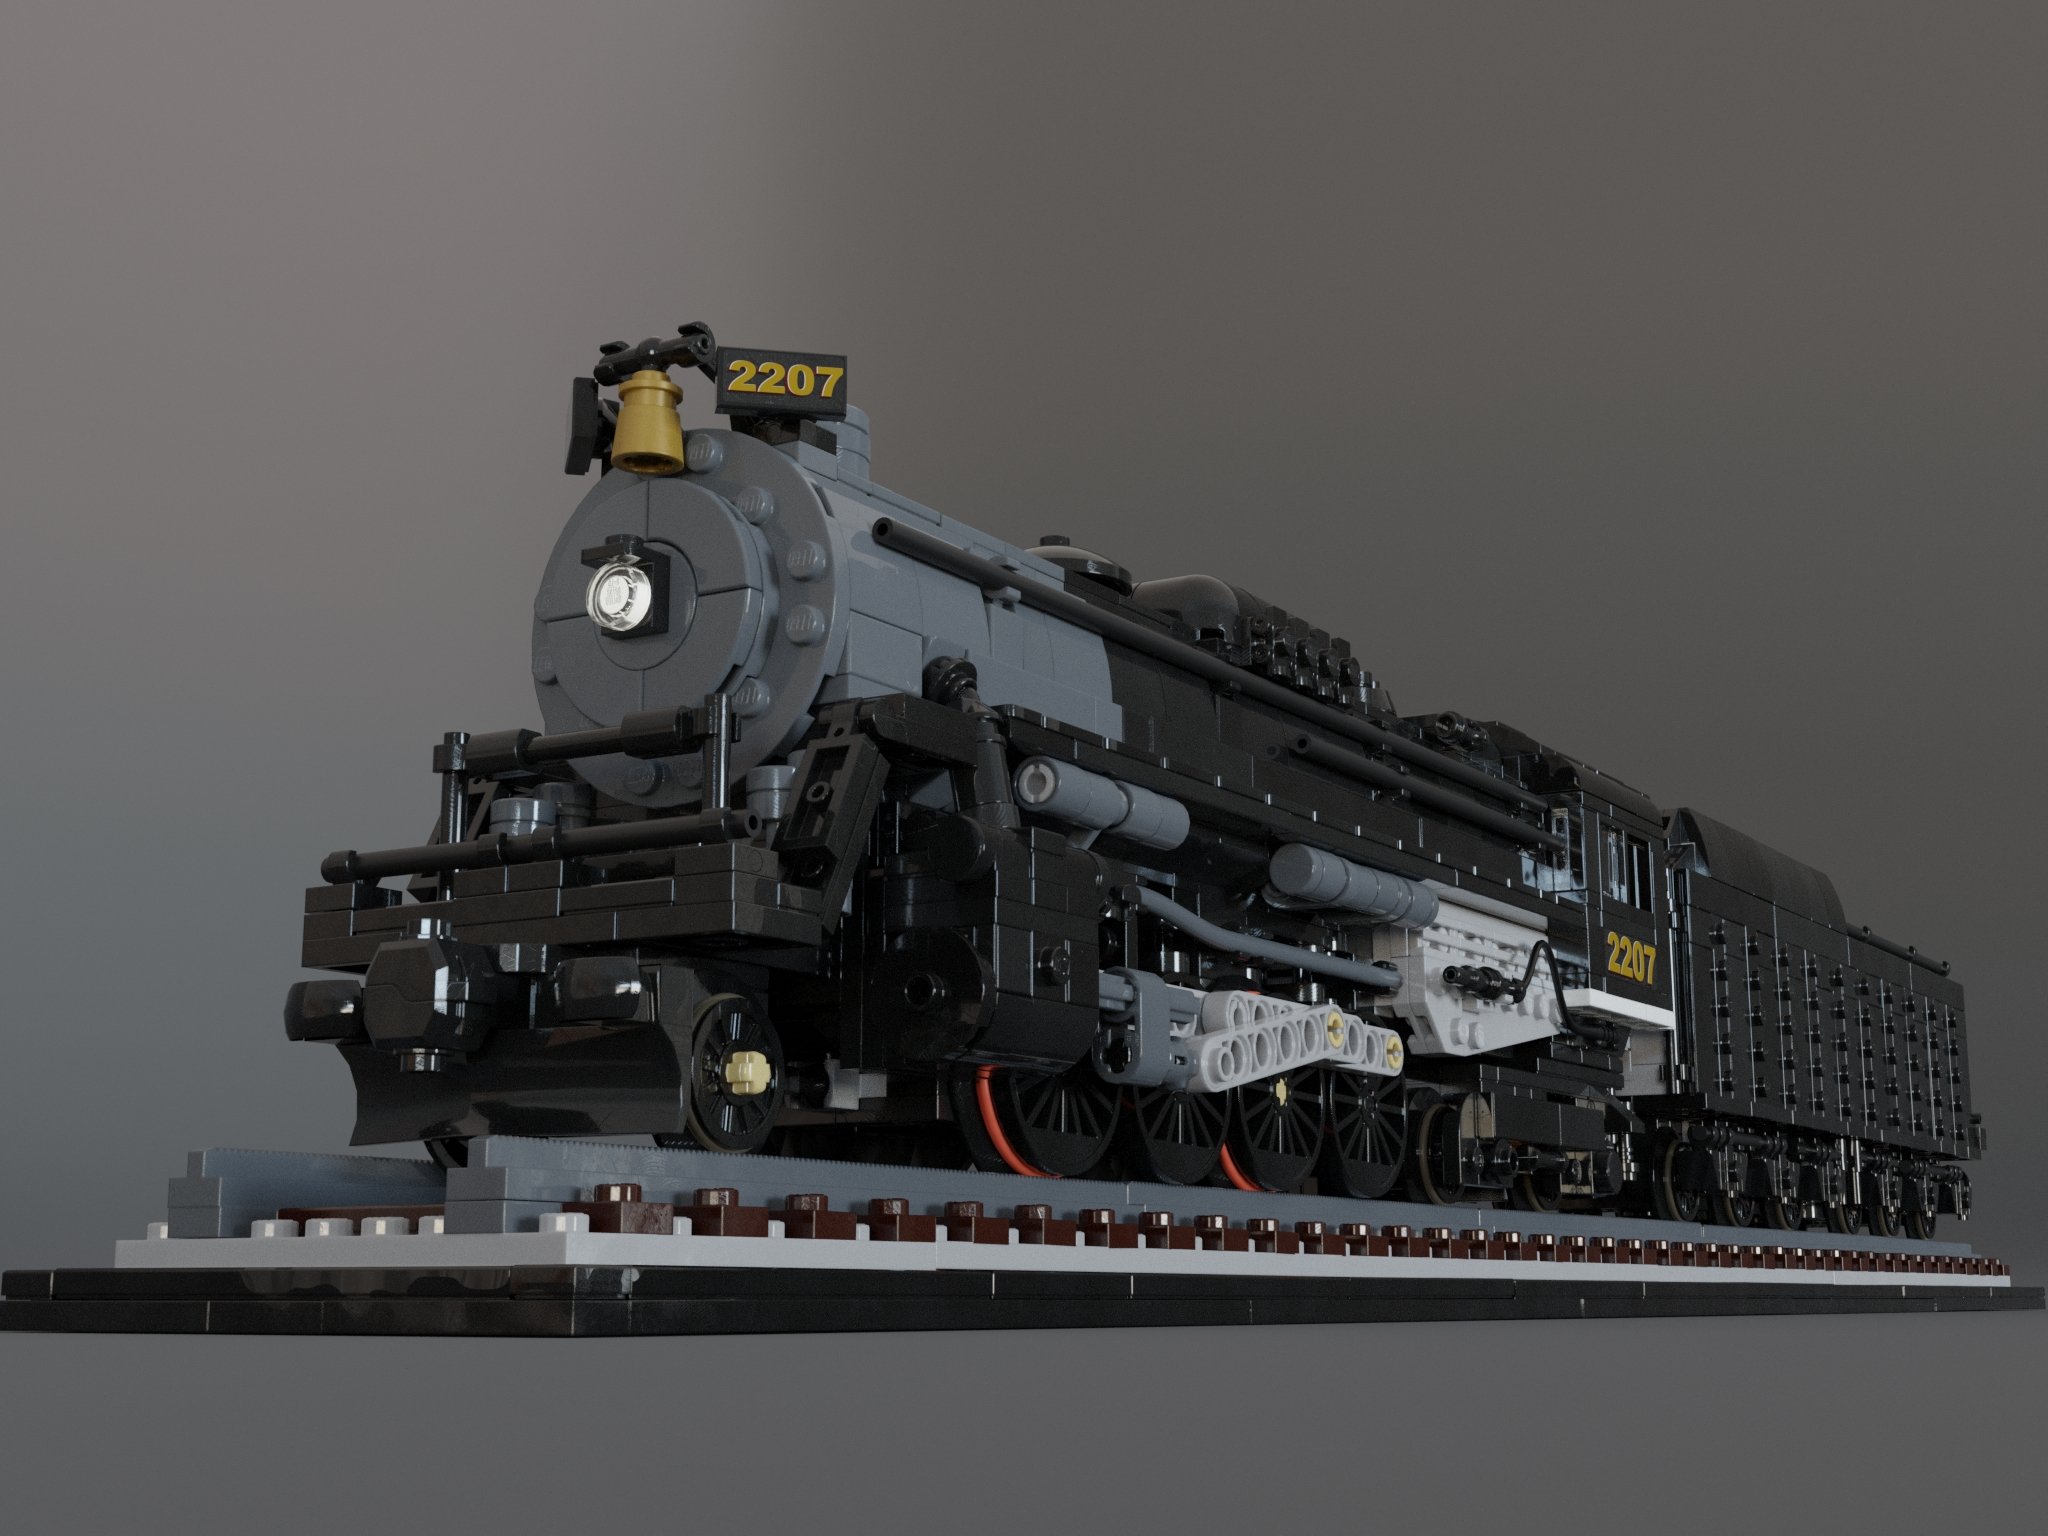
The first one is American Steam Locomotive by designer stijnd which is made up of 2,143 pieces. The fan community has been pushing for some awesome looking steam engines and I think this one would be a great addition to the lineup. I know trains aren’t the most popular theme, but this one has some great detail and would fit in this program instead of the main lineup through LEGO Icons or Ideas.


The next pick is called Blooming Bouquets. It’s by designer JackBrickLover and contains 757 pieces. While it’s on the smaller side for a modular building, I think every city could use some smaller buildings and our wallets could use some smaller sets on the cheaper side. This one still has a lot of great details and is very bright and has a good mix of colors. I like the flower on the top of the building with the butterfly.


Fire Truck is by designer KingCreations and packs a lot of detail into a build with only 412 pieces. The City theme gives us a ton of fire vehicles with new ones released each year, but we have yet to get one with this much detail and functionality. This would go great in any City layout and even includes two minifigures. As an added bonus, 412 pieces shouldn’t break the bank. Maybe $45? Please vote for this one like I did!


I had to throw in a building/modular. Here’s the Old City Canal by lukreate. It contains 3,742 pieces and is the front facade of a section of a city around a canal. While it’s not a true modular, it still has a lot of fun details and can be rearranged to give it some different views. Downsides are the high piece count (high price) and a bunch of stickers, but I think it looks pretty cool!


My last pick is The Northern Ambassador Limited by NewEletia45. This one contains 2,272 pieces. The engine looks pretty similar to the the Emerald Night or at least the wheel assembly looks similar. I like the addition of two passenger cars as well. I doubt we’d get the fans to vote for two, but I’ll hedge my bets and pick two while really hoping for one (and I’ll probably get none, but that’s okay).

Please vote for your favorites! Happy building!

Bricklink is Back Up and Running! Thank you Bricklink Team!

After a brief hiatus, Bricklink is back up and running. If you missed it, a brief synopsis of the situation is that the Bricklink became aware of some fraudulent activity going on in October. Apparently people were listing sets at very cheap prices, accepting payment, and then not delivering. These payments were not through PayPal or Stripe, but instead through direct fund transfers (having lived in Europe, I’m familiar with this process). This activity culminated in a ransom letter being delivered to Bricklink threatening to start taking out the larger stores until the funds were paid.

Out of precaution, the Bricklink team put the site in maintenance mode to update their security protocols. The site went back online on 8 November 2023 with a requirement to update your password before moving forward. I updated my information and logged in with no issue. The Bricks for Bricks store is still there with the full inventory listed. It is back open so check it out! The forums have more details on what happened and the response if you want more information.

A big shout out to the Bricklink team for working through the issue. Thanks to them for fixing the situation, protecting the site, and keeping it all operational.

Happy building!

My Top Pick Will Become a Set!!! 2023 Bricklink Designer Program - Round 2

The selections for the second round of the 2023 Bricklink Designer Program were released yesterday (23 August). My top pick will get made! I’m super excited! You can see my top 5 selections here. In case you missed it, you can see all of the Round 2 information on Bricklink here. Congrats to all the builders who were selected!

Let’s dig into the results…


Logging Railway by Bricklink user ties25. This set contains 2,706 pieces. This train is crossing a bridge which is all brick built. The track is not the standard LEGO track, but instead is tiles on their side. The bridge is a fun design, but not functional for LEGO track. You’ll have to do some modifications if you want to include the track in a LEGO train set up, but the train will run on normal LEGO gage rails.. I personally could do without the bridge, but I like the train. I assume it will be priced between $250 and $300.


The Ocean House by Bricklink user Hanwas. This set contains 2,157 pieces. It reminds me a lot of #21310-1: Old Fishing Store. It has some fun details and colors, but I’m personally not really excited about it. I would expect pricing between $190 and $230 based on the listed piece count.


Mushroom House by Bricklink user JonasKramm. This set contains 943 pieces. I like the fantasy type theme with all the plants and berries. The rideable snail is a nice touch too. With any luck, this set will be priced under $100.


Ominous Isle by Bricklink user jazlecraz. This is not his first set. Jared Le Cres designed set #BL19003: Skyline Express from the 2018-2019 Designer Program. This set contains 2,773 pieces and will help anyone looking to grow their pirate empire. .It is modular so you can change it up as desired and there are a bunch of moveable features as well. I suspect this set will be popular when it’s released. Let’s hope the price stays under $300.


Brick Cross Train Station by Bricklink user Brickester. This set contains 3,034 pieces. This one was the one I really wanted to get picked.. I think it would look great in a city with #910002-1: Studgate Train Station. Two very different designs, but more than just the platforms that you get in the standard CITY Lego set. There is a bunch of detail in this set and I like the architectural design. I can’t wait for this one.

Crowd funding for these sets is in June 2024 and shipping won’t happen until November 2024 so you’ll have to wait some on these.

Happy building!

Set Review - #910008-1: Modular Construction Site - Bricklink Designer Progr

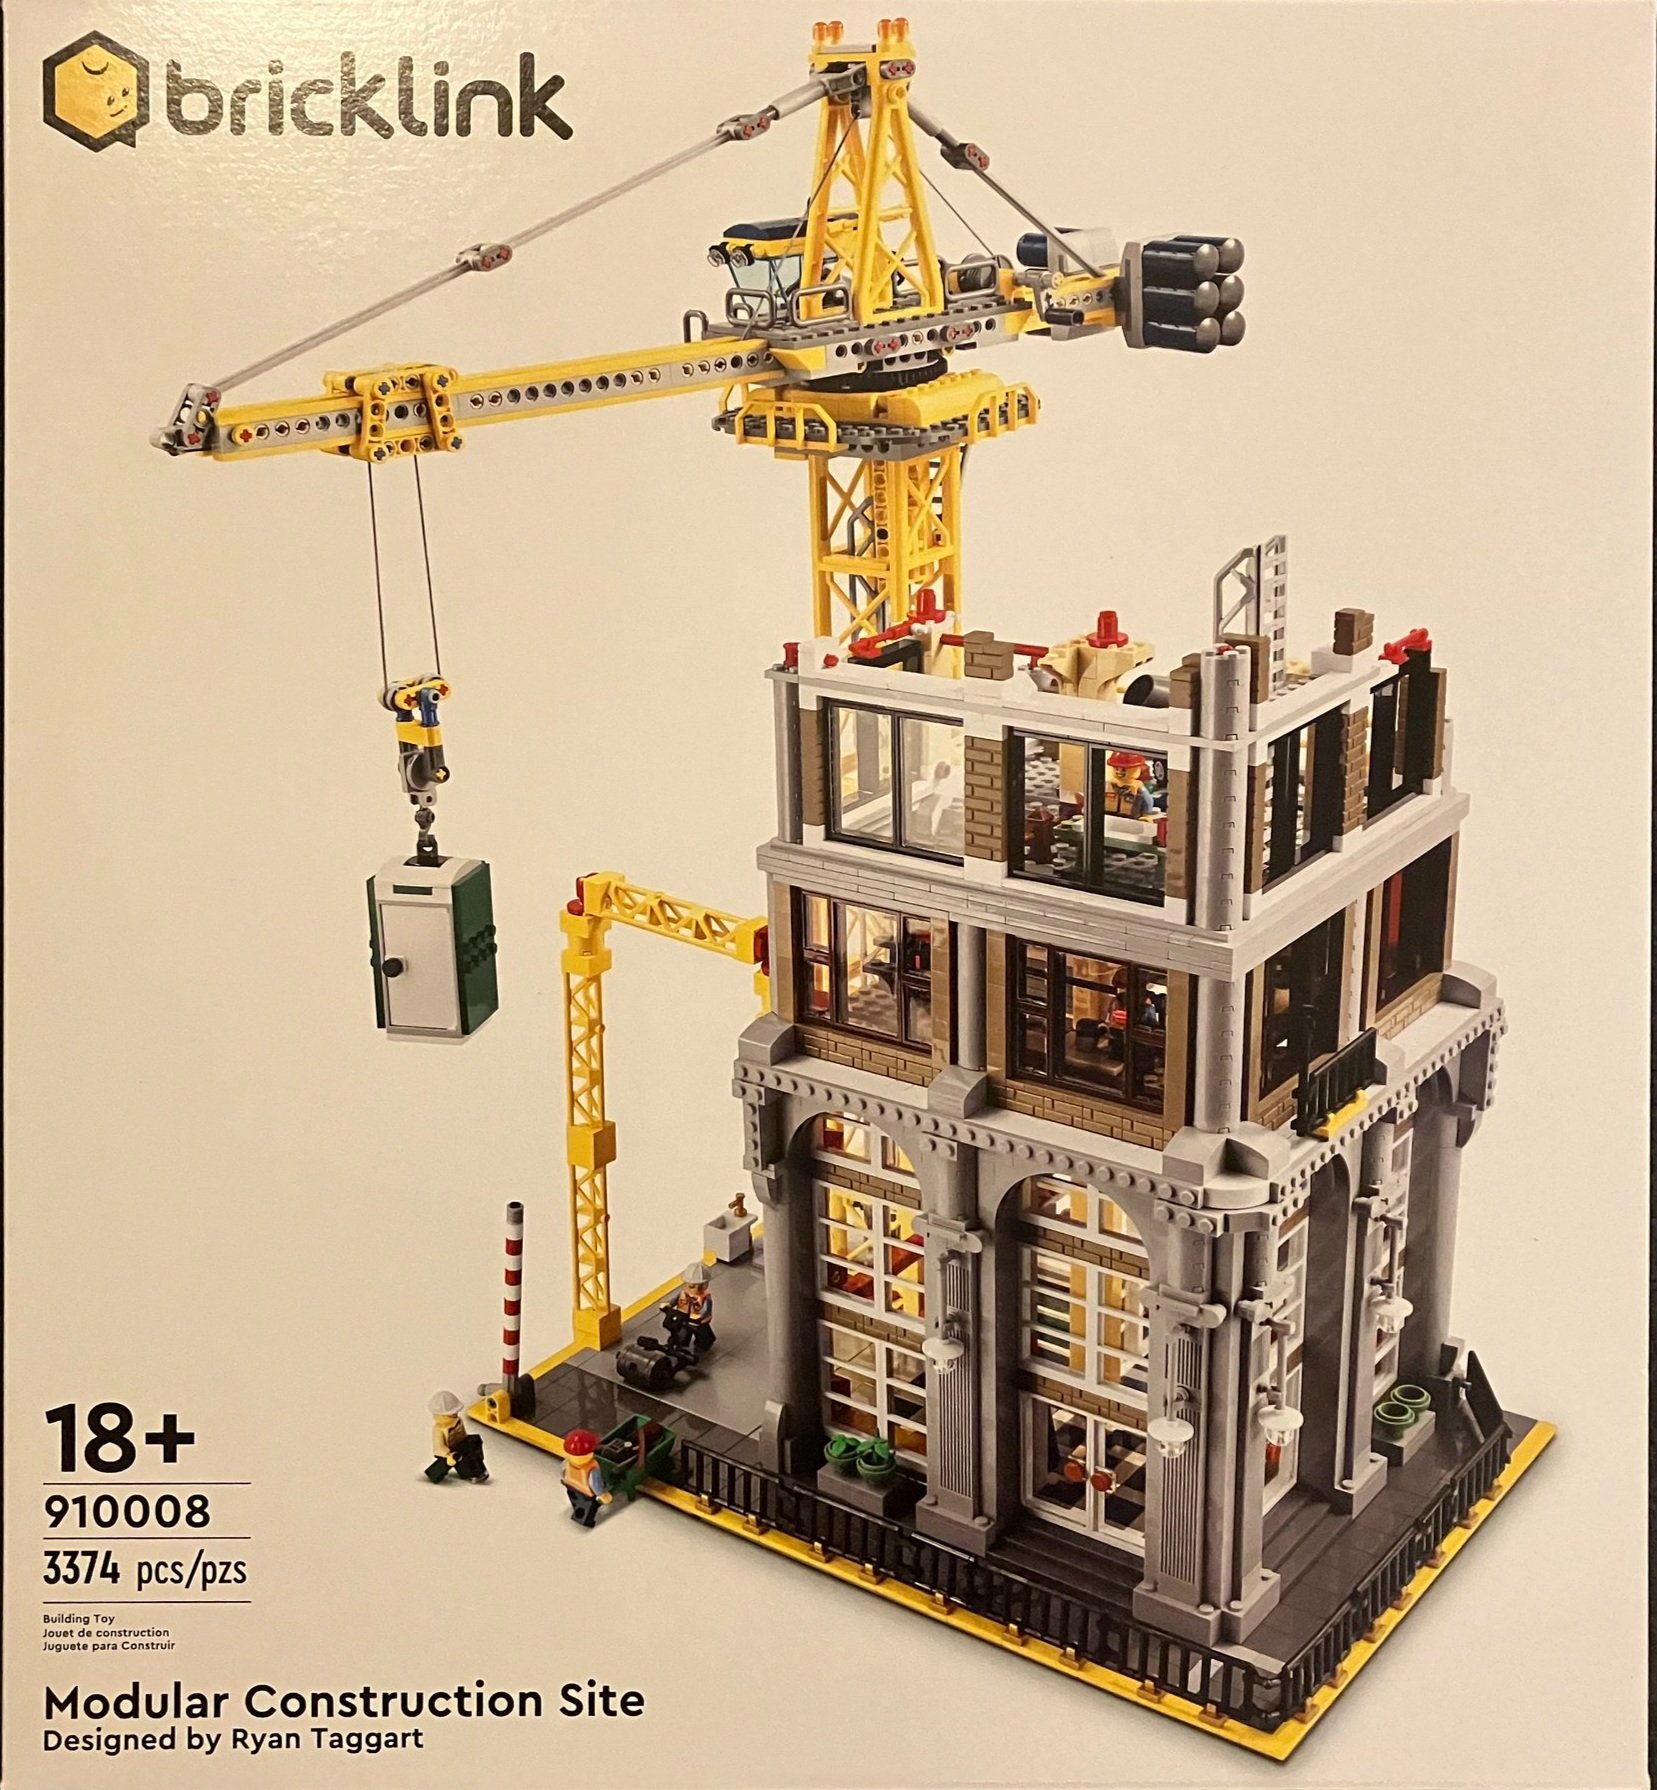
It took a while for me to get to this one, but better late than never. This one is #910008-1: Modular Construction Site. It was from the Bricklink Designer Program that ran in 2021, but the set wasn’t released until 2023. This set contains 3,371 pieces and retailed for $319.99 which puts it at $0.095 per piece. The fan designer was user name ryantaggart which also happens to be his name, Ryan Taggart.

I’m a fan of the modular buildings and I thought this one would be something different to spice up the street with a building under construction. I had a blast building #910002-1: Studgate Train Station so I figured I’d jump into this one next.

Speaking of Bricklink, a quick plug for the Bricks for Bricks Bricklink store. 15% of our profits up through the end of November will be going to Creations for Charity so thanks in advance for your purchase. Onto the review.

The box is similar to the other Bricklink sets with the white packaging and pictures of the set. The front shows the full set assembled. The back shows the modularity of the set… which isn’t a whole lot. You can remove one partial floor off the top, but the rest is still attached. I guess it’s modular in that it can connect to the other modulars only it doesn’t have the usual Technic pin attachments to link up to other buildings.

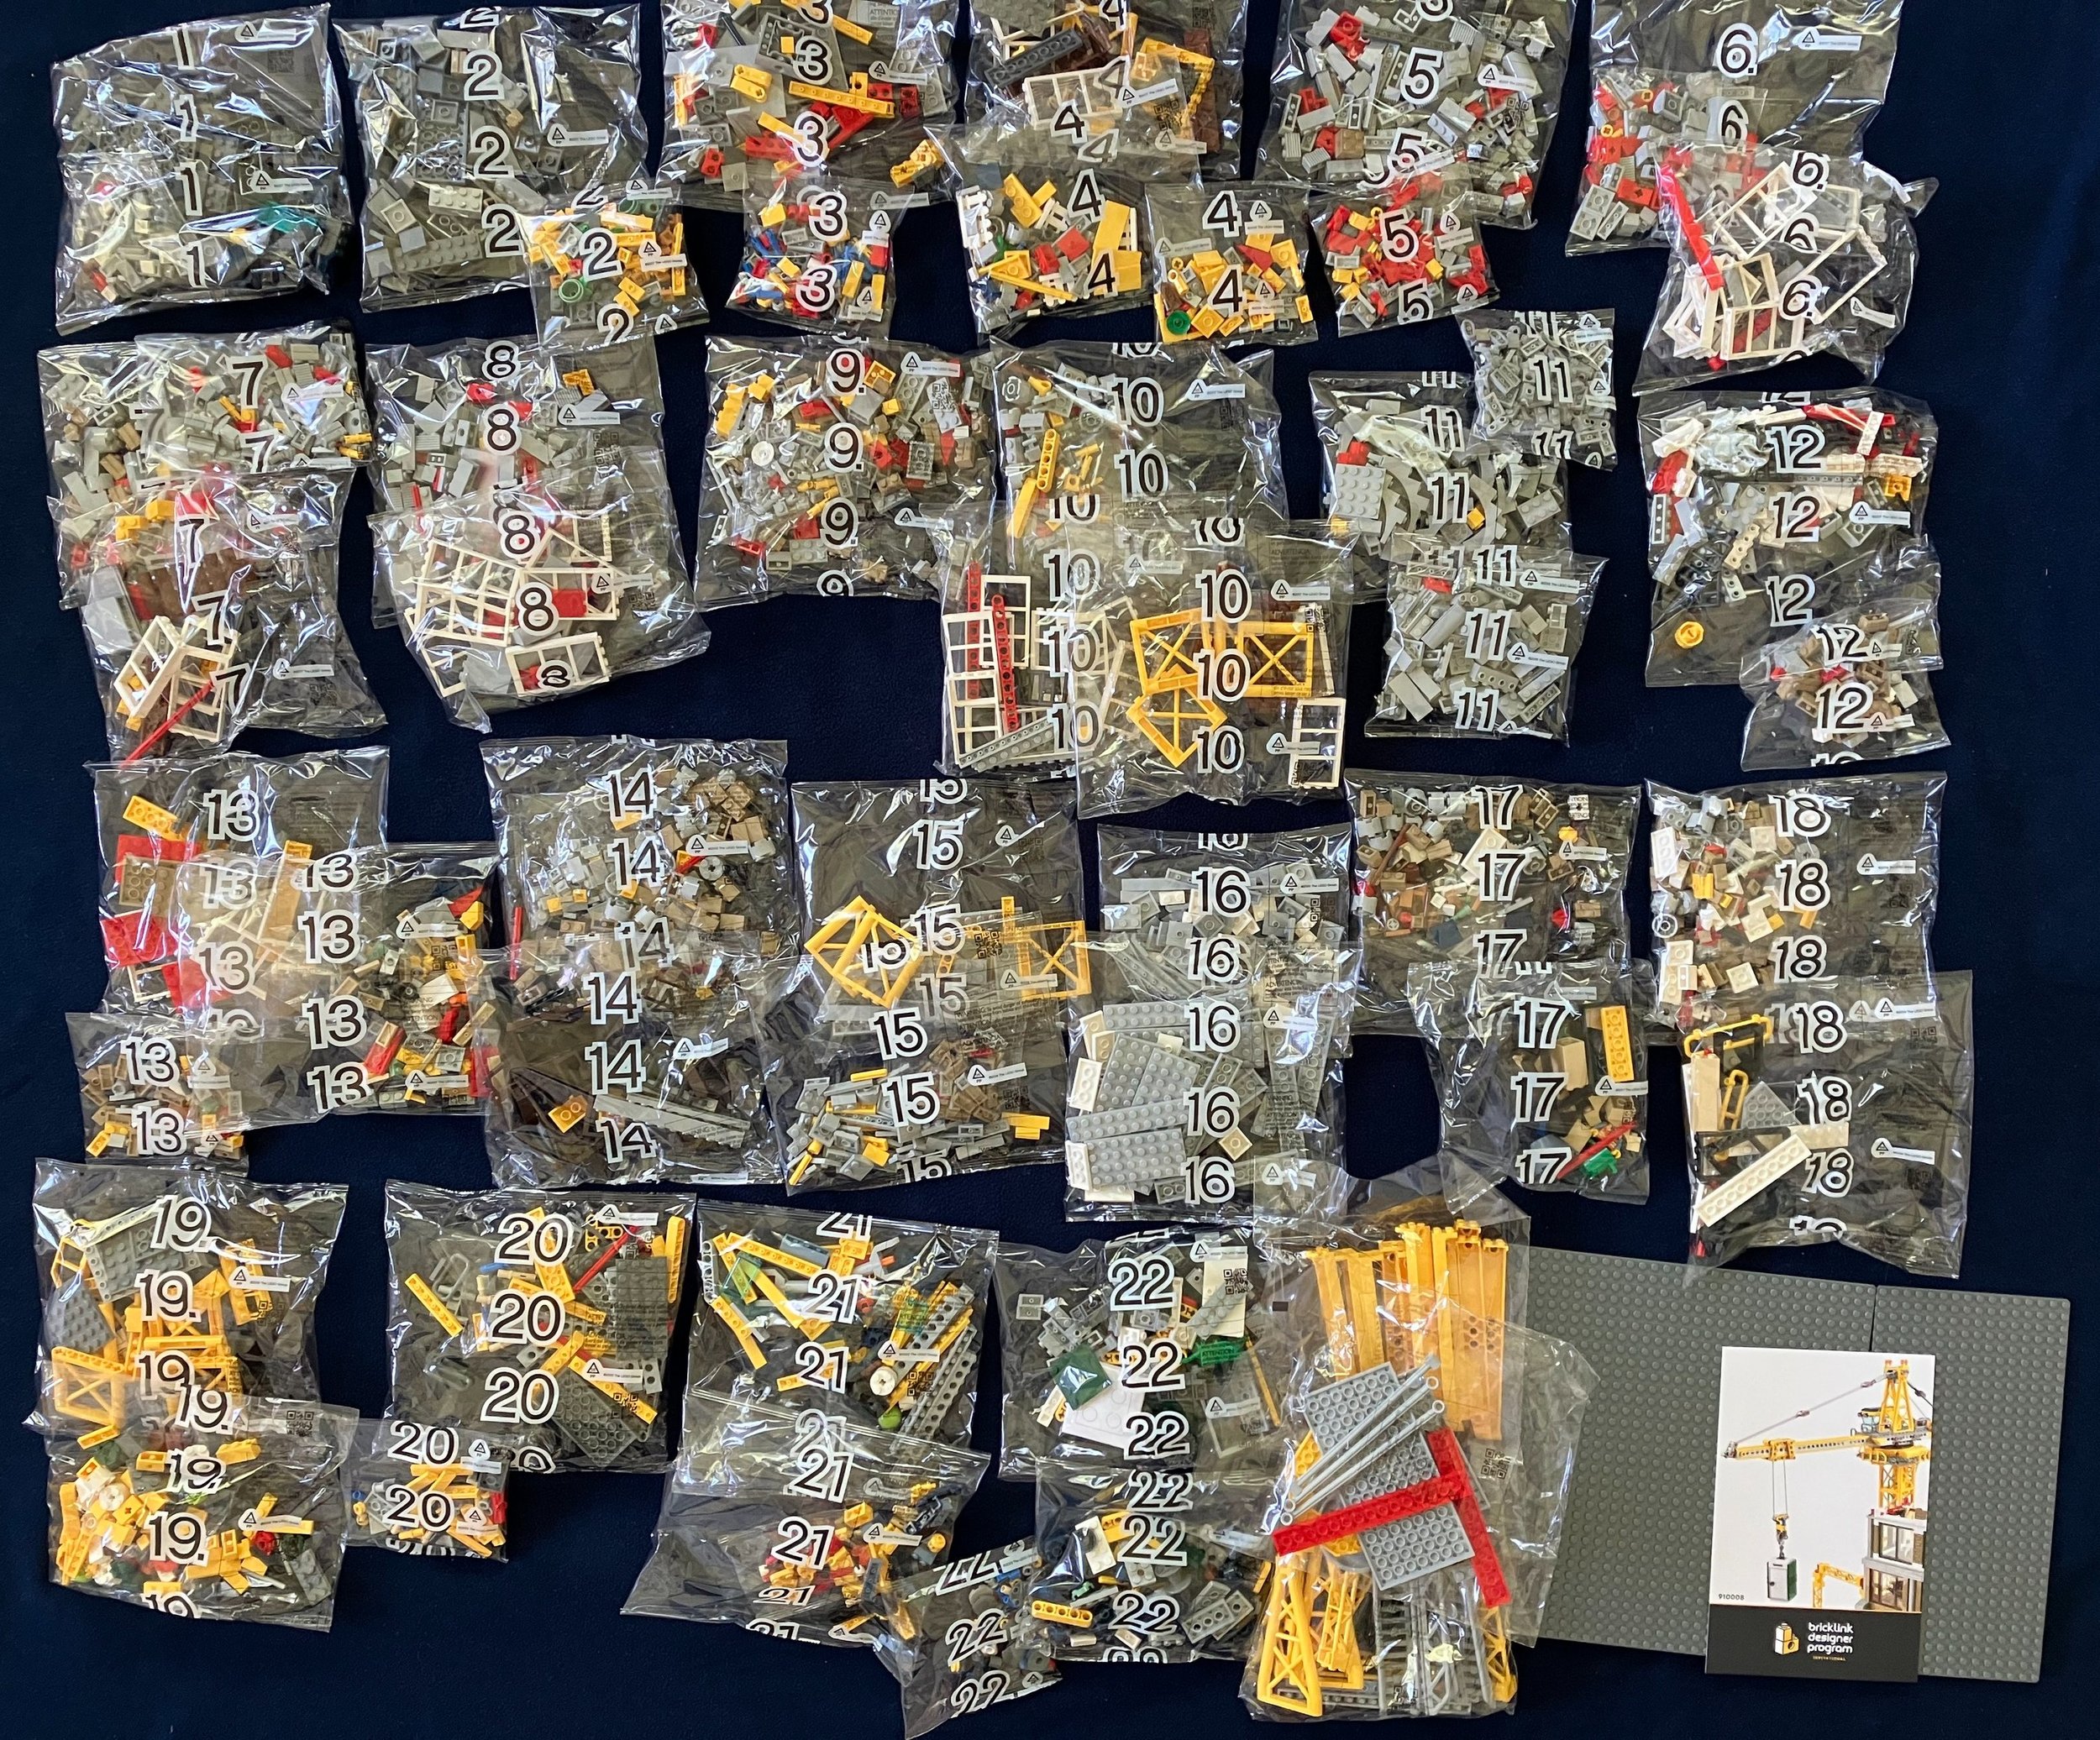
Inside the box are three smaller boxes and a 32x32 baseplate. Inside those three boxes are 22 numbered bags (most with more than one bag per number), a few un-numbered bags, a 16x32 baseplate, and a card telling you to get the instructions online or in the app. I prefer the paper instructions over the electronic version as I can get away from screens and just build. I think that’s why this build took me a while to complete. I had to get my device set up instead of just opening the instructions and building right away.

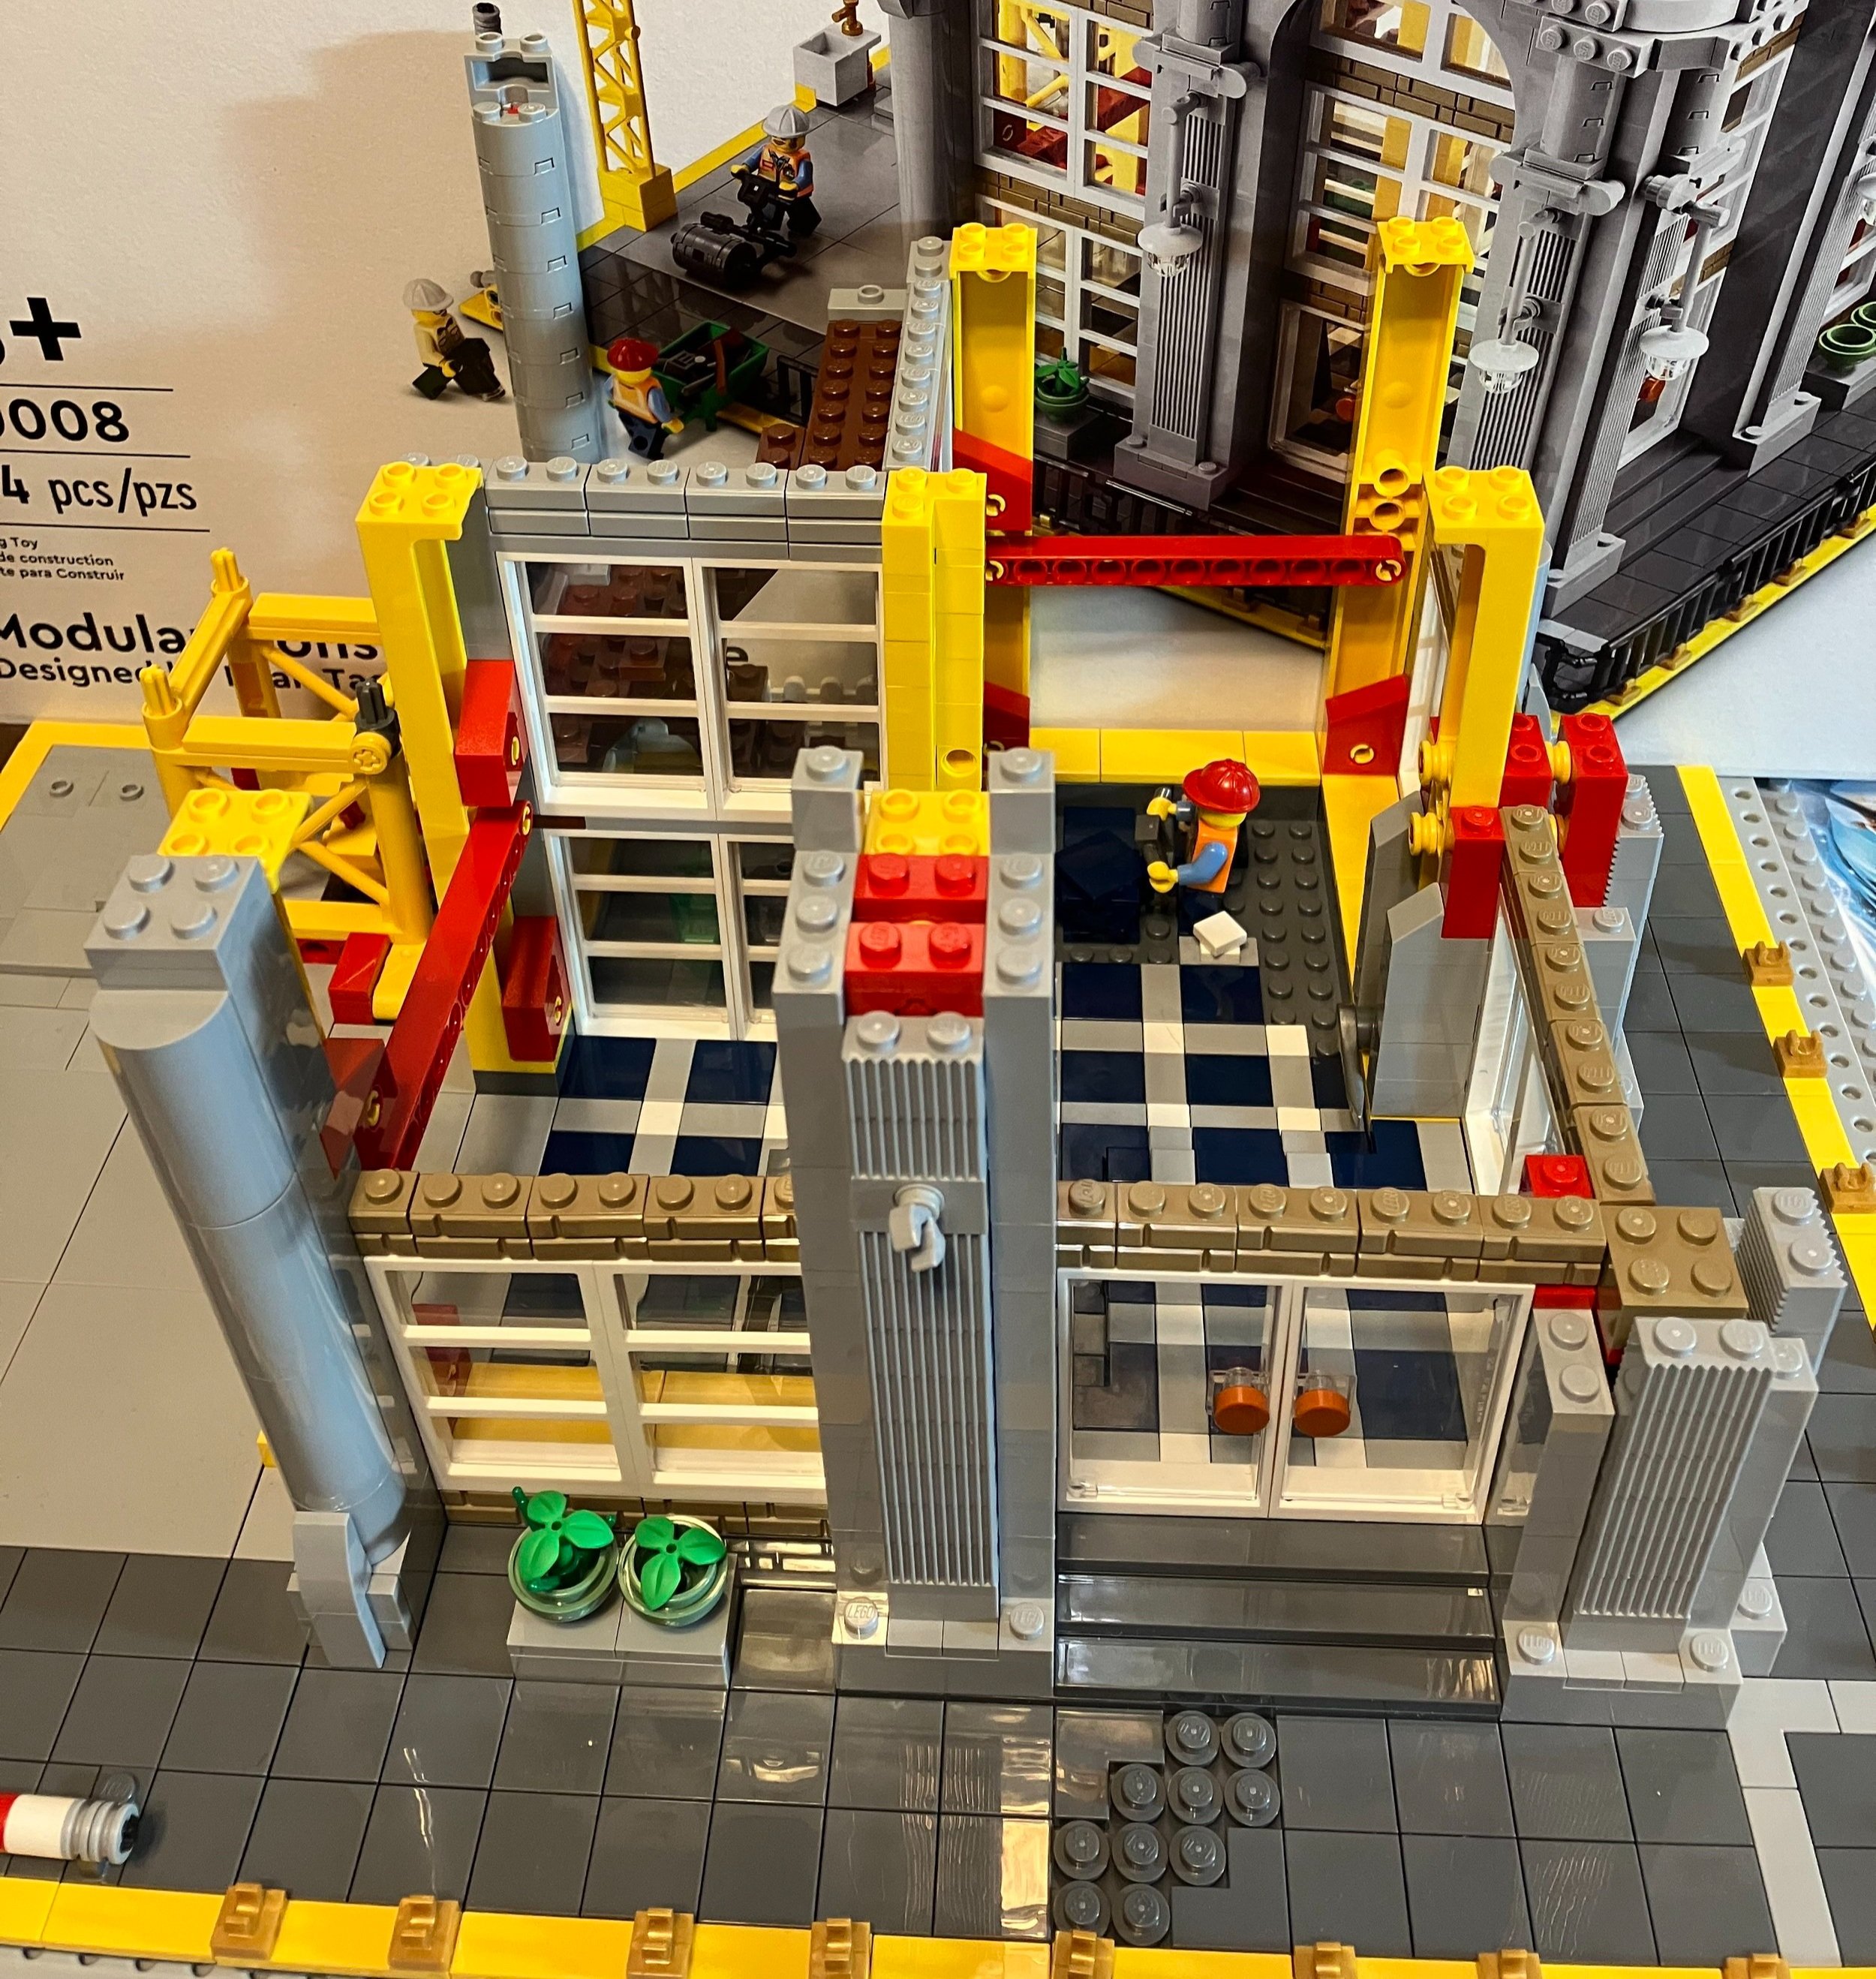
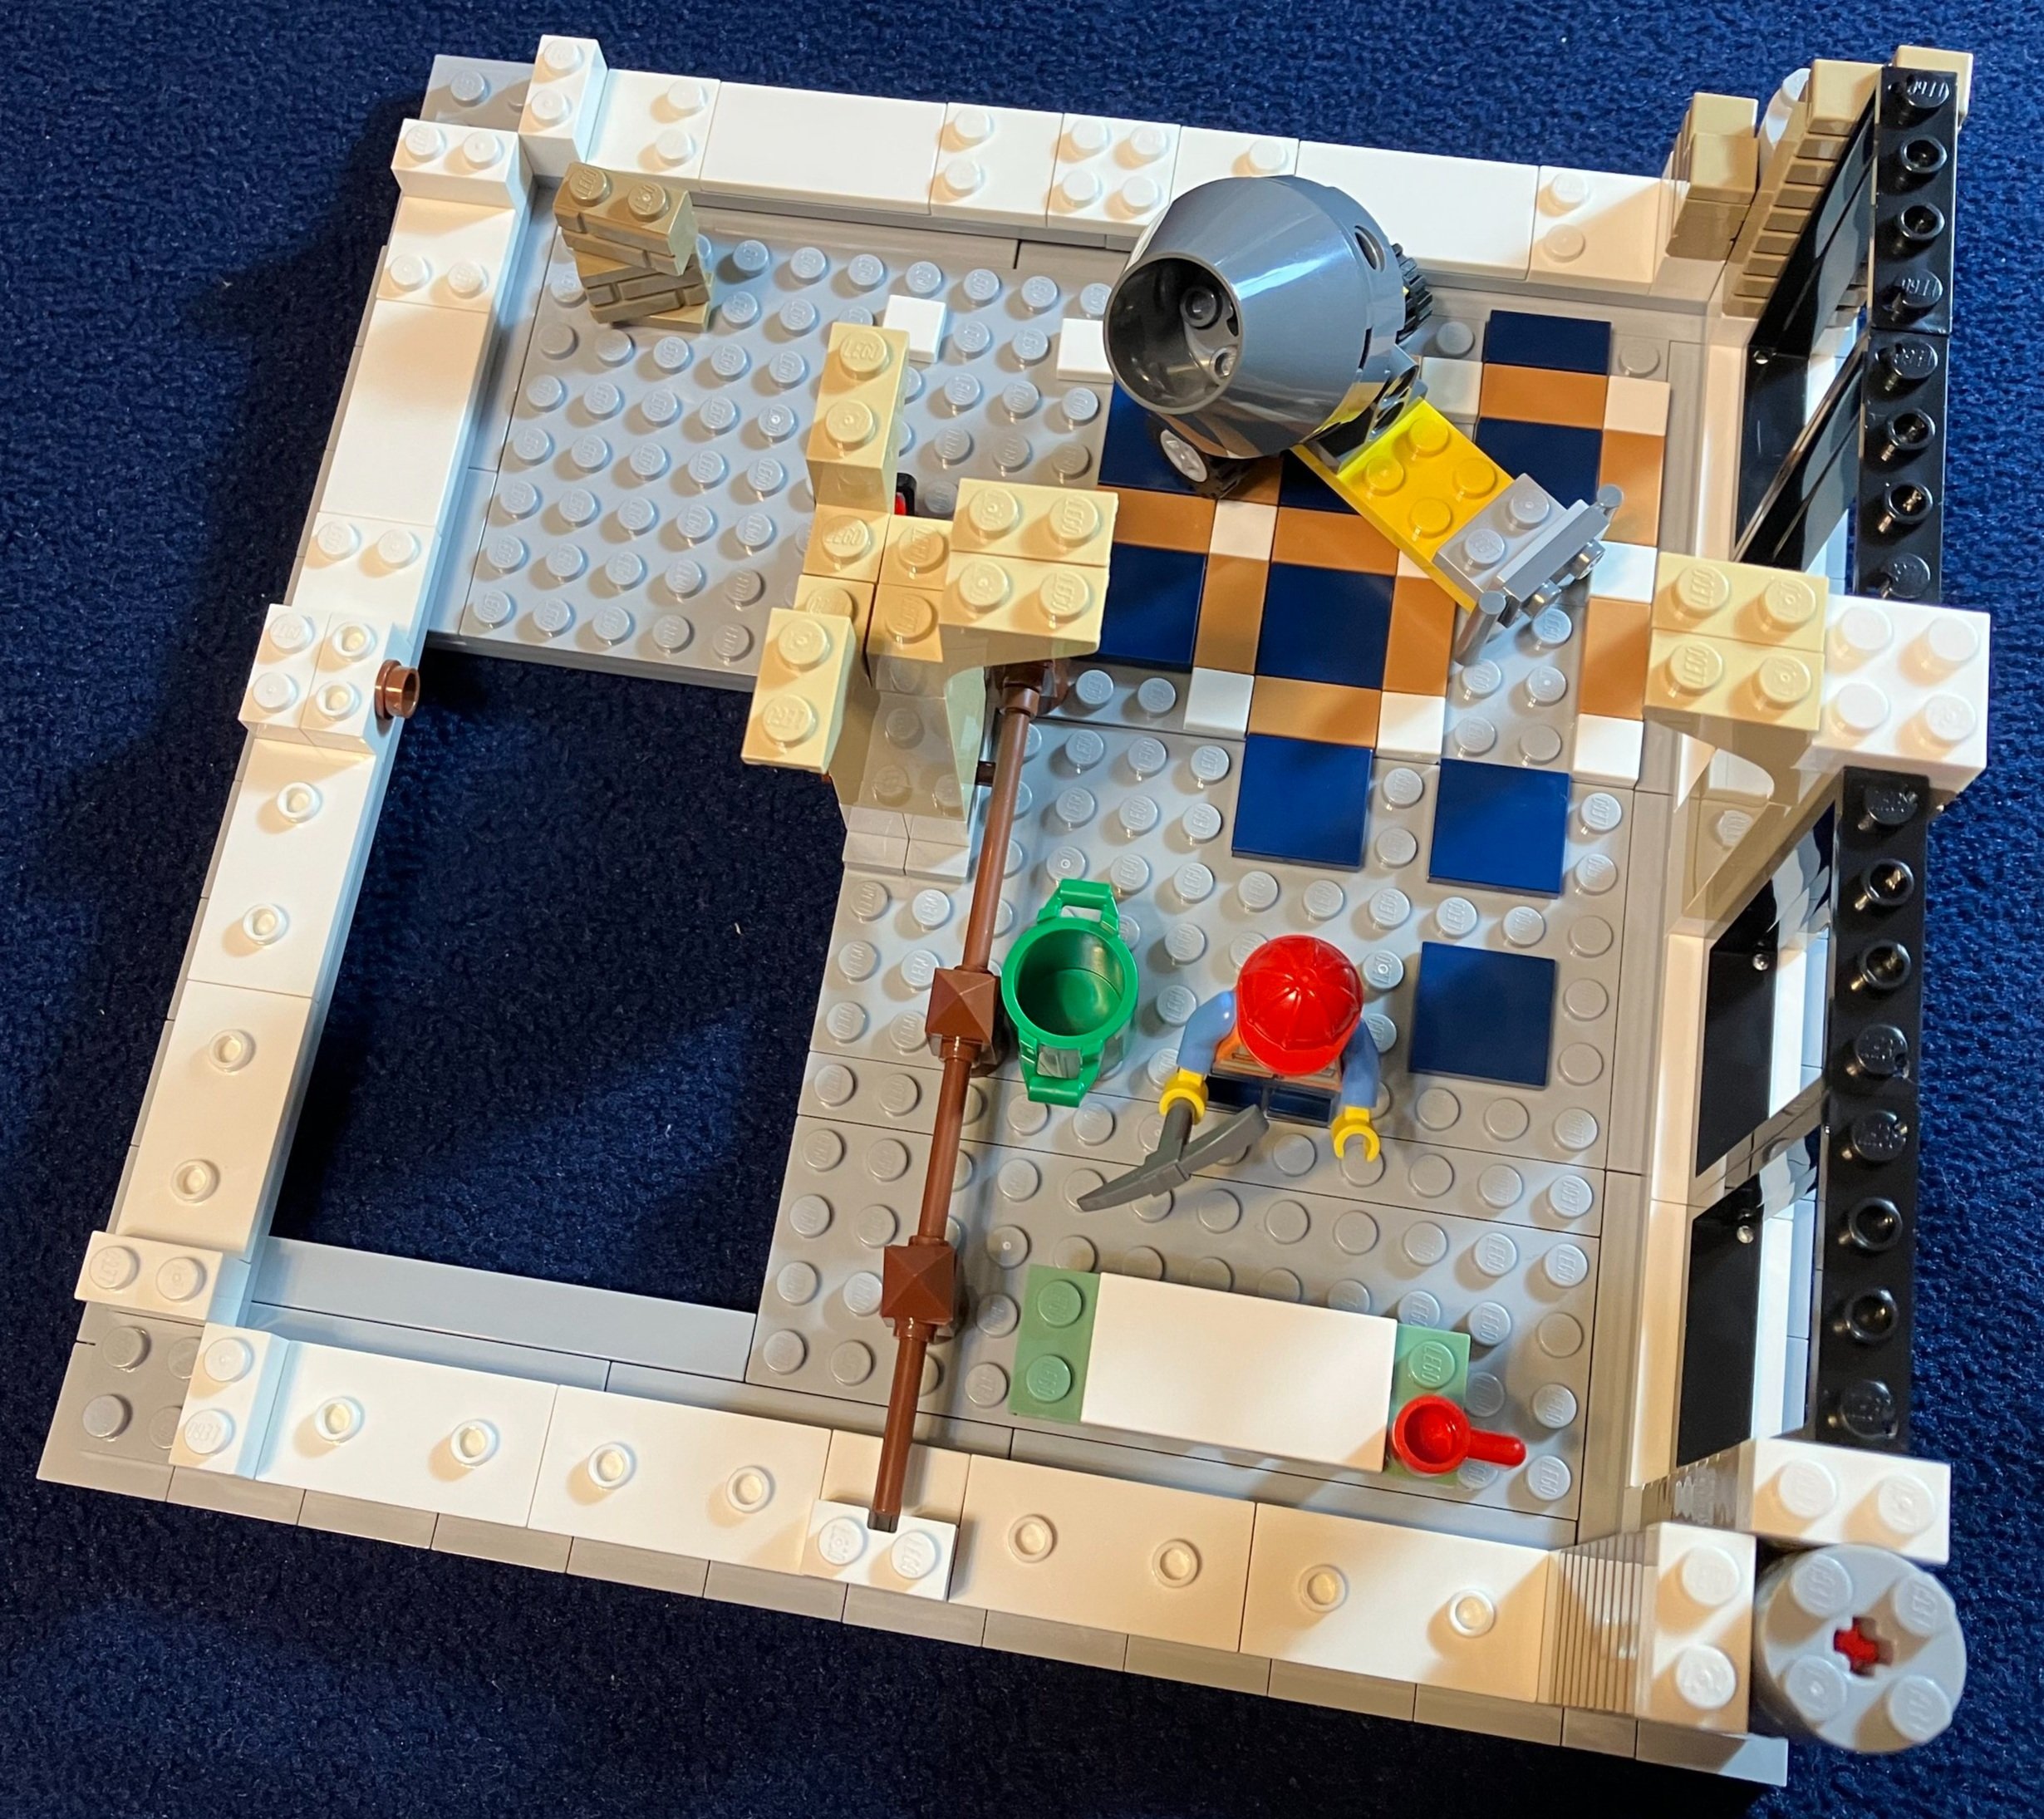
The first bag starts off with some of the inside of the building. You build some of the outer wall foundation and then some of the tiling inside. A construction worker is inside with a jackhammer. Nearby are some “extra” tiles to put down and a bucket.

The second bag finishes off the base with the sidewalk outside, more flooring, and the rest of the foundation of the building. There are a few planters outside. One has plants and the other does not.

Bag 1

Bag 2

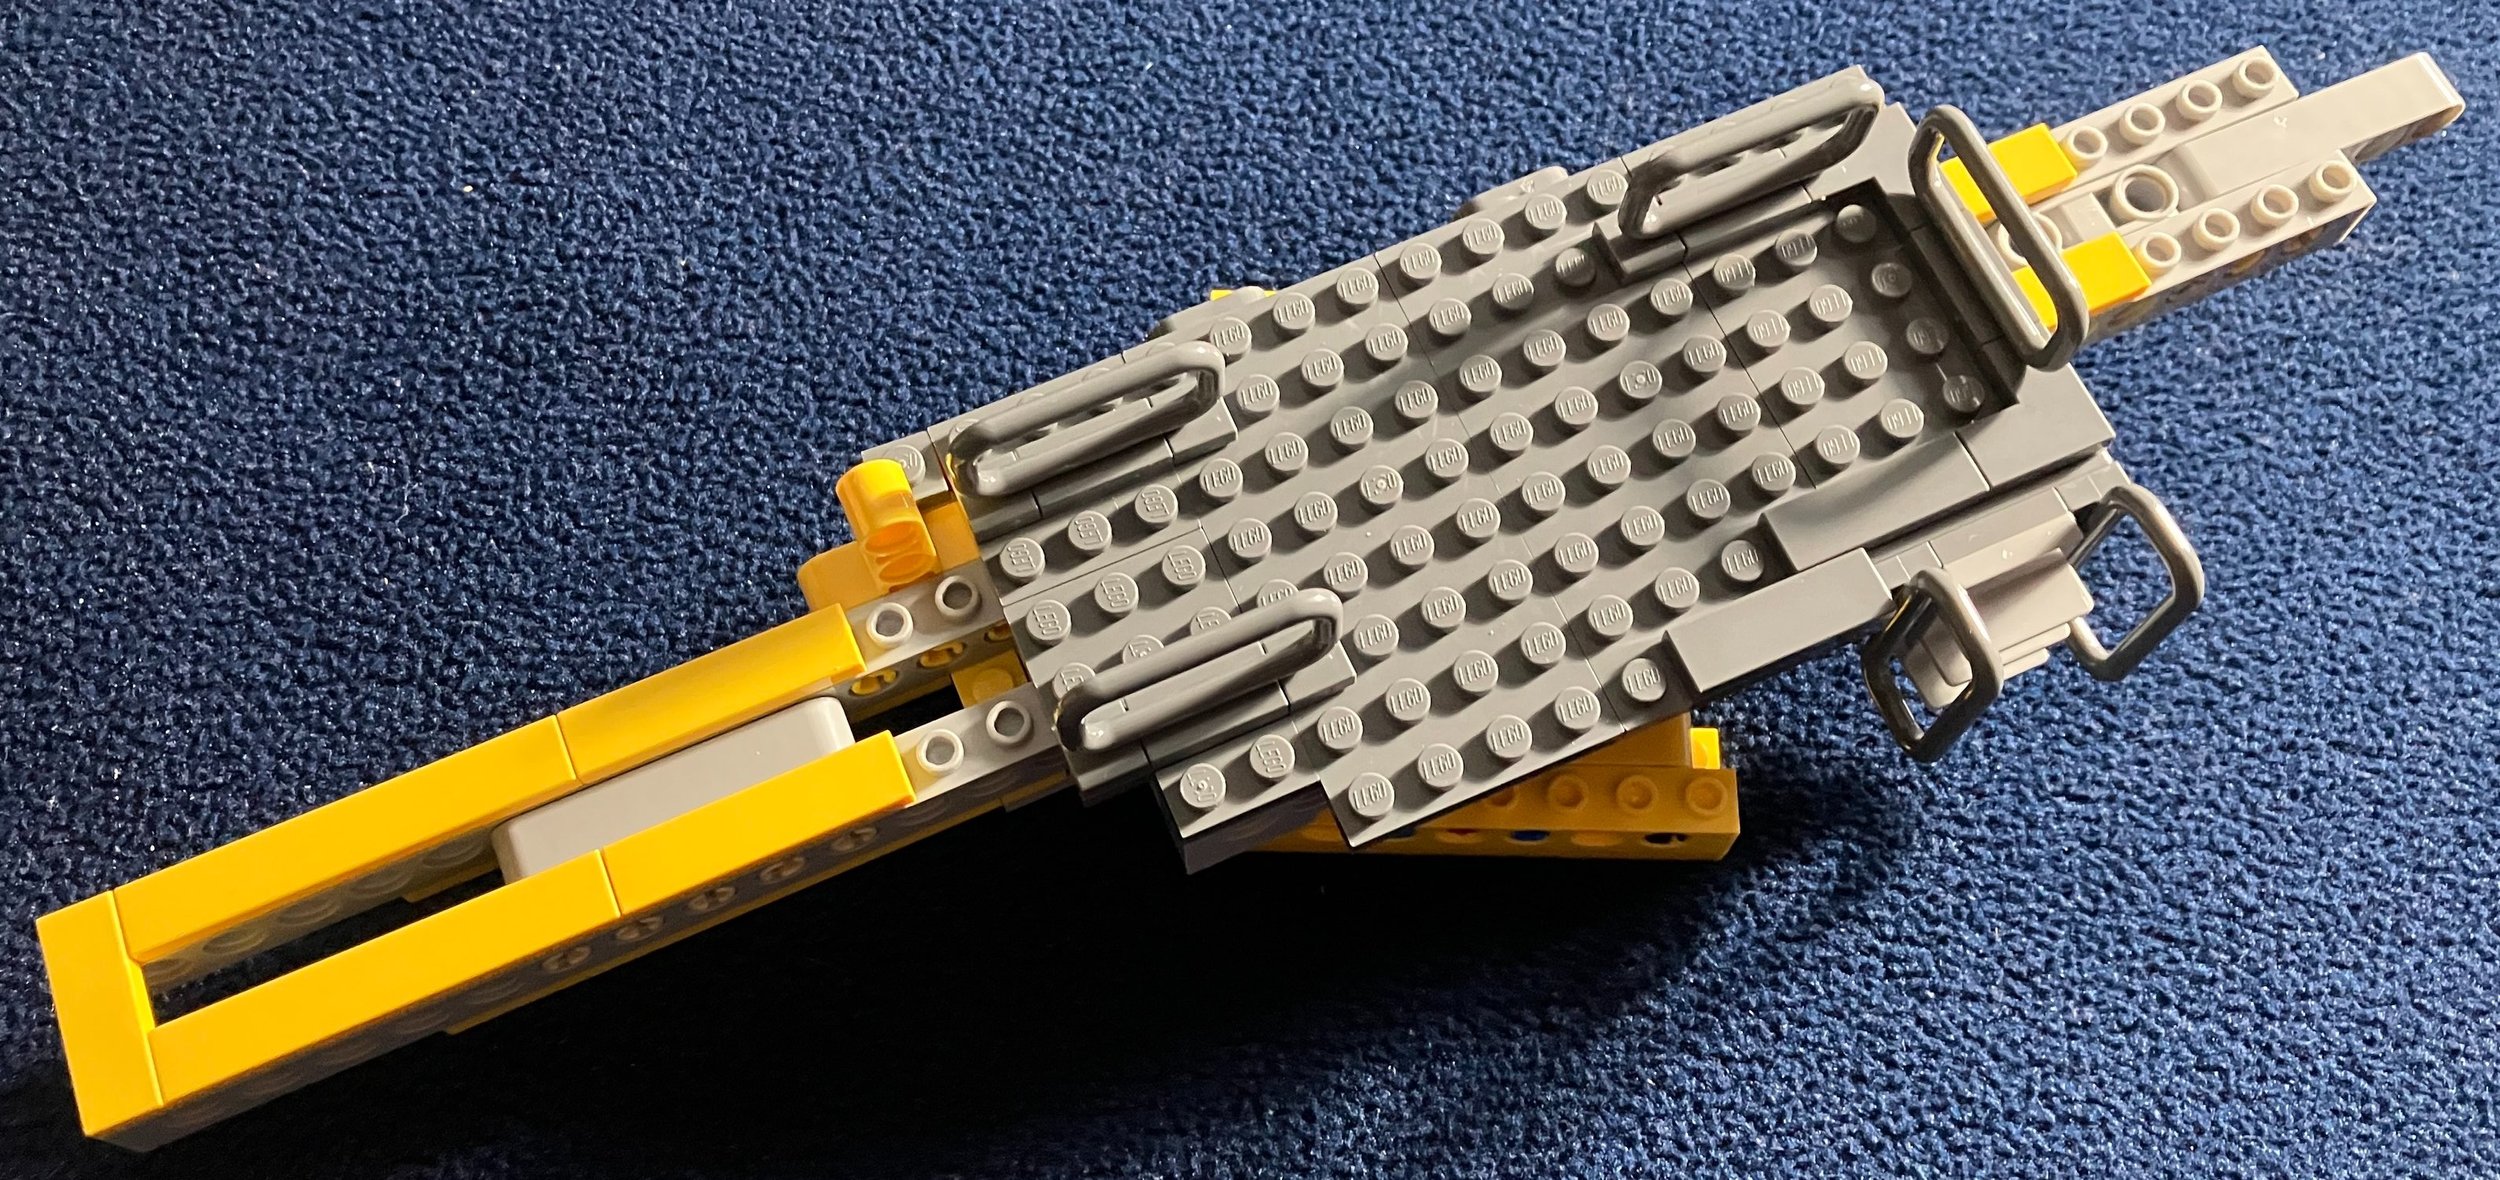
Bag three adds the 16x32 baseplate. This one is mostly covered in tiles and it contains the base of what will become the crane. There’s also a gate to allow entry into the construction site.

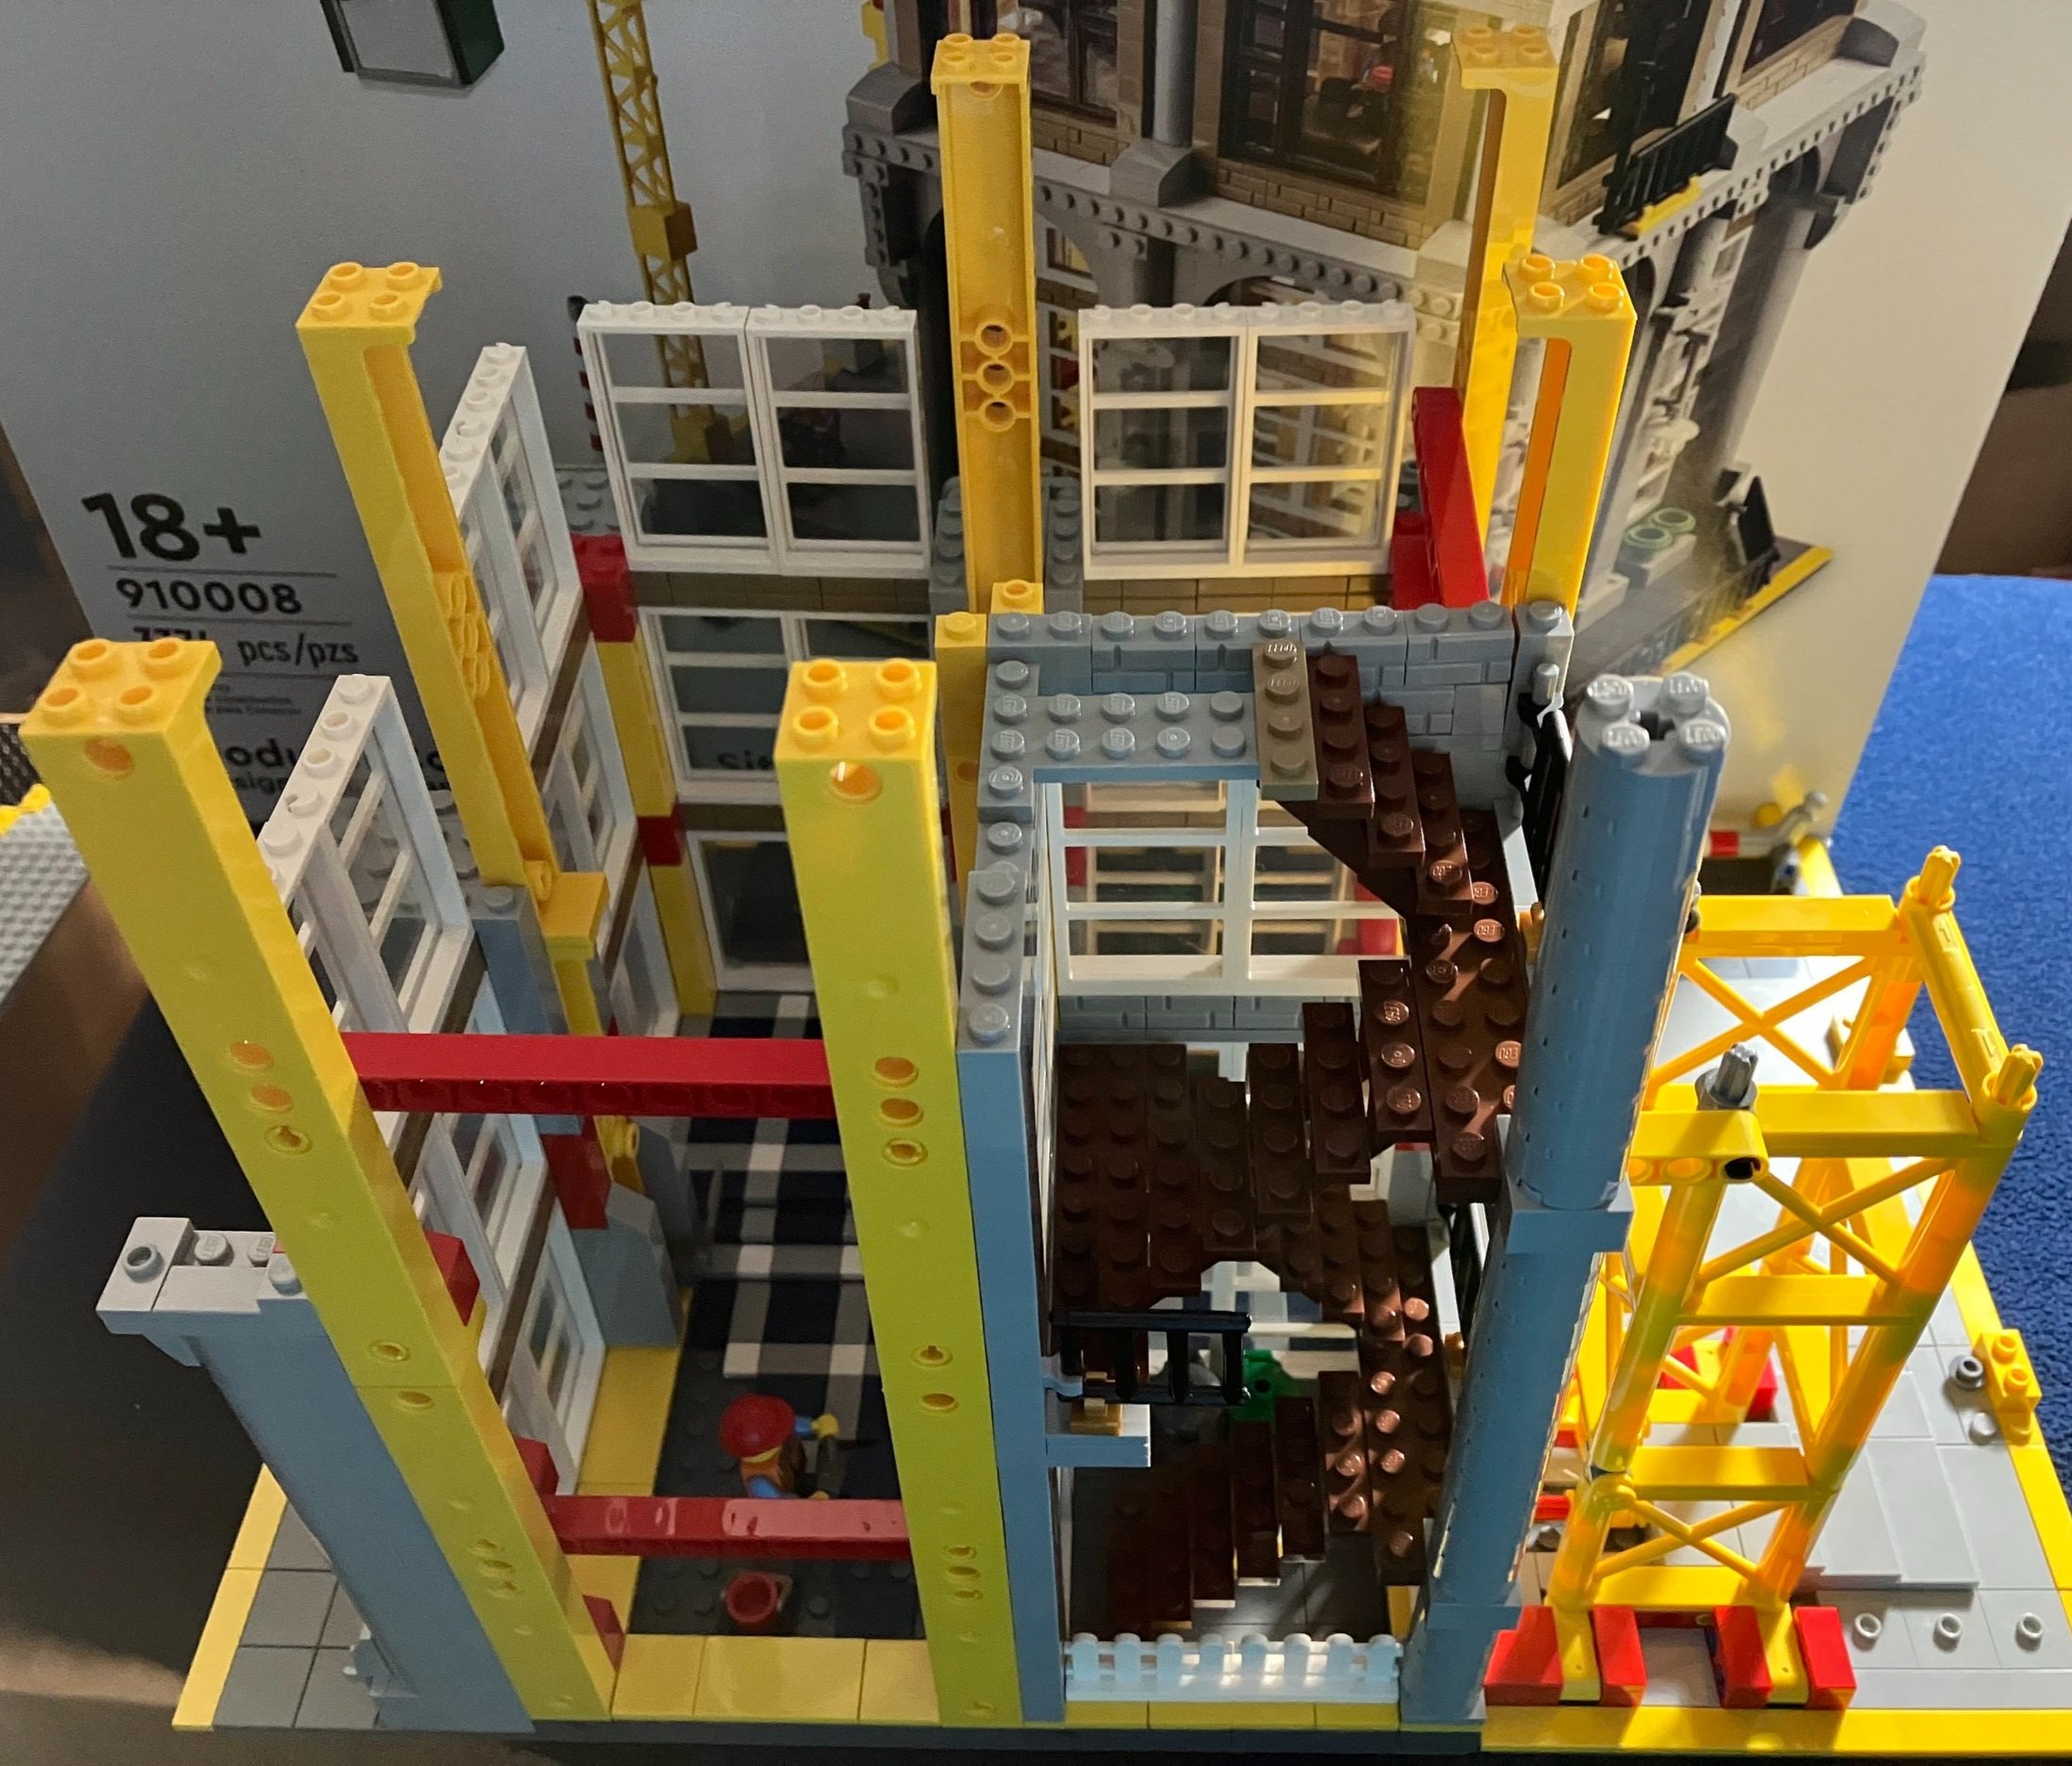
Bag four starts to build up. You add the first section of the base of the crane, you start a stairwell, you add a few beams for the main structure of the building, and you add some tiling inside the building. At this point of the build, I was curious to see how strong the building would be given it’s height. Would it just be stacked bricks or do the long yellow beam pieces really add support?

Bag 3

Bag 4

Bag five adds some windows and structure around the stairwell. You also add some bricks around the tall yellow beams and a few on their own. So far it seems structurally sound. As you build up, Technic pieces are incorporated connecting the beam to the rest of the build.

Bag six adds more beams, more windows, and more building up bricks around the beams. It’s an interesting way to build as most of LEGO’s modulars are just brick built. This one seems to follow what an actual building would have with framing followed by building up around the frame.

Bag 5

Bag 6

Bags seven and eight continue to build up the sides of the building. The main supports get some architectural detailing which is nice besides just having bricks stacked.

Bag 7

Bag 8

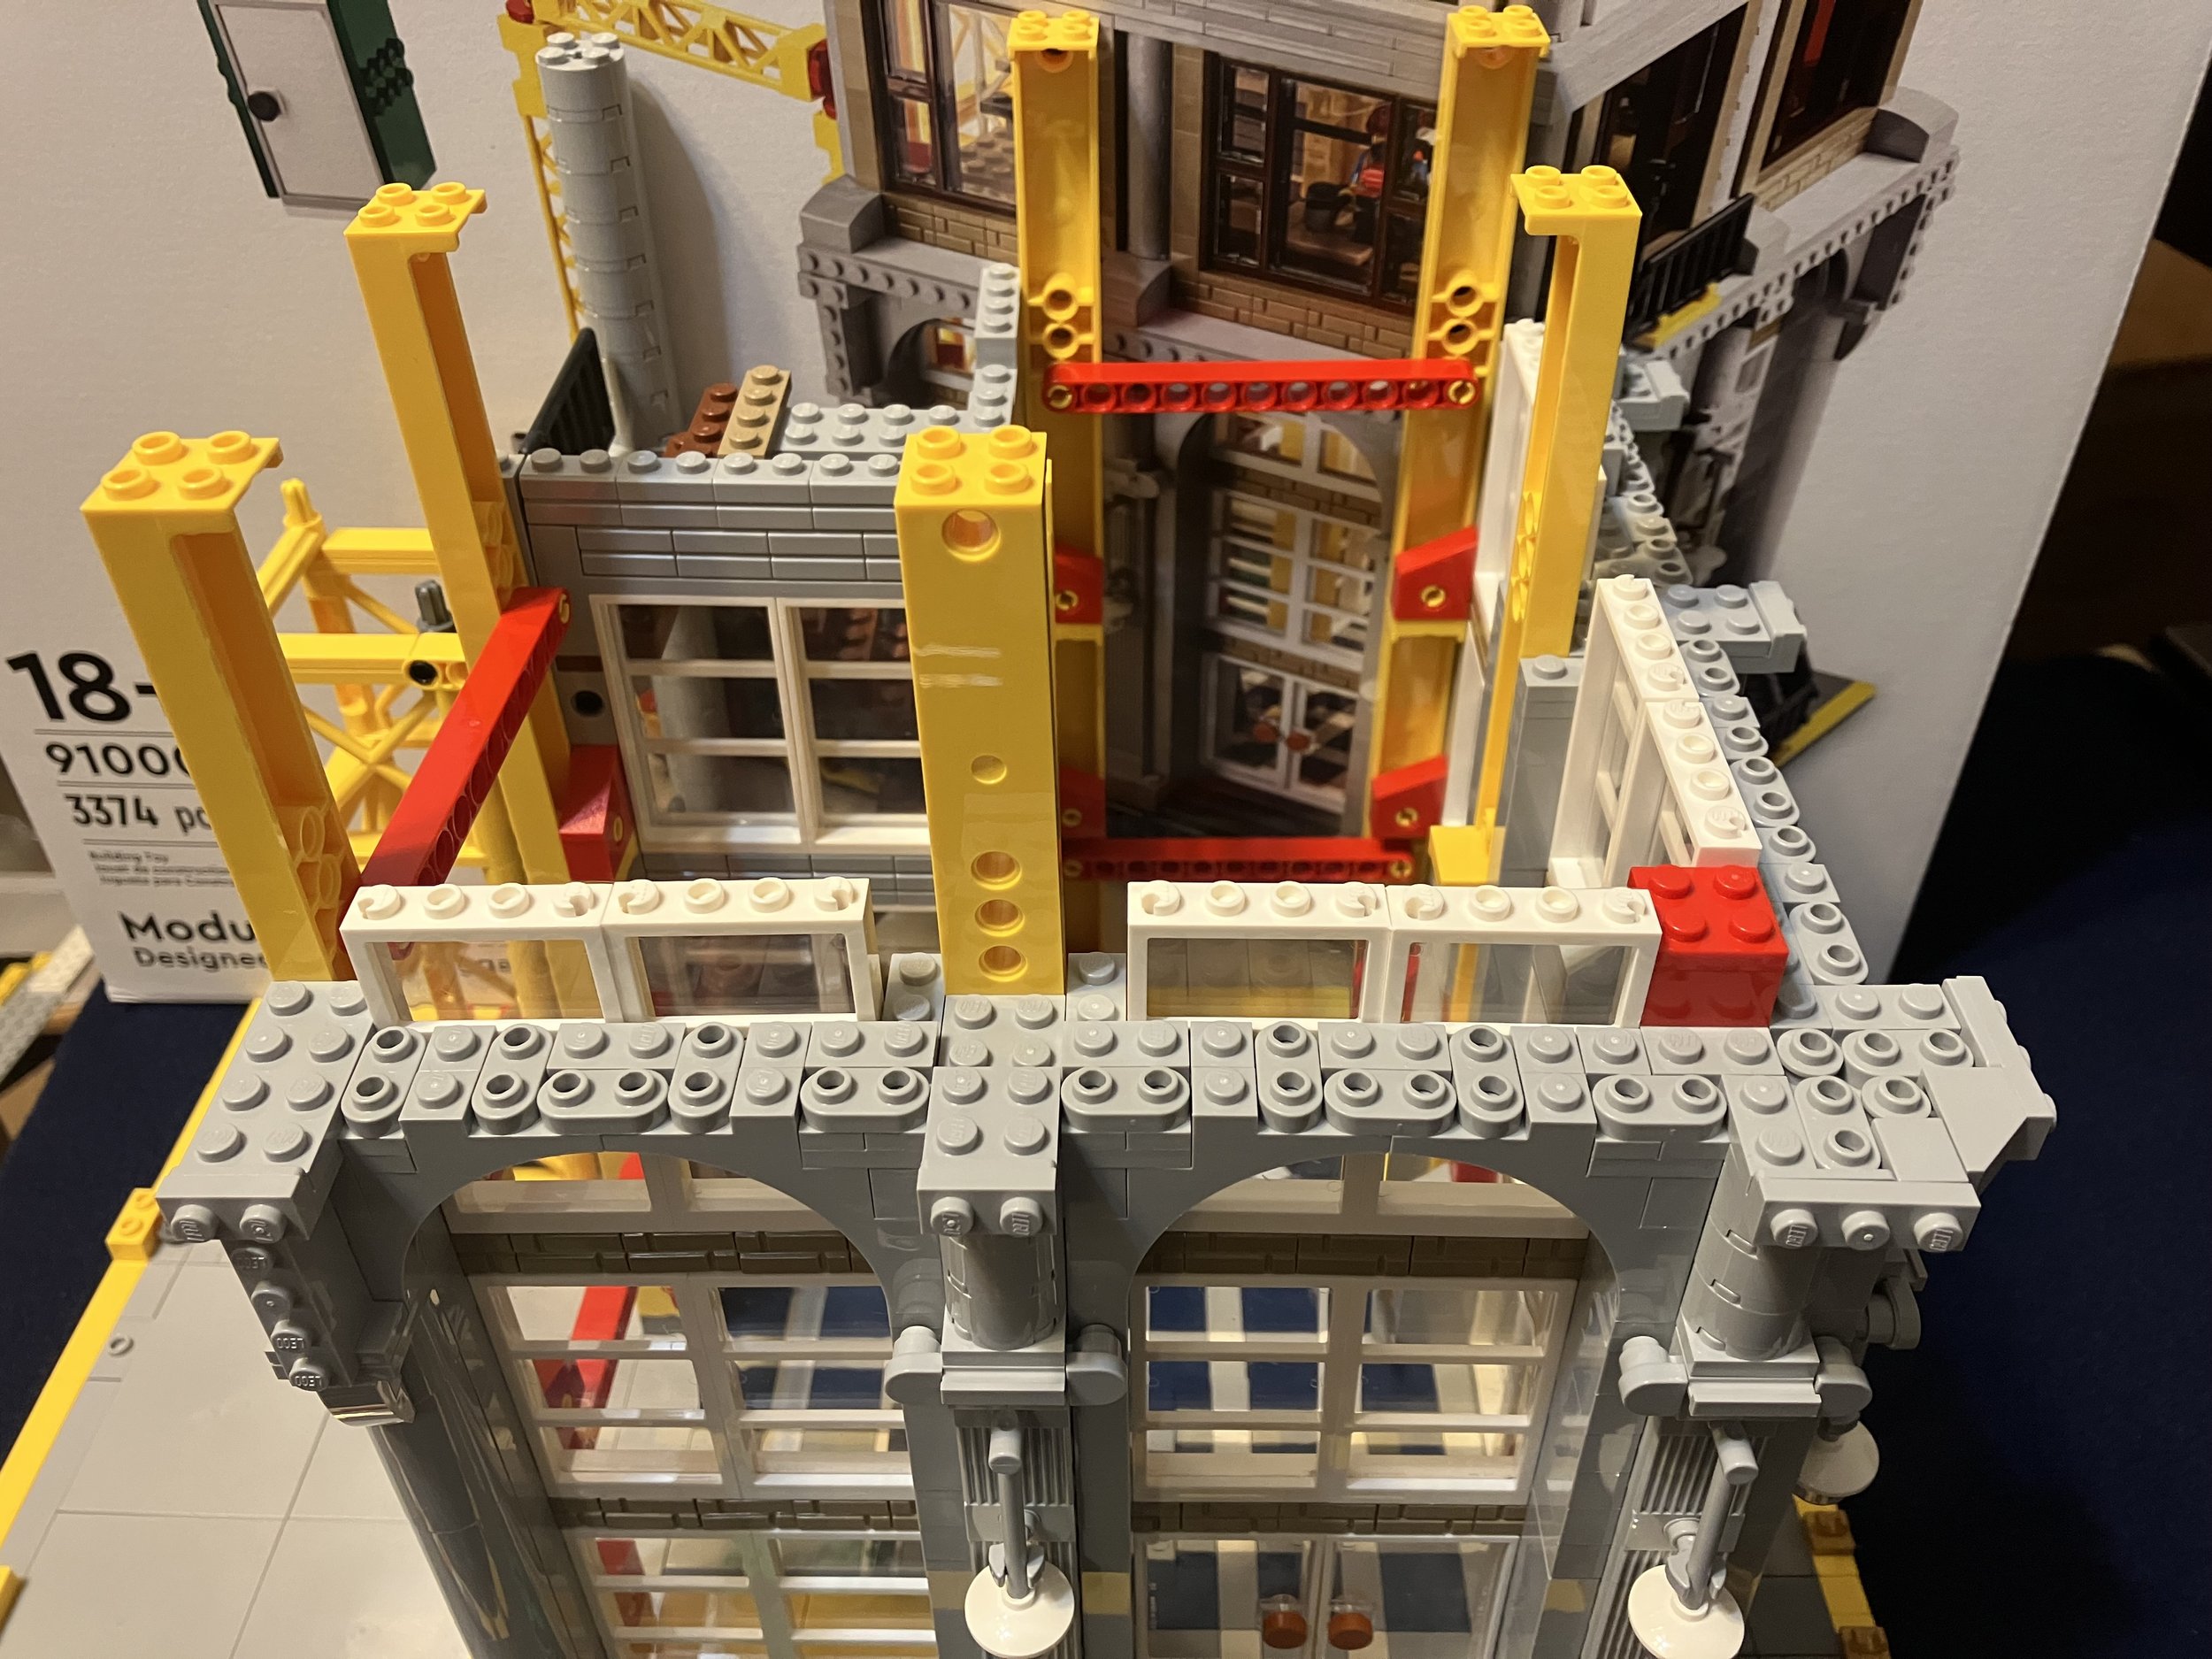
Bags nine and ten continue to go higher with more structural beams on top of the previous ones and then stairwell is also built higher. There were a few challenges where higher sections weren’t anchored down well, but they eventually are locked into place with bricks or plates.

Bag 9

Bag 10

Bags 11 and 12 add in arches over the window areas and then some additional detail in bricks. There are a lot of smaller plates used to create the shapes. Then there are tiles added to the top of the walls with bag 12.

Bag 11

Bag 12

Bag 13 starts another floor. It includes another worker set up to paint. There is also a work table with a drill and table saw along with a board to help cut the floor boards. It also continues the stairwell up in a different location.

Bag 14 adds in more windows only these are black. A few of the windows do not have clear panes to help create the look of a building under construction.

Bag 13

Bag 14

Build 15 tops off this floor with tiles and some jumper plates to allow for the floor above to connect to it.

Build 16 assembles the floor of the top floor.

Bag 15

Bag 16

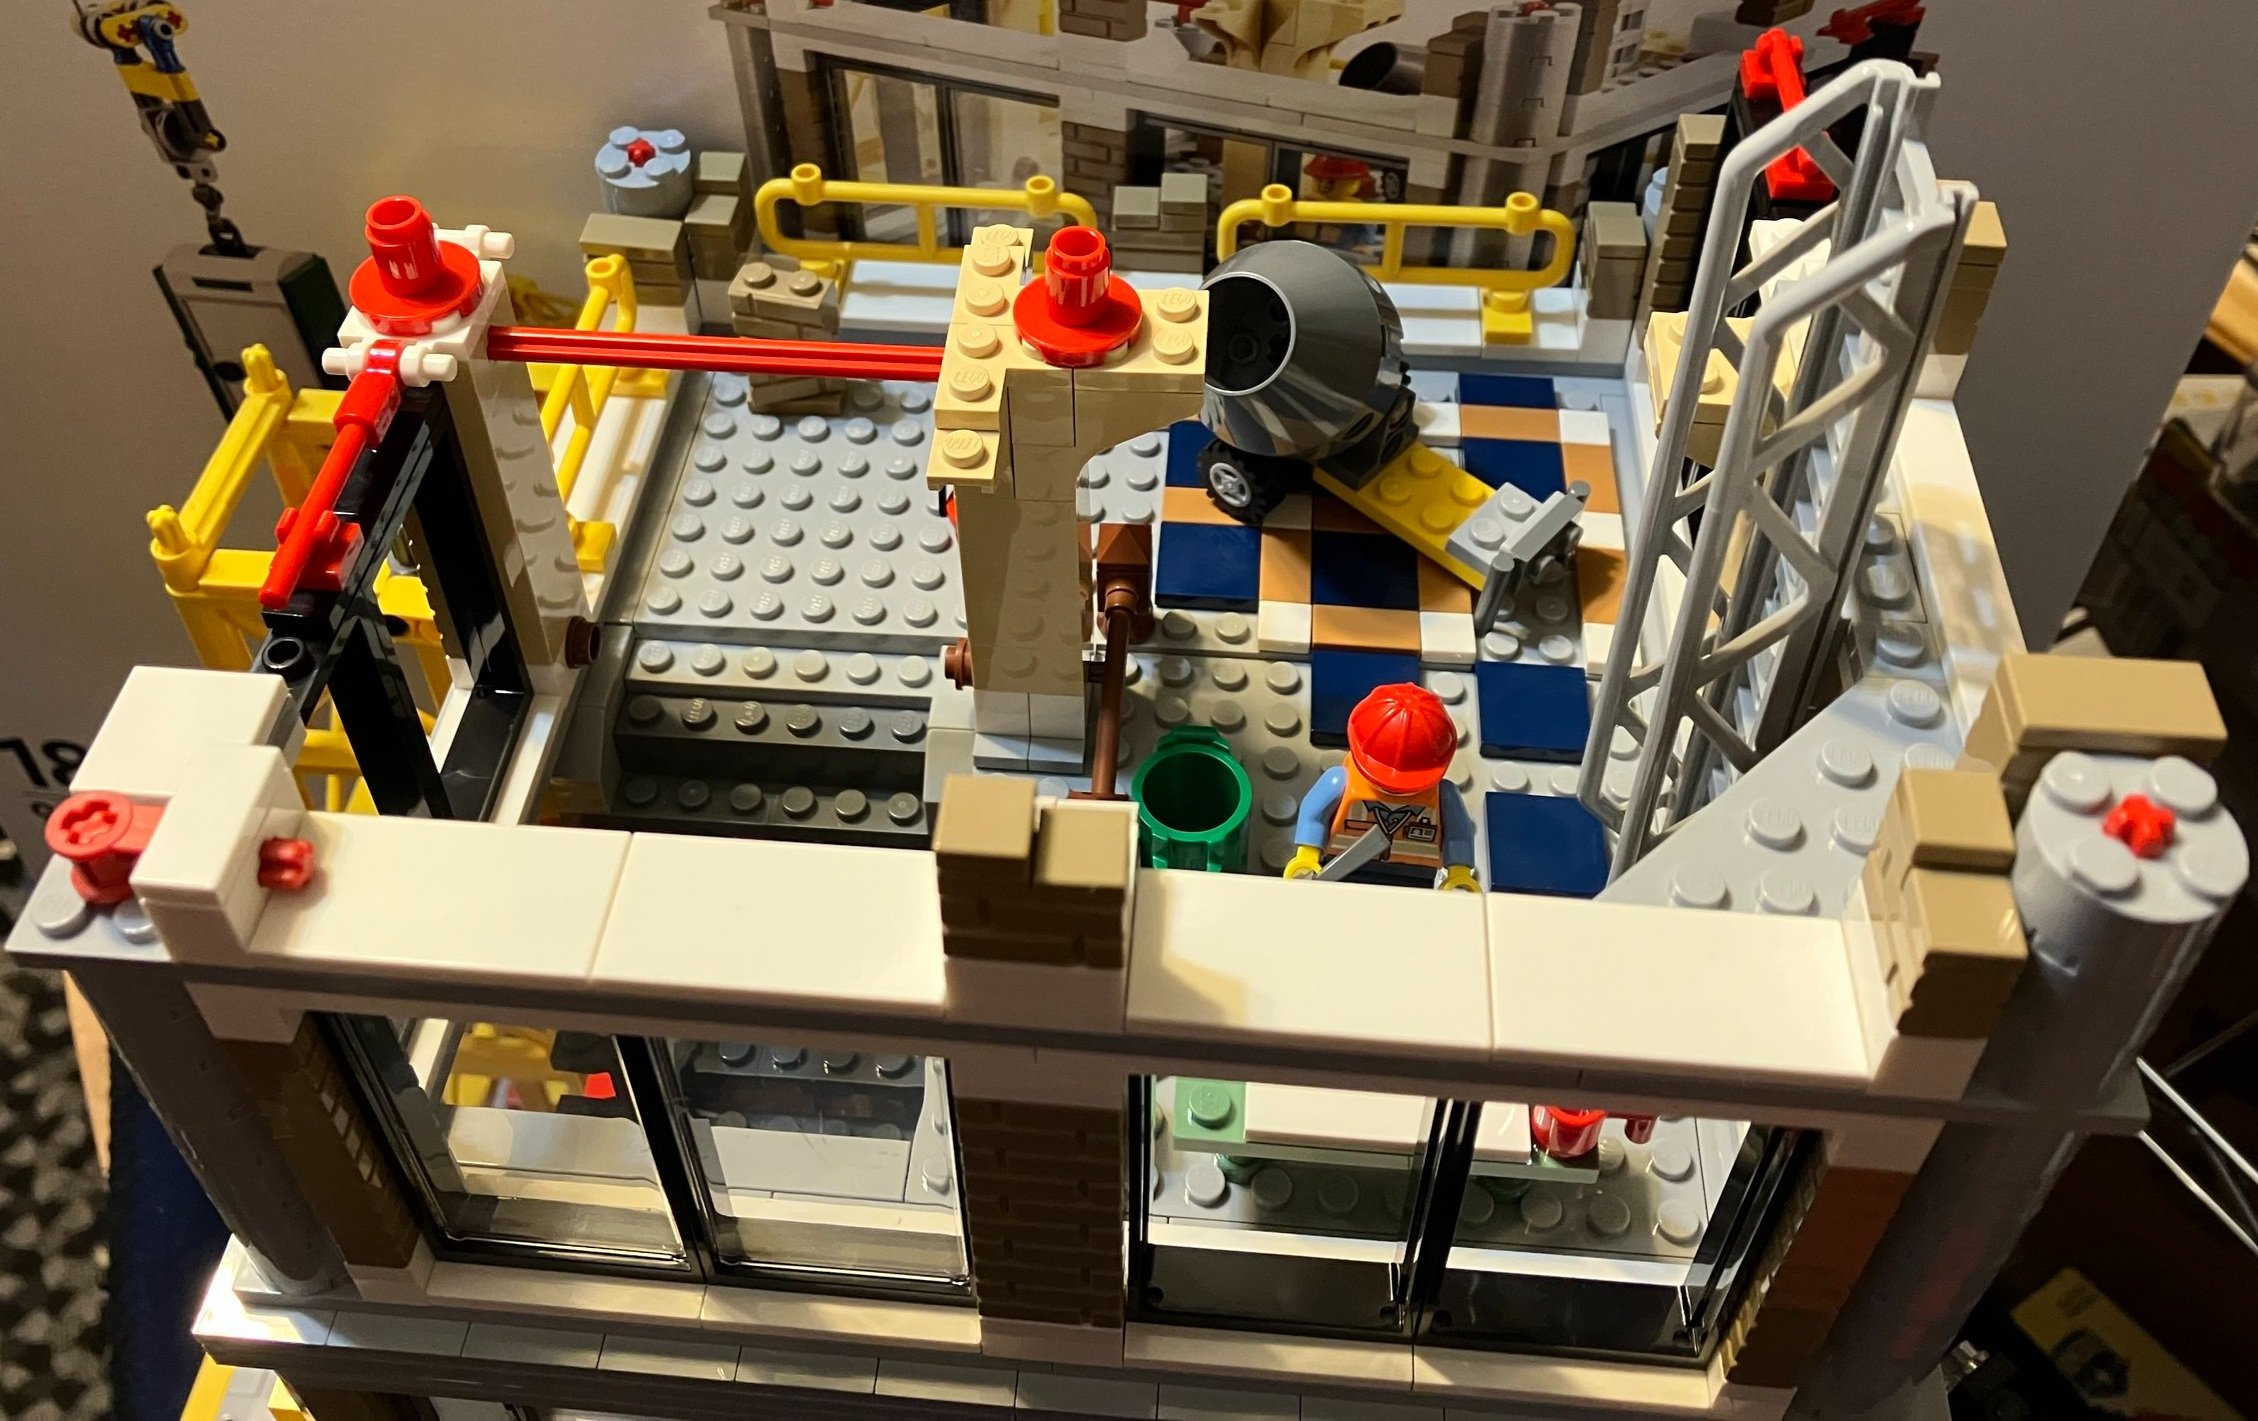
Bag 17 adds some tiles, a few windows, and wall supports. It includes a minifigure with an ax. There’s also a recycle bin, a bucket, a small, portable cement mixer, a table with a coffee cup on it, and then some additional bricks that need to be added to the build.

Build 18 continues the build with some additional framing around the windows, a ladder going up, and some fencing around the edge so workers don’t fall off.

Bag 17

Bag 18

Bag 19 adds in the tower where the crane is attached. The tower works okay, but the ladder in-between the structure doesn’t attach well. It falls off pretty easily whenever you move the tower or shift the building around. You also add in a few containers of… I’m not sure what… oil? There’s a small sink as well. You also build a small structure with supports. I’m not sure what it is supposed to be for. Maybe a future addition to the building? There’s a minifigure as well. This one is a female that looks like a building inspector. She has a camera and briefcase.

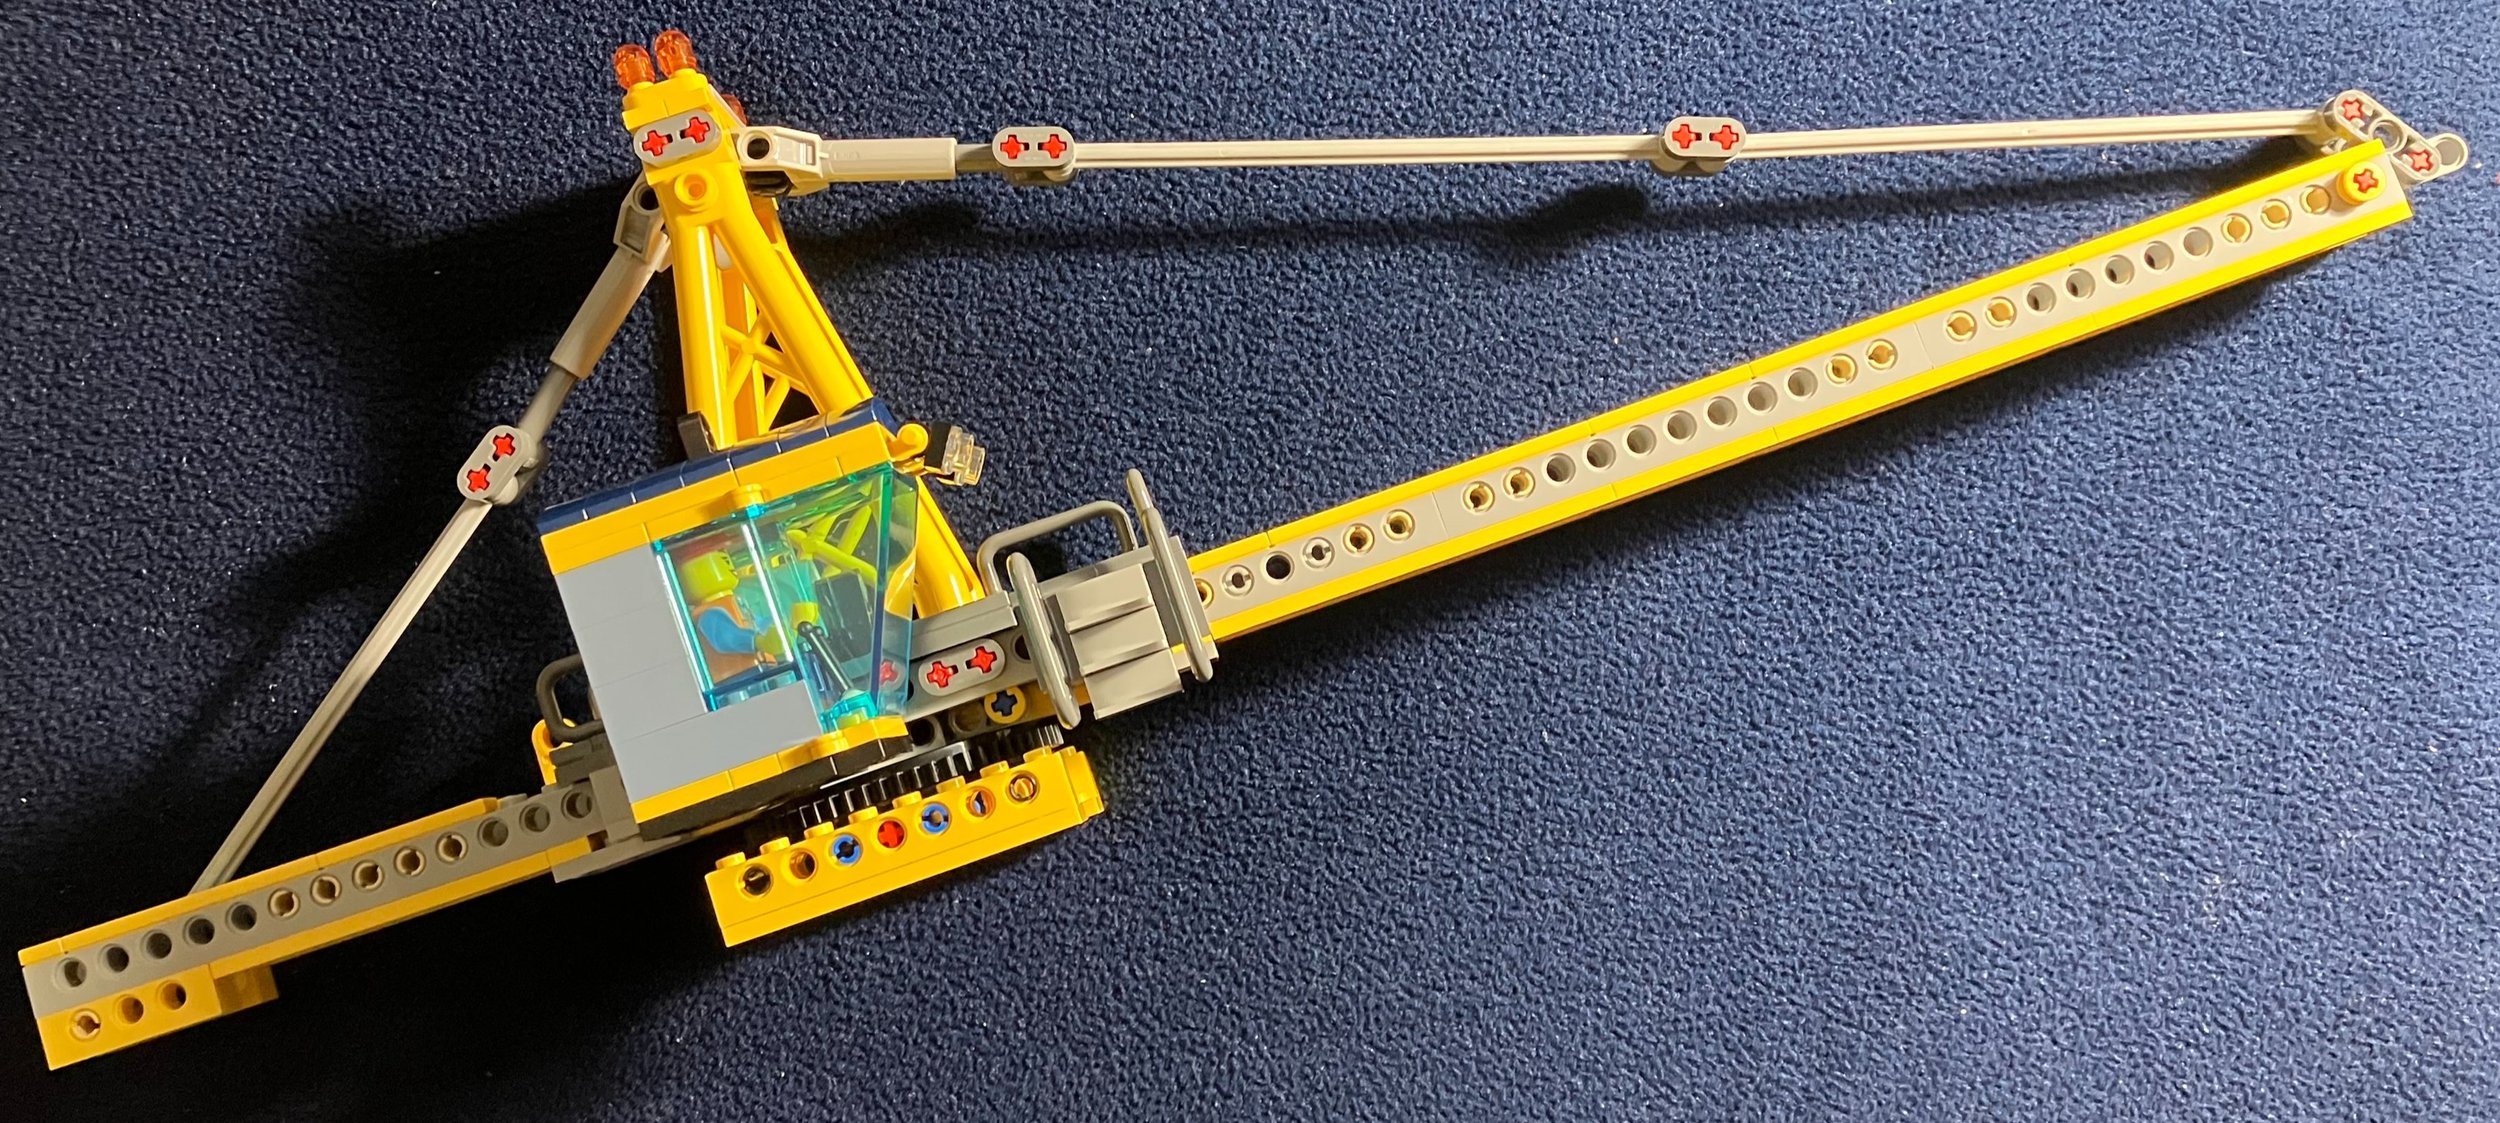
Bag 20 starts building the actual crane section. It contains a lot of Technic pieces. It is also on a larger turn table so it can pivot all the way around.

Bag 19

Bag 20

Bag 21 continues the crane build with a cab and minifigure to operate the crane. It also adds in some supports for the top of the crane and then connections to hold up the front and back of the crane.

Build 22 is the final section of the build which adds in the string and “hook” for the crane. You then build a small porta-potty that the crane can then lift up. The crane holds up okay, but it is not very sturdy. I’m not sure how to make it better, but the crane comes off pretty easily as you turn it and move it around. Maybe construction in full Technic pieces instead of using both System and Technic? I’m not sure.

Bag 21

Bag 22

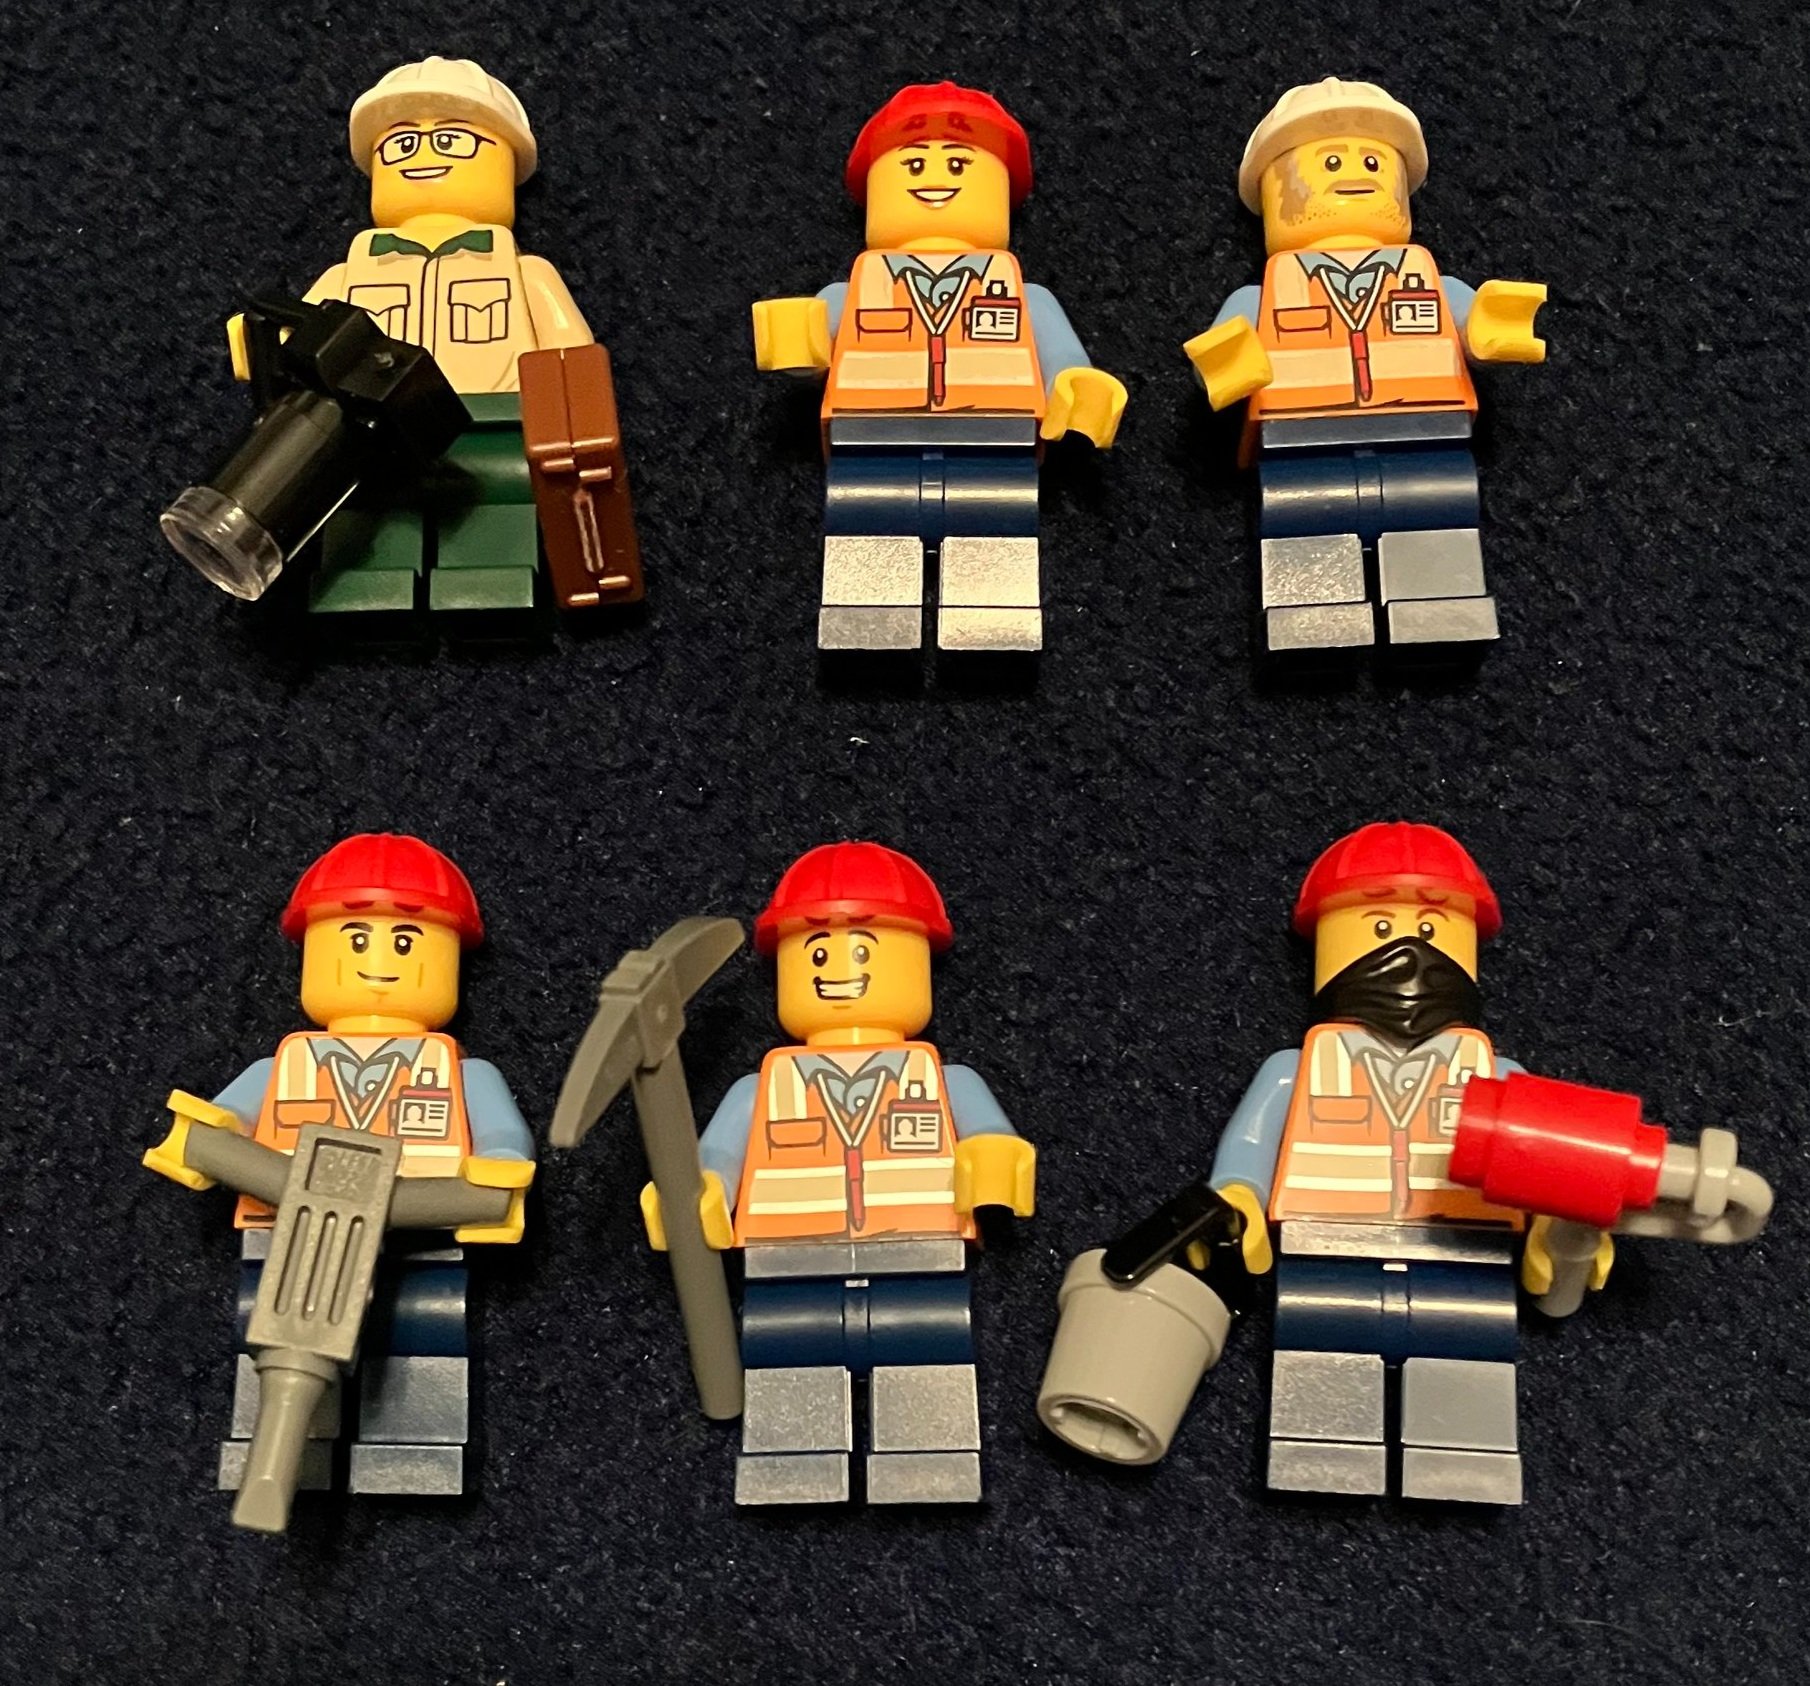
Before we wrap up, there are six minifigures. There are four males and two females. Five are construction workers and one is the inspector or an engineer. It’s a small crew considering the size of the building, but I can’t complain too much. Construction minifigures are fairly easy to get in CITY sets.

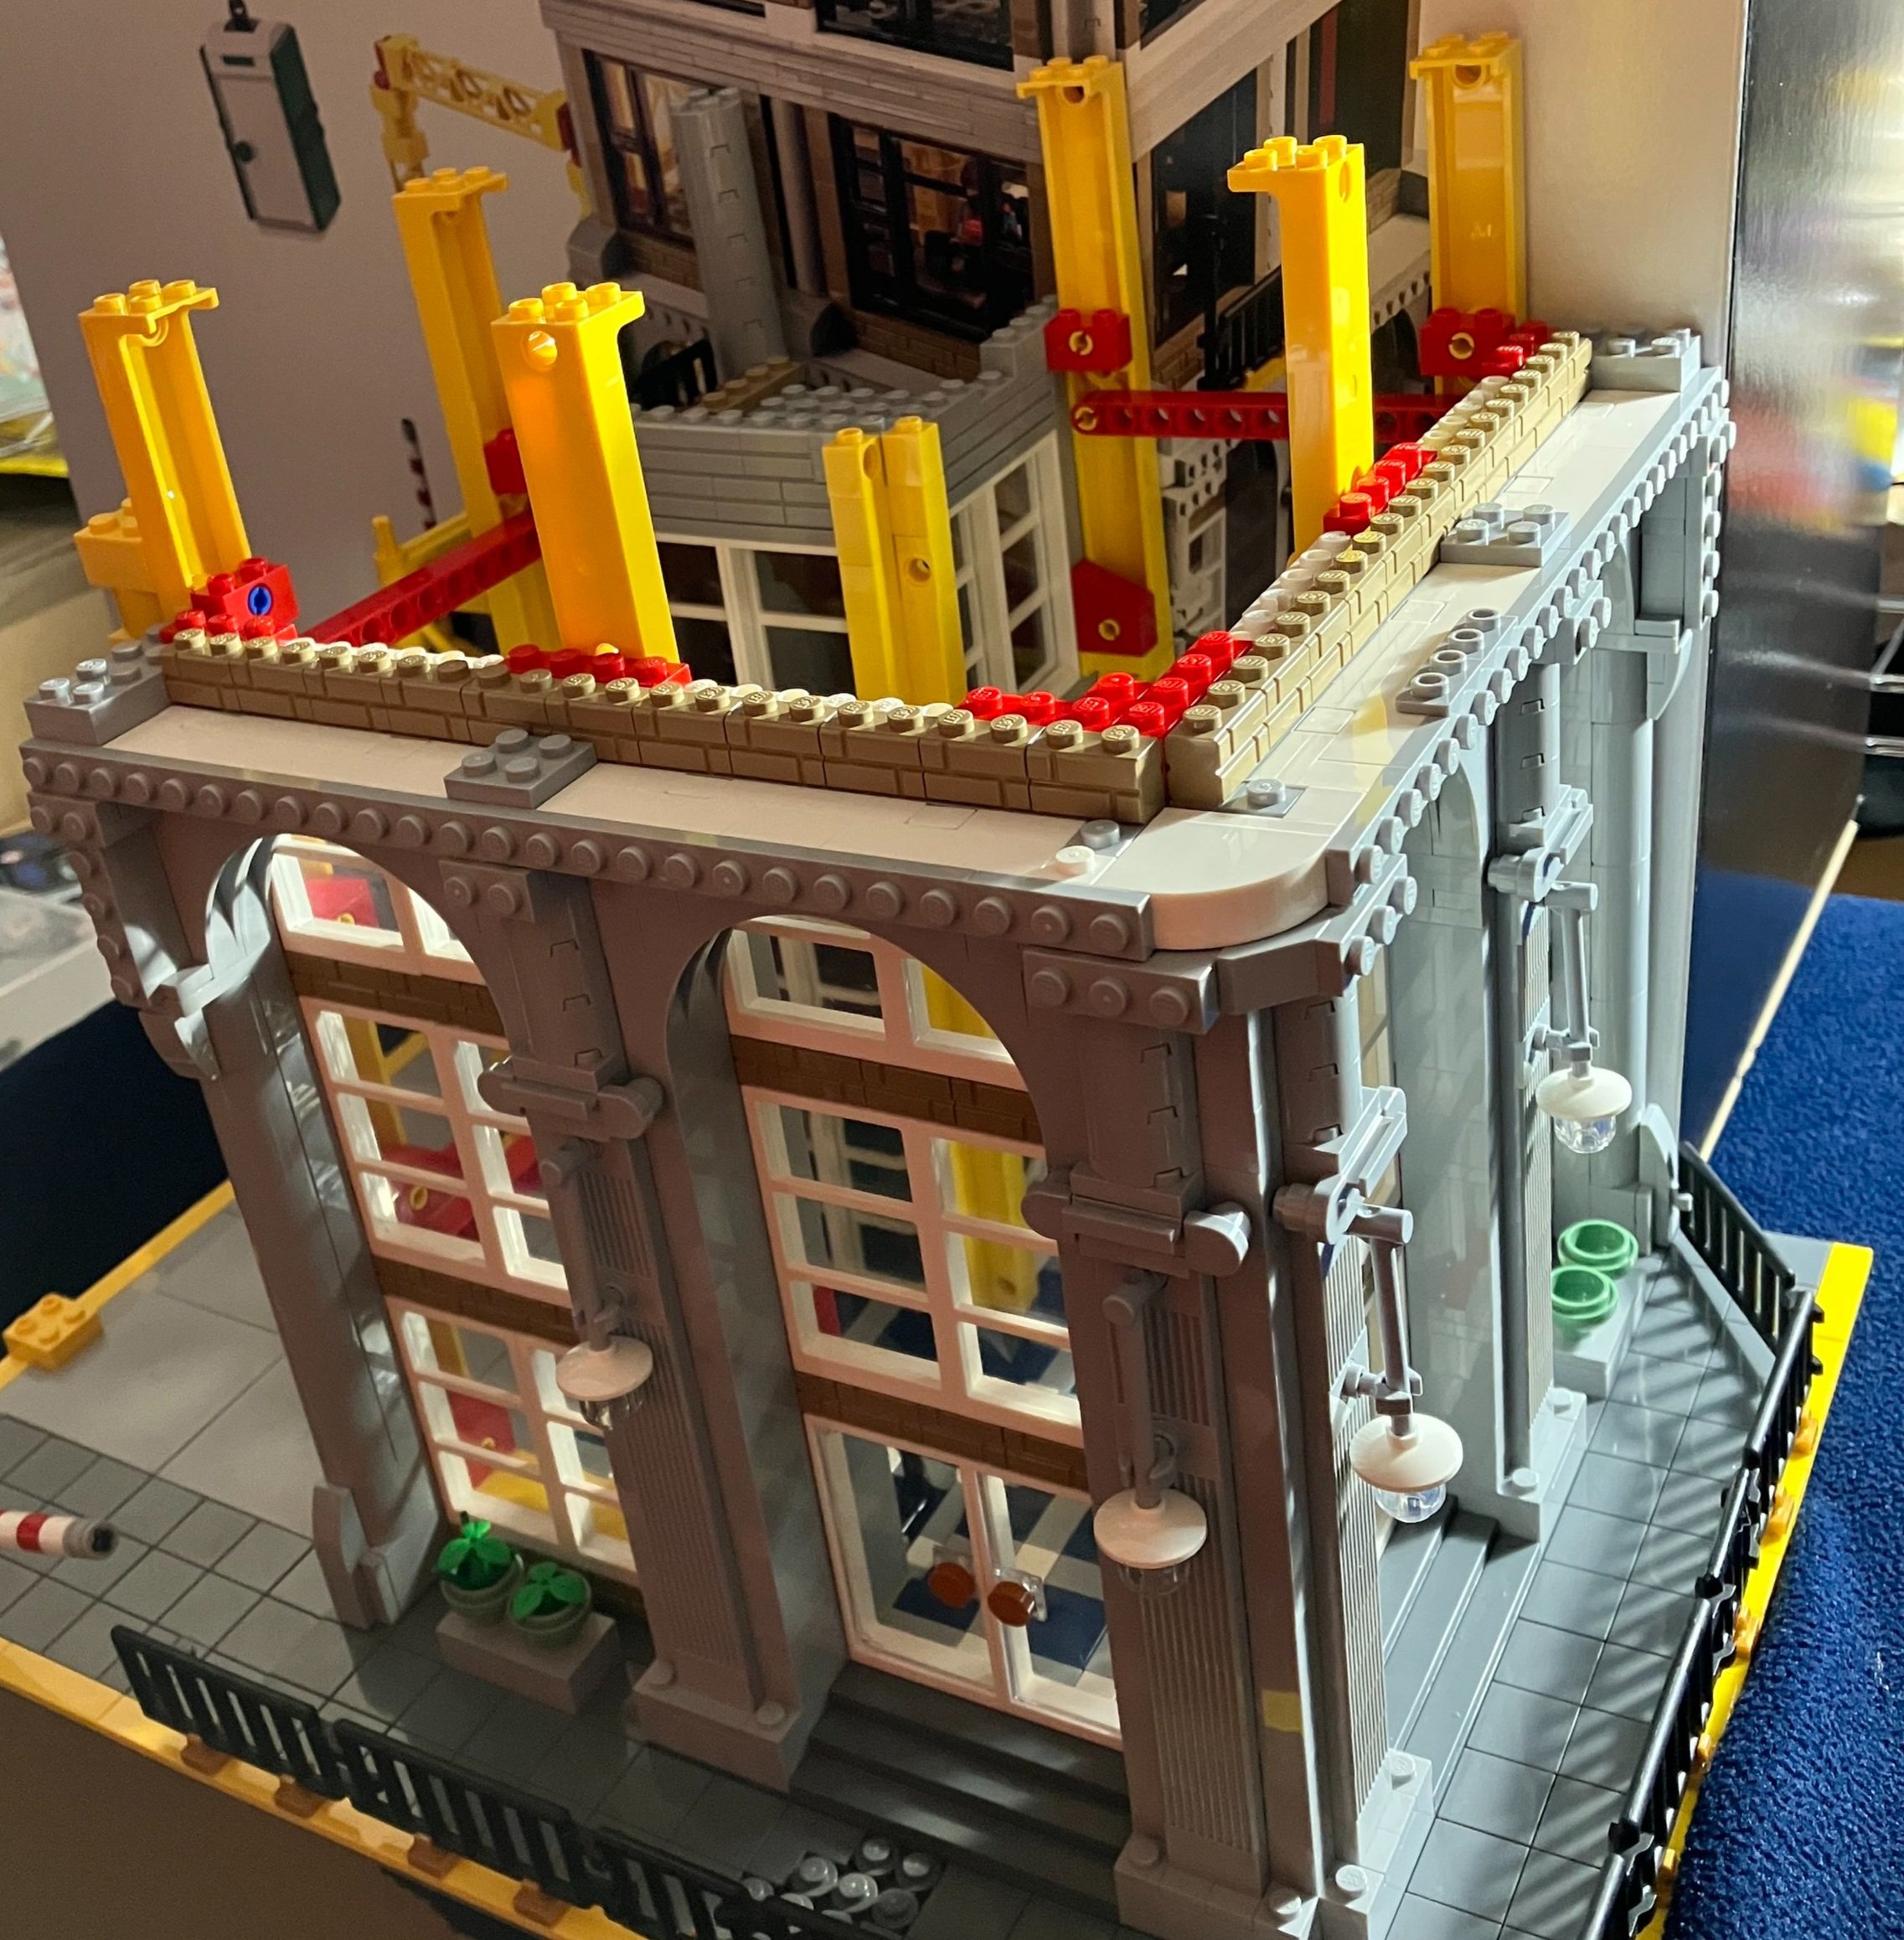
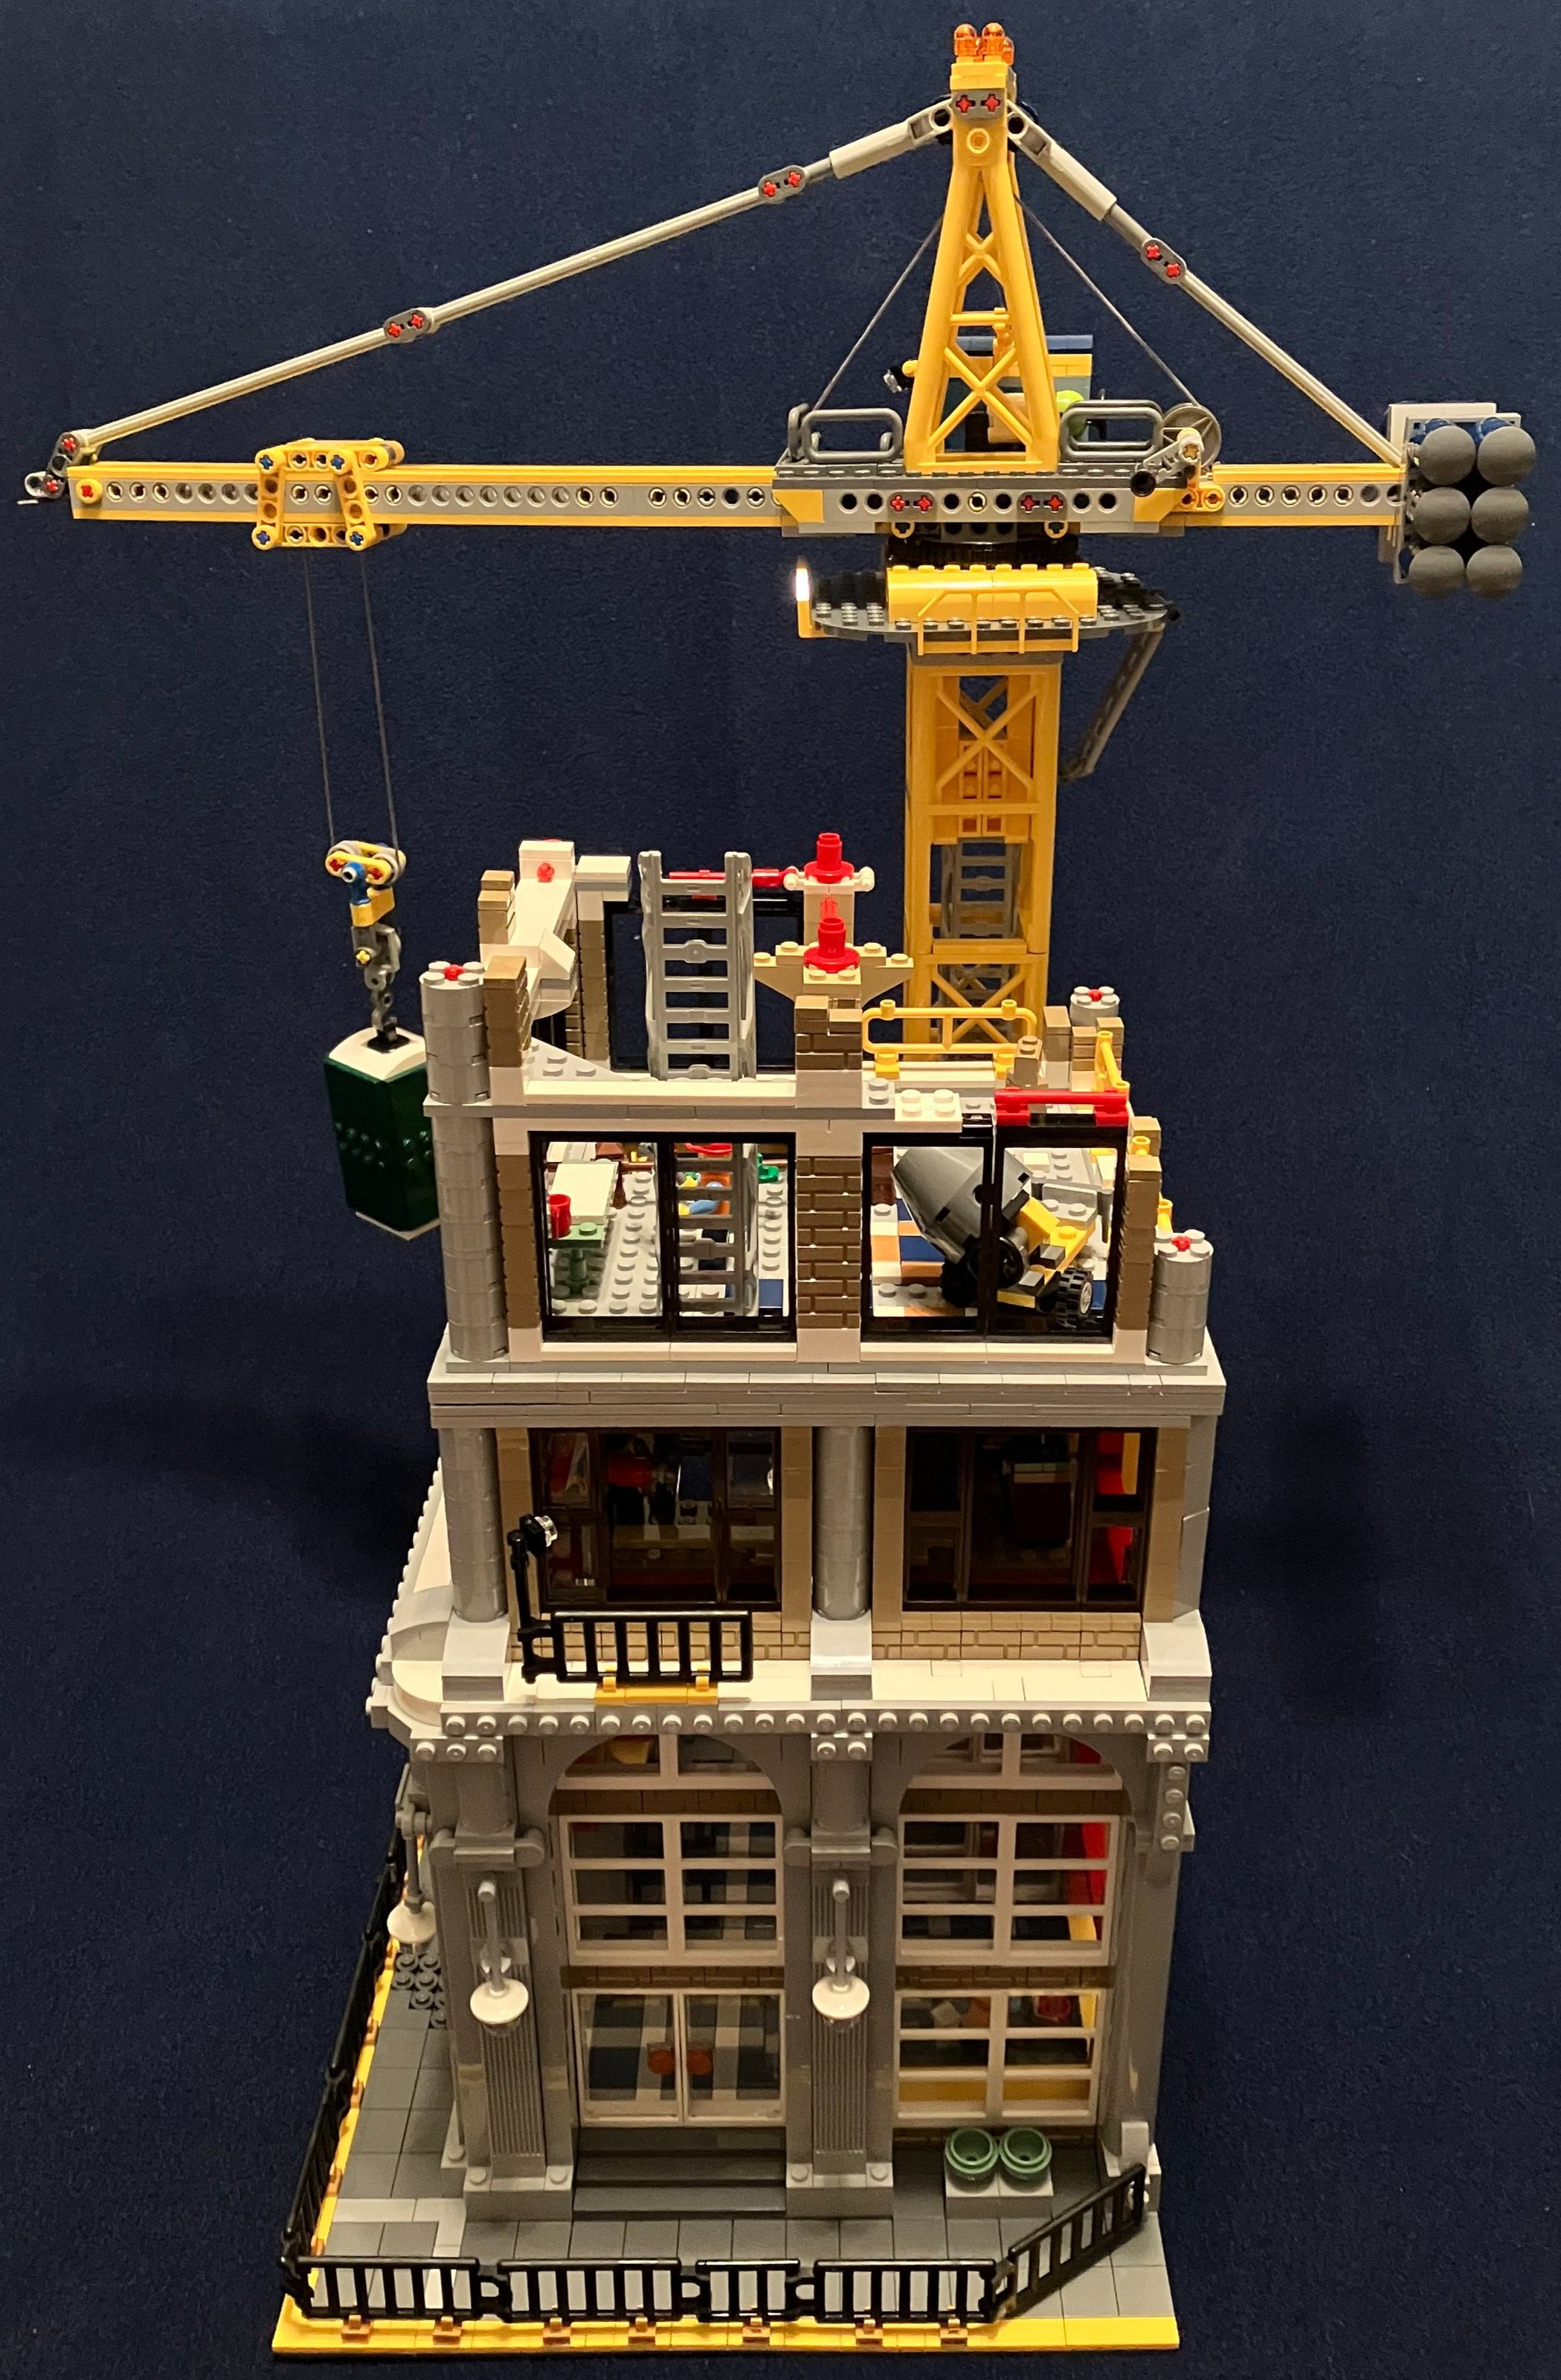
Here’s the final set. I enjoyed the build. It’s a challenging build with some great details. It’s a good display piece, but not great for playability as it comes apart pretty easily and parts aren’t really stable. The cost was rather high, but thankfully there are a decent number of pieces. It’s a great option too if you’re looking for parts. The back and one side of the building aren’t finished off with anything. They look like more work needs to be done. It’s hard to say if an additional wall should be added or if the building should be larger. It’s okay to display from the front for a front facing MOC.

Overall, it’s a great build. A little pricy, but it works. There are some areas that could use a re-design. I’ll add it to my long list of sets I’d like to redesign.

This one is off the market now so your chance to get it is on the secondary market at a higher price. The good part is the instructions and bill of materials are online so you can use your own pieces or buy some to re-create this set.

Happy building!

My Top 5 Picks for Round 2 of the 2023 Bricklink Designer Program

If you’ve missed it, we’re on round 2 of the 2023 Bricklink Designer Program. You can see my posts on round 1 here and here. Also on Bricklink here. Round 2 voting is now open and the process is the same as the last round so I won’t explain it again. Details are at the Bricklink site here. You have until 30 June 2023 to vote. The team will assess the designs in July and August and then Bricklink will announce the selected designs on 23 August. Crowd funding won’t be until June 2024.

Round 2 has 190 designs. I recommend viewing on a PC or laptop for ease of use on the site. It was hard to view on my phone. Maybe a tablet would be okay? I also found that if I clicked on a design, Bricklink re-arranged the order of designs when I returned to the list so I always selected “open in new tab” so I wouldn’t lose my place of where I was in reviewing the designs.

Overall, this round is much like last time. Lots of buildings/modulars, pirates, castle, space, and then a few one off designs. I selected five designs I liked, but I’ll be honest and say that there weren’t a ton of designs that just jumped off the screen at me as really amazing. There are definitely some talented builders out there… don’t get me wrong. Just the designs didn’t appeal to me as much as I thought/hoped they would. I’m hoping you all think I’m wrong… onto my picks (that I selected the happy emoji for).

What are your thoughts on this round? Happy voting!

#1: Brick Cross Train Station

Designed by username: brickester

Contains: 3.034 pieces

After building #910002-1: Studgate Train Station, I think it would be great to have another detailed train station not from the CITY line. This one is definitely packed with a lot of details and would look great in a train layout on the other end of Studgate. I like how it’s an older styled building with some modern touches to it. No train included, but some track and a bunch of minifigs.


#2: Jioufen Old Street

Designed by username: baeseonghwan

Contains 3,023 pieces

I’m a fan of the Chinese Festival Themed sets and this one seems to fit with that theme only it goes to the next level in detail and design. This one seems to pack a lot of details in and capture some of the cultural architecture styles as well.


#3: The Grocery Store

Designed by username: Sp_PirateKnight

Contains 3,996 pieces

I like modular buildings and LEGO won’t ever go for one in the Ideas line so why not try here. I think this one would fit in well to any modular city. I like the logo on the front and the front façade and roof design are unique which helps to make it stand out from a LEGO designed product.


#4: Stone Grayce Trailway Station

Designed by username: legokopen

Contains 1,694 pieces

This one is a smaller train station with fewer details, but also less pieces which should help to keep the cost down from the other sets I selected. It’s small and simple, but still captures something you’d expect to see on a railway line. This could fit well if you’re looking to put a station into a rural/country scene of a CITY type layout.


#5: Fairview Park

Designed by username: thepresident14

Contains 2,285 pieces

I tried to pick something different for #5 and decided on this little park scene. There is a bunch in here with a fountain, pond with bridge, kids play area, and various plants around the layout. While it’s still in the CITY theme, it isn’t something we’ve had in a set before and it packs a lot of fun details and options which you could expand into a larger scene.

Set Review - #910002-1: Studgate Train Station - Bricklink Designer Program

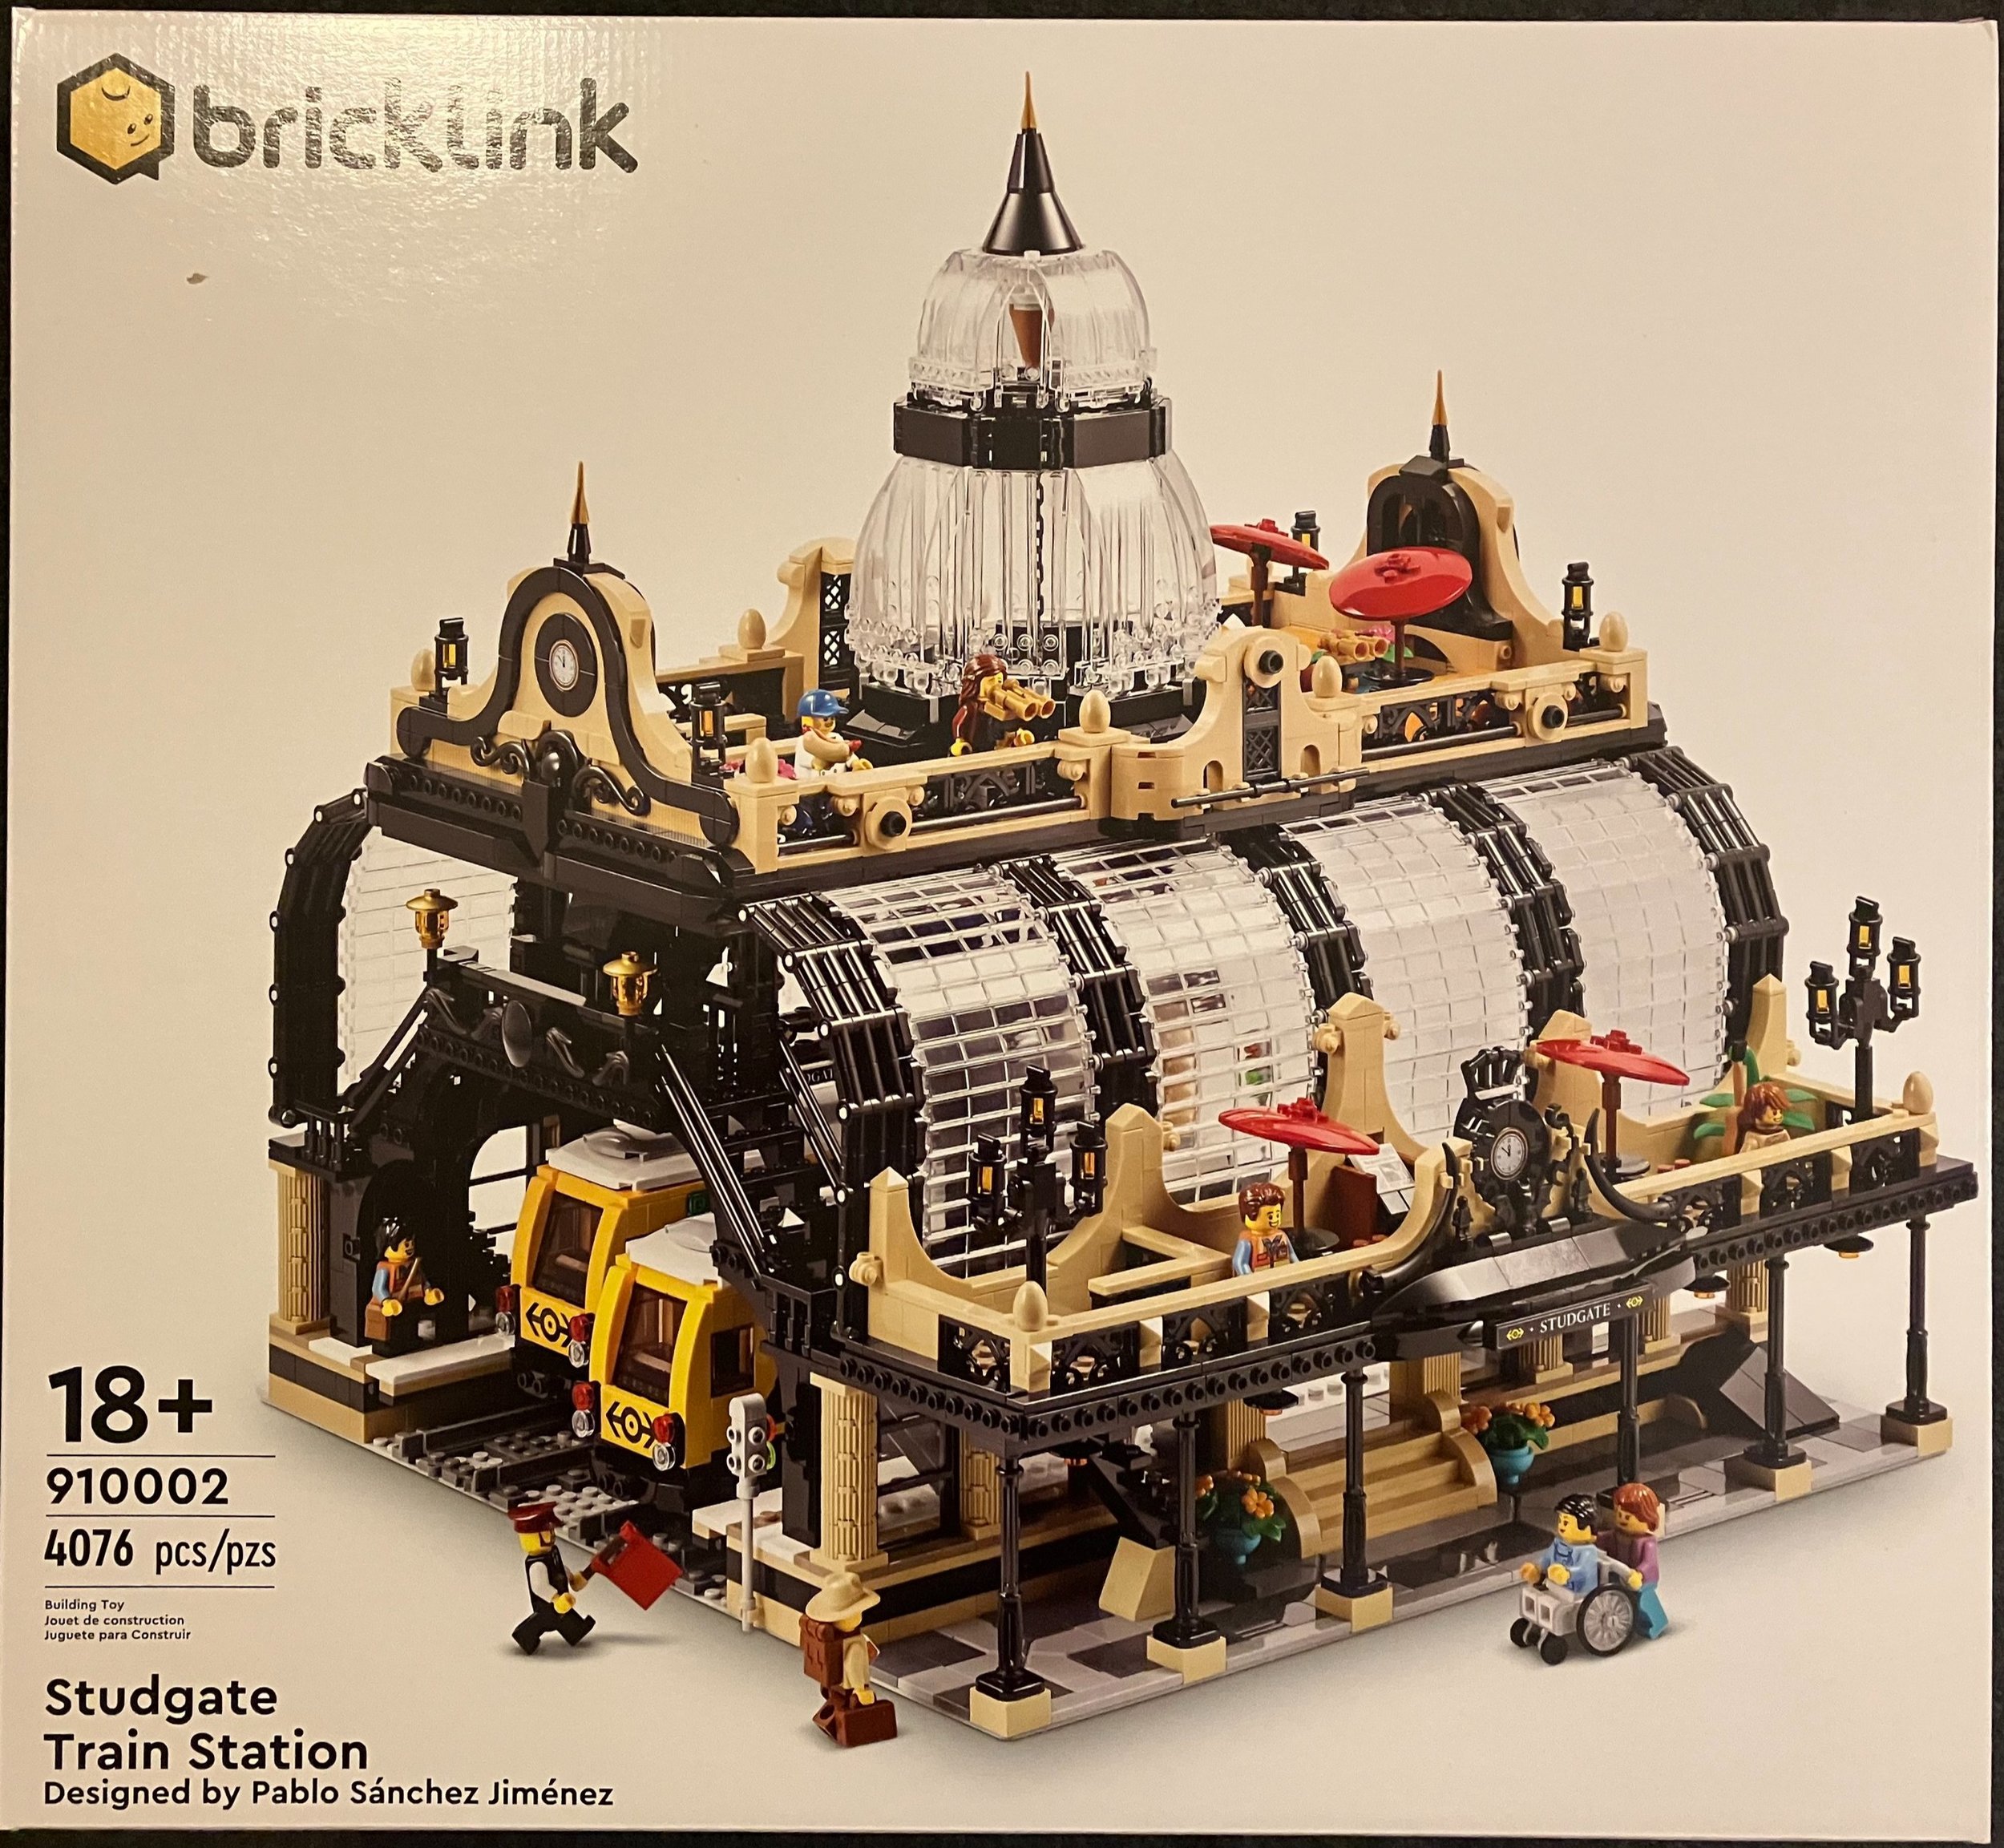
Round Three sets of the 2021 Bricklink Designer Program arrived in 2023. The sets have been delivered for a while, but I had a backlog of builds and then it took a while to put this one together. #910002-1: Studgate Train station contains 4,062 pieces and retailed for $399.99. That worked out to $0.098 per piece so very close to the average of 10 cents per piece that everyone quotes. I’m sure I could have sold it for a significant mark up, but I really wanted to build this one as a train fan and my overall excitement for how the structure looked when the design was released. The fan designer is Pablo Sánchez Jiménez. You might remember him as the fan designer behind #21322-1: Pirates of Barracuda Bay.

I watched a video from Tiago Catarino a few weeks back and someone asked him for his impression of the Bricklink Designer Program sets. He responded that he didn’t like them as they didn’t get the full treatment that LEGO goes through for it’s design process. My response is that he should build this set. Wow! It was an incredible build and was very challenging. I enjoyed the process and I think the end product looks great. There are a few things that wouldn’t pass the LEGO designer test, but nothing major. Let’s dig into the review.

The box matches all of he previous Bricklink Designer Program designs with the white box, Bricklink logo, and LEGO set identification in the bottom left corner on the front. The front also lists the fan designer’s name which is cool My set came well packaged and the seals were all fully attached.

The parts are mixed between three separate boxes on the inside and then there is a large 48x48 stud light gray baseplate. Opening the boxes reveals 23 numbered bags with some numbers having more than one bag per number. There were also a few bags of larger pieces that weren’t numbered.

Like previous Bricklink Designer Program sets, there are no printed instructions. You can either download a .pdf from Bricklink or use the LEGO® Builder app. I used the .pdf. I still prefer printed instructions, but I managed. After working with a computer all day, it’s nice to turn off the electronics and use paper instructions and bricks.

This set comes with a small sticker sheet. While I would have liked printed parts, I can’t complain about 9 stickers total.

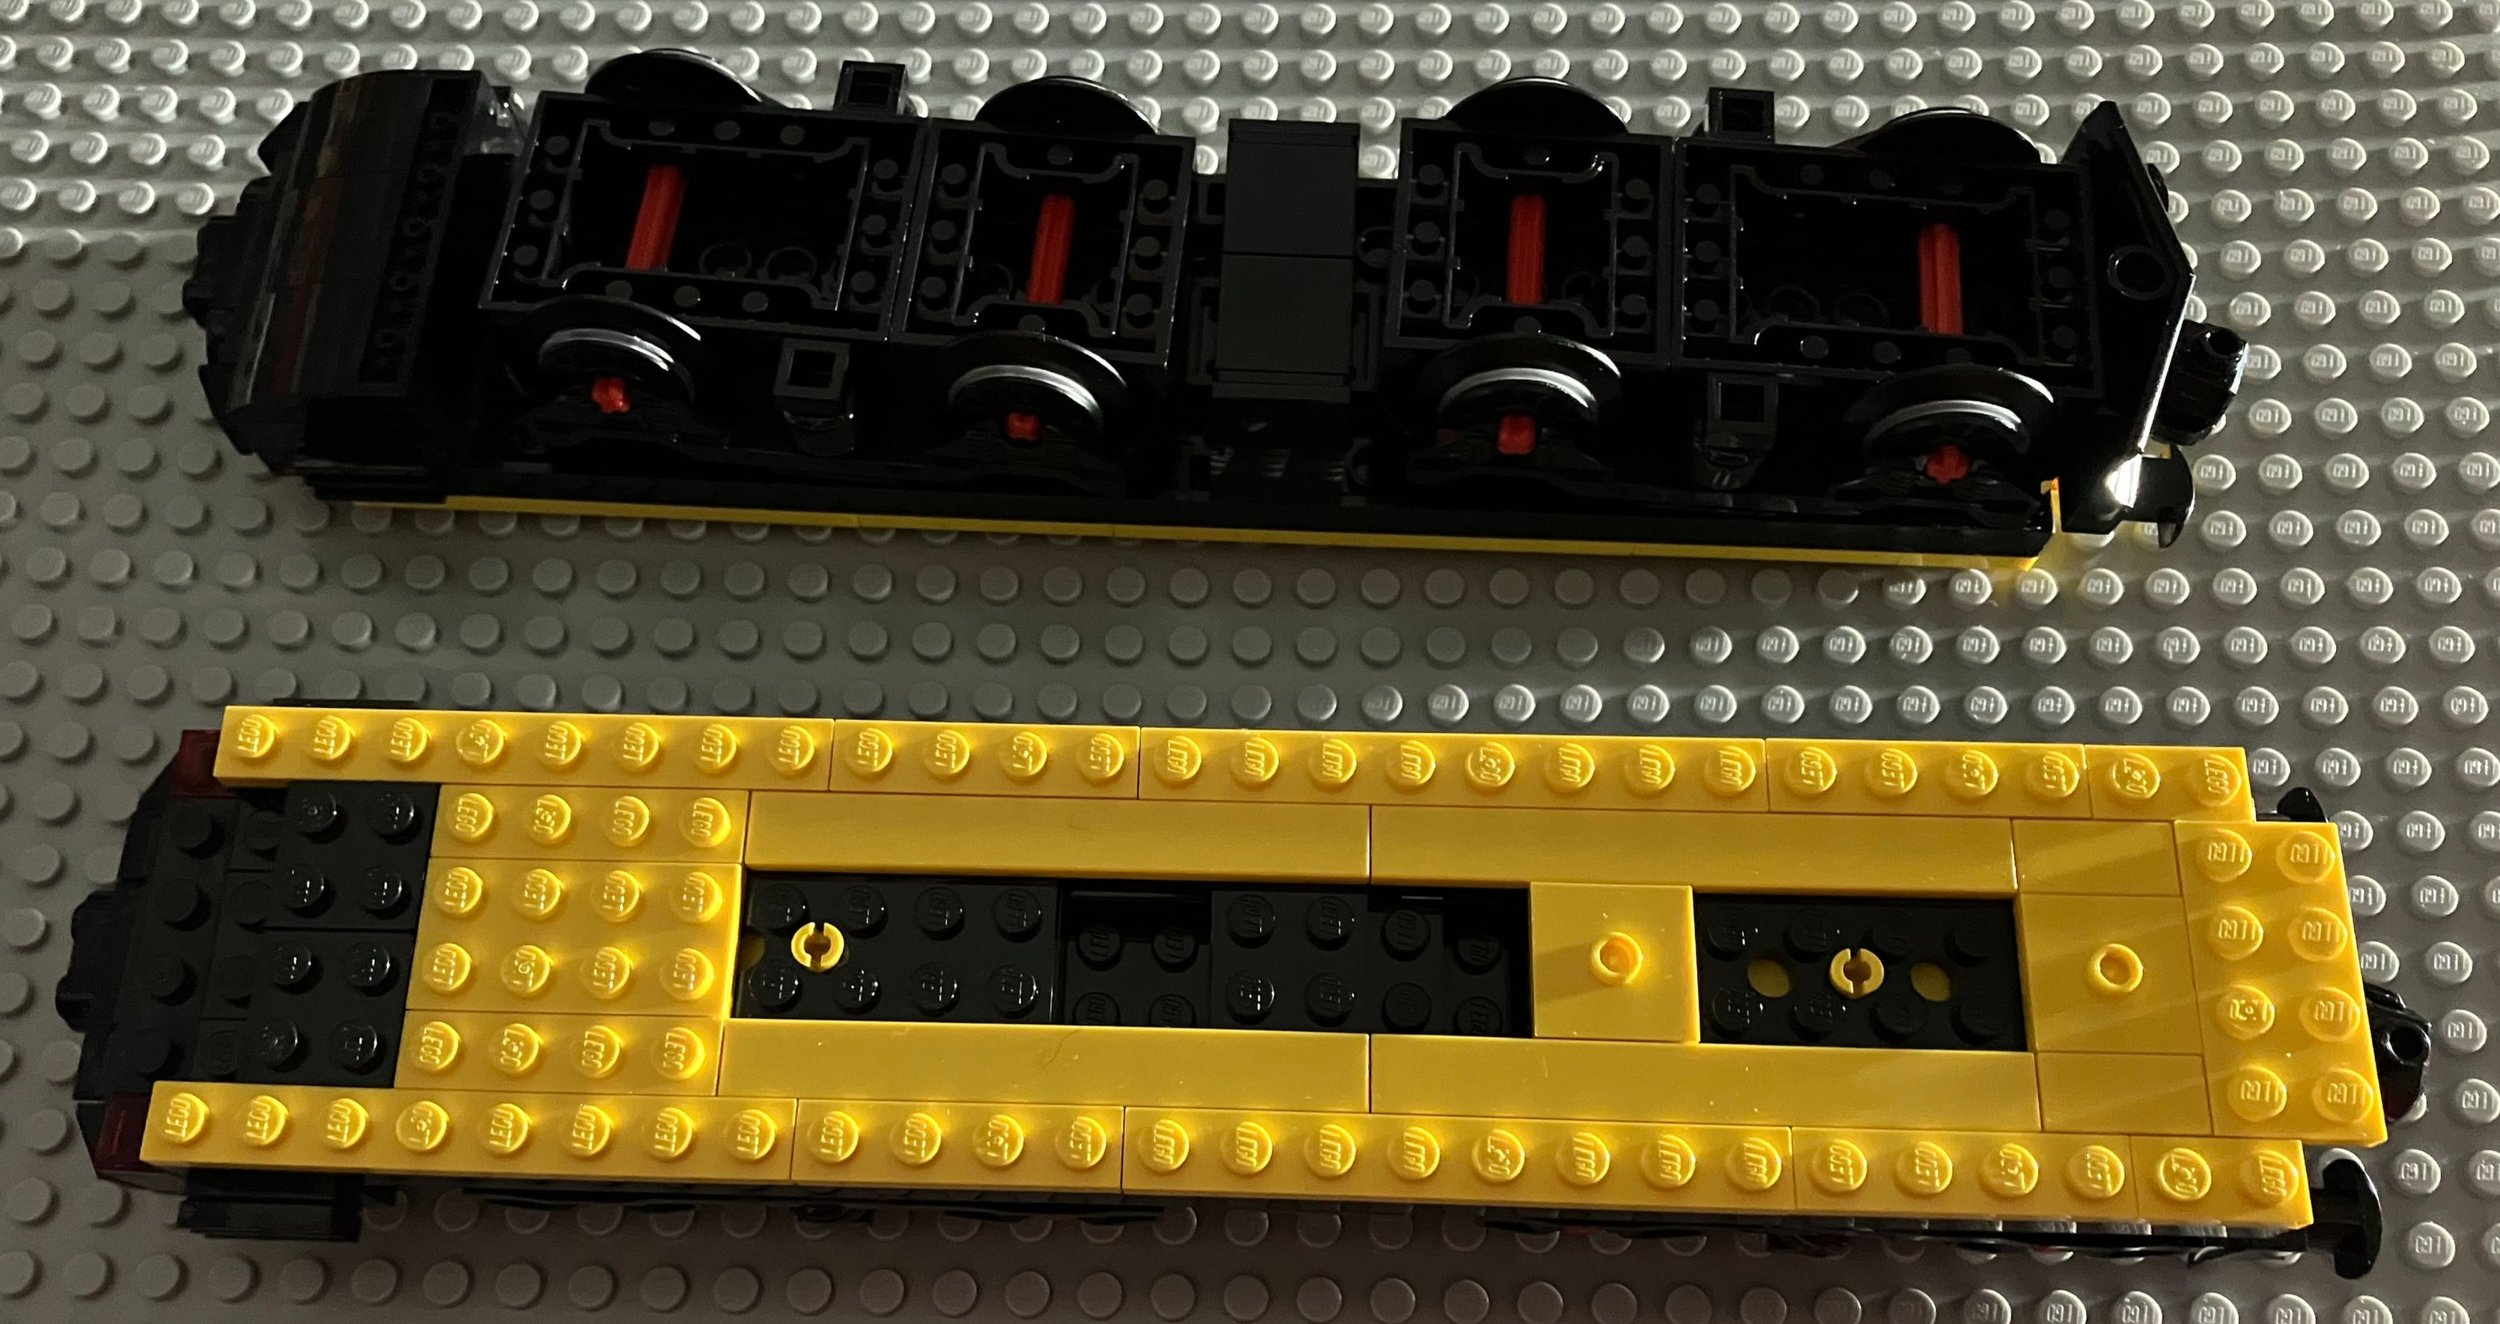
The first bag assembles the base of both train cars. You use two of the large train plates and the standard buffers and wheels. Everything else is custom built.

Bag two builds up the train to include seats and windows. Bag three completes the trains with a roof and front wind shield. Overall, it’s a fairly simple train and you can use them as individual cars or combine the two for a longer train. There are no doors on the cars so you either have to modify them on your own or just live without doors. If you want to motorize the train, you’ll have to do some modifications to add a battery box, but it’s possible. Or just use a 9V motor and track if you have it. I would have liked a more detailed train and more cars, but I understand the limitation of the program and realize that the focus of this build was on the station. The train is just an added bonus.

Build four begins the station build with the sidewalk in front of the station and part of the first platform. The sidewalk is pretty simple, but the use of the light and dark gray along with the Nexo Knight shields helps to improve upon the design.

Build five adds the front wall of the station with some windows, stairs leading up to an arched doorway, and a wheel chair ramp.

Build six is already to the second story of the platform. You add in some decorative wall designs and a few seats and a newspaper stand. The front of the station by the sidewalk uses black lamp post poles to hold up the upper level. The pieces are a little awkward as the back section is well attached and it can stay up without all of these pieces attached. I found they came out of place often.

Build seven adds in some details on the upper level to include some tables with umbrellas, lamps, and a clock on the front. The first two minifigures are included which are a younger male passenger with a guitar and a male worker.

Bag eight adds in some decoration on the front of the station to include a sticker with the name of the station.

Build nine adds in some details on the platform to include a bench and ticket machine. You also start the build of the stairs that will allow the minifigures to go to the other side of the platform. This bag comes with two minifigures. One is a janitor cleaning off the station platform. The other is a traveler with a bag and ticket. You then add in the rails. The set comes with eight straight rails, but you only install six so you have a few extras. Then you start to build up the other side of the platform.

One note of the design is the ramp across the tracks for minifigures in wheel chairs. some of the pieces used have studs sticking up. This is good if you want minifigures to pose on the tracks, but it doesn’t allow the engine with the buffer that has a plow-like piece on it to easily clear the tracks there. If you intend to add this set to you train setup, you’ll need to add in some different pieces to allow train clearance.

Bag ten adds in the other side of the platform with a wall with windows, a station sign, a bench, a trash can, and some lights. There are two more minifigures. One is a male with a winter cap, sun glasses, a poofy jacket collar, and 2 bags. The other is a female worker with a purse/bag.

Bag 11 builds the bridge that connects the platforms. It’s not a super sturdy bridge, but it holds up okay. The design is all black pieces, but it works. Bag 12 finishes the bridge, adds the stairs to the upper level, and a support arch to hold up the upper level and dome.

Bag 13 builds the base of the top level. It is put together with plates connected to bricks connected with Technic pins. It’s pretty solid. Bag 14 finishes up the upper level base and starts to add in some detailing.

Bag 15 continues to add in detailing of the upper level with a fence around the outside, two center sections that are a little taller for aesthetics, and then some lounge areas for your minifigures to sit while waiting for their train.

Bag 16 adds in some parts around where the stairs connect and then an embellished section where a clock is placed. This section is cool as there are a bunch of brick arches and you build an assembly for the clock that connects via clips to parts behind the clock. Definitely a cool design choice I wouldn’t have thought of. Also along the outside are some open studs which are used as design throughout the build. Maybe it’s part of the reason why it’s called “Stud” gate.

Bag 17 wraps up the upper section. You add in some umbrellas for shade by the couches, some flowers for decorations, two lookout stands to get a view, a hot dog stand, and a few more decorations along the edges. This section gives you two minifigures. One is the hot dog vendor who comes with a blue baseball cap or a chef’s hat. The other is a female traveler with a camera.

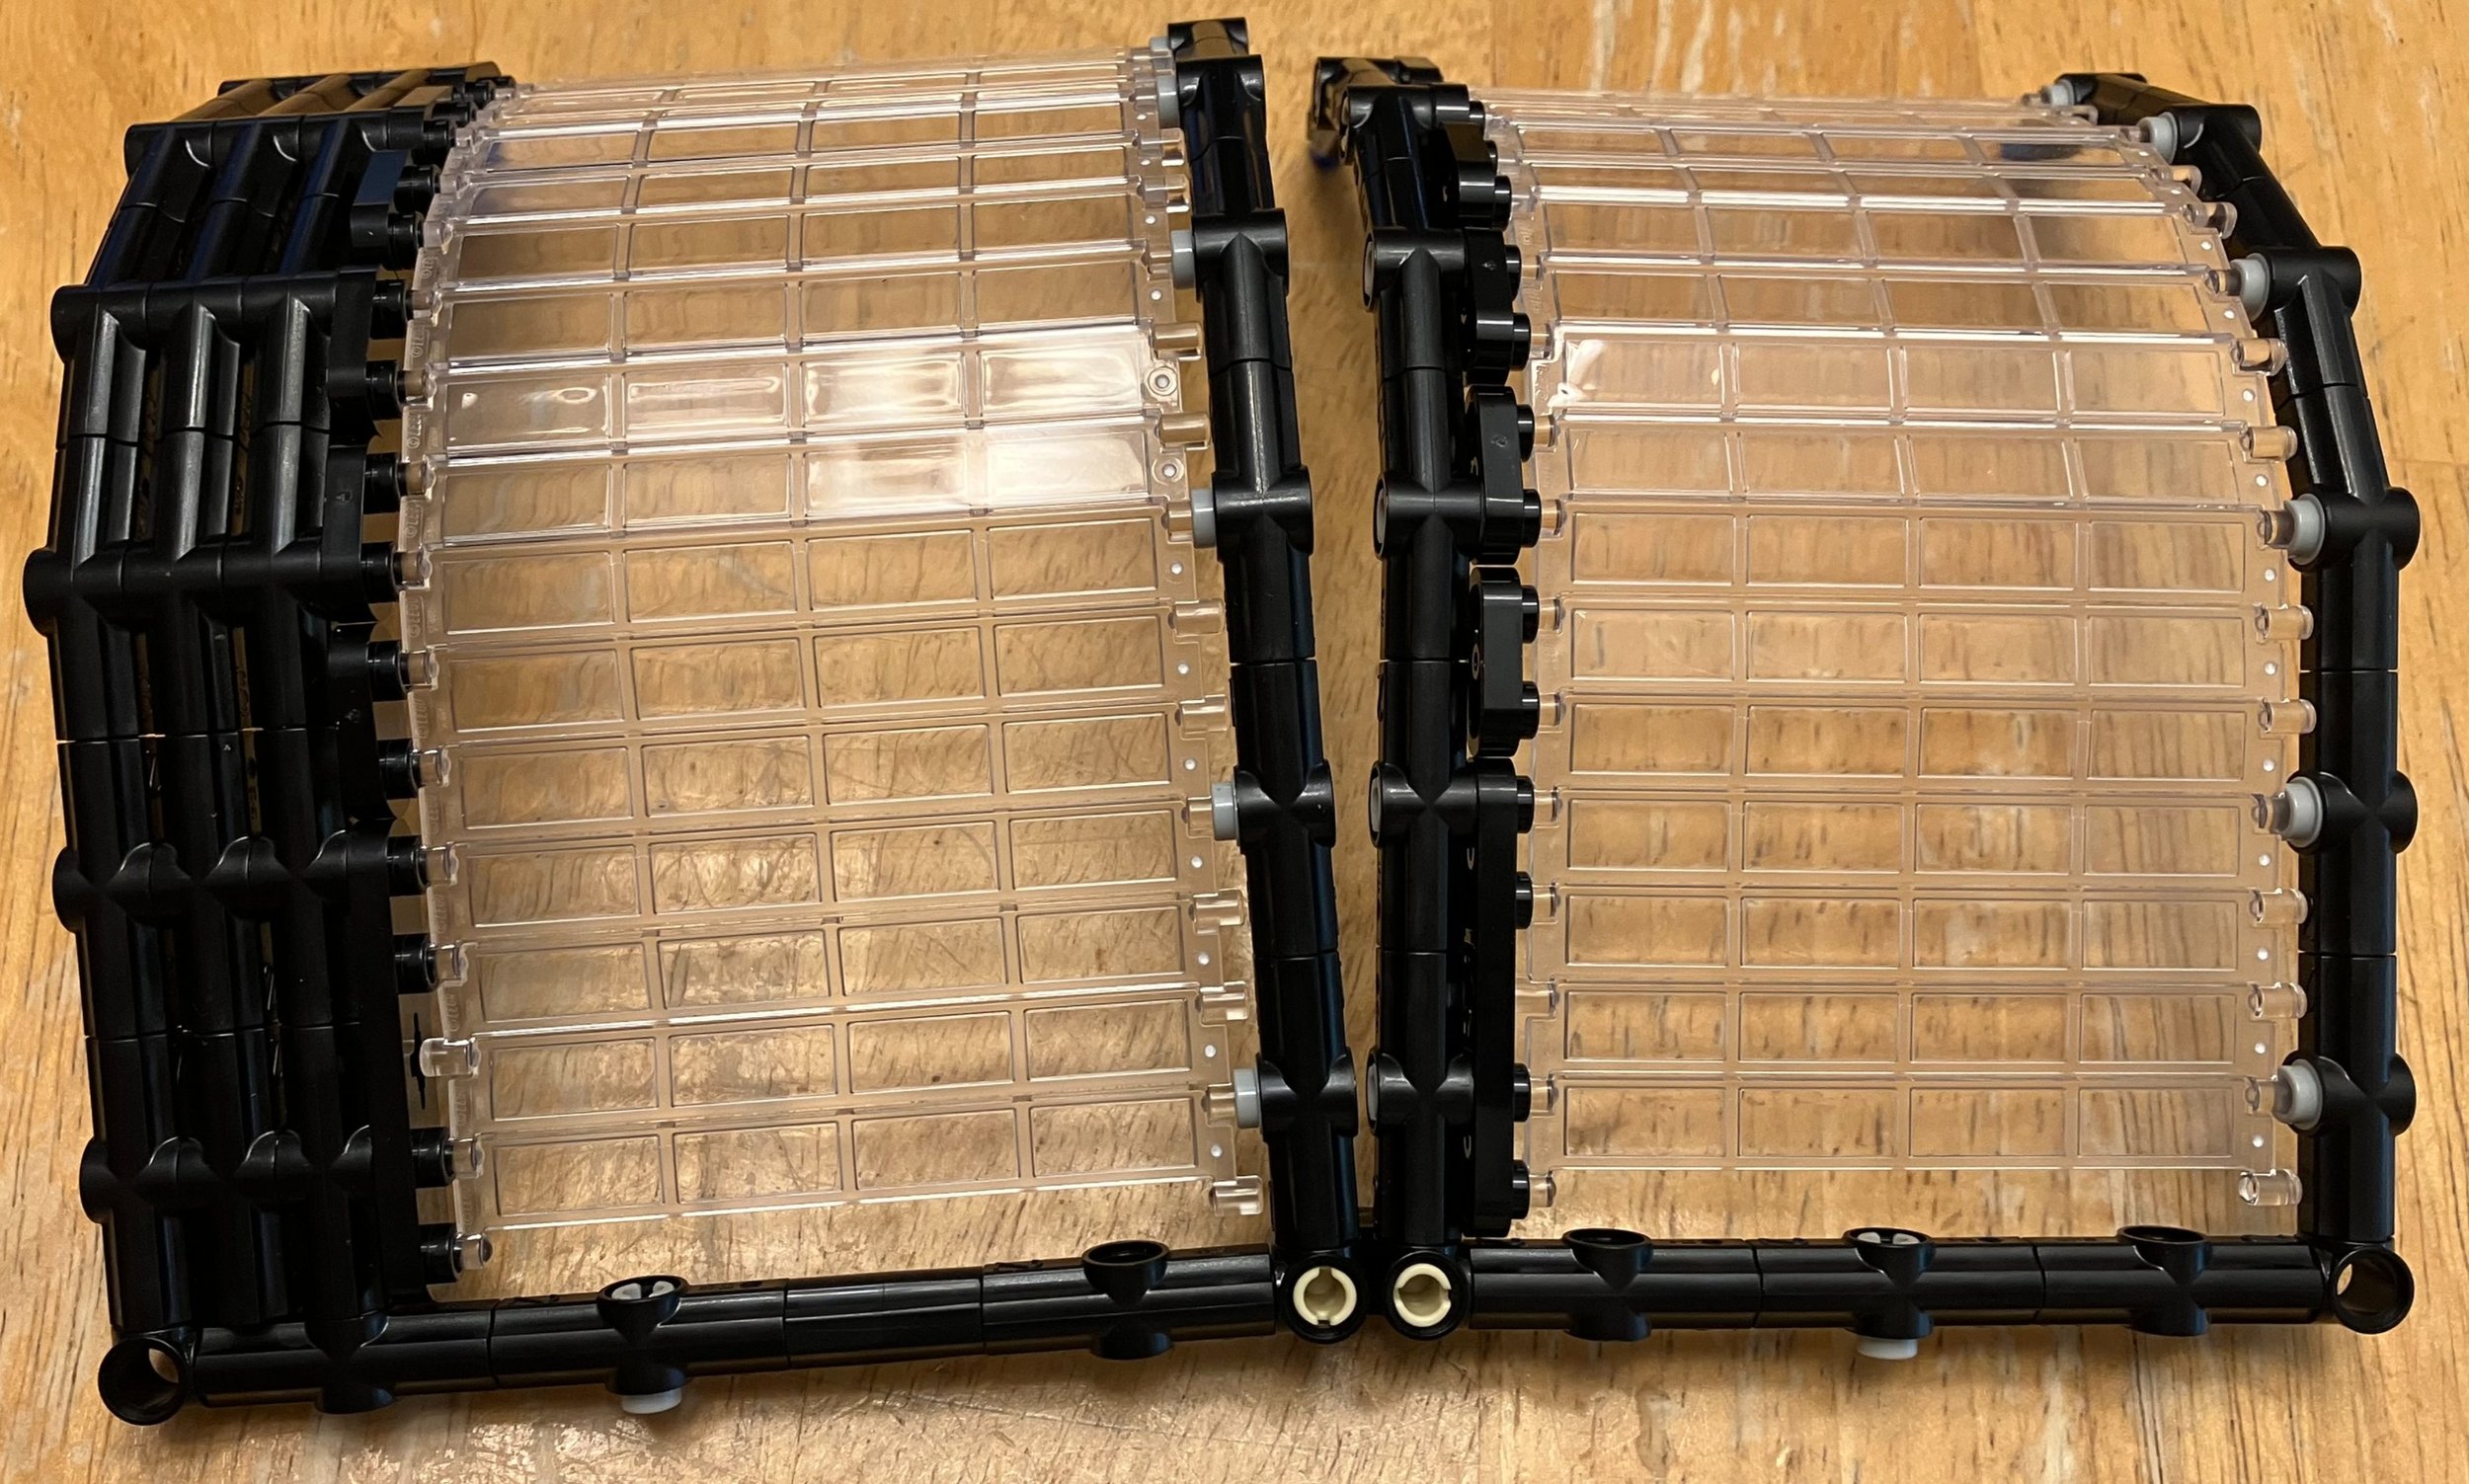
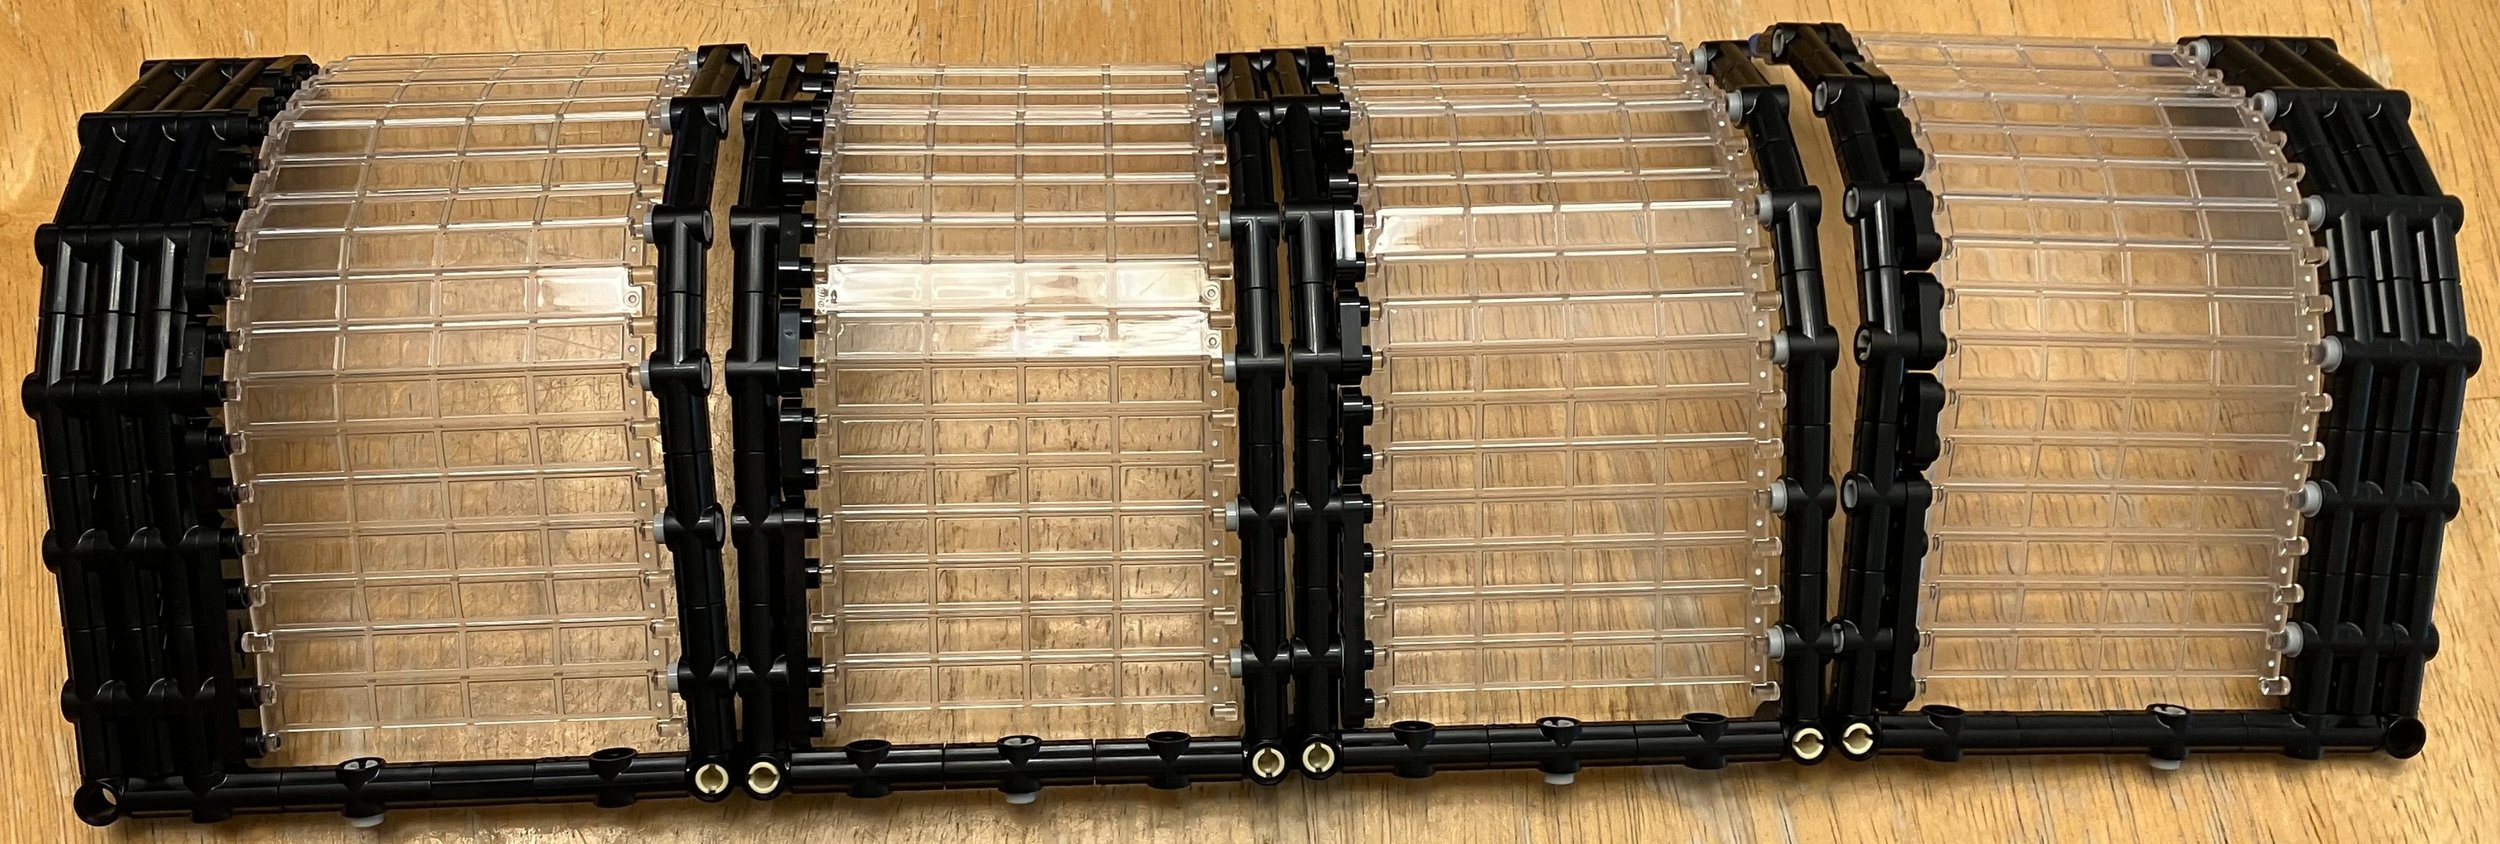
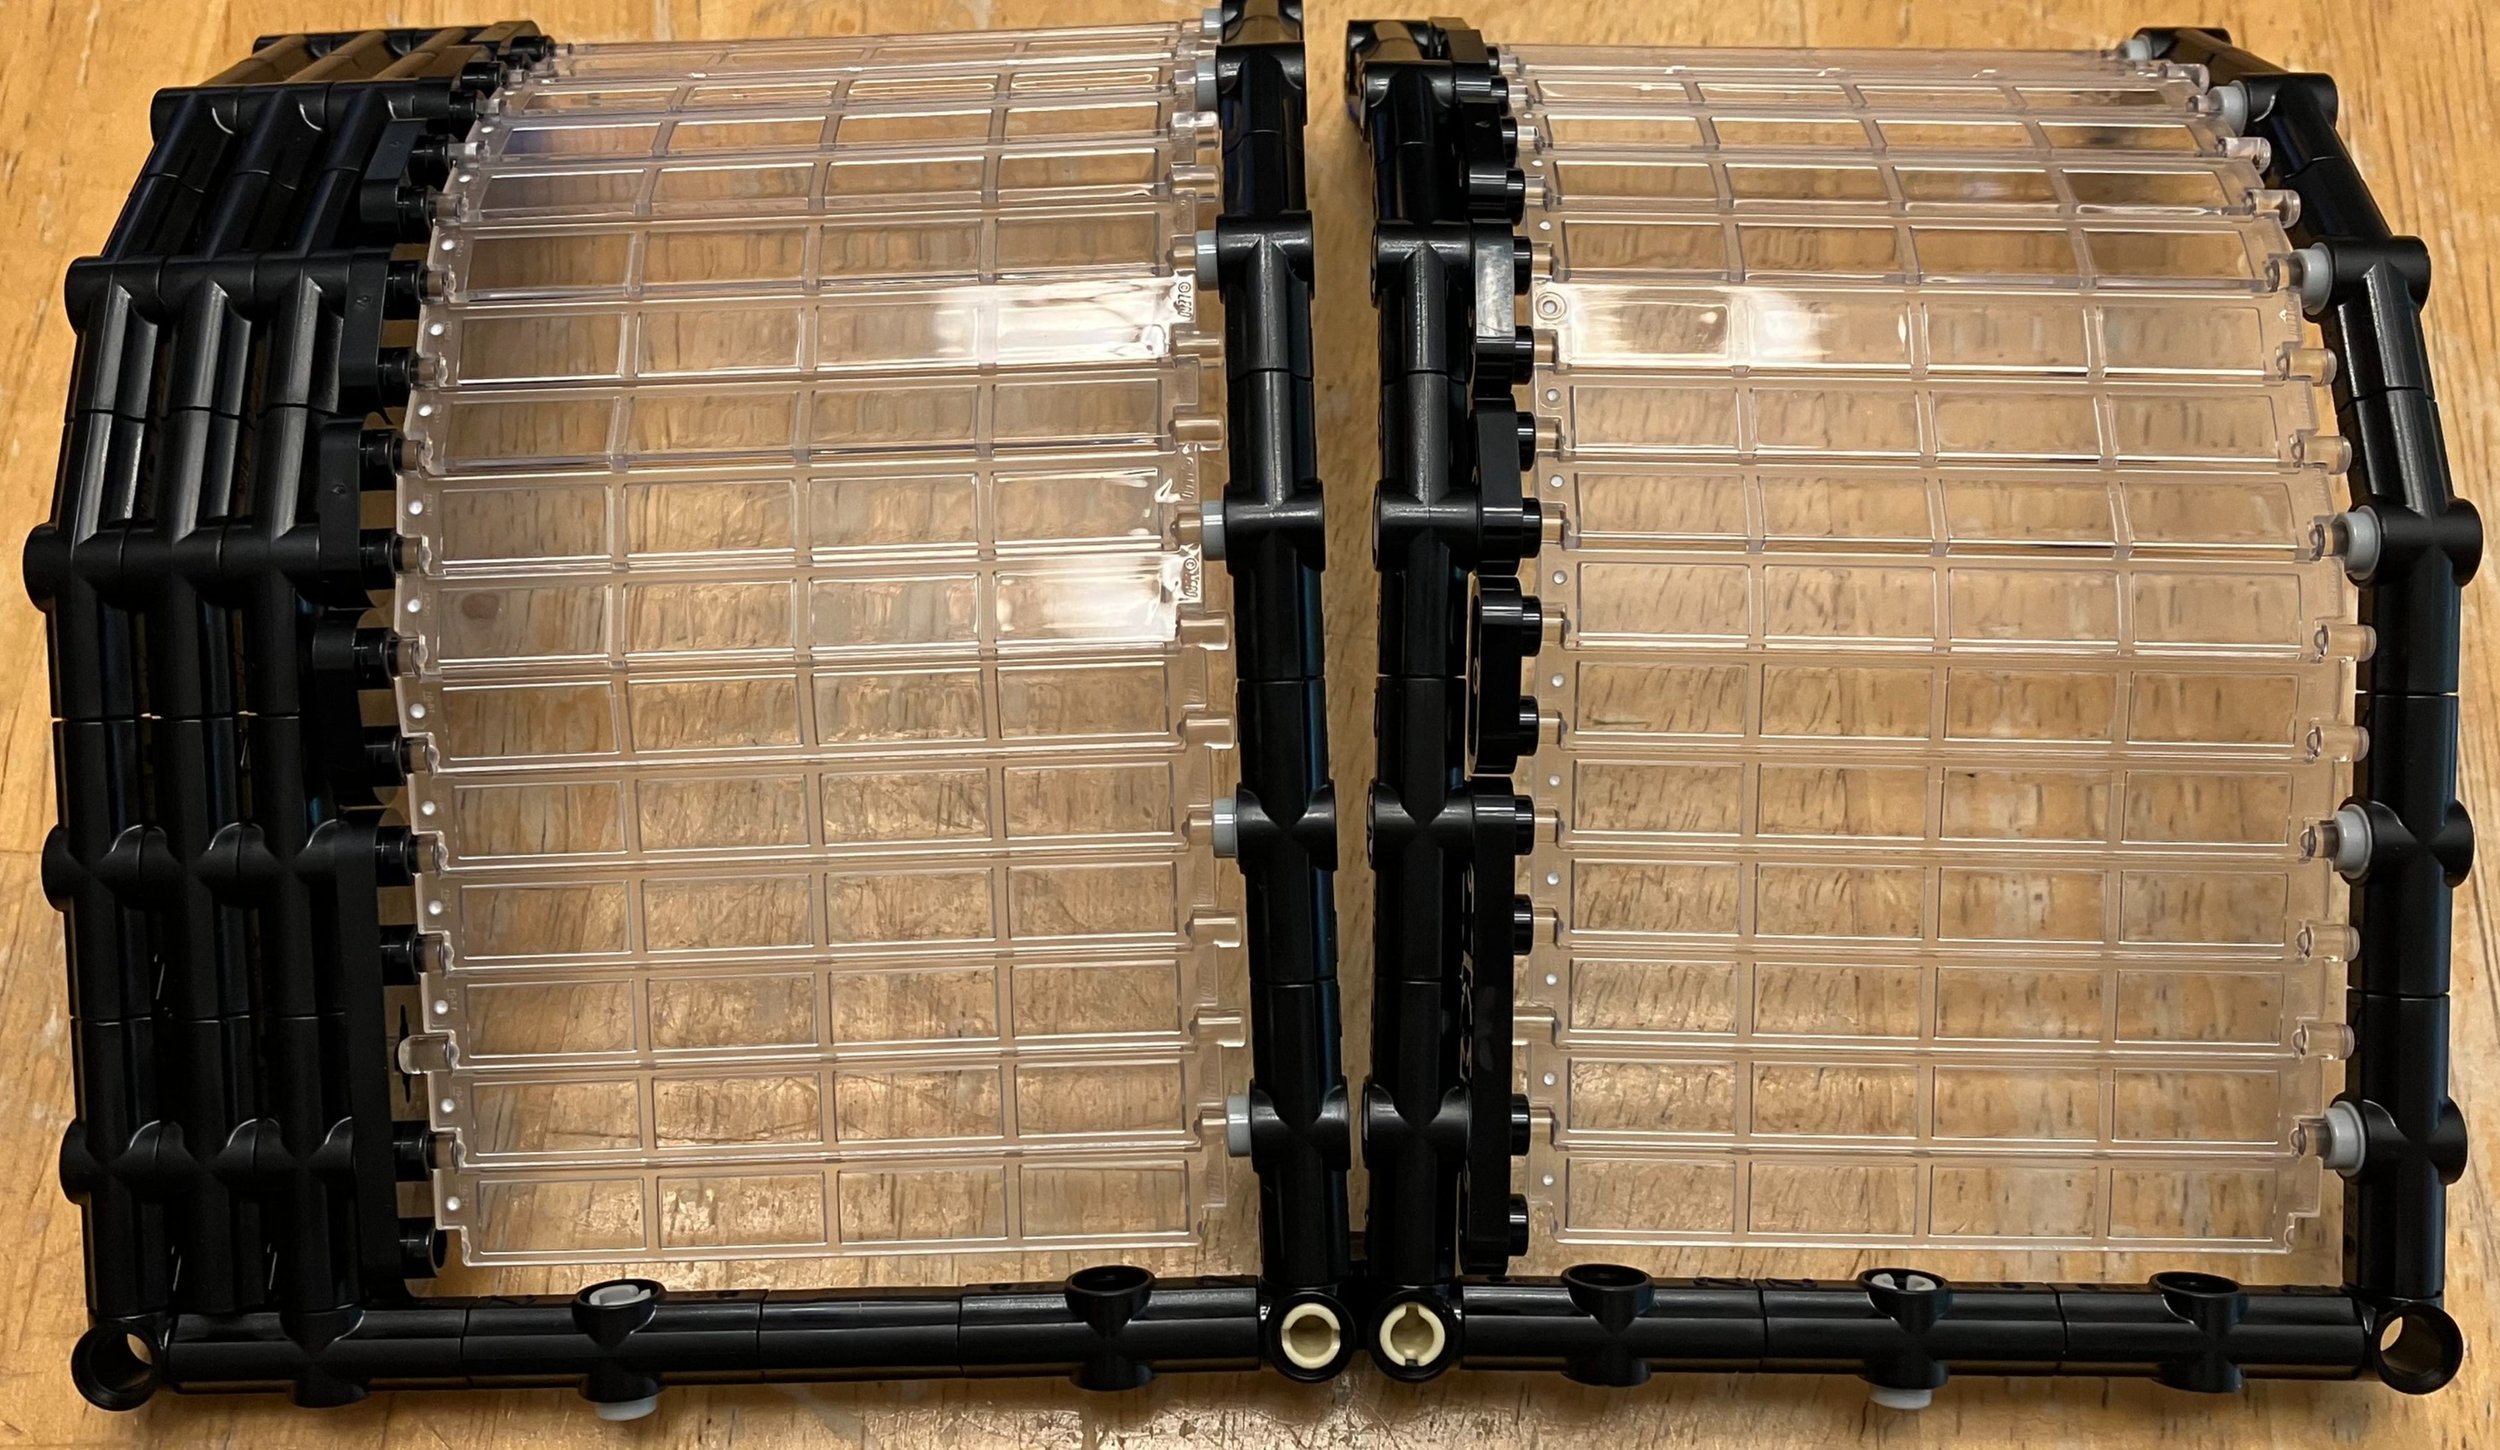
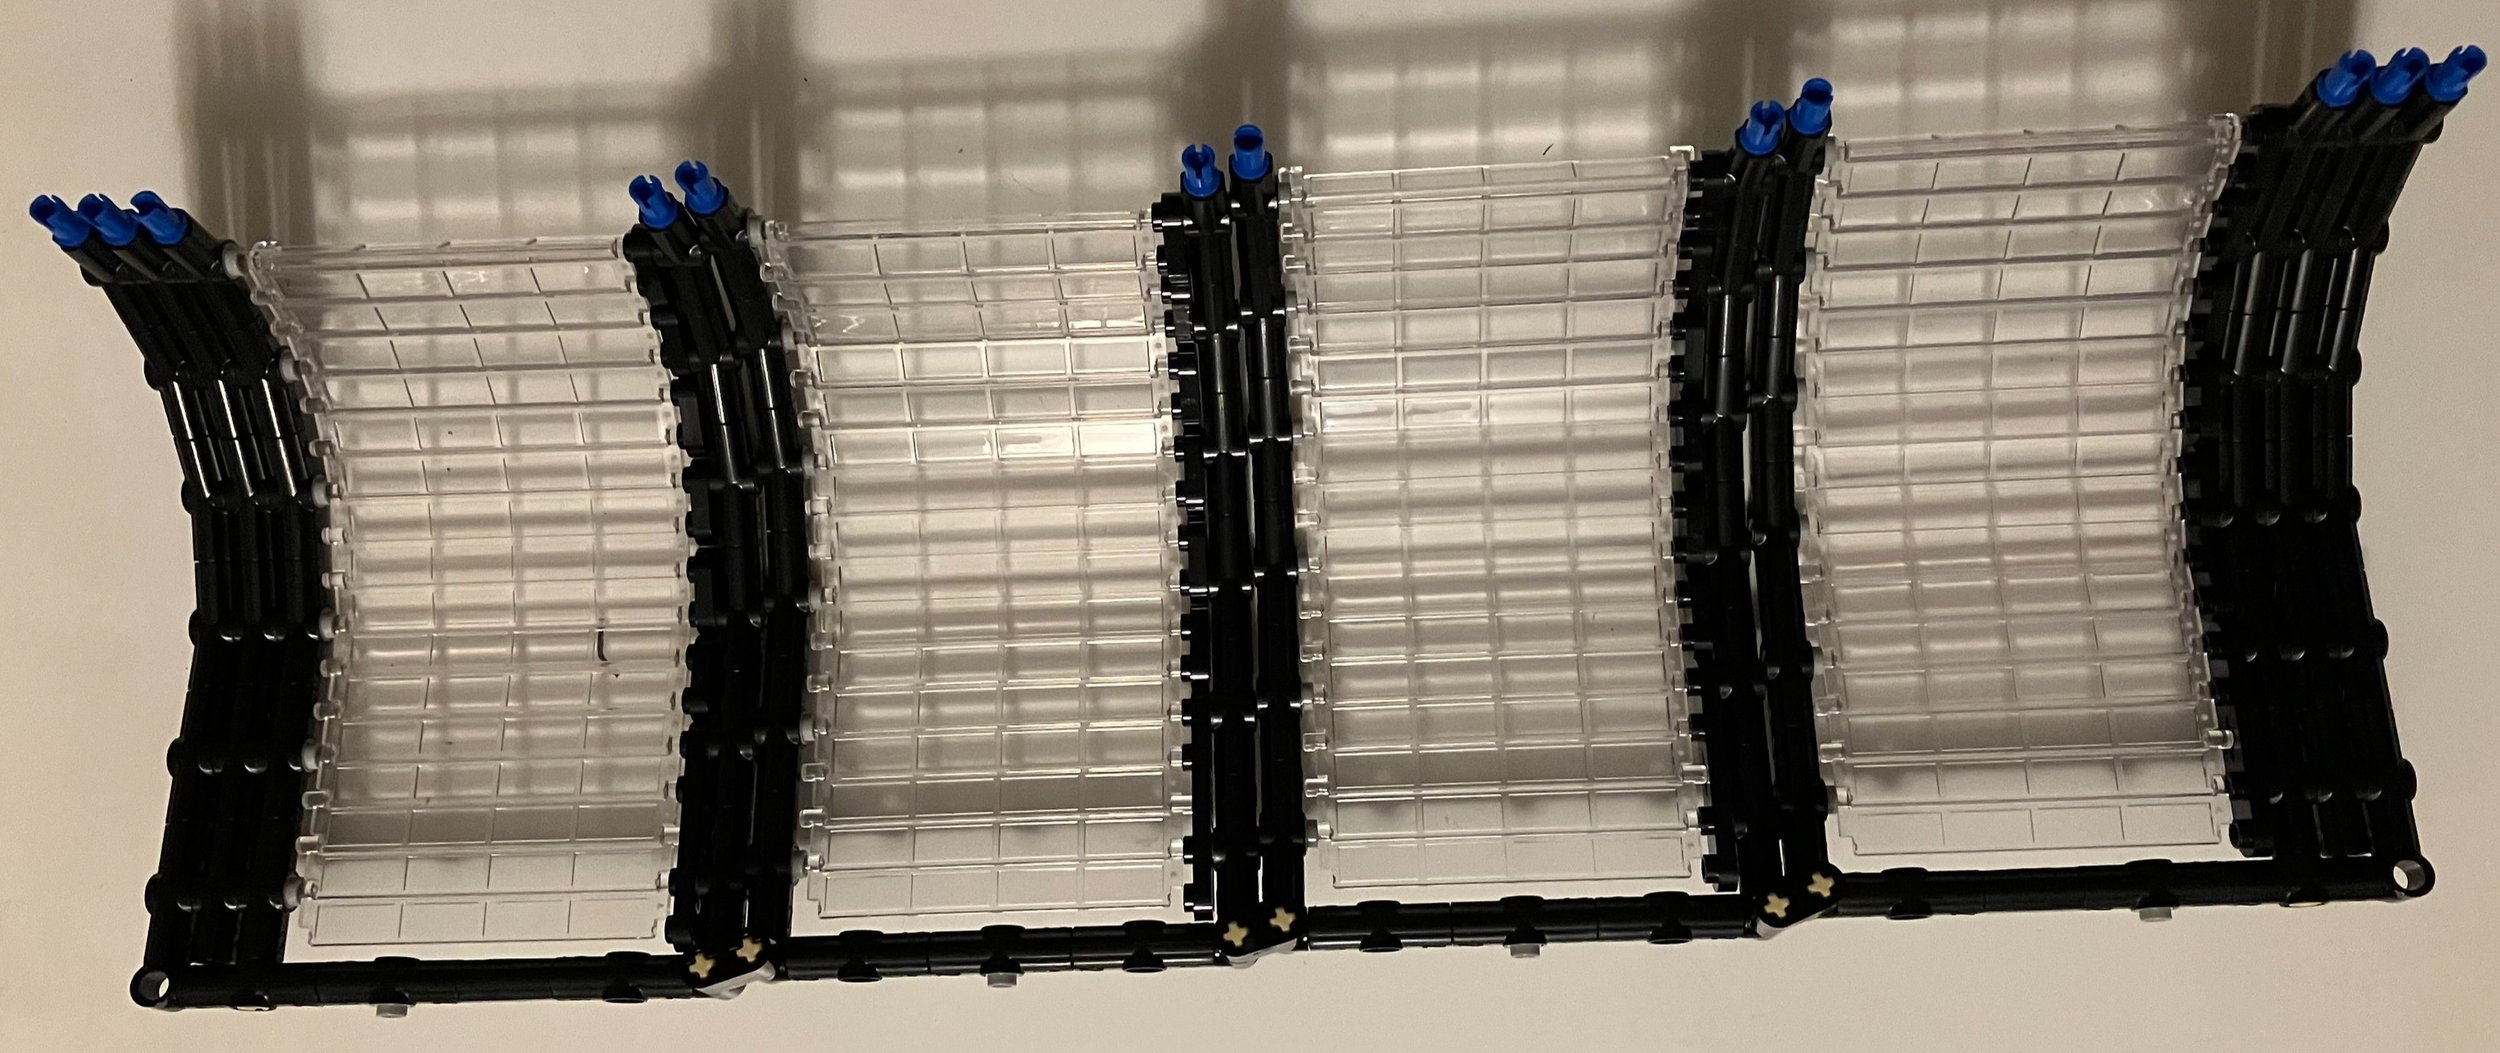
Bags 18 through 21 build the dome like covering of the station. This part got a little repetitive, but I understood why. You start by using Technic pieces to build a piece of the outer frame, then you connect the clear garage door pieces together and connect them to the outer frame, then you build more frame pieces to connect to the clear garage door pieces, and so on. Eventually you get two larger sections of four sections of this type of build.

After each section is assembled, those sections are attached to the top level completed at step 17. This part was very challenging for me. You have to connect the Technic pins into the base of the top level and there are clips to attach the clear garage door pieces. This was not easy to do as the top level has a lot of details already installed. I ended up removing a lot of pieces and then fighting to get everything attached. I’m not sure if there would have been a better order to do this all in, but I eventually managed to get it all together and re-assembled. Whew!

The whole section is then attached to the rest of the station. I use the term attached loosely as it really rests on it. The only true connection is with the stairs. One side of the platform has two small pins that stick up into the Technic holes, but this is more to keep it from sliding as opposed to being a structural support. It works though as I’m able to pick the entire build up and move it around and it stays in place.

The original submitted design used a large single clear piece for the very top dome. Apparently LEGO didn’t agree with the piece choice so it was re-designed with multiple clear pieces. This section starts off with an octagon type shape connected by hinge pieces. Then you clip on some larger windscreen pieces to go around the outside while some clear rod pieces are in the inside to support what will be the top of the dome in the next section of the build.

The final bag, #23, is some smaller wind screens attached to the clear rods from the previous bag. You then use these pieces to hold up the very top spire. There are no actual connections, it just rests there with gravity. From there, you build a chandelier which connects to the top spire by a chain piece. My picture of the chandelier isn’t the greatest, but it was hard to get a picture of it alone as it needs to hang freely to see what it looks like.

This whole dome section was an impressive engineering feat and while it has some gaps and weird angles, I think it looks okay.

This set comes with ten minifigures. There are a good range of travelers and workers and they come with a bunch of different accessories. Overall, it’s a good mix.

Okay, I lied… There are 11 minifigures. The minifigure in a wheelchair rolled off the set in my building area when I took the original picture. Whoops! This is a female minifigure with short hair and a hoodie. She gives you the opportunity to test out the ramps for those that need them.

Here are some pictures of the final set assembled. I think this one looks awesome! Despite some minor design issues and assembly challenges with the upper level, it’s a great set that would look great in any city set. I think it would be a bit small for a larger passenger train to stop at, but one with one or two cars works. I’m glad I picked this one up when I did as I’m sure it’s going to a hefty price on Bricklink or Ebay. Not sure how much it would be to assemble all the pieces and build it on your own, but the instructions are available for free online so you can assemble it if you’d like. Overall, it was a great build and I look forward to adding this to a train layout someday.

Happy building!

2021 Bricklink Designer Program - Round 2 Sets Finally Delivered!

I lost track when I made the initial order. The last estimate I saw, it was 10 months ago. Well, they’re finally here. The 2021 Bricklink Designer Program Round 2 sets are shipping or maybe already arrived to you all. In case you aren’t familiar, the Bricklink Designer Program for 2021 was a chance to bring back some of the non-licensed Ideas sets that received 10K votes, but didn’t make it to production. LEGO, through Bricklink, crowd funded these sets and selected the ones that achieved 10K pre-orders. I managed to get the five that made it and they just arrived. A quick rundown of the sets is below. I’m not sure which ones I will build and which ones I will add to the Bricks for Bricks Bricklink store. You’ll have to check the store for updates.


#910003-1: Mountain Windmill
2,085 pieces
Retailed for $179.99 in the US
$0.086 per piece

The design of this one is cool, but I saw something that it was originally supposed to have minifigures and then they were removed before production. I’m thinking I may add this one to the store at a later date. We’ll see.


#910009-1: Modular LEGO® Store
2,149 pieces
Retailed for $179.99 in the US
$0.084 per piece

The box I received had a few rips to the printing on the box on the side. Nothing major. I like the concept of a modular building that fits with the others, but I’m not sure if I’ll build this one. We’ll see.


#910013-1: Retro Bowling Alley
2,779 pieces
Retailed for $229.99 in the US
$0.083 per piece

The idea of this one is great and the design is cool. Sadly my box showed up pretty beat up. As you can see by the picture of the back of the box, there is a large crease. Some of the seals showed up detached from the box. I will most likely keep this one, but am not sure whether it will be a display piece, if it could fit in a city scene, or if I will build it and then store it for a future date.


#910015-1: Clockwork Aquarium
874 pieces
Retailed for $64.99 in the US
$0.074 per piece

This one is a fun concept, but I’m not sure what I’d do with it. This one will end up in the store at some point.


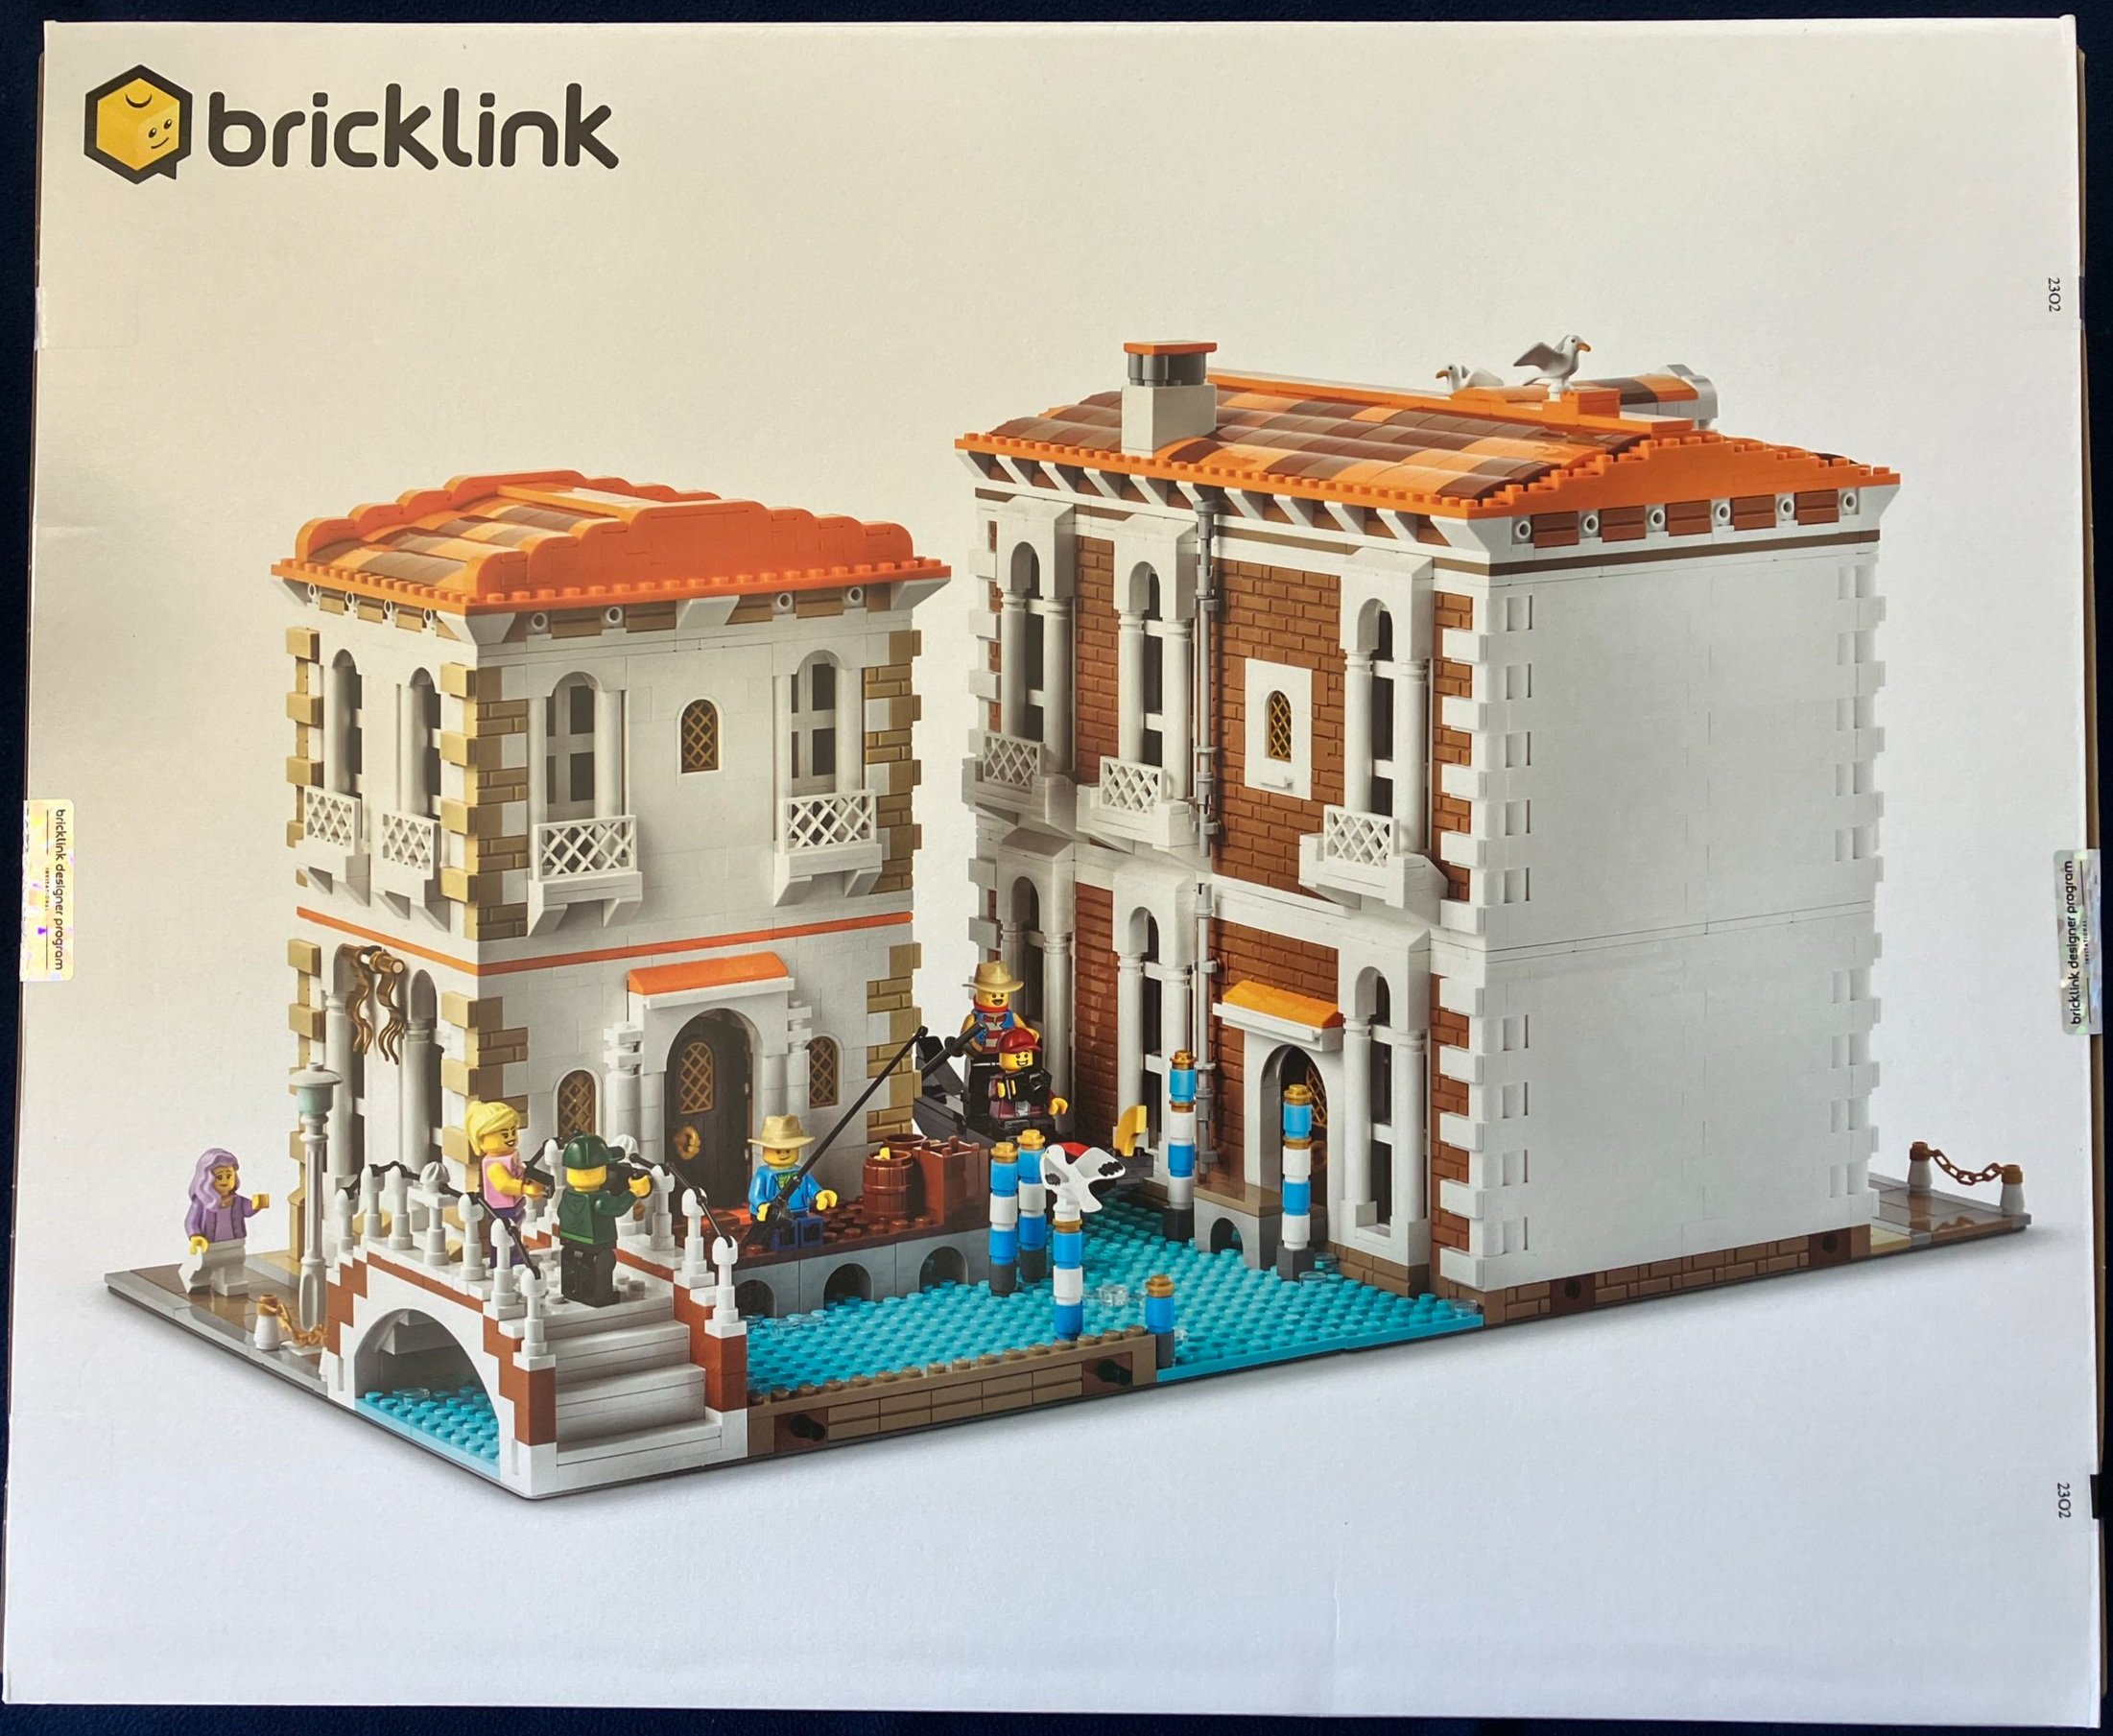
#910023-1: Venetian Houses
3,470 pieces
Retailed for $289.99 in the US
$0.084 per piece

I think this one is awesome. This is a definitely must build on my part. Sorry if you were hoping it’d end up in the store!