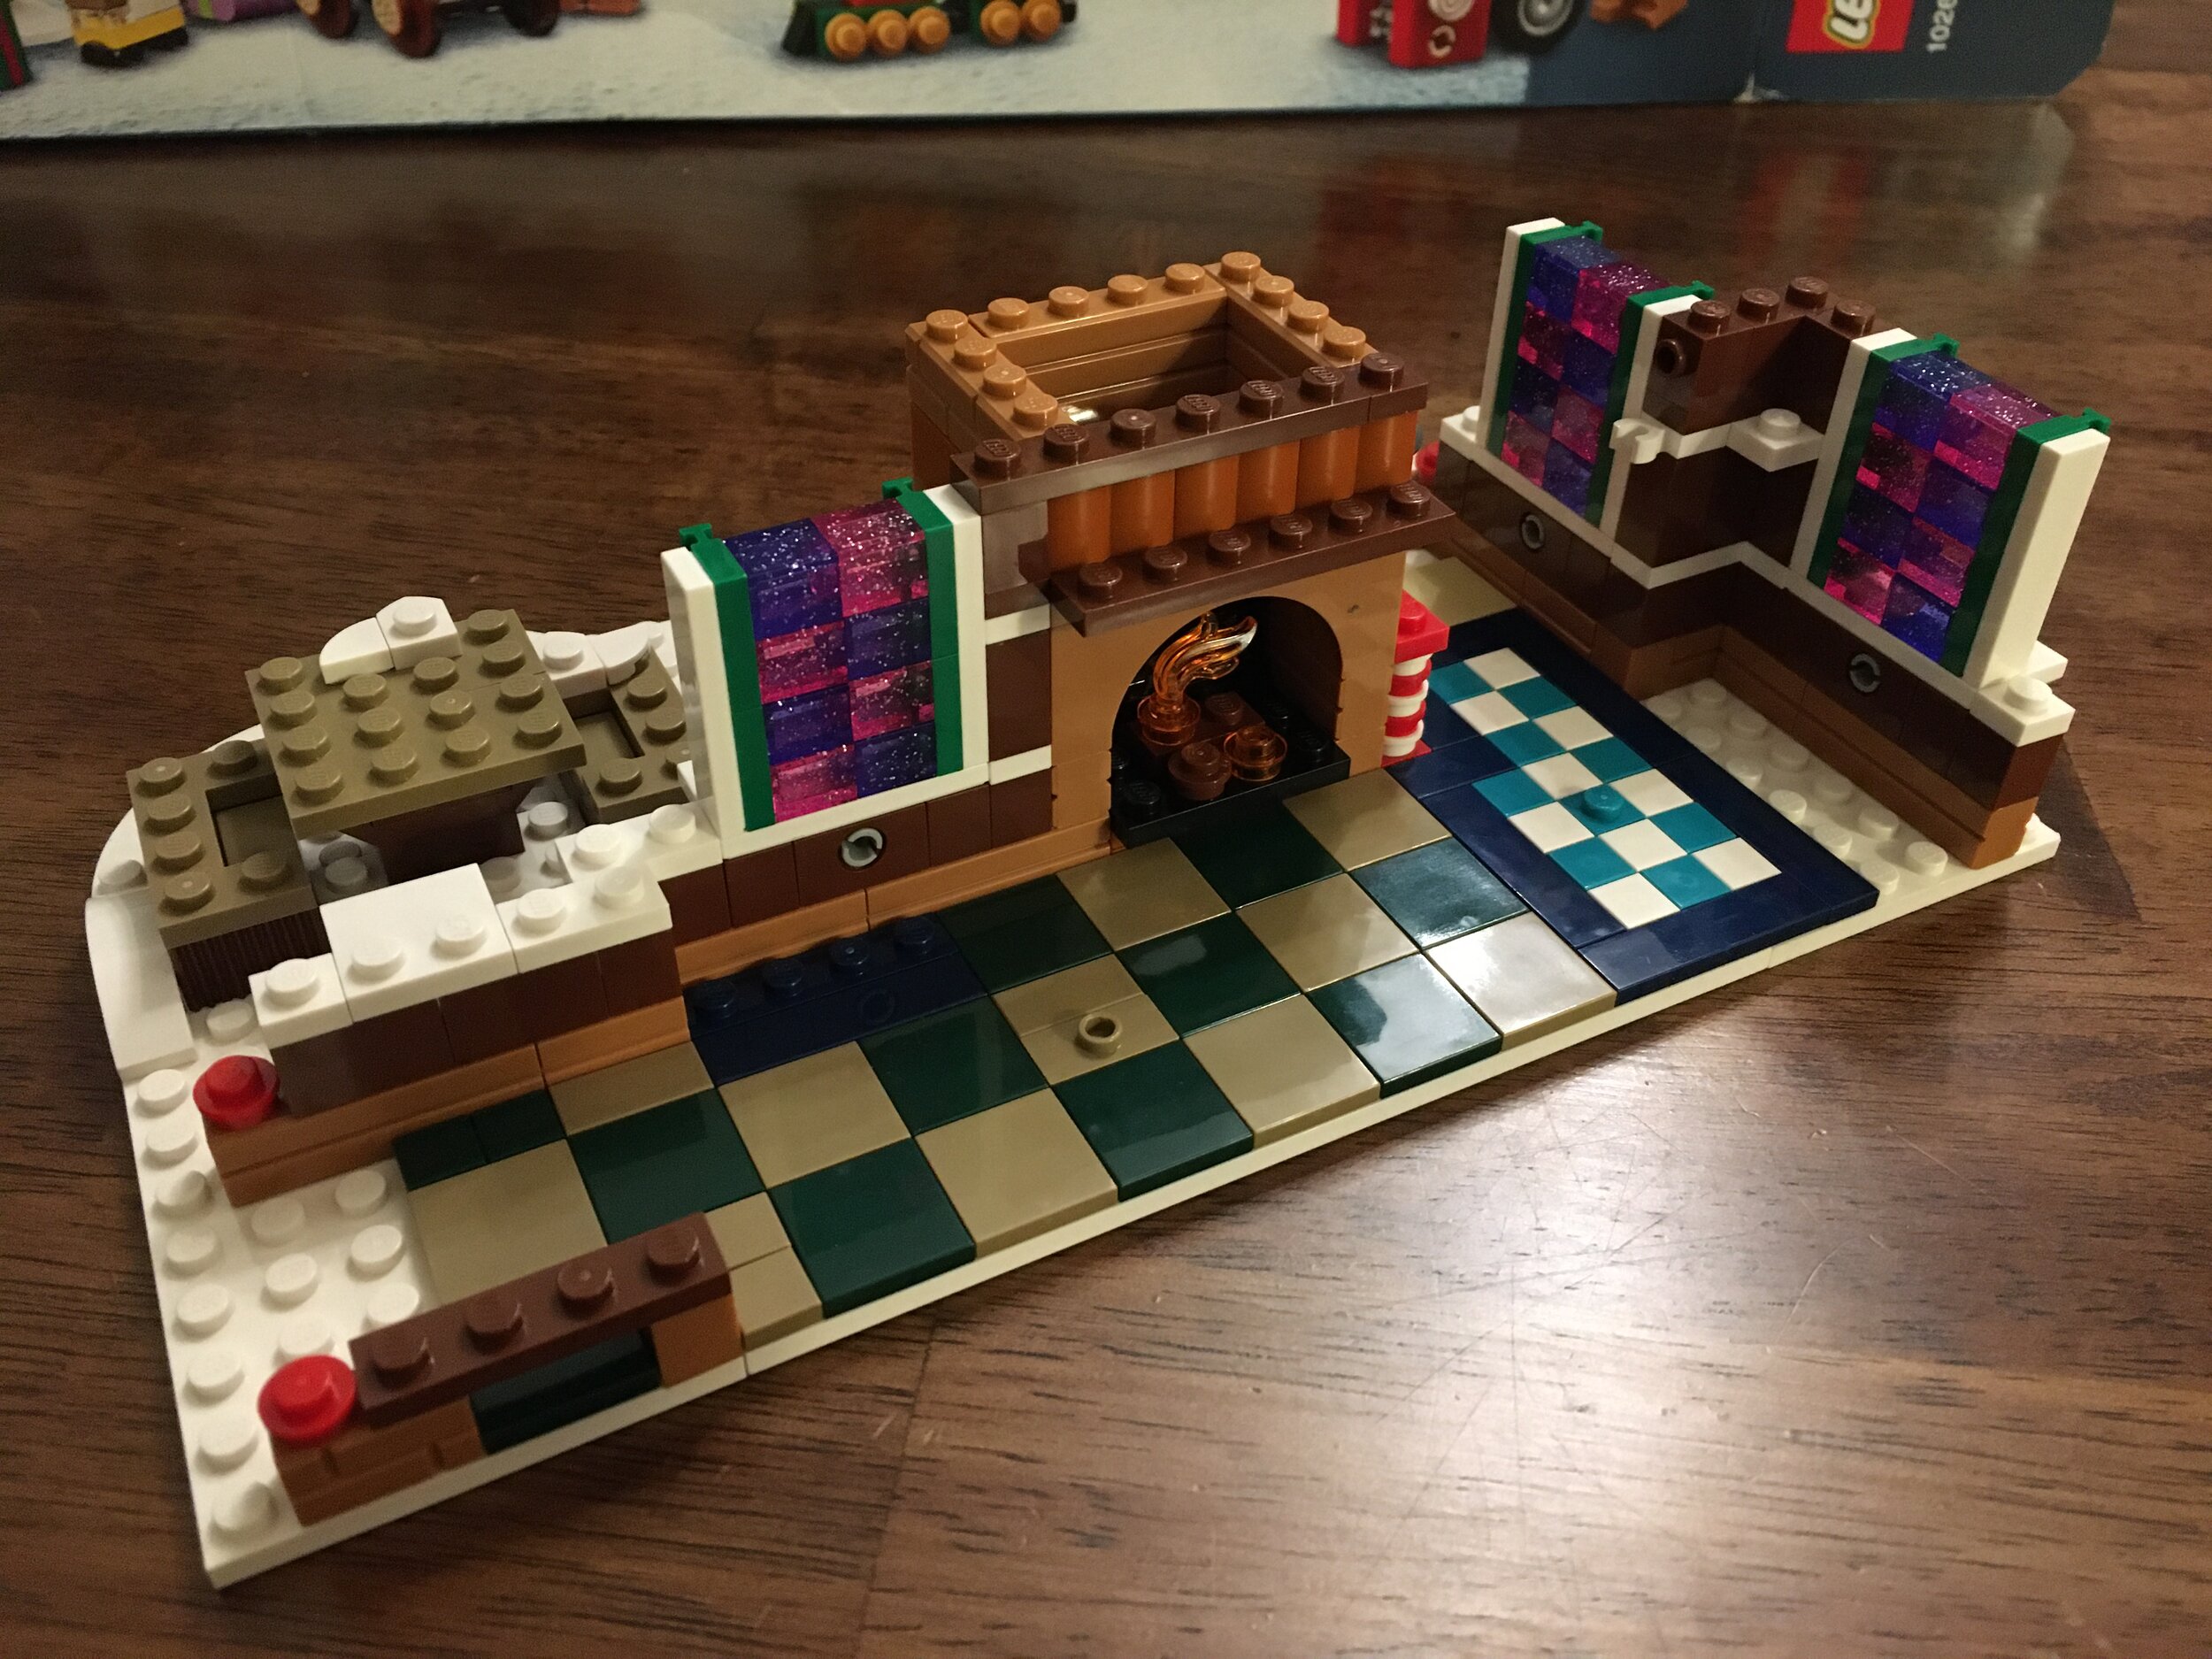
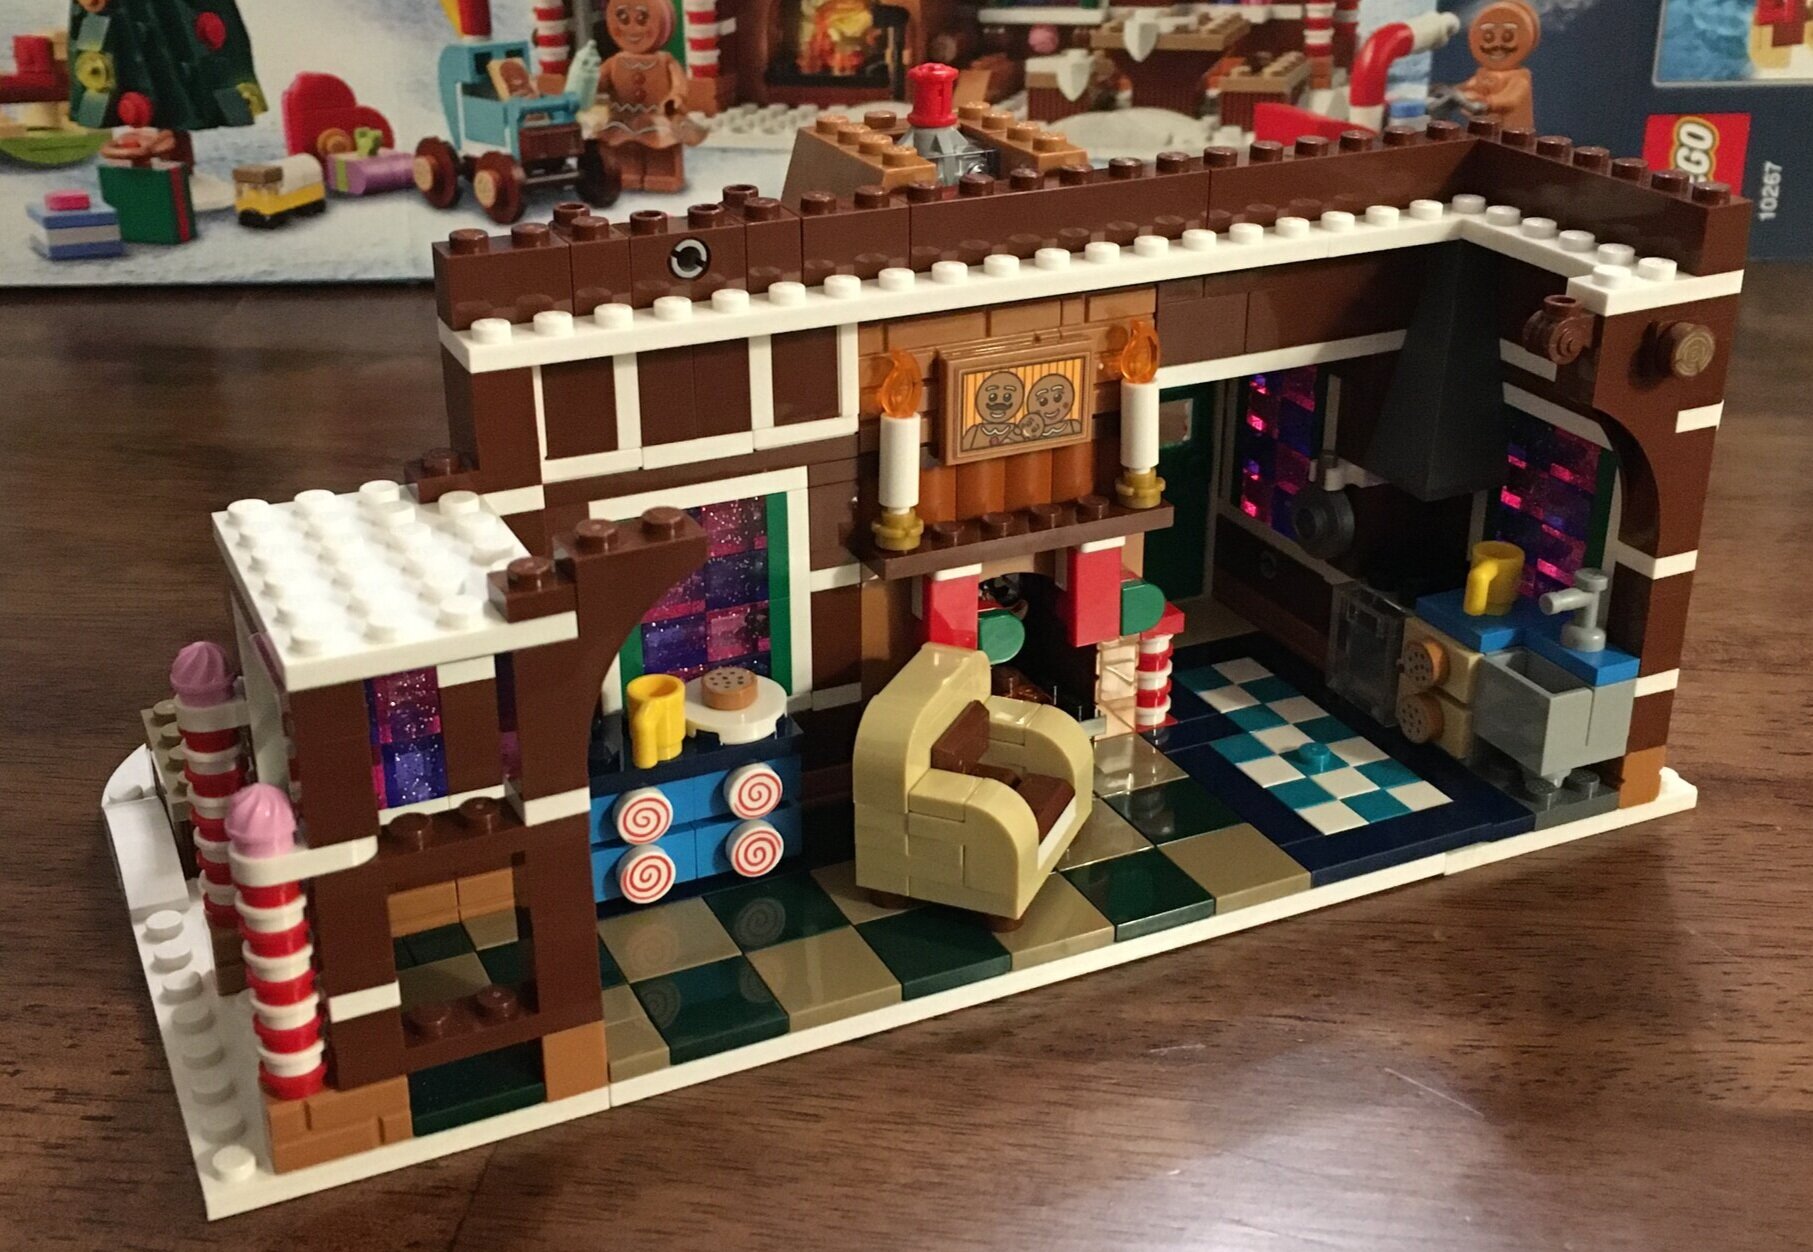
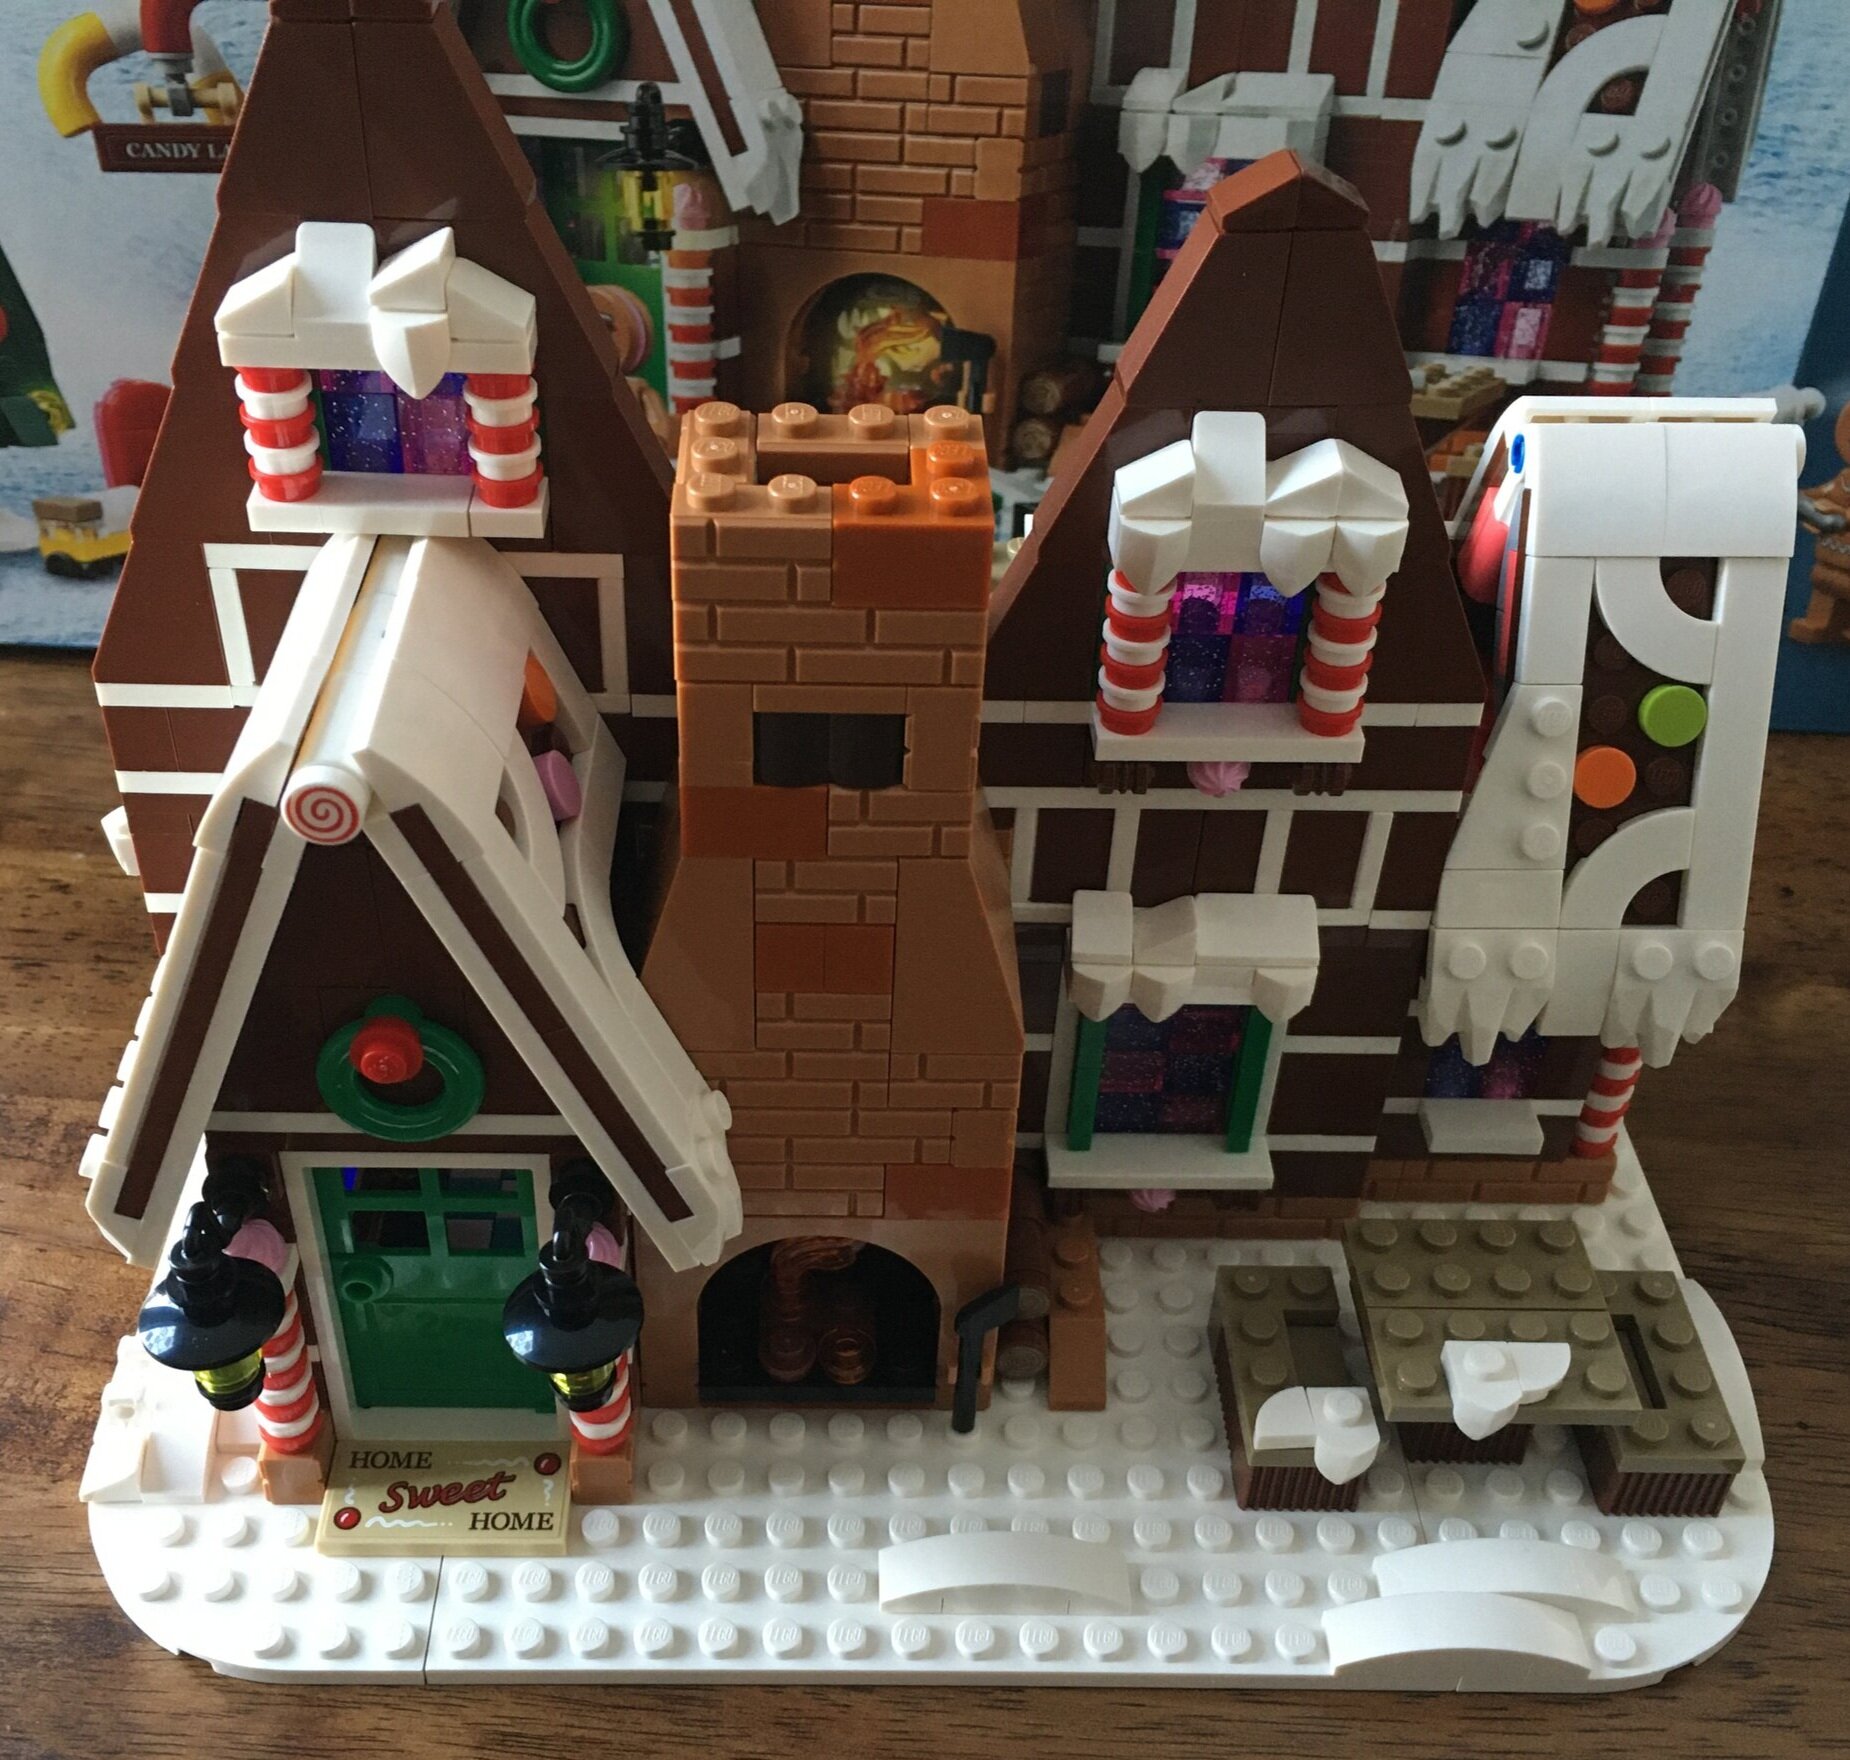
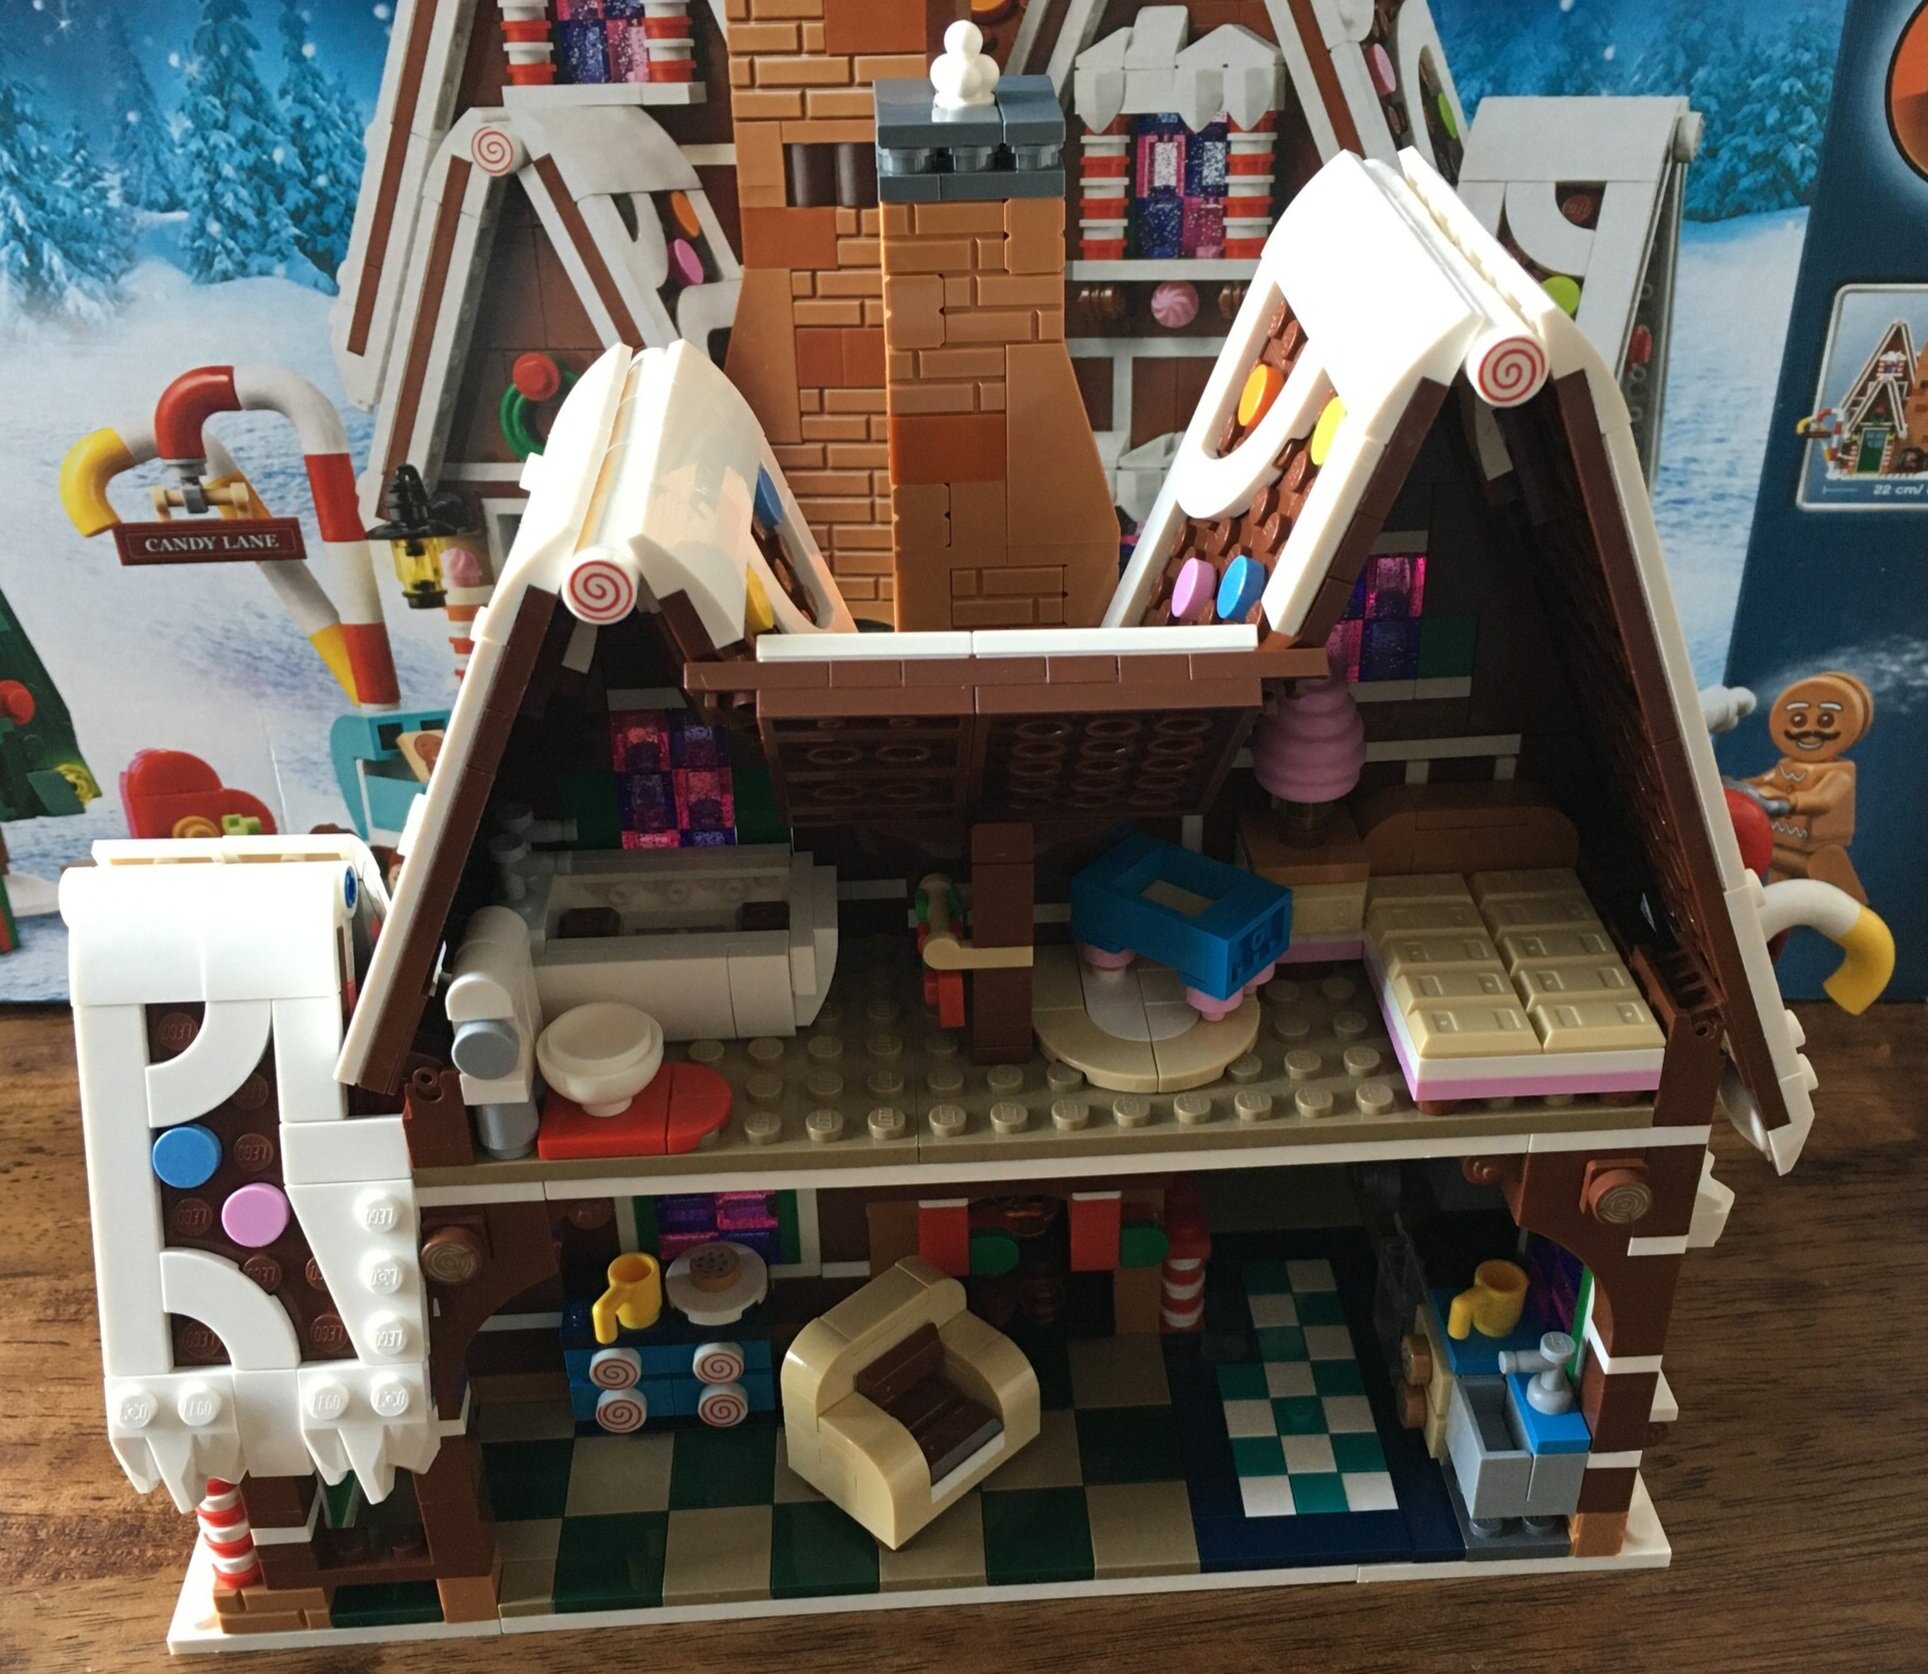
Winter Village

Set Review - #10339-1: Santa's Post Office - Winter Village Collection

Another annual LEGO tradition that I’ve been sucked into… the Winter Village Collection. This one is #10339-1: Santa’s Post Office. It was released on 1 October 2024 and contains 1,440 pieces. It still retails for $99.99 which is great to see that the price has remained the same for Winter Village sets. The price per piece works out to $0.069 which also isn’t that bad.

The front of the box has the labeling for Icons, 18+, and the Winter Village Collection. It also has the warning about the batteries inside that you shouldn’t eat. The back provides some more details and shows off some of the play features.

The set contains 10 parts bags, 2 instruction booklets, and a small sticker sheet. This set can be split out so one person builds with one booklet and another builds with the other. I think a younger builder is meant to build with the smaller booklet while the older builder gets the larger booklet. I built with both of my kids so we took turns building different bags.

Here’s the sticker sheet. Thankfully there aren’t too many, but it could be much worse considering how the price point doesn’t seem to change despite the LEGO set price inflation that we’ve seen over the past few years.

Bags one and two build a number of accessory parts. Bag one is a directional sign next to a mail box, a Christmas tree (yet another Christmas tree design from the LEGO design team), and an elf ice fishing near a small seal. The elf apparently caught a letter? Or is getting rid of the letter? I’m not sure. Bag two is some post office gear with two mail carts, a mail separator, and a sled with another elf. The separator will come into play later on, but the point is that you can sort the junk mail and the good mail. Some of the pieces are labeled junk mail which is a funny touch from the design team.

The minifigures are mostly the same as other elves only these have post office logos on them so they are a bit more unique.

Bags three and four start to build the post office. Bag three assembles the base and starts to give the frame of the building. Like most Winter Village sets, this one is just the front facade and it doesn’t have a back. Bag four assembles Santa’s office area. He has a fire place that also opens up to the outdoors, a chair, book shelf, and a small coffee table.

There isn’t anything new about the Santa minifigure that I can tell, but you get another one in case you didn’t have one.

Bag five adds a center room area for sorting mail and then an entrance area with yet more mail stacked up. There are a few details added outside to include some plants with snow on top and some snow built up on window sills.

Bag six adds on some of the roof area which will make more sense later on in the build. There are a few green chute pieces which will eventually become part of the mail sorting apparatus.

The seventh bag adds more to the front of the building, more roof, and a second story with a desk/working space and another way to drop mail into the sorting system. My kids hadn’t seen any of the reviews prior to building the set so it was fun to listen to them try and figure out what all the different chutes were for.

Bag eight adds the snow covered roof over the entrance to the Post Office along with decorations on the front of the building by the door, windows, and chimney. I really like how they recreated the Post Office symbol in gold colored pieces above the windows.

The ninth bag finishes the building off with a roof over the main section of the Post Office. Not pictured, but underneath the roof is a yellow arrow to show the direction the mail should travel. You also add some red flags to the top of the roof.

Bag ten is the final bag and it assembles the hot air balloon. It’s a cool design with the light brick included here to show the balloon firing up. You push the gray piece on the top to make the light turn on. The balloon has an elf pilot and space to hold mail. The mail holder can tip when it lands on the pad on top of the post office. The mail then enters the sorting chutes. What a great play feature! I’m not sure that you can actually steer a balloon to land where you want it to, but maybe it’s part of Santa’s magic? There is an elf holding light sticks to help direct the balloon in for a perfect landing.

Here’s the final set and all that it includes. My kids and I enjoyed putting it together and it’s fun to play with. The price per piece ratio is decent as well. If you’re into the Winter Village Collection, definitely pick this one up. If you aren’t sure, wait two years until it is about to retire and you might see it get discounted 15% or 20%.

Happy building!

Set Review - #10325-1: Alpine Lodge - Winter Village - Icons

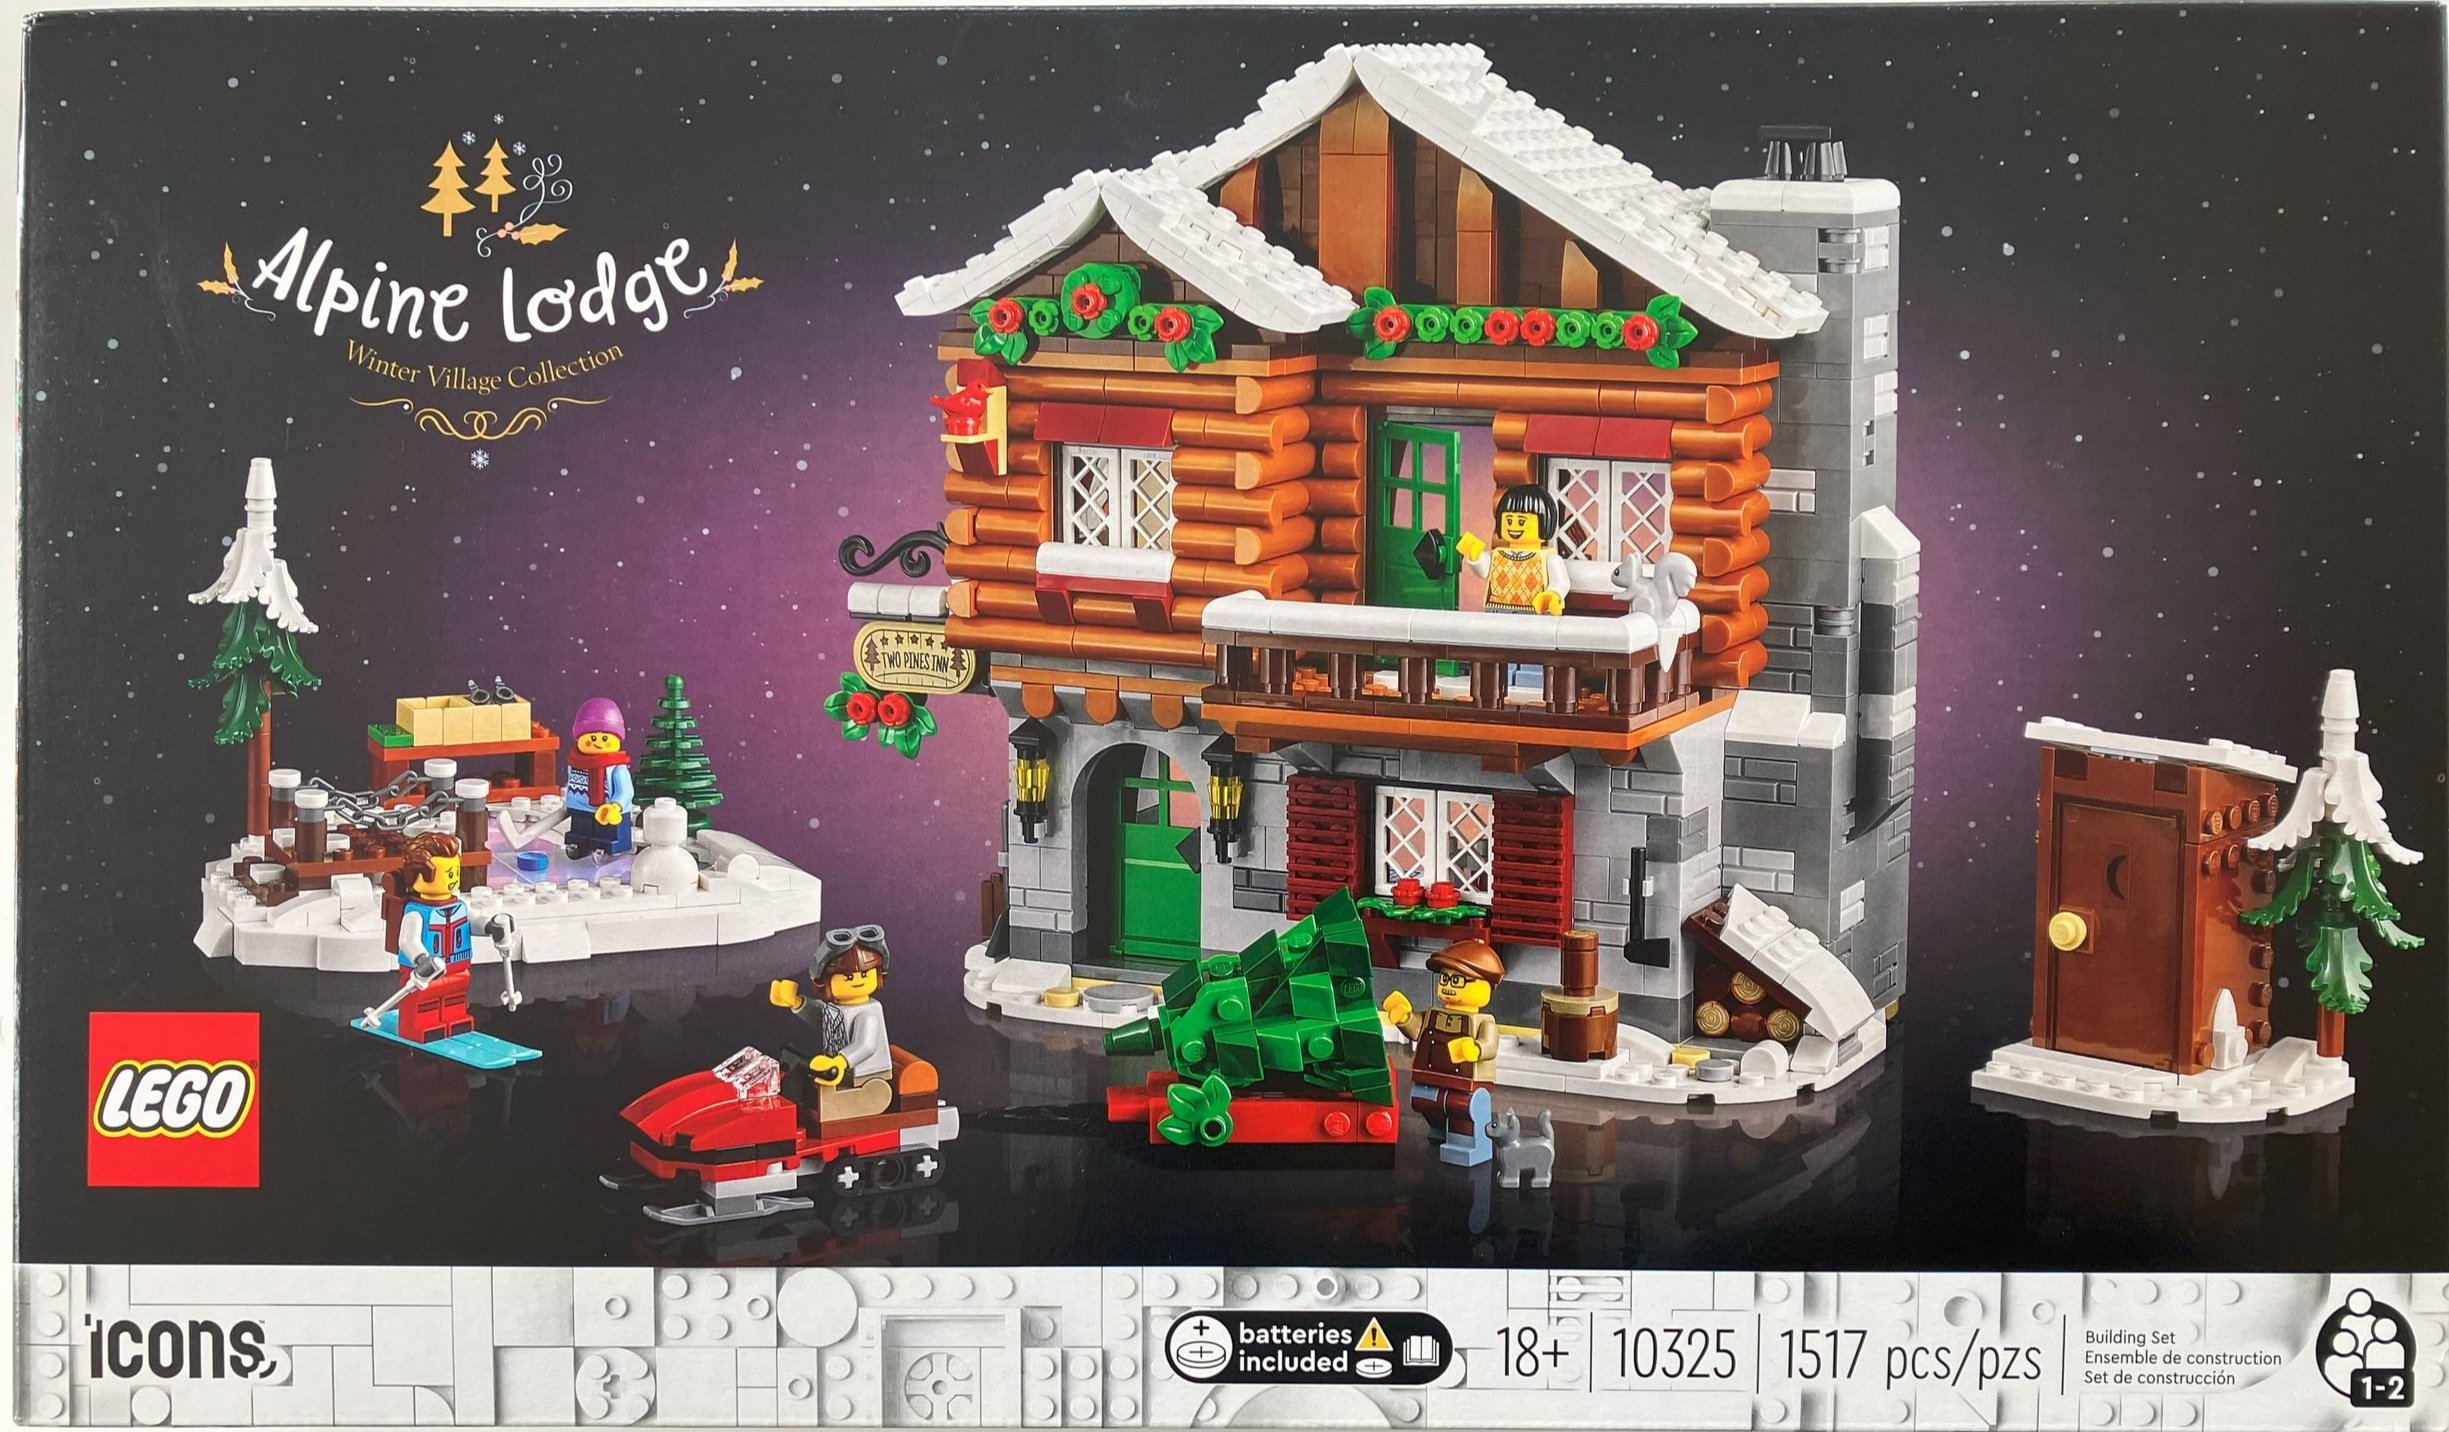
The Winter Village theme continues with 2023’s Alpine Lodge. This set gets away from Santa and elves and is just a fun winter scene with some Christmas decorations included. The set was released for sale on 1 October 2023 and retails for $99.99. With 1,517 pieces, it works out to $0.066 per piece. LEGO has managed to keep the price of this set at the same range for quite a while now and the price per piece one this one makes it seems like a good deal even with a light brick included.

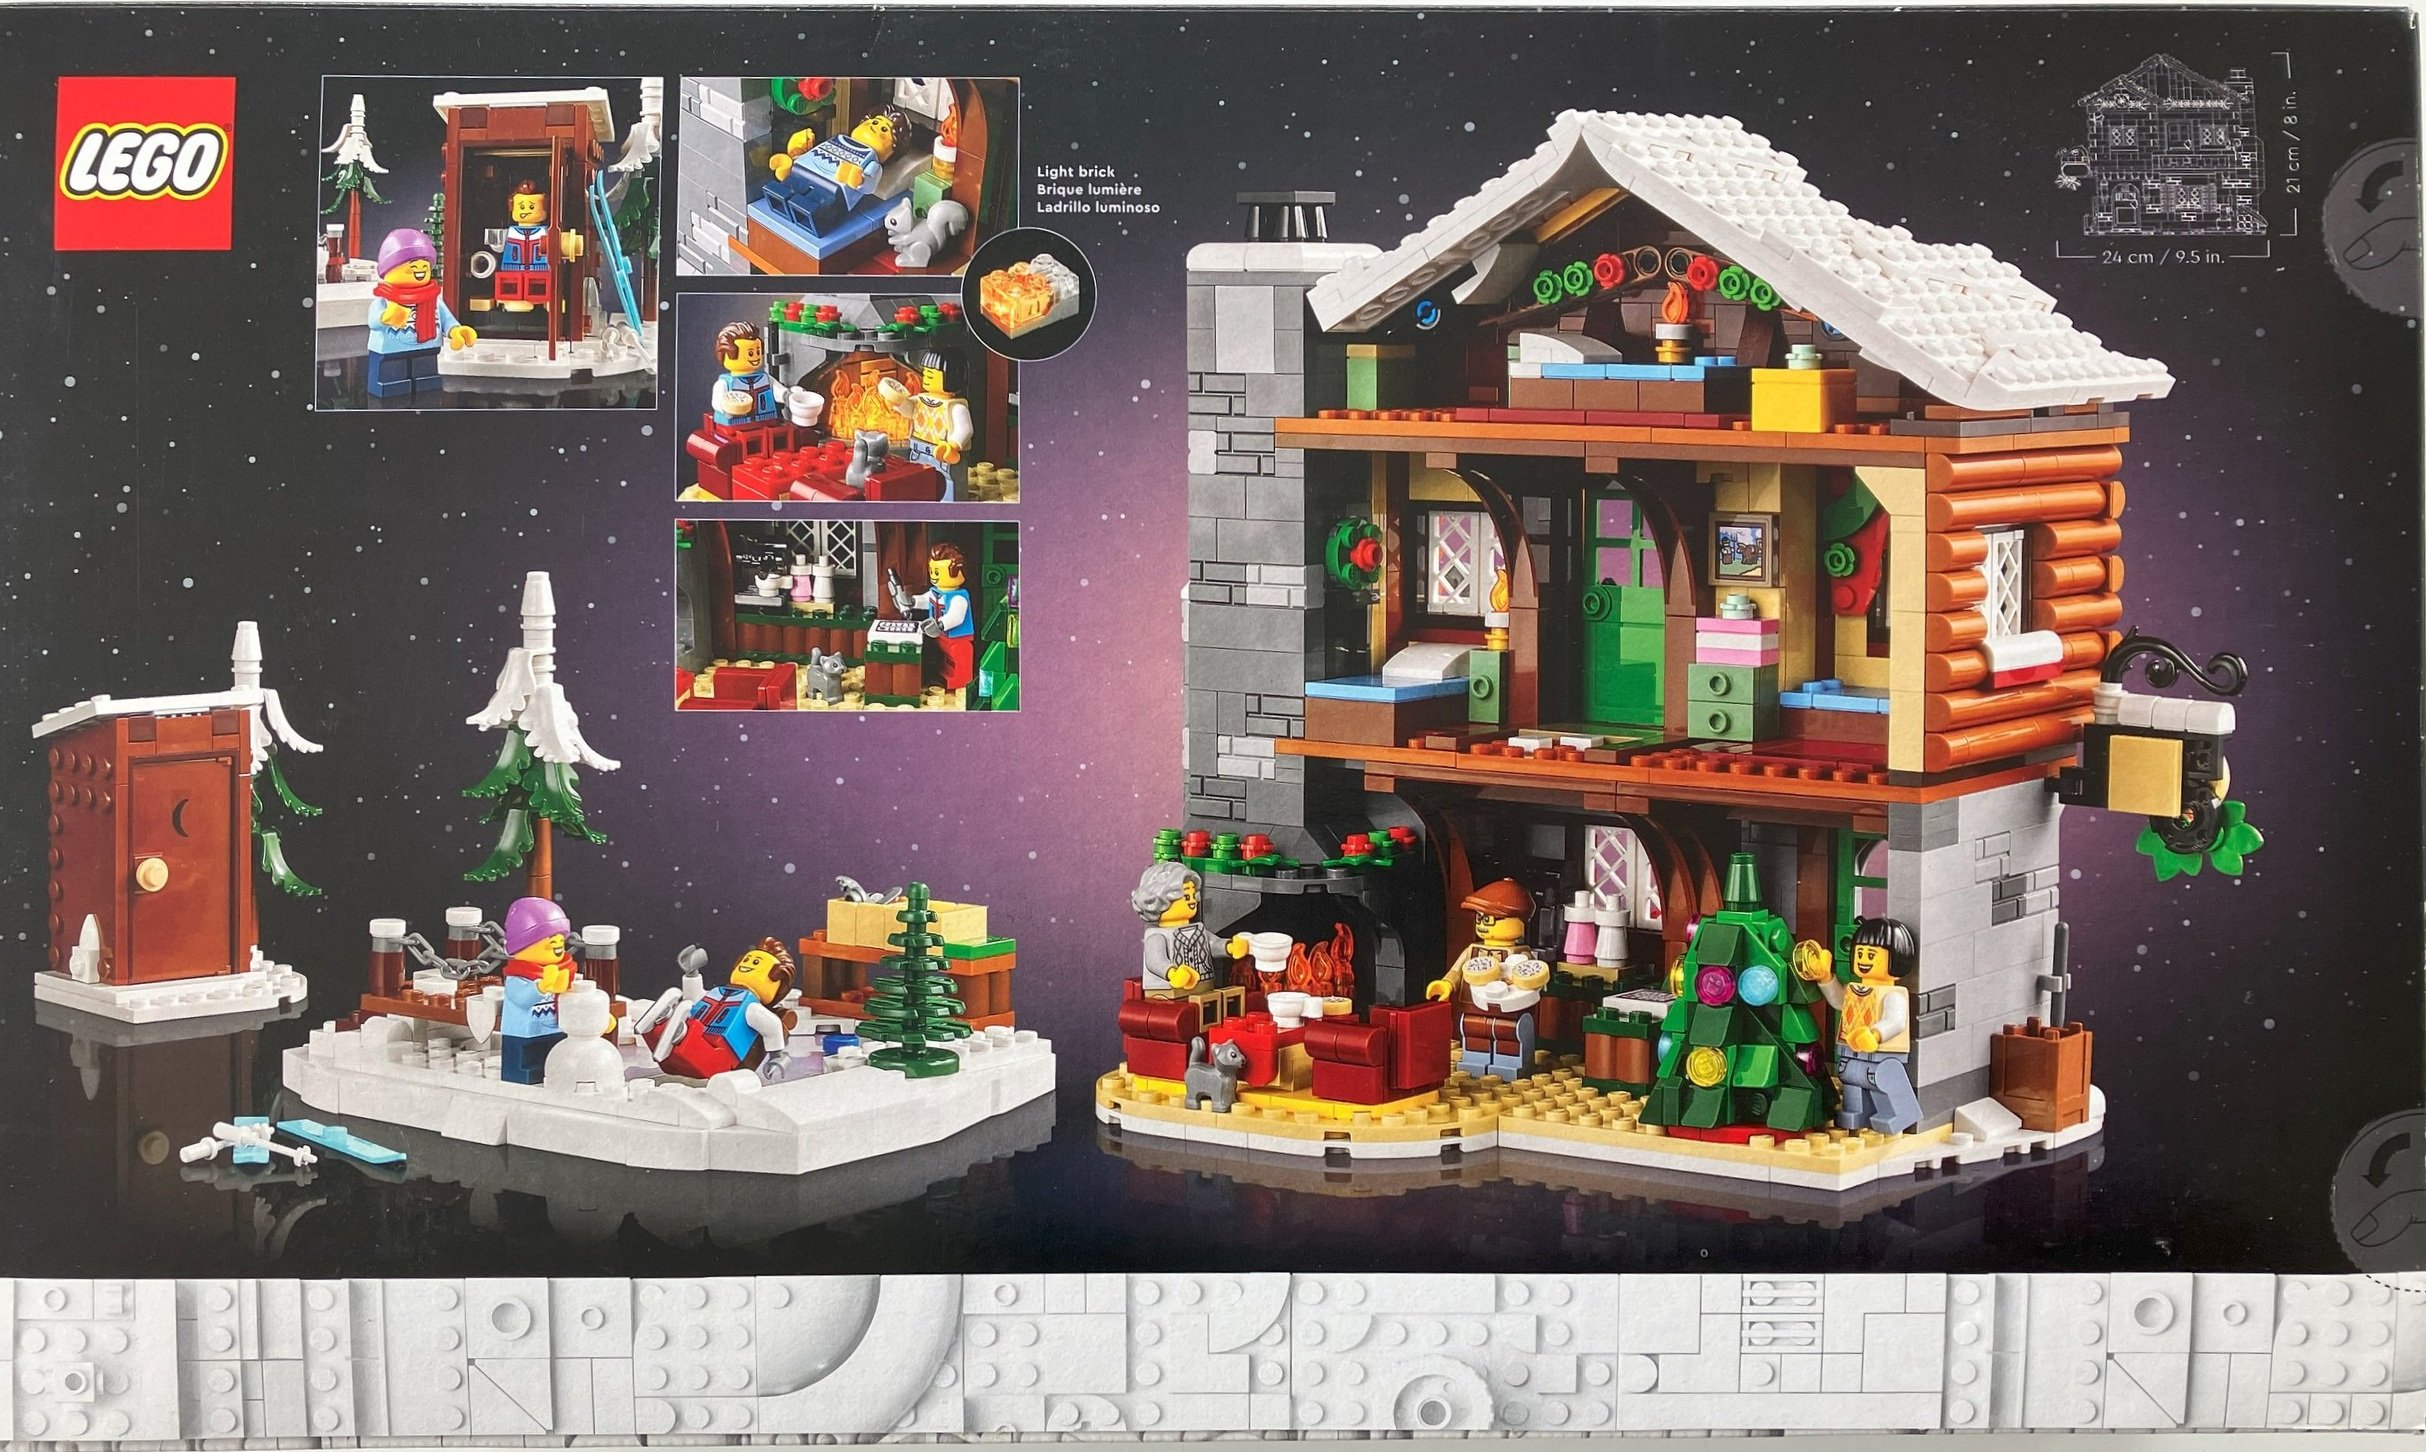
The front of the box shows the full set built from the front side. The back shows the other side of the set, some play functions of the set, and gives dimensions of the set once it’s built.

The set contains 10 numbered parts bags, two instruction booklets, and a small sticker sheet.

The instructions are designed so that you can build together. One person can work on the lodge itself and another can work on the ice skating area, snow mobile, tree, and out house. I built this set with my 6-year old. I found pieces for him and did some building, but he put most of it together without too many issues.

Only four stickers so not too bad. It could be worse. The stickers add some fun details to the set so I can’t complain there.

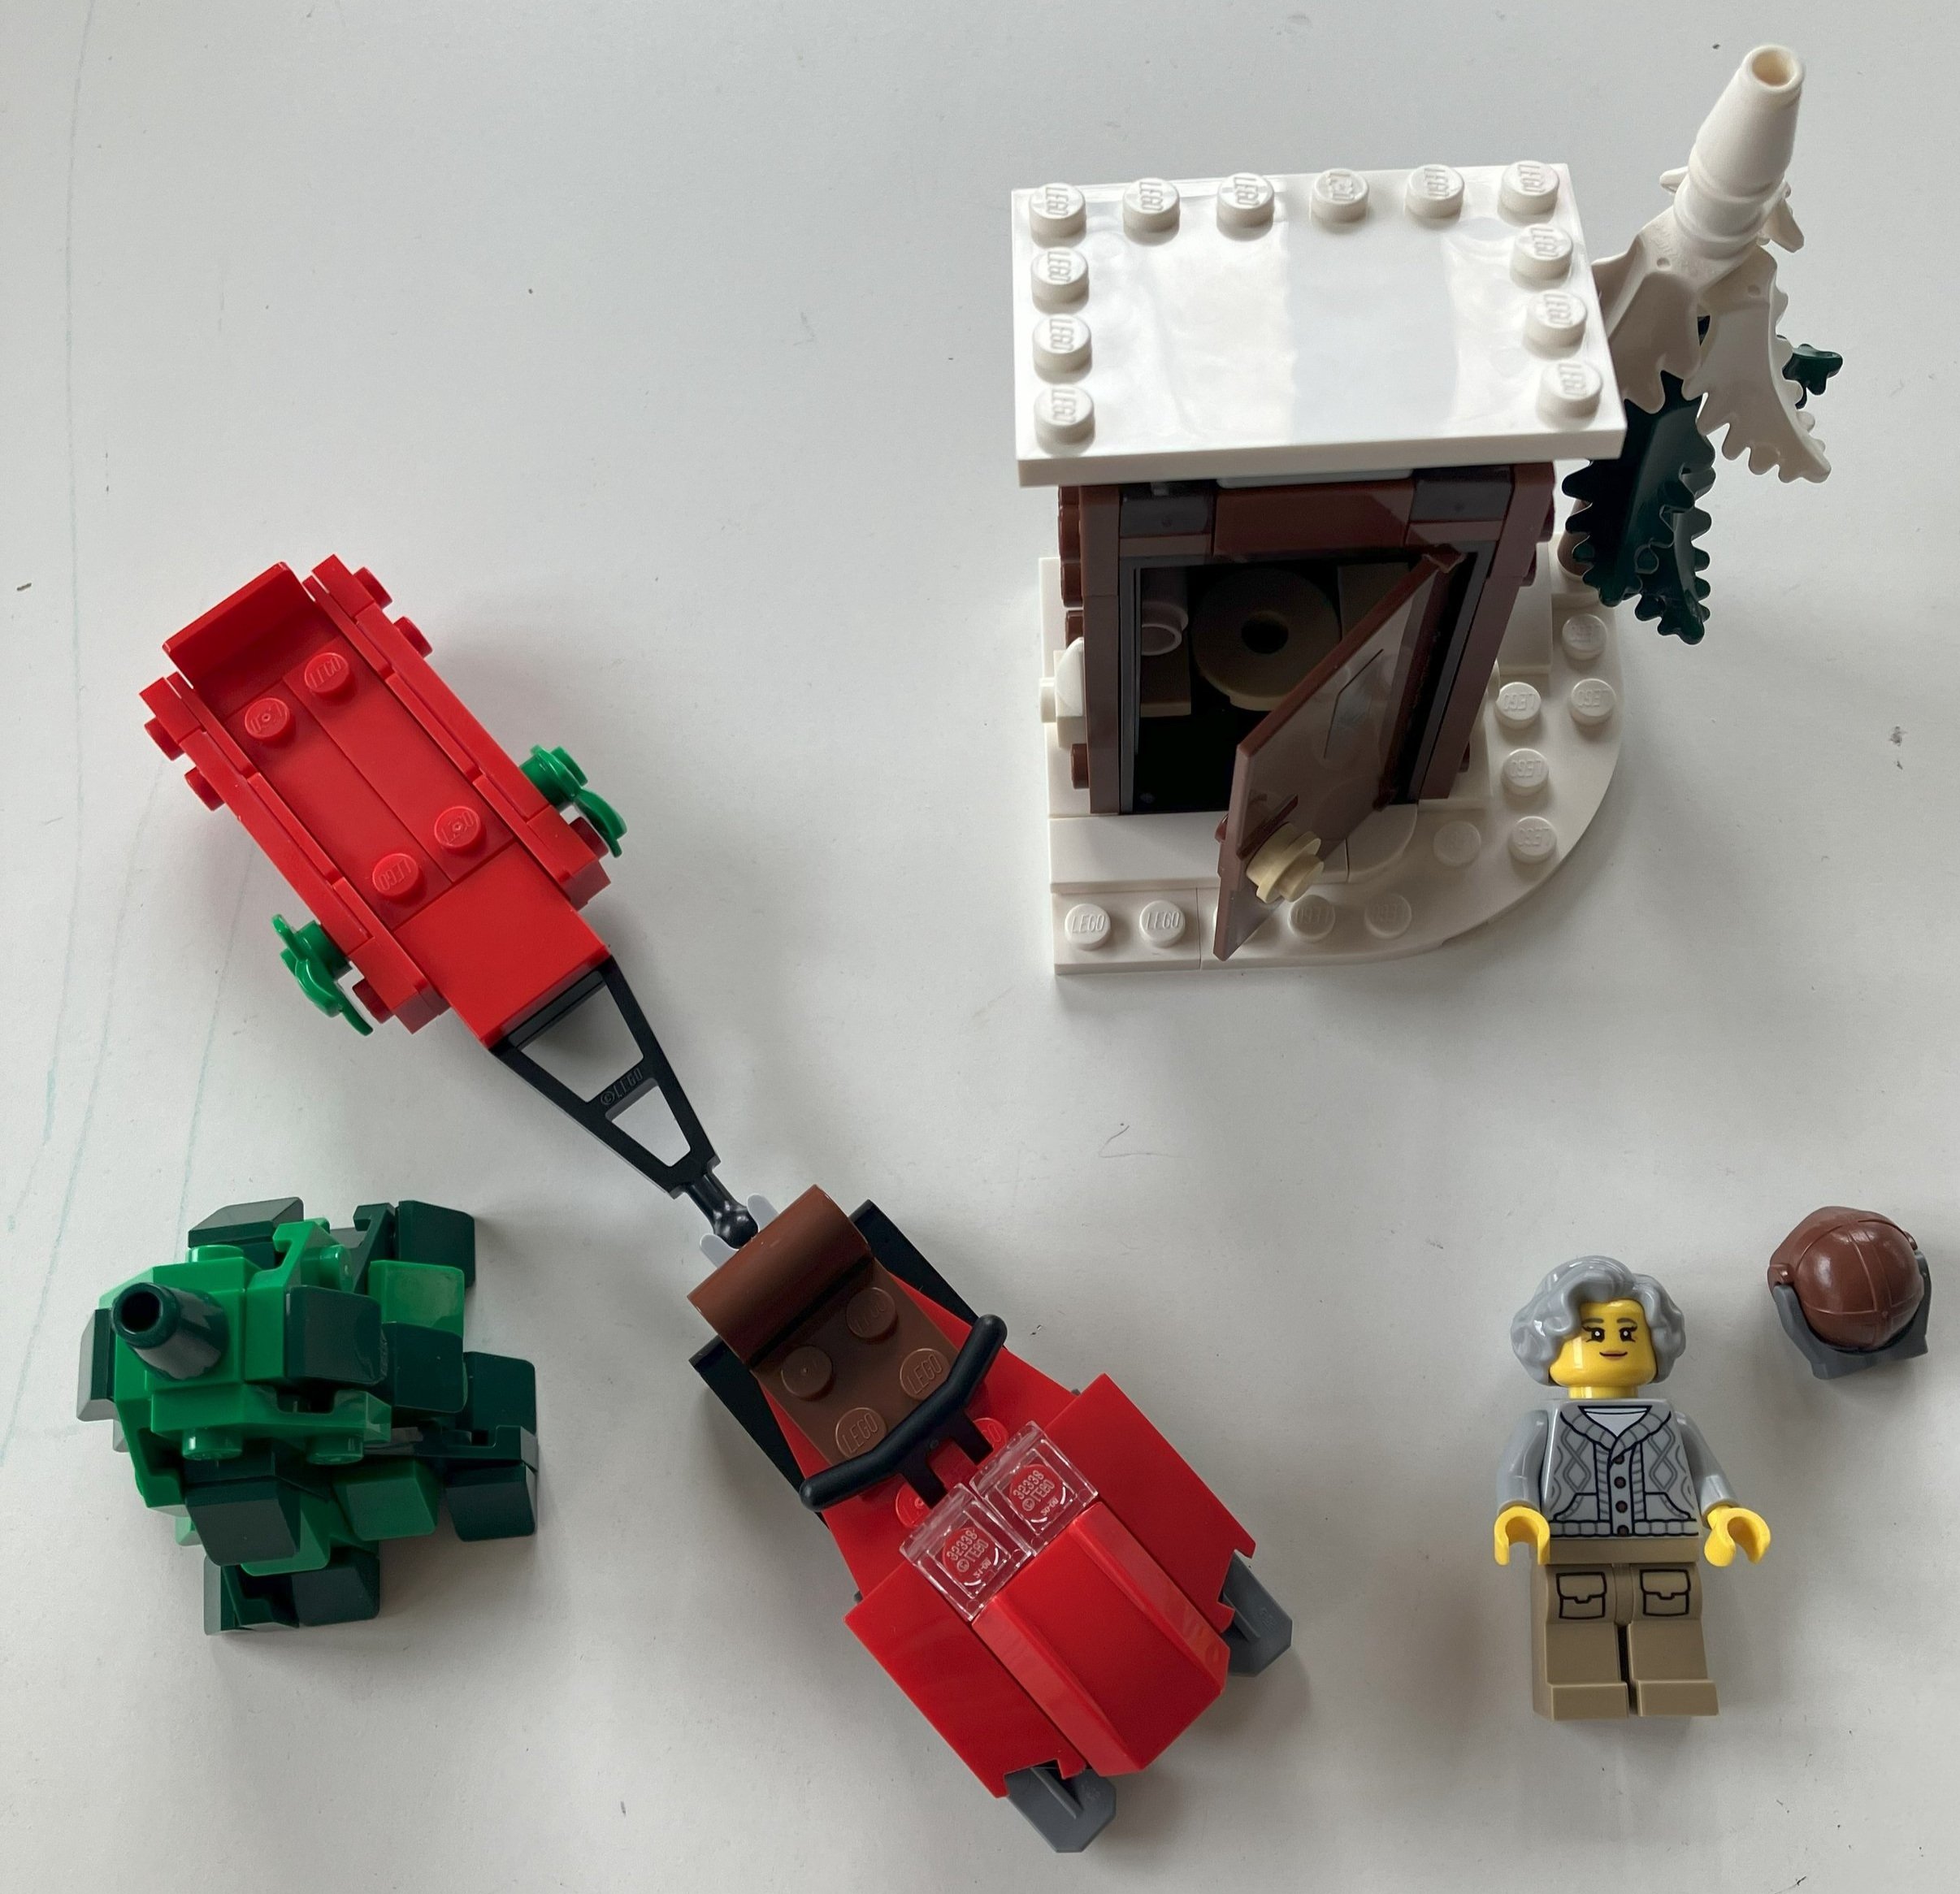
The first bag builds some of the smaller items in the set. This includes a snow mobile pulling a sled, an out house, and then a tree. It seems that every year the LEGO designers come up with another way to make a Christmas tree and this year is no exception. The sled attached to the snow mobile can pull minifigures or you can place the tree on top to carry it to the lodge. The outhouse is a simple design and looks like one should with a hole for taking care of business. There is a small tree next to it which is built using the fern pieces. The top pieces are white for snow. This bag contains a female minifigure with gray hair. She comes with a cap and goggles for driving around on the snow mobile.

Bag two builds a small ice skating area. It reminds me of the skating area from set #80109-1: Lunar New Year Ice Festival. There are translucent wall pieces placed on their side for the ice and then you use plates to create a shape around the ice for them. It’s a small skating area, but it gets the job done. There is a small dock leading to the pond. The dock has minifigure snow foot prints on it which is a fun detail. There is a table with some ice skates that I assume you are supposed to rent given the $100 bill that comes with the bag and is placed next to the skates. There are also two trees. One is a small molded tree and the other is similar to the one from bag one with the fern pieces. This bag come with one kid minifigure who has a hockey stick and puck. The minifigure comes with a hat and scarf as well as a hair piece. There is a small snowman like figure in the build as well. My kiddo thought the hair should go on the snowman.

Bag three starts the lodge. You start with the front wall which includes an arched doorway and a window. There are some good details here including the shutters, some plants as decor, the lamps around the door, and the use of textured bricks and different bricks to show details on the walls. This bag comes with a male minifigure who we can assume runs the lodge.

Bag four continues on this floor with the start of the chimney, a stack of logs, and building up some of the wall.

Bag five starts to add some structure on top of the walls so you can get to the next floor. You also get some details on the inside to include some chairs with a table, a drink and cookie area, and a guest sign in log. This bag comes with a female minifigure who we can assume is a guest at the lodge. She has a suit case. There is a small gray cat as well.

Bag six starts the next floor with building up the walls. This is where the use of the new-ish rounded pieces comes into play to create a log cabin effect. I like how they did this and overlapped them to make it look like they are stacked on each other. This bag also builds a small bird house with a red bird on the perch outside.

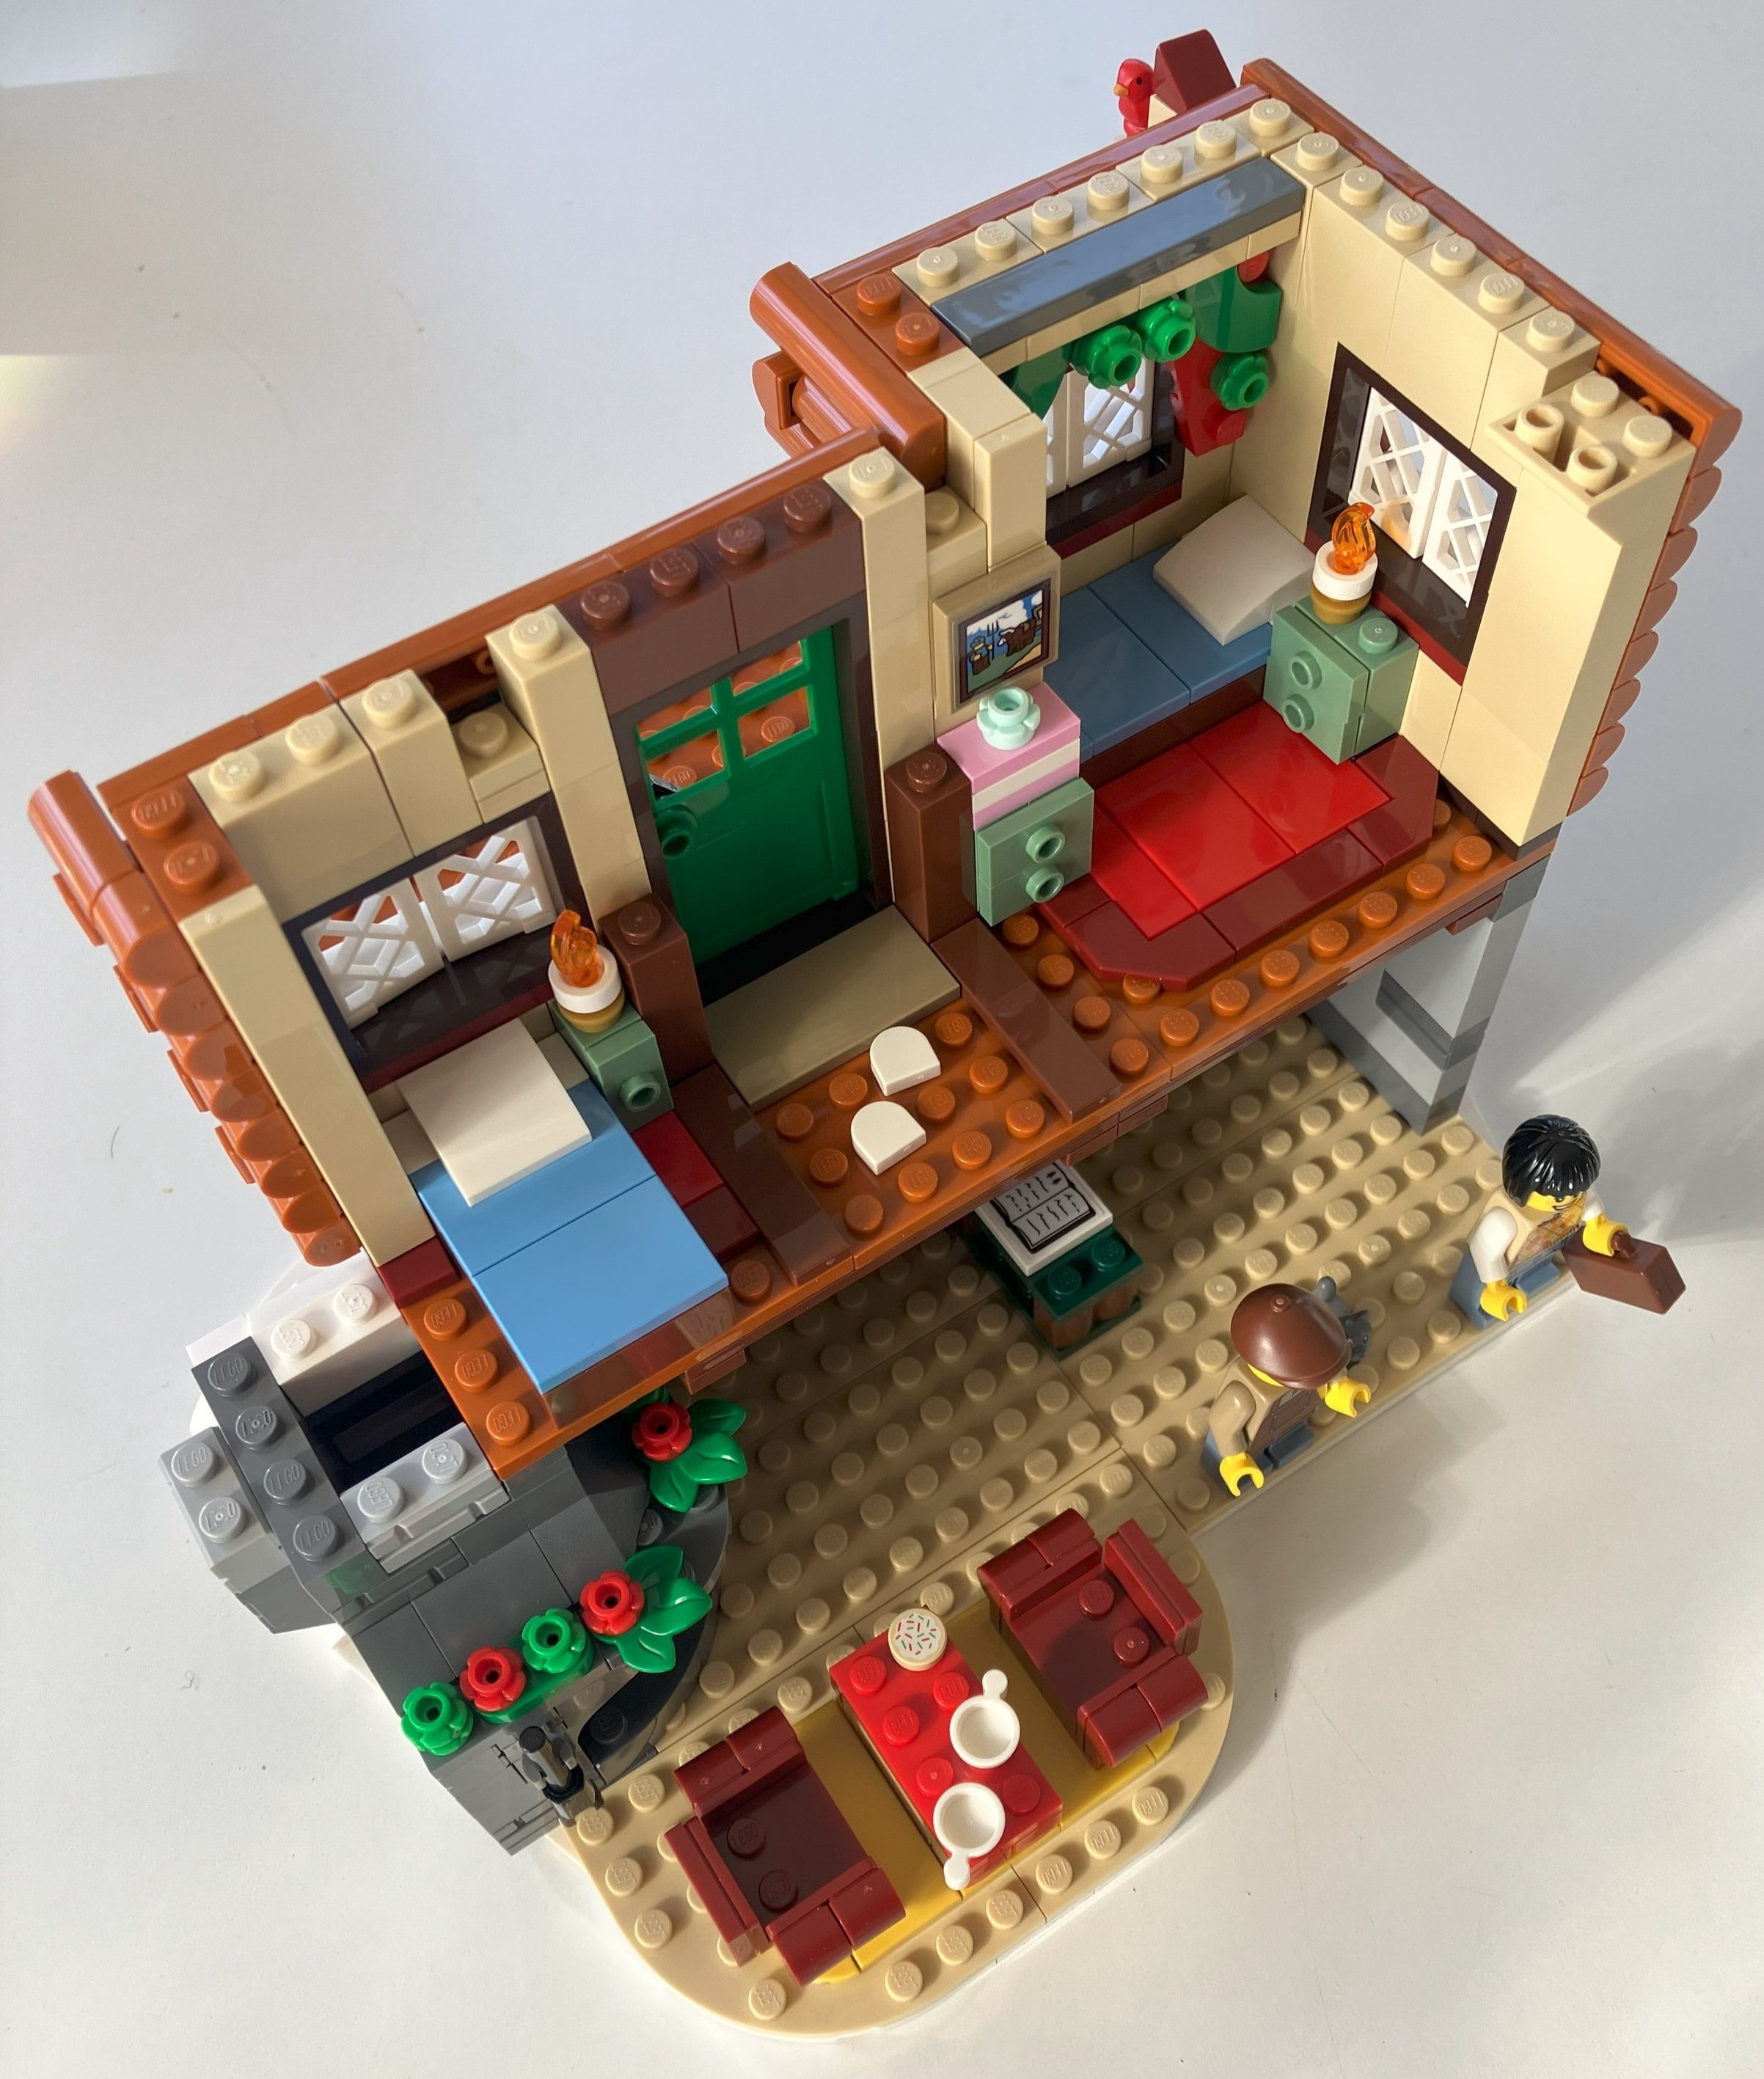
Bag seven builds the rest of the outside (seen in my picture for bag eight) and then details on the inside to include two beds, some night stands, and a dresser. There is a door that goes out to a balcony area and like the dock at the pond, there are two snowy minifigure footprints where a minifigure didn’t wipe their feet good enough.

Bag eight adds more to the chimney and some structure on top of the second floor. As mentioned, you can see how they finished up the log cabin look on the second floor. The light brick is buried in the chimney and my kiddo was concerned he wouldn’t be able to reach it to turn it on. More to follow there.

Bag nine adds the pitch of the roof, some decorations outside, and a Technic sub assembly that allows the roof to be attached on the front section. On the inside, there is a a bed, some furniture and a gift box with some binoculars inside. This bag also completes the chimney. You build up the outer section of the chimney and then a top to the chimney that you can press in to push in the light brick and light up the fire place.

The tenth bag wraps up the build. You add the roof onto the lodge. The front part of the roof attaches to the Technic sub-assembly from the last bag. The rest of the roof attaches to some Technic parts which connect to the lodge. All the roof is made of white pieces to represent snow.

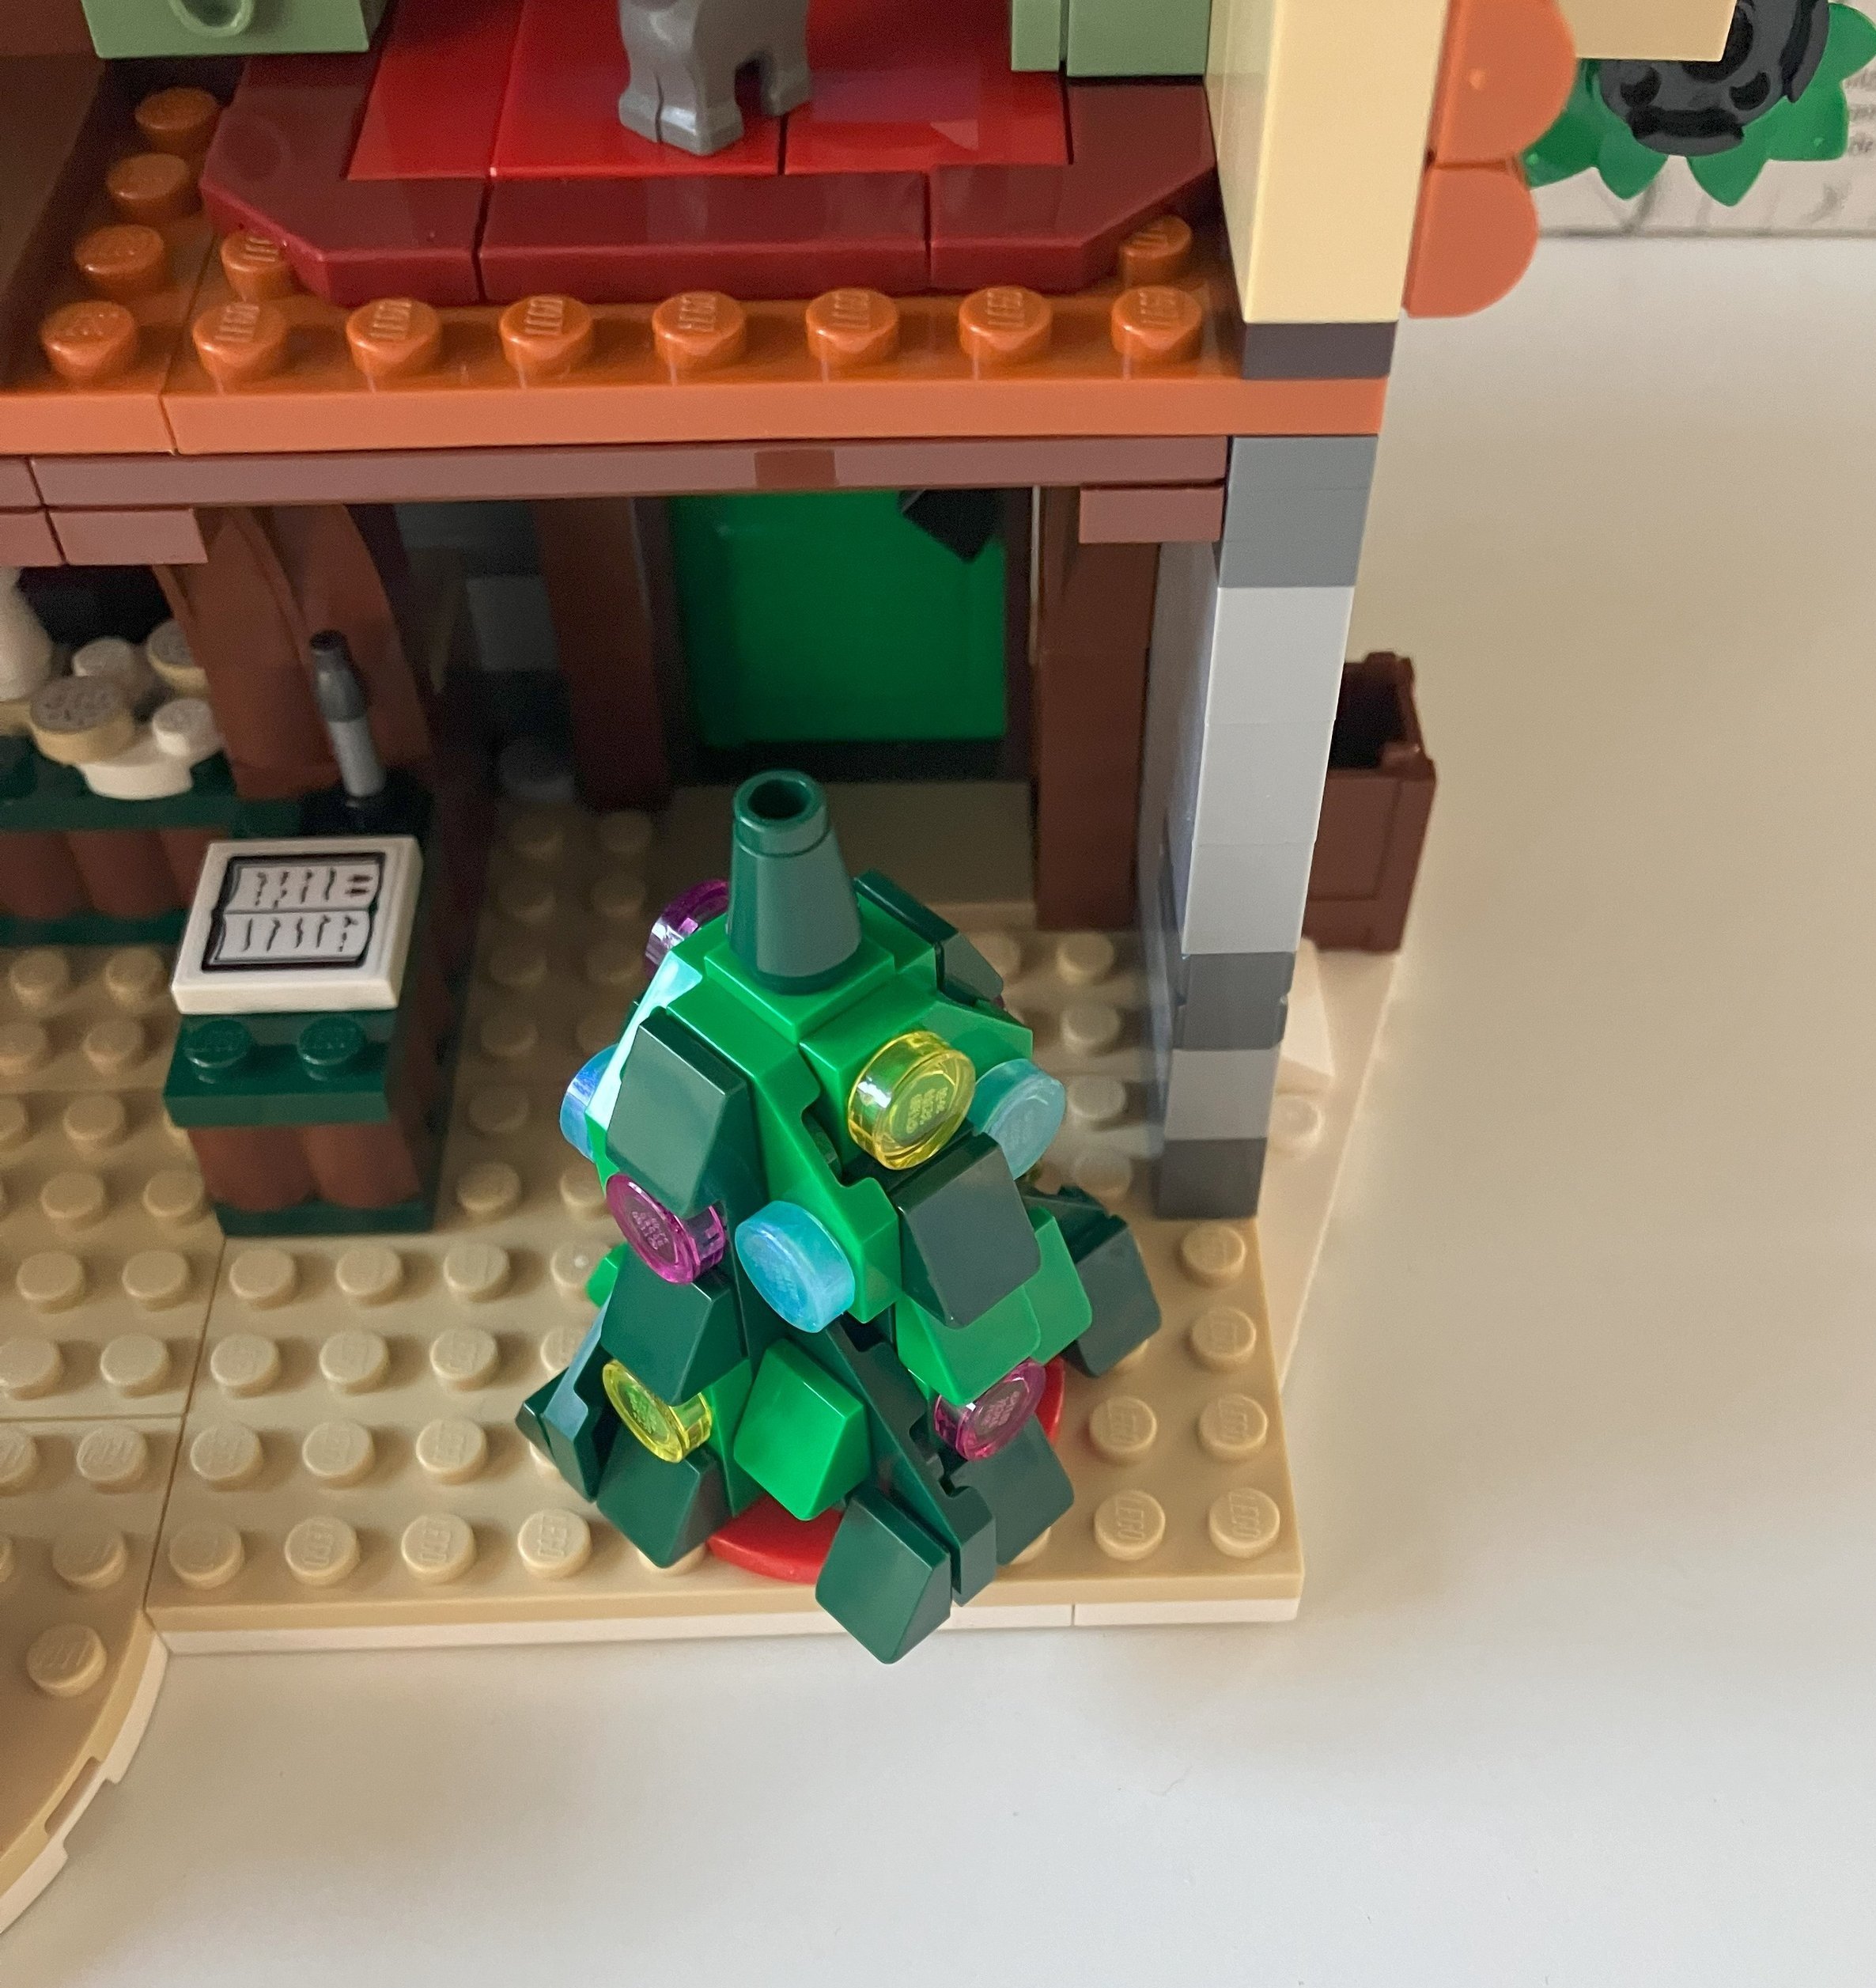
Additionally, this build includes pieces to add a tree skirt and then put decorations on the tree built from bag one. They are just multiple colors of round 1x1 translucent tiles, but they work for decorations.

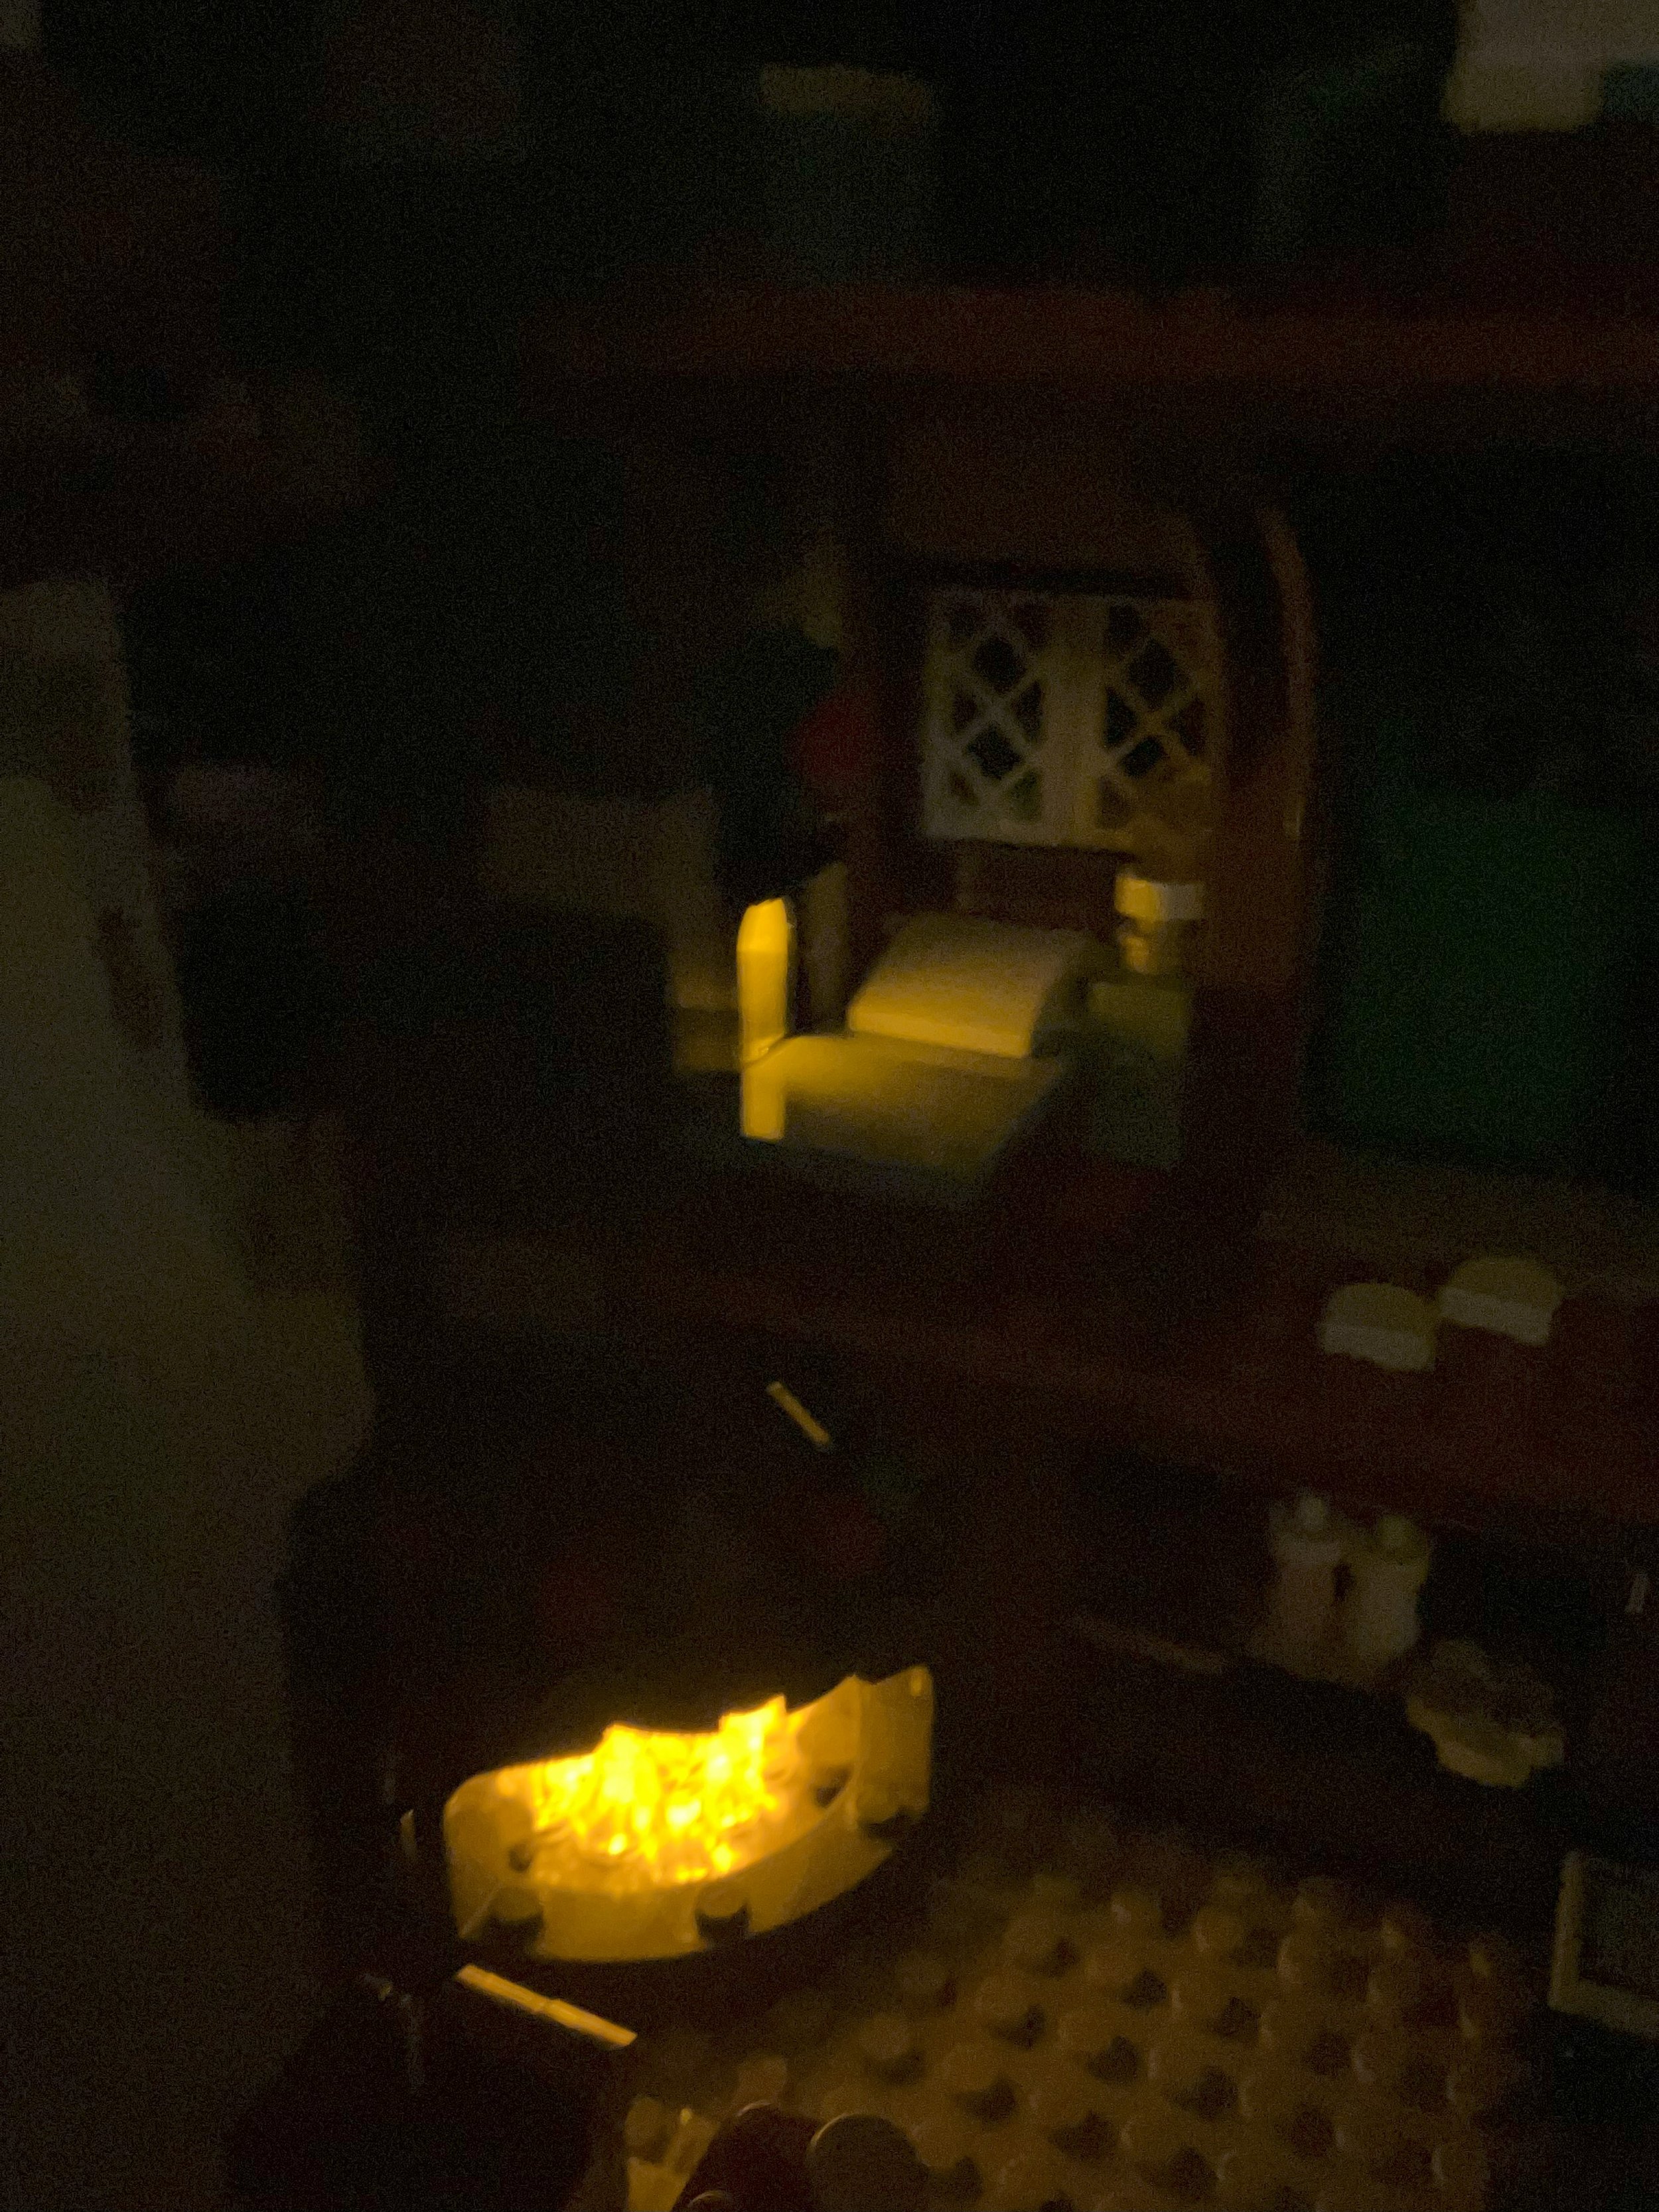
Not the best picture, but you can see how the light brick lights up a window on the second floor and then the fireplace on the first floor. This is a different from the usual usage of light bricks that light up one section/area of a build.

This build comes with five minifigures. They aren’t super out of the ordinary, but it’s a good mix for playability. For some context, last year’s set had six minifigures and the previous year’s set had four.

Here is the final build. I like where the design team went with the set this year. The price remained the same from the previous year, there are a decent number of pieces, there is some good playability with the set, and it comes with some good pieces. I definitely recommend this one if you haven’t been sucked in by the Winter Village sets already.

Happy building!

Set Review - #10308-1: Holiday Main Street - Winter Village

It’s become a tradition in the world of LEGO sets with the Winter Village theme returning every year in the fall timeframe. While I am not a complete addict, I have purchased many of these sets. #10308-1: Holiday Main Street was released in the US on 23 September 2022. This one contains 1,514 pieces and retails for $99.99 in the US. This works out to $0.066 per piece.

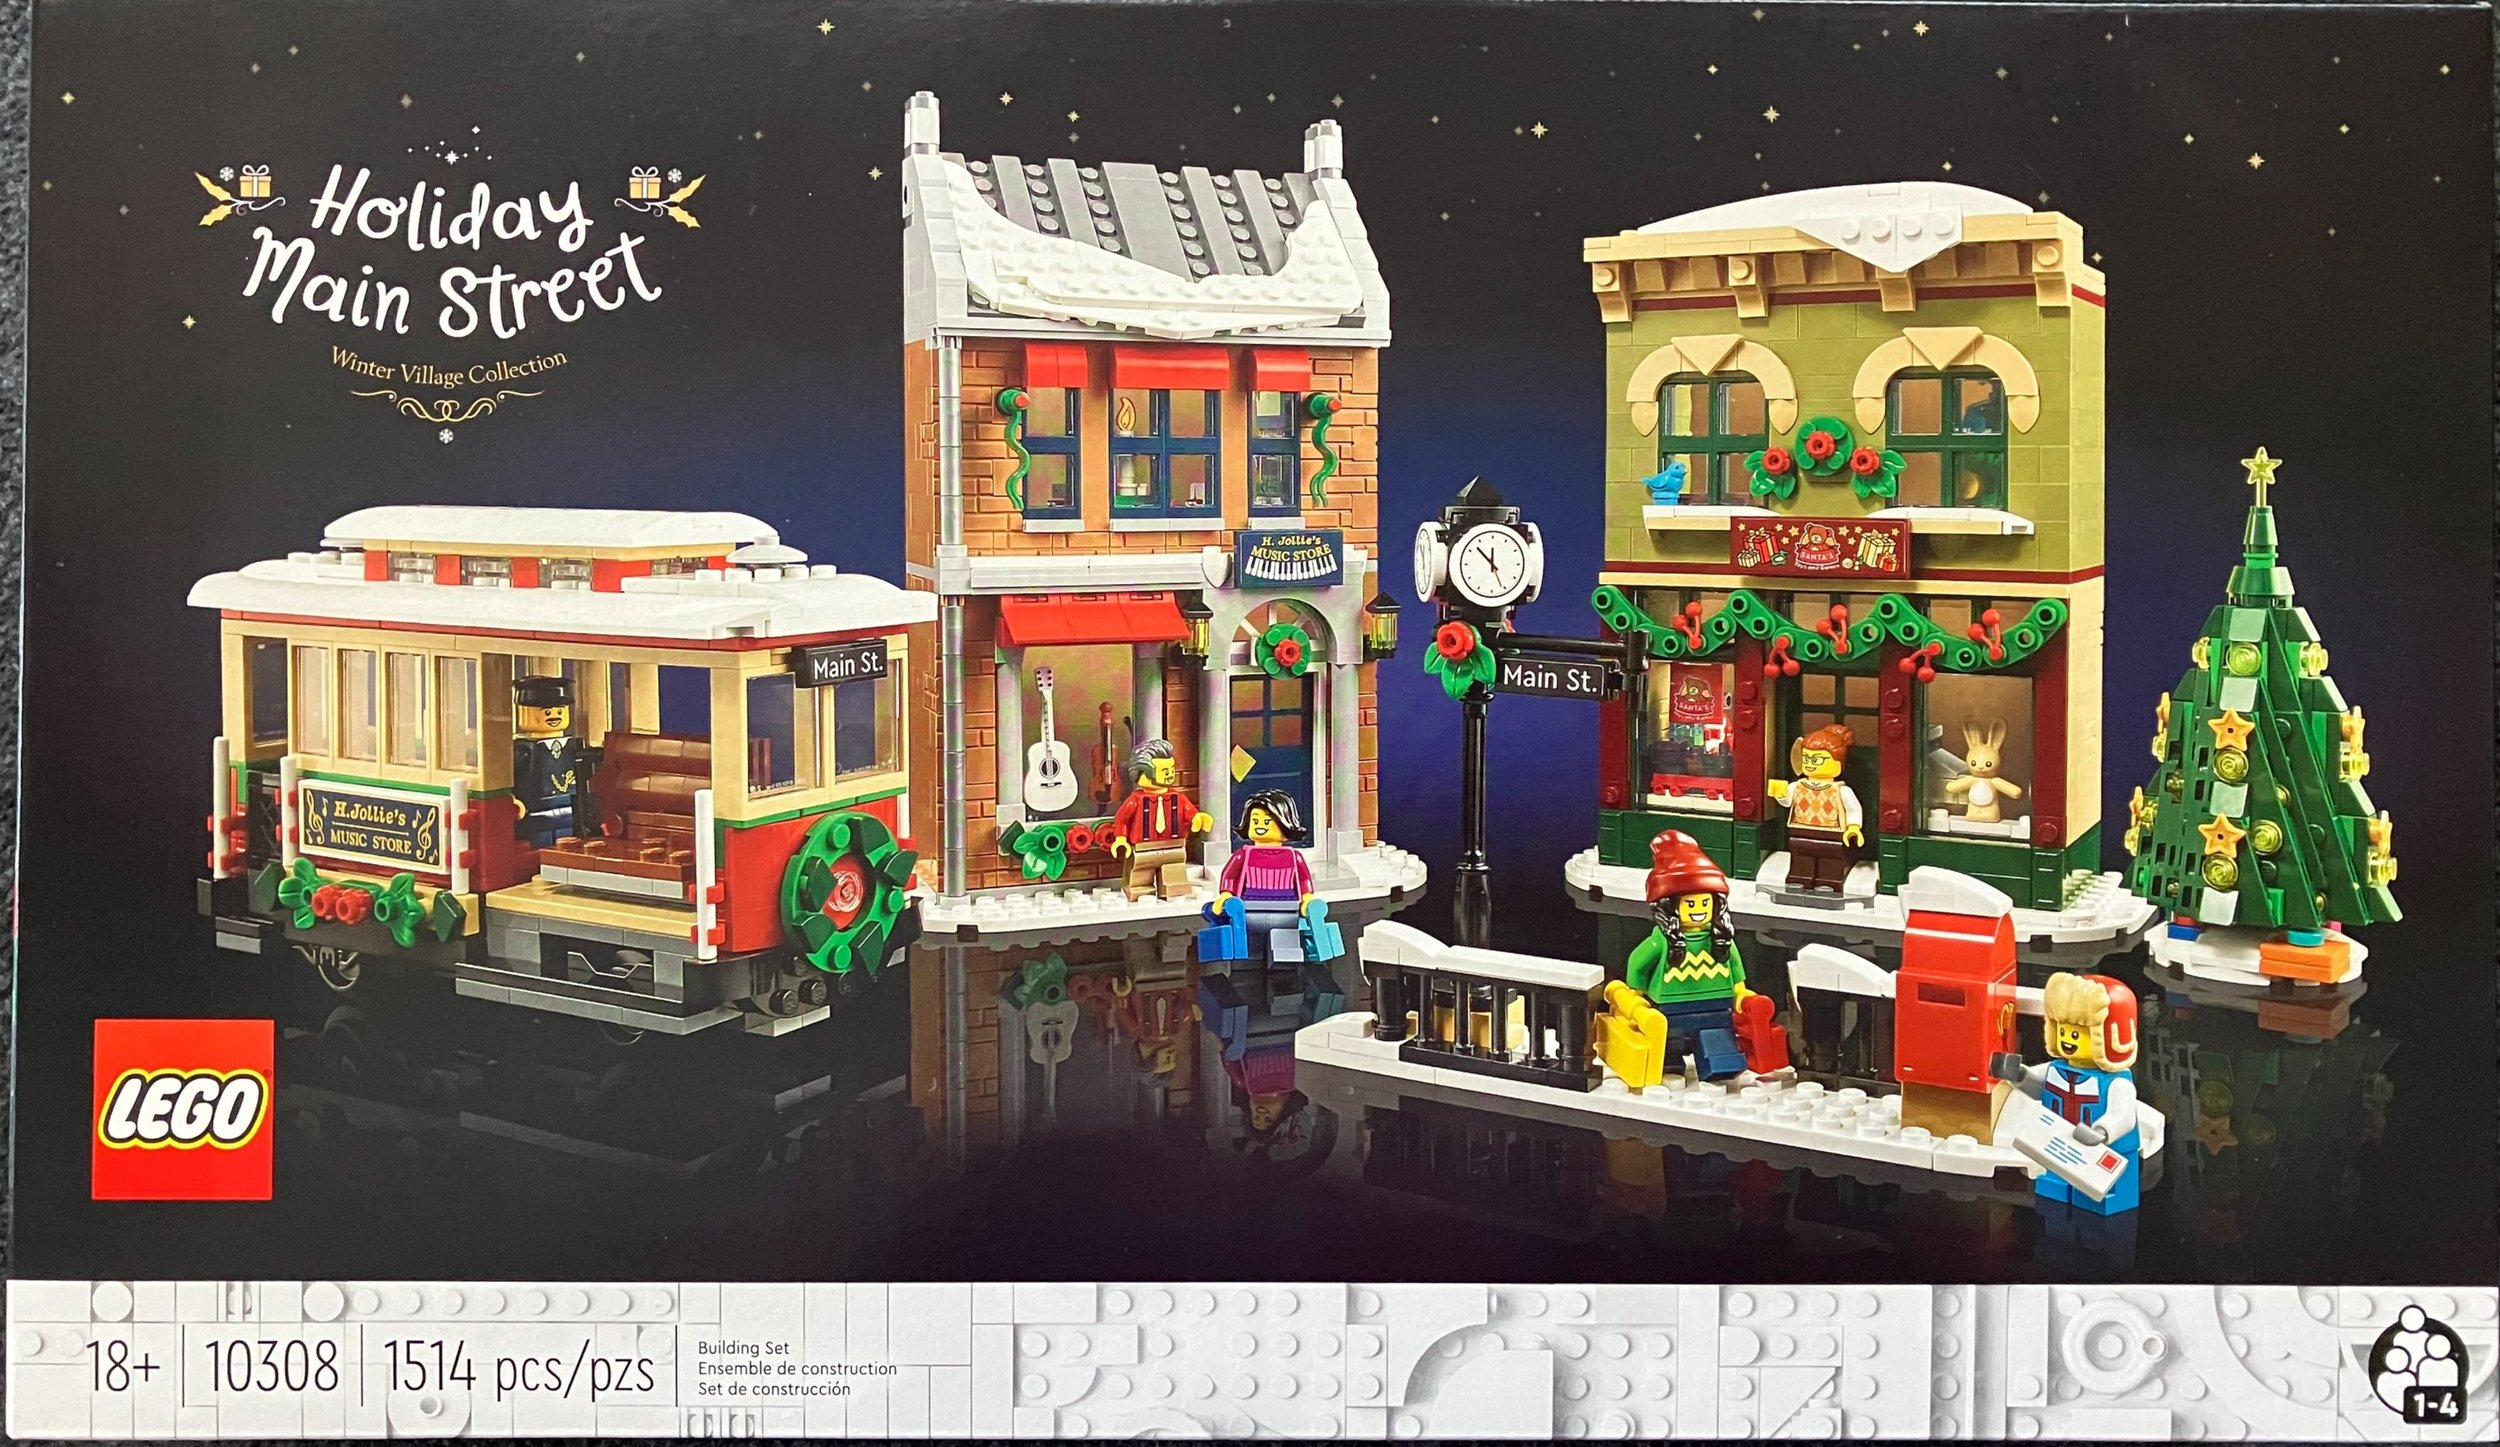
The set this year includes a trolley, a toy shop, a music shop, and a small trolley stop with a mailbox, street sign, and street light. Let’s dig into the set.

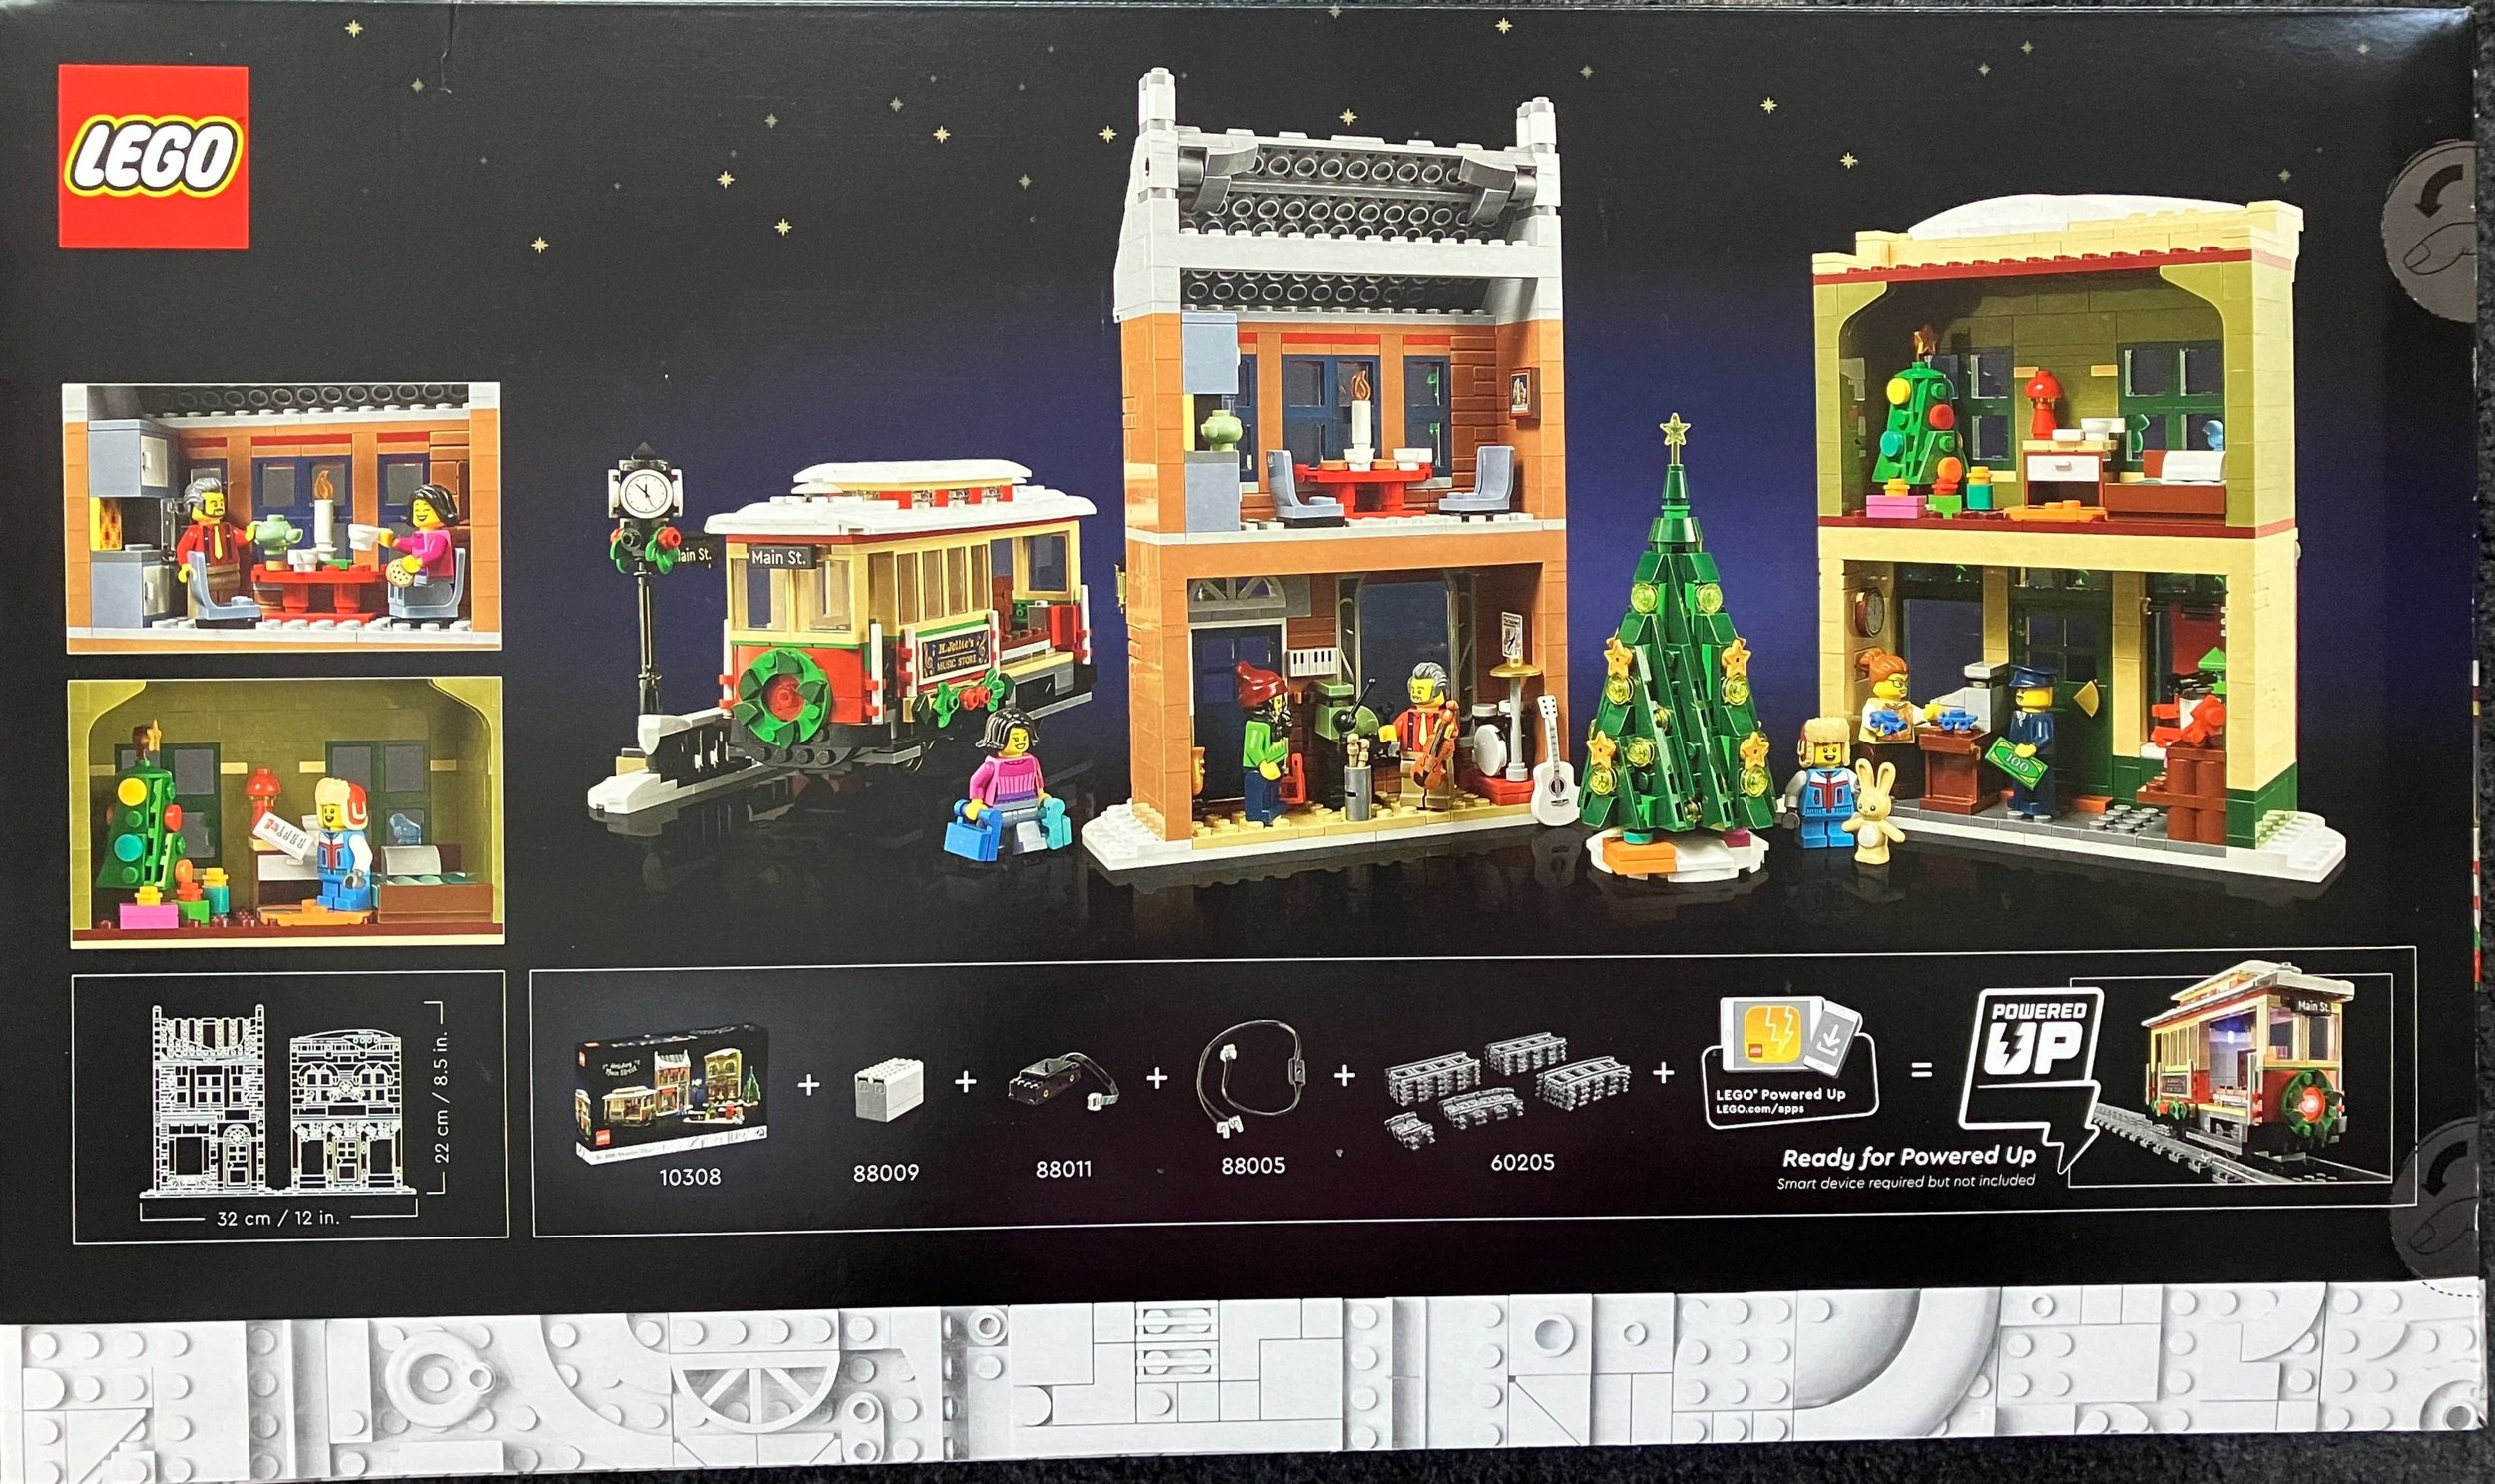
The box shows the full set built on the front with the set title on the top left. The bottom has the 18+ greebling in white. The back of the box shows the back of the set, some of the details up close, a drawing showing the dimensions of the set, and it mentions that you can take the set, buy more parts, and motorize the trolley.

The set contains seven parts bags, a 6x16 plate, and the instruction booklets. The instructions are set up so that you can build the set with other people. My family split this up where my NLS built the music shop, my daughter built the toy shop, and my son and I built the trolley and trolley stop.

This set contains a sticker sheet. Thankfully it’s not a ton of stickers, but you still have to apply these details to the set.

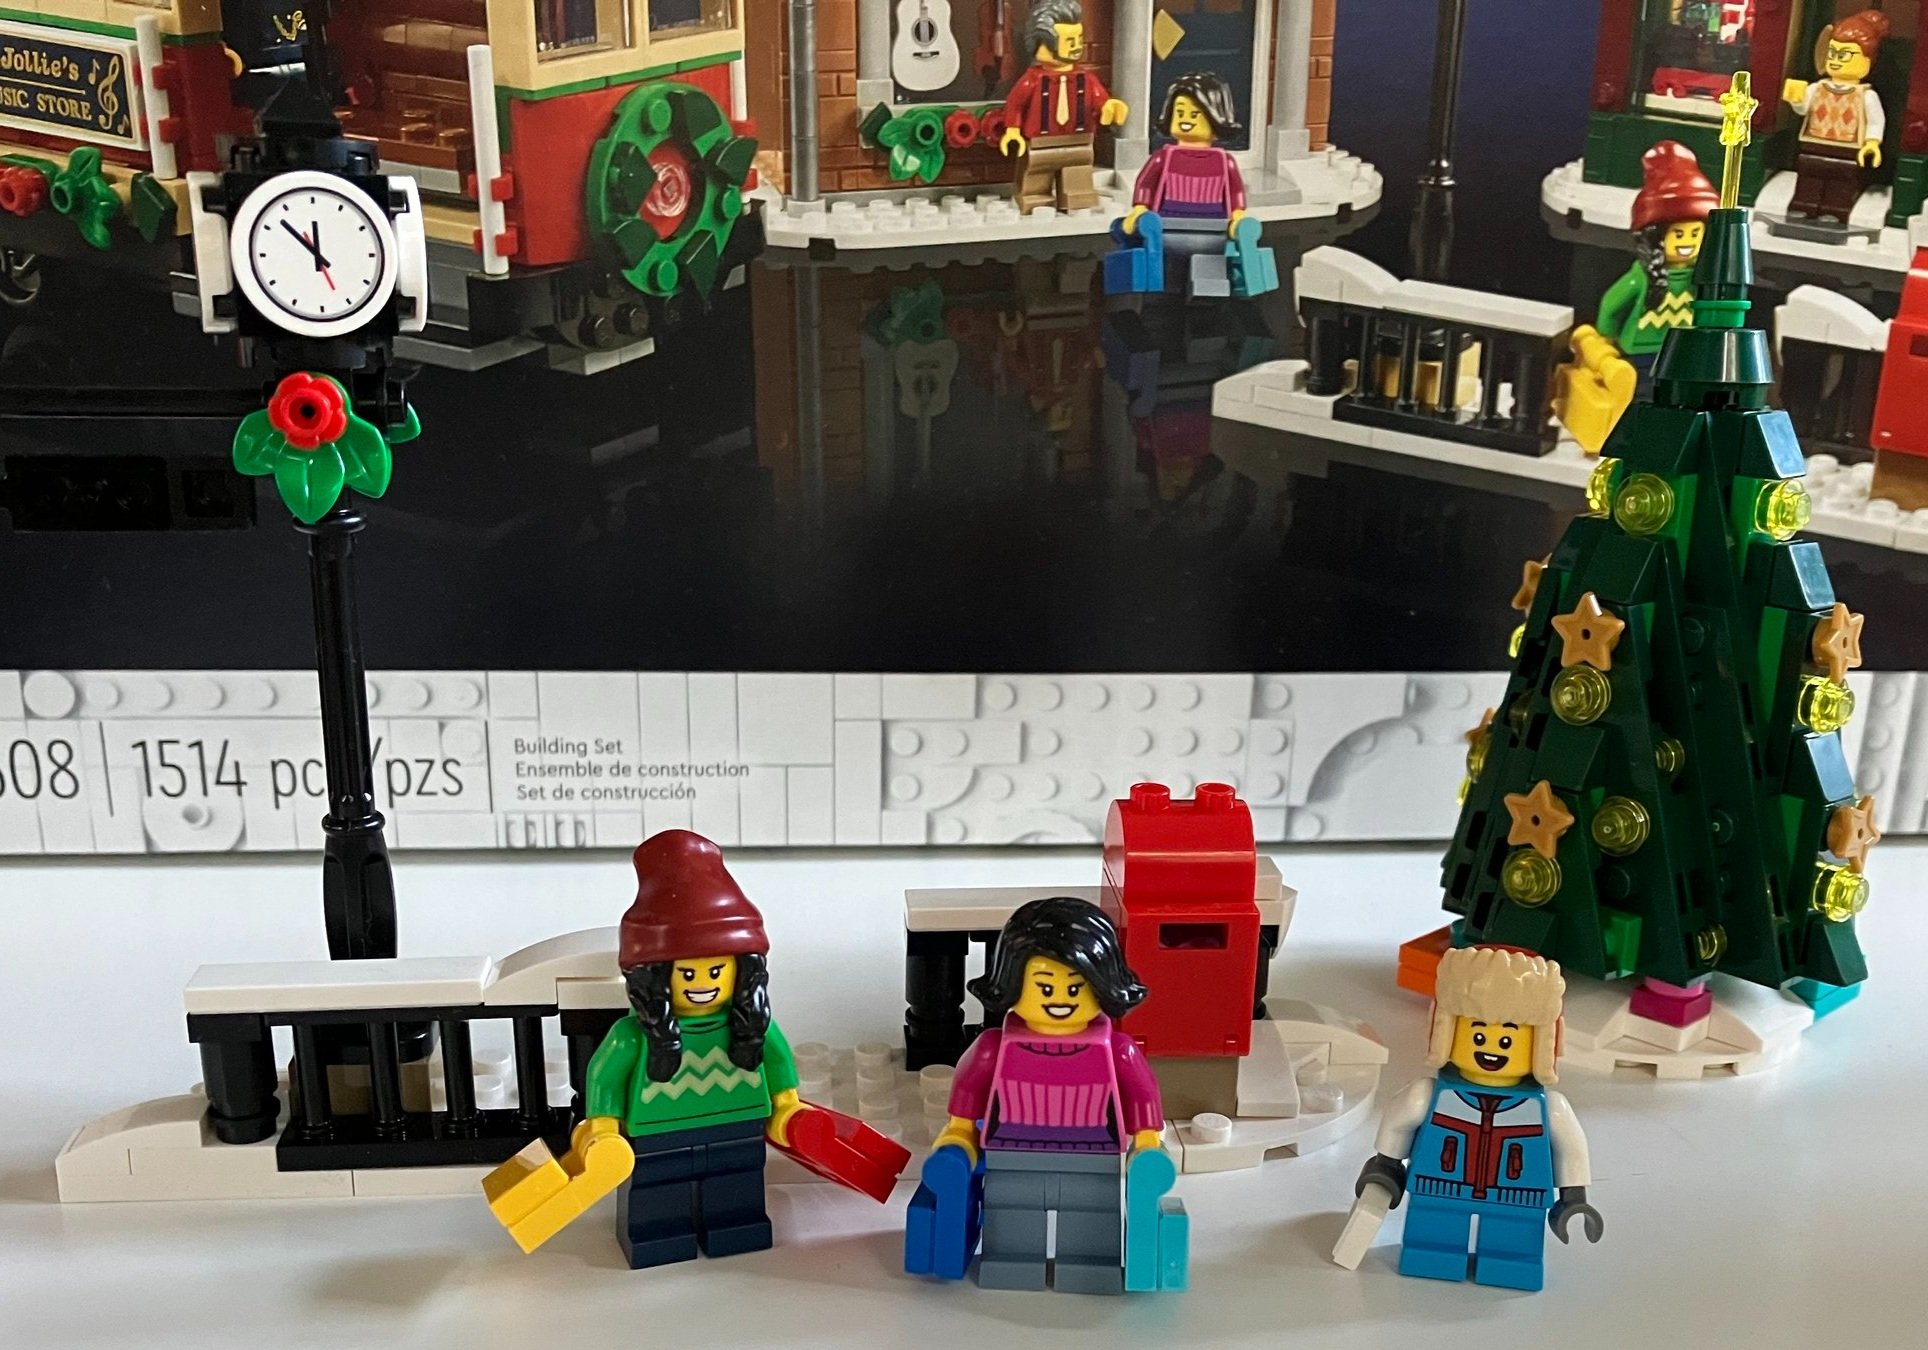
The first bag comes with three minifigures and builds a number of items. One of the items that seems to come standard in Winter Village sets is a Christmas tree. This one is about the same size as previous ones, but is a completely different design. I like the use of plates to make this one. It’s a fun new design. You also build a small waiting area for the trolley. This area comes with a mail box some fence pieces, and a lamp post. The lamp post has clocks on the top and the street signage.

Bags two and three build the trolley. My initial look at it led me to believe it would be a simple design, but it’s actually pretty detailed and fairly accurate looking. The top easily comes off so you can place minifigures inside and it comes with a trolley operator. You put a sticker on a tile for each side to advertise the stores you build later on which is a fun addition. The instructions show you how to add a motor if you buy the extra parts. I haven’t done that nor do I plan on it at any time soon, but it’s nice that they factored that in for those interested in doing so.

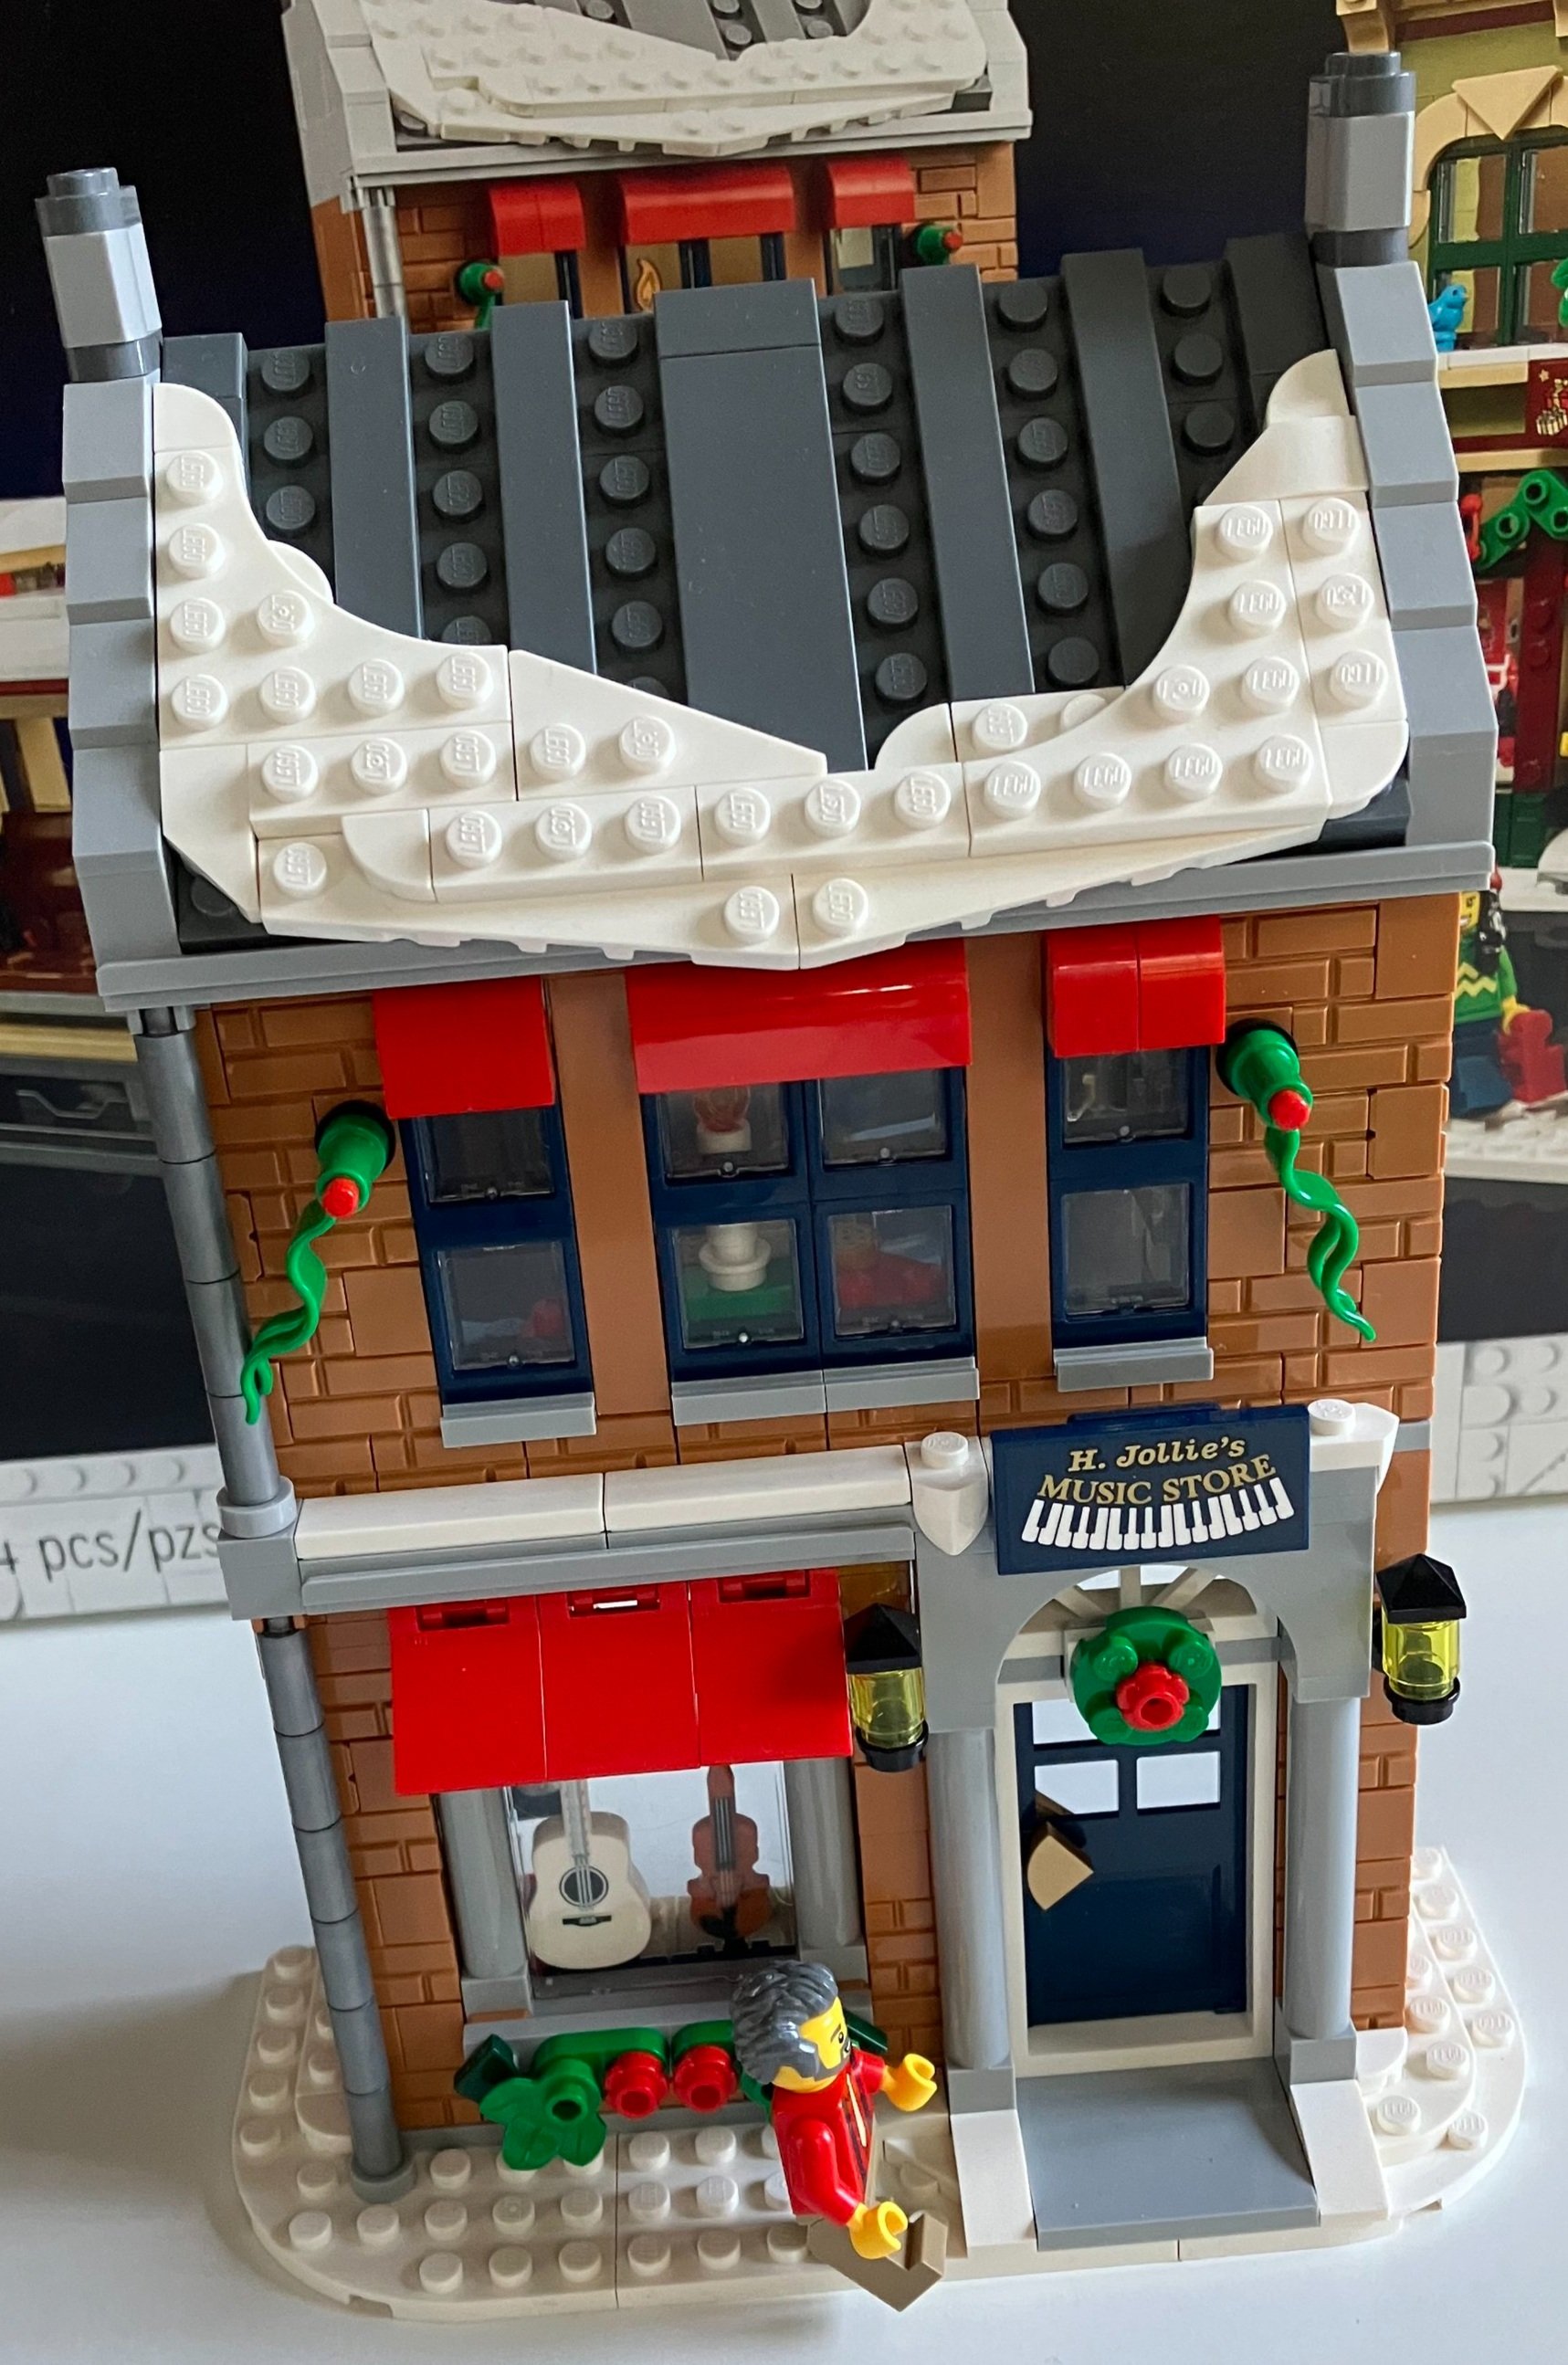
This set comes with two building facades that are two stories high each. This is very similar to #76388-1: Hogsmeade Village from the Harry Potter theme. I disassembled the Hogsmeade Village set, but I’m sure you could put the two together to add to the village theme. Bags four and five assemble H. Jollie’s Music Store. The front of the store uses the brick textured bricks along with some good color choices to make the store stand out. There’s some white plates as snow on the roof, some Christmas decor, and a sticker for the store shop sign. This building comes with one minifigure to work at the shop.

Inside on the ground floor is the shop. It has a drum set, violin, guitar, saxophone, and a keyboard on the wall. There’s a small cash register on a counter as well. Upstairs is a small kitchenette with a table, chairs, and a tea kettle, oven/microwave, and some cabinets. The table is set with some mugs, treats, and a candle. On the wall is a picture of #10267-1: Gingerbread House.

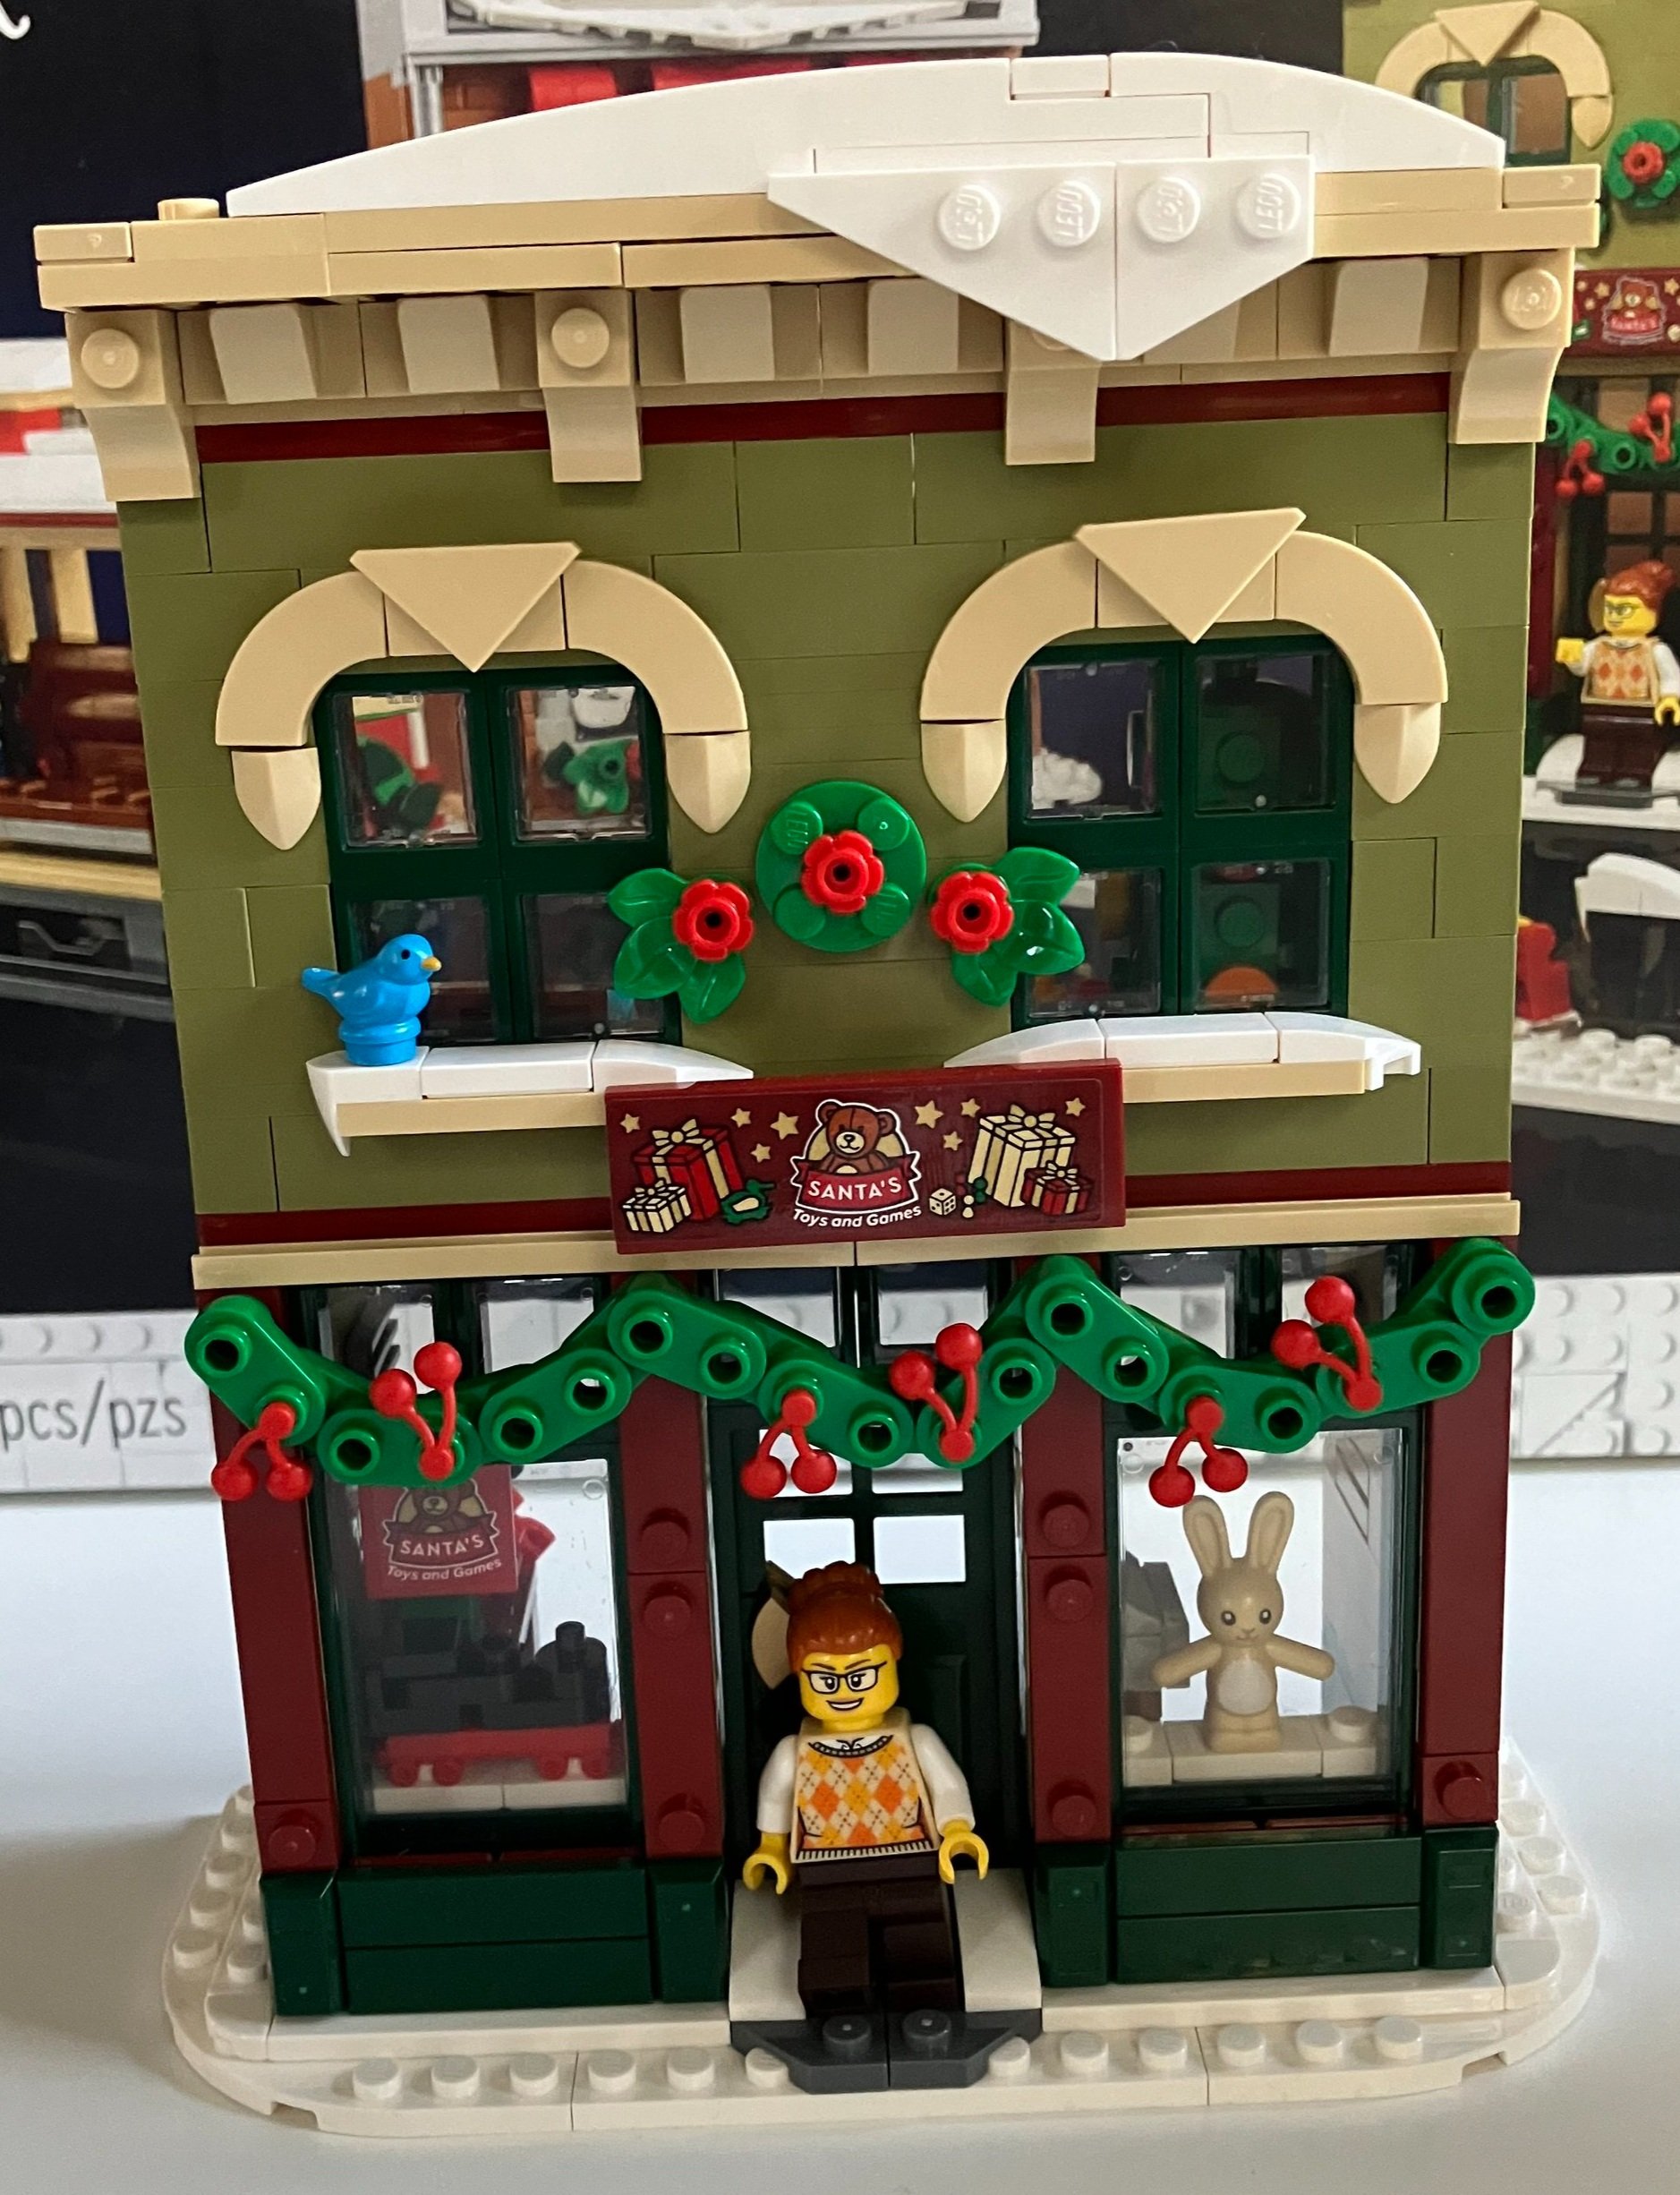
Bags six and seven assemble “Santa’s Toys and Games” shop. The outside of the building has some simple designs, but again, they are enough to make the building stand out and the build process not as boring. I like the colors, especially the green of the second floor. You get some more Christmas decor, a sign, and a small blue bird.

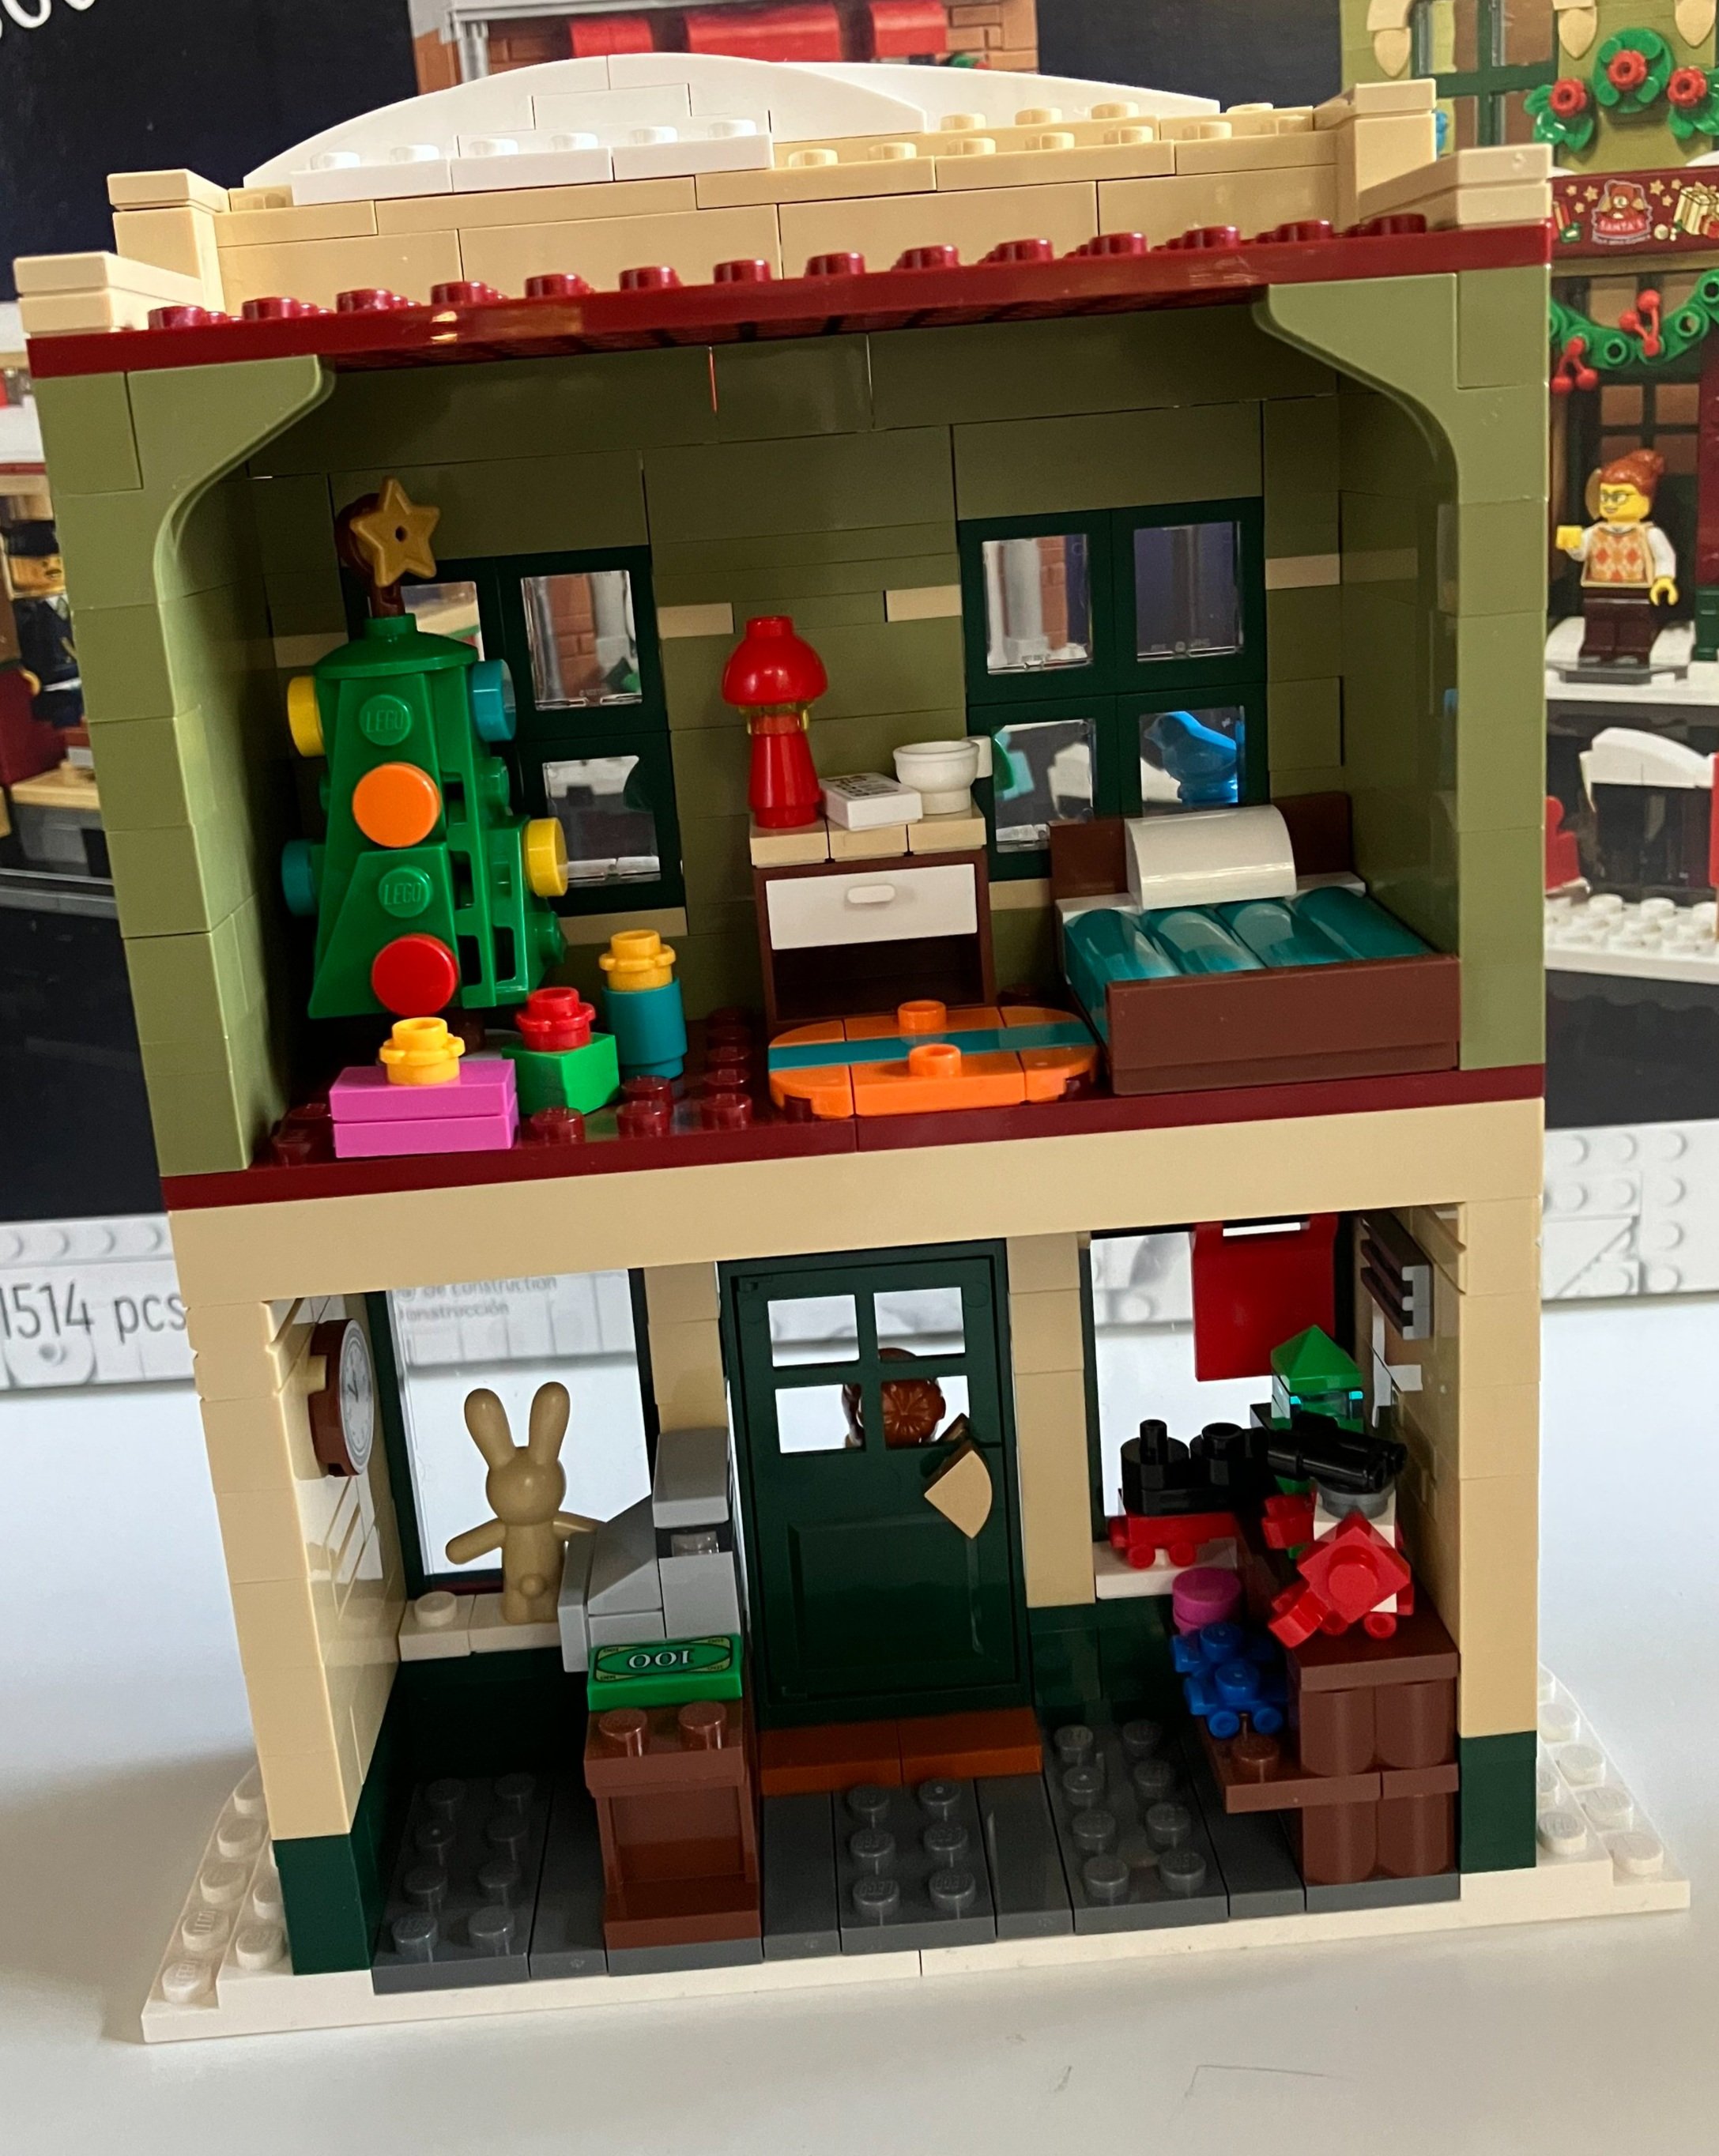
The ground floor is a toy shop with minature toys on sale to include a robot, train, building, roller skates, and a rabbit. There is a counter with a cash register as well and someone even left $100 on the counter for us. This store comes with one worker minifigure.

Floor number two has a small apartment bedroom with a small Christmas tree, a bed, a night stand, a rug, and some gifts under the tree.

This set comes with six minifigures. It’s a decent mix of figures and parts in my opinion. Not really anything super new, but that’s okay in my opinion.

Here’s the full assembled set. I like this addition to the winter village theme and I wish I had the rest of my sets together so I can put them all in the same spot for a larger photo. Someday… This is priced reasonably in my opinion if you look at the price per piece. I’m okay without the motor and track being included and I’m glad there is no light brick as I typically don’t use them anyways. Hopefully the lack of a light brick kept the cost lower.

What are your thoughts? Are they running out of set ideas in the Winter Village theme or does this one fit right in?

Happy building!

Set Review - #10293-1: Santa's Visit - Winter Village

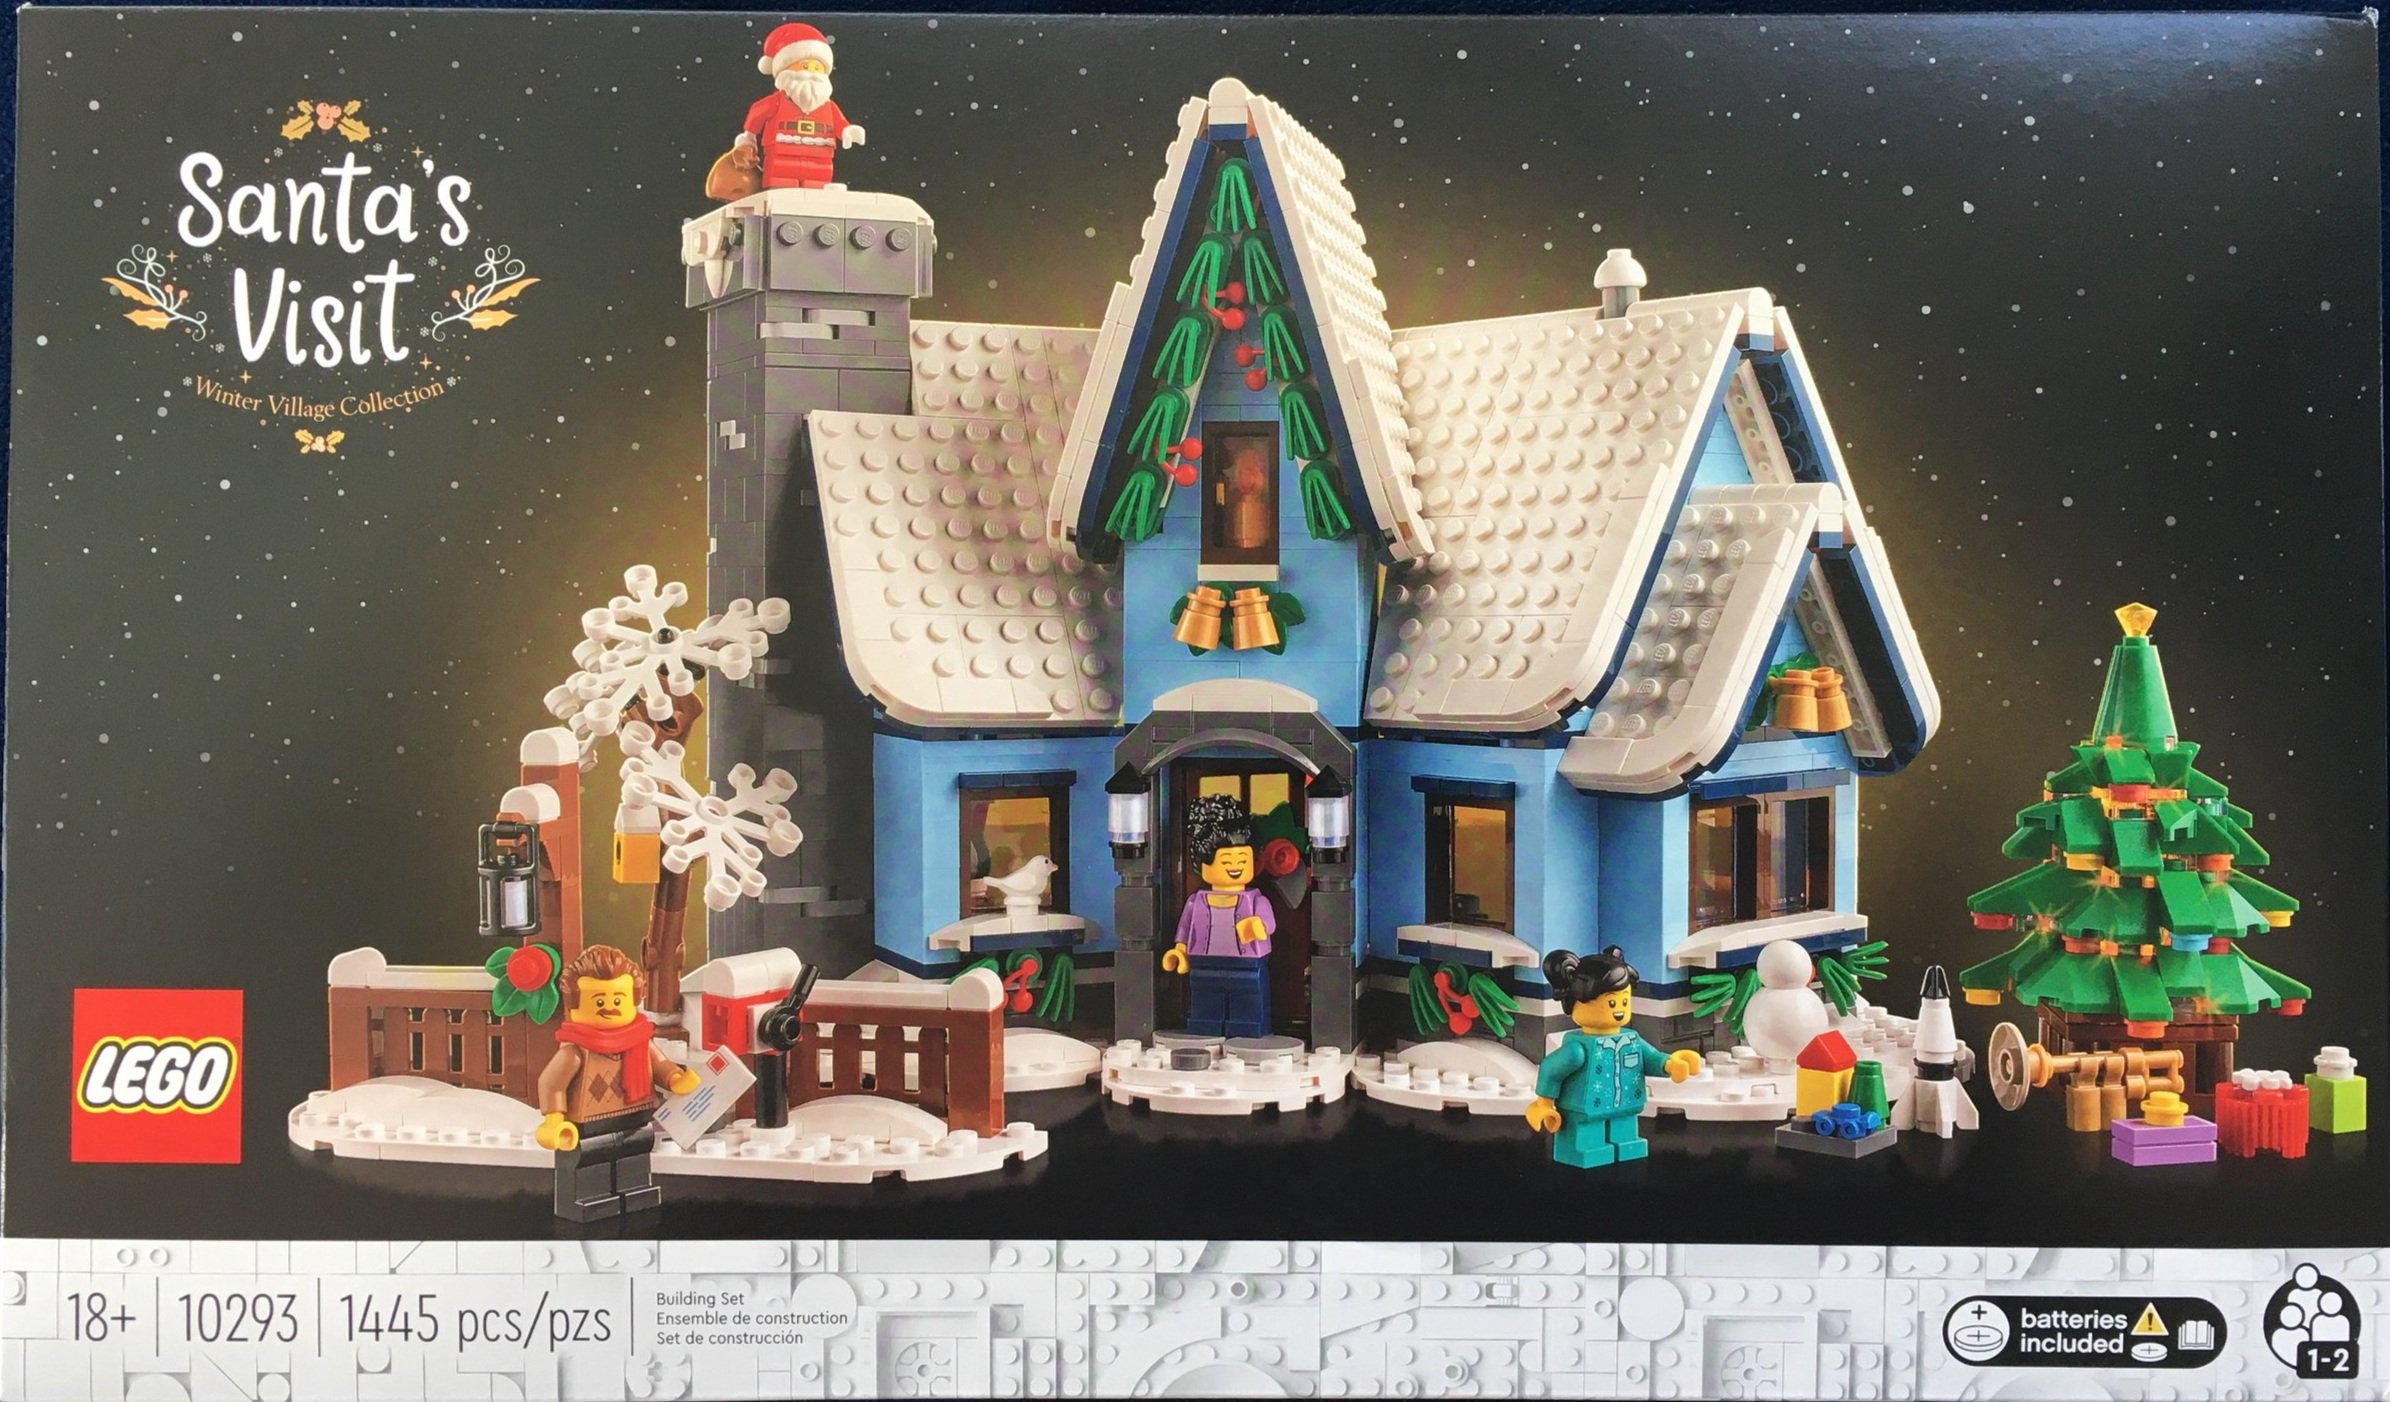
As per usual, Christmas is over and here I am finally getting to review the Winter Village themed set released for Christmas. Better late than never I guess. This one is #10293-1: Santa’s Visit. It was released on 17 September 2021 in the US. It contains 1,445 pieces and retails for $99.99. This works out to $0.069 per piece which isn’t that bad.

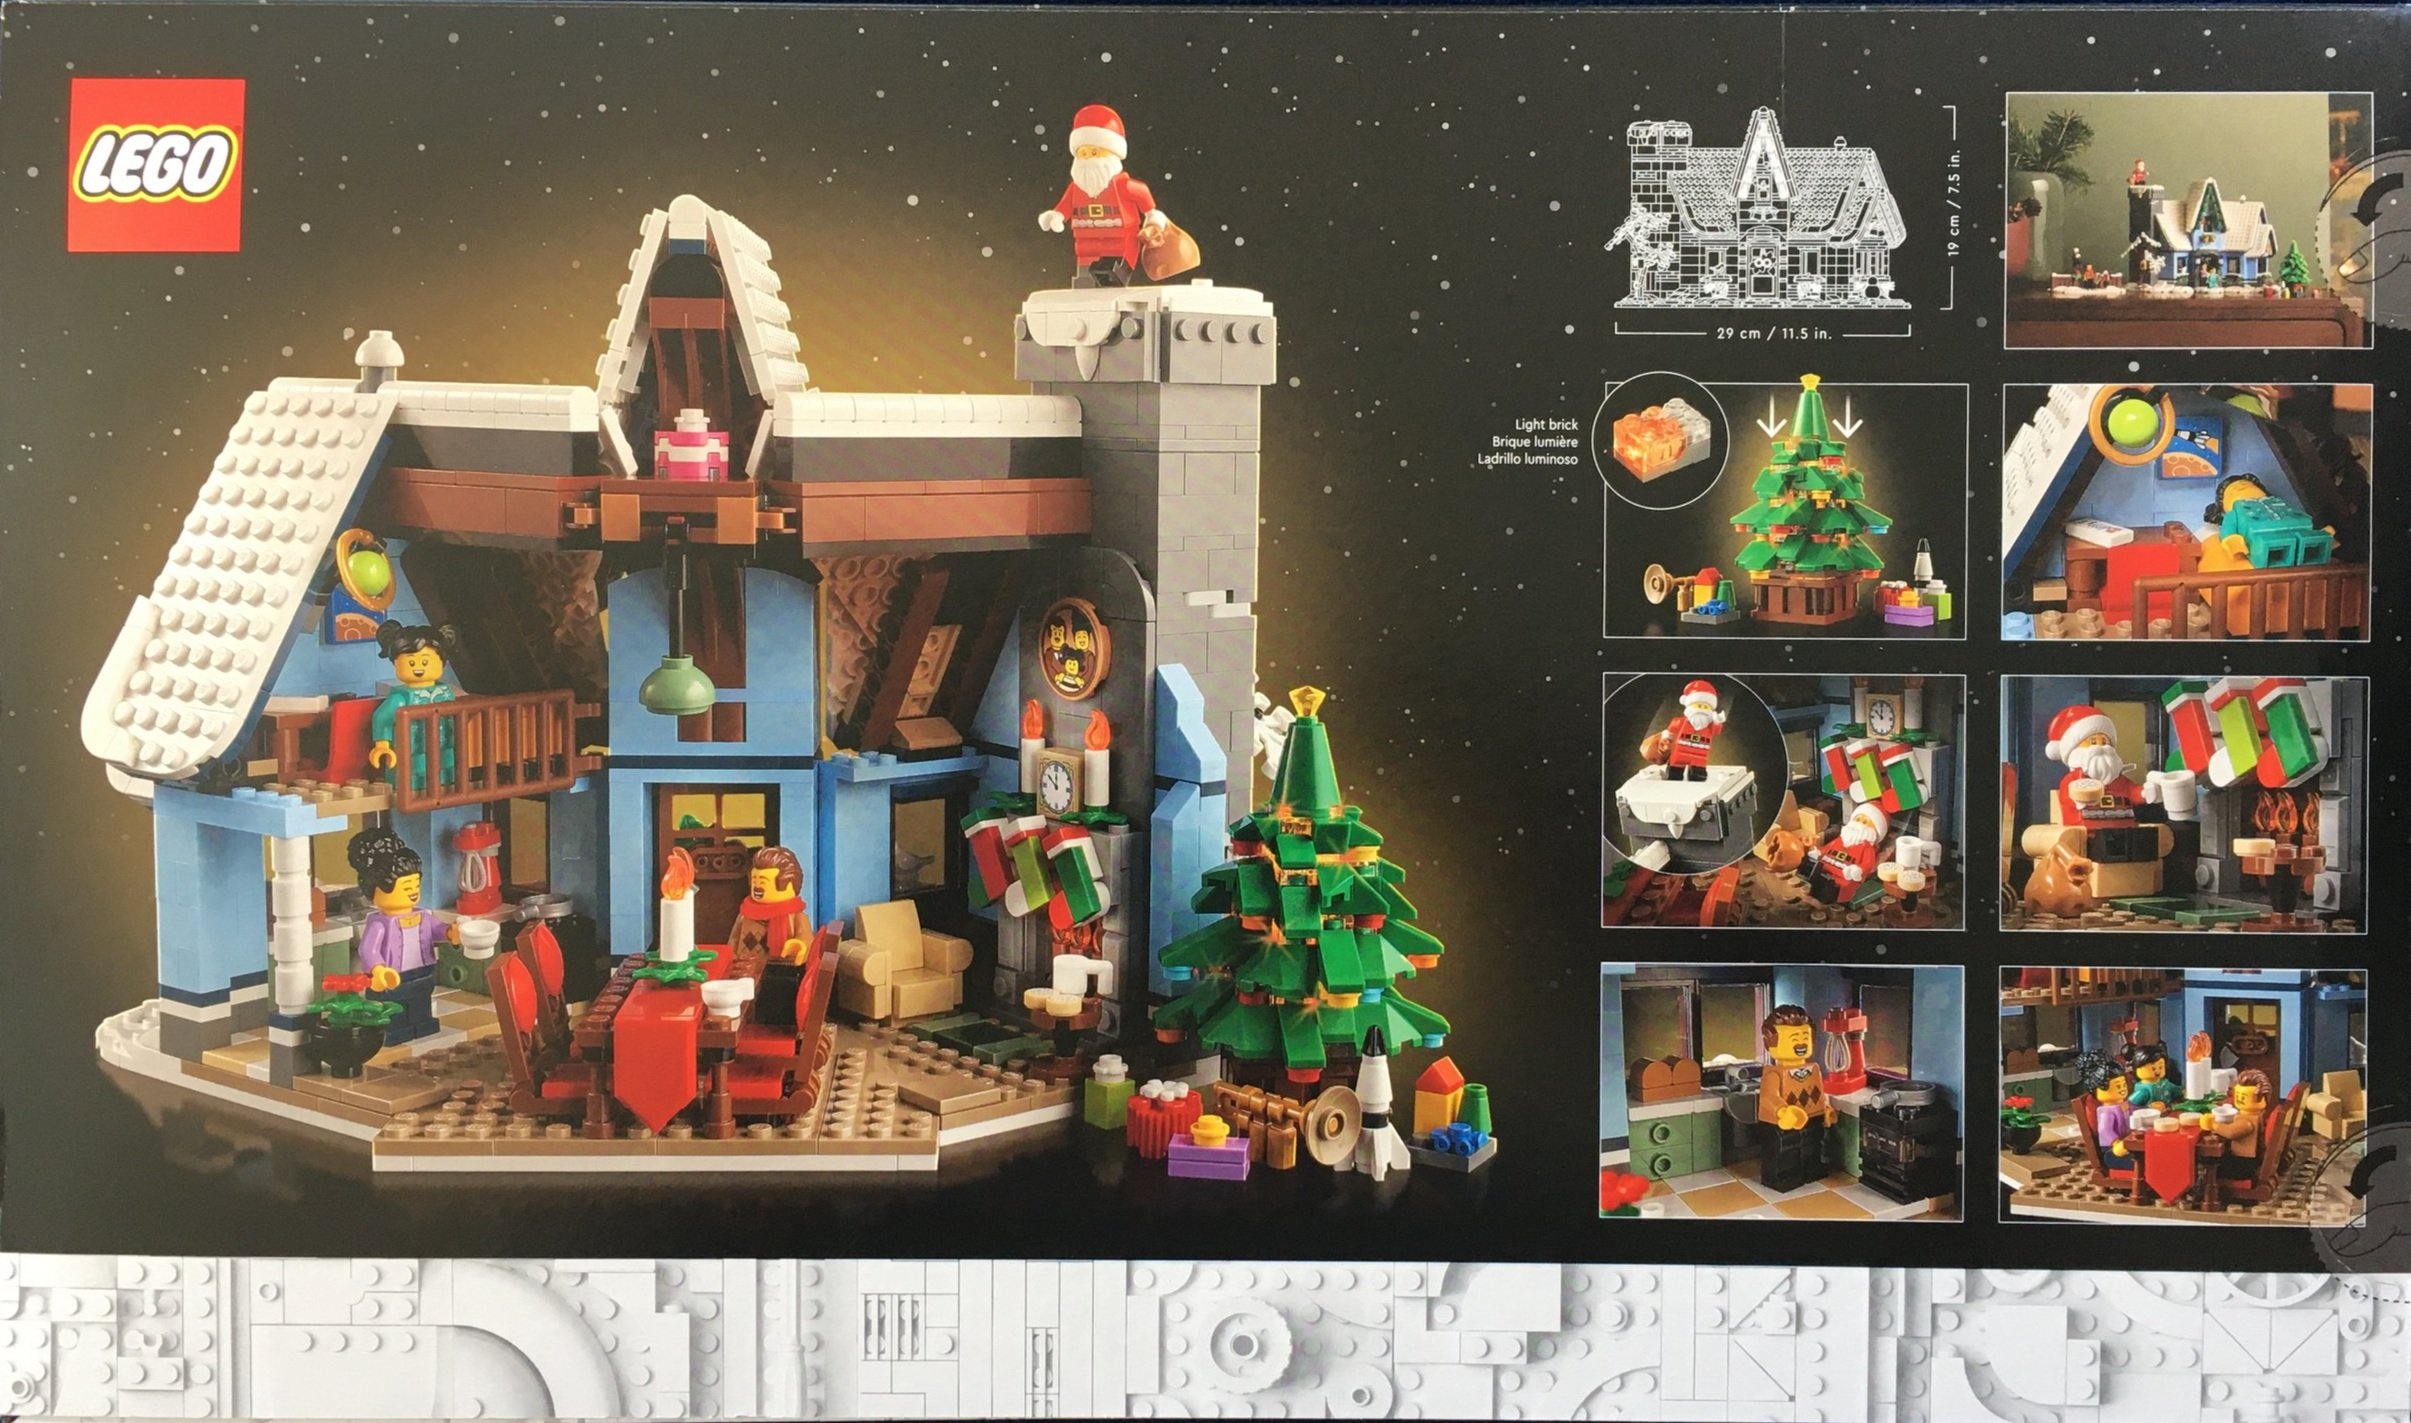
The box is in the 18+ branding and while the background is dark, it does look like they tried to brighten up the set so all of the features stand out. The box is pretty standard. The front shows the full set and the front of the house you build. The back shows the back/inside of the house and then some of the features of the house.

This set contains nine numbered parts bags and two instruction booklets wrapped up with the stickers. The first and smaller booklet covers bag one and all of the accessories not attached to the main structure. In theory, if you were building with someone else, you could hand off that one while you worked on the house. I suspect they will finish first, but I like the concept.

Here are the instruction booklets. The inside has some details on the set and on the builder, Chris McVeigh who also designed last year’s Winter Village themed set #10275-1: Elf Club House.

Only four stickers with this set. Not too bad I guess.

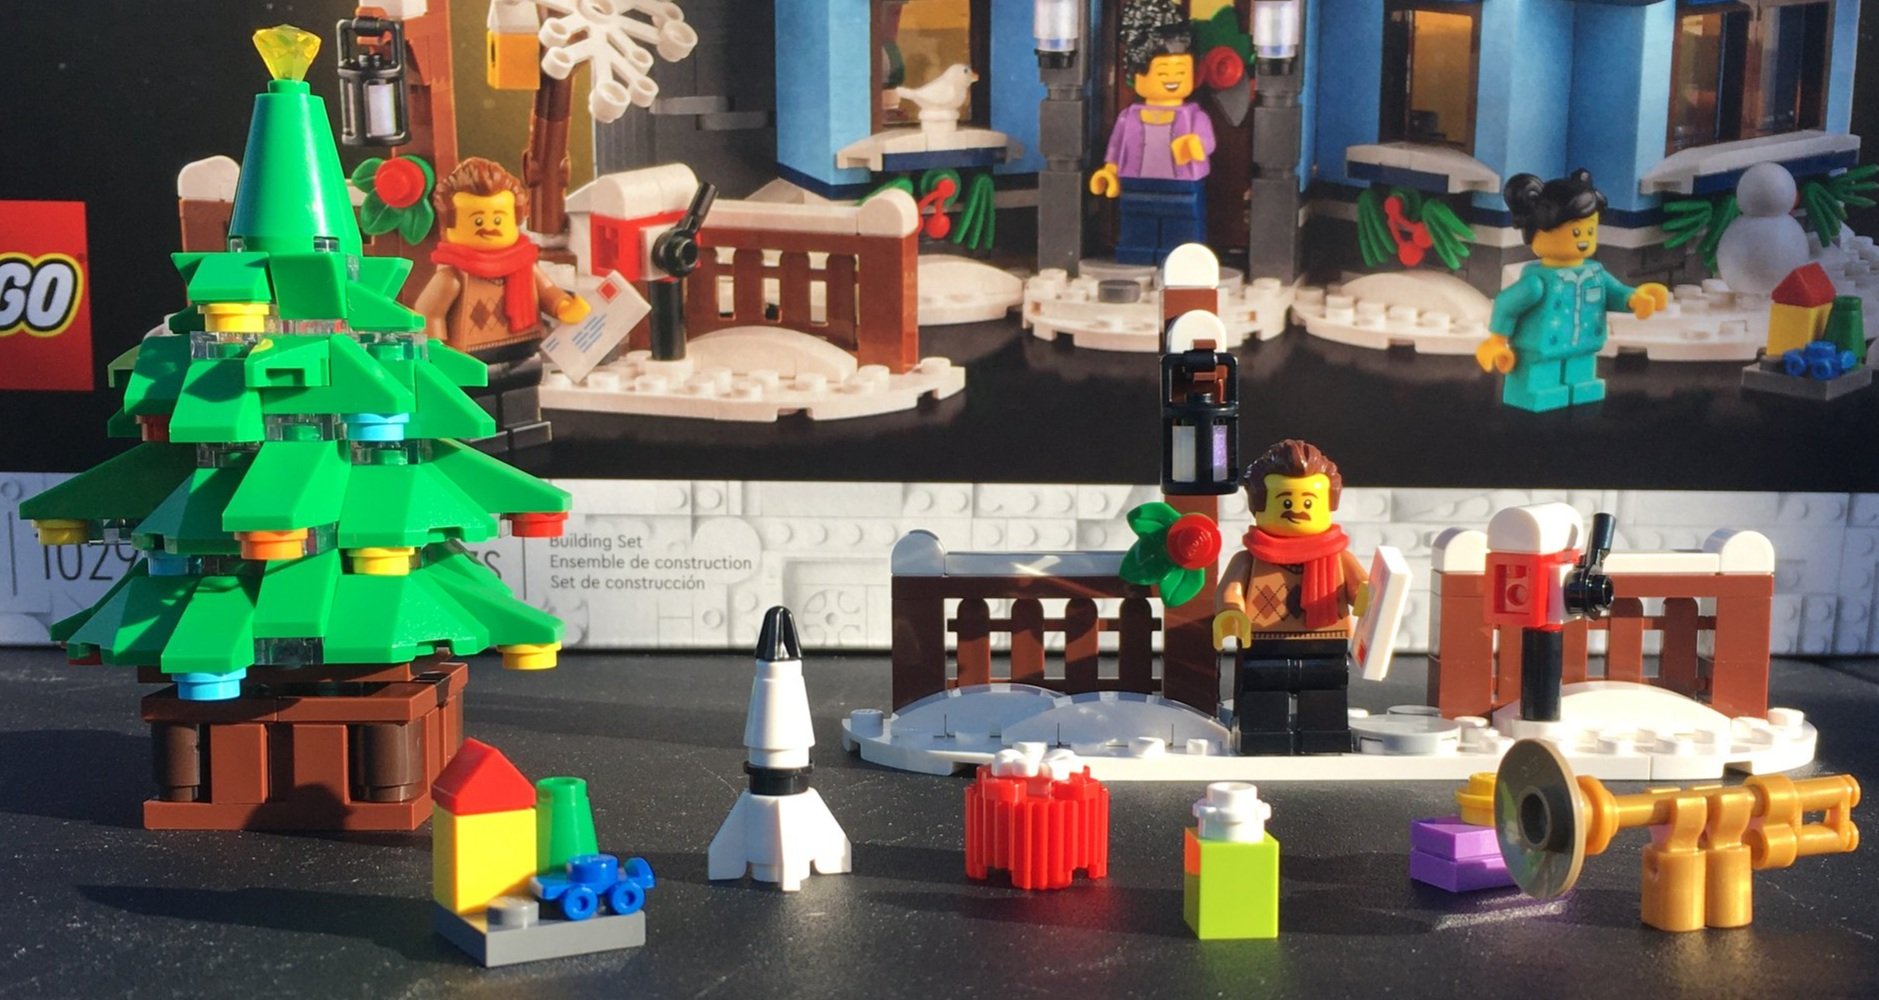
The first bag builds what I loosely refer to as the accessories, but mainly it is parts not connected to the main structure. There is a small fence section with a mail box and an entrance large enough for a minifigure. For whatever reason, the designers decided this piece should be separate so if you want it linked to the house, you need to use your own pieces. The same goes for the fence, unless you want the fence to highlight the entrance to the walkway that you also need to build with your own pieces. The mailbox is a simple build that easily gets across what it is and there is a post with a lamp on it and some greenery.

There are also a bunch of gifts you build to put under the tree. Some are just boxes with decorations, but there are a few actual items to include a small rocket and a trumpet. The girl’s room has some space themed decorations so you can assume the rocket is for her. The trumpet looks pretty good considering its size, but would be quite large for a minifigure to play. For it to be more realistic, you’d need a molded element similar to the saxophone that has shown up a few times in the past.

Lastly comes the tree. The designers continue to come up with new methods to build trees. This one is no different. The tree has a light brick on the bottom and is built on top of the brick. It is built in a way that when you push down on the top of the tree, the light brick turns on, but it is not heavy enough to keep the light brick on all the time.. There are clear plates throughout so that the light from the brick shows through the tree. This is a fun technique to use and I like how it was done. Bonus points to the designers!

The second bag builds the base for the house. As has been the recent trend, instead of just using a base plate, the designers attached a bunch of plates together. The good part about this is it allows them to get some different shapes besides just making everything square.

A few interesting parts of this bag… you build the fire in the fireplace. The fire appears to be a gas fire as it comes from burners versus a log type design. The burners pivot which I believe allows Santa to come down the chimney and not get burned. Although the “fire” stays lit so the house burns up when it tilts over. The other fun part is the present that you build and place on the floor. Later, you build a chair that goes in front of the gift. This is supposed to be the parents hiding gifts for the kid, but any kid would find that gift in seconds so not really a good hiding spot.

Bag three builds up some of the outer wall. This includes some greenery decorations made of claw type pieces. There is also a lot of snow that has fallen off the house or been shoveled into the areas. There is also a small white bird perched on a window sill.

I didn’t take a picture of the inside, but the kitchen is built up with a sink, some counters, an oven, drawers, a kitchen mixer, and a loaf of bread on the counter.

Bag four finishes most of the first floor. You build up the walls, add the windows, and install the door. On the inside, there are a few additions like a flower, the wood pile, and more of the chimney.

The fifth bag builds up the living room area of the house. This includes adding a chair, with a coffee table, and then decorations on the fire place. The fire place decorations include stockings, some candles, a clock, and a family picture. It also builds up the chimney and some of the wall of the house.

The sixth bag adds a dining room table with four chairs. The table has a red table runner and a candle on some greenery.

It also has you build the girl’s room. This includes a bed, a desk and chair, a picture on the wall (focused on space exploration), and the Christmas list on her desk. There are no stairs to the upstairs as usual, but no complaints considering the piece count and price of the set.

On the outside, there is a roof portion added over the kitchen area with some decorations. The bell decorations are a cool addition.

This bag also adds the girl minifigure. She is in pajamas which I don’t think have been done before. Her face has smiling on one side and then eyes closed and sleeping on the other.

Bag seven finishes off the chimney and adds on most of the roof. A different method is used to attach the roof that hasn’t been used previously. Nothing overly complicated, just different.

Bag eight adds the center section of the house along with the roof. It doesn’t add an additional floor, just a wall section, but there’s more greenery, some bells, and a window.

Bag nine, the last one, adds a bunch of different small details around the house. You finish off the chimney with some snow around the edges. Additionally, you add a tree on the ground near the chimney. The stem and branches are brown, but the smaller branches are all white as if it had just snowed. And because I put it in the picture, you get a Santa minifigure in this bag. He comes with a sack.

The next part as seen in the picture is a small snowman. In the past, they have used minifigure parts, but this one is all white and just uses round bricks.

The last addition to the house is some roofing on the back over the girl’s bedroom and a brick build decoration of a planet with rings to go with her enjoyment of space exploration.

This set comes with four minifigures. To me, it looks like a lot of new torso parts we haven’t seen before. Is that true? Both the mother and father have smiling faces and then laughing with eyes closed on the other side. The daughter has eyes open and mouth open and then sleeping. Santa has a big hat and beard so you wouldn’t be able to tell if the face had another side (it doesn’t).

Here’s the final build. To be honest, it’s nothing that really screamed out to me that it was awesome. It had some good building techniques and it uses some fun pieces, but other than that, it was just a house. The light up Christmas tree is a nice addition to the set as compared to light up houses and fire places in the past. Other than that, it’s okay. If you’re into this theme, then definitely get the set. It’s been sold out on LEGO.com since before Christmas 2021, but I did see it listed on Walmart. Check around for it, but good luck if you can find a sale. Hopefully you can get a good gift with purchase or double VIP points to go with it.

Happy building!

Set Review - #10275-1: Elf Club House - Winter Village - 18+

It’s late April and I’m just reviewing the 2020 Winter Village set… late, yeah I know. It went on sale on 24 September 2020 and quickly sold out and stock levels are just starting to come back. I managed to pick this one locally. It was on sale for $89.95 so I can’t complain. The US retail price is $99.99. With 1,197 pieces, it works out to $0.084/piece.

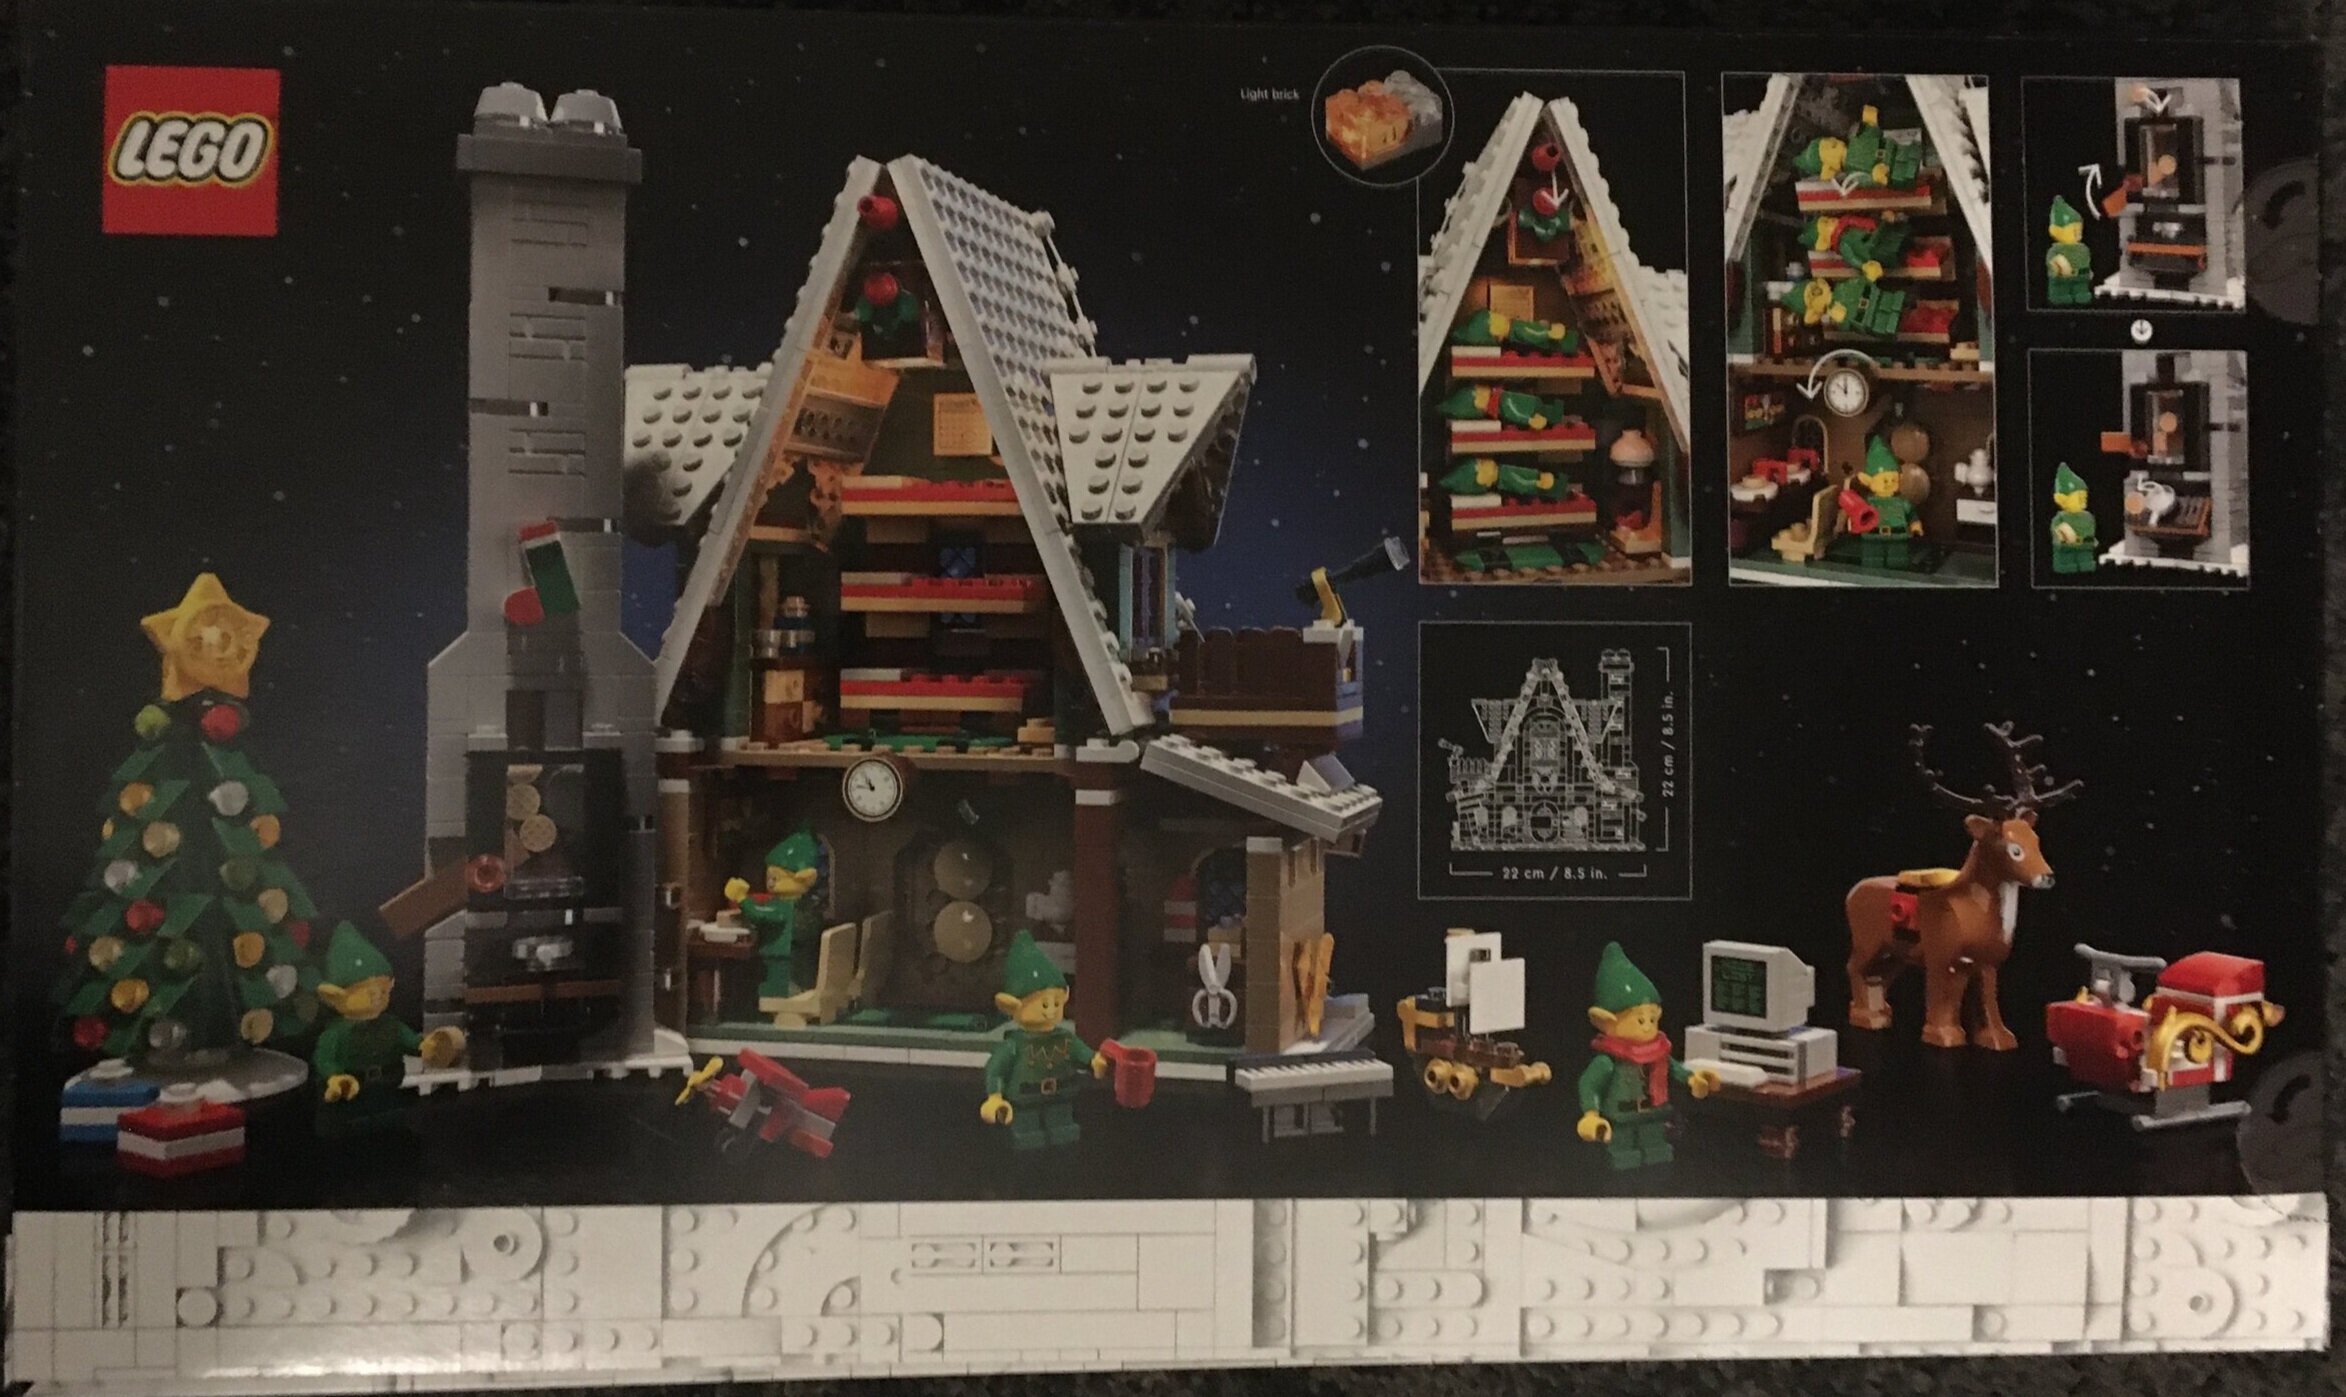
Let’s dig into the set. The set is branded 18+ with the packaging similar to other 18+ sets. The title is on the front along with the full built set picture. The back shows some details of the set along with the back of the set. One difference with this set is that it lists it on the front as the “Winter Village Collection.” I think this is the first reference we’ve seen in packaging of the Winter Village Theme being an actual theme. I’m not sure I’m a fan of the dark packaging. It doesn’t give off the Christmas cheer and brightness of lights. It looks like the elves live in darkness. Not very merry.

10275_box_front.JPG
10275_box_back.JPG

The contents are 11 parts bags with two instruction booklets packaged up with a small sheet of stickers. There are only bags numbered one to five, but each number has at least two bags with number two having three.

10275_contents.JPG

Here are the instructions and stickers. There are two instruction booklets. Number one goes with bag one and builds all of the smaller accessories to the set. Number two builds the club house itself. No special features or information about the designer in this one.

Only five stickers for this set so I can’t complain too much. While I’d prefer there to be zero stickers, these add a bit of detail to the set and were fairly easy to attach.

10275_instructions.JPG
10275_stickers.JPG

The first set of bags builds a number of items. Elf number one is the only elf to come with a scarf. This elf has only one expression.

Like most other Winter Village themed sets, this one comes with a Christmas tree. Each year it seems it is built slightly different and this year is no exception. I like how this one was done. It’s small, but seems pretty proportional while still capturing what a real tree could look like. The star on top is pretty big, but I can’t complain there. Not bad.

This set also comes with a sleigh and a reindeer to pull it. This is the first time there is a molded reindeer versus a brick built one. It looks pretty good to me. I’m sure these are going for a premium on BrickLink with lots of people looking to build full up teams of reindeer to pull Santa’s sleigh. The sleigh itself is small and can only fit one minifigure with no sack of toys. It also has flames coming out the back.

Additional items are two wrapped gifts, a toy plane, a toy ship, a small piano, and an old school desktop computer. The choice of small gifts are interesting considering some are similar to sets that came out in 2020 and 2021 to include the gift with purchase for Amelia Earhart’s plane, #31109-1: Pirate Ship, and #21323-1: Grand Piano. If you watch the Designer Video, you’ll learn about the computer around the 3:15 mark.

10275_build1.JPG

The second build starts the club house. Like most recent builds, it doesn’t use a base plate, but instead uses a bunch of white plates attached together.

The first floor seems a bit small in my opinion. I was expecting it to be a bit larger for the price tag, but maybe my assessment was wrong. The first floor contains a small breakfast eating area with two seats and place settings, a counter with a pitcher and mug, and then a gift wrapping station. The outside is a nougat color mostly. There are three windows and then the door is brick built to fit pretty snuggly while still keeping in mind what you would expect for an elf house. The clock is installed in this build, but more on that later.

10275_build2a.JPG
10275_build2b.JPG

The third set of bags assembles the second floor. The outside has a nice window design with brown tiles as accents. The build itself has a lot of sand green for those of you who are fans of that color. There is also a small wreath using the rounded 1x2 plates and some tiles.

Inside is a sleeping area for three elves, a small dresser, a chair, and small table with a light. There is a tile with a sticker above the bed that is a December calendar.

If you watched the designer video earlier or you’ve seen other reviews, you know that you can turn the clock and it causes the bed to tip to the side slightly. Since the elf minifigures are made with the small legs, they do not have stud holes on the backs of their legs so they don’t permanently attach to the bunk beds. Then they all fall out to the floor or the ground floor. Cute? Maybe. Did we really need this? No. Is this an 18+ set or an 8+ set? Or is the intent for families to enjoy this set? My preference would be to spend the extra bricks on details for the set and get away from the play feature. At least that’s what I want out of an 18+ set.

10275_build3a.JPG
10275_build3b.JPG

The fourth set of bags adds the roof, some Christmas lights, a small deck with a telescope, a tree out front, and a pole with directional signage (using stickers). I like the roof design and I think the piece usage is fairly simple to achieve some interesting angles for the build.

While not pictured in this review, you install the light brick at the apex of the roof. There is a Technic axle that you put pressure on which hits the light brick. That then lights up the club house. Most Winter Village sets have a light brick and I think it works with this set too.

This bag comes with an elf with a red megaphone. The elf has a smiling face and then a face that looks like he/she is not quite sure about things.

10275_build4a.JPG
10275_build4b.JPG

The last set of bags adds a chimney that is the height of the roof. It is added in the back of the building on a hinge so you can fold it in or turn it out. There is a small stocking about halfway up. If you watched the designer video, this chimney includes the waffle machine. You insert the 1x1 round printed tiles into the slot, move the 1x4 tile arm, and a waffle piece falls out onto a pan. Then you can tip the pan out to feed an elf. A clever design for playability, but again, an 18+ set? Maybe LEGO has done their research and the 18+ crowd wants playability in the Winter Village theme over design and build features…

The last elf minifigure is in this set of bags. It has a smile one one side and then the other side has eyes closed and mouth open. Maybe the elf is enjoying waffles or singing, or perhaps laughing.

10275_build5a.JPG
10275_build5b.JPG

So that’s it. The pictures below show the full set. It’s not a bad build with some fun techniques, good parts usage, and some good colors. The design isn’t all that thrilling and it seems a bit too much like last year’s Gingerbread House (#10267-1) in that it is a themed house for a group of characters to live in. I think we need to expand the line or call it a day. While it has been a great theme, we seem to be running out of new ideas for different buildings. There have been a few in the fan community via Ideas like a ski lodge or a chalet. We just need LEGO to pick one of these different ideas up.

I’m glad I found the set for $10 off as often these are hard to find on sale. Keep looking or find opportunities to use other methods to get discounts or Gifts with Purchase. If you’re a fan of the Winter Village line and haven’t picked this one up, I wouldn’t be in a huge rush unless you just have to have it for your collection. It was just middle of the road for me.

Happy building!

10275_final1.JPG
10275_final2.JPG

What's on the Front of Your LEGO® Set?

I recently reviewed #60233-1: Donut Shop Opening and I commented that the box did not include the set name when I originally posted the review. I found that to be quite odd as the name of the set is always on the front.

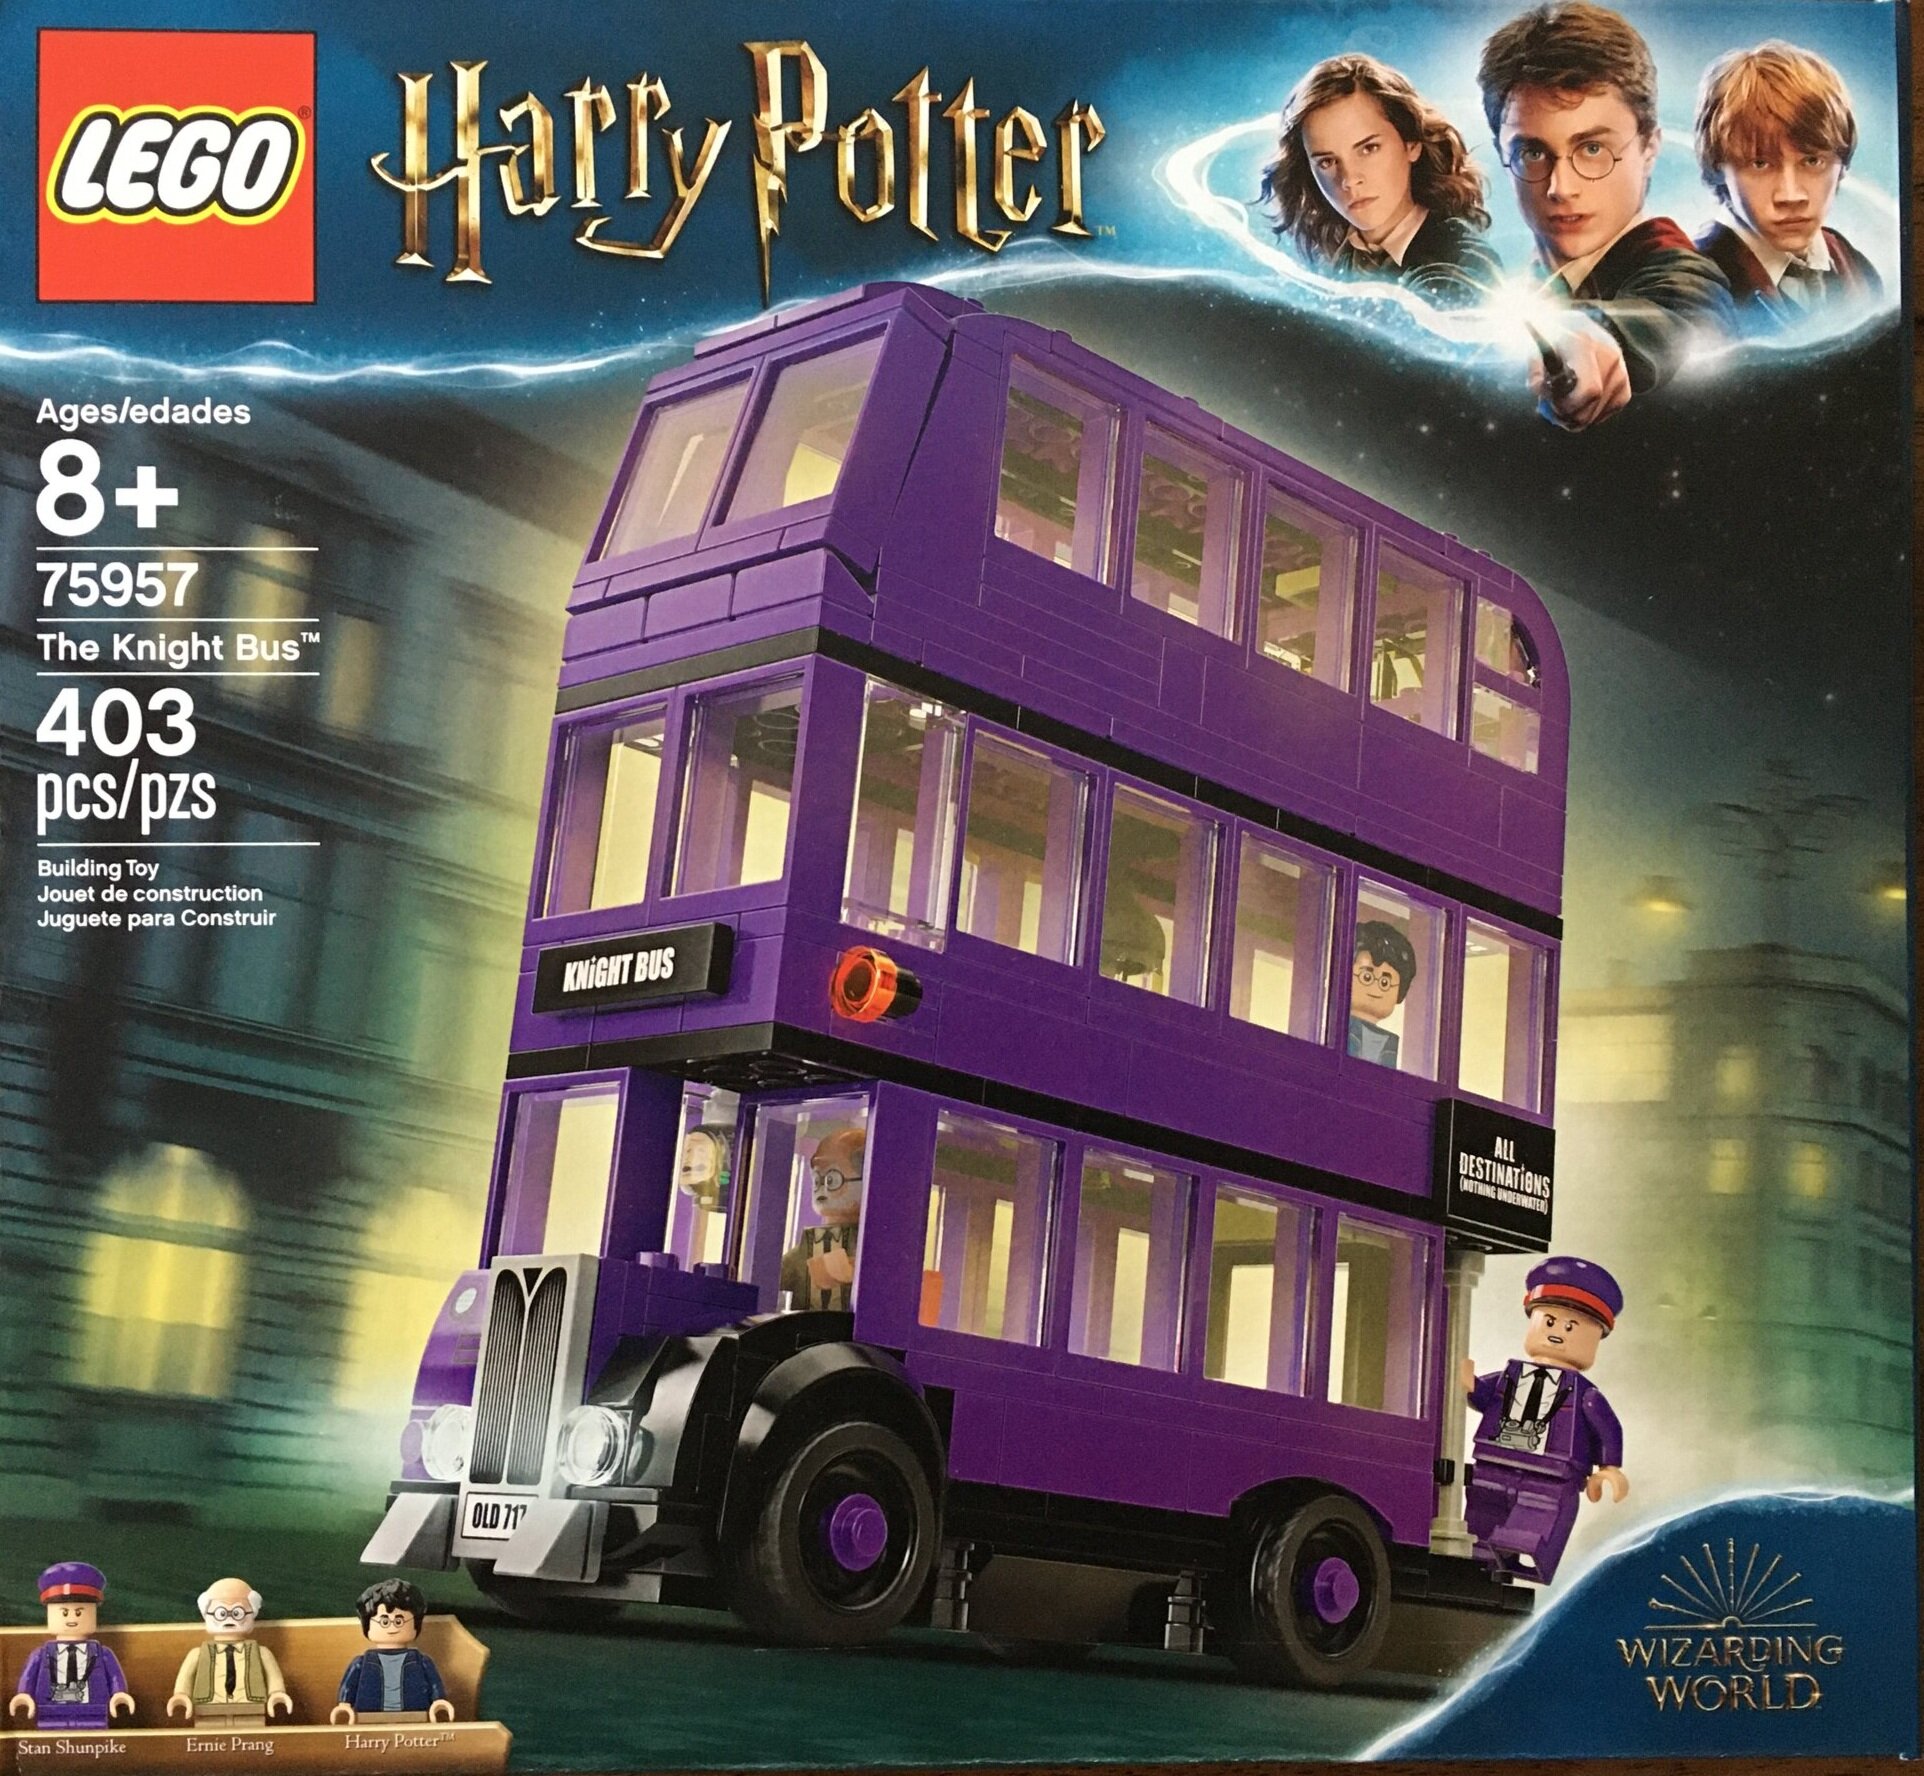
Fast forward a few weeks and I received a shipment from Amazon.com in the US which included #75957-1: The Knight Bus. The box came with a sticker on the left side with the usual information I always see on sets. If you look at the second picture I posted, you can see what it normally looks like. It took me a bit to put it together, but the one on the left was not produced in LEGO’s North America factory. Apparently US sets have all of the information while sets in Europe do not have the name and piece count. Like the #60233-1: Donut Shop Opening set I purchased from Smyth’s in Germany, the set I received from Amazon.com was made elsewhere (Europe or Asia), a sticker was added to meet the US rules, and it was sold at Amazon.com. That must be how LEGO is trying to fix its supply chain with the Mexico factory shut down due to COVID-19.

75957_sticker.jpg
75957_no_sticker.jpg

I have a few sets here that I purchased at Smyth’s in Germany. I wanted to do a check to see if they all were like that. First off, some architecture Skyline sets…

architecture.jpg

For comparison, here are two versions below. The North America versions have the piece count and let you know that it is a building toy. Which if you’ve seen the first LEGO® Movie, you know that it is not a toy. It is “actually a highly sophisticated inter-locking brick system.”

shanghai.jpg
las_vegas.jpg

Here’s #75276-1: StormtrooperTM Helmet purchased from Smyth’s in Germany. In looking it up, the North America version has the piece count and the abbreviation in Spanish. Then it says it is a “Building Set” in English, French, and Spanish.

storm_trooper.jpg

One last one… this one was also purchased from Smyth’s in Germany and it is #10254-1: Winter Village Train. It looks very similar to the North America packaging per what I could see on Brickset.com. The North America version says “Ages/edades” above the 12+. This set picture has pieces abbreviated in English, German, Spanish, and… I’m not sure what “db” is. Anyone? The North America version just says “pcs/pzs.

10254.jpg

So there you go… If you’re in the US, pay attention to any new sets you get to see what the packaging is like. Your set may have traveled a lot farther than you’d think. I haven’t done a deep dive of the instructions or any of the other markings. Has anyone else noticed any differences?

Happy building!

Set Review - #10267-1: Gingerbread House - Creator Expert - Winter Village

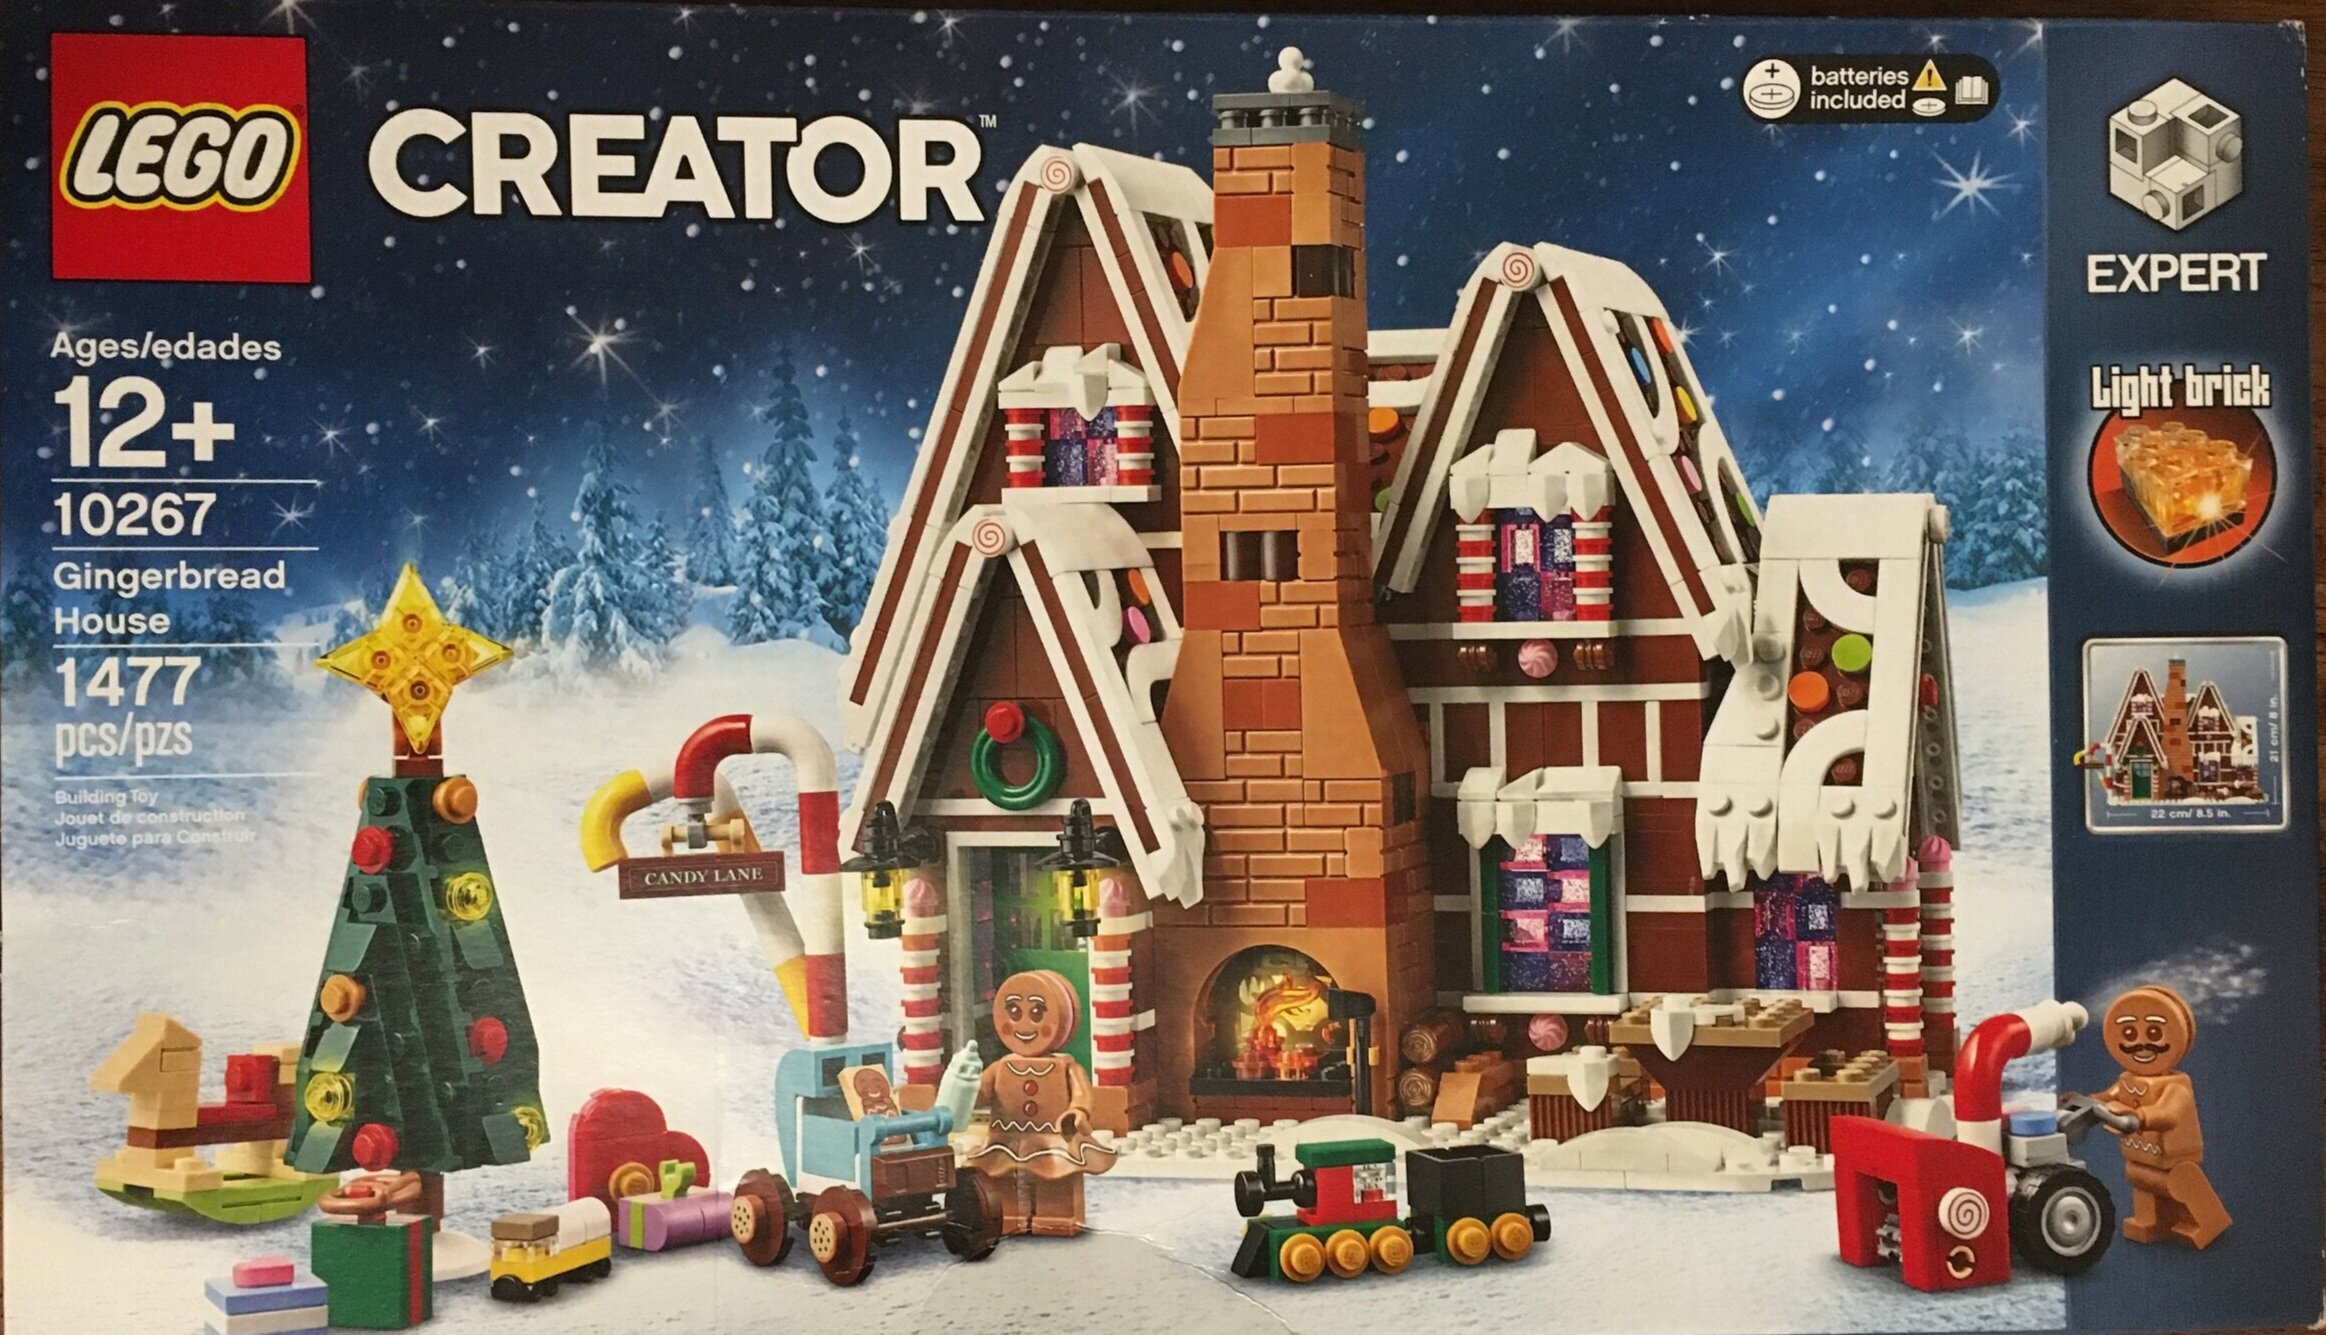
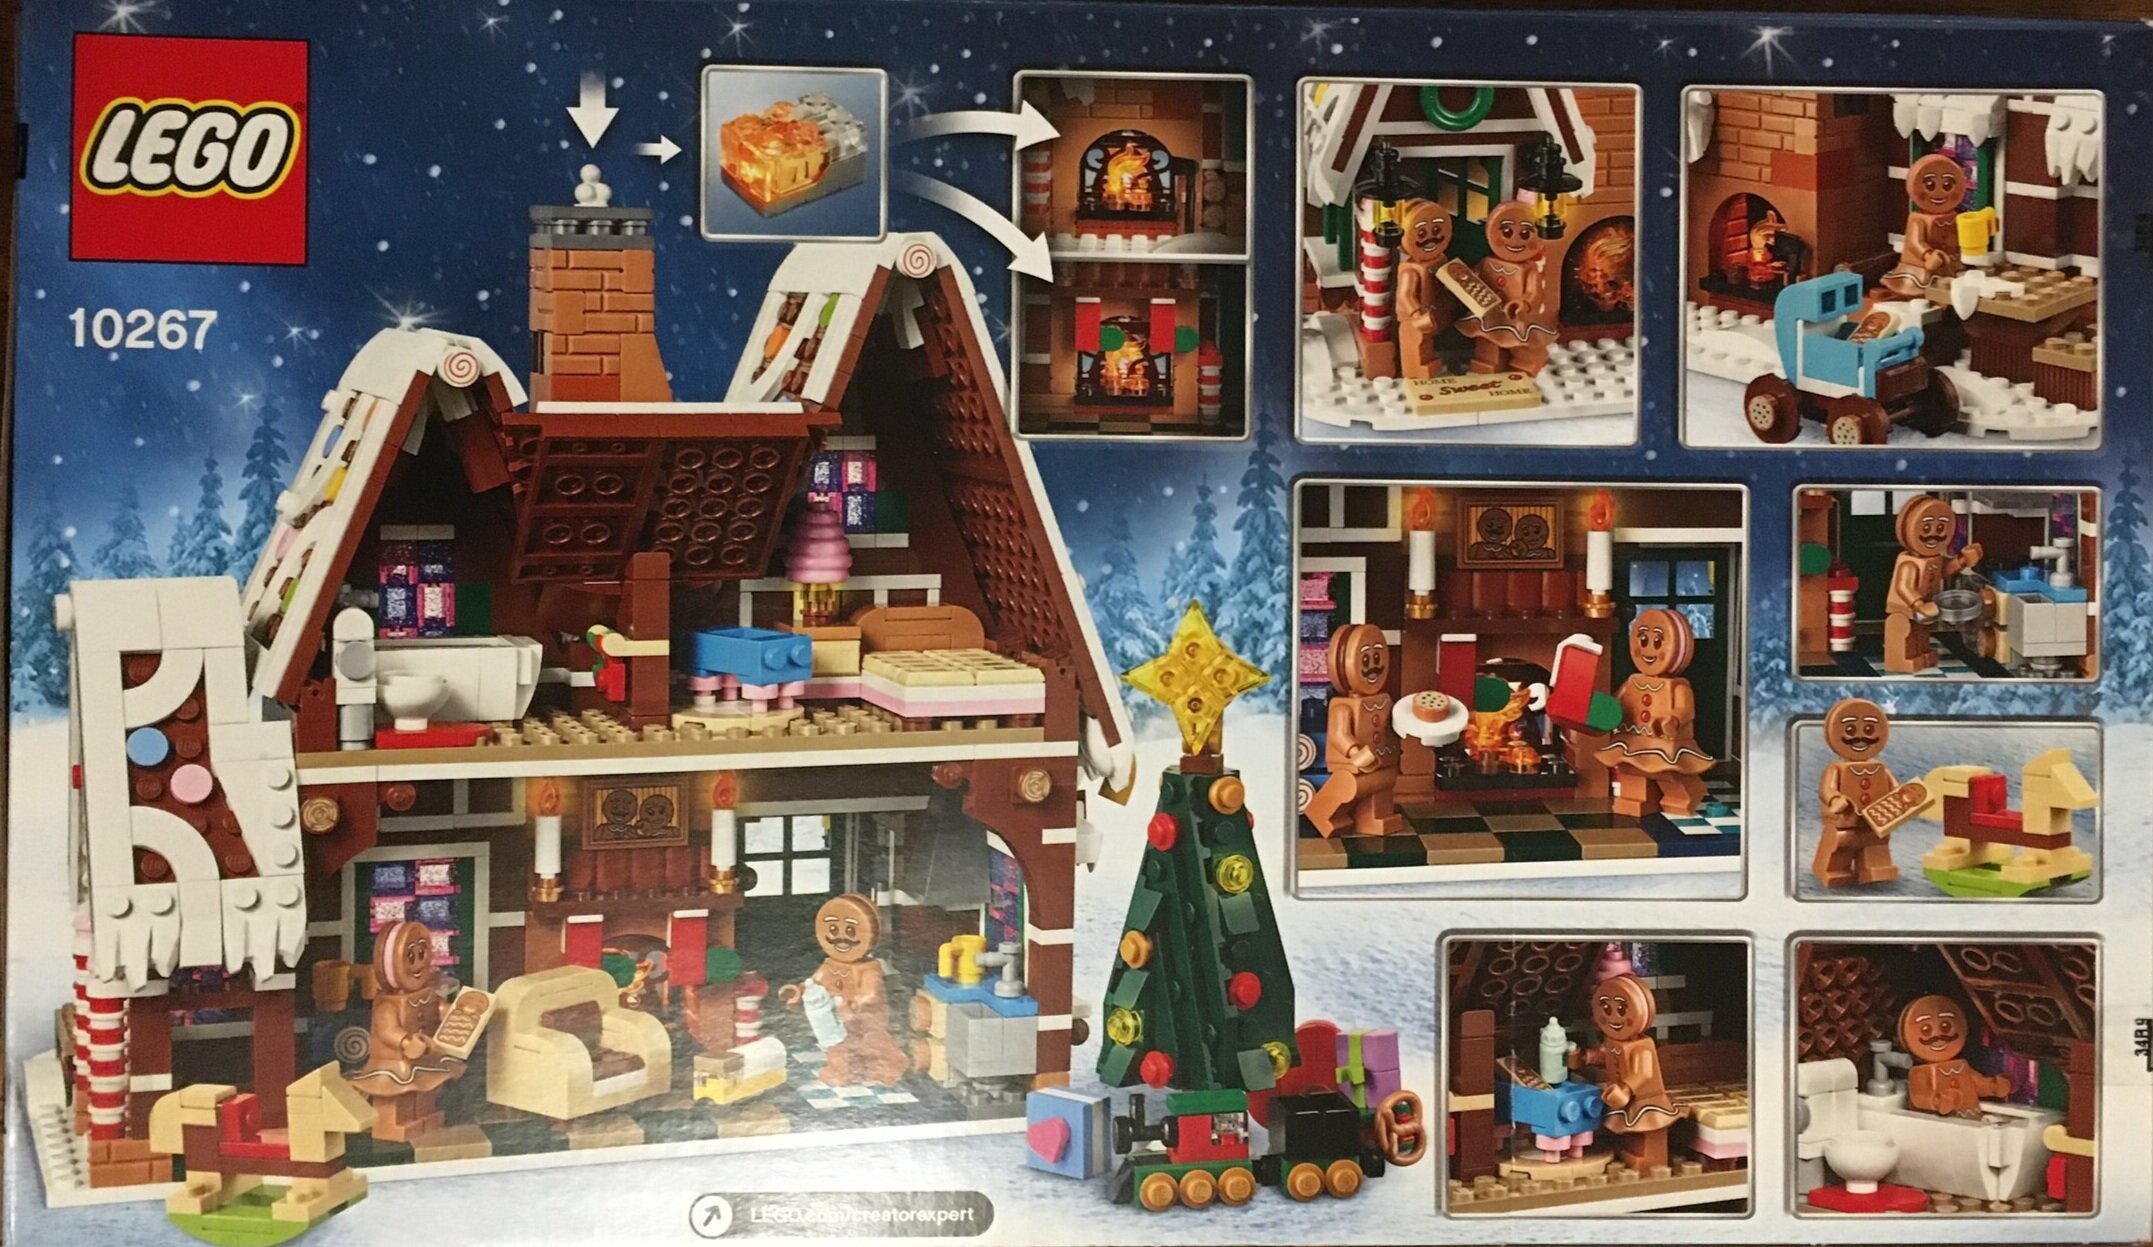
LEGO has a few lines where they repeat the theme at specific times each year. The Winter Village is one of those themes with 2019’s set being released on 1 October 2019. #10267-1: Gingerbread House retails for $99.99 in the US. It contains 1,247 pieces which works out to be $0.068/piece. As of late, LEGO has been discounting these sets at their end of life time period which is usually after 3 years (but not always). You can look for deals at other retailers too so be on the lookout!

Here’s the box. The front of the box shows the full set while the back of the box shows the back of the set and some of the play features. The box also notes that you get a light brick with the set which seems to be pretty standard for the Winter Village buildings.

10267_box_front.jpg
10267_box_back.jpg

The contents are 10 parts bags. The bags are labeled 1 though 5 and there are 2 bags each. You also get a 16x16 white plate. Additionally, there is a sealed package with the instructions and a small sticker sheet. The instructions contain 2 booklets. The first is for the first set of bags and includes everything not attached to the gingerbread house. The second is the build for the house.

I was glad to see a small sticker sheet with only 3 stickers on it. The stickers were also decent sized so I’m glad I didn’t have to put stickers on 1x1 or 1x2 tiles. This set gets the detail by using bricks and printing. Yay!

10267_contents.jpg
10267_instructions.jpg

The first 2 bags build everything not connected to the house. There is a small Christmas tree which has some similarities to last year’s set (#10263-1: Winter Village Fire Station). I like the star on top and the piece they used to create it is pretty cool. I’m not sure if it is new or not, but I hope to see it again.

The two minifigures are in this bag too. From what I recall, the gingerbread man first appeared back in the Series 11 Collectible Minifigures set. Is that from 2013? Now we get two different versions. The male version has a mustache and the female has a skirt on. There is also a 1x2 tile for the baby. Along with the baby is a bottle about the size of the baby and you build a small carriage with cookie wheels to push the baby around in.

There is a snow blower which is cleverly designed and it looks like it could be candy made.

10267_build1.jpg

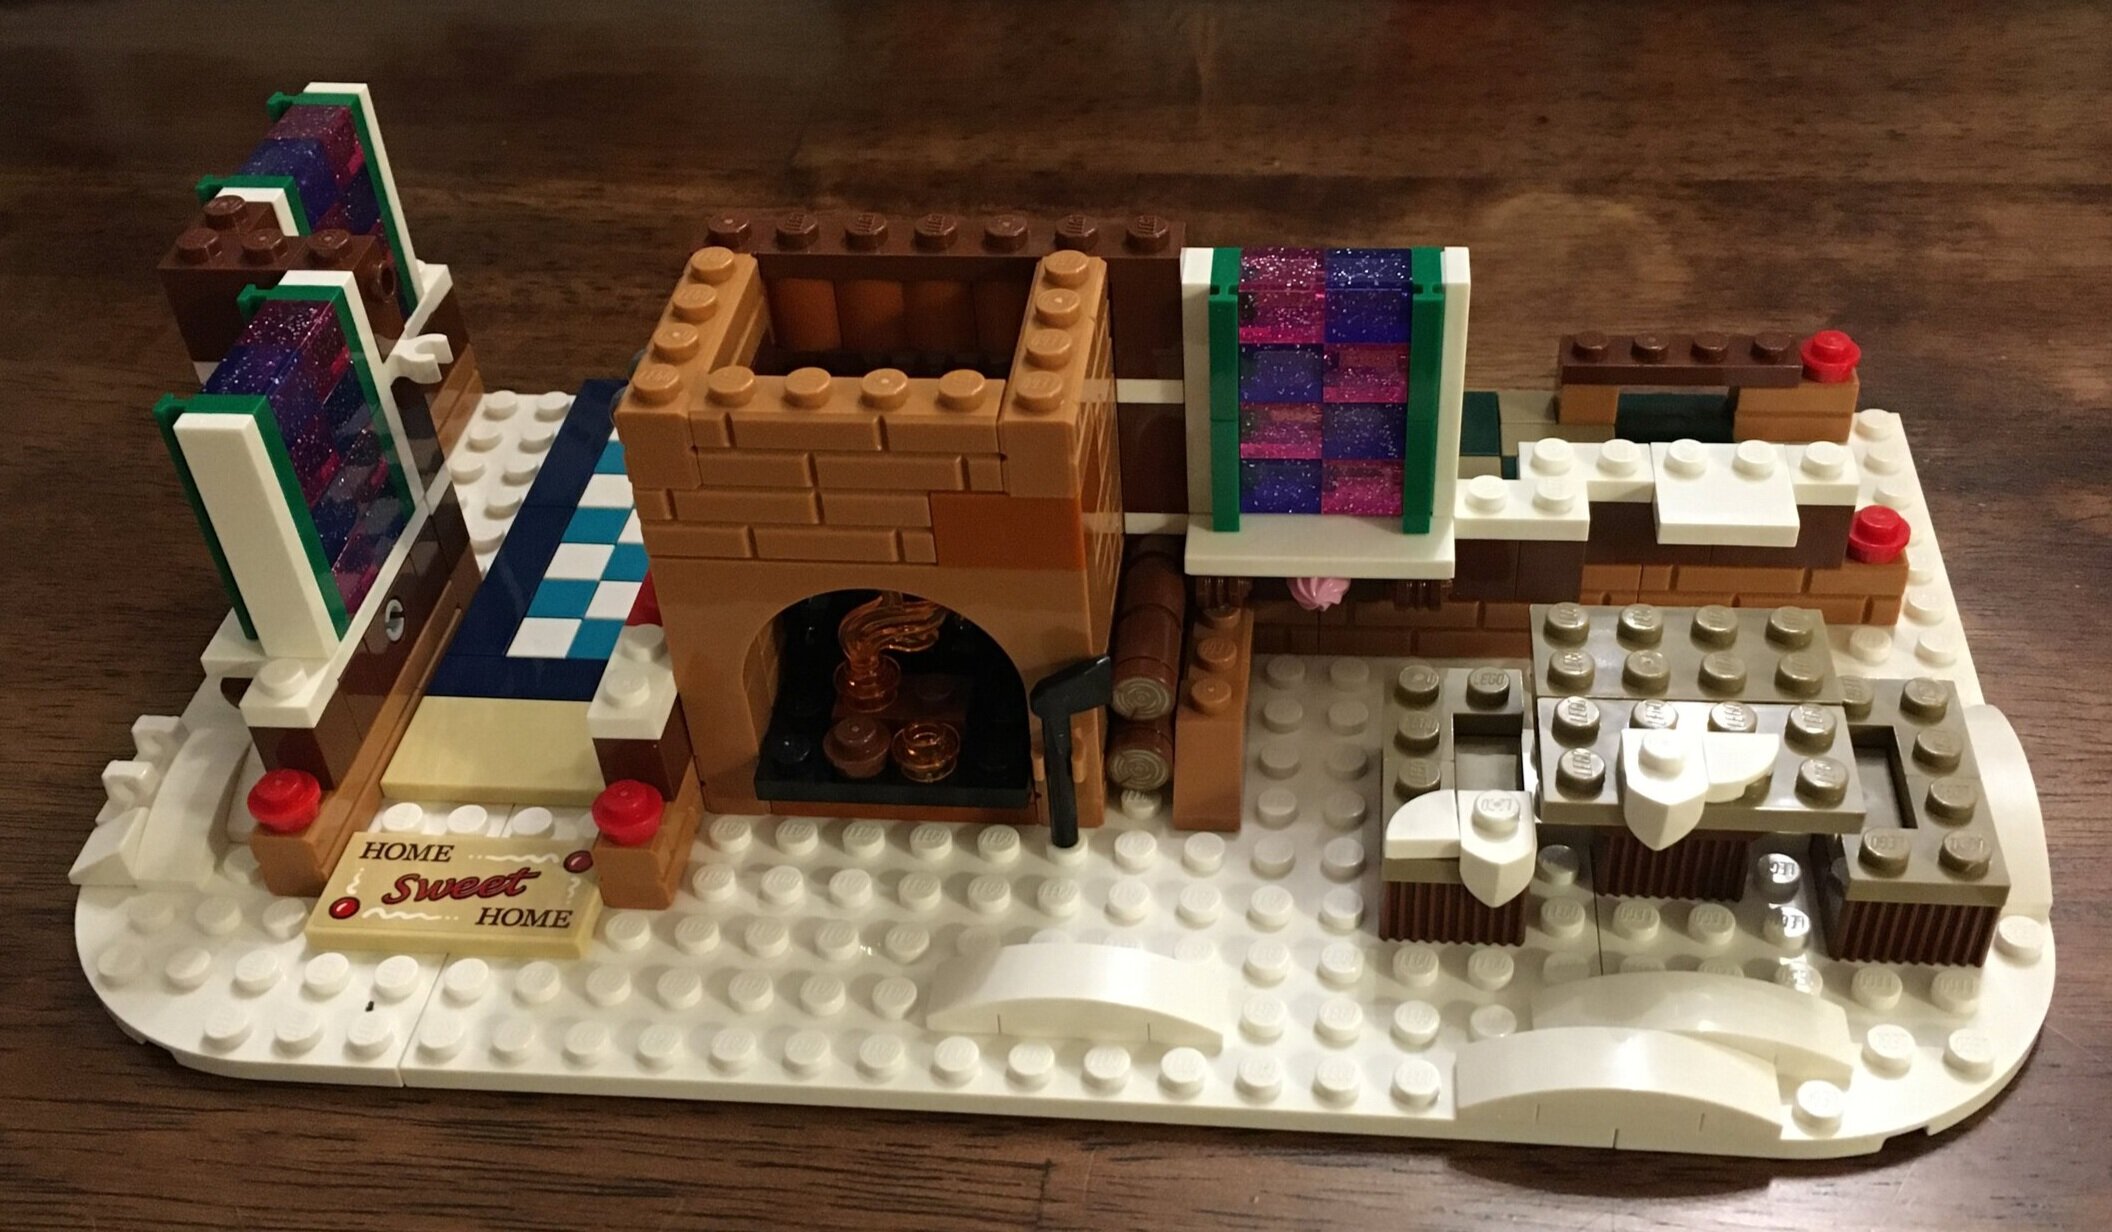
The second set of bags starts the actual gingerbread house. The floor has some great tiling work. I’m also a big fan of the translucent, sparkled 1x1 bricks for the windows. I always like the 1x2 or 1x4 bricks with the brick texture on them. No complaints thus far in the build.

10267_build2a.jpg
10267_build2b.jpg

The third set of bags finishes up the first floor of the house. The fireplace reaches through the front of the house and into the first floor. I’m not sure I’m a fan of this, but I’m guessing it is so you can show the light brick on the inside and the outside. The inside has some good details to include a little kitchen, some furniture, and some decorations. Given the small space, I think the designers did a good job at making sure it was detailed without going overkill on details.

10267_build3a.jpg
10267_build3b.jpg

The fourth set of bags builds up the second floor. The use of white tiles and bricks to make the roofs look frosted is cool along with the 1x1 round tiles to make is seem like there are candies as well. You can see the bathtub and the start of the bathroom on the interior of the second floor in this bag too.

10267_build4a.jpg
10267_build4b.jpg

The fifth set of bags finishes off the house. The roof is completed and the upstairs details are completed. I’m a fan of the multiple slopes on the roof versus just one slope. The use of many angles makes it look more like a house.

The interior details include a lamp, a bed, the crib, the rest of the bathroom, and the toilet. Again, great use of parts to maintain the candy feel while adding details.

10267_build5a.jpg
10267_build5b.jpg

Here’s the final picture with everything from the set. Overall, I like this set and I think it was worth the price they set on it. It was a good build with some interesting techniques and some great pieces. The minifigures are fun and this set fits well within the Winter Village sub-theme.

Downsides to the set… I would prefer the full building versus just a half. I realize it would drive up the price or cut down on the detailing, but the builds limit how you can display the sets. Everything has to face one direction or you have to build your thoughts for the rest of the set on your own.

If you’re a fan of the Winter Village sub-theme, I recommend picking this set up. Look for opportunities to get it on sale or to get double VIP points or other bonuses if it is not on sale.

Happy building!

10267_final.jpg

Set Review - #10263-1 - Winter Village Fire Station - Creator Expert

The 2018 Winter Village set was released on 2 October 2018. It’s a fire station and adds to the line of sets that started back in 2009. This is the 10th set in the line. This year, the set is 1,166 pieces and retails at $99.99 in the US. This puts it at $0.086 per piece which is pretty decent. It’s slightly less than last year’s set ($0.089 and keep in mind that the set includes a light brick which is probably more expensive to put together).

You can see my review of the 2017 set Winter Village Train Station here.

Here is the box. Like many sets, the front shows the whole set while the back shows some of the set features.

10263_front.jpg
10263_back.jpg

The set contents are 3 sets of bags, the two instruction booklets in a bag with the sticker sheet, and a piece separator (in the first set of bags).

10263_contents.jpg

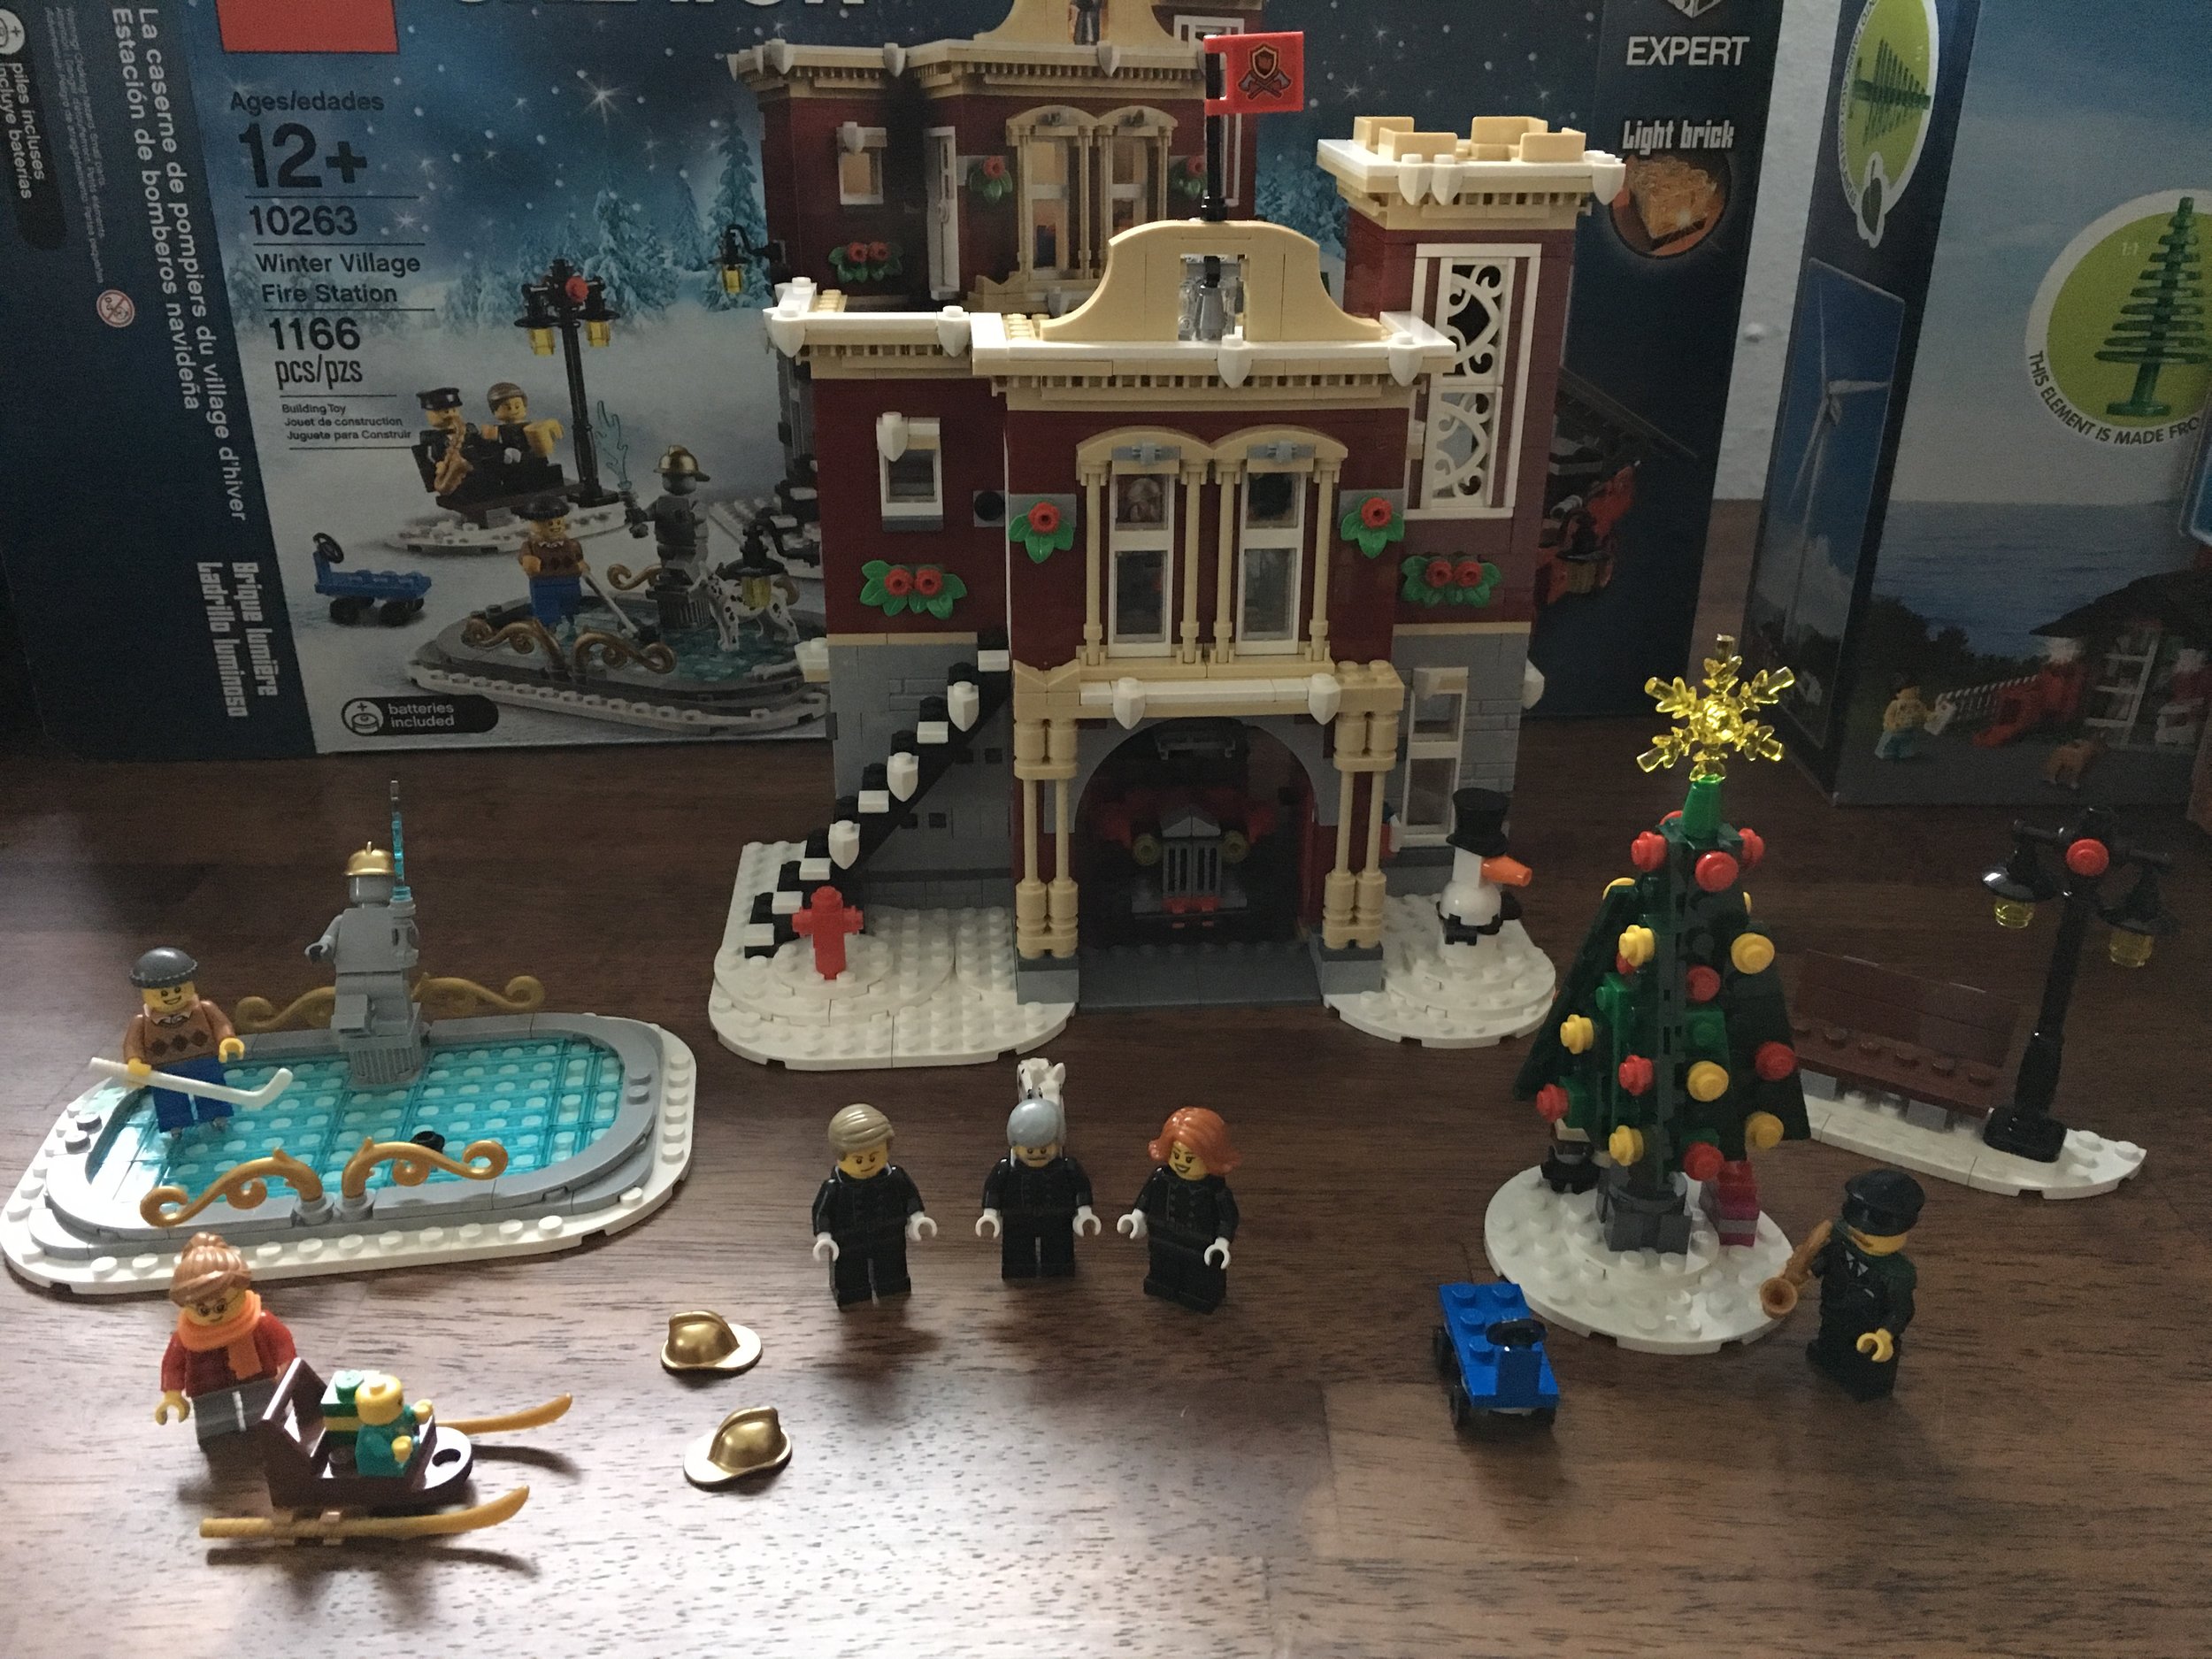
The first set of bags builds what I will call the accessories. It includes a bench with a lamp post, a Christmas tree with some gifts, an ice skating rink, the fire truck, and a sled. The Christmas tree design is one that I have not seen before. It’s better than just throwing in a one piece molded tree, but I think it misses out on some of the realism of branches that can be created using LEGO bricks. The ice rink includes a hockey player with a hockey stick on the ice. The skating area is rather small and it includes a fireman statue. The fire truck does not have a ton of detail, but it fits into the theme of vehicles used in previous Winter Village sets. This bag includes 2 fire fighters. There is a female and a male and they each come with a hair piece and a helmet. And don’t forget the fire dog! In my opinion, the stickers on the fire truck were a pain. I always find it challenging to put a sticker on a 1x2 tile or on the 1x2 cheese slope. I find it hard to get the sticker exactly centered on the tile part. I’d rather have bigger stickers on bigger pieces and printed small tiles or cheese slopes. Finally the sled includes some gifts and there is a baby minifigure with a gift on his/her shirt to ride on it. The set shows a girl minifigure along with the sled.

10263_bag1.jpg

The second set of bags completes the first floor of the fire station. As you can see, the front includes a fire hydrant and a snowman. The main doors on the first floor open in to allow the fire truck to drive in or out. There are stairs leading up to the second floor that have some white pieces attached to show the poor shoveling job that was done. Like the rest of the Winter Village theme, the back is not completed (something for you to do on your own). The truck is longer than the building itself. The back does show you some of the items in storage to include another helmet, an ax and a pick, fire extinguishers, and a clock. This set of parts bags includes a saxophone playing minifigure to… I’m not sure how he fits in.

10263_bag2a.jpg
10263_bag2b.jpg

The third set of bags completes the build and adds the second floor and roof. It also includes another fire fighter. From the front, you can see the station is covered in some Christmas decorations of greenery with red. The tower above the fire pole slide area has a pretty cool design on the front and right sides. The building also has some snow along the edges. Looking inside you can see a small kitchenette with a coffee maker, stove top, and sink to help cook the hot dogs you can have with your coffee. There’s an old school red phone to get calls and a radio installed into the wall. A fold up bed is attached to the wall (the bed uses a sticker for the pillow and sheets… really?). Under the bed is a play area and a dog bone for the fire dog. The living quarters also include a table with 2 chairs.

10263_bag3a.jpg

The top of the building has a flag (with stickers to attach) and a slot for you to attach the light brick. The light brick really only lights up the front two windows and in my mind doesn’t do much for the set.

10263_bag3b.jpg
10263_bag3c.jpg

Here’s a view of the final product. I got it during double VIP points so I got some benefit, but it was not on sale. These sets typically go on sale only at the end of their shelf life so you’ll have to wait at least 2 years on this one if you want to get it on sale. Overall, I think this set fits into the Winter Village line very well. We’ve had a toy shop, a bakery, a post office, and others and a fire station is a great addition. This set has a lot of play built in and the accessories go well with the rest of the theme.

If you’ve been sucked in like me to this theme, definitely pick this set up. Wait for double VIP points or for when there is a cool free set for buying a specific amount. At $99.99, this set should put you at the right place to get whatever set is being offered.

Happy building!

10263_final.jpg

Set Review - #10259 - Winter Village Station

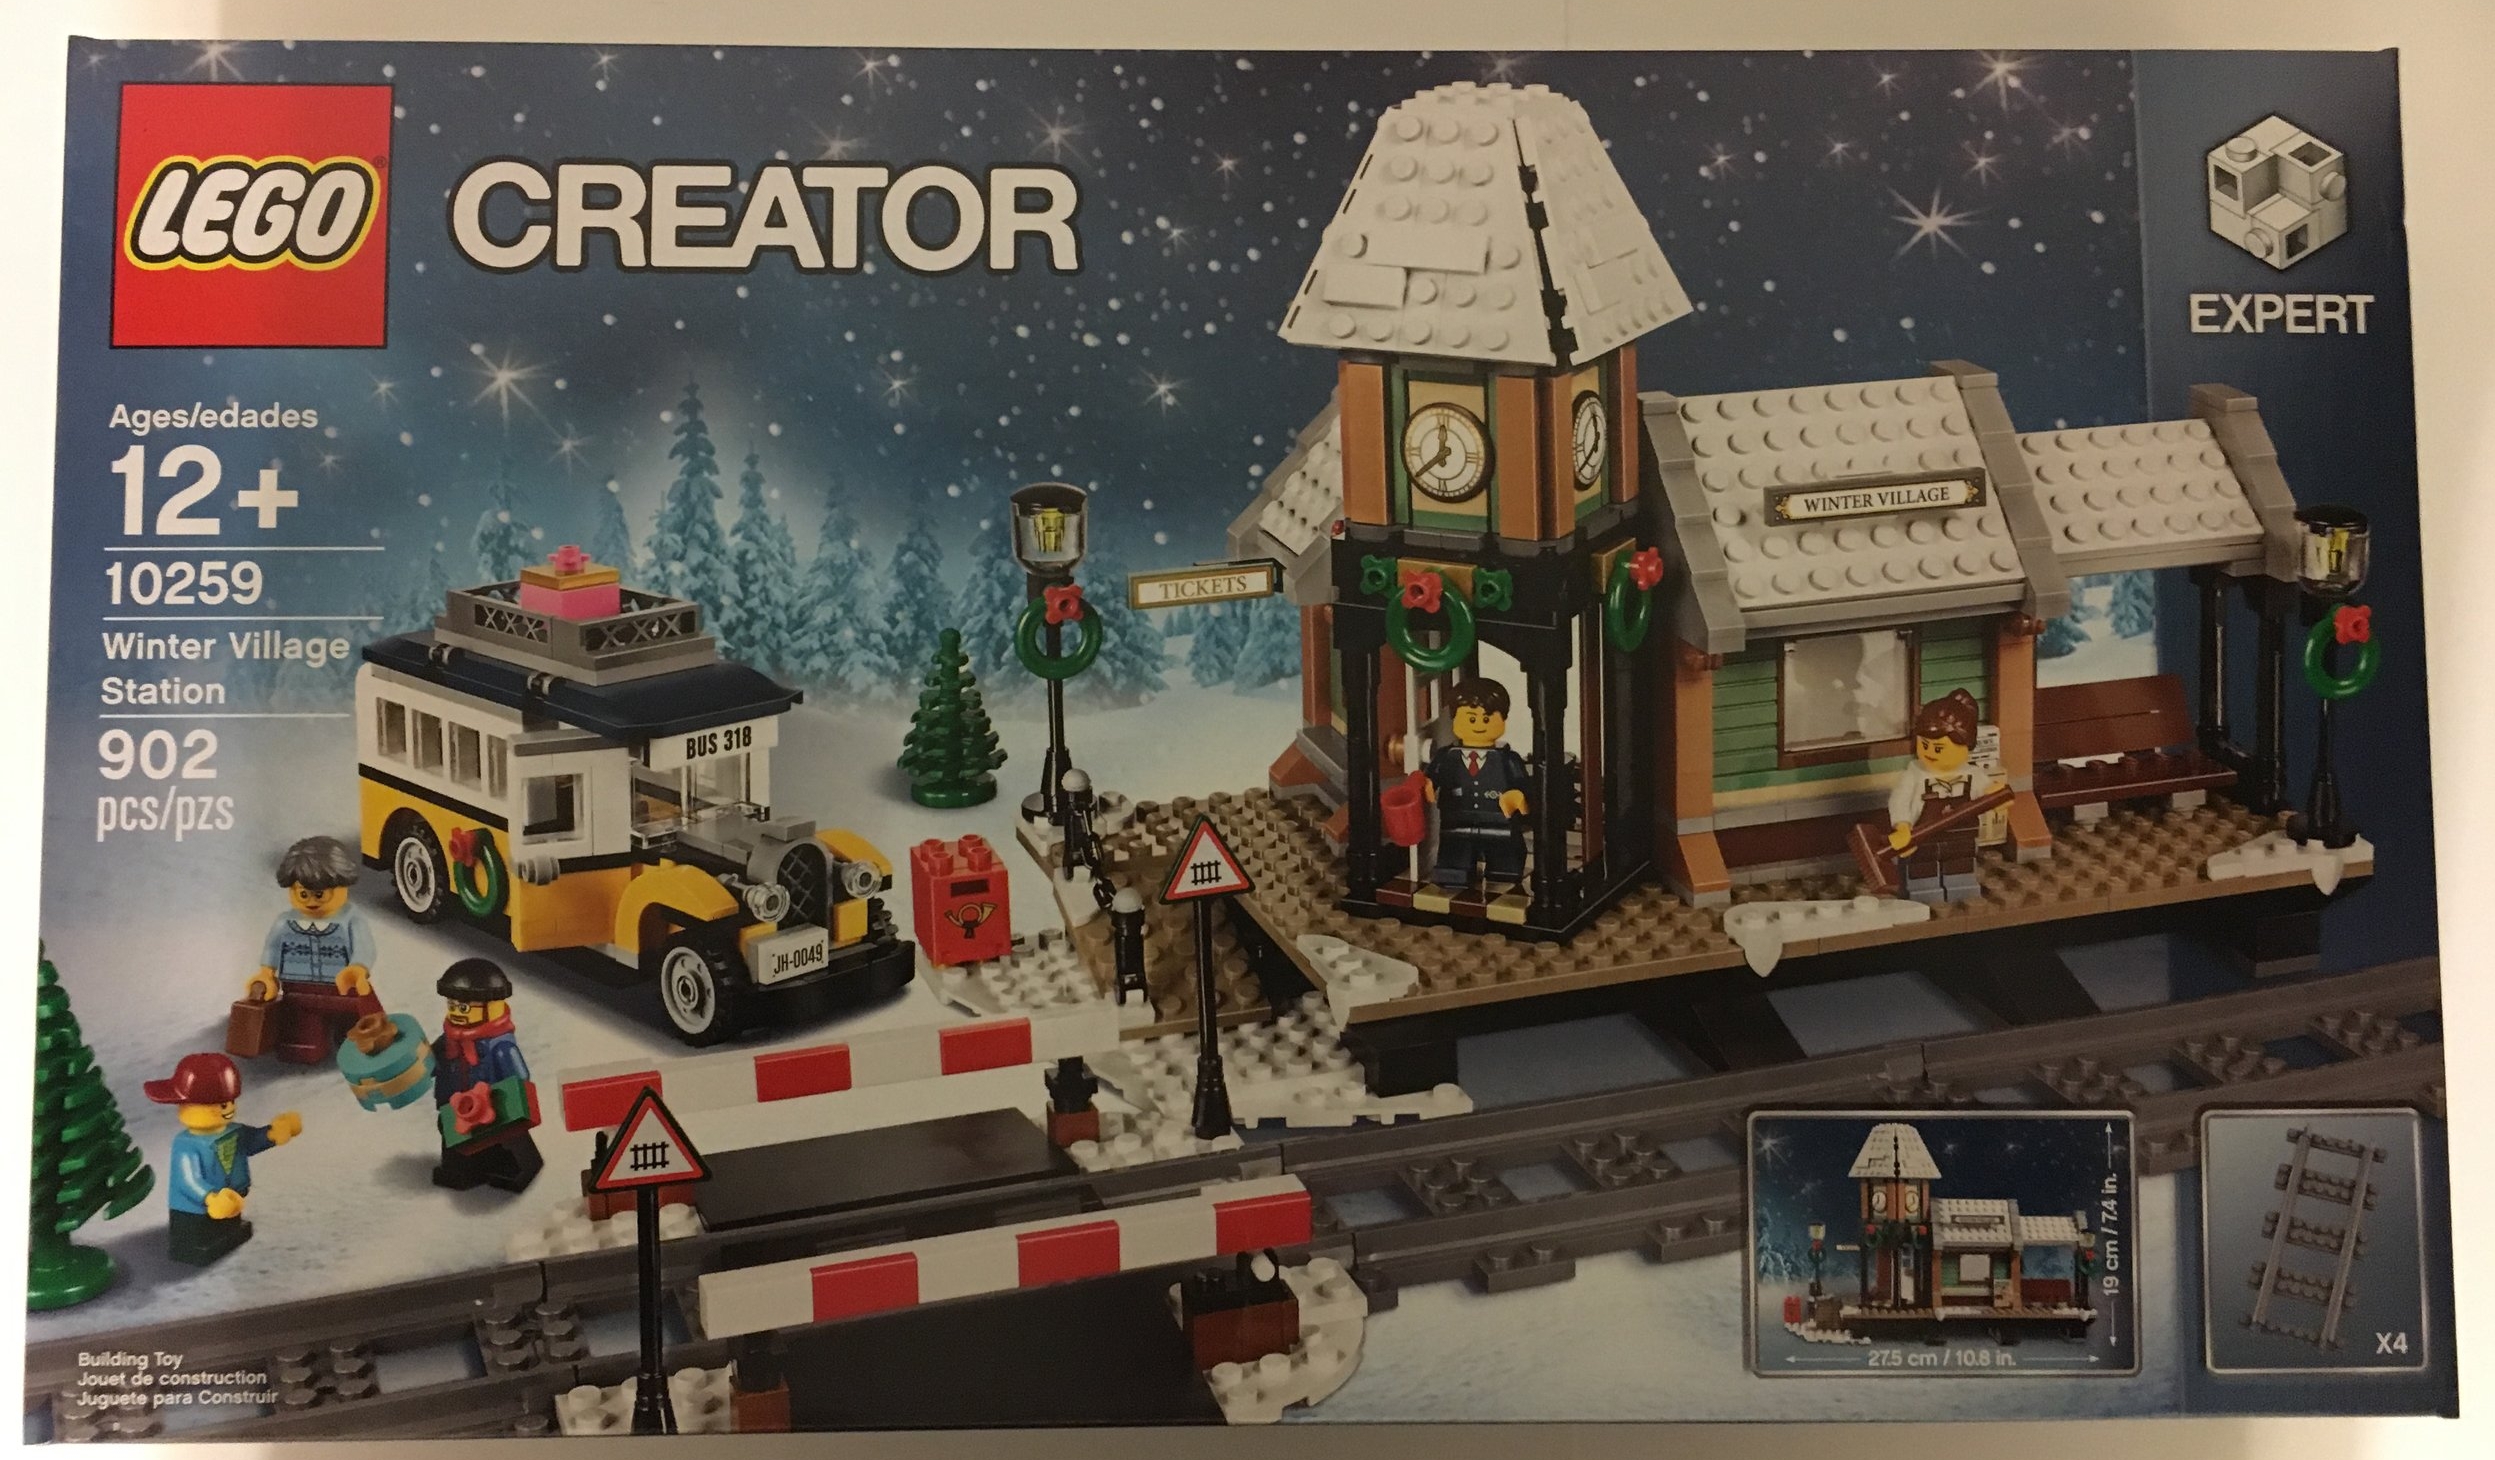
In this politically correct world that we live in, you can't call it Christmas, but that's what this set and the theme that it belongs to is all about.  The Winter Village Station is part of a the Winter Village line that started a few years back.  It's listed under the Creator Expert theme, but really could be considered its own theme.  This set was released in the US on 1 October 2017 and is meant to go with last years set the Winter Holiday Train (#10254-1).  This set contains 902 pieces.  It retails for $79.99 in the US which works out to $0.089 per piece.  This isn't too bad and these sets often don't go on sale too often, but you can wait to see if Amazon or LEGO Shop@Home does a sale on them at some point.  

I'm a big fan of this theme although I didn't like the Winter Holiday Train as a LEGO Train fan.  I was hoping LEGO would release a train along the line of the Emerald Night or the Maersk Train.  This set seems better to let's see how it goes...

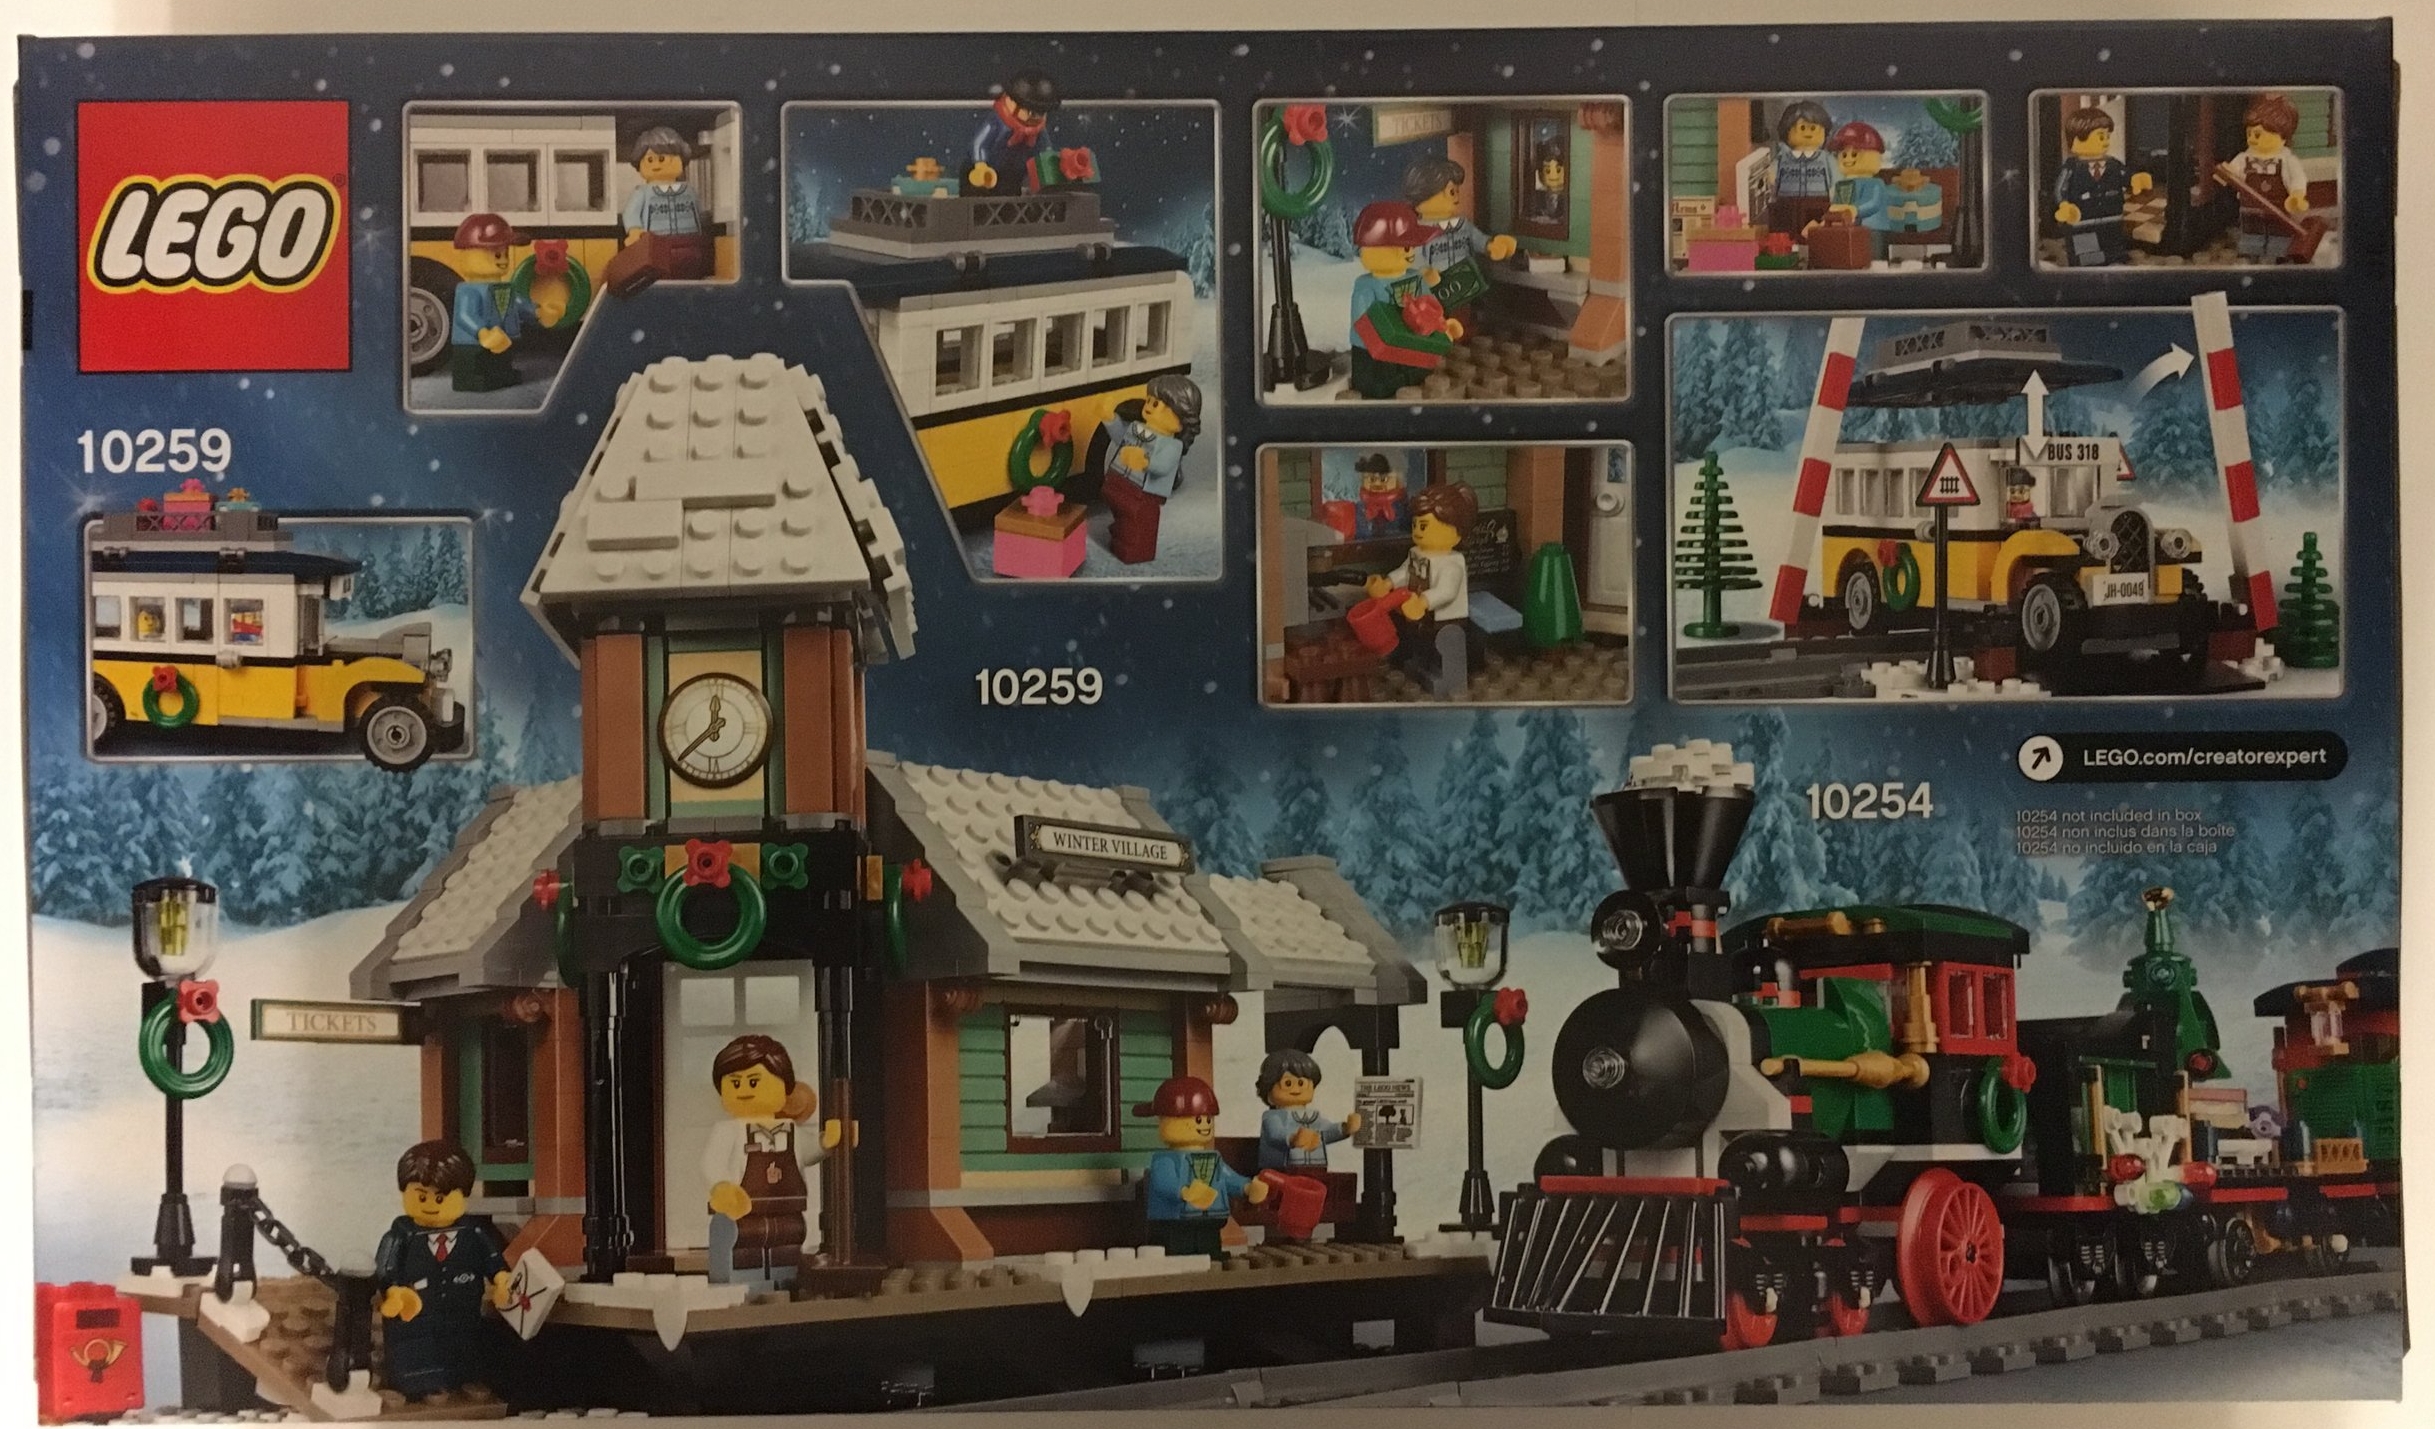
Here is the box.  Nothing out of the ordinary here.  It shows what the set looks like with the Winter Holiday Train on the back.  It might work for advertising, but it doesn't work for me.

10259_boxfront.jpg
10259_boxback.jpg

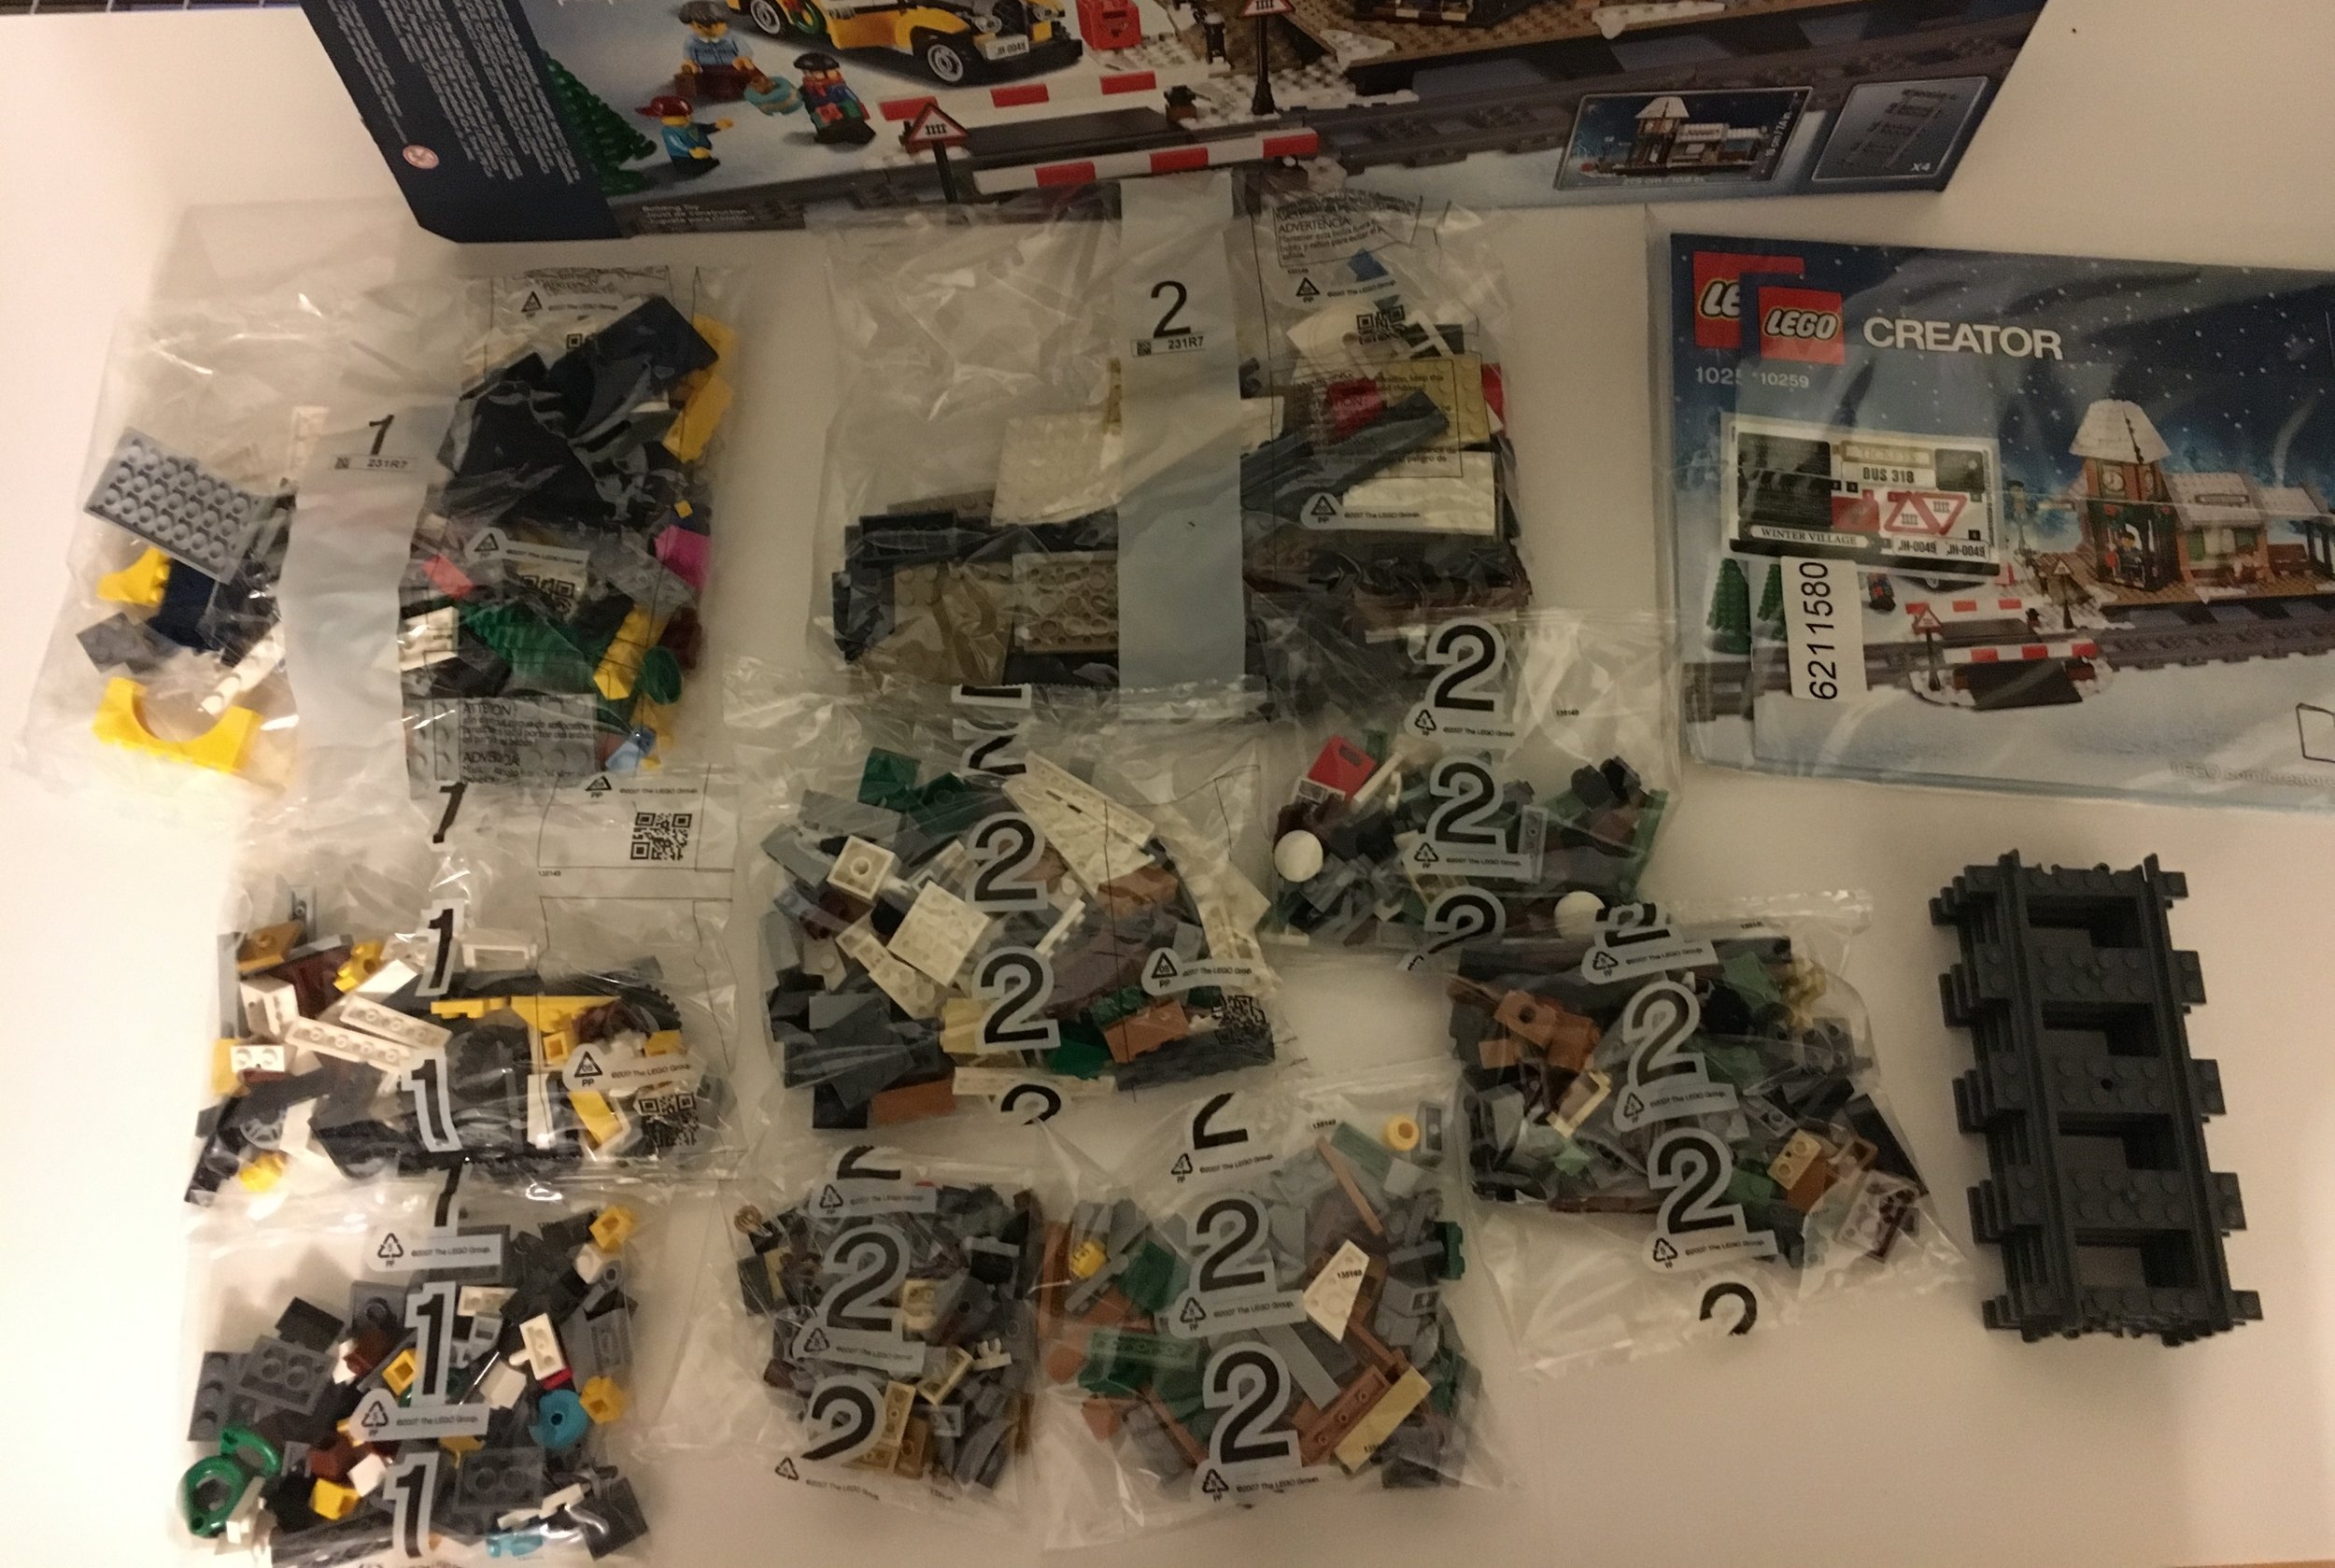
The contents are 9 bags split into 2 sets.  It also includes 2 instruction booklets that are sealed up along with a small sheet of stickers.  The set adds 4 pieces of straight track as well.

10259_contents.jpg

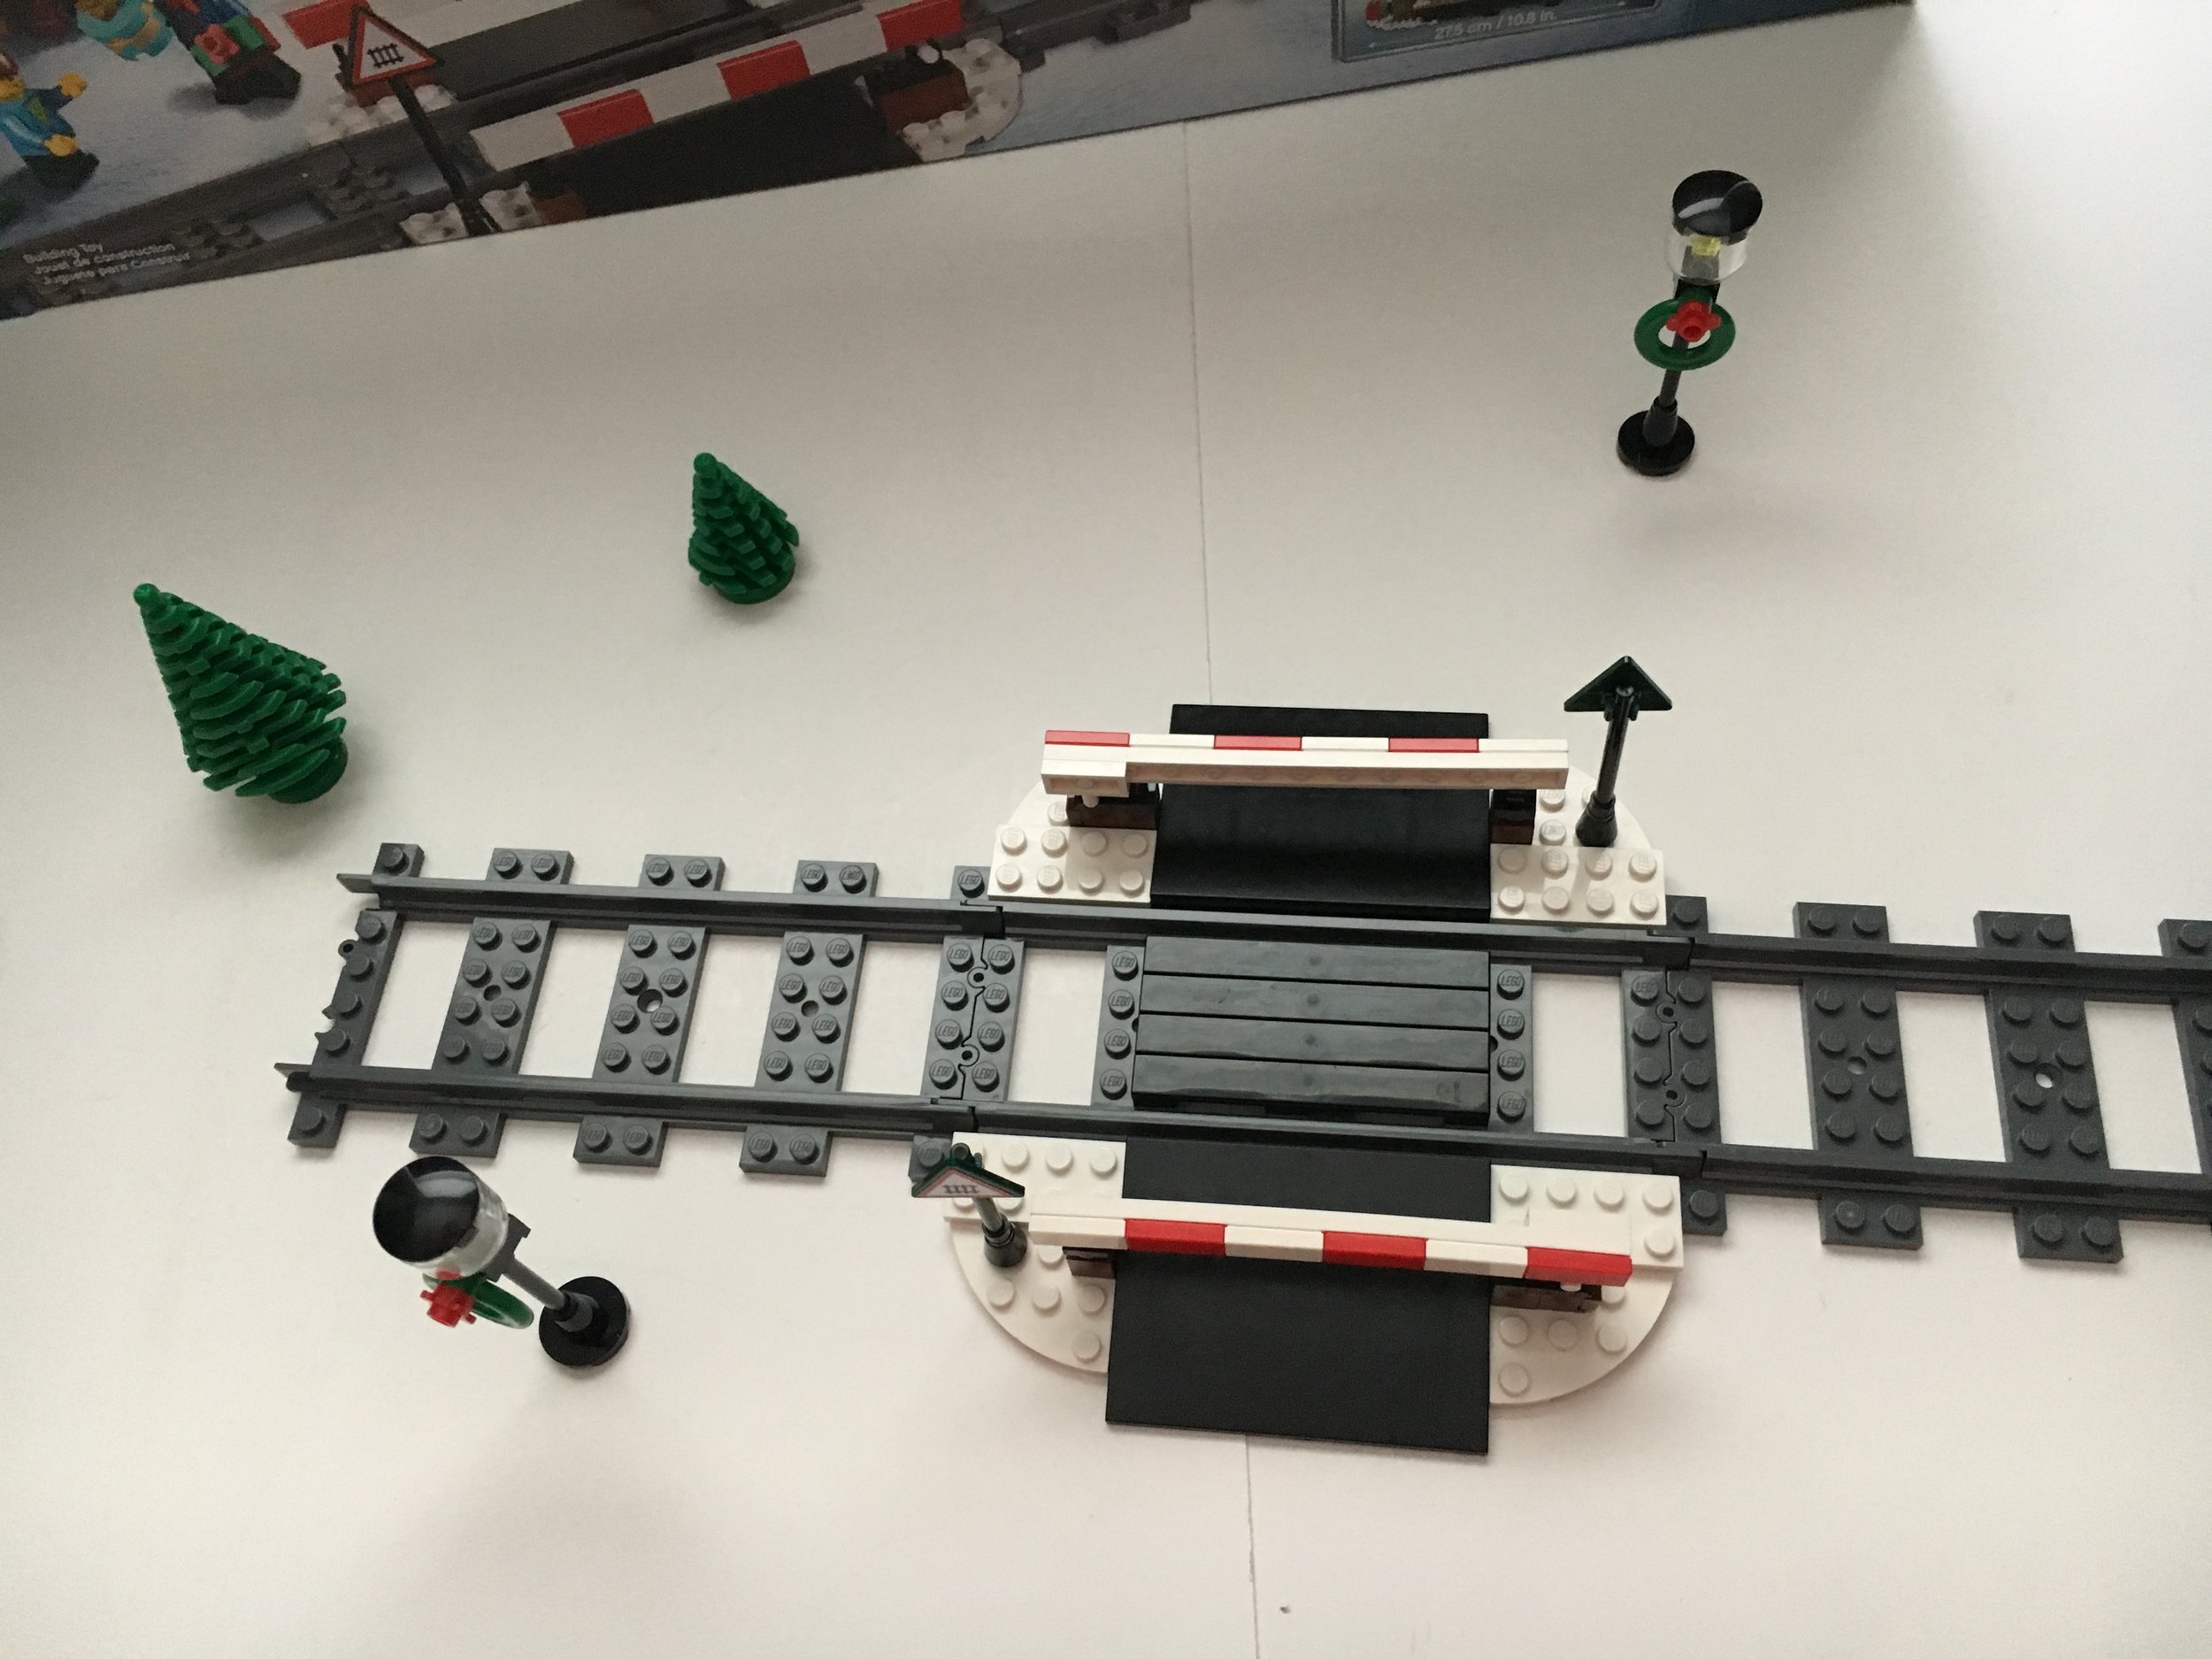
The first part of the first set of bags includes the track, a level crossing, 2 trees, and 2 street lamps with wreaths on them.  There isn't anything too out of the ordinary from this part of the build.

10259_track.jpg

The second part of the build is the bus.  This vehicle falls in line with the style of other vehicles seen in previous Winter Village sets like the postal vehicle in 10222 Winter Village Post Office and the snow plow in 10229 Winter Village Cottage.  The top is removed easily to insert passengers and there are 3 seats for passengers and a seat for the driver.  As you can see, there is space on top for luggage storage or in this case some colorful presents.  While I like the design and look of the vehicle, the child minifigures don't fit well in this vehicle to include the boy that comes with this set.  Kids stand while riding I guess.

10259_bus.jpg

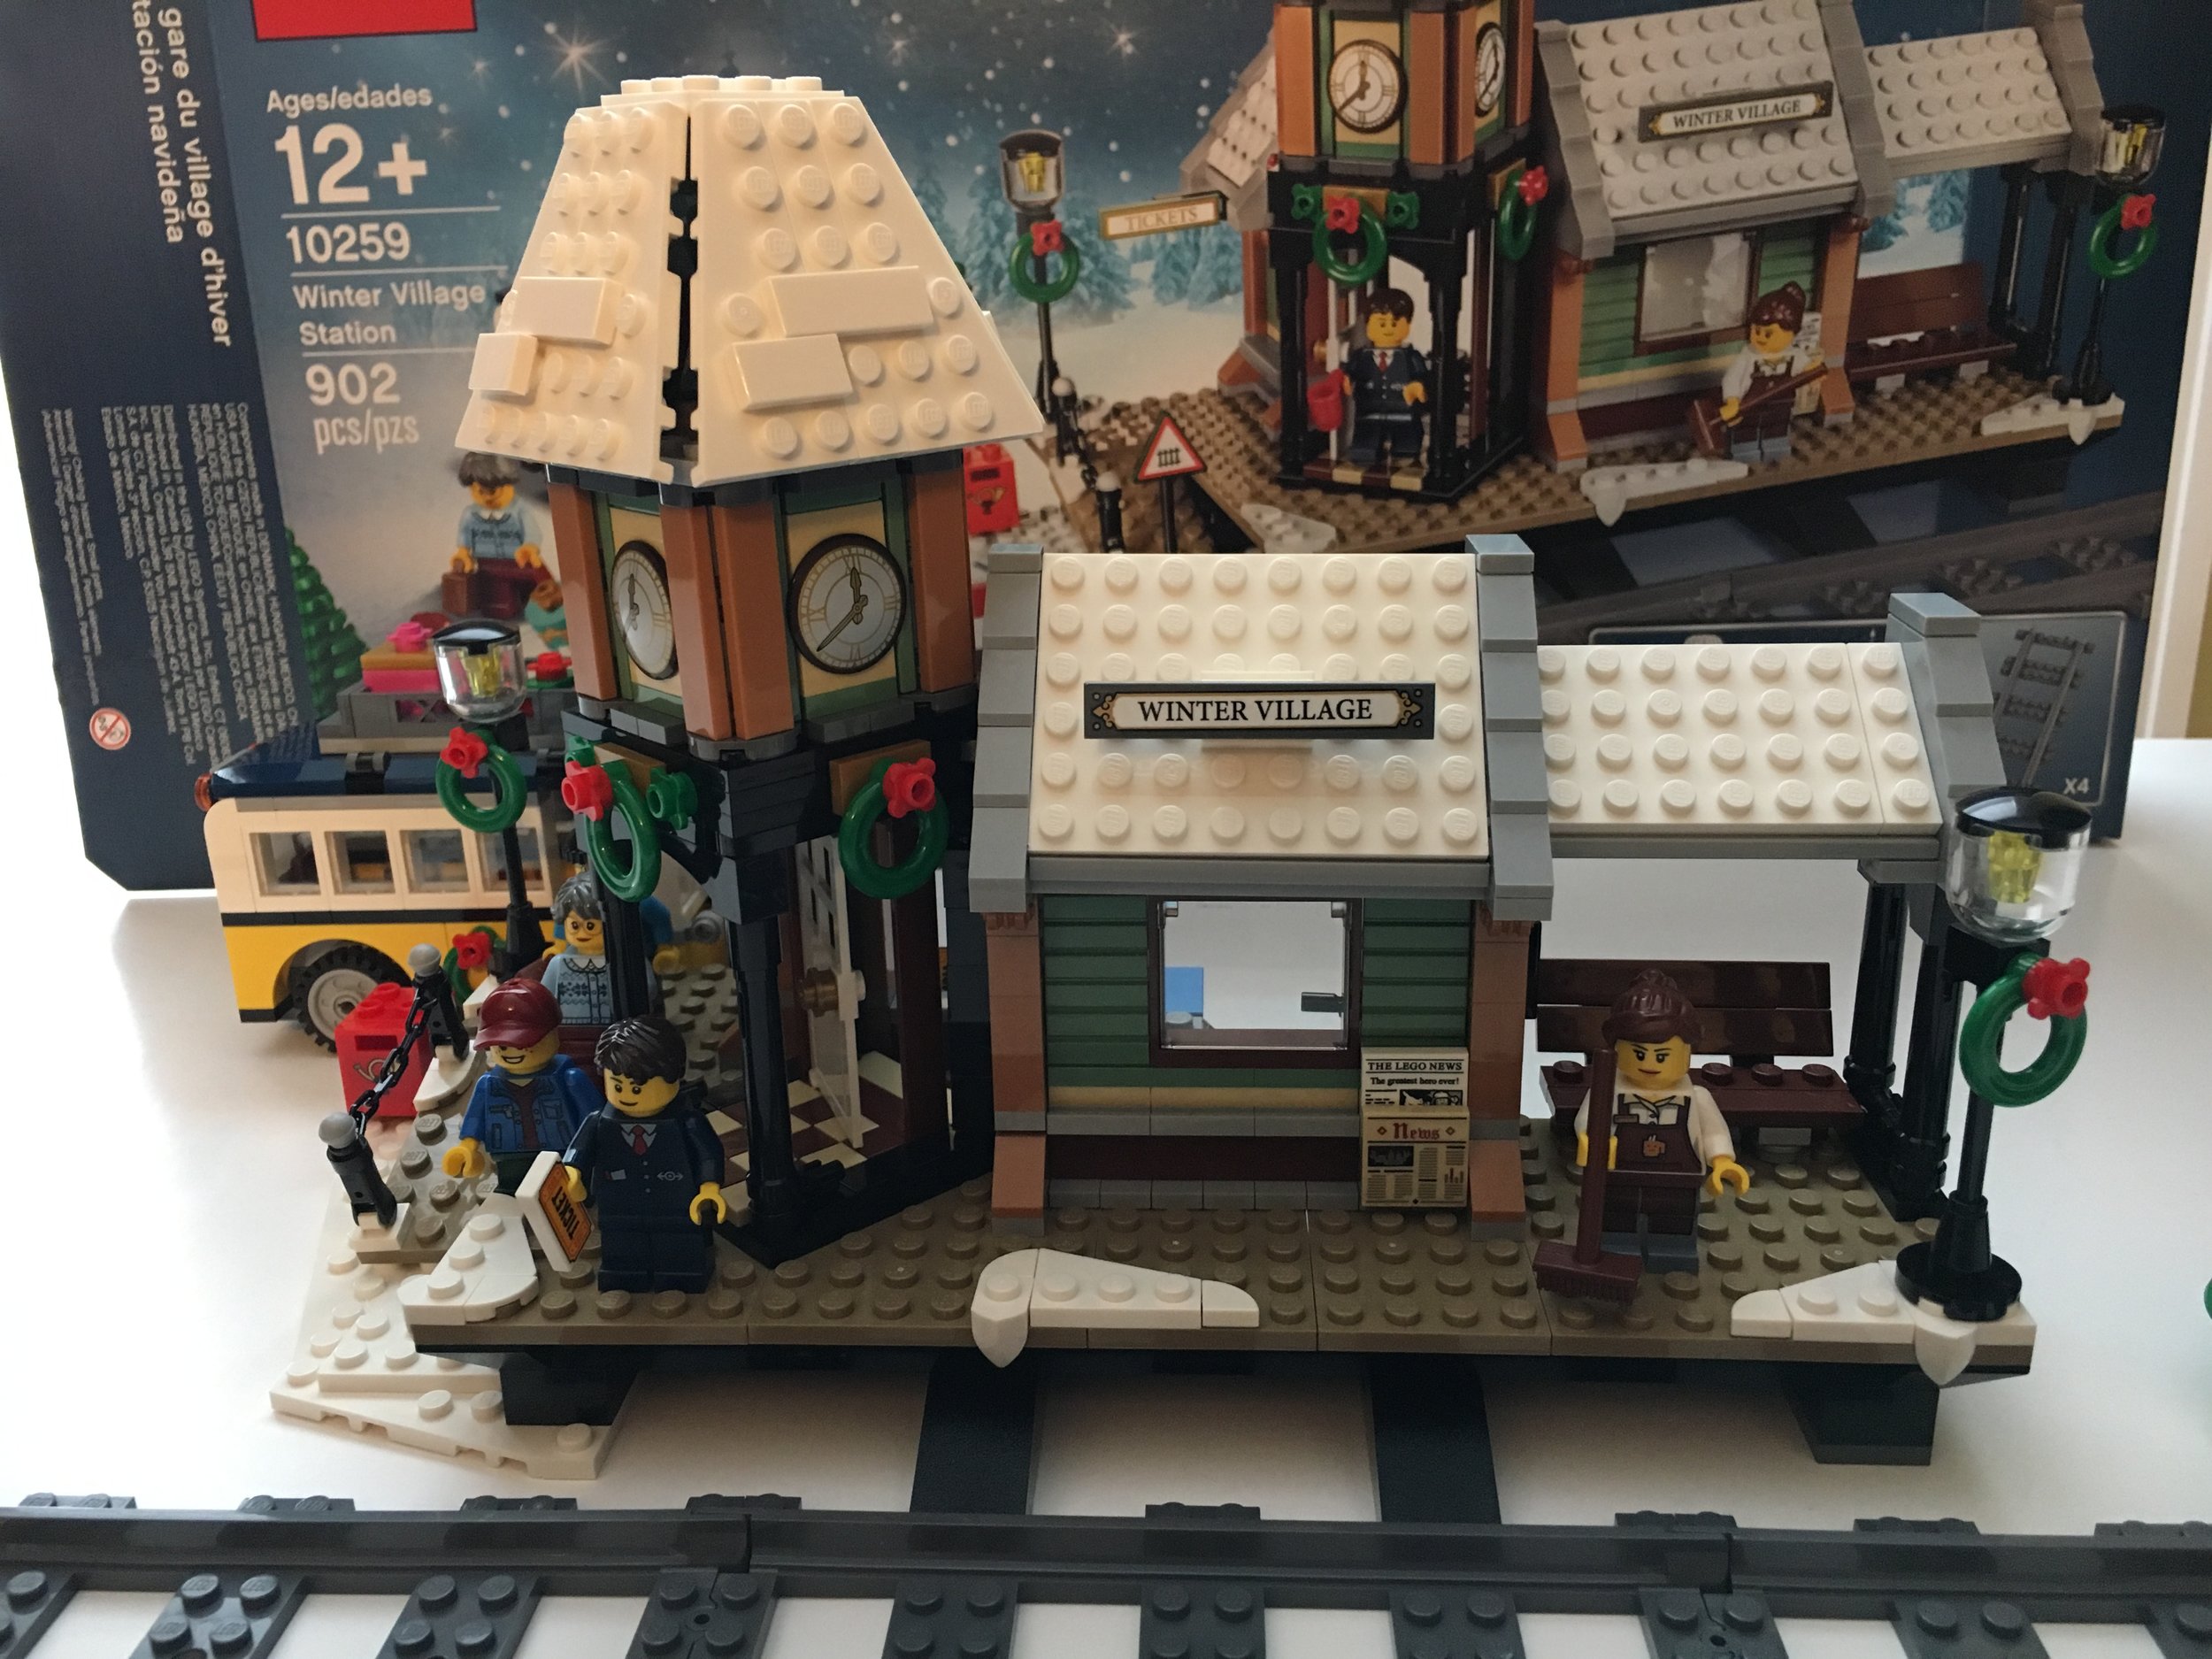
The second set of bags finishes up the set with the construction of the station itself.  It's not a bad looking design and the build uses some creative techniques to come up with the details so I can't complain there.  It does use a fair number of stickers that I dislike placing on though.  I also am not a fan in general of how the Winter Village theme only has the fronts of buildings, but not the backs.  While I understand this is for the play factor, I still prefer to have a full up building for a display.  In the past I have bought 2 Winter Village sets and put the 2 halves together, but I think I need to try and create the other half of the building on my own as a challenge.

This view of the station has some good detail to include a newspaper rack, a clock tower, and the window opens up to where a passenger can order a coffee from the barista.

IMG_4540.JPG

The inside of the station is rather sparse, but it has some details.  On the right you see the ticket counter with the sticker that lists the train schedule.  The station master has one extra ticket that he can give out which thankfully is a printed 1x2 tile.  The barista has a small station to work at and make some beverages for passengers.  There's also a small Christmas tree up in the attic area that you could probably use as a decoration elsewhere in the set.

10259_station_inside.jpg

This picture shows the walkway and station platform.  I like how the guide chain is set up.  Using microphones to attach the chains is a pretty genius idea.  This view also shows the clock tower a little closer and the floor and structure underneath.  It's a pretty simple design, but it has a good look to it in my opinion.

10259_walkway.jpg

This set comes with 5 minifigures.  There's a bus driver, a boy, an older woman, the station master, and the barista.  They are a good bunch and I think they go well with the set.

10259_minifigs.jpg

Why should you buy this set?  If you're a fan of the Winter Village line, then you'll definitely want it to keep up with the theme.  Also, if you're a train fan, it's a good addition to any LEGO train display.  As I mentioned, I would prefer it to be a complete building versus the half, but I'm up to the challenge of finishing off the back on my own.  At under $0.10 a piece, it's priced good.  These sets don't typically go on sale, so look for a chance to get double VIP points or to get one of the free gifts with a purchase

Set Review - Santa's Workshop - #10245

10245_Santas_Workshop.jpg

It's March and Christmas came a little late.  For a number of years now, LEGO has been producing a Winter Village theme.  They introduce a Christmas themed set in the October time frame and it typically remains on sale for a two year period.  I try to order the year's set around Christmas time, but by the time I got to it this year, it had sold out.  This year's set, Santa's Workshop, was on back order for quite a while.  It took over a month for this set to show up after I ordered it.  Lesson learned... if you want it for Christmas time, then order it sooner or wait for the summer time when no one is thinking of Christmas LEGO sets.  

I built the set over a weekend.  It's a creative build with some different building techniques, some interesting pieces, and a 6 minifigures.  I was also pleased that LEGO worked to get rid of the number of stickers you had to apply.  Some of the pieces had details printed on (the reindeer backs for one).  Overall it was a good set to build and will make a great addition to the other LEGO Winter Village sets.