End of 2022 Campaign Results - A Change of Plan

16 Feb 23 update: It took a few weeks for me to post this, but the Chalk Guy crew took a picture for us to use on the site. It has their branding and some of the sets we sent their way. Thank you!


The good news is that we had $460 from the campaign at the end of 2022 to give from our Bricklink store sales. The plan was to give to Brick Dreams. We supported them before back in 2018 and their goal of giving foster kids bricks to play with while in transition. I reached out to them about sending them funds or LEGO bricks. Sadly, I didn’t hear back. Perhaps their organization no longer exists? Well I appreciate all they did in the past.

I searched for someone to replace Brick Dreams at the last minute. I made sure to pay attention to last post/update dates. It seems like there are numerous groups that used to collect and donate LEGO sets, but many of them are no longer active (the pandemic seems to have taken out a bunch). And then I found the Chalkguy LEGO Service Project.

Some background… This drive was started back in 2012 in Carmel, Indiana (near Indianapolis) by Ben Glenn. Ben was looking for a way to teach his daughters about giving and what started as a lesson turned into an ongoing project. They gave away two sets in 2012 and by 2019 they distributed 1,006 sets. In 2022 they gave away 514 sets. Well with our $460, we got them started off on the right foot with 12 brand new sets ranging from Star Wars to Speed Champions to Creator 3-in-1 to #10280-1: Flower Bouquet. Where do all of these sets go? Ben and team distribute them across his local area to various organizations trying to make life a little better for kids and their families.

If you live near Indianapolis or if you’d like to donate, you can find out how here.

Thanks to everyone who purchased from our Bricklink store in 2022. We look forward to giving more in 2023!

Happy building!

Set Review - #71037 - Series 24 - Collectible Minifigures

Yes, the LEGO Group has gotten me addicted to Collectible Minifigures. I didn’t participate in series one through nine as I thought they were ridiculous. Then on a whim I purchased a few from series 10 and I was hooked. Now it’s series 24 and here I am. This series was released in the US on 1 January 2023, but if you follow any of the online sites or feeds, many people found them in stores before then. They retail for $4.99 each and there are 12 minifigures total in this series. I ended up purchasing three of the boxes of six minifigures for a total of 18 minifigures. I assumed there would be a lot of doubles as always. My kiddos helped me open them up and assemble them and we were all shocked that we found all 12 minifigures within 18 random bags. WHAT!?!?!?!? Crazy!!!

I hope you have the same luck if you are a collector too.

Overall, I think this is a great series. I prefer the non-licensed ones and was glad to see another round of them come out. My thoughts on each one are below.


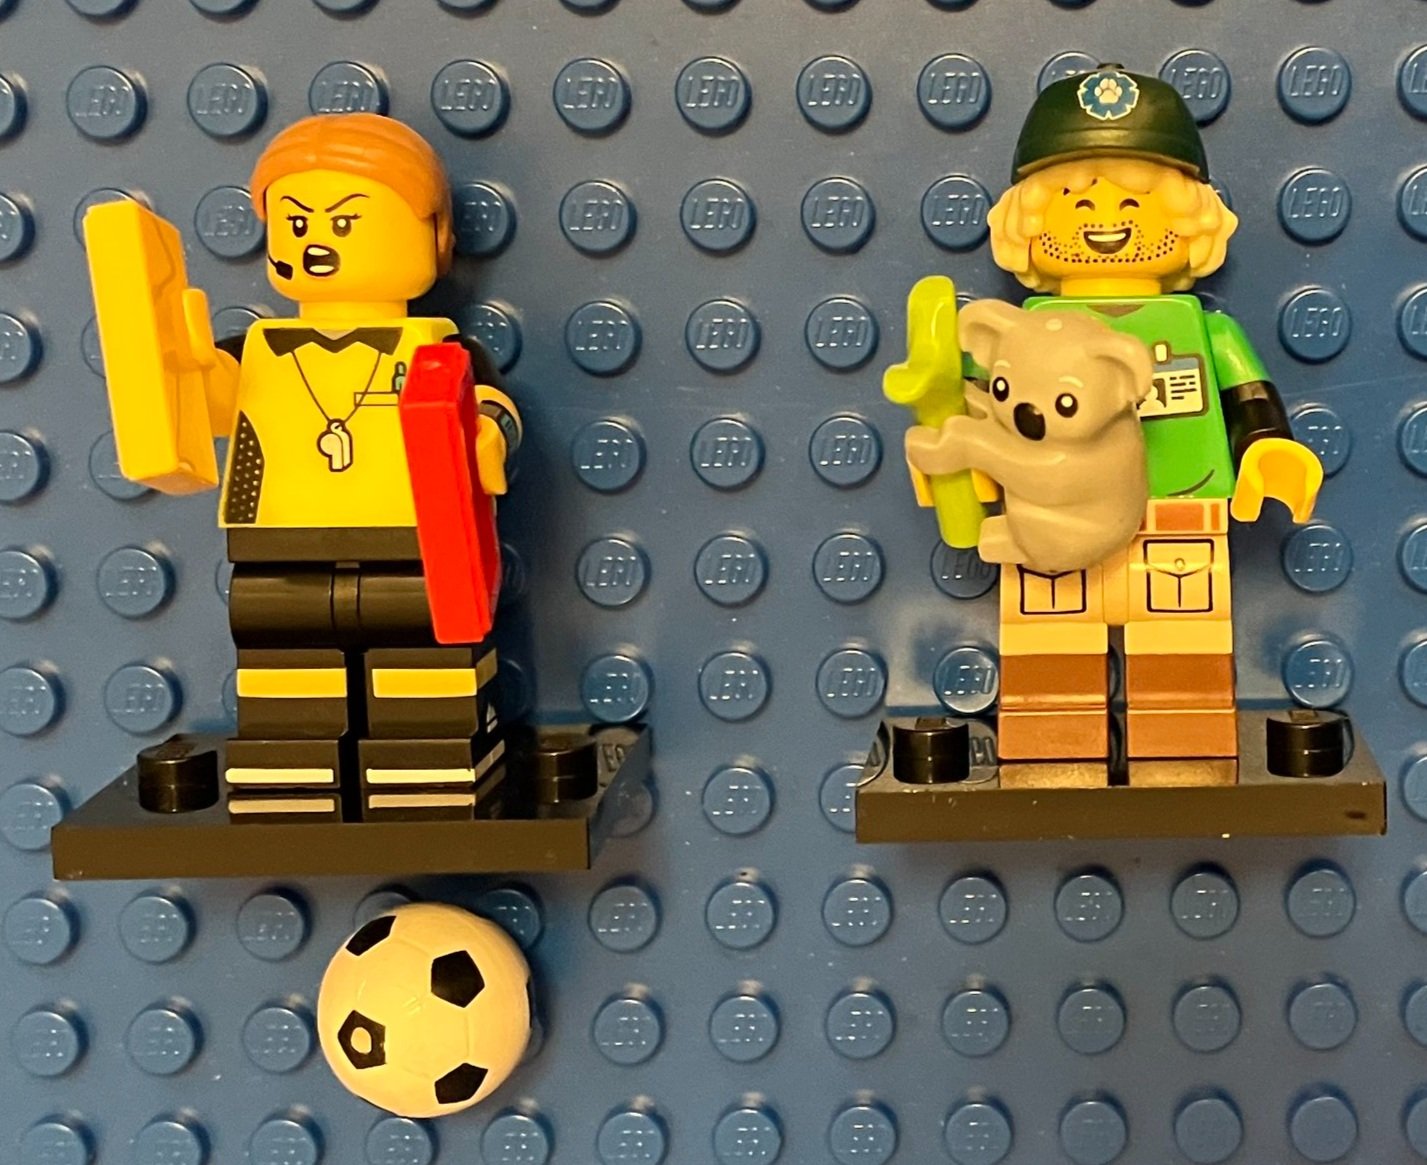
The Football Referee will be popular for fans of the Great Ball Contraption (GBC) as it comes with a LEGO soccer ball. I don’t know when the last time it was we got one of these in a set, but I expect it to show up in GBC displays over the next year.

The Conservationist has lots of great printing and molding and comes with a fun little koala. I like the addition to the LEGO animal kingdom.


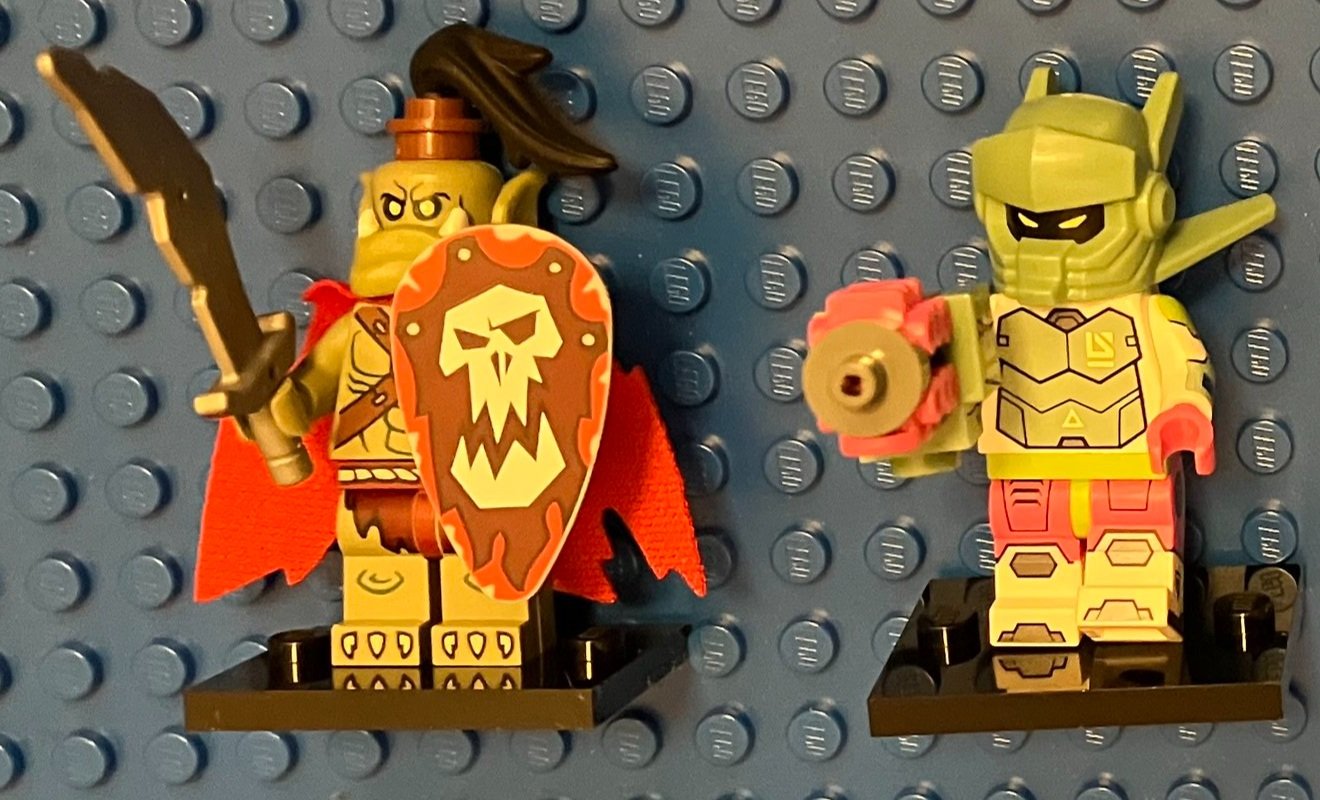
I didn’t realize this was an Orc. I thought it was a alligator like creature. This is away from the type of builds I usually like, but it’s still not a bad figure. The shield is interesting with the new print on it.

The Robot Warrior has an interesting blaster/weapon made of minifigure roller skates. I like it. The helmet is fun too with the slot for the eyes to peak out underneath.


Newspaper Kid comes with a 2x2 printed tile of a newspaper, a sling shot to throw the paper, and a bag to hold papers. I’m not a huge fan of this minifigure, but I can see how it could be useful for someone trying to build an early 1900s MOC scene or maybe even Steam Punk themed builds.

The Rockin’ Horse Rider isn’t overly exciting other than you get a minifigure sized rocking horse that can actually rock back and forth. It also has a stud on the bottom so you can put it on the stand.


Series 22 had a Chili Pepper costume and Series 20 had a Pea Pod costume. Now we get a Carrot Mascot. I wonder which veggie we’ll get in Series 26? This one is fun and I like the Farmers Market sign to go with it.

Potter… no not Harry Potter. This one is an actual clay… I mean brick potter making a bowl. I like the do rag on the head.


Gotta love how LEGO keeps finding ways to bring back the Castle theme without bringing back the Castle theme. The Falconer gives everyone another Black Falcon minifigure. This one comes with a falcon and a bow and arrow.

The Rococo Aristocrat is interesting. Not my favorite character, but definitely something different and it comes with a small dog.


T-Rex Costume Fan could be a fun addition to a Jurassic Park MOC or maybe a Halloween MOC. It’s a neat costume that is different from what we’ve seen in the past.

Last, but certainly not least, the Brown Astronaut and Spacebaby. As a Space fan, this one is awesome. Besides the chance to add a brown minifigure to the classic space collection, the fact that you now get a baby too is just awesome. The miniature air tank and the little helmet. So cute! I expect this one to be popular based on how much I’ve seen it posted online.


Set Review: #76400-1 - Hogwarts Carriage and Thestrals - Harry Potter

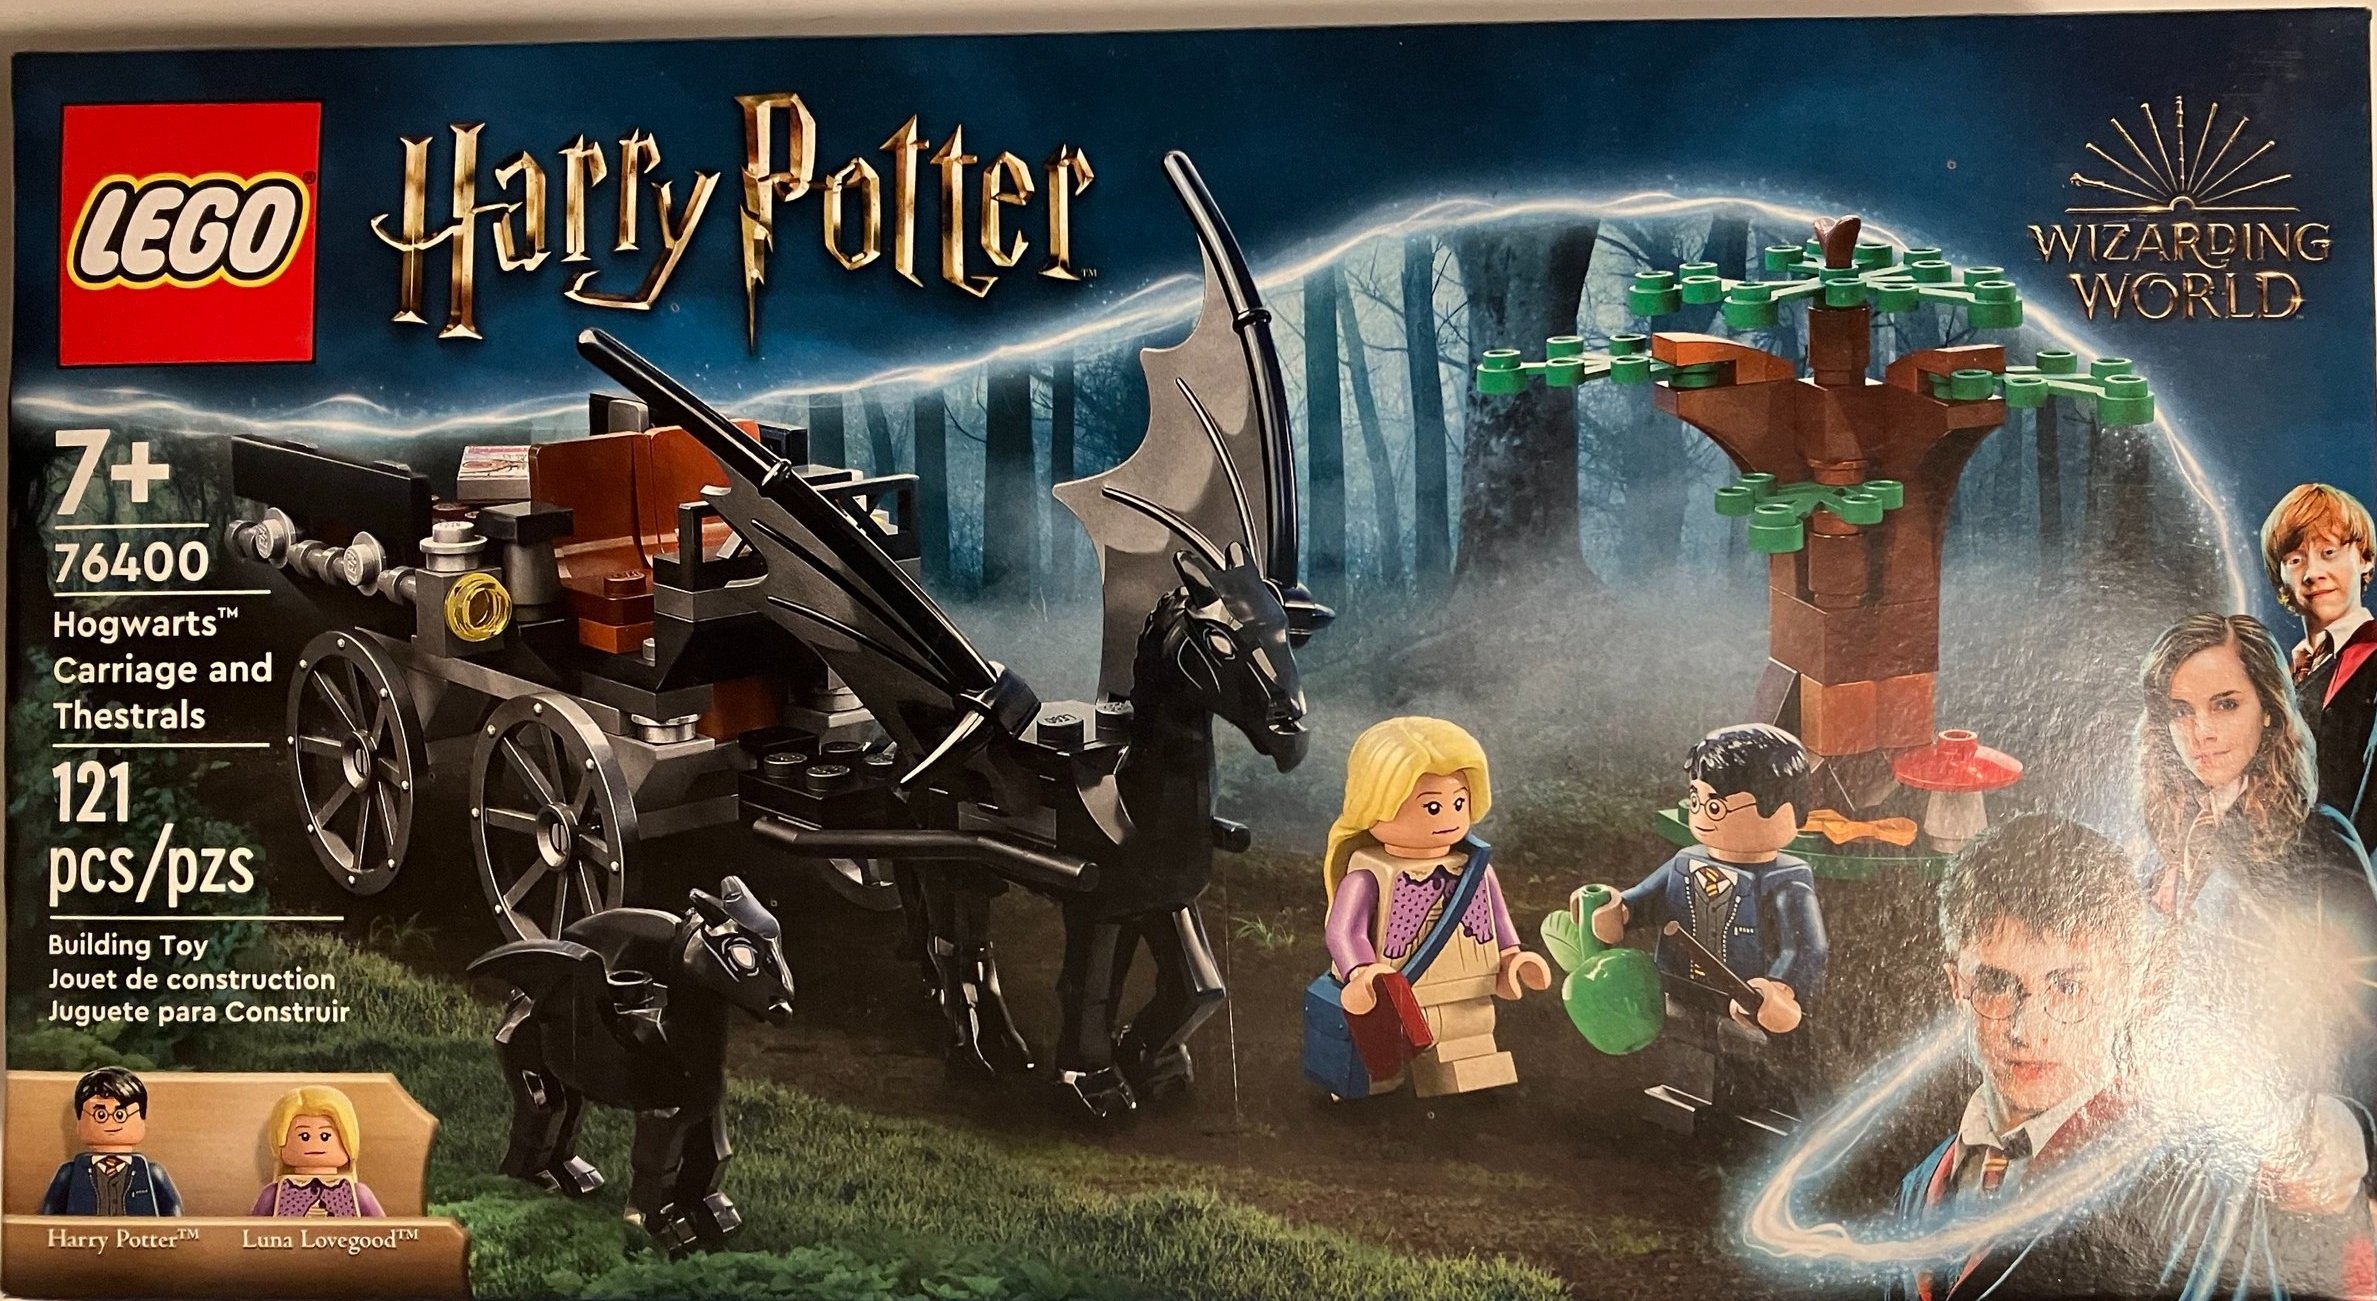
I found set #76400-1: Hogwarts Carriage and Thestrals from the 2022 Harry Potter line on sale before Christmas. I finally got to assemble it so here’s a quick review. This set was released on 20 June 2022 in the US and retails for $19.99. It contains 121 pieces and works out to $0.165 per piece. It’s a bit high in my opinion. Especially for such a small set. I purchased it for $15.99 so slightly better. The Harry Potter theme always seems to have one or two sets a year at a lower price point so I think this is it for 2022.

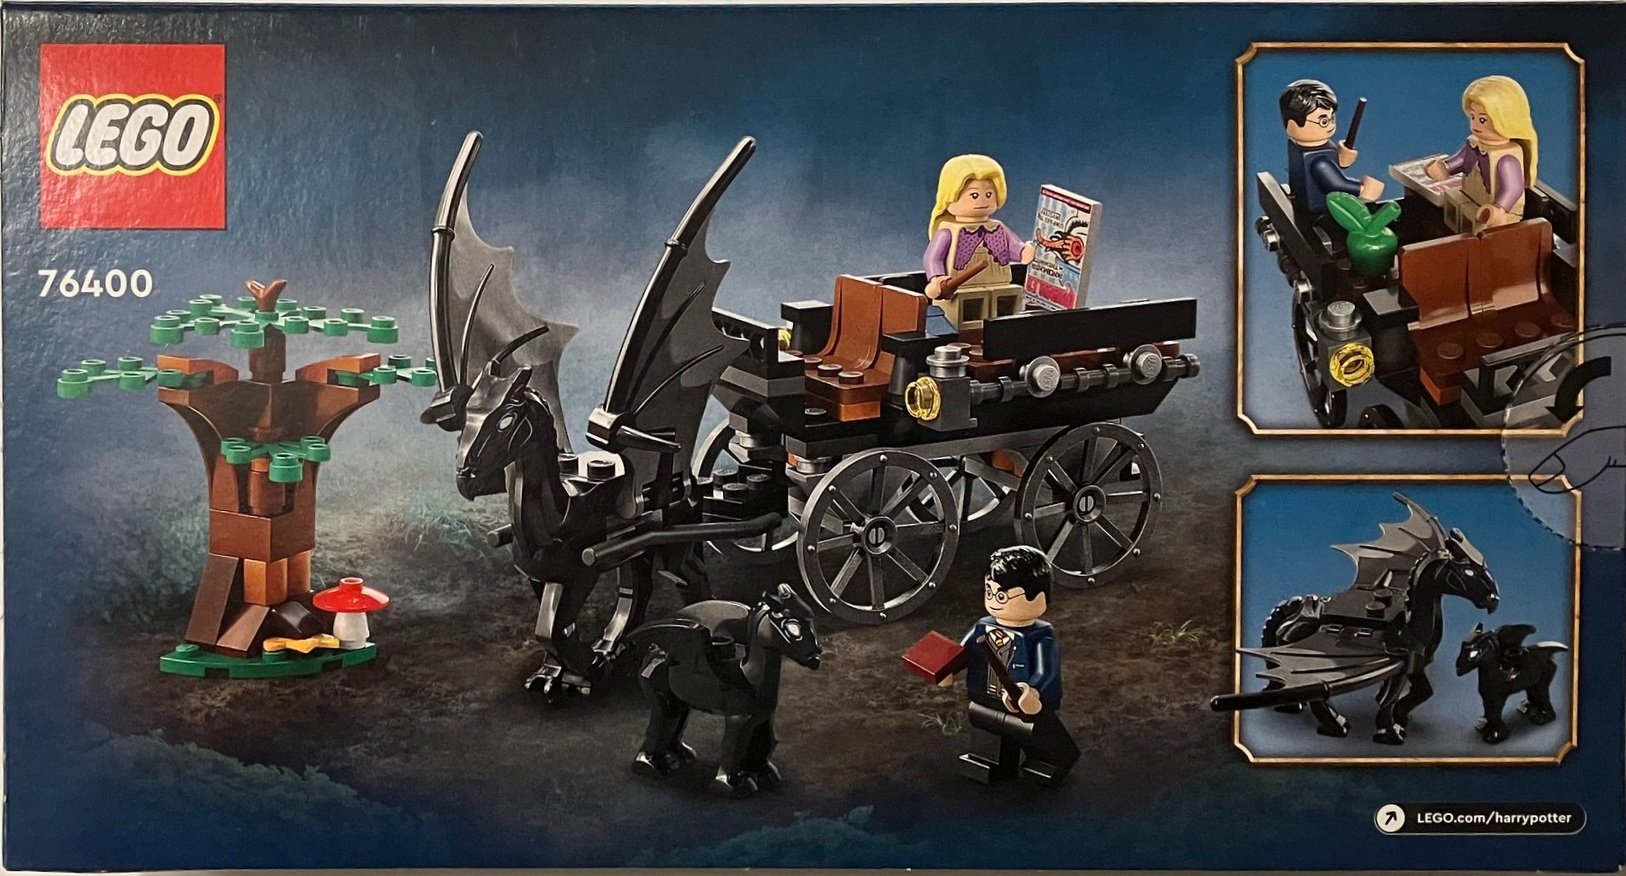
Nothing special about the box. The front shows the full set with the Harry Potter logo and movie characters. The back shows the set again and some of the play features.

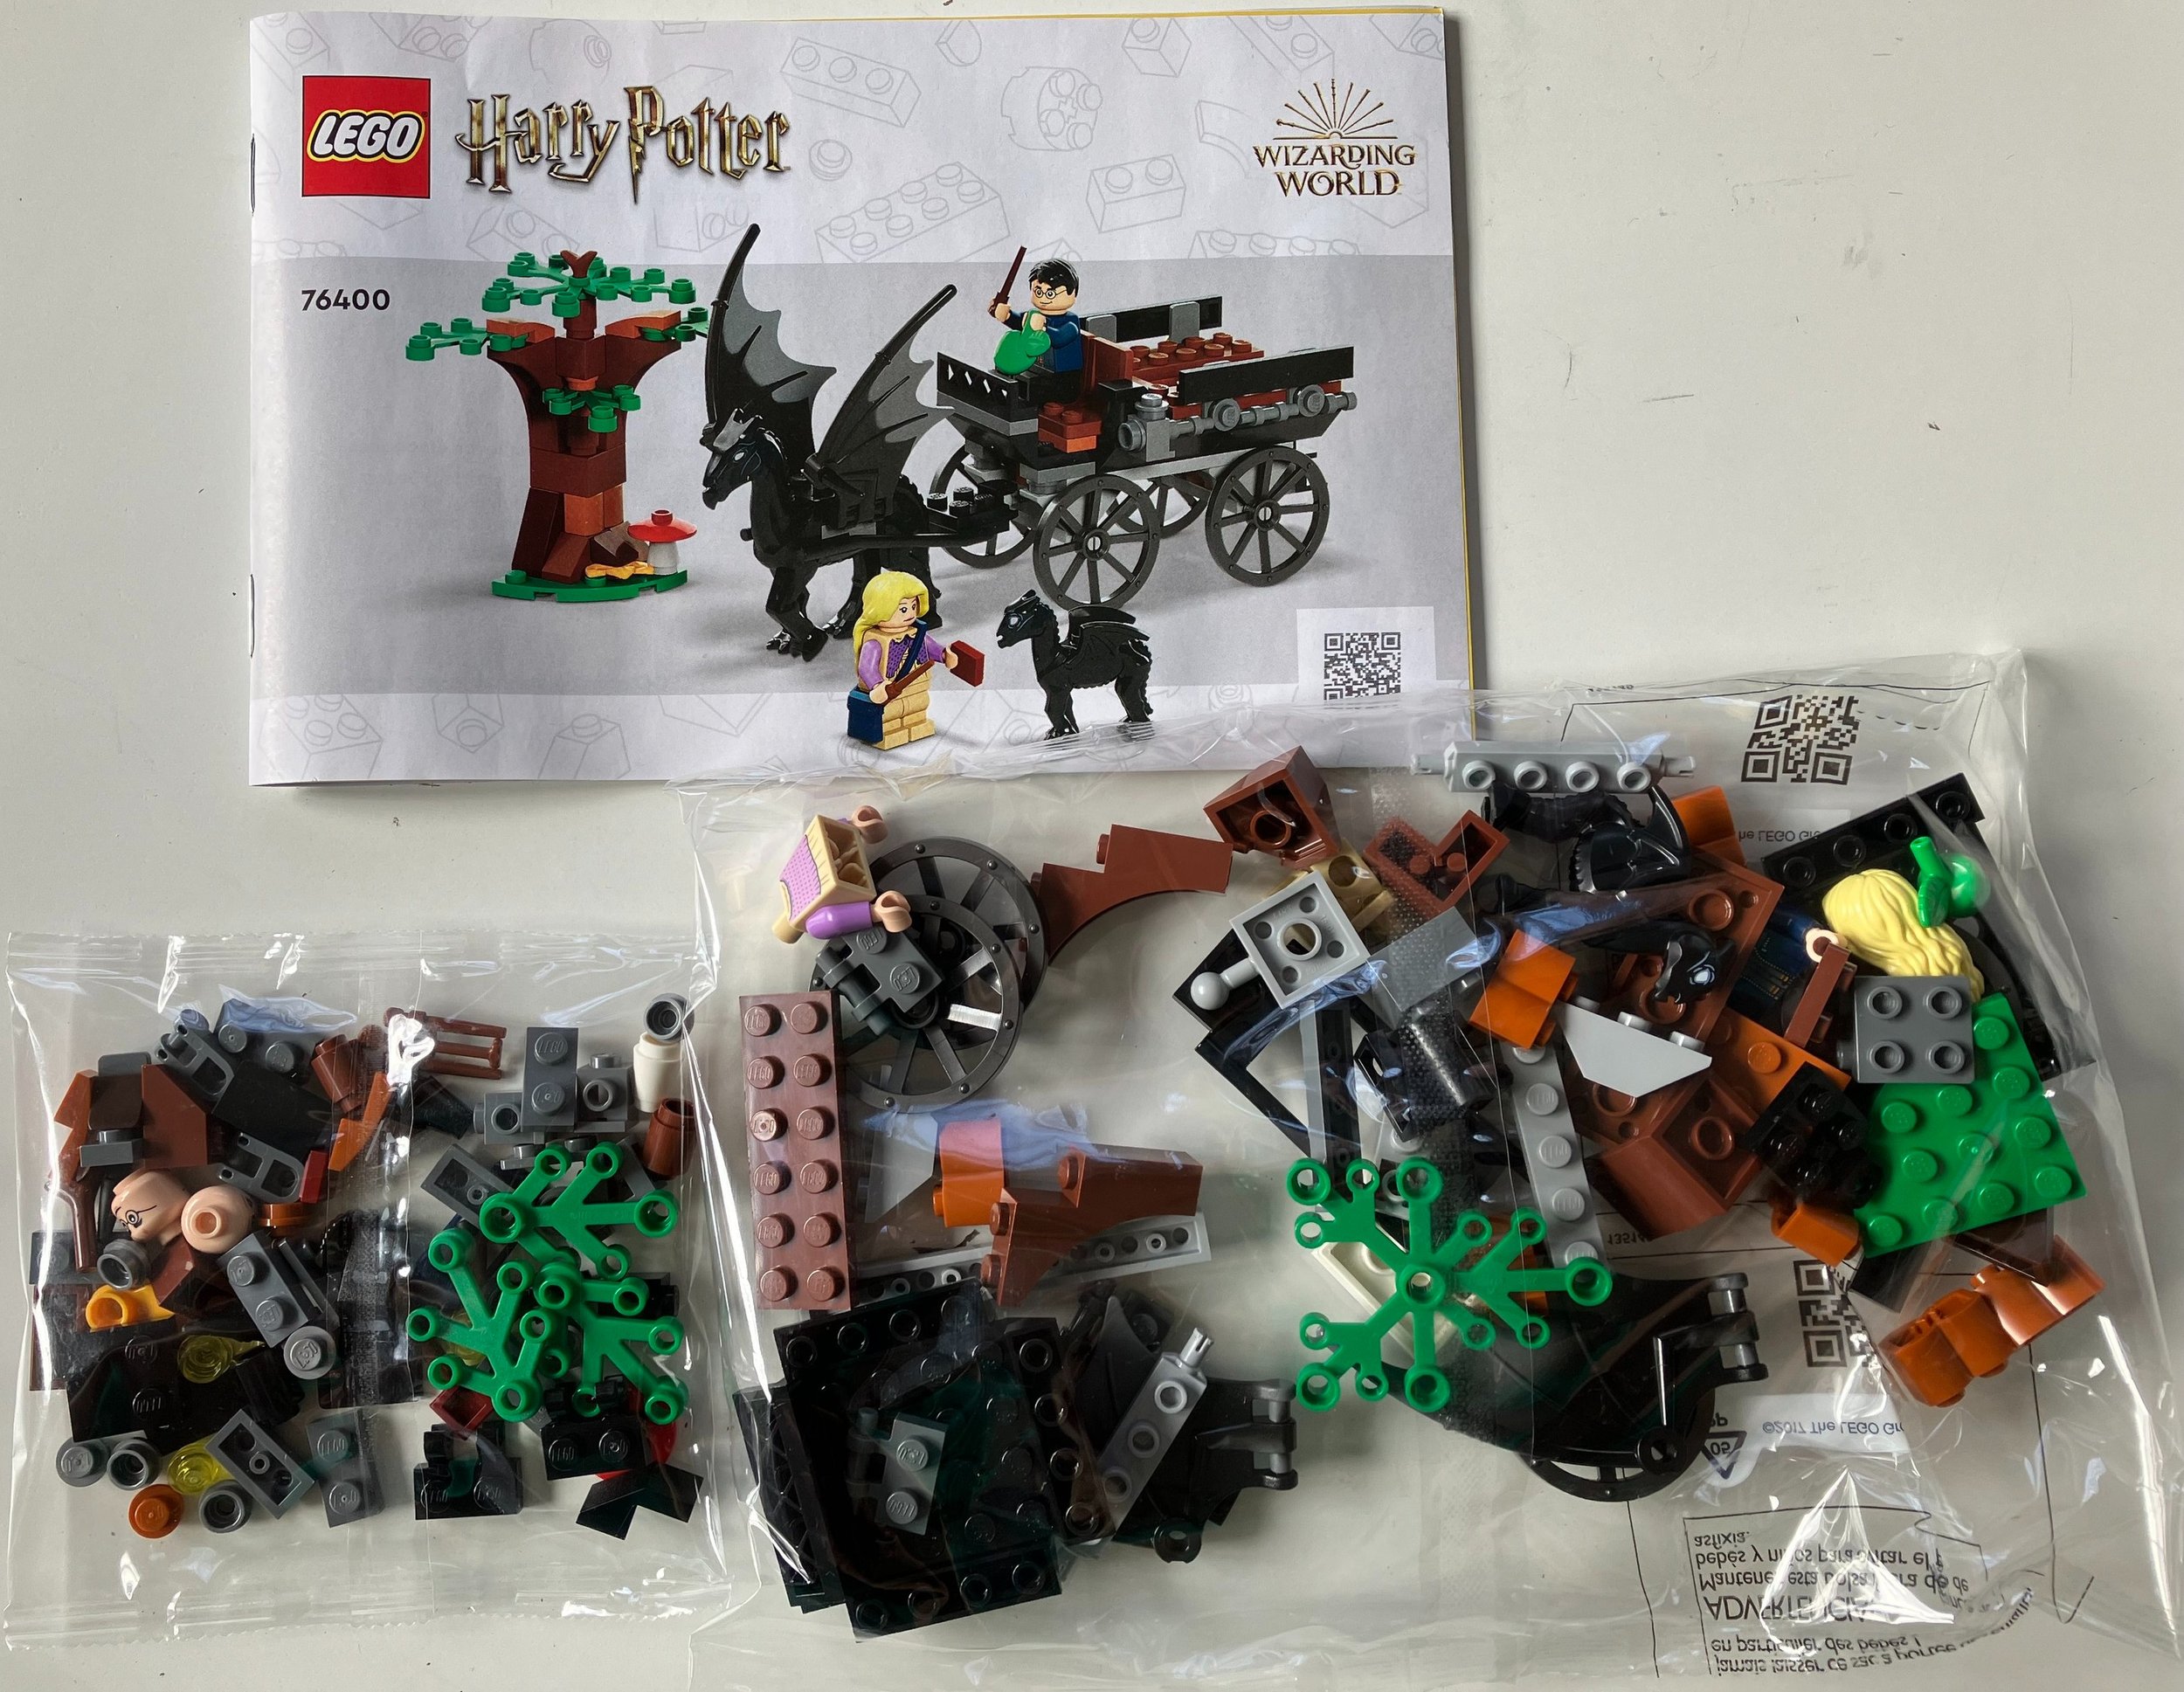
The contents are two parts bags and an instruction booklet. The instruction booklet is printed with a white background which makes it easier to see some of the darker pieces. I’m a fan of this switch.

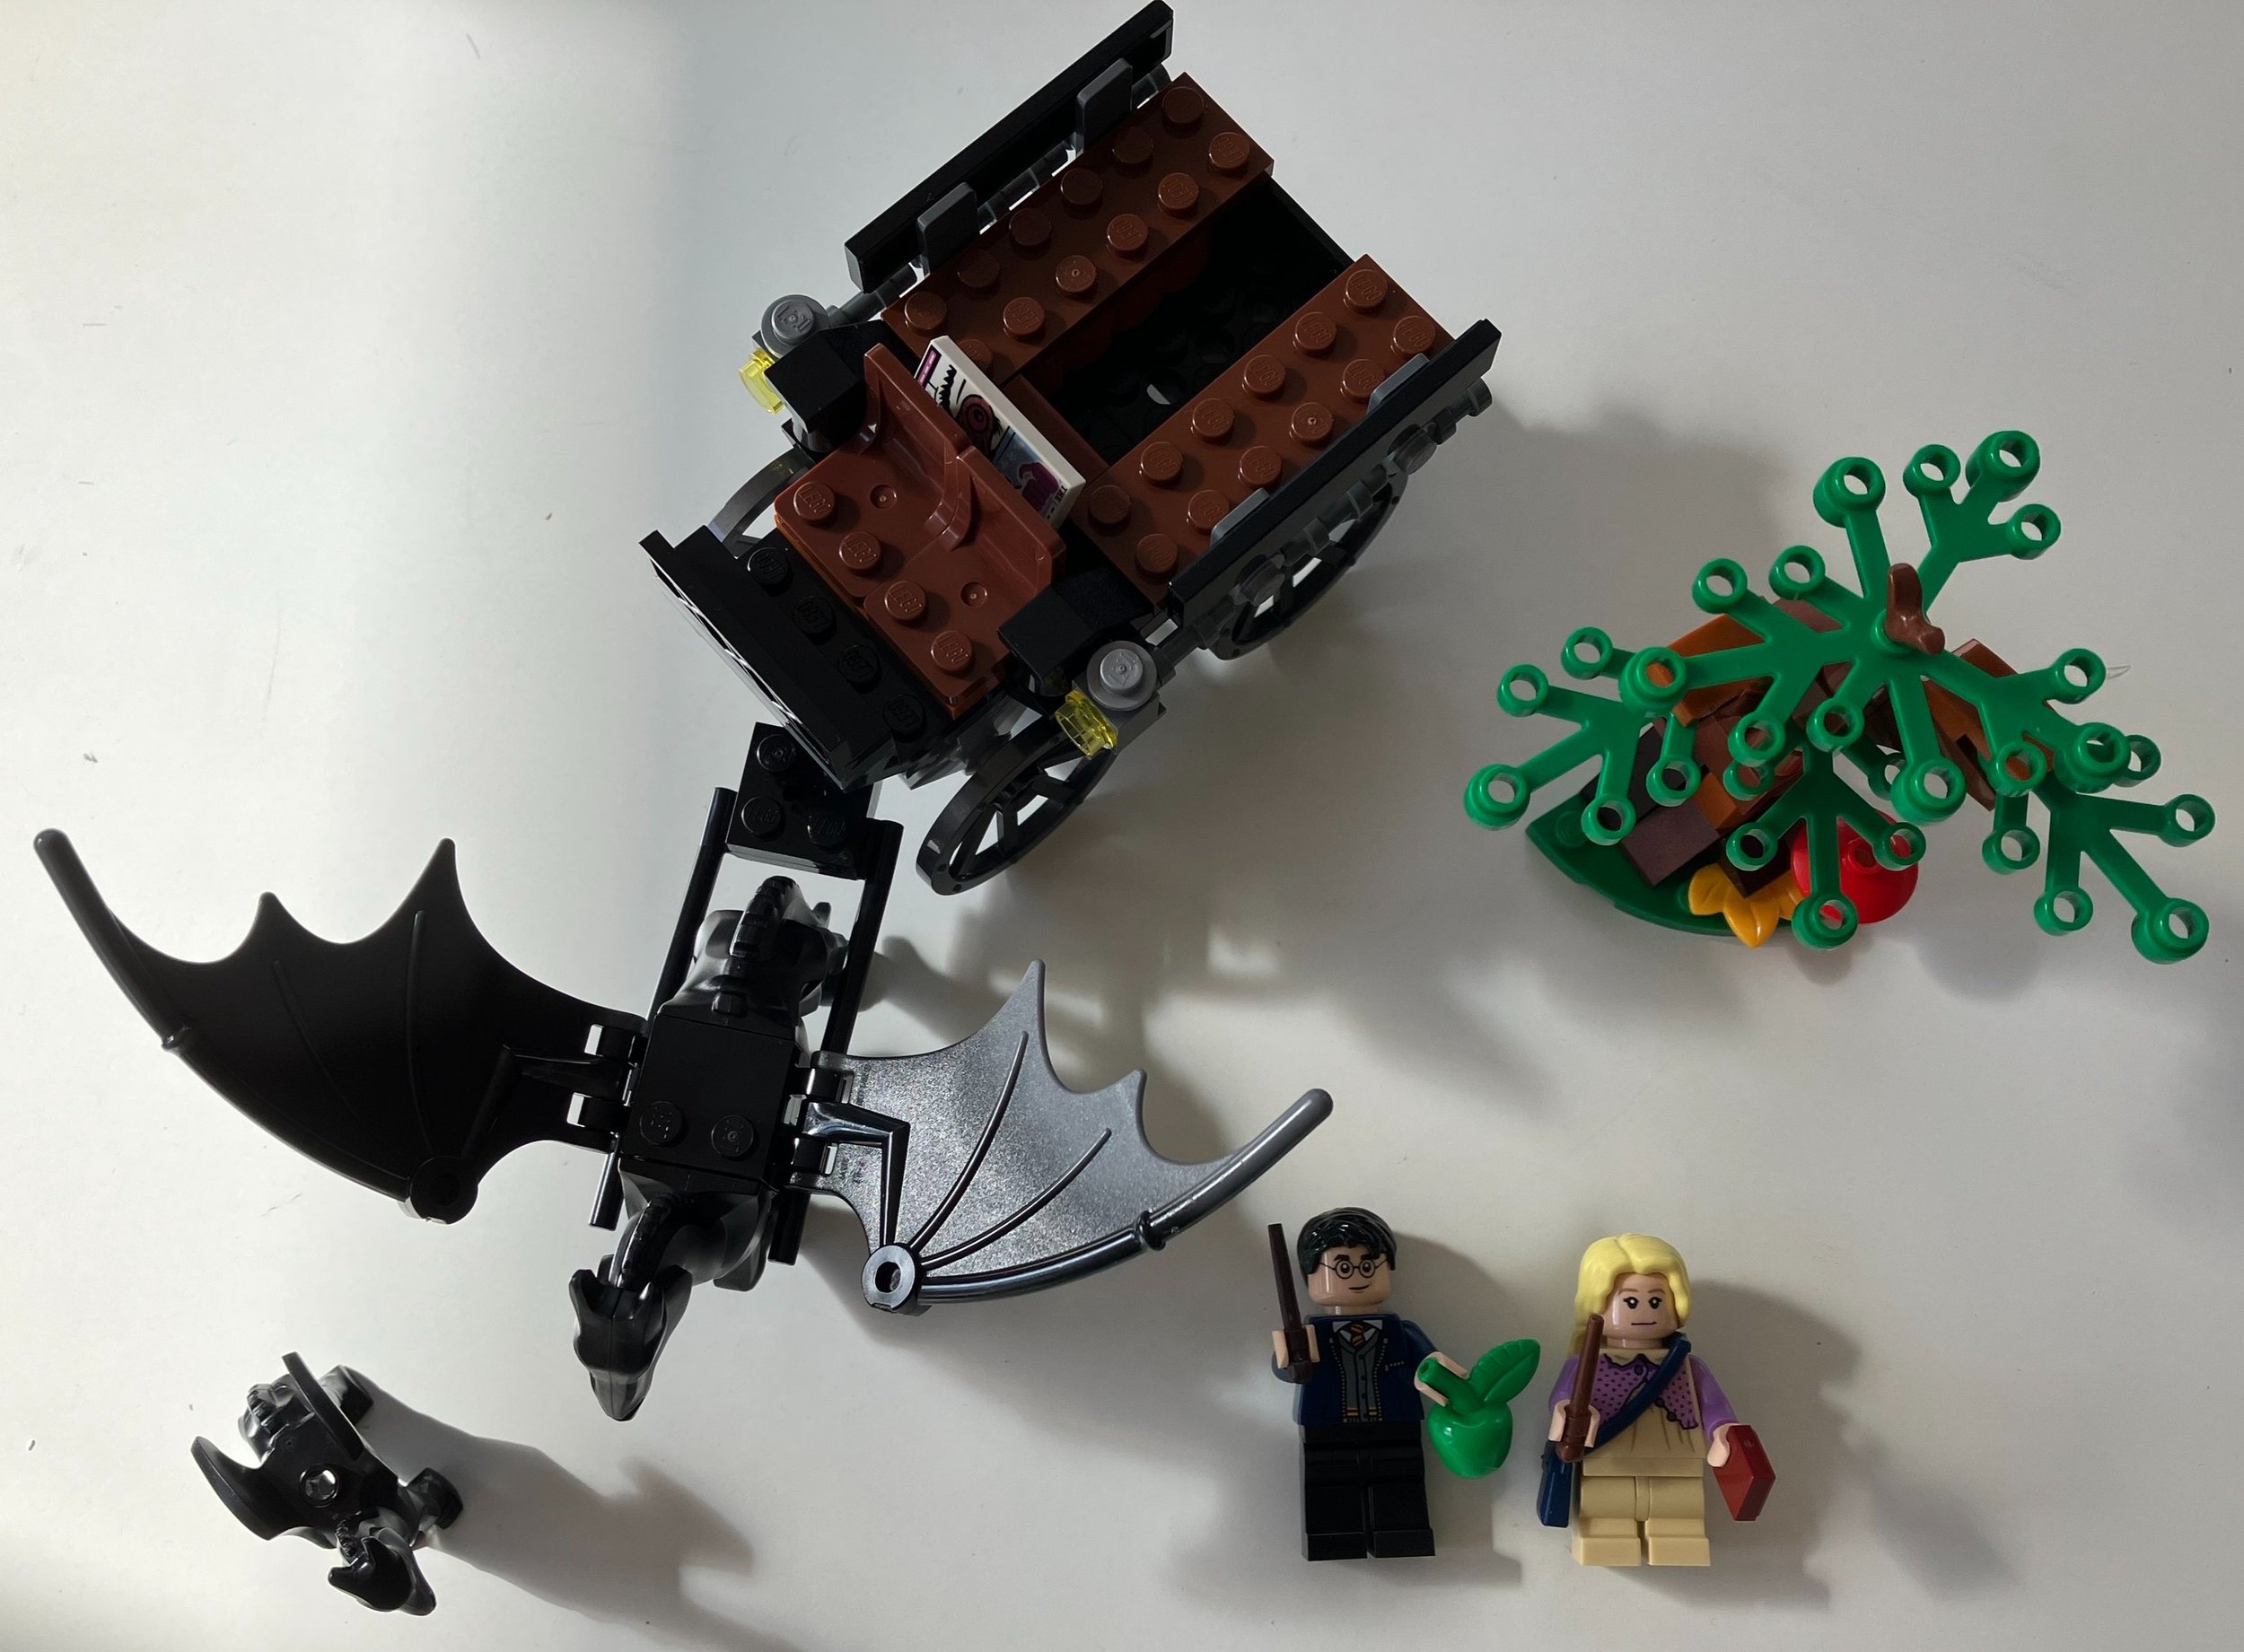
And here’s the build! You get a carriage, a tree, two minifigures, and the two thestrals. You can’t expect a ton of details in such a small build, but it’s not too bad. Plus Harry Potter fans will get thestrals, yet another Harry Potter minifigure, and a Luna Lovegood minifigure. I can’t complain about this one considering the size of the set.

Overall, I wouldn’t grab this set unless you’re a Harry Potter fan or you’re looking for the thestrals for a MOC. It’s a good set if you want a lower price point option as a gift for a kid/adult, but it’s overpriced at $20. Look for it to go on sale or use it to get an order to pass a GWP limit.

Here’s a closer look at the minifigures. Both come with wands. Harry has an apple and Luna has a small purse and a 1x1 tile. I’m not sure what the tile is for… The set also has a printed 2x3 tile for the Quibbler newsletter that she reads in the movie/book.

The thestrals look pretty accurate. They don’t have moving parts except for the wings you attach to the adult. If you’re looking to build a Harry Potter MOC of a scene with them in it, then this is your chance to get these creatures. Beyond that, you’ll have to find other things to do with them.

Happy building!
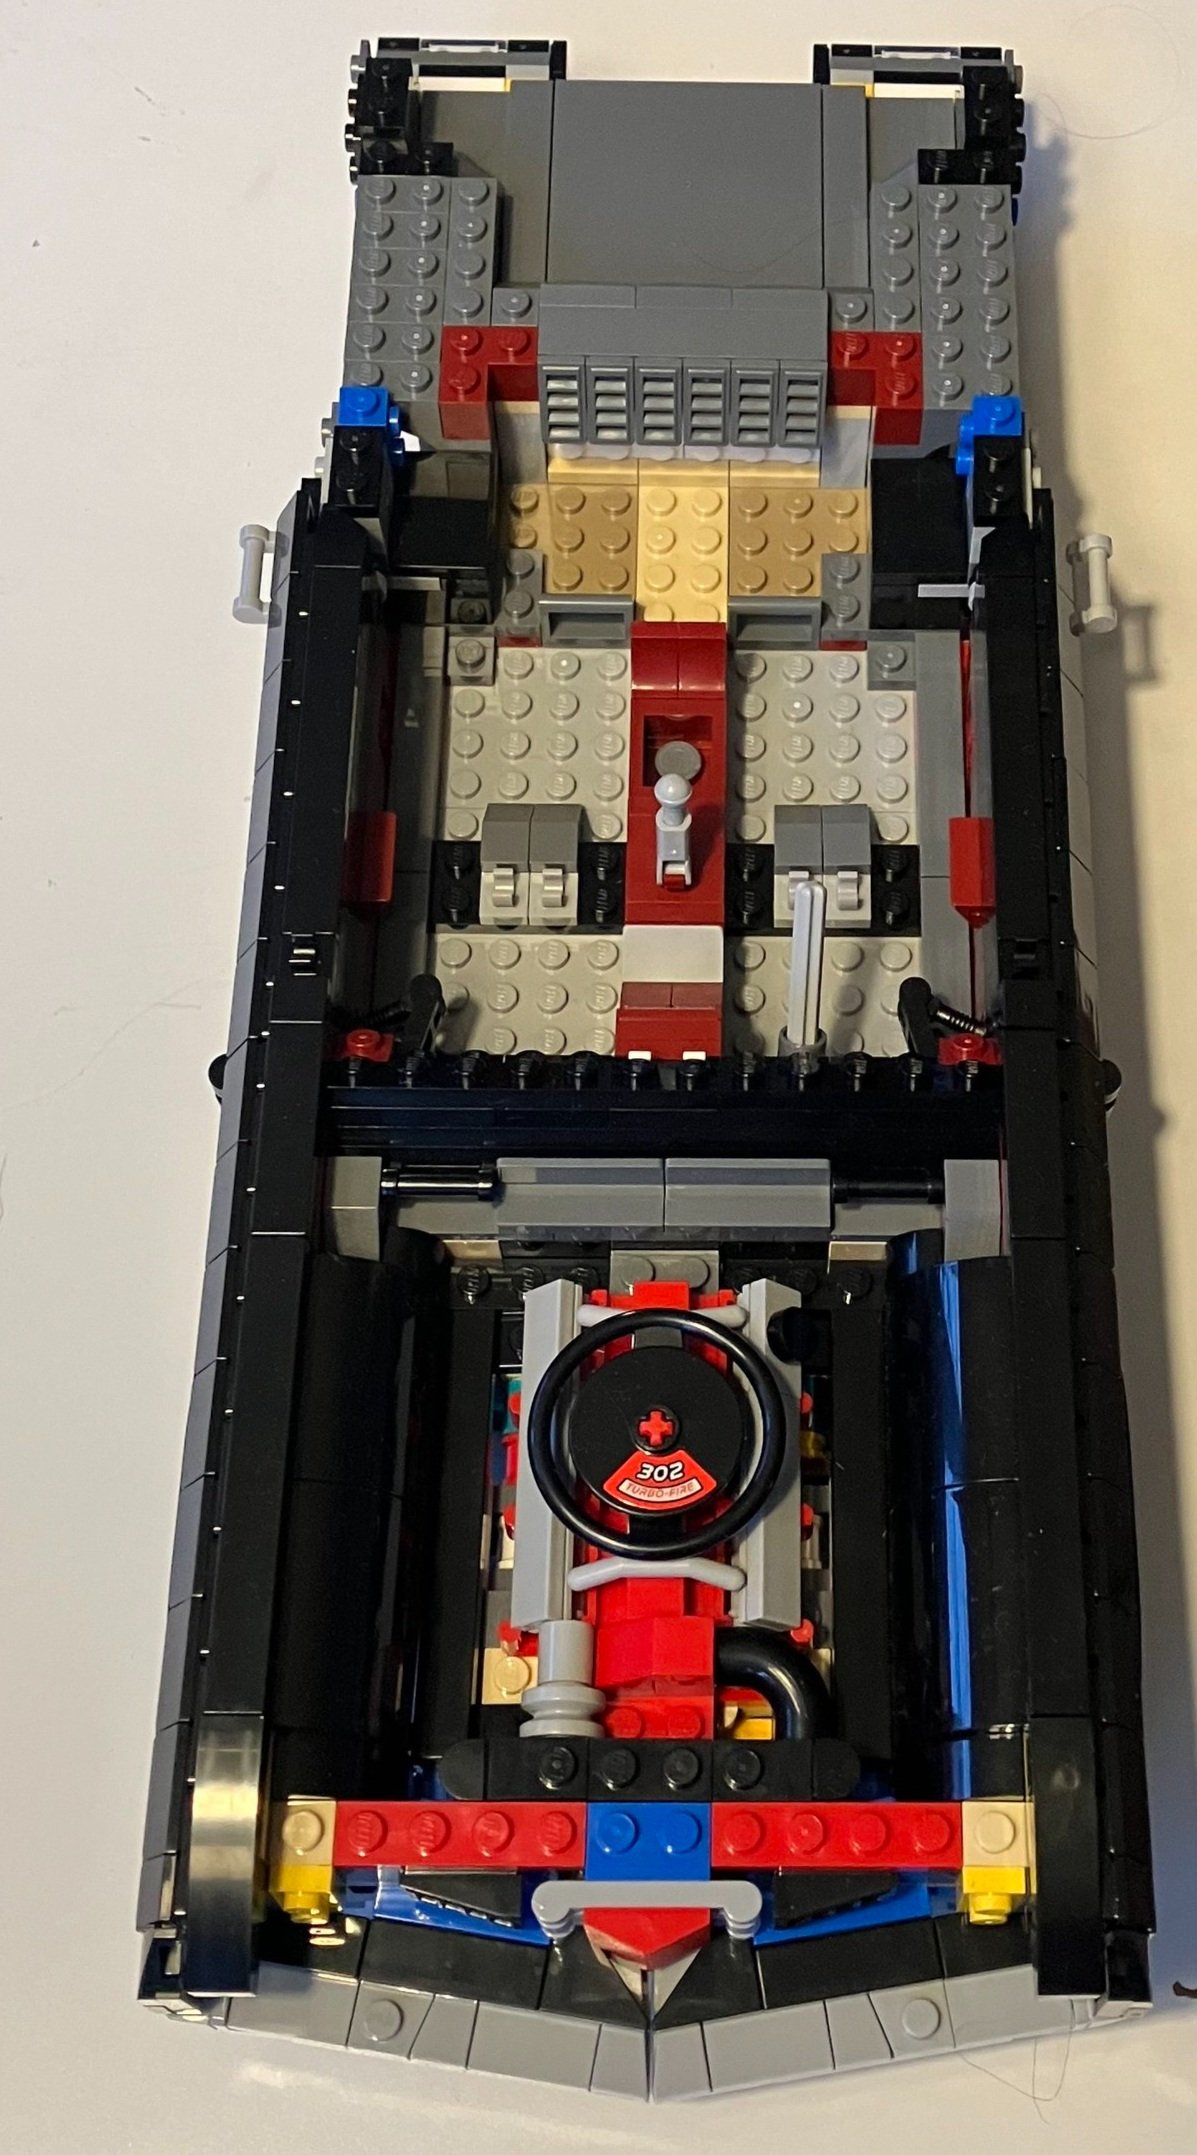
Set Review - #10304-1: Chevrolet Camaro Z/28 - Icons

While some of the previous cars in the Creator Expert line turned Icons line seemed to have a lot of excitement, the Camaro seems to have been released and then it went quiet. I haven’t seen much about this one since it was released in the US on 26 July 2022. Part of the reason might be the pricing on this one. It retails for $169.99 in the US and contains 1,456 pieces. This works out to $0.117 per piece, which is a bit high. I took advantage of the Black Friday sale to spend 100 VIP points to get $30 off so I got it for $139.99 which brought it down to $0.096 per piece. I also grabbed a few GWPs so maybe that helped. Still it seems a bit pricy for an Icons set. I suspect that if LEGO put a discount on it this soon that it might not be selling real well. That’s just a guess on my part though.

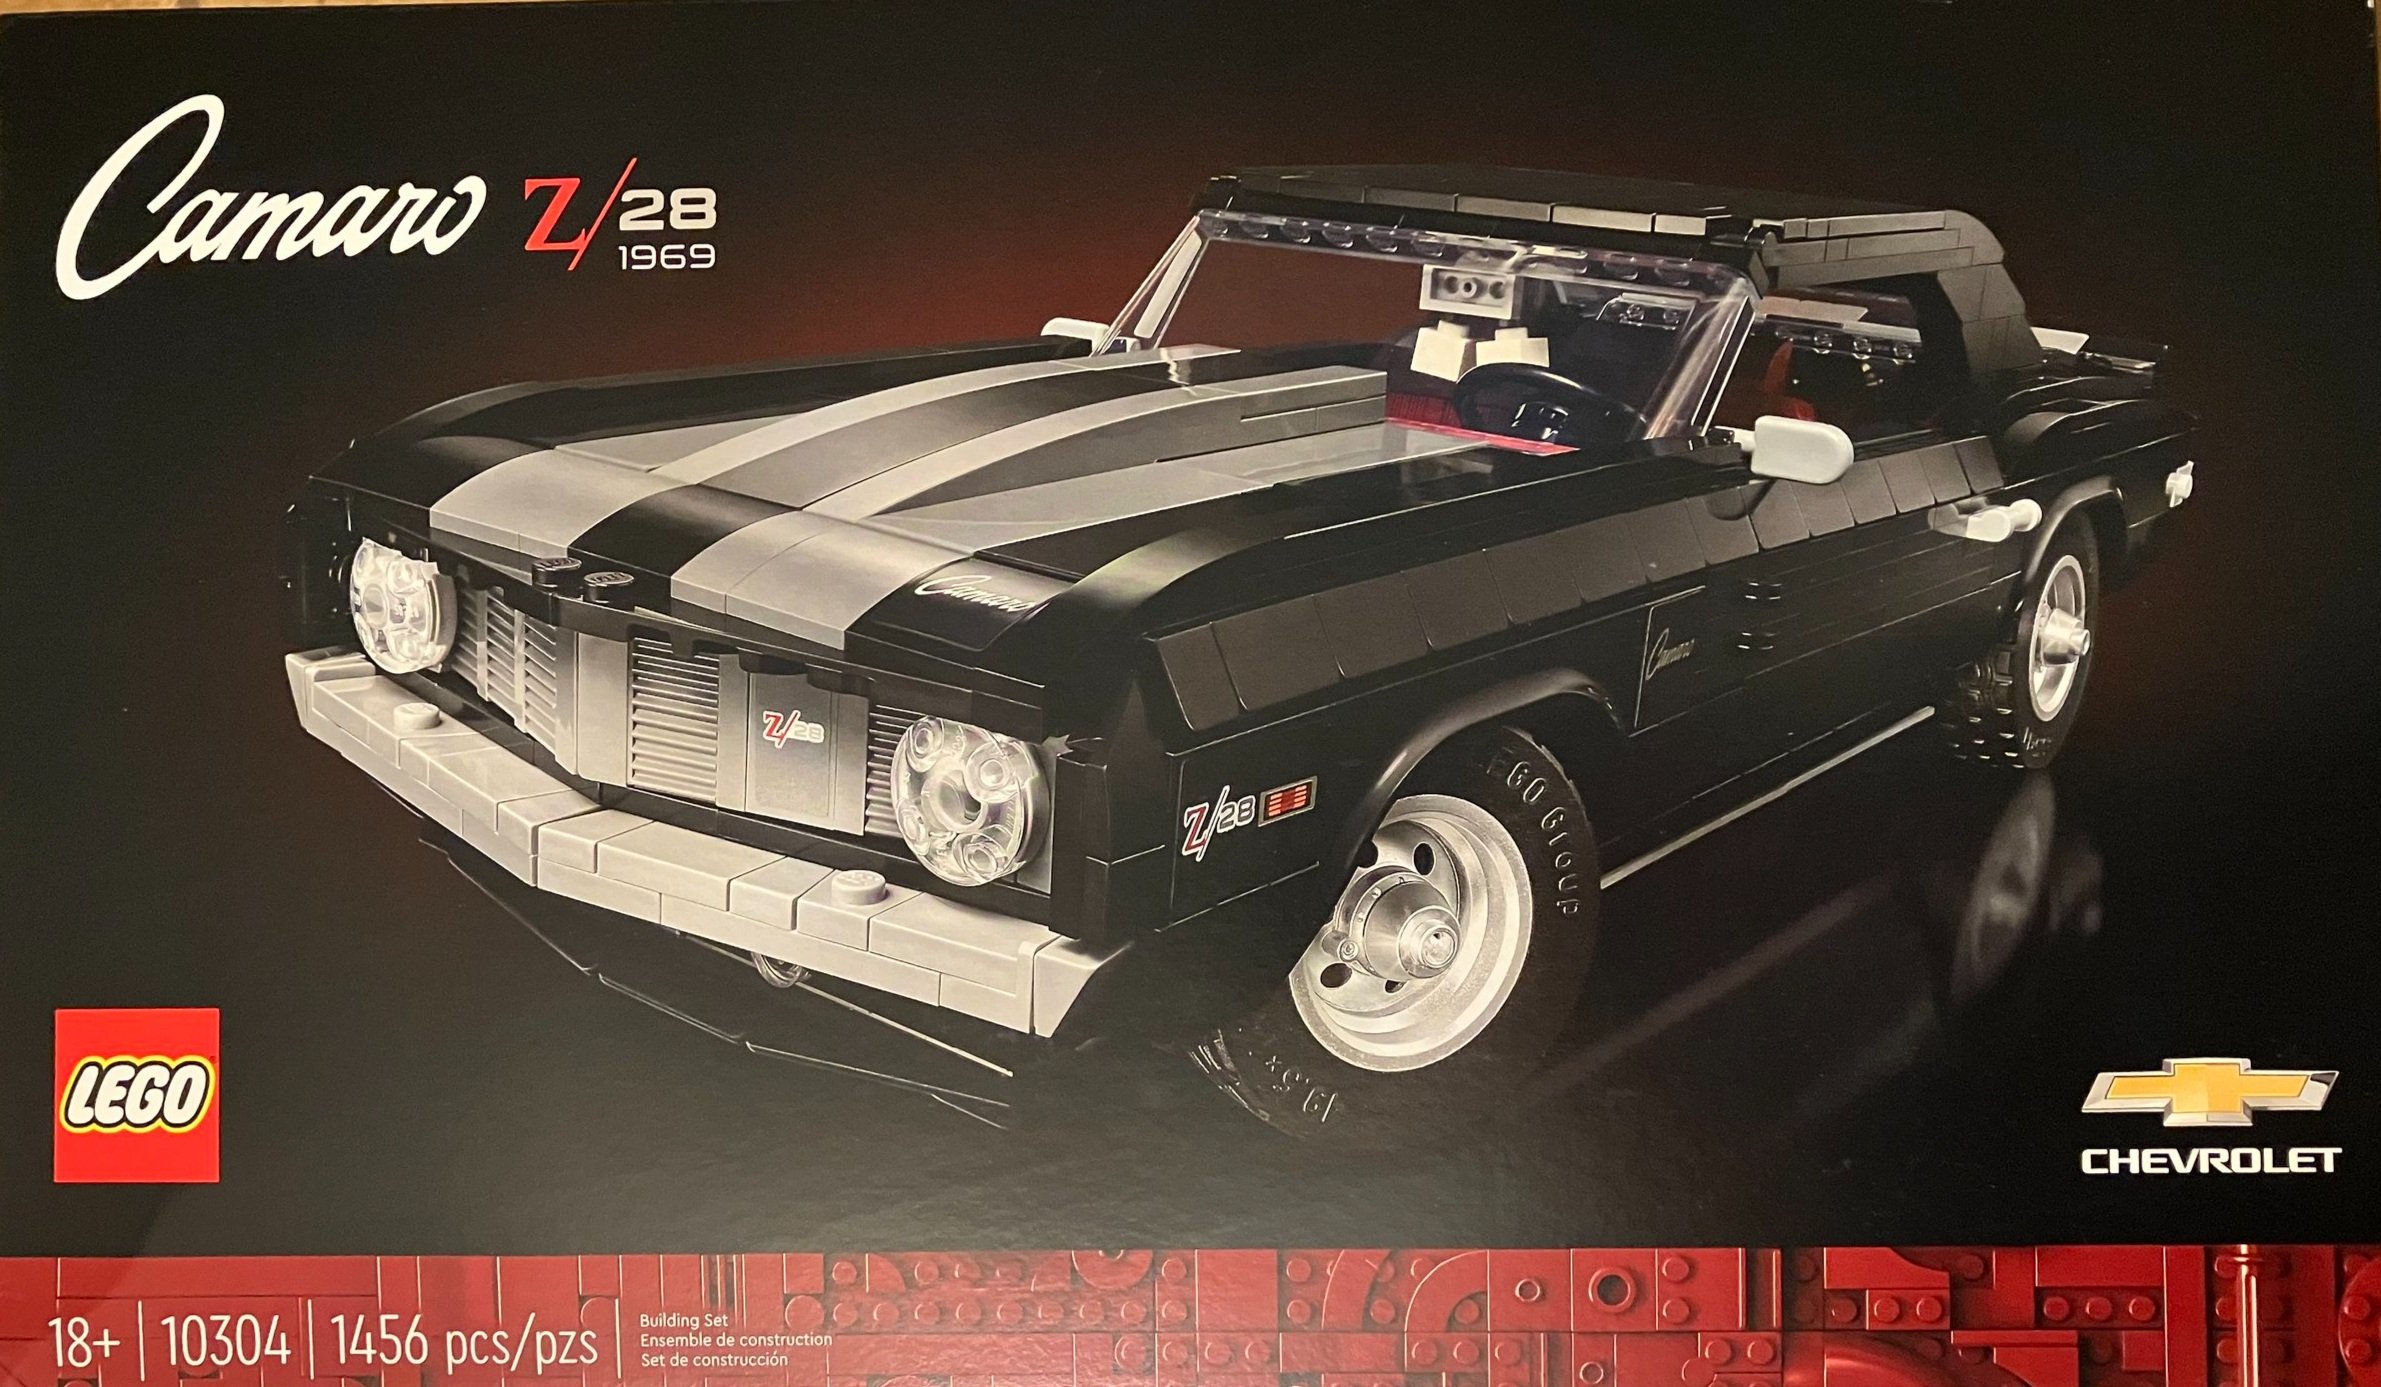
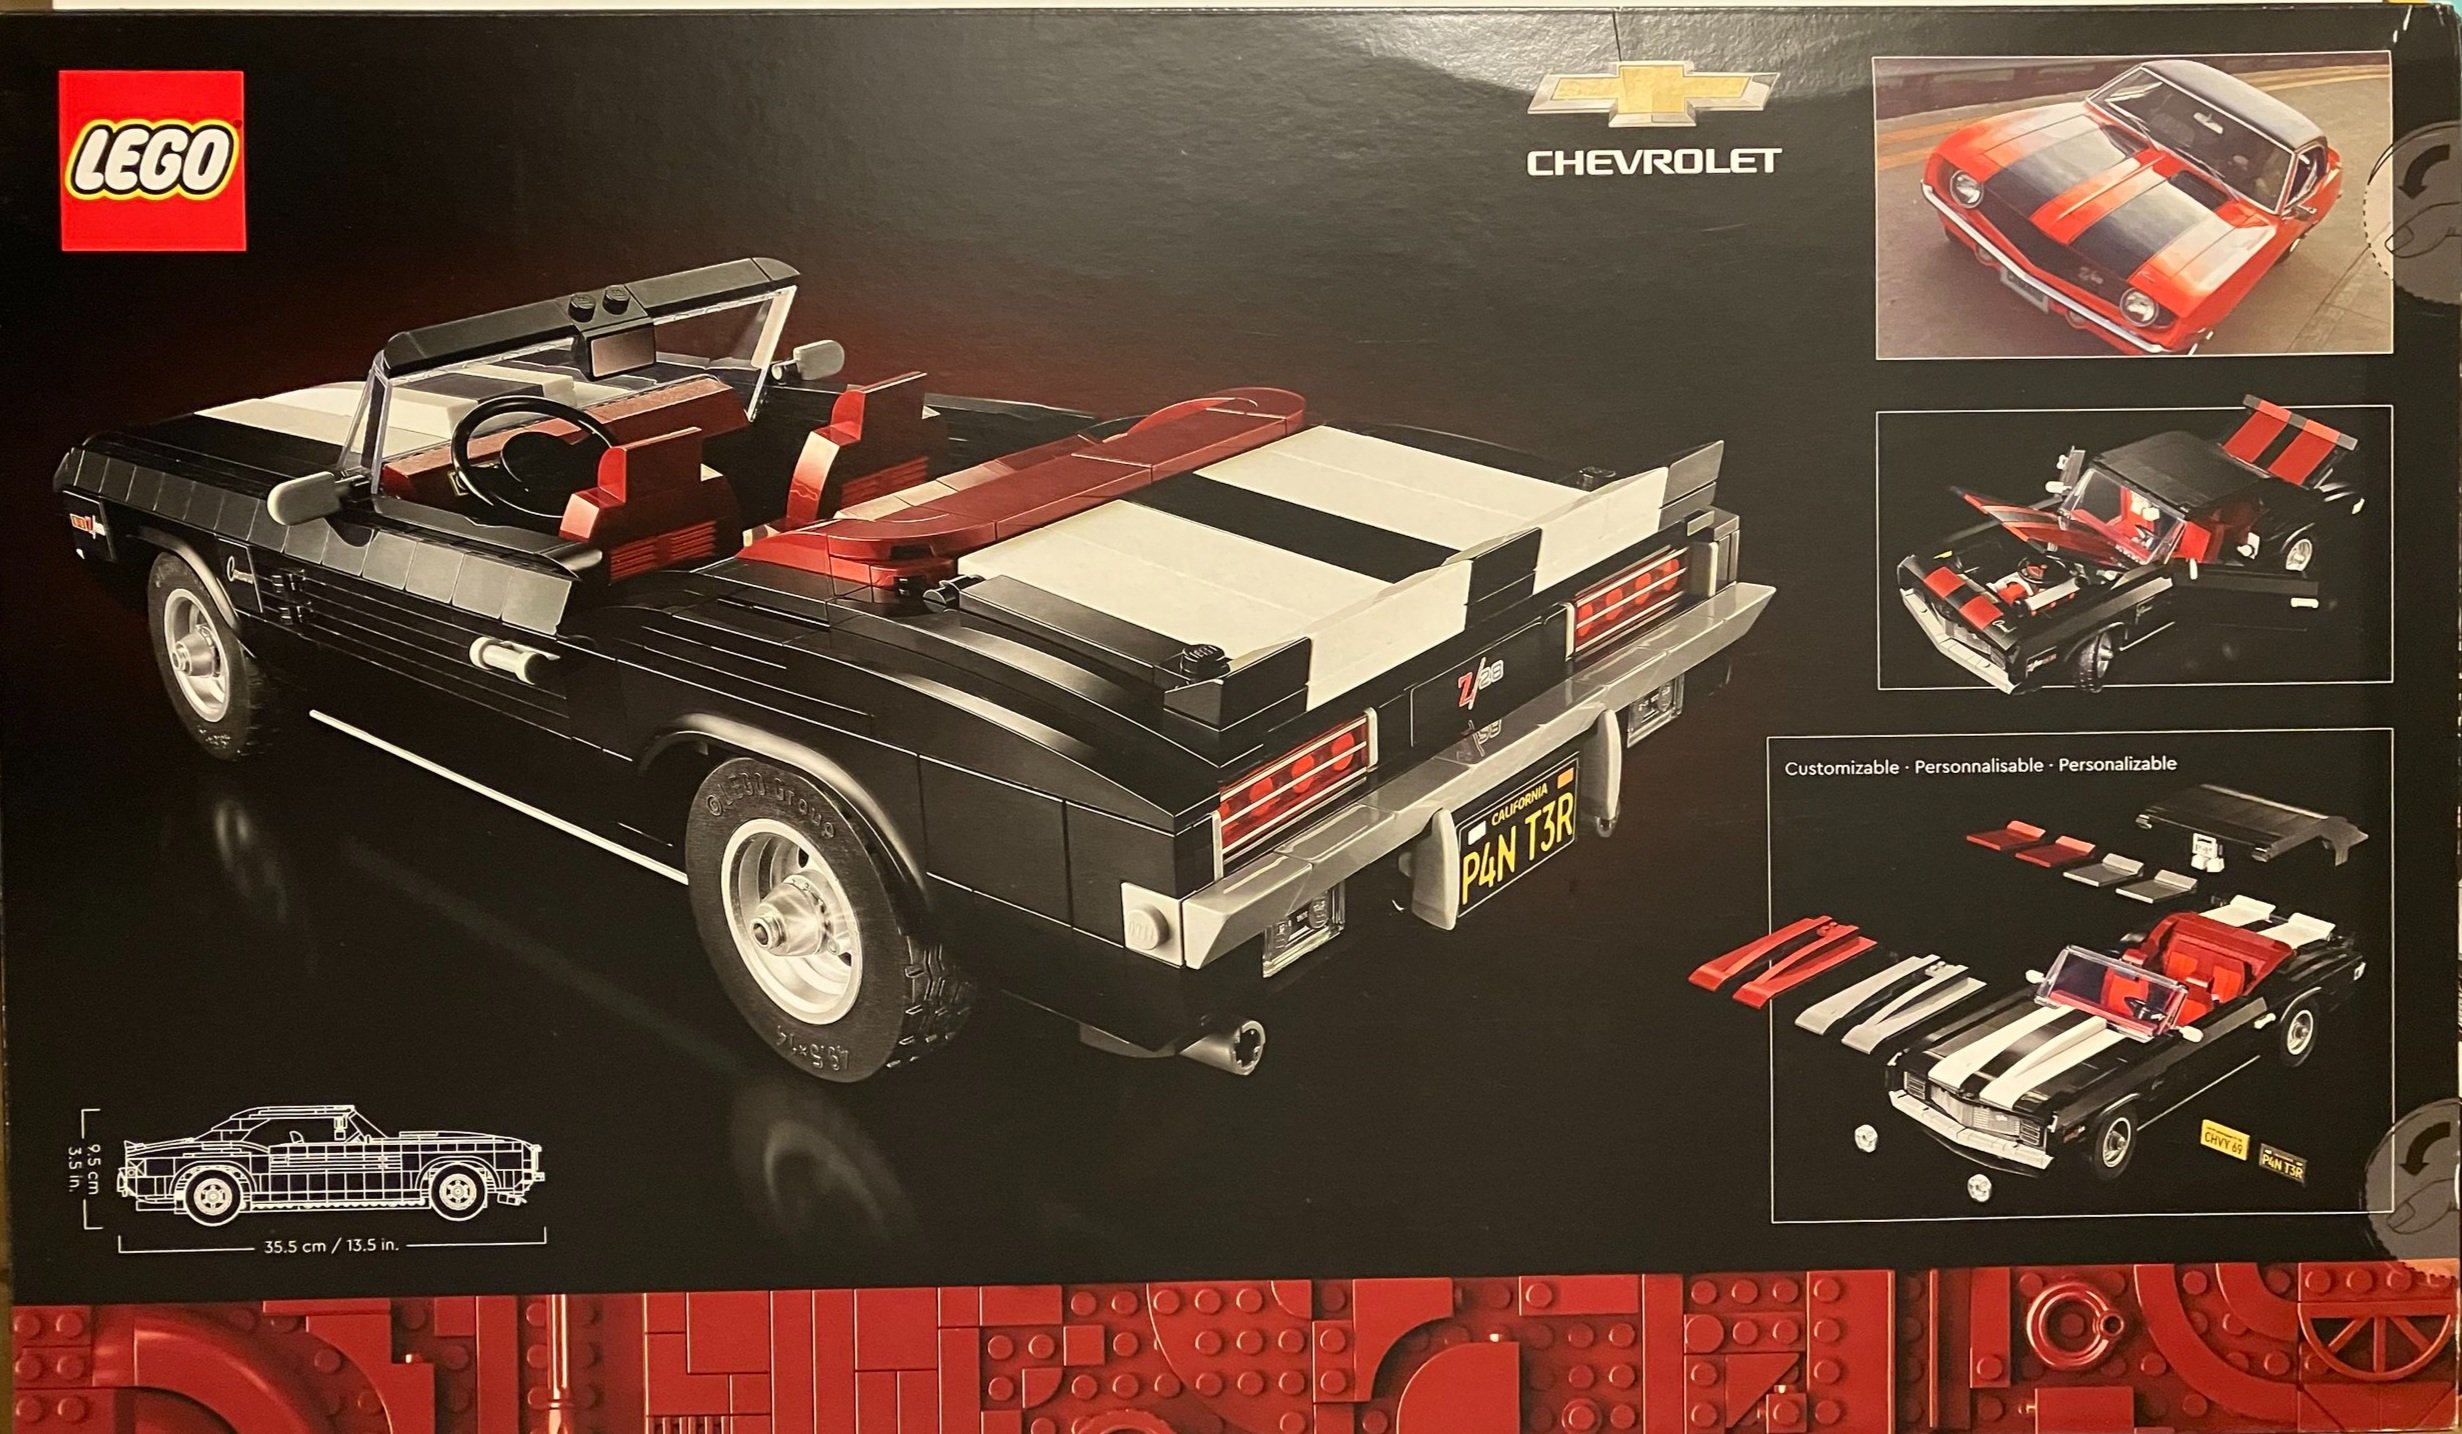
The box shows the final set on the front with some brick red colored greebling on the bottom. It also has the Chevrolet logo. The back shows a picture of the actual vehicle and some of the customization options you can use when assembling the vehicle.

This set comes with eight numbered parts bags, a sticker sheet, and the instruction book. The instructions have some information about the vehicle and its history, information on the design team, and little tidbits about the set as you go through the build.

There aren’t a ton of stickers, but still, I’d prefer to not see stickers in an 18+ set.

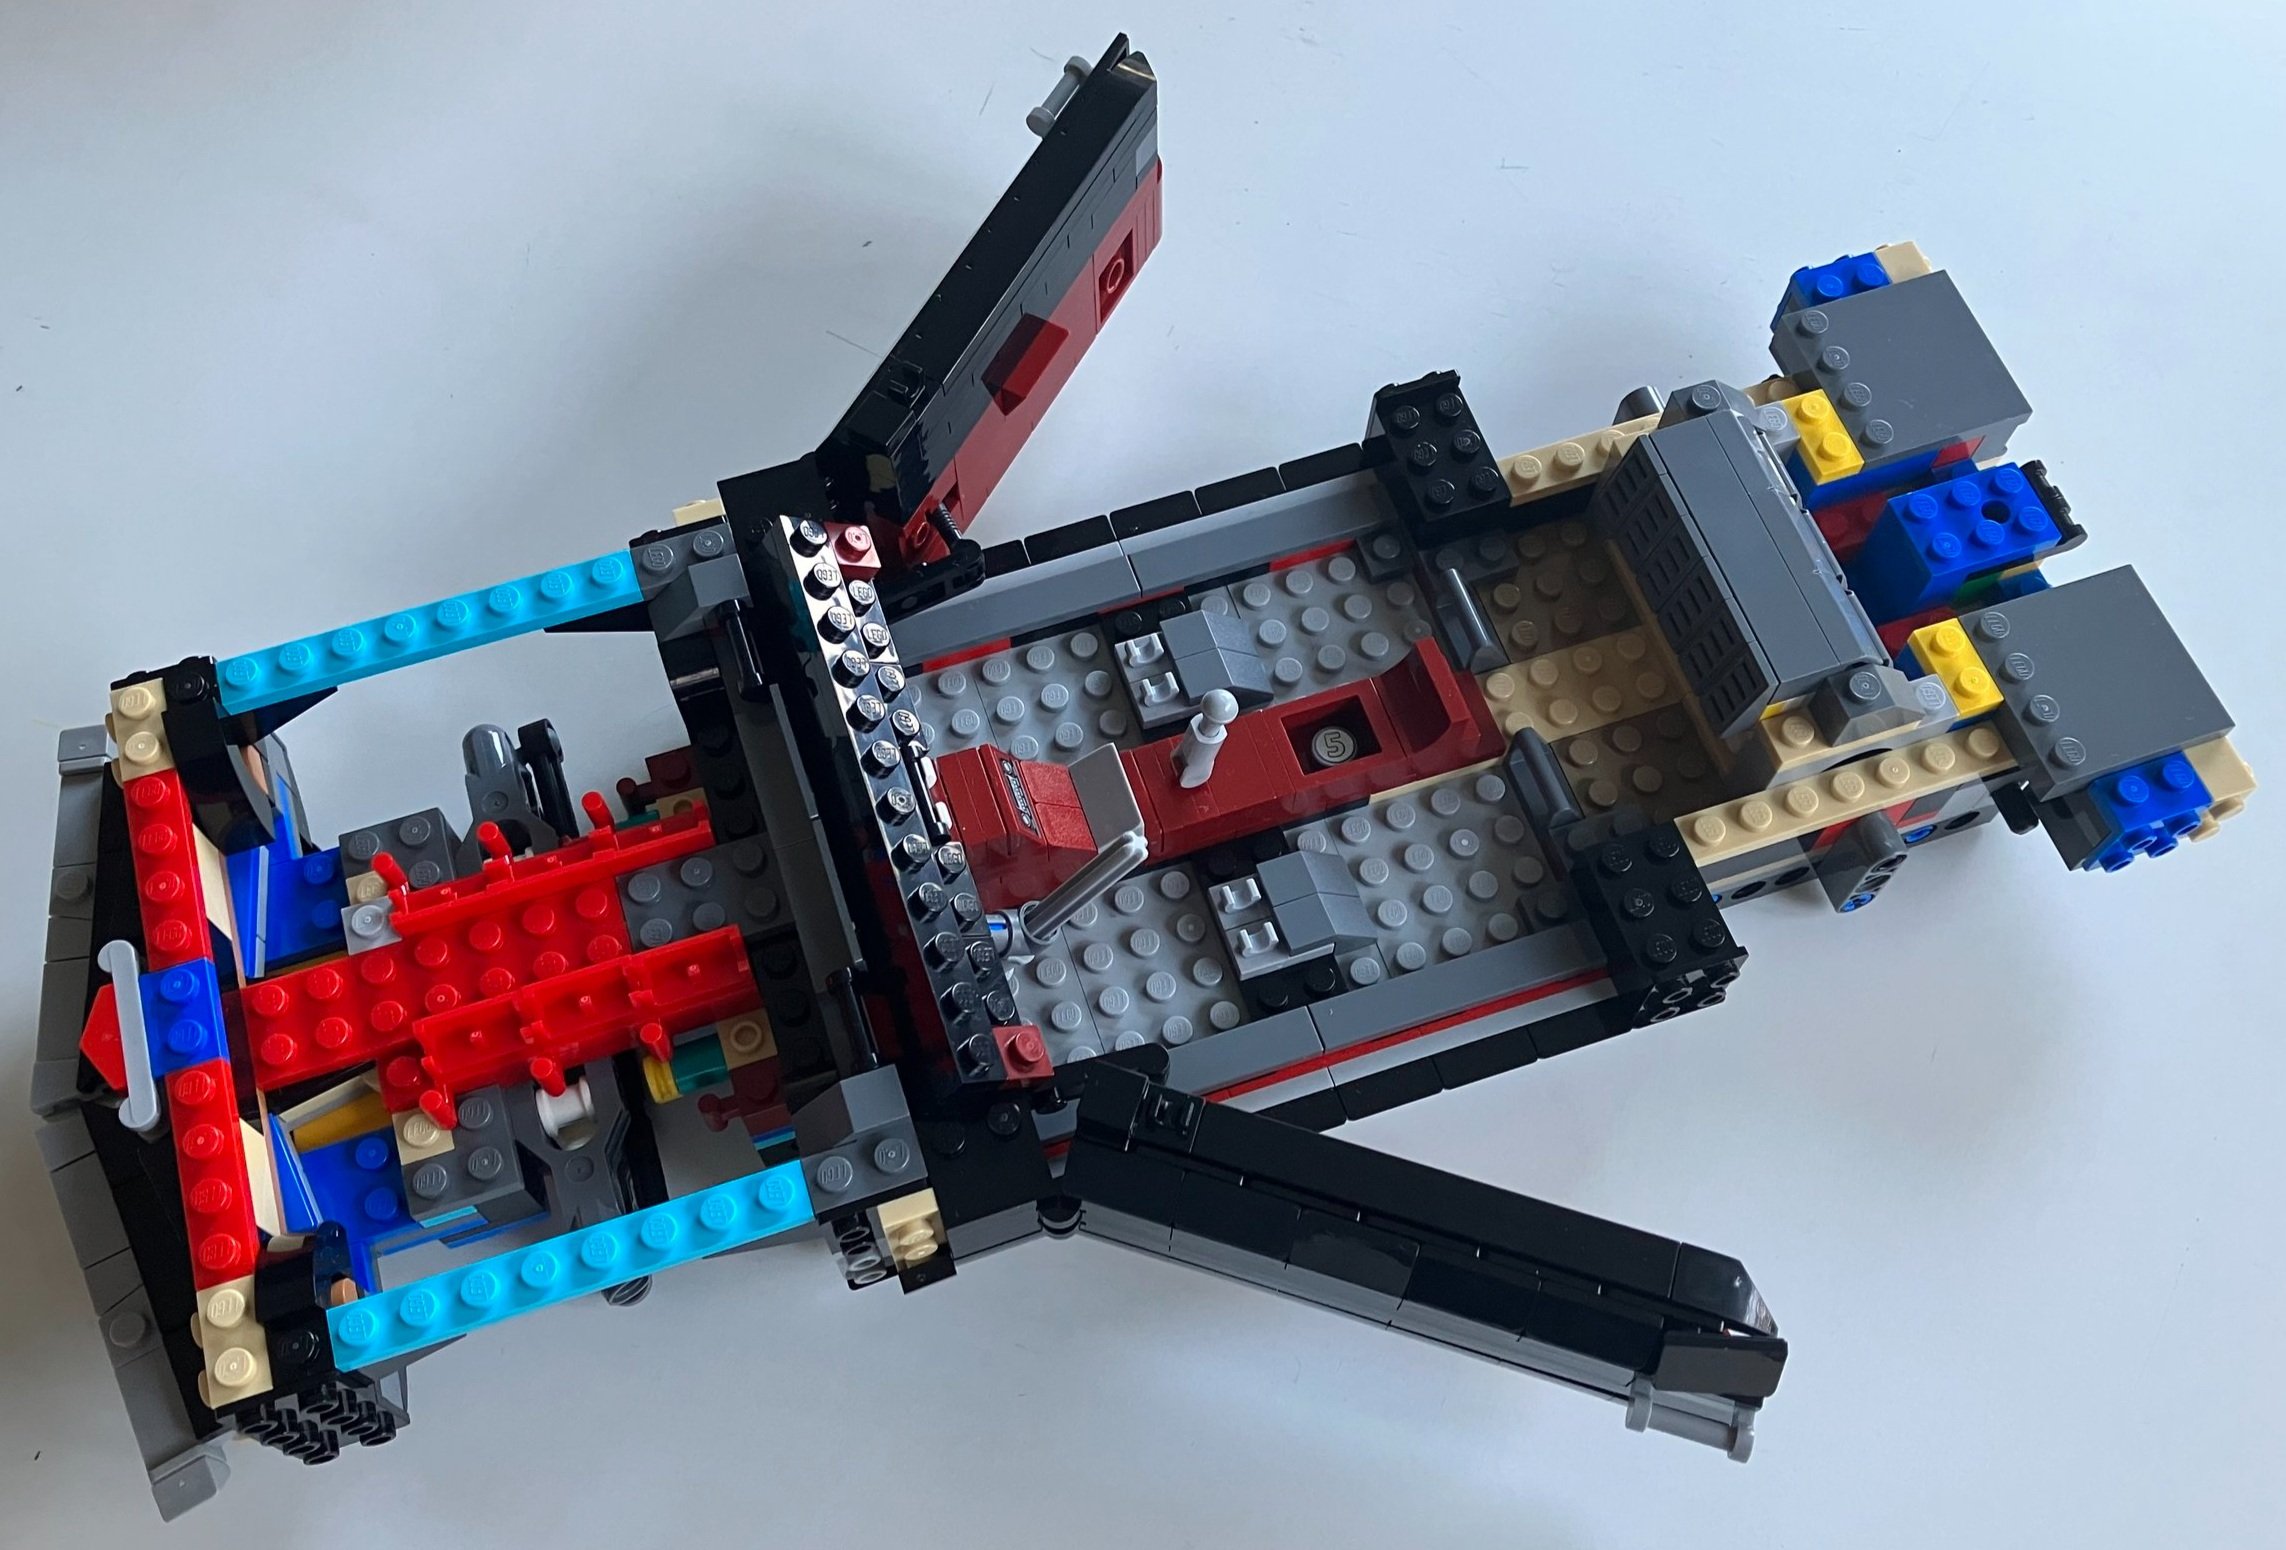
The first bag assembles the bottom of the vehicle. I didn’t show the bottom in the picture, but it has a Technic base that you build upon which helps to keep it sturdy.

The second bag adds in more of the insides, some of the steering column, and the center console with the 1x1 printed tile with the number 5 on it for a nickel I guess.

The third bag adds some of the front bumper, the front axle attached to the steering column, and adds a few details to the engine area.

The fourth bag adds the doors. They swing open and closed pretty well. The mechanism to do it sticks into the seating area slightly and wouldn’t be ideal for actual passengers. The doors fit in pretty smoothly with the vehicle and there aren’t massive gaps which is good.

The fifth bag adds some detail to the engine area. I don’t know what an actual one looks like, but I guess it is realistic. You add in some larger pieces on each side of the engine which work well, but are on the verge of being BURP type pieces.

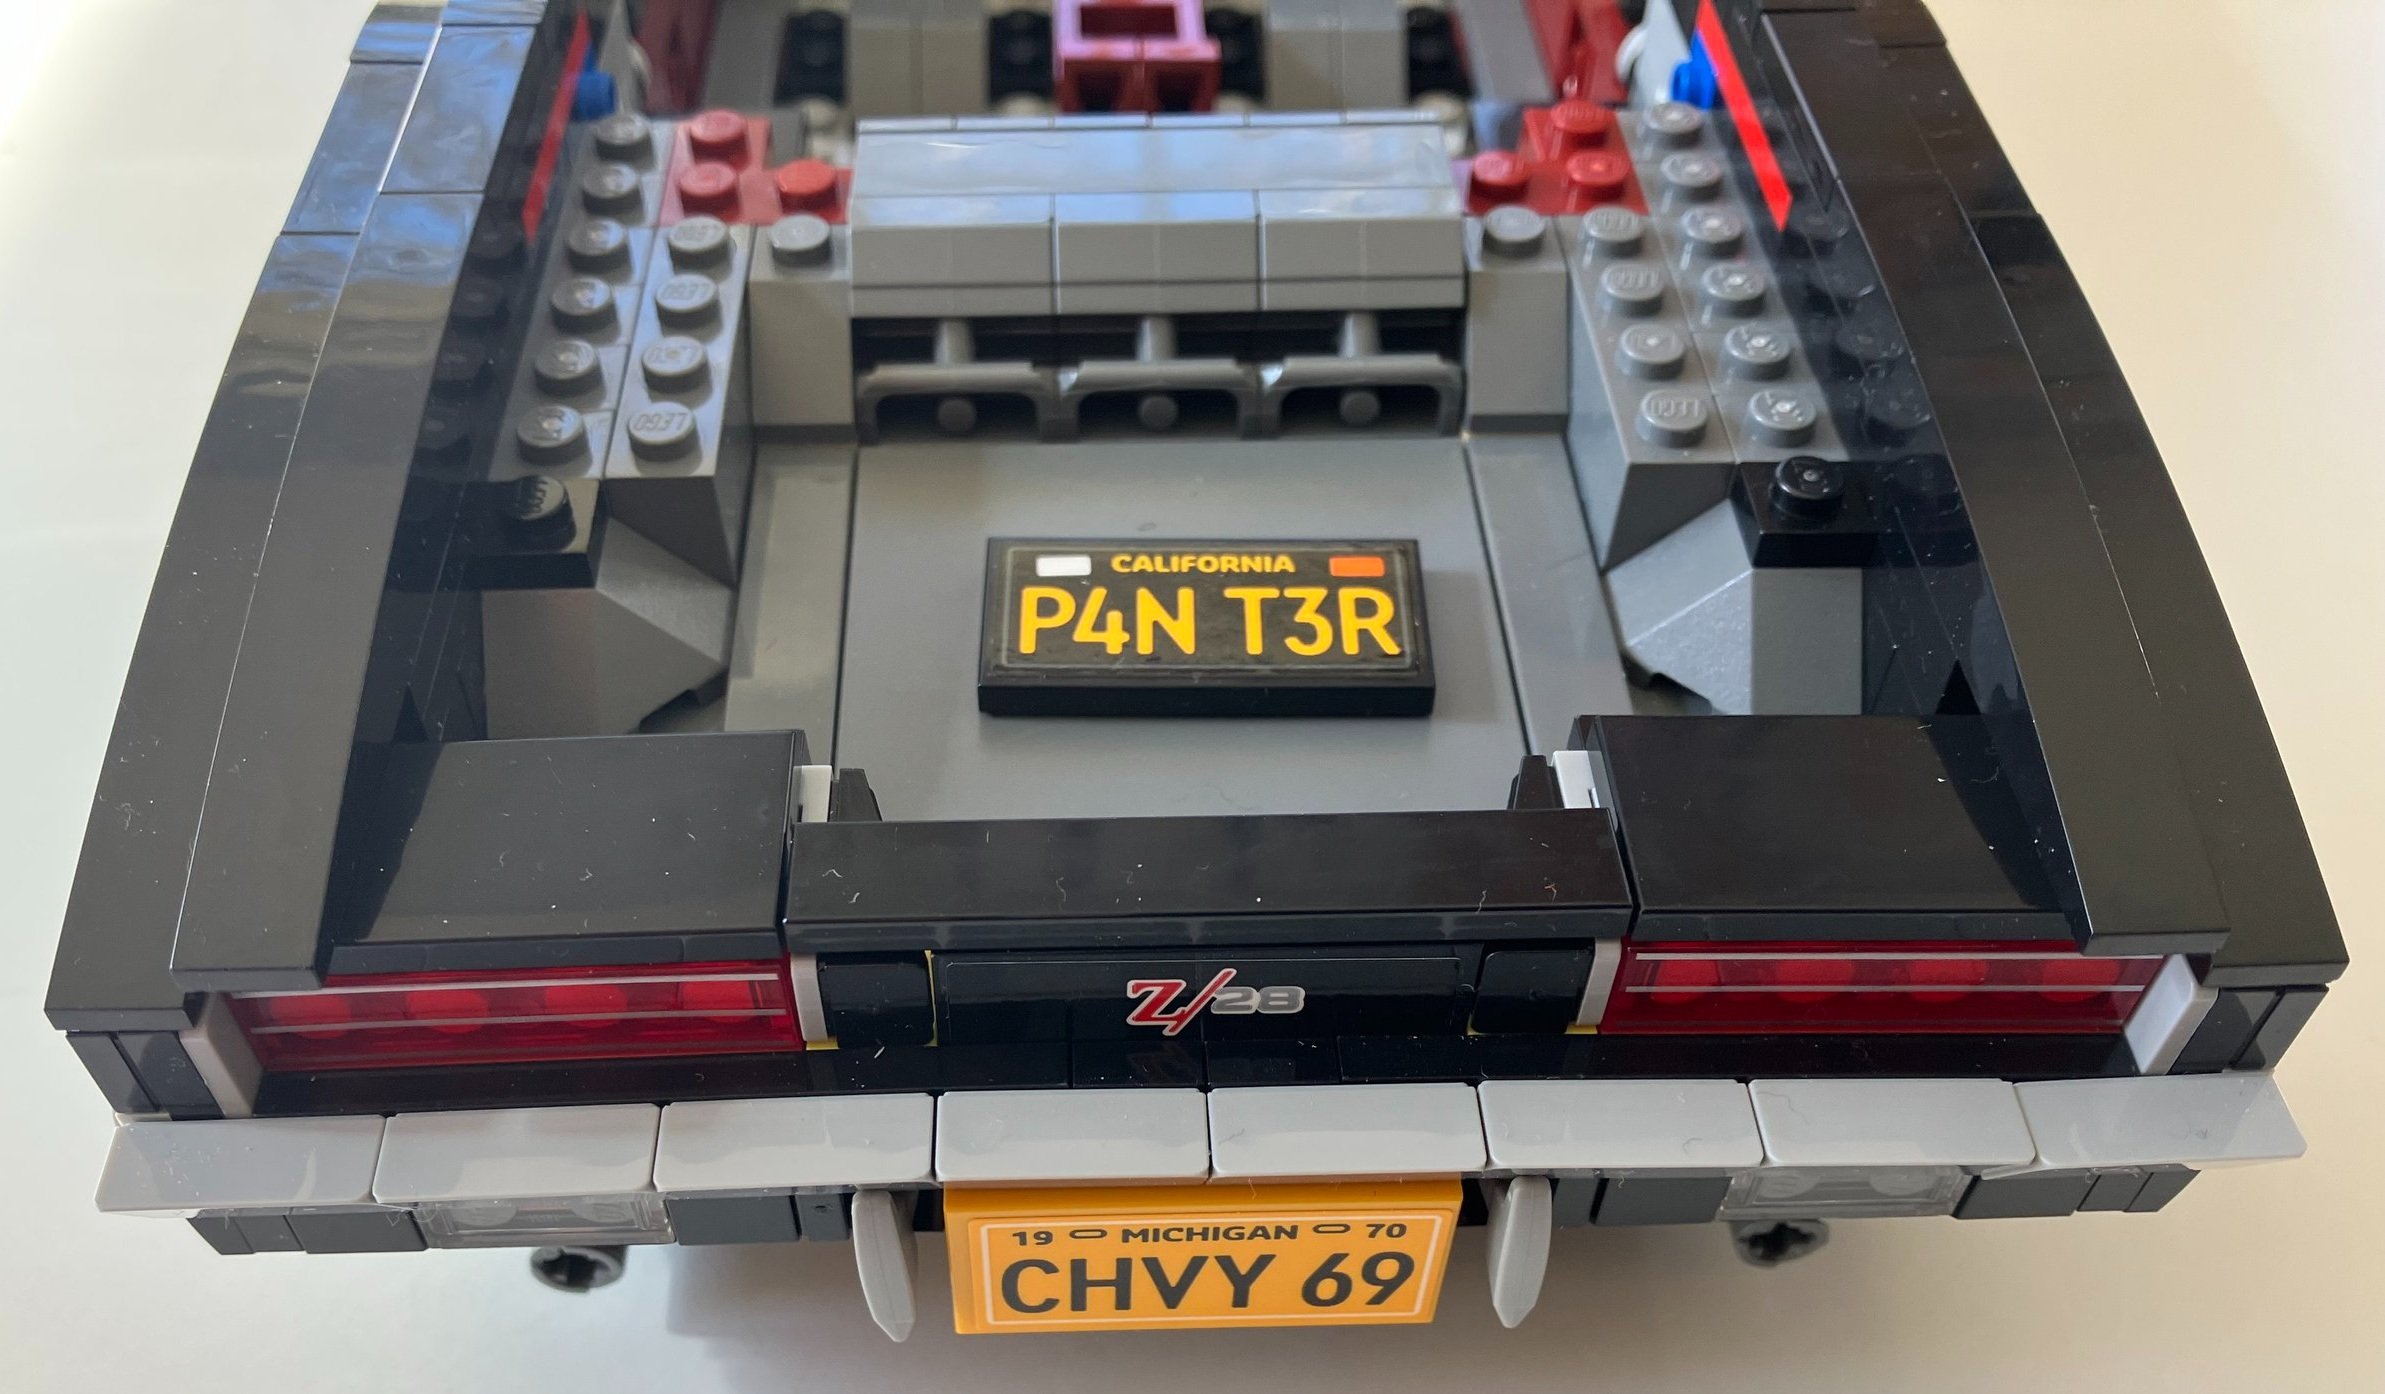
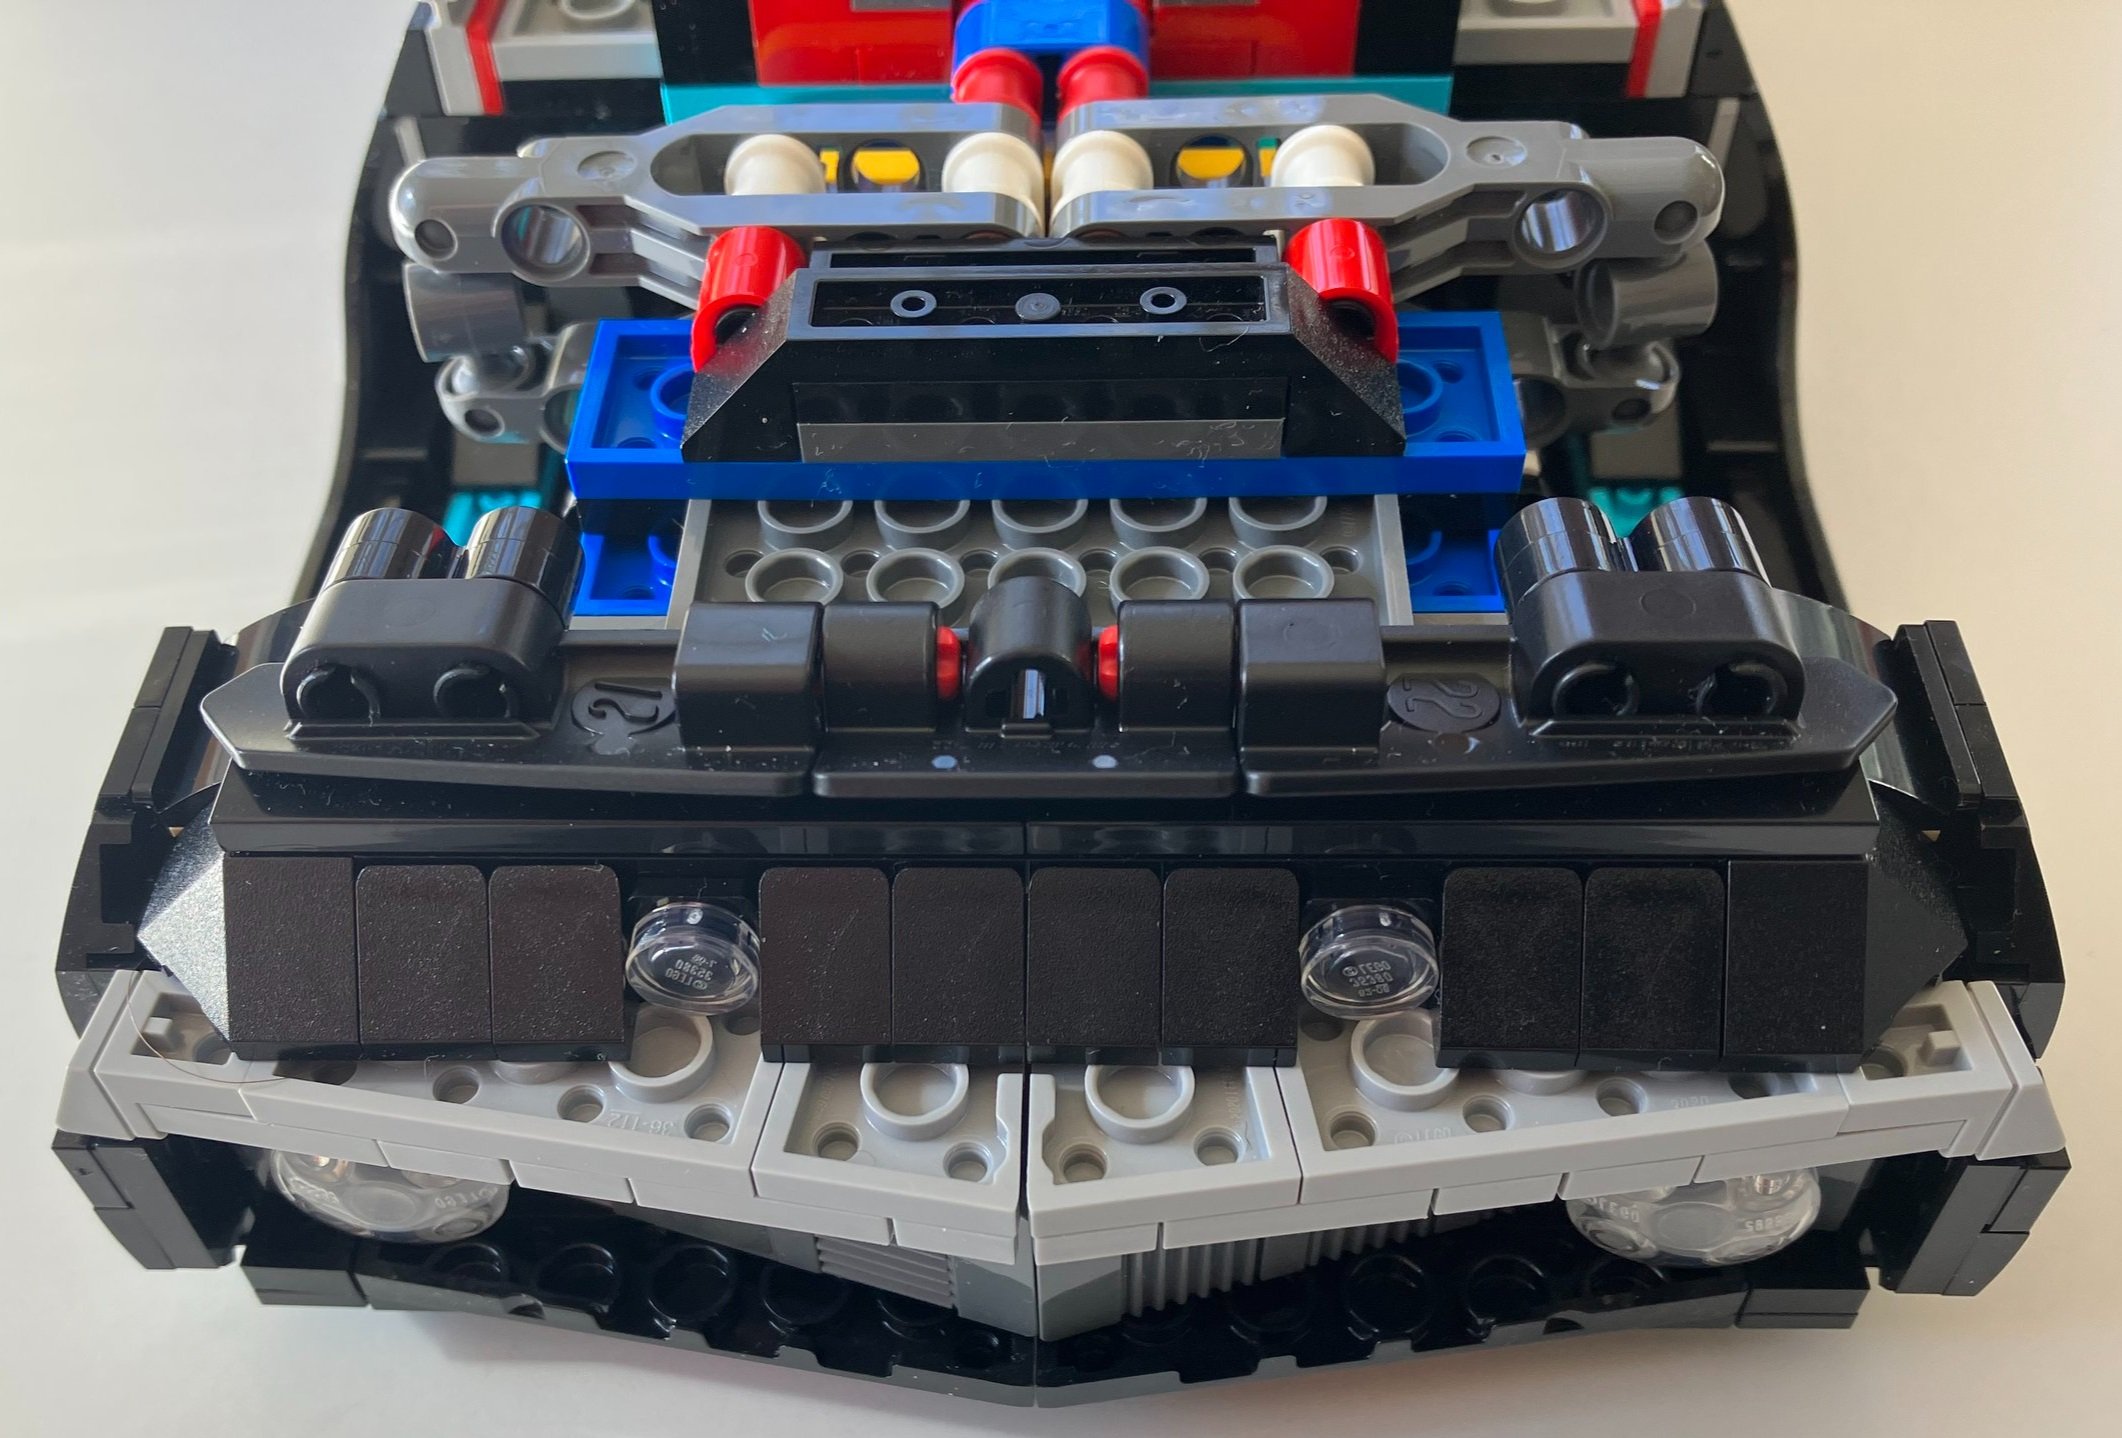
The sixth build adds in the front and back bumpers. This is where you can start to customize the build. I decided to go with the brick red stripe, but you have pieces to build each of the options shown (but only one option at a time). The instructions let you know you have options at first, but then you had to pay attention at a few steps to make sure you were doing the right version for the option you picked.

I think the designers did a good job capturing the angles for the bumpers. There are some small gaps, but overall it looks pretty good.

The back of the vehicle has some large ax pieces as one of the structures. I’m not sure what the specific detail is called nor do I know what set the huge ax piece is from, but I like the use of the piece and I think it fits there perfectly on either side of the license plate. You get two options for license plates. One is California and the other is Michigan. No options for Germany or outside the US like the Mustang or Porsche. Maybe that’s because this vehicle was only available in the US back when it was released by Chevrolet. I don’t know.

The seventh bag builds the front hood. No issues with the design here. It doesn’t open up very high due to the windshield, but it’s not a major limitation. You also build the bench seat in the back and the two seats in the front. I like the red stripe on the hood with the red seats. The steering wheel is a bit bigger than some of the previous vehicles. I’m not sure if it’s to scale or not, but it works okay for me.

Bag eight wraps up the set with the trunk, the rear window, and the roof (assuming you decide to build the set that way. My set didn’t have scratches on either of the windscreens. I’ve heard of a few folks complaining about this recently, but I haven’t seen it on any of the sets I’ve purchased with larger windows.

The hub caps are silver and you add another silver piece on top versus a Technic piece like you do with the Mustang and Porsche. I think this makes it look a bit more classy than the other two vehicles.

Overall, I enjoyed the build. It’s not super detailed, but I think there is enough detail considering the scale of the vehicle. I like that you have options for assembling the car and you can change it up as you want. As for downsides, the price obviously isn’t the best and when looking at the previous two vehicles, it does have some similarities which make you feel like you’re building the same car again. Unless you are a big fan of classic vehicles, I wouldn’t rush out to grab this one right away. Wait for a sale, double VIP points, a GWP, and/or some other bonus.

I still have #10295-1: Porsche 911 and #10265-1: Ford Mustang assembled and on display. They all look about the same size for length and width.

Here you can see the Technic piece that you put on the rim of the Mustang (left) which is the same for the Porsche versus the different piece of the Camaro. The Camaro also looks a little sleeker than the Mustang from that angle.

You can also see the wheels are different The Mustang (right) has thicker wheels which is the same as the Porsche (not pictured). The Camaro’s wheels are thinner. I have no idea if that is to scale or not. You can also notice the bottom of each vehicle, the lack of details (not surprising considering the scale), and the similar axles. The Mustang’s customization was related to making the car more of a hot rod versus changing color, which was okay with me.

Feel free to share your thoughts on the different vehicles in the comments below or send me a note at store@bricksforbricks.com. I’m curious to hear what you all think.

LEGO in the News - Wall Street Journal - Investing in LEGO is Booming?

I didn’t see this anywhere else in the LEGO Fan Media so I figured I’d publish this one. Apparently LEGO investing is where it’s at and you can make big money buying and selling it. If you watch this just under 6 minute video, you’ll see that you can make better returns than the stock market.

As someone with a Bricklink store, I can say sets and minifigures sell, but all of your sales are not what the video says. It takes work and time and not all sets have the huge returns that the videos spotlights. I can point out some of the sets that I have had for many years and they have not sold. My advice would be to be careful before jumping into “investing in LEGO.” Just because a bunch of folks on YouTube say you can make big money doesn’t mean that it’s going to be a huge cash cow. So be warned and enjoy this clip.

Set Review - #910013-1 - Retro Bowling Alley - Bricklink Designer Program

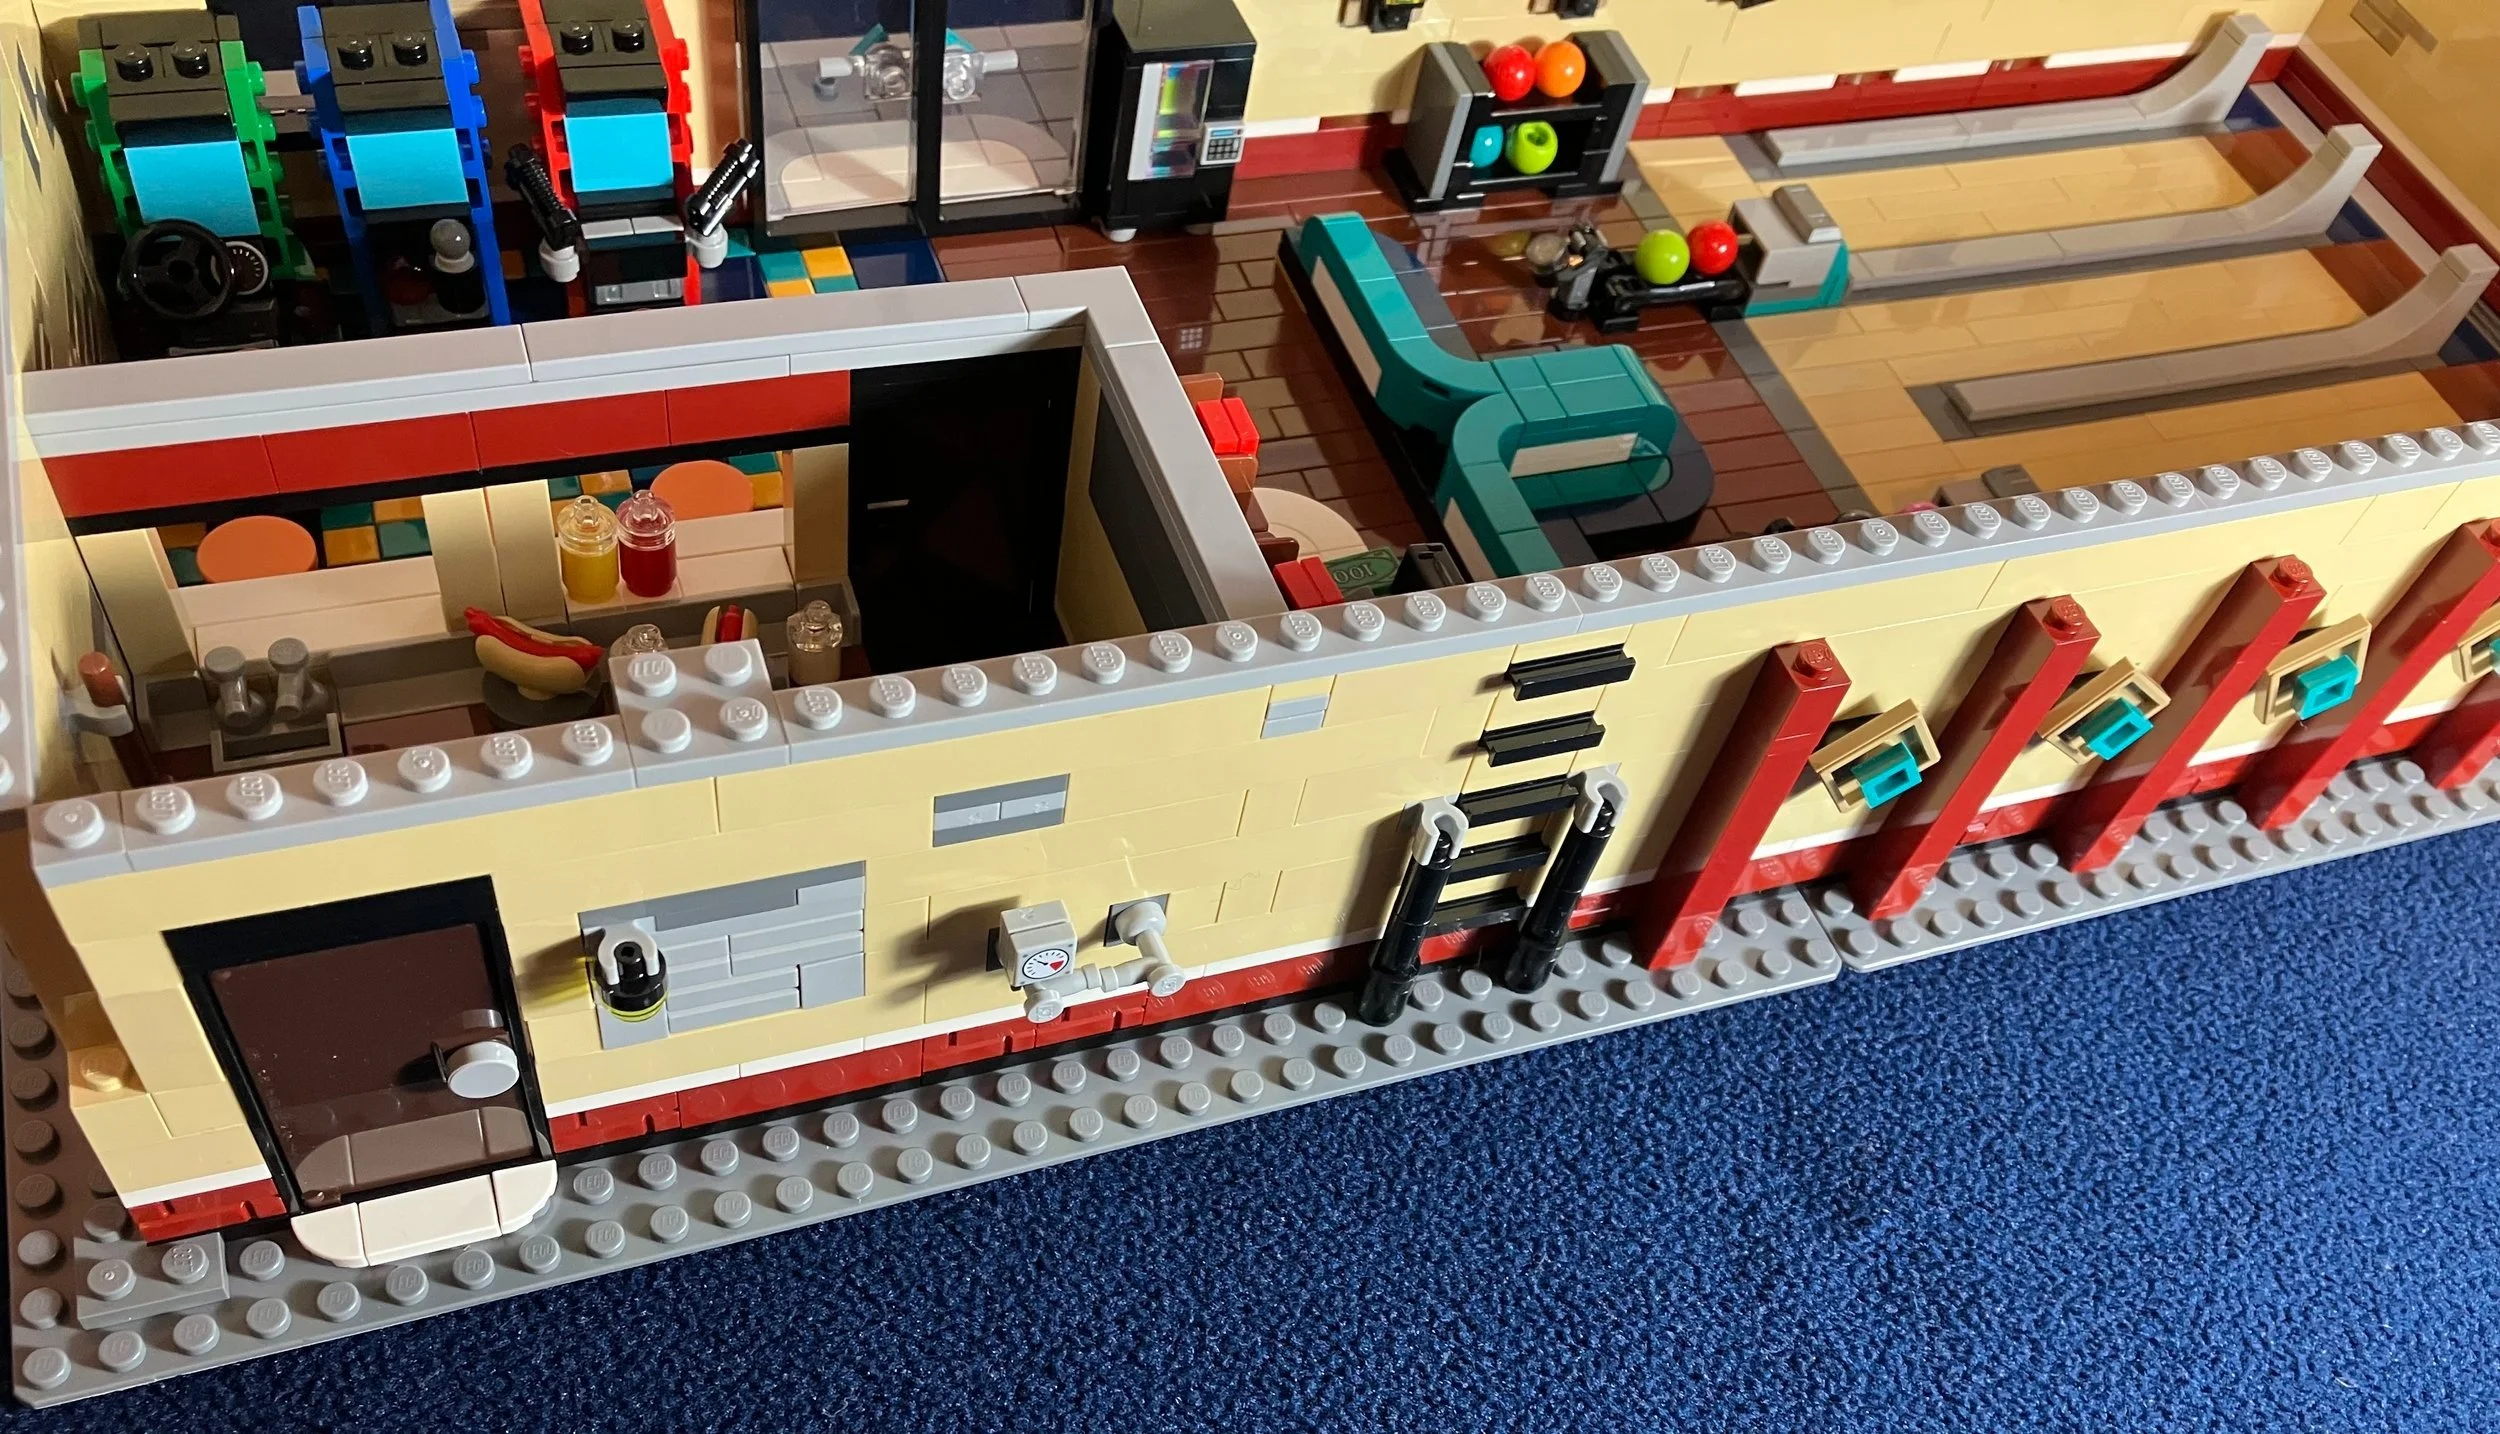
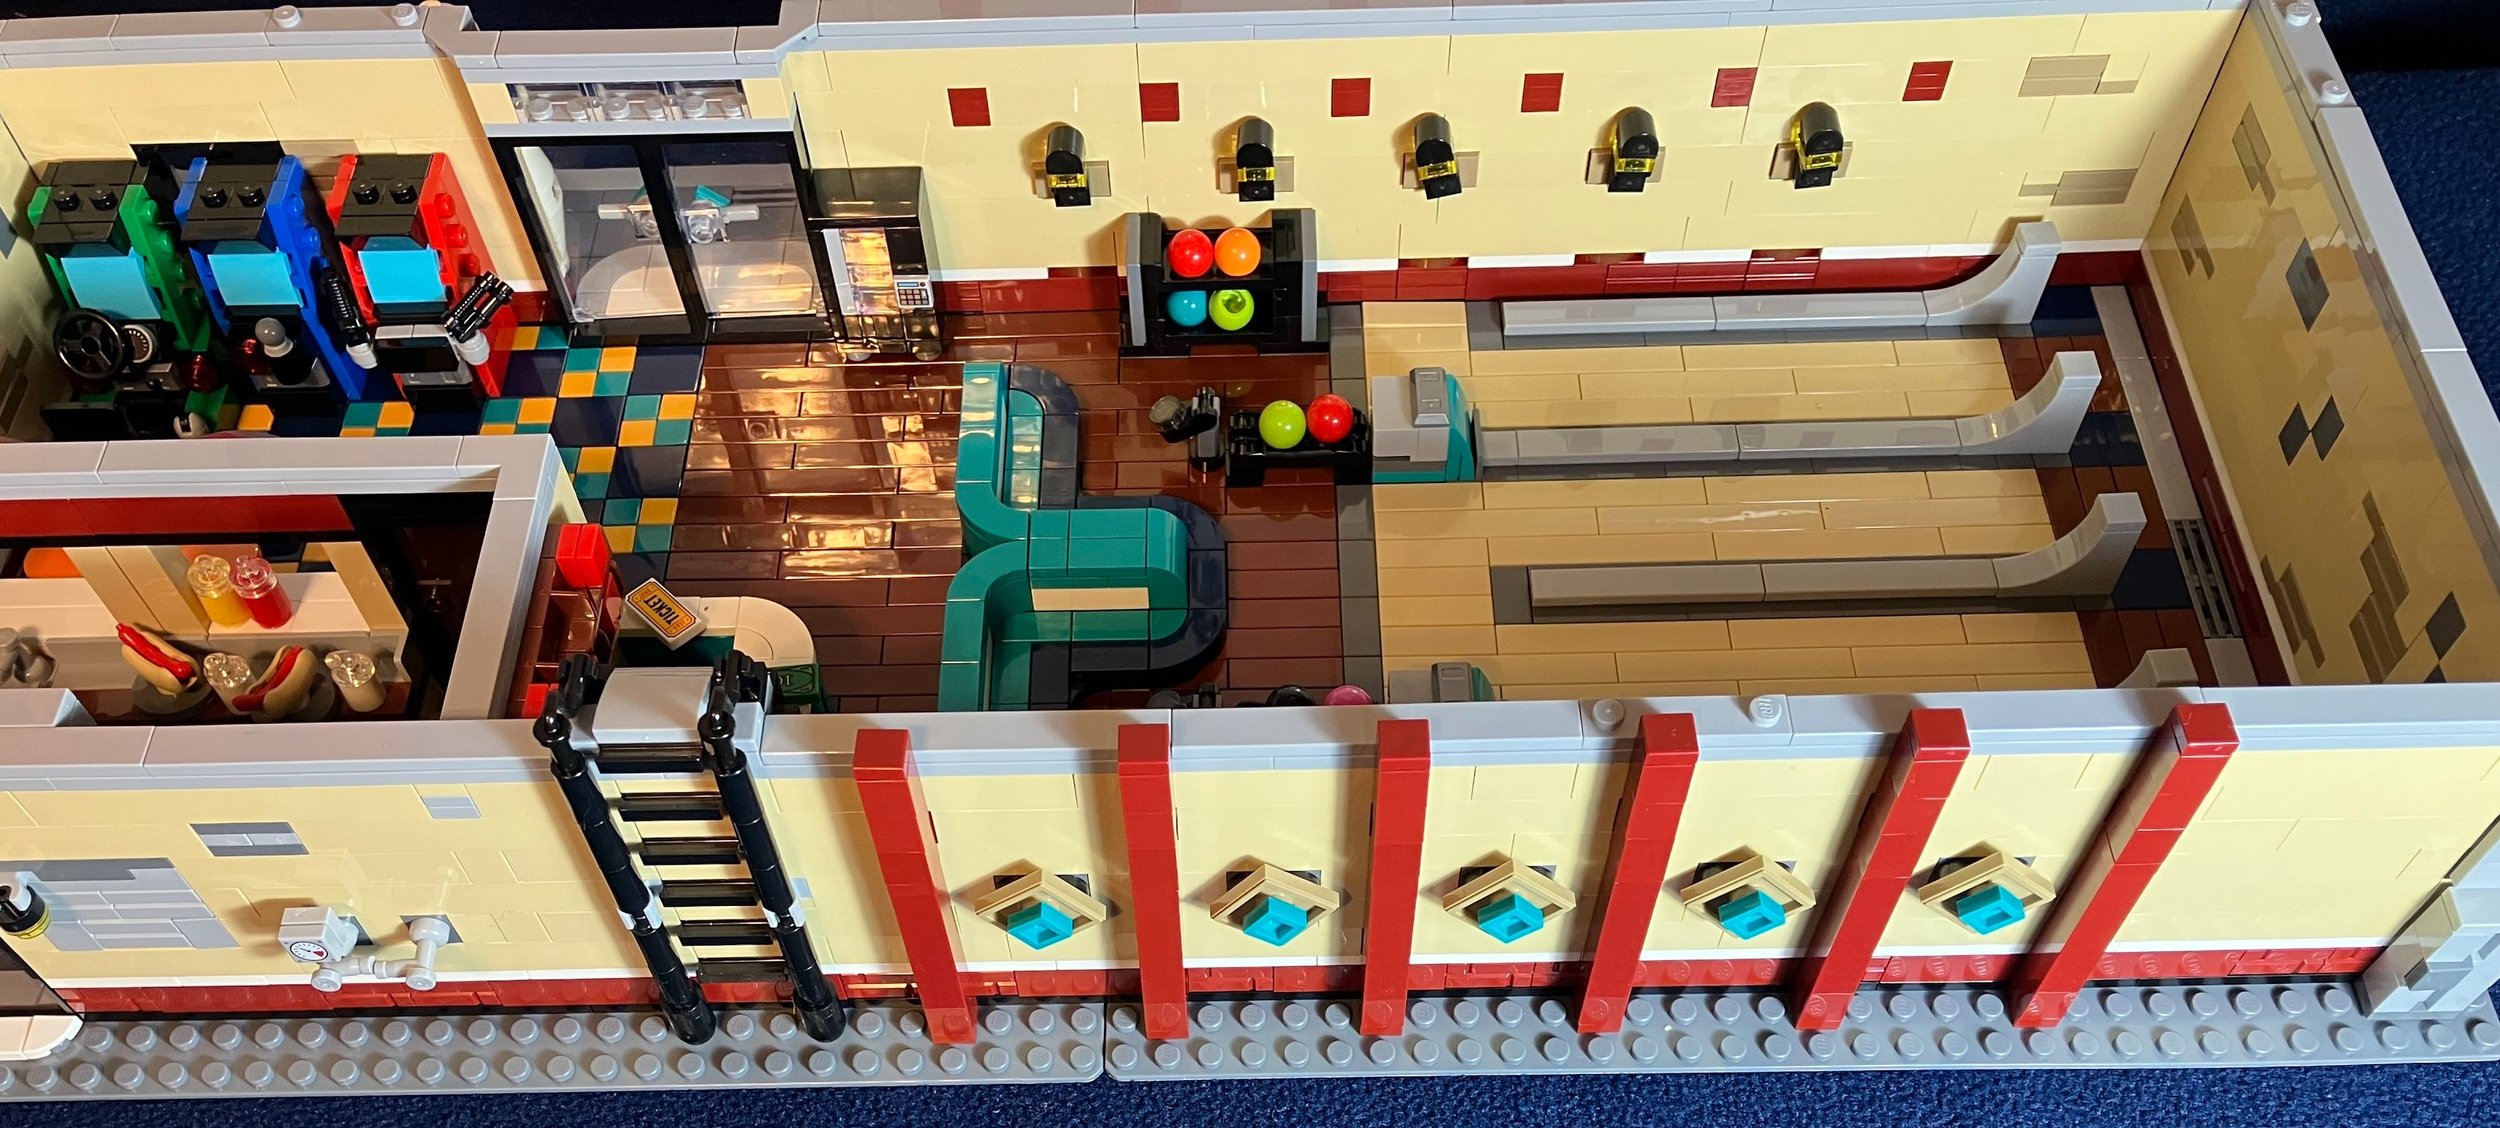
Here’s another one from the second round of the 2021 Bricklink Designer Program sets. You can check out the Bricks for Bricks store on Bricklink to see some of the Bricklink Designer Program sets I have for sale. This one is #910013-1: Retro Bowling Alley. It contains 2,779 pieces and retailed for $229.99 pieces. This worked out to $0.083 per piece. Given the limited production run of the set, don’t count on finding this set for that price. You probably could try to piece it together. I’m not sure what the cost for that would be and you’d miss out on the stickers.

Onto the review…

The box is similar to other Bricklink Designer Program sets. It’s white with the Bricklink logo on the front and back. The LEGO logo is on the side. The front shows the full set and gives the standard information you’d expect to see on a LEGO set. It also states the designer’s Bricklink name which is avlia (Alan Avila from California, USA). The design is in line with #10260-1: Downtown Diner and in the retro 1960s US style. The back shows the set from a different angle and with the roof removed.

The set contains 15 number parts bags with one or two bags per number. There are three bags that are not numbered. The set also comes with a sticker sheet, two 32x32 dark gray baseplates, and a card explaining the instructions.

I started this build outside when it was still nice outside, hence the table in this picture.

Here is a picture of the stickers. Thankfully, there were only a few, but my sheet was stuffed in the box and got bent a bit. In the end, the stickers went on fine so I guess I can’t complain.

Also, the Bricklink designer sets come with a special seal to show that they haven’t been opened. Only my set came without the seal attached so… thanks! Everything was there, but it lost a bit of the exclusiveness when I saw that.

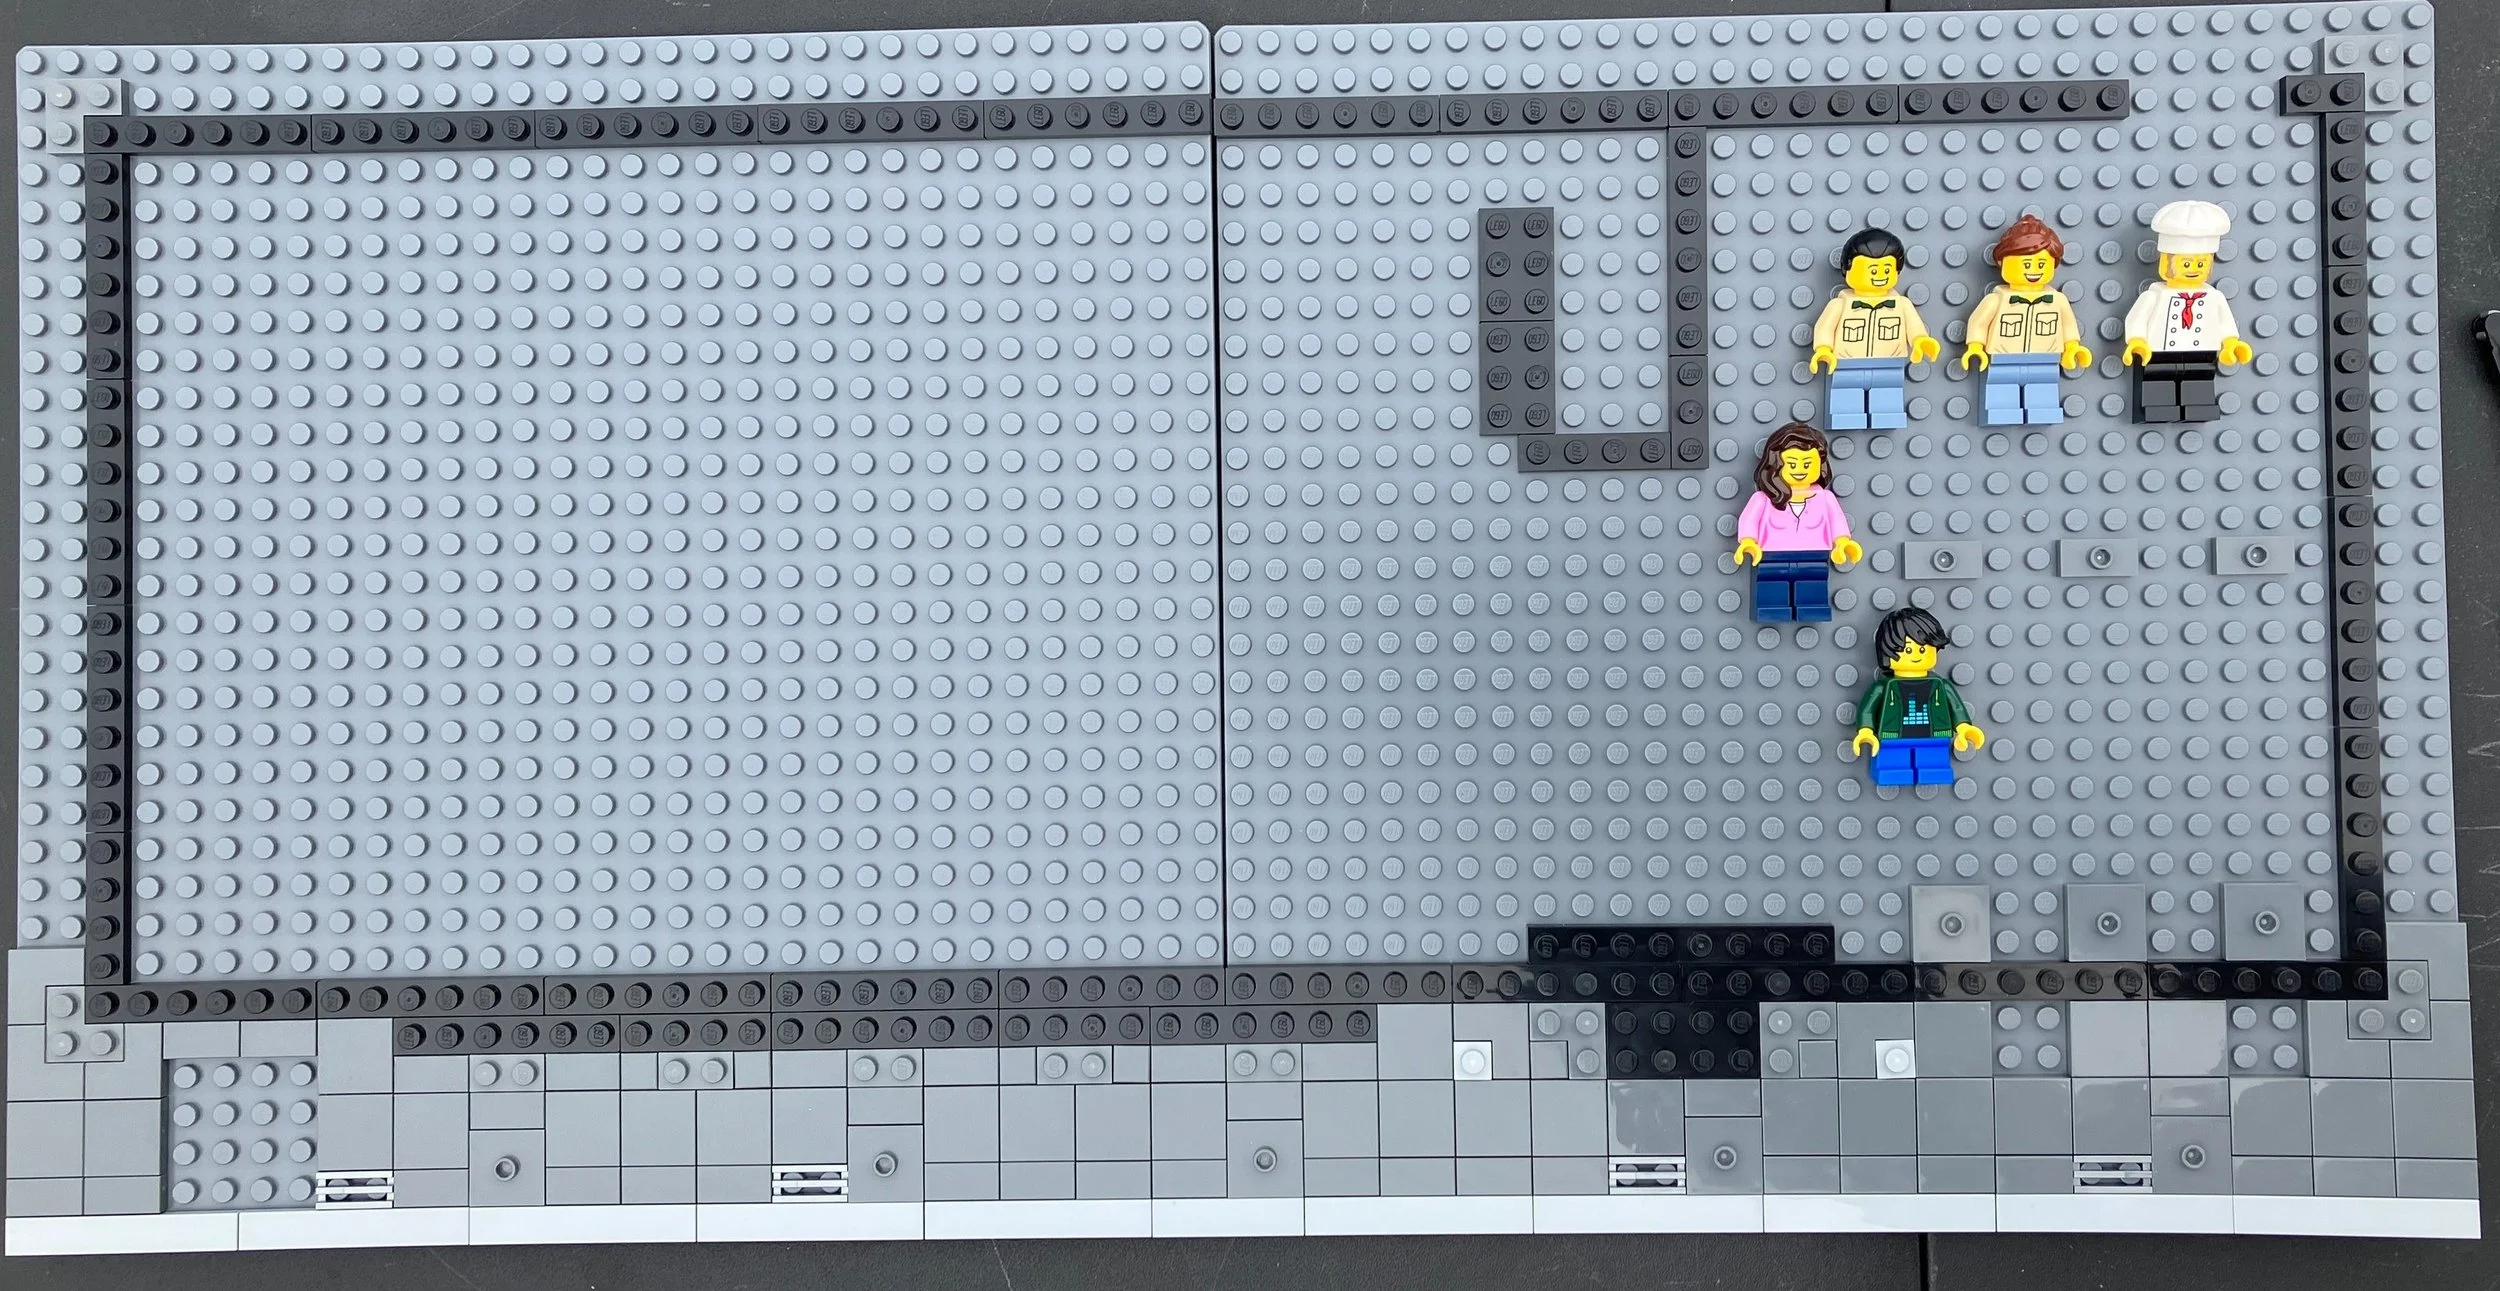
The first bag starts similar to a modular building with the construction of the sidewalk and then the outline of the building. I originally thought it was going to be built so you could easily separate the two baseplates, but eventually you lay a piece down that connects the two.

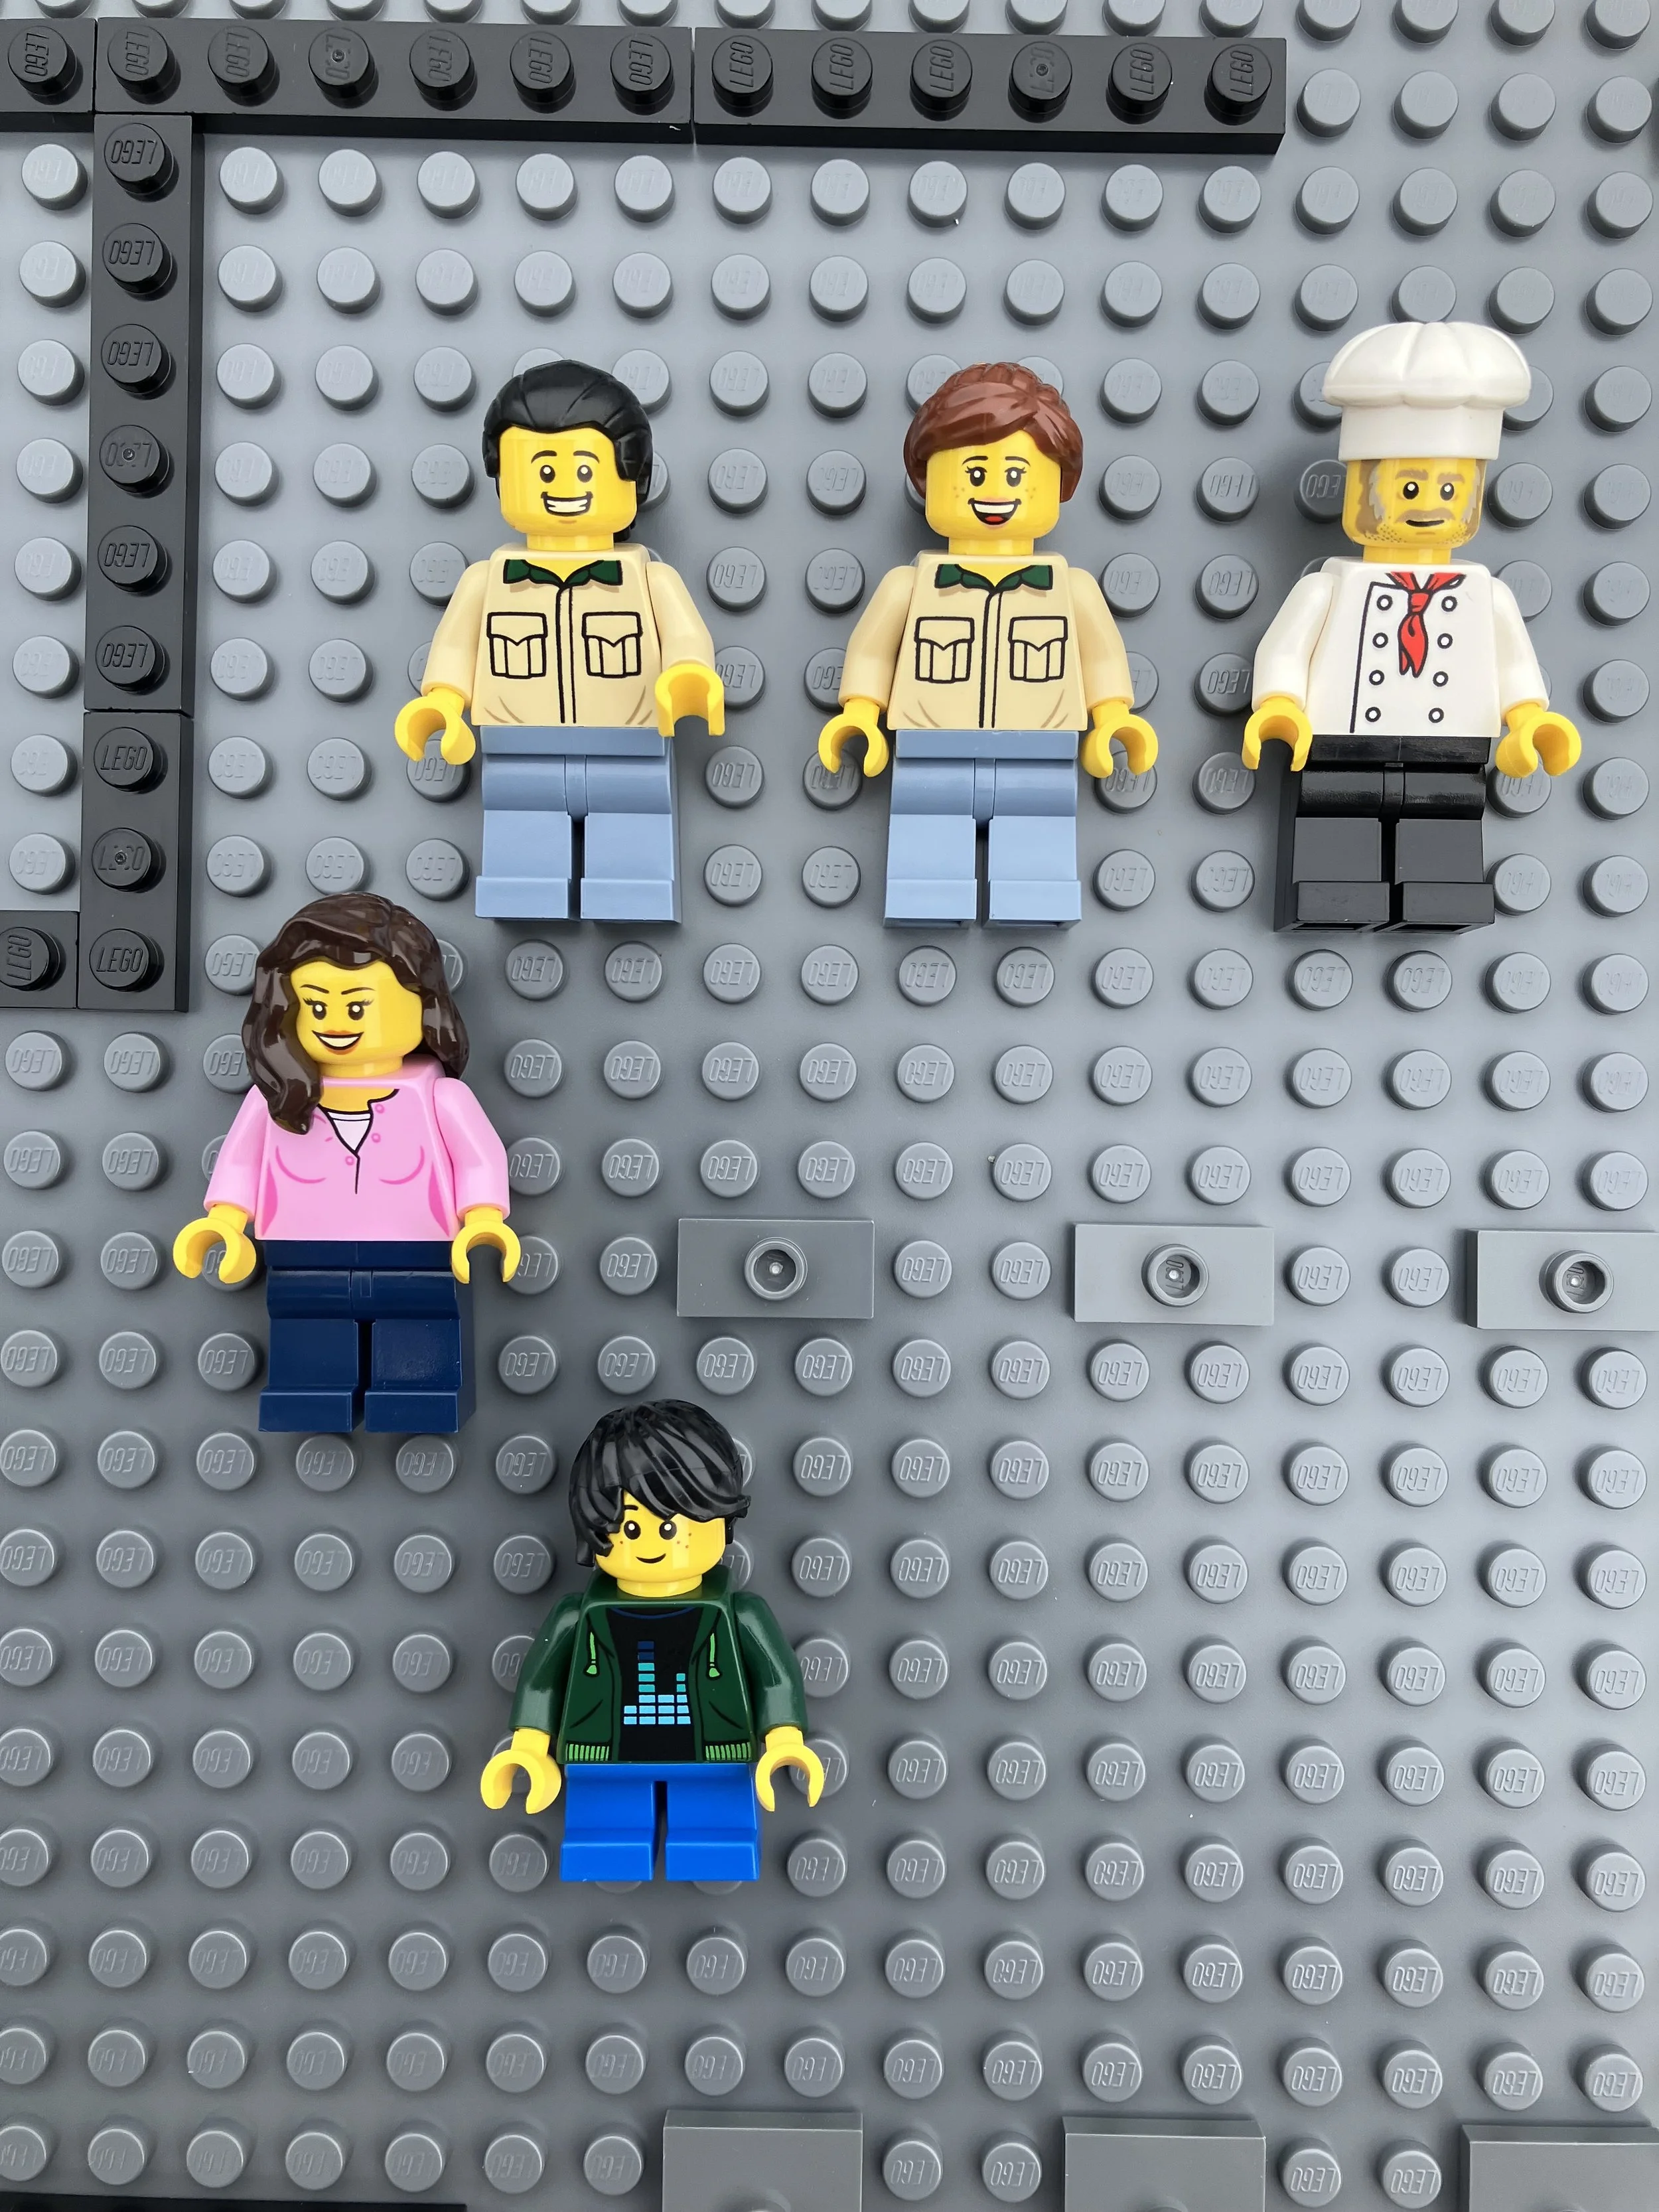
This bag also builds the five minifigures for this set which seem to fit well. I’ve never been to a bowling alley with a chef, but you never know.

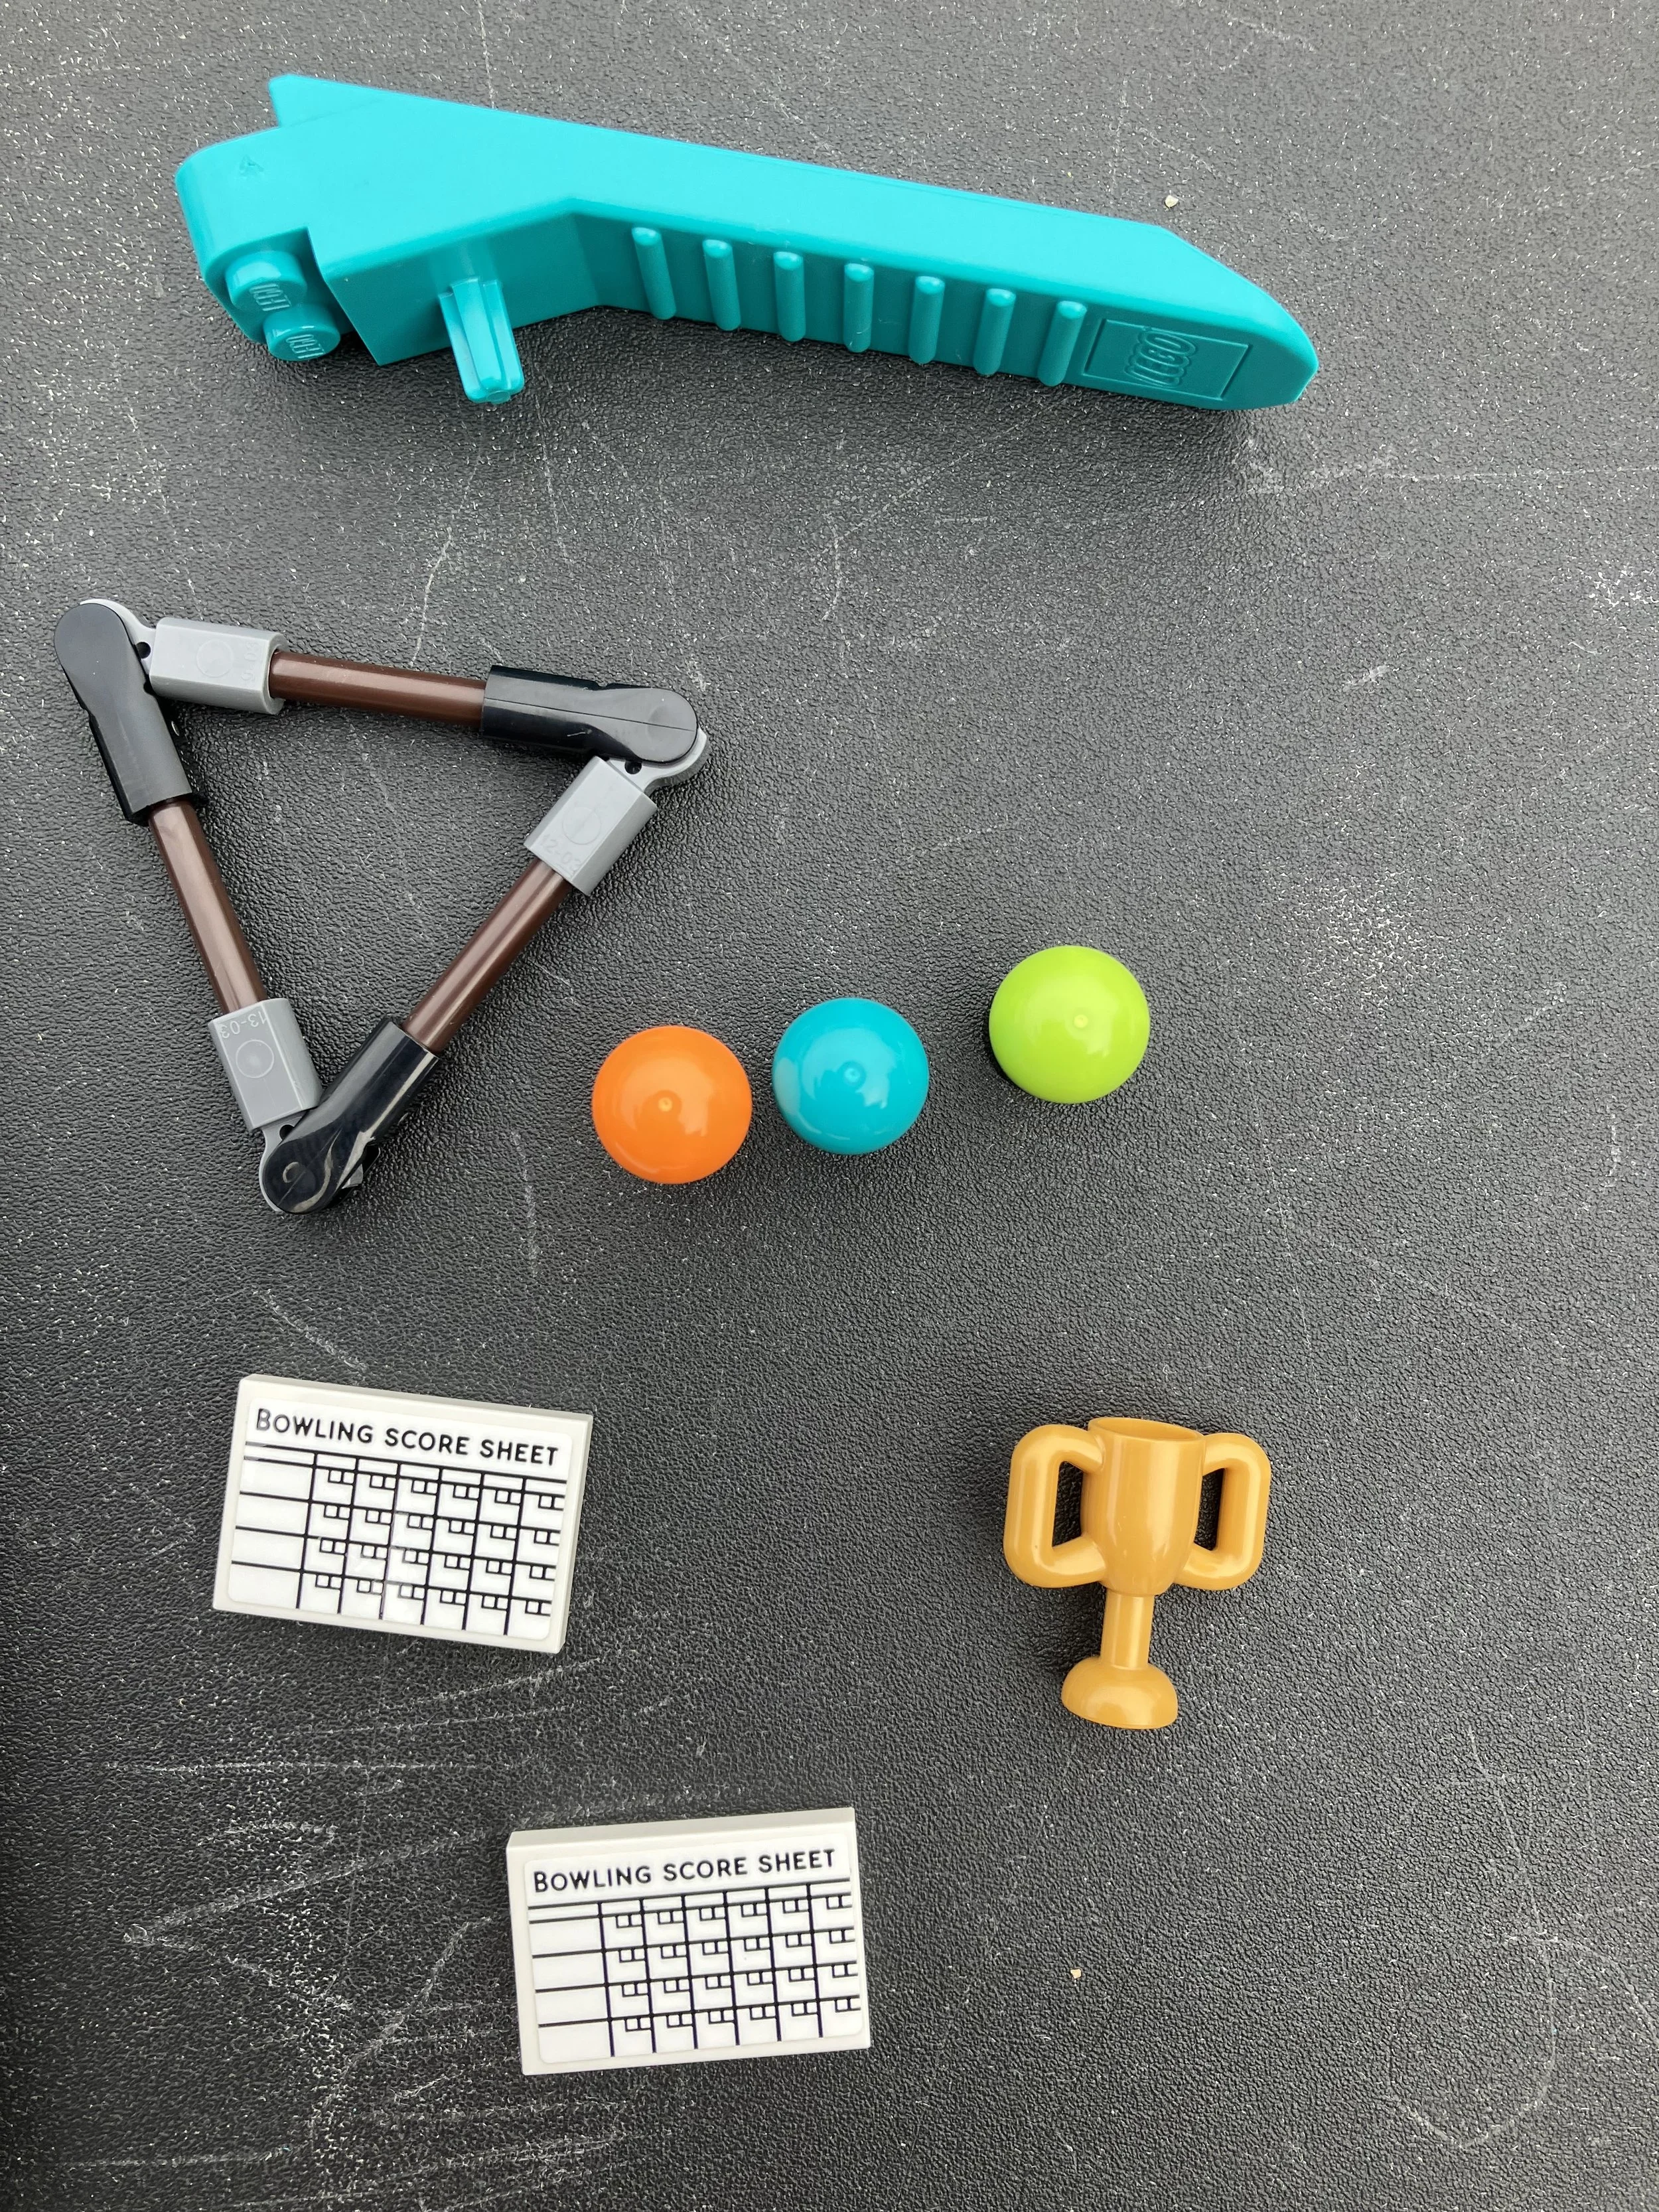
You also attached a few stickers to some tiles to make score sheets and put some pieces together to make a triangle for… I’m not sure what the triangle is for. Then there are a few bowling balls which are not really balls as they have a hole on the bottom to attach a Technic axle, but they get the job done. Finally there is a trophy to give to the winner of your brick bowling tournament.

It’s usually a given for a set this size, but a brick separator comes in this bag.

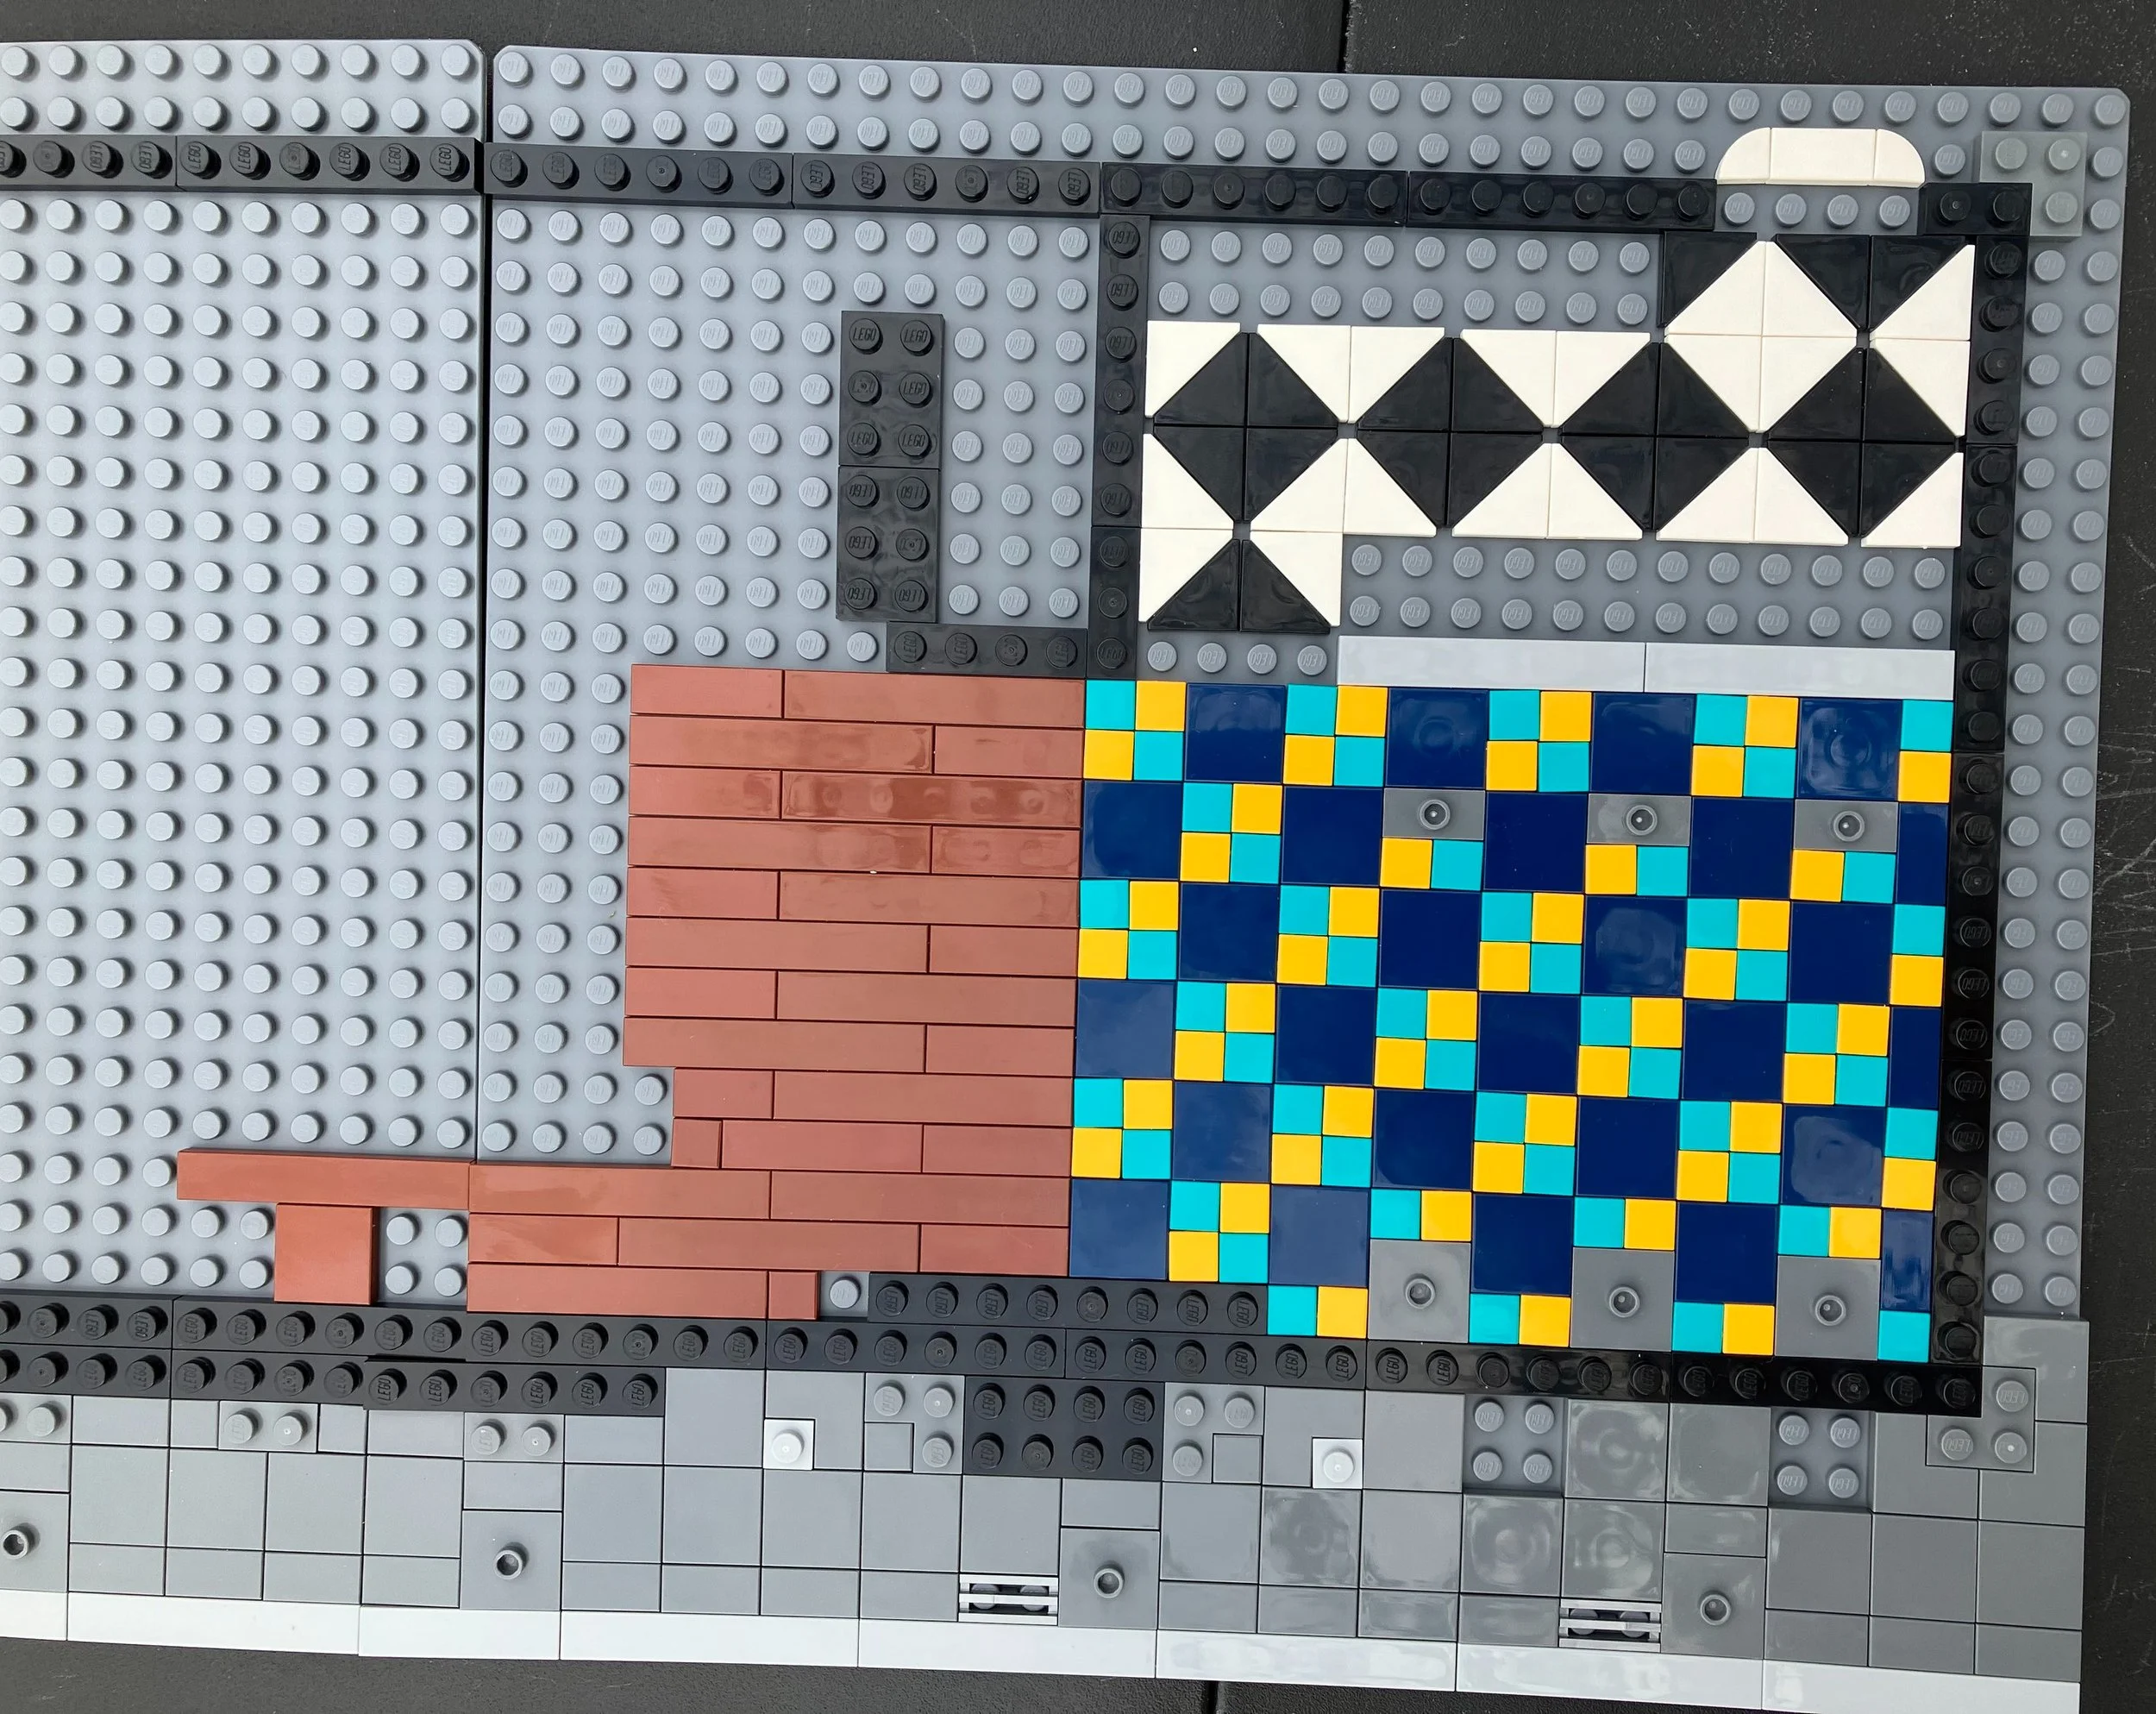
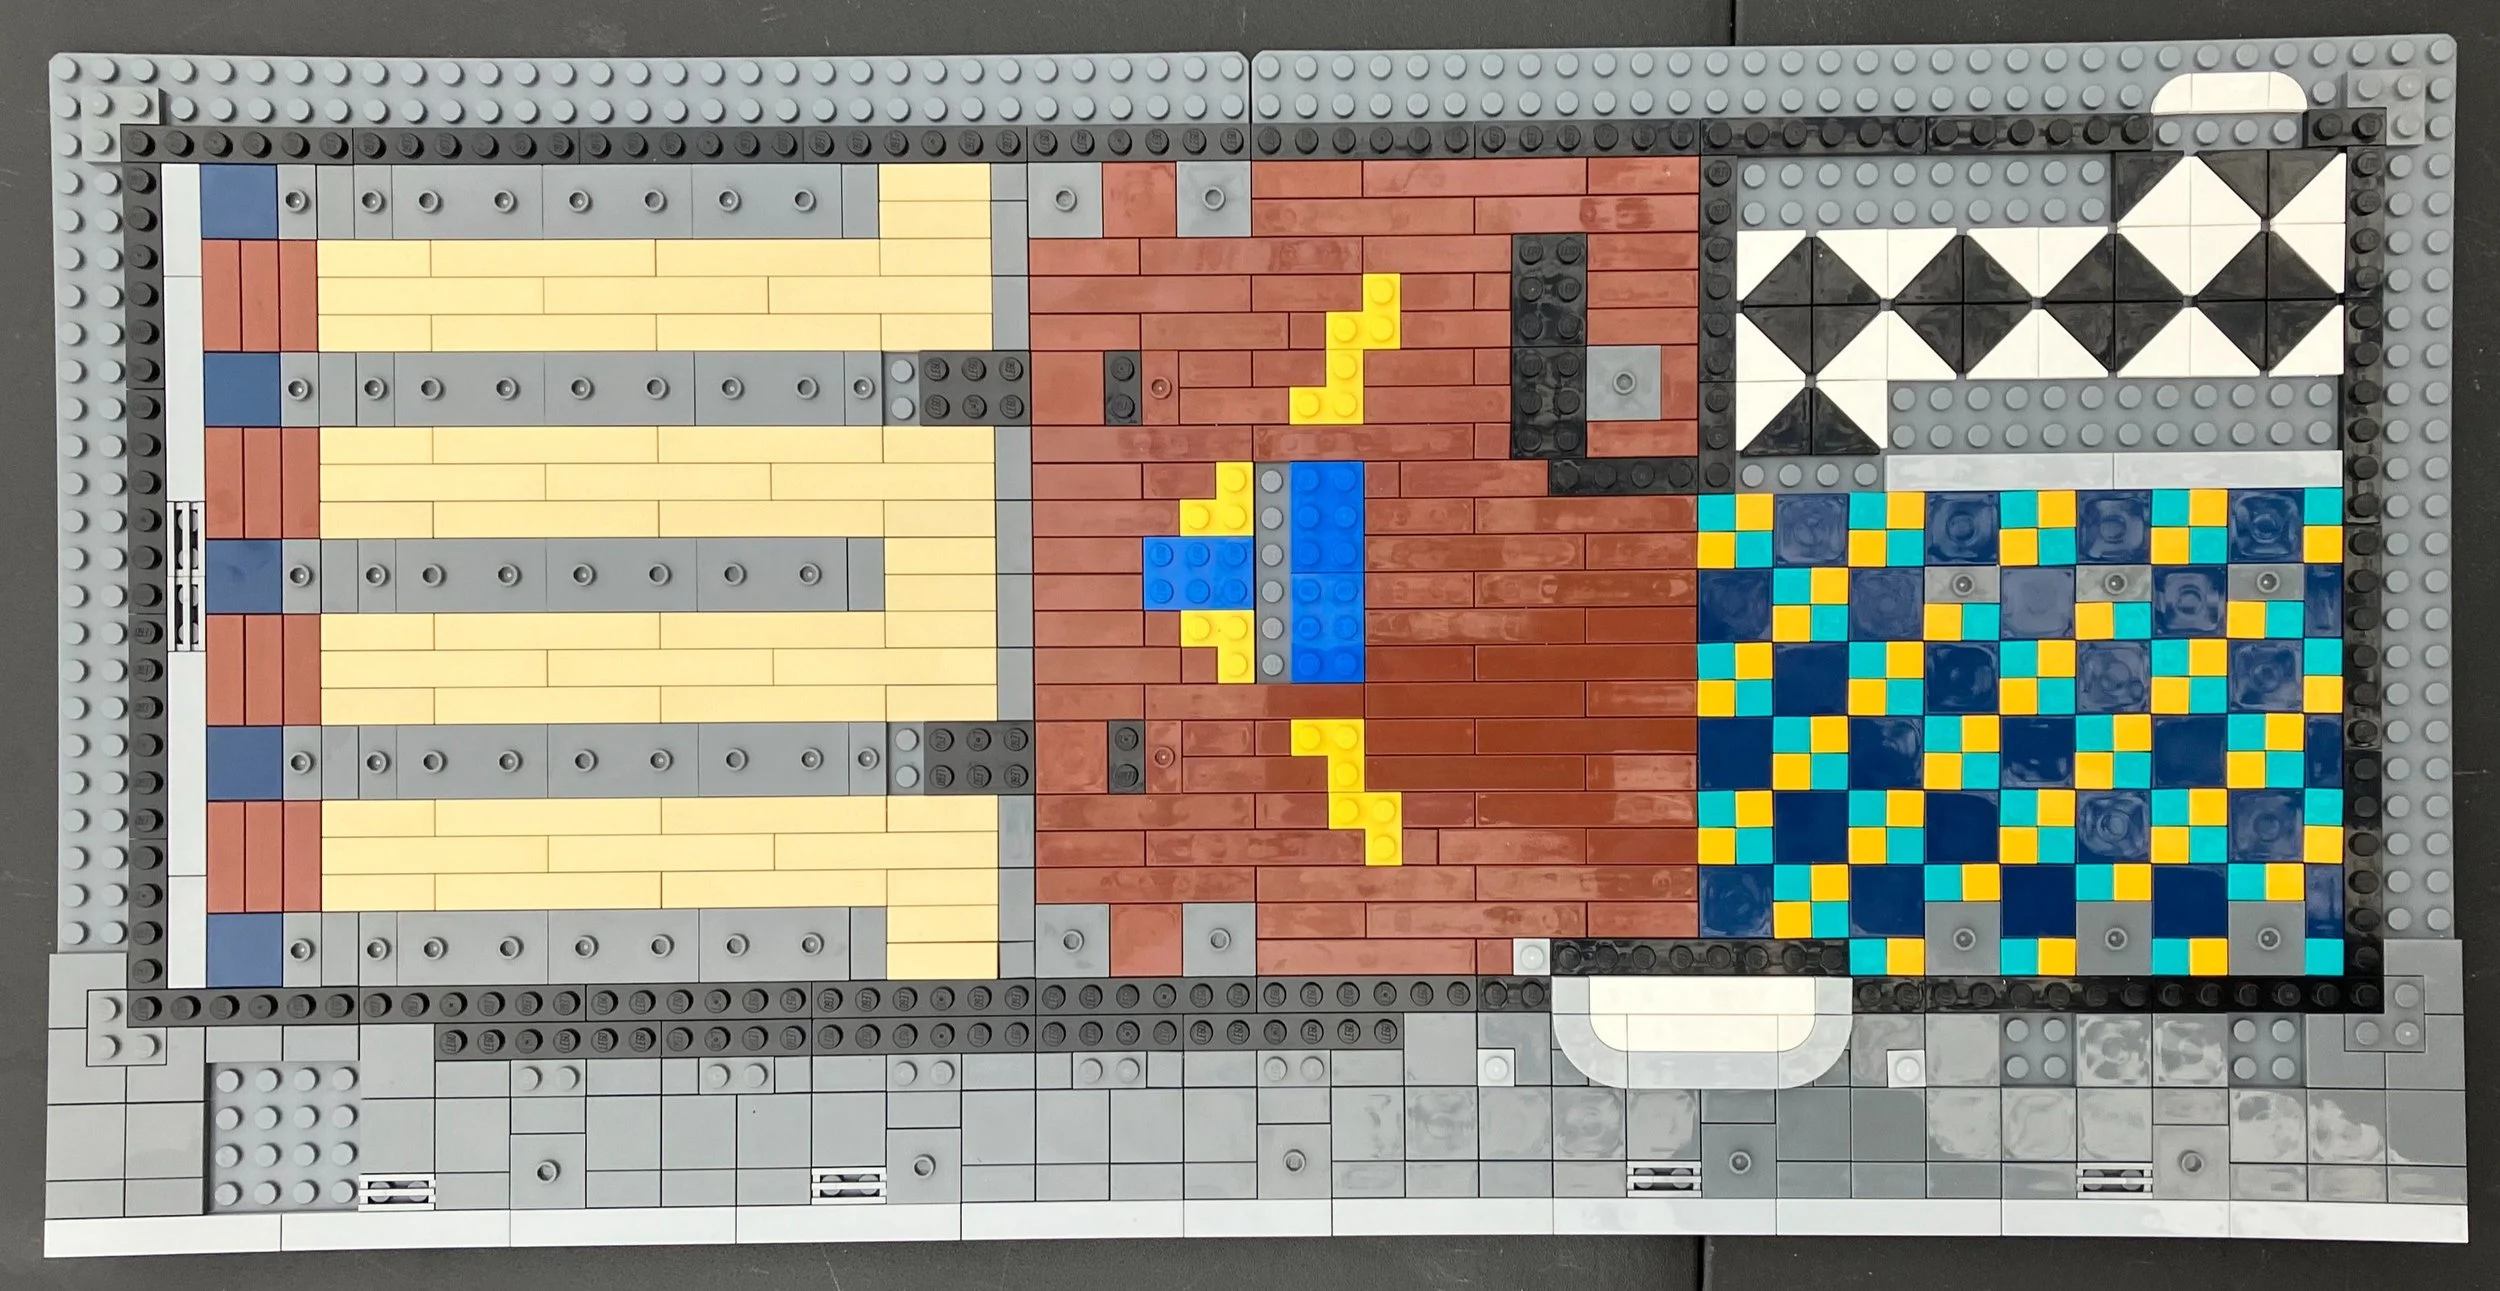
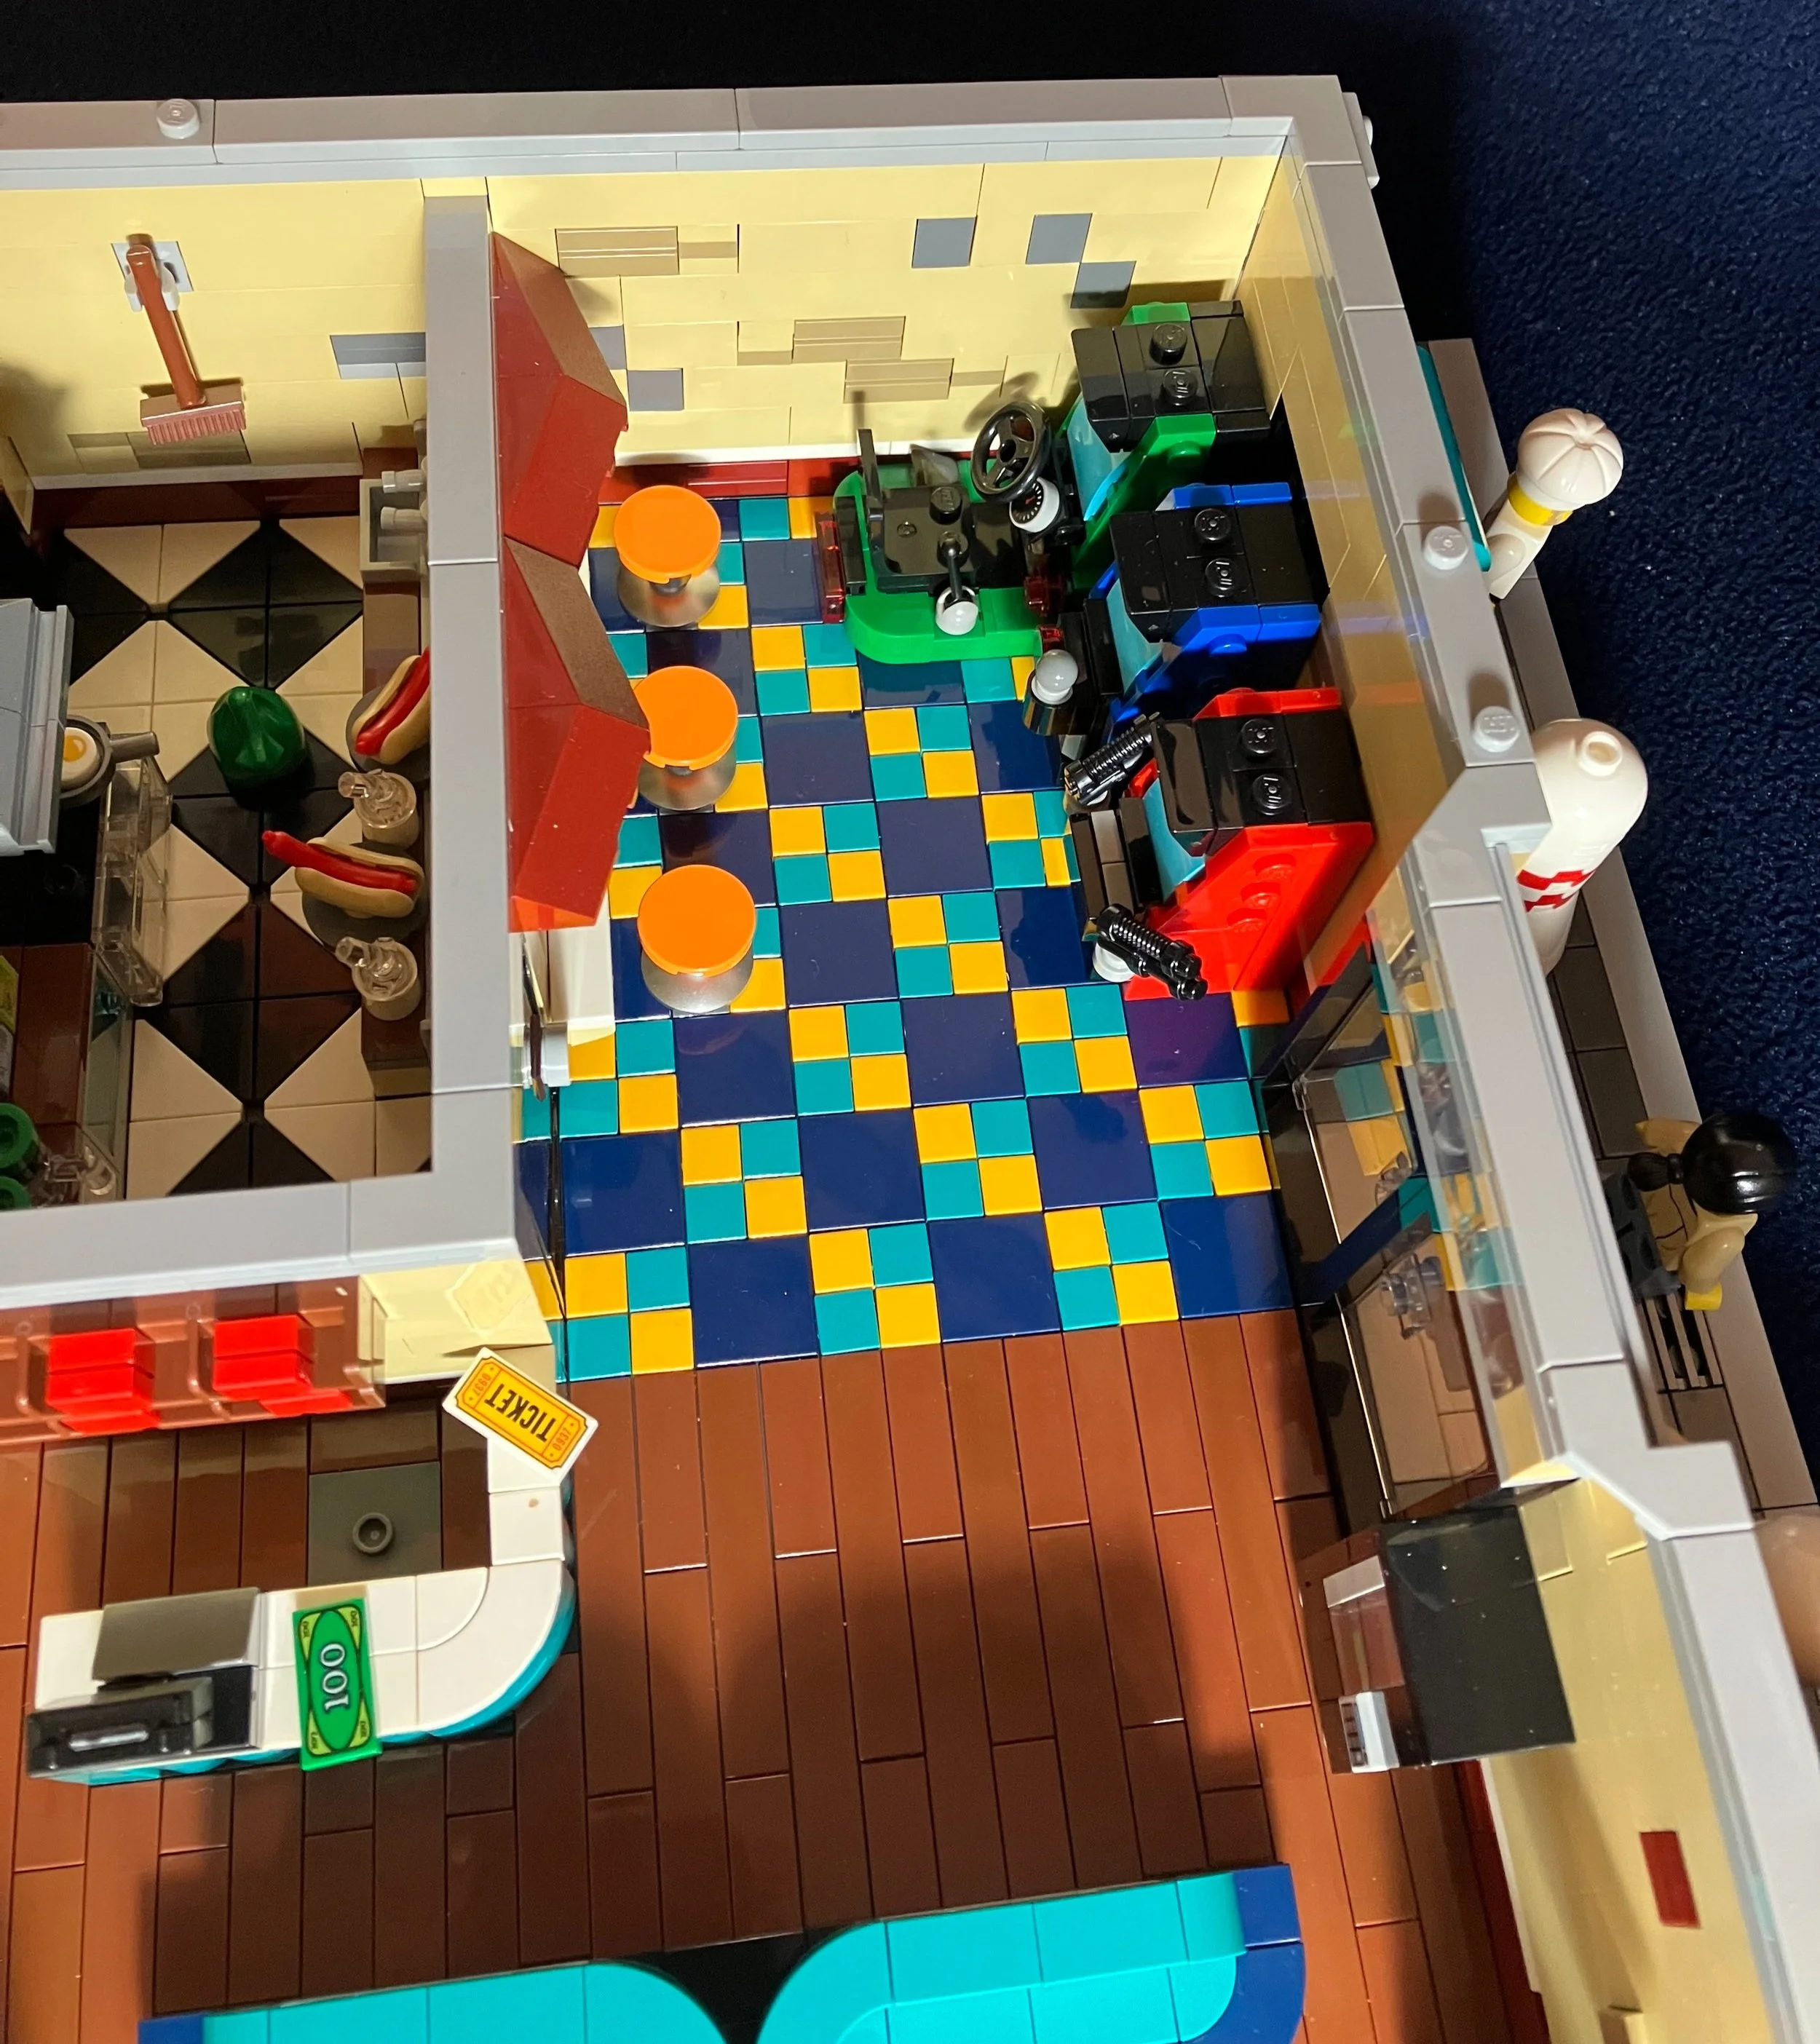
Bags two and three build the tiling for the inside of the bowling alley. Bag two builds the arcade area with a fun, colorful pattern. It also assembles the kitchen and some of the flooring for the bowling area. Bag three finishes up the brown and then puts down the base of each lane. Lots of great tiles in these two bags.

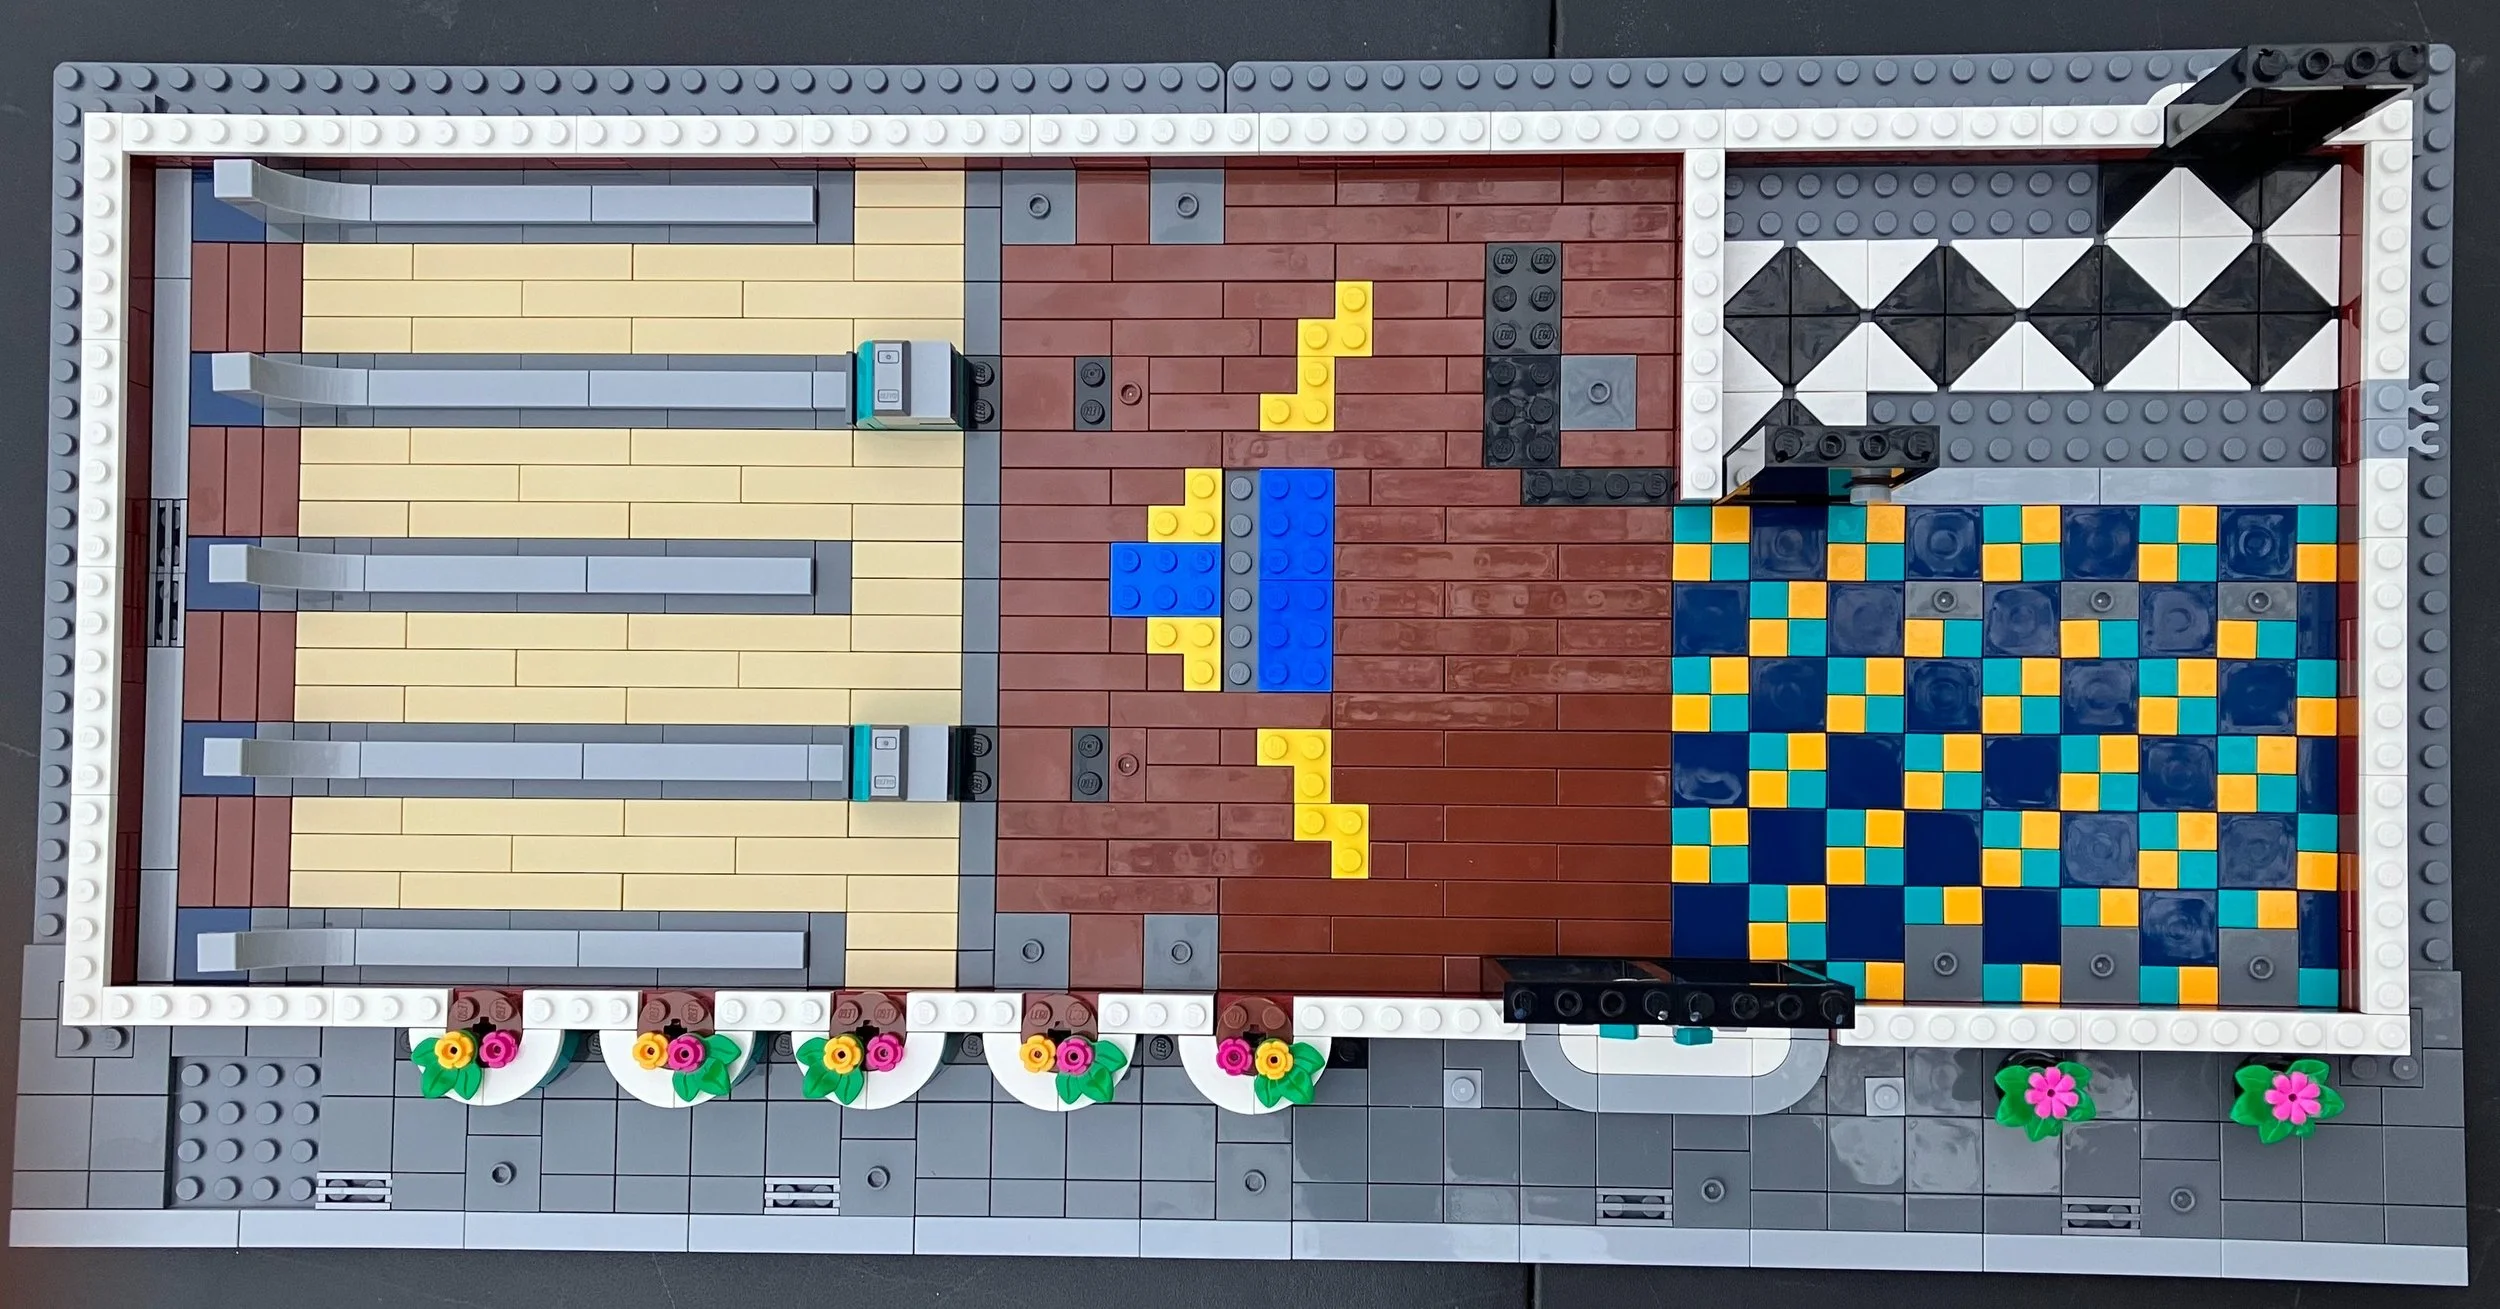
Bags four and five build up the walls. Bag four sets down an initial layer, adds in some doors, and installs some flowers and greenery in the front. Bag 5 continues to build up the walls and adds some details to the interior to include ball returns, the front desk, and seats for bowlers to sit in.

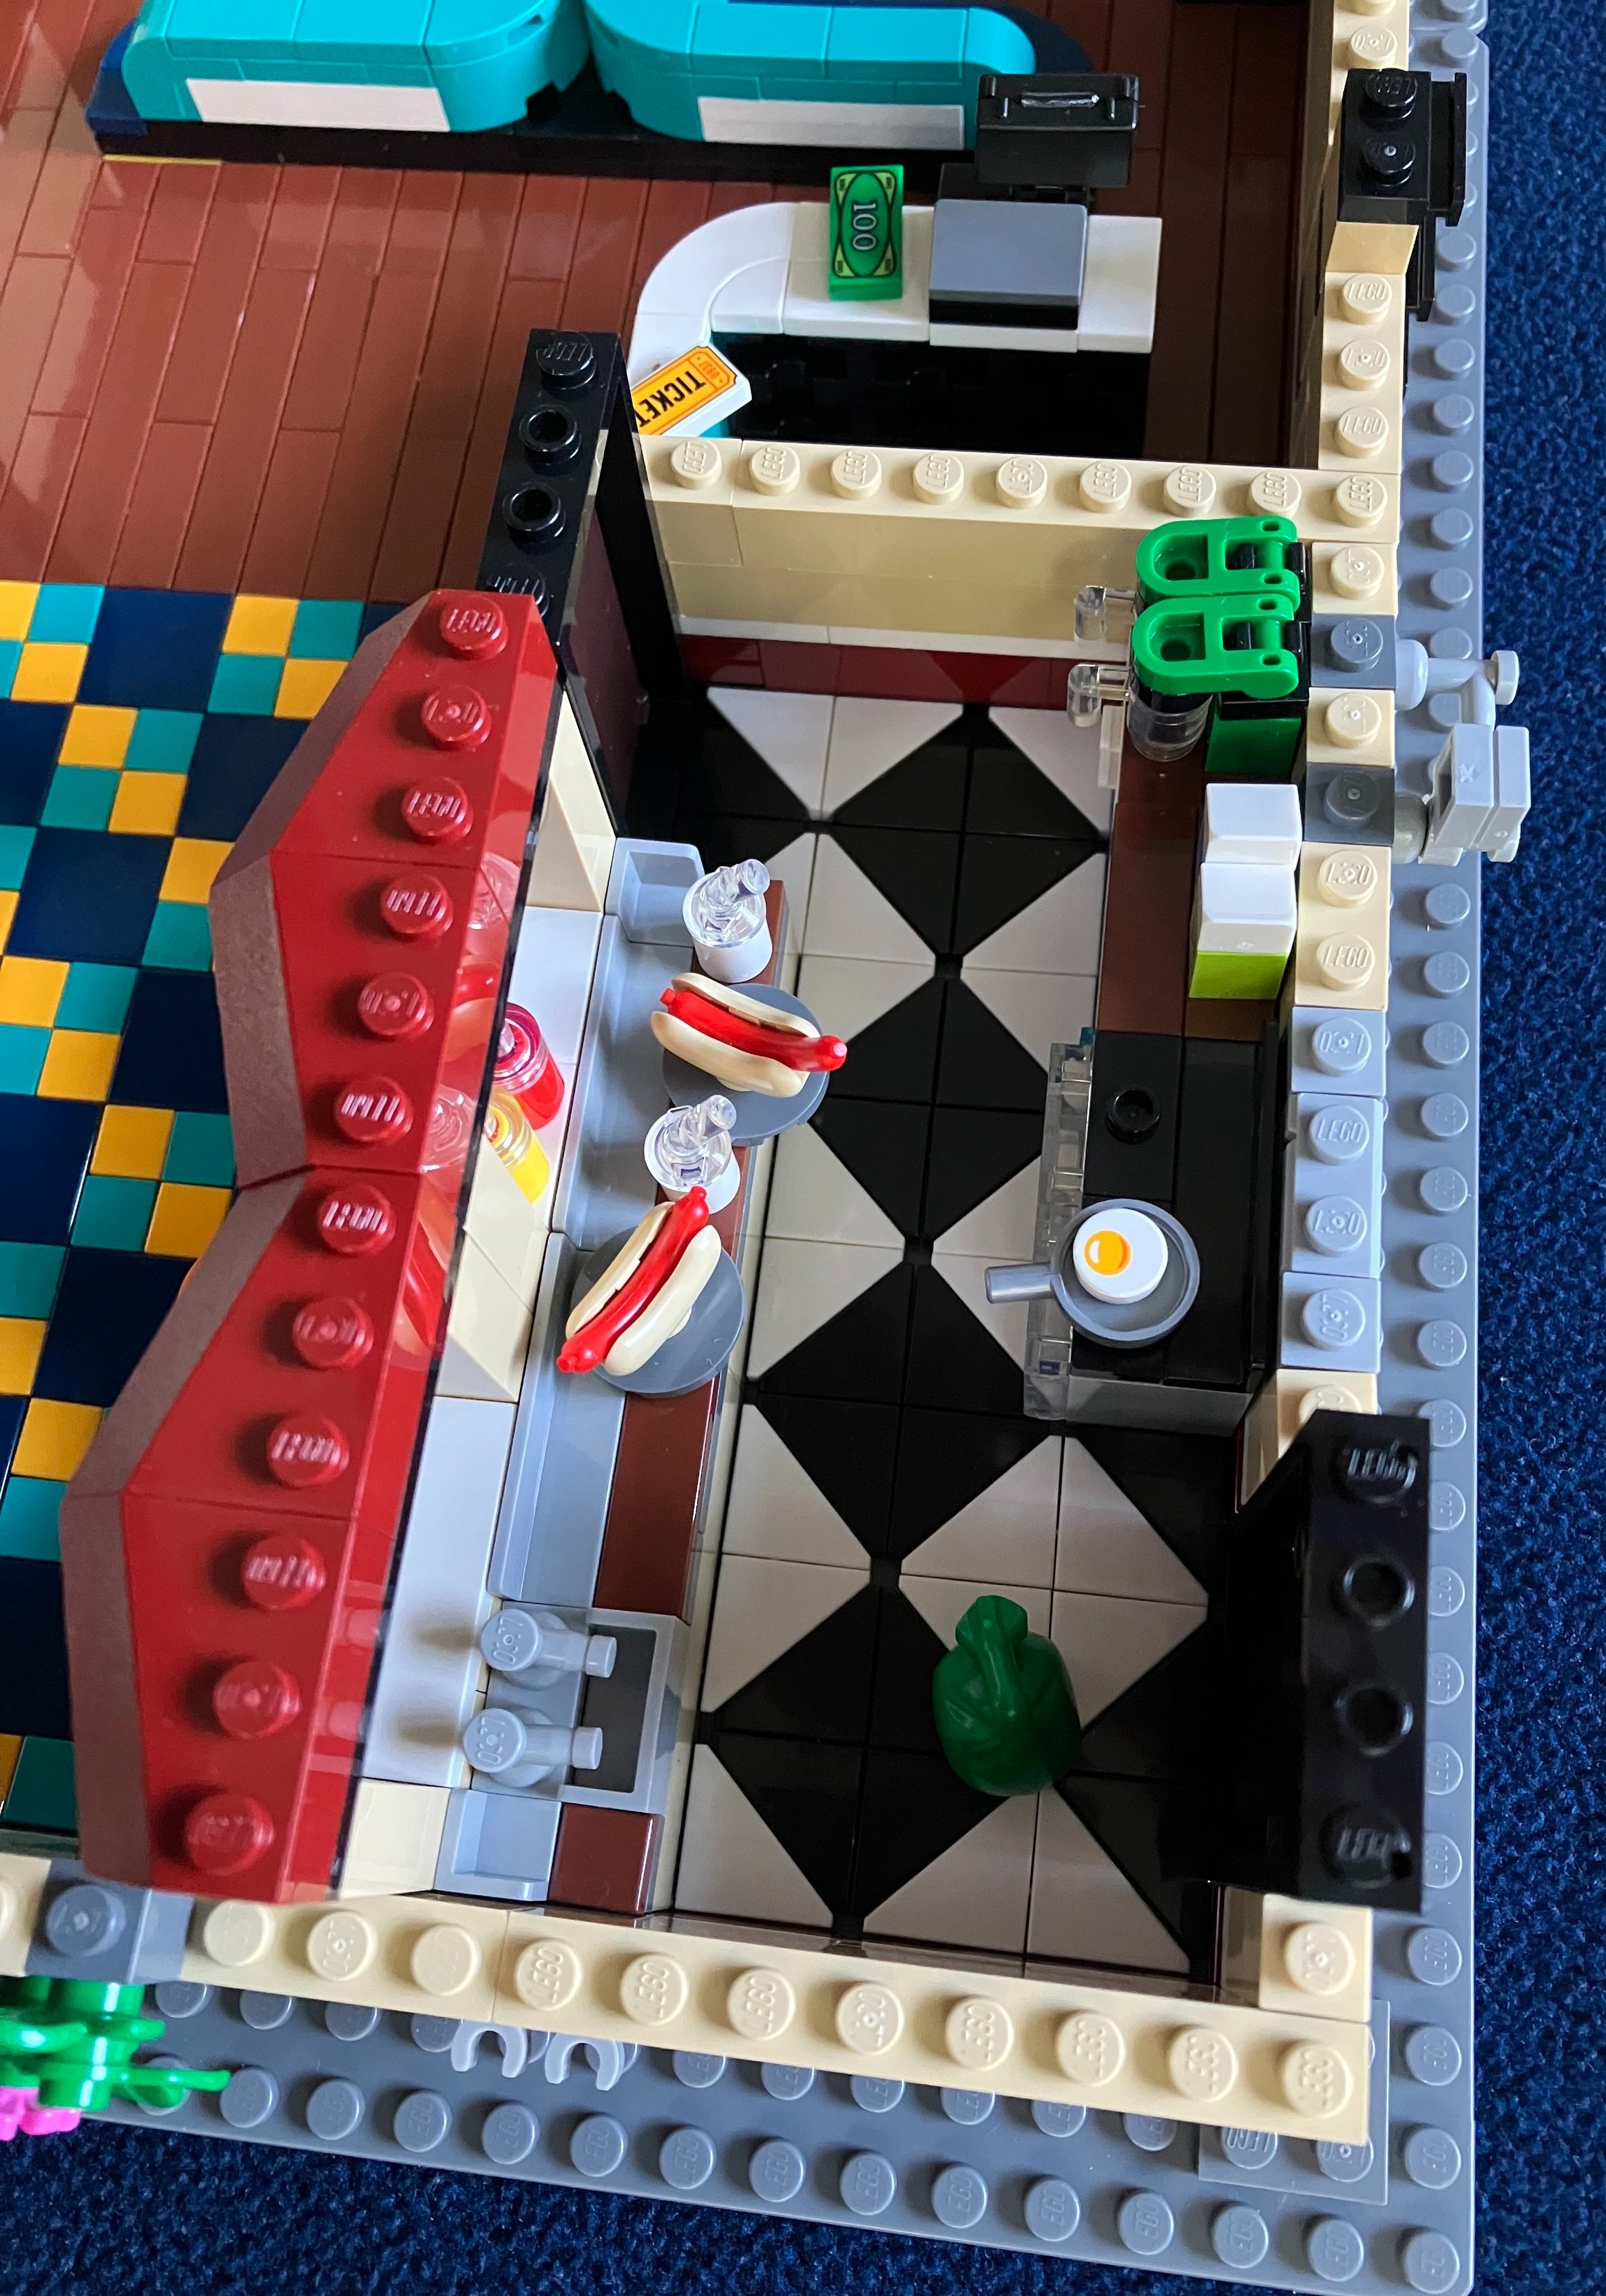
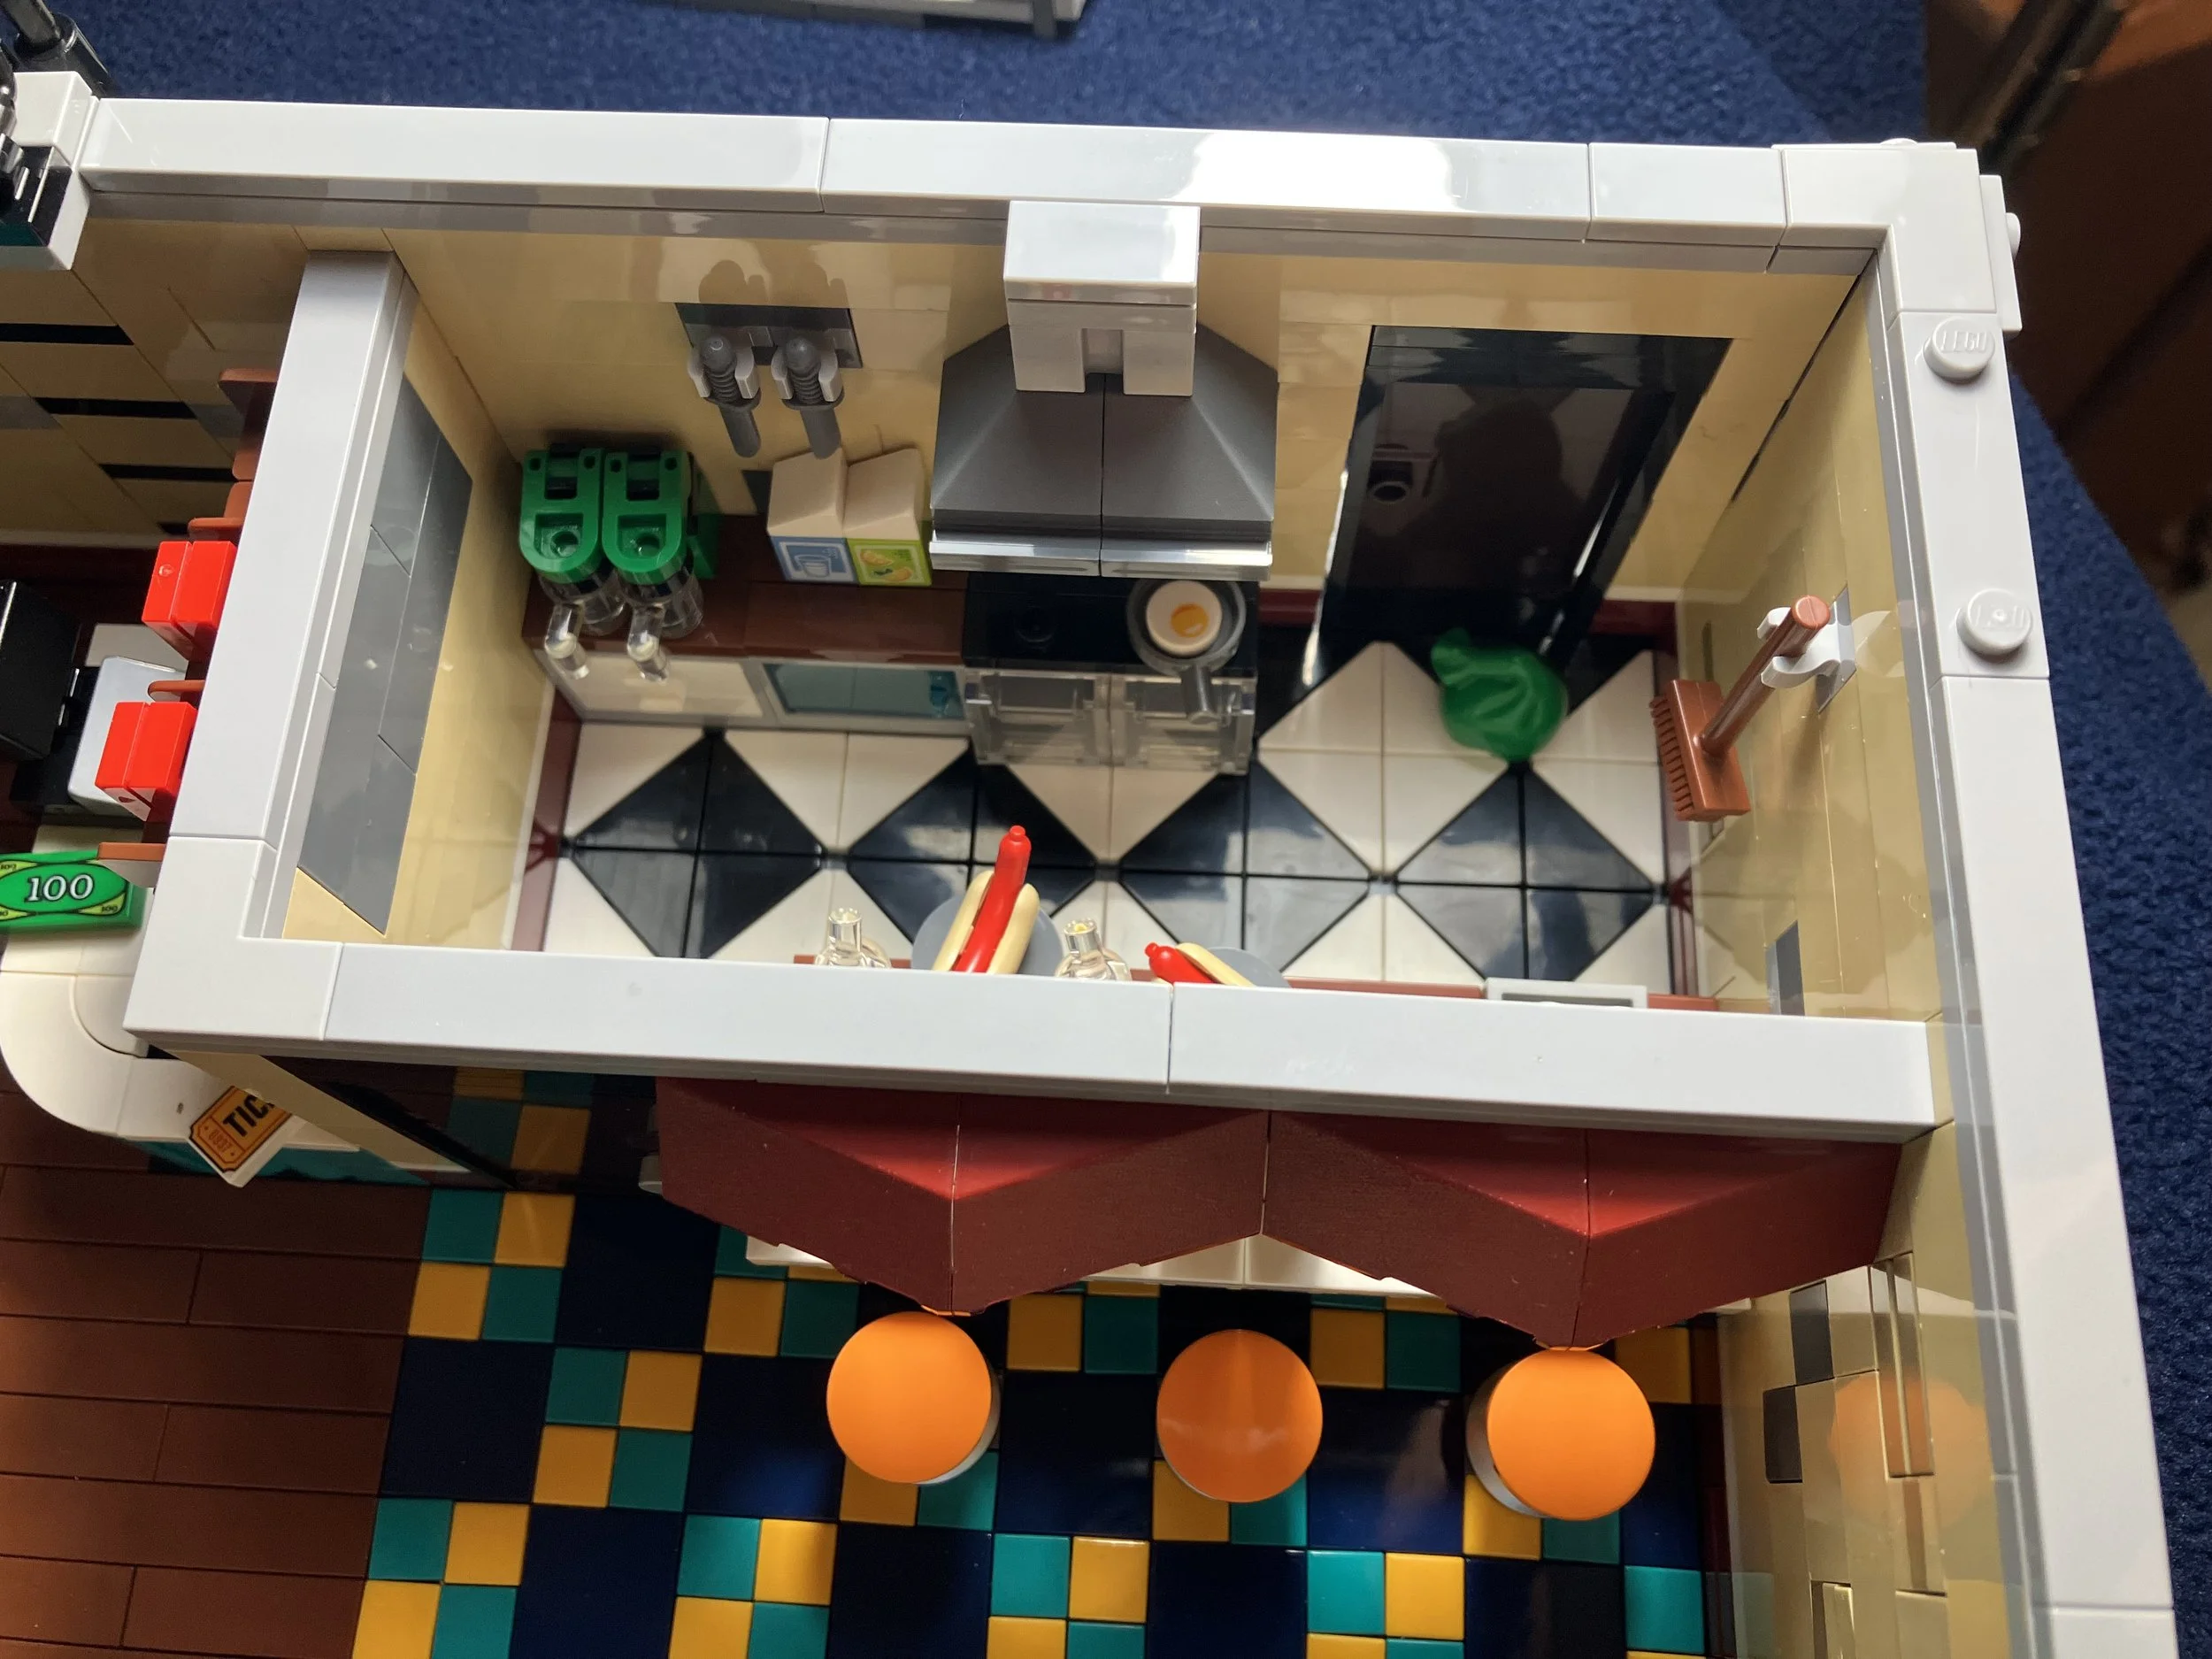
Bag six adds a bit to the walls and then focuses on the kitchen. It’s not overly detailed, but I like the addition of a few cooking areas and some of the food details. The hot dogs seem appropriate for a bowling alley, but I’ve never seen one do fried eggs before. Maybe they did in the 1960s?

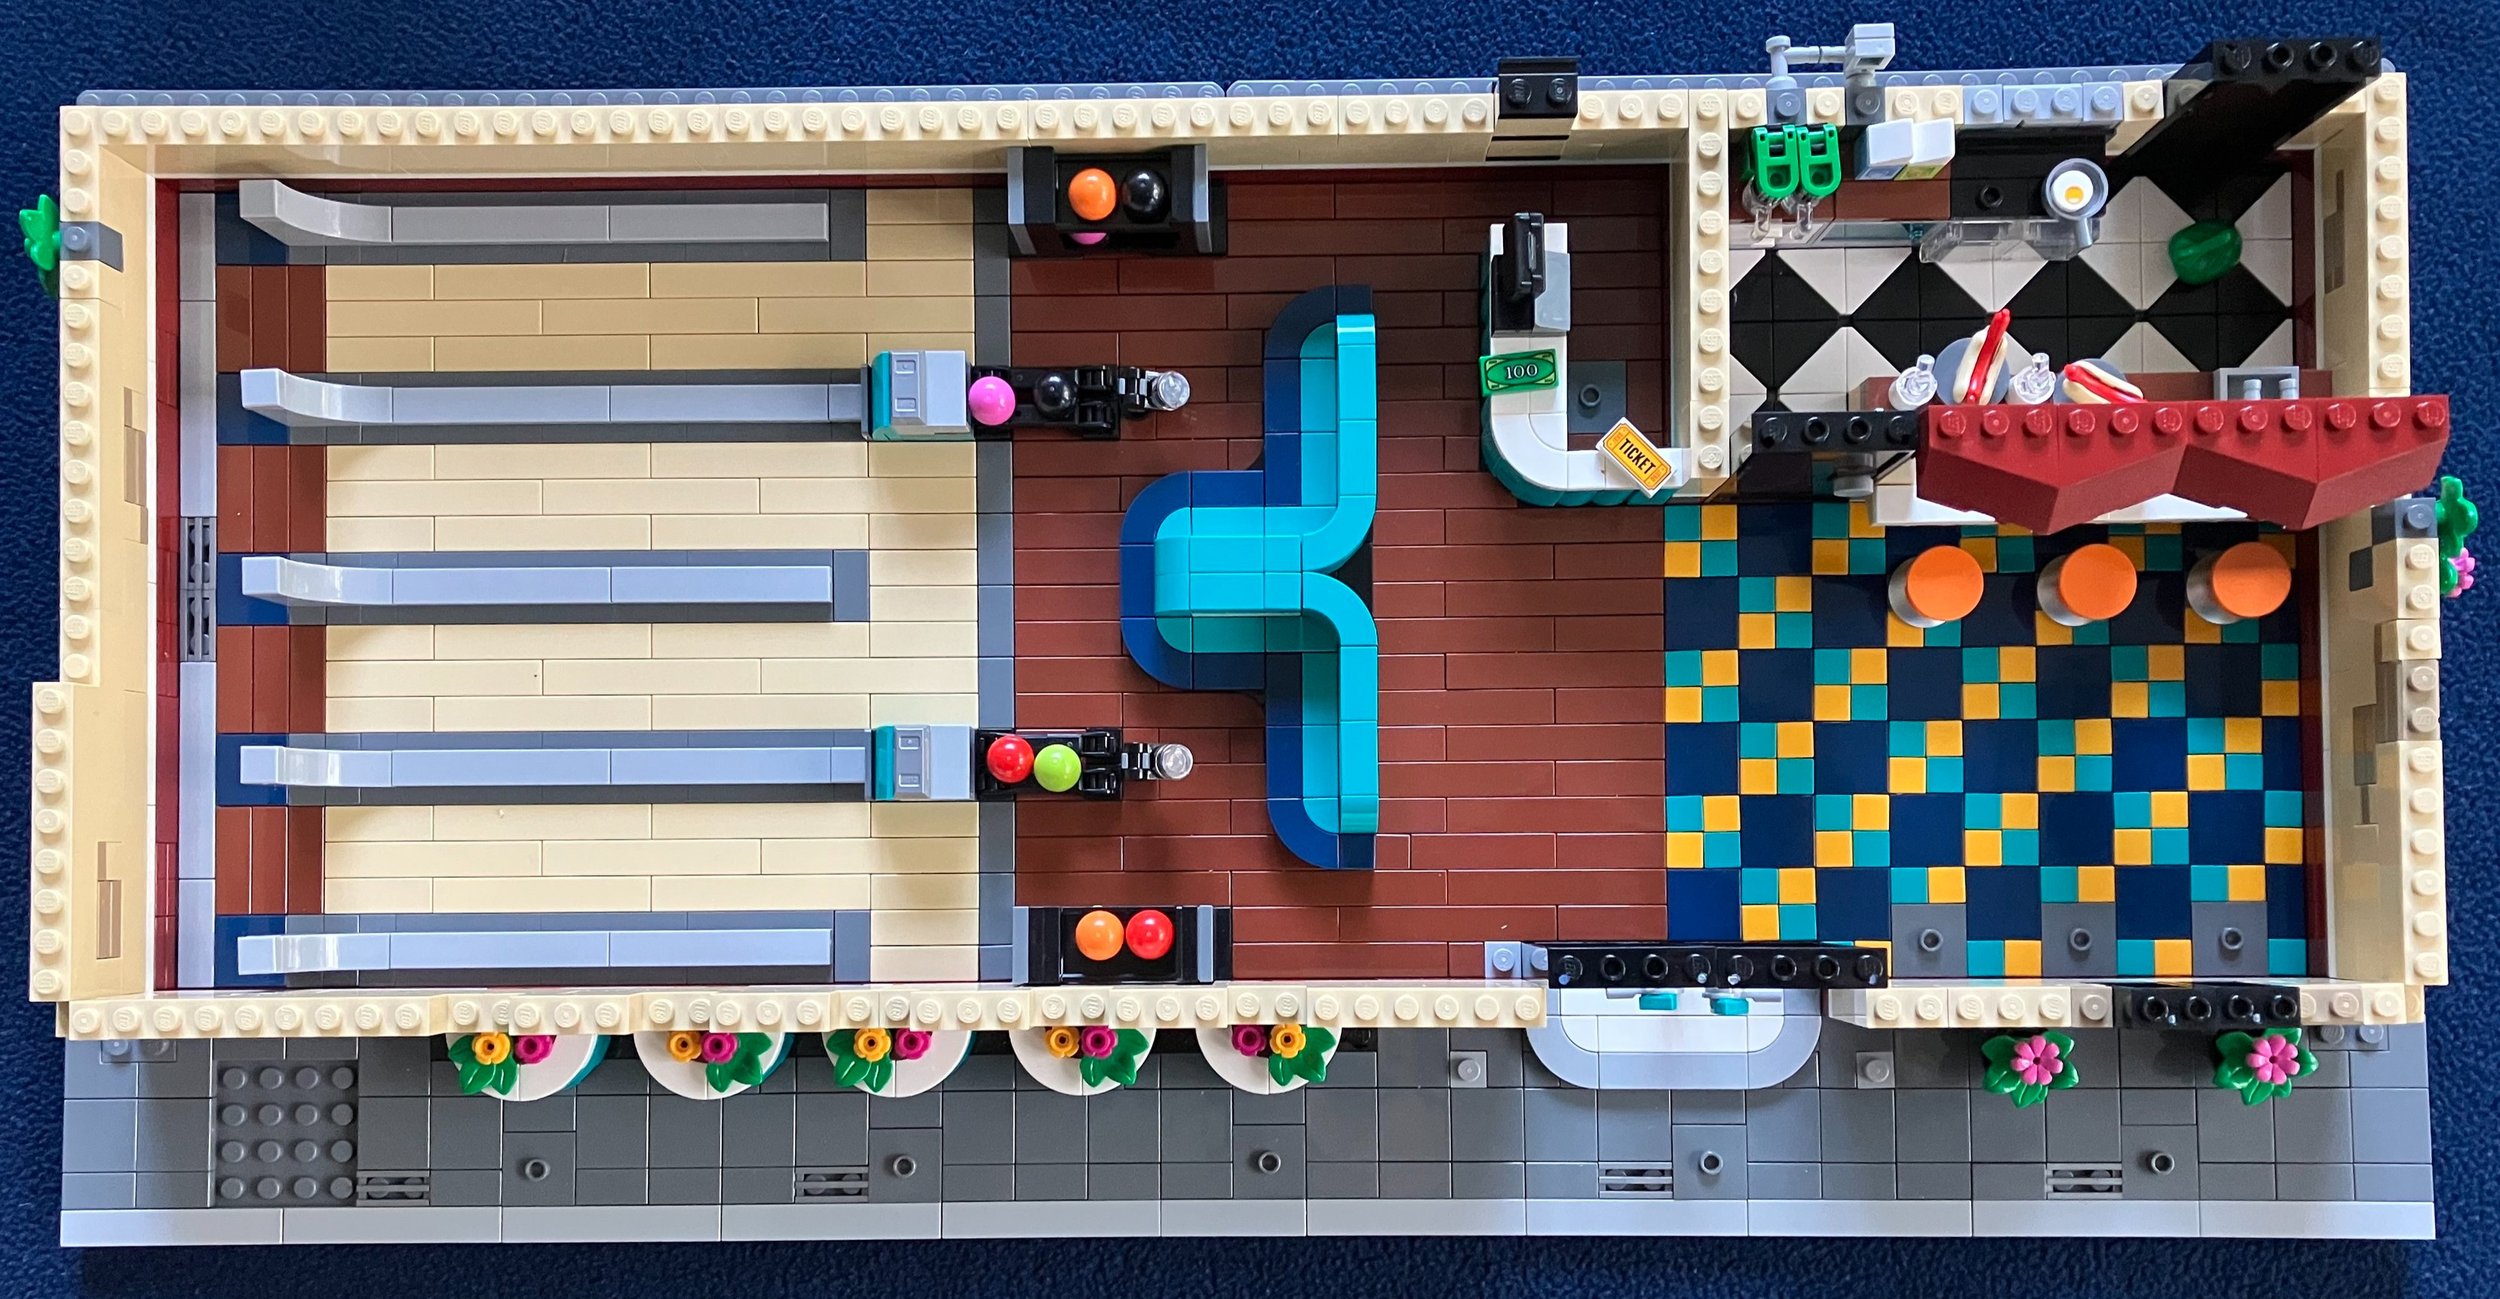
Bag seven builds up the walls and adds in some of the decorations. There are patterns on the outside and then lights on the inside.

You also add some details to the pay counter. You connect a red 1x1 plate to a red 1x1 tile and put them on a shelf behind the desk. I’m not sure if they are supposed to be boxes of shoes or what, but it is hard to get them to stay on the shelves. Any slight movement and they fall on the floor and you have to try and dig them out from behind the desk. It’s a nice detail, but it isn’t very practical. Later on, you add a second shelf and more of these red plate and tile stacks. Those fall as well.

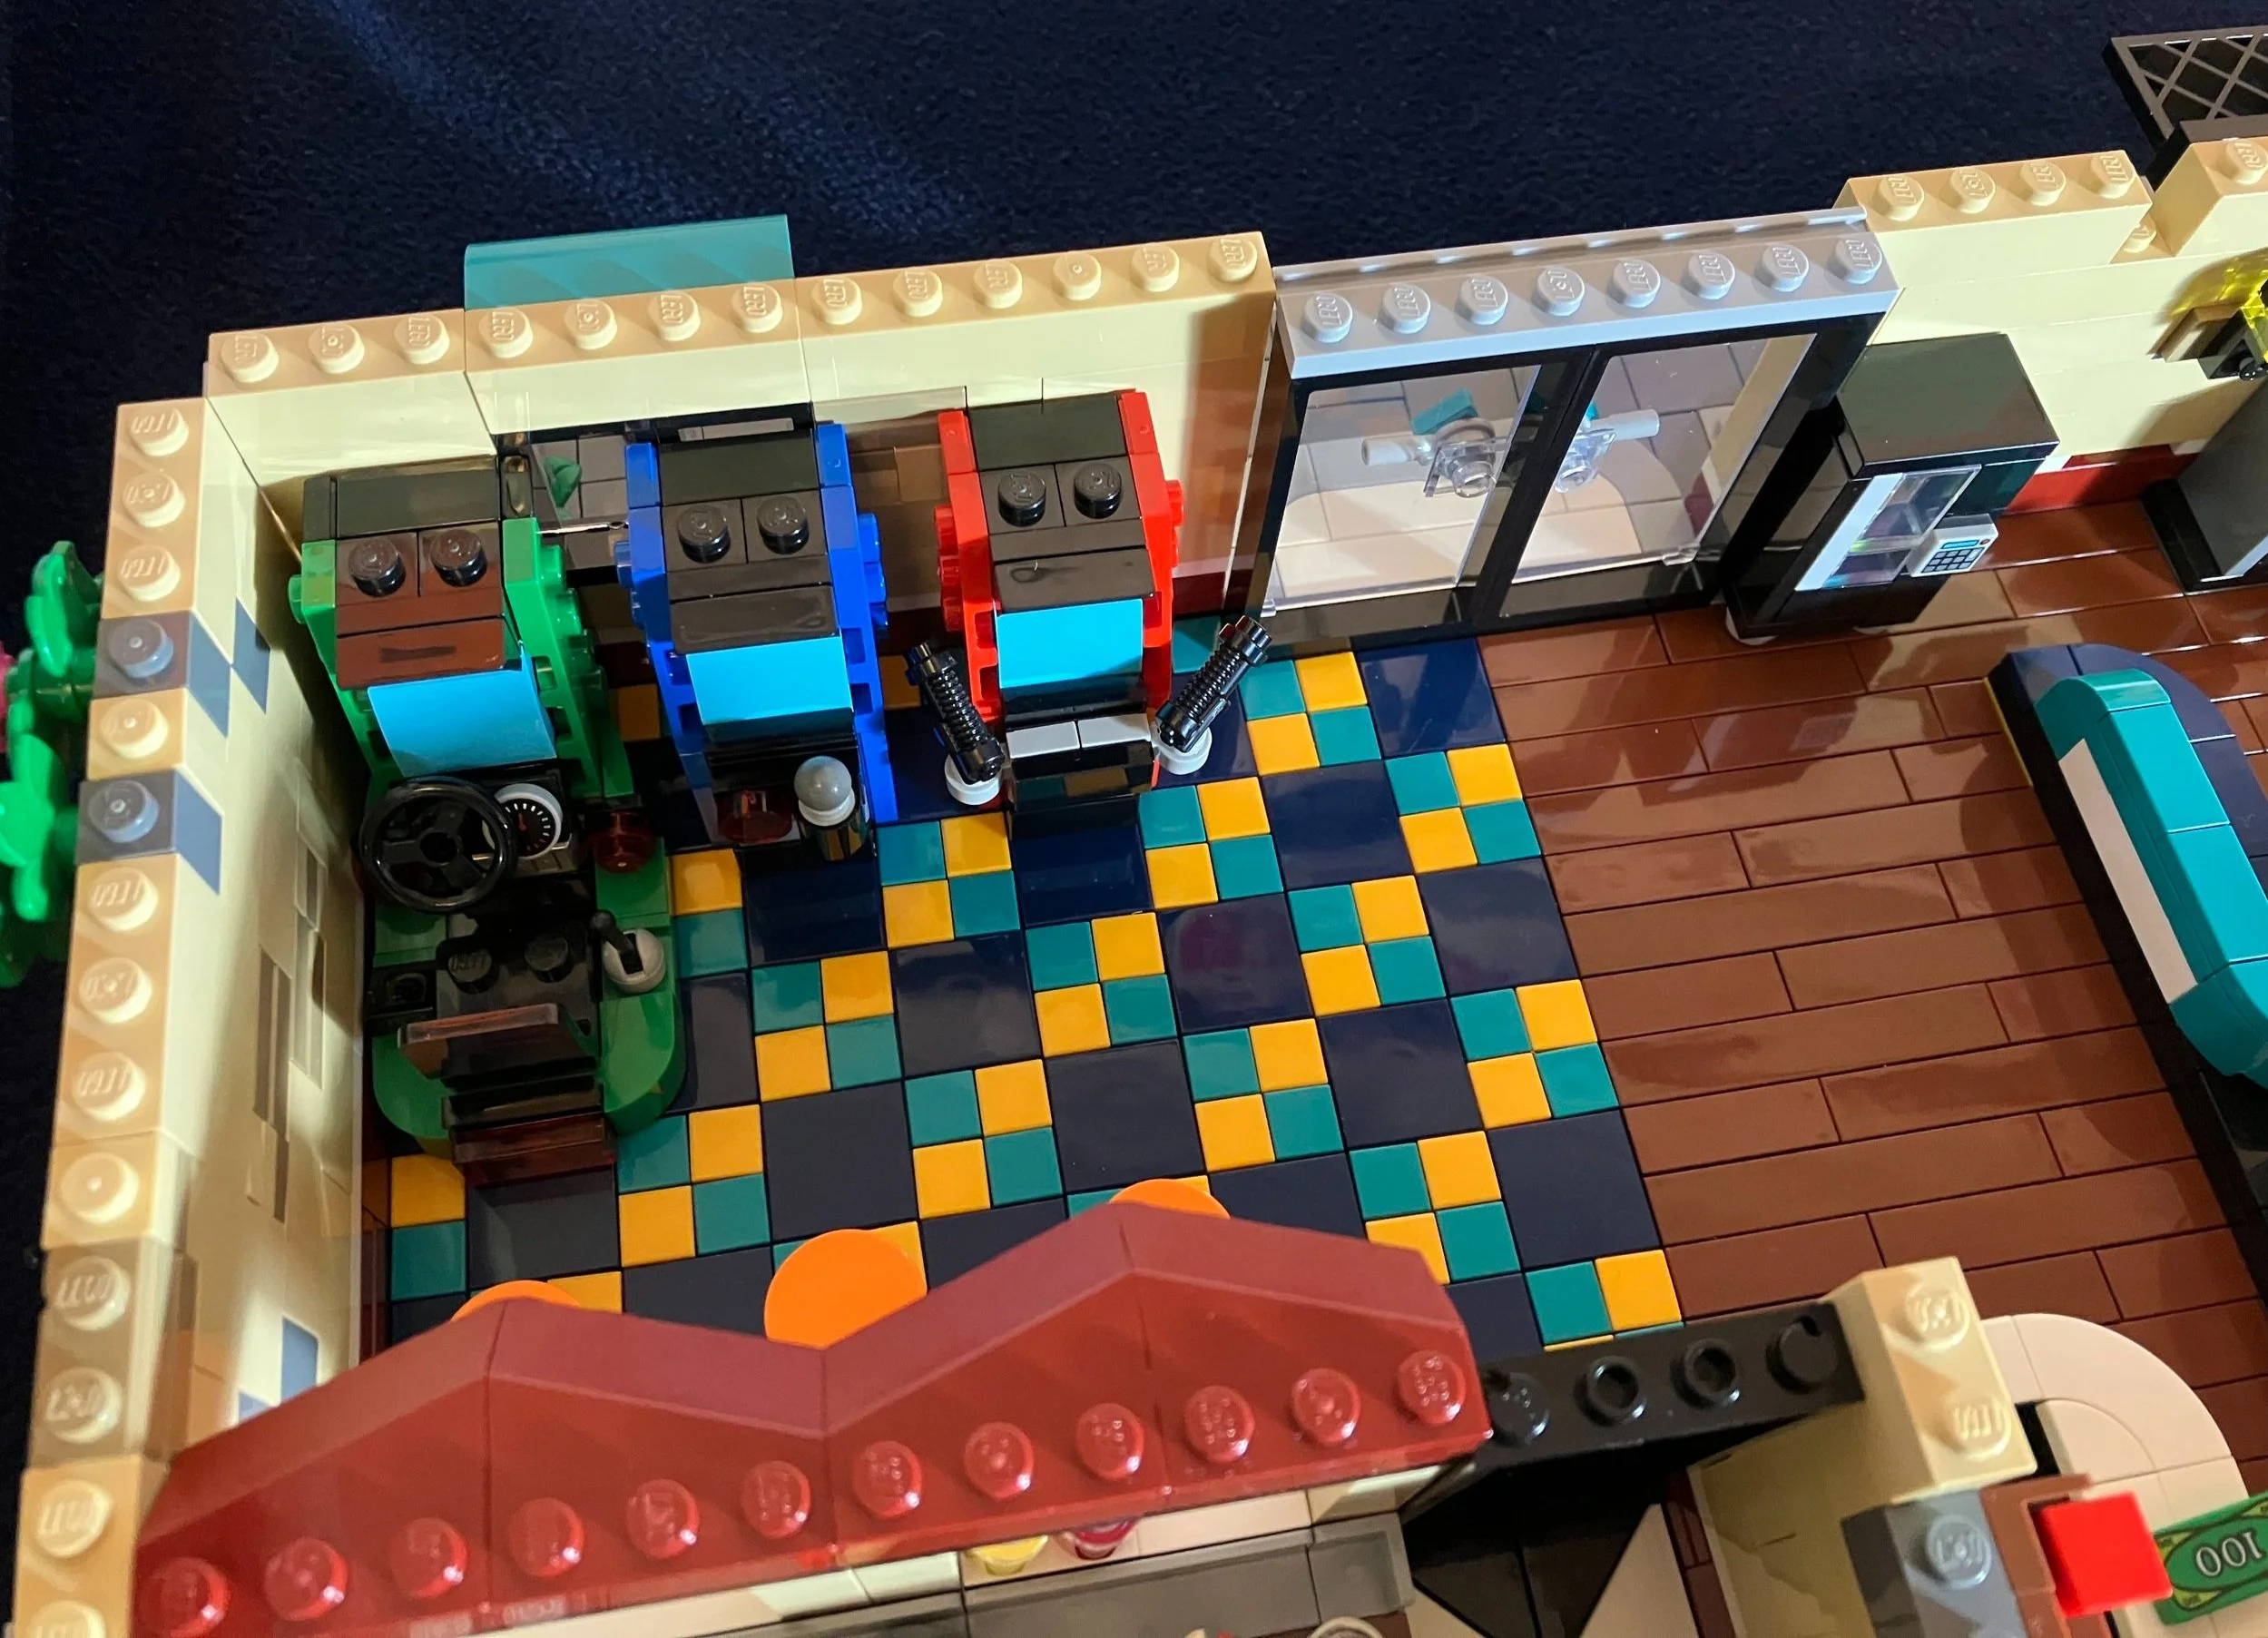
The eighth bag adds in some fence pieces near the entrance as part of the decoration on that part of the building. Additionally, you build the arcade games. There are three games and they have a decent amount of detail considering the scale. One appears to be a driving game, one has small shooters to be some sort of game where you shoot at things on the screen, and the last one is maybe more of a Pac-Man type game.

I didn’t get a good picture of them, but you add in some stools in front of the food area.

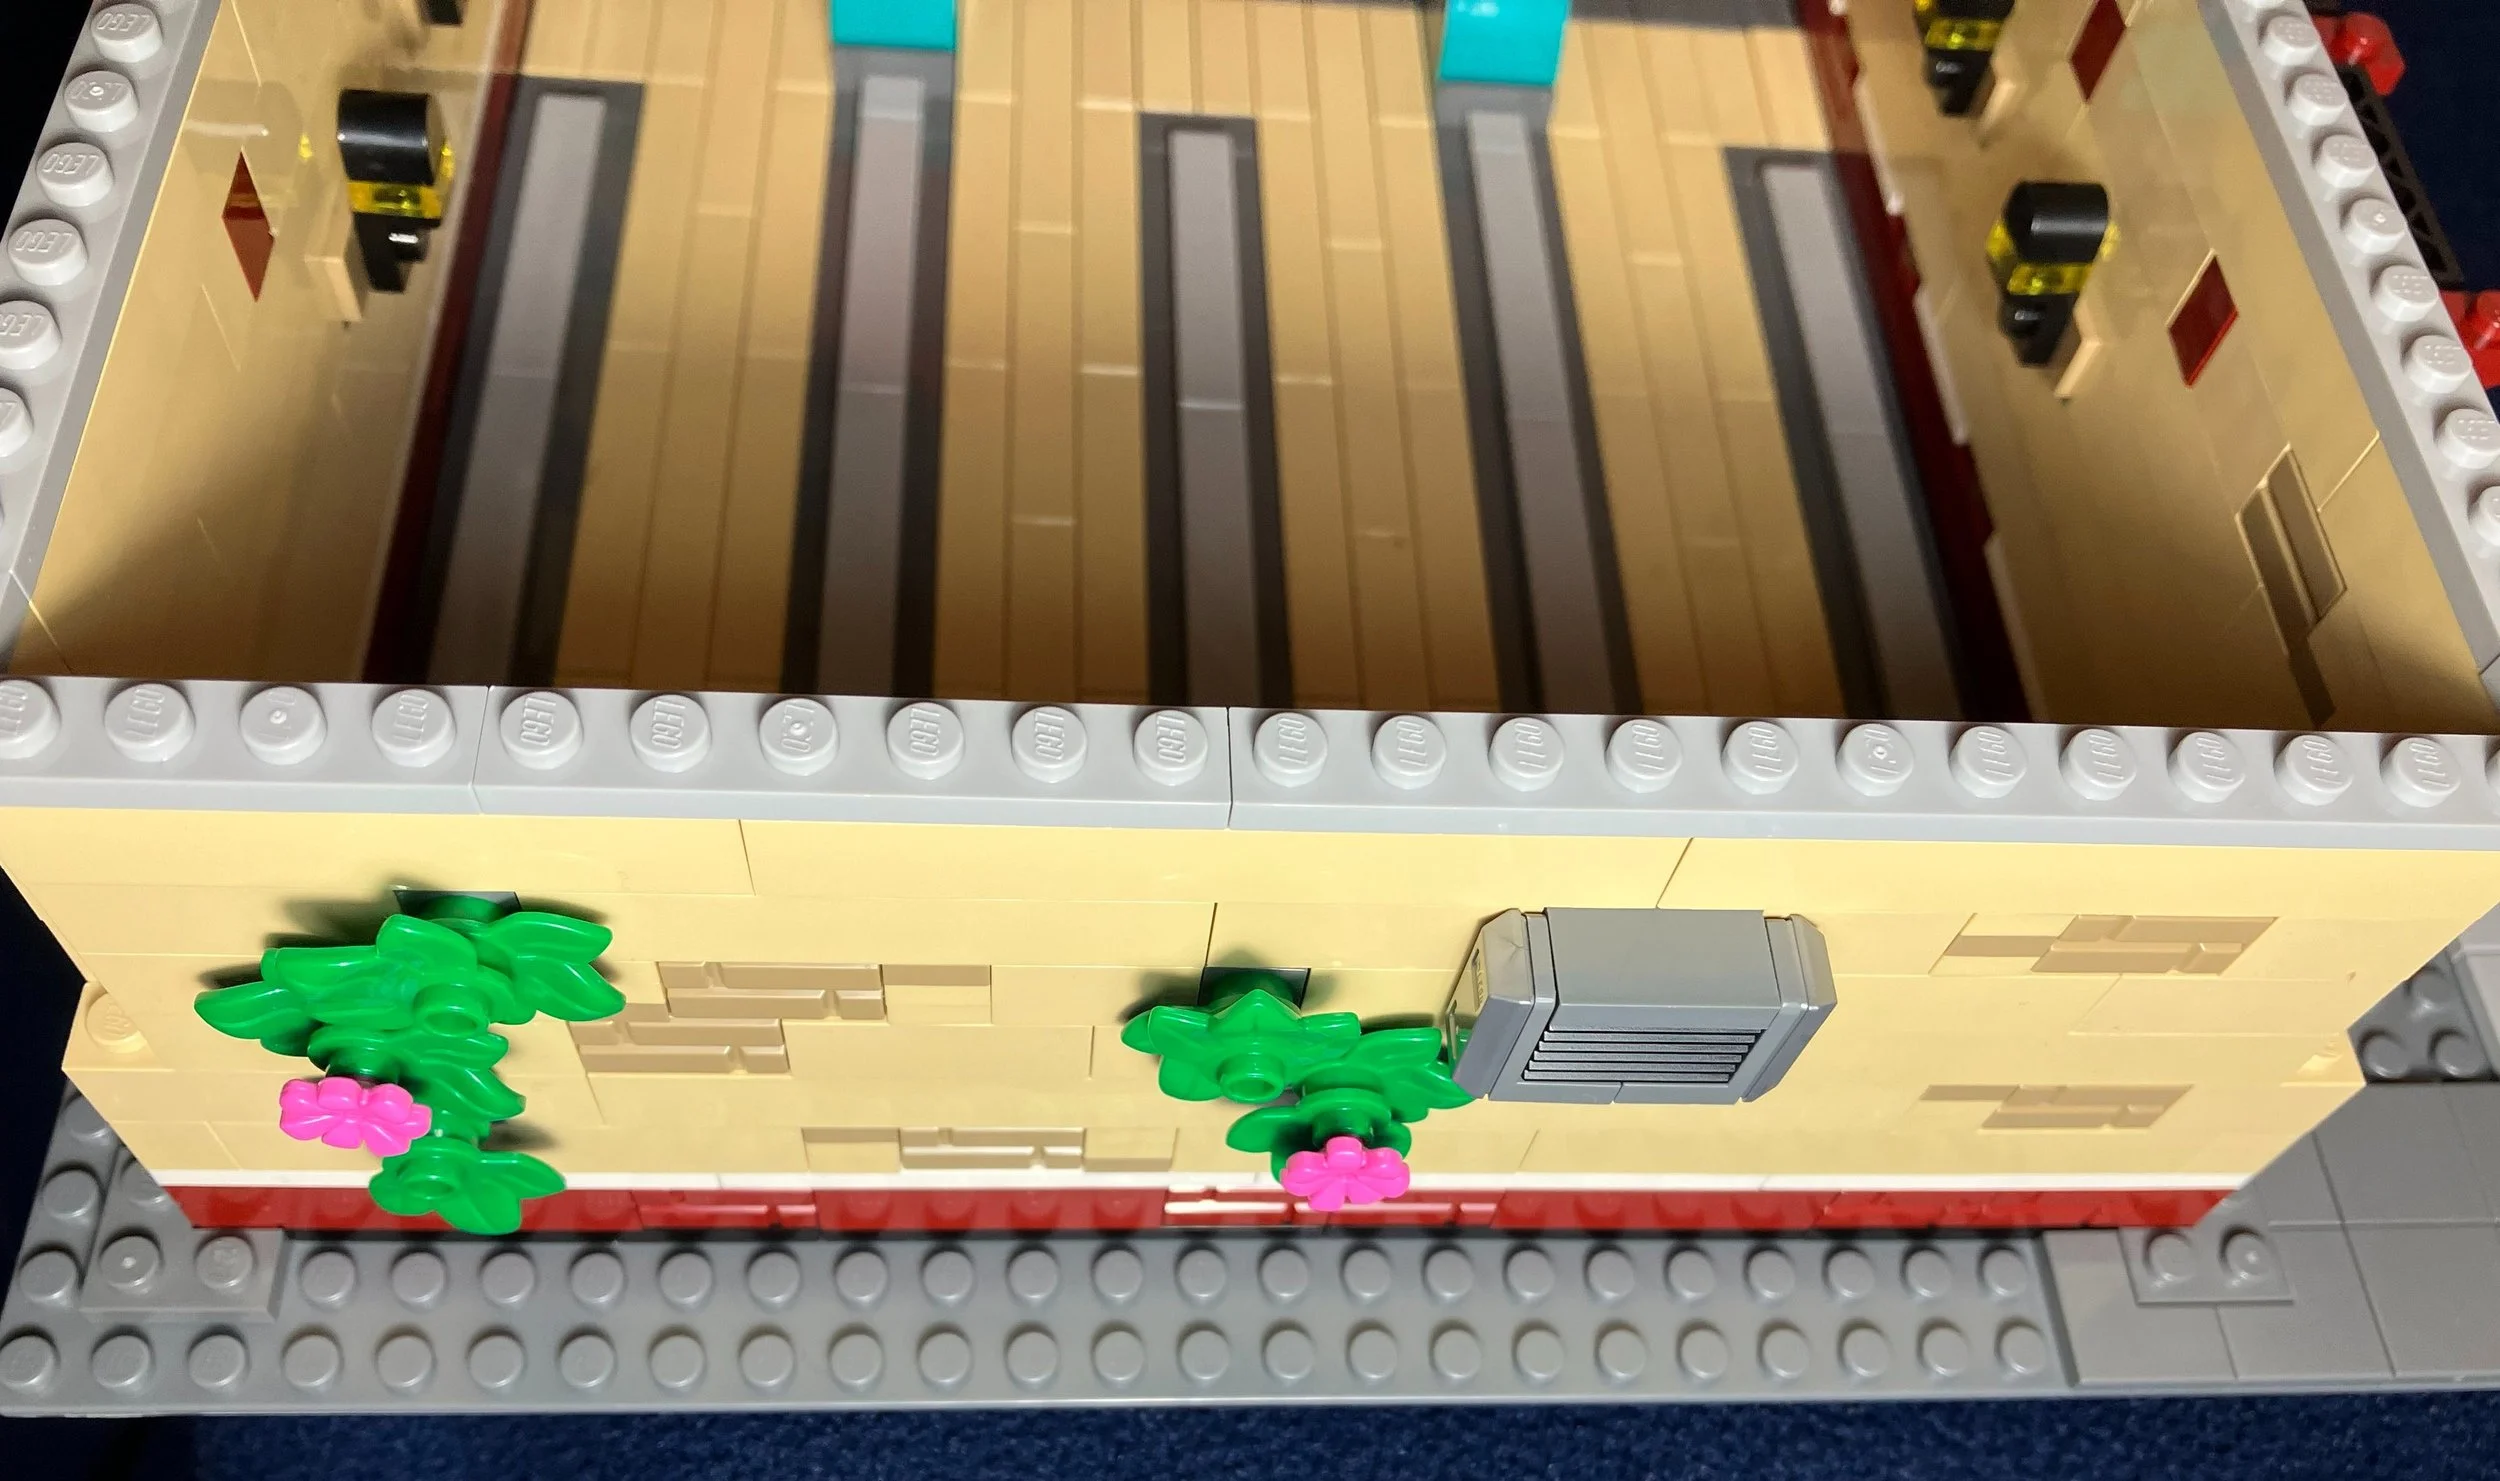
Bag nine adds in some tiling over the walls of the cafe area. It also adds in some brick red pieces for the building design by the outside planters and then in the back of the building. Lastly, you add in some plant and flower pieces along the outer walls of the building.

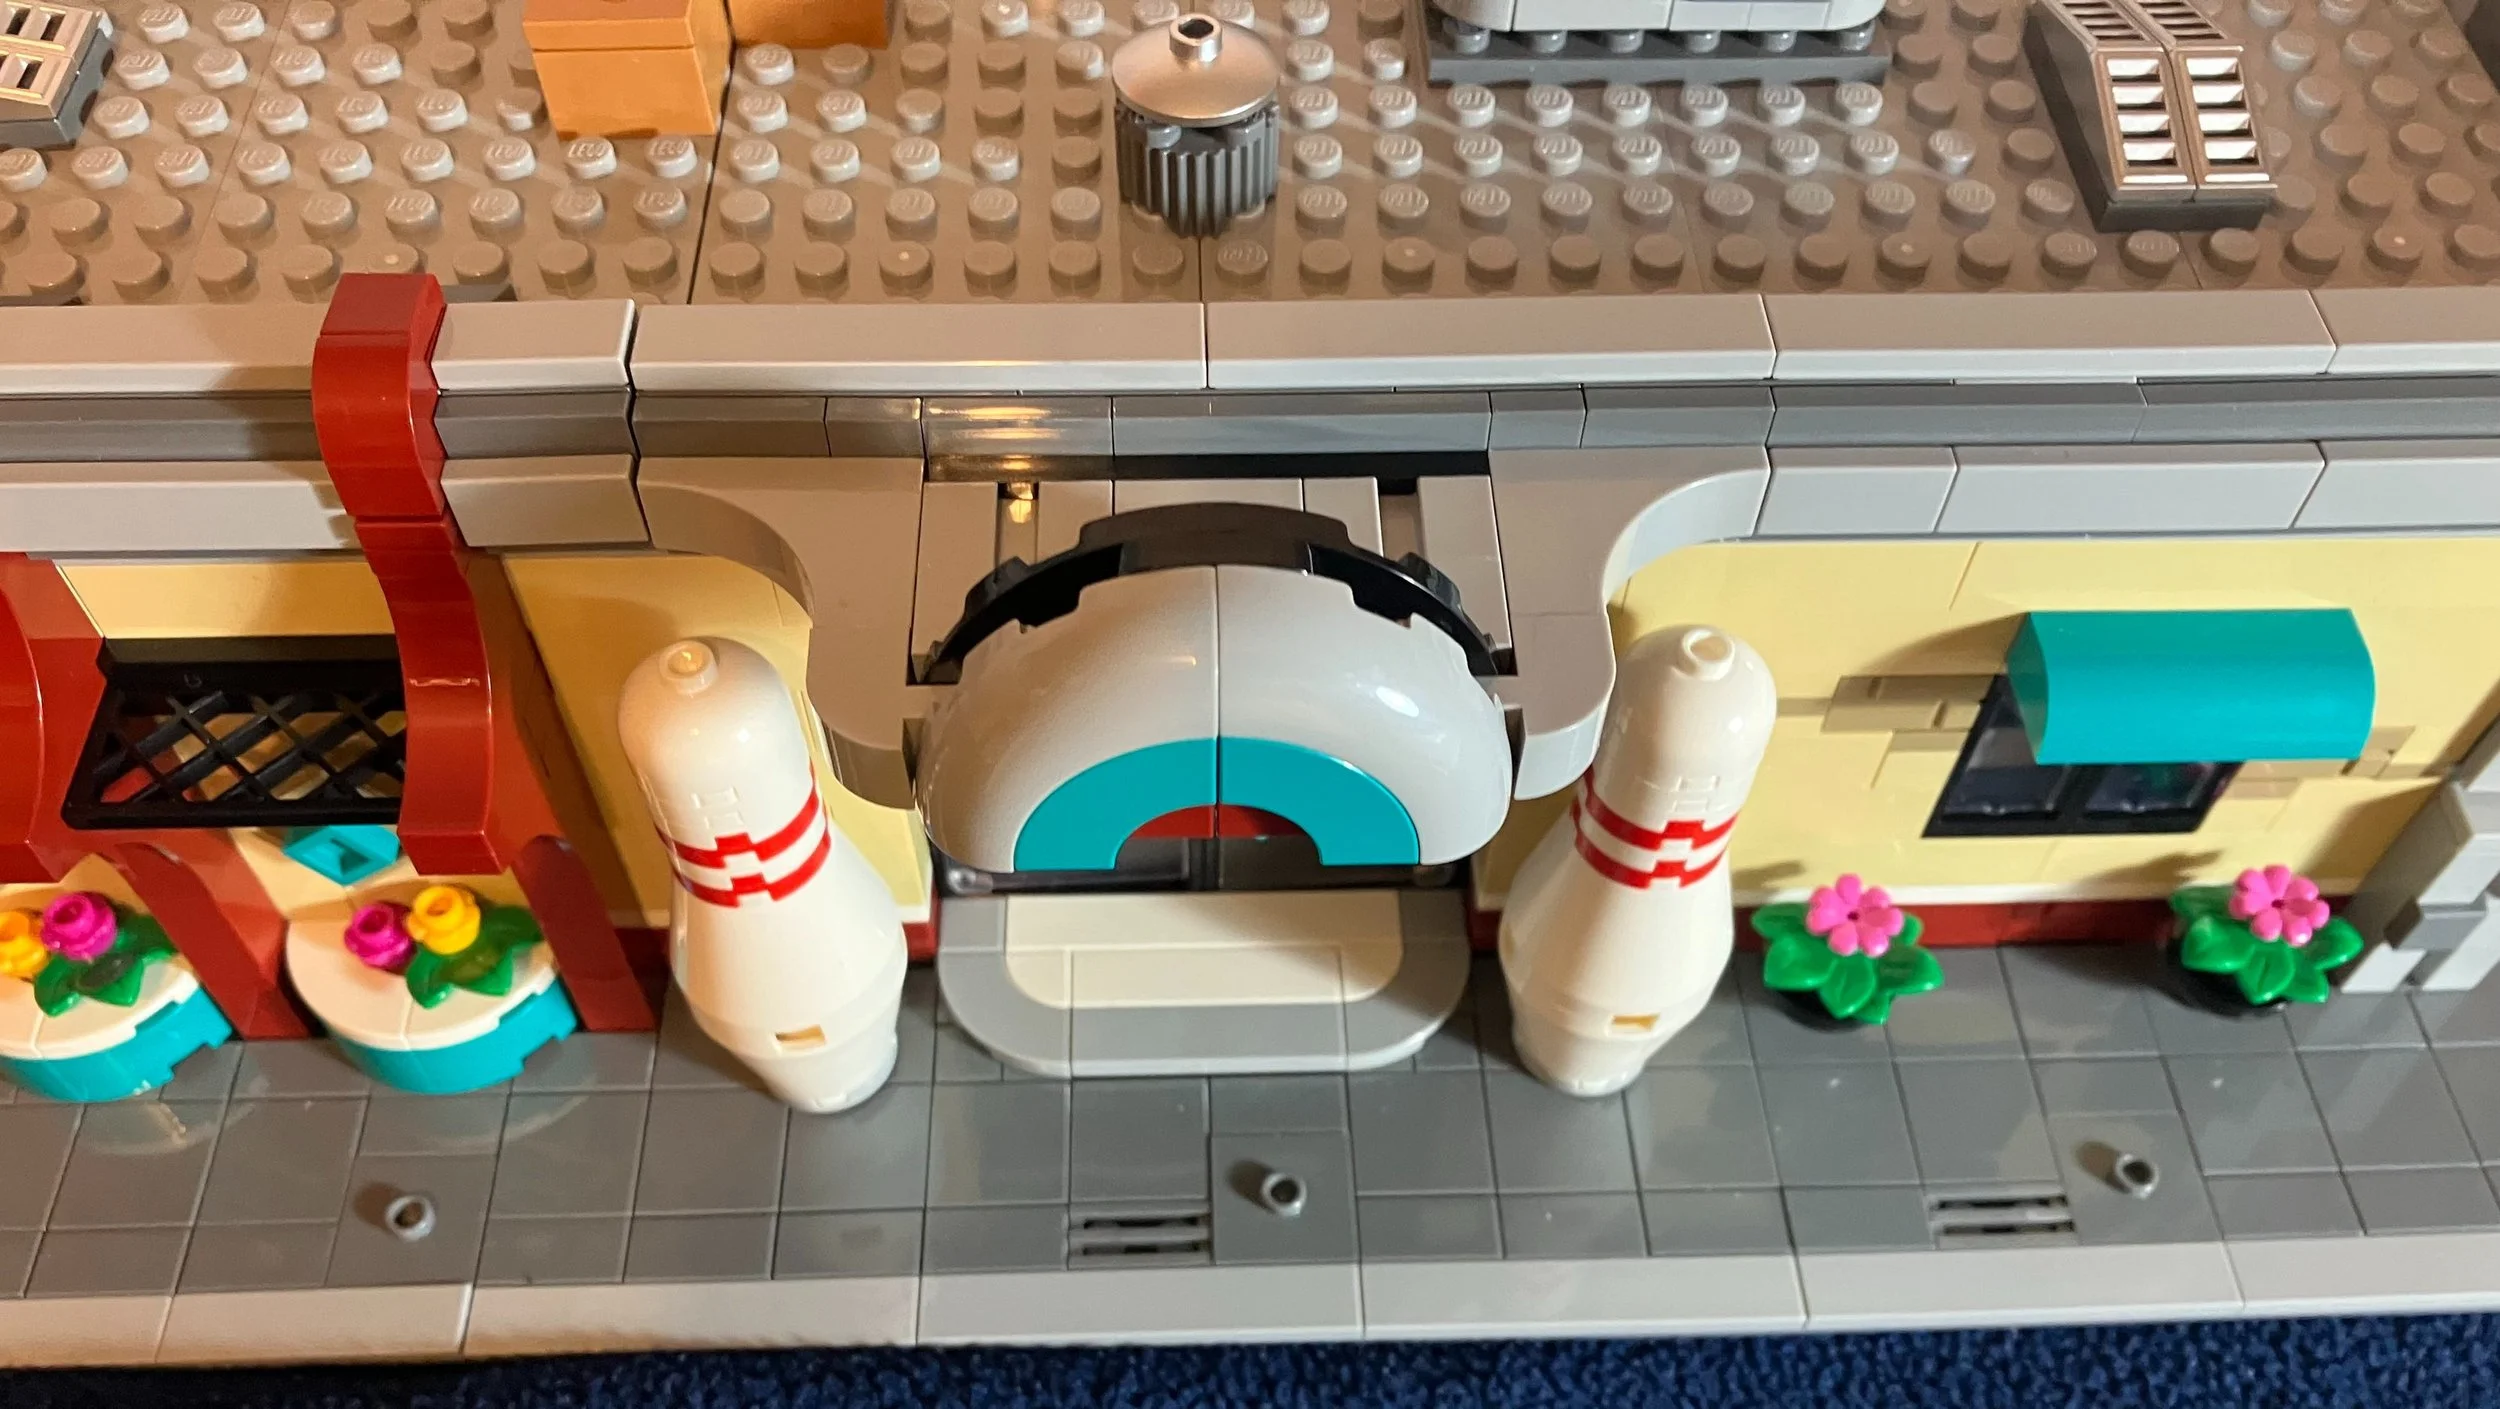
The tenth bag adds in tiles above the walls of the bowling alley. Much like a modular building, they are set up so there are some studs so the roof stays down, but not enough where it makes it a challenge to remove the roof. Additionally, each corner of the building adds in some gray pieces for a bit of architectural design there. It’s a simple design, but it makes the building look better over just having brick corners. Lastly, you add in the bowling pins on either side of the front doors. There is a Technic axle in the center of the pin and then the pieces stack on it. The pins look great and are a nice addition to the set design.

Bag 11 adds the bowling pins and the tops to each of the lanes. There are only 6 pins per lane, but based on the scale, I can’t complain too much about this. The pins are free standing so you have to be careful when moving the build to not knock them down. It also makes them a challenge to set up. Perhaps they could have used jumper plates to arrange the pins so you could attach them and they wouldn’t fall over.

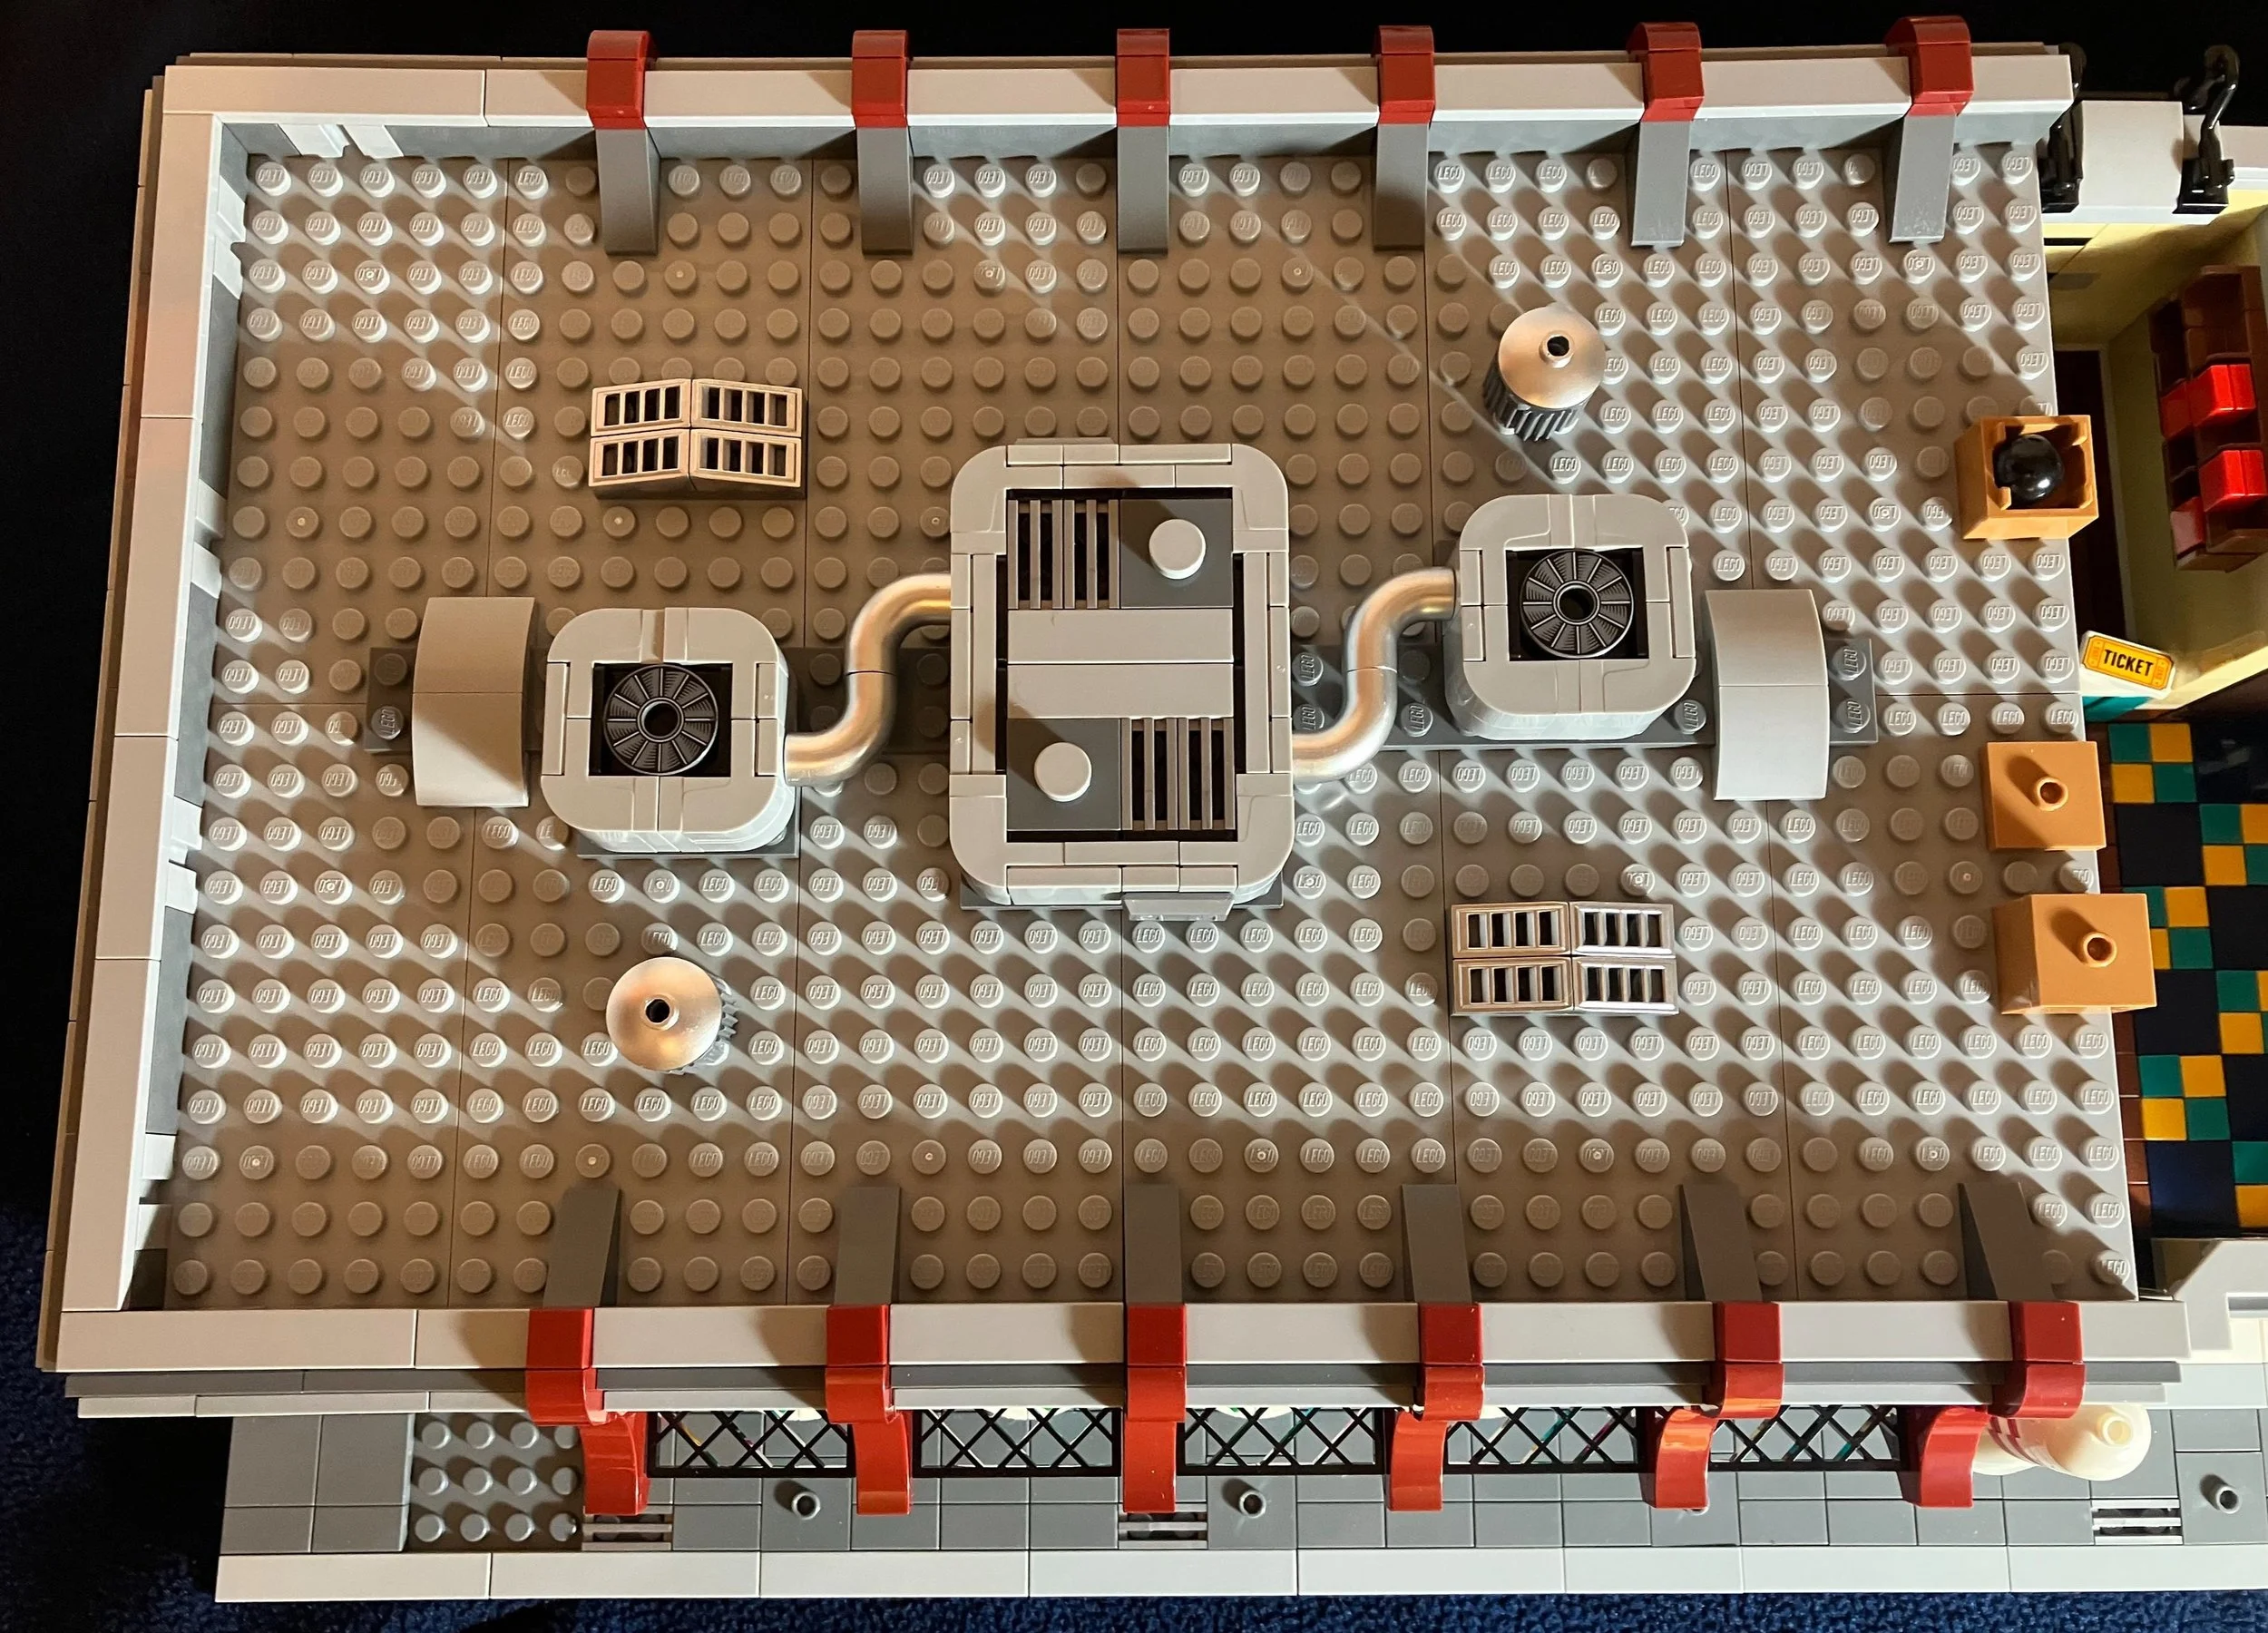
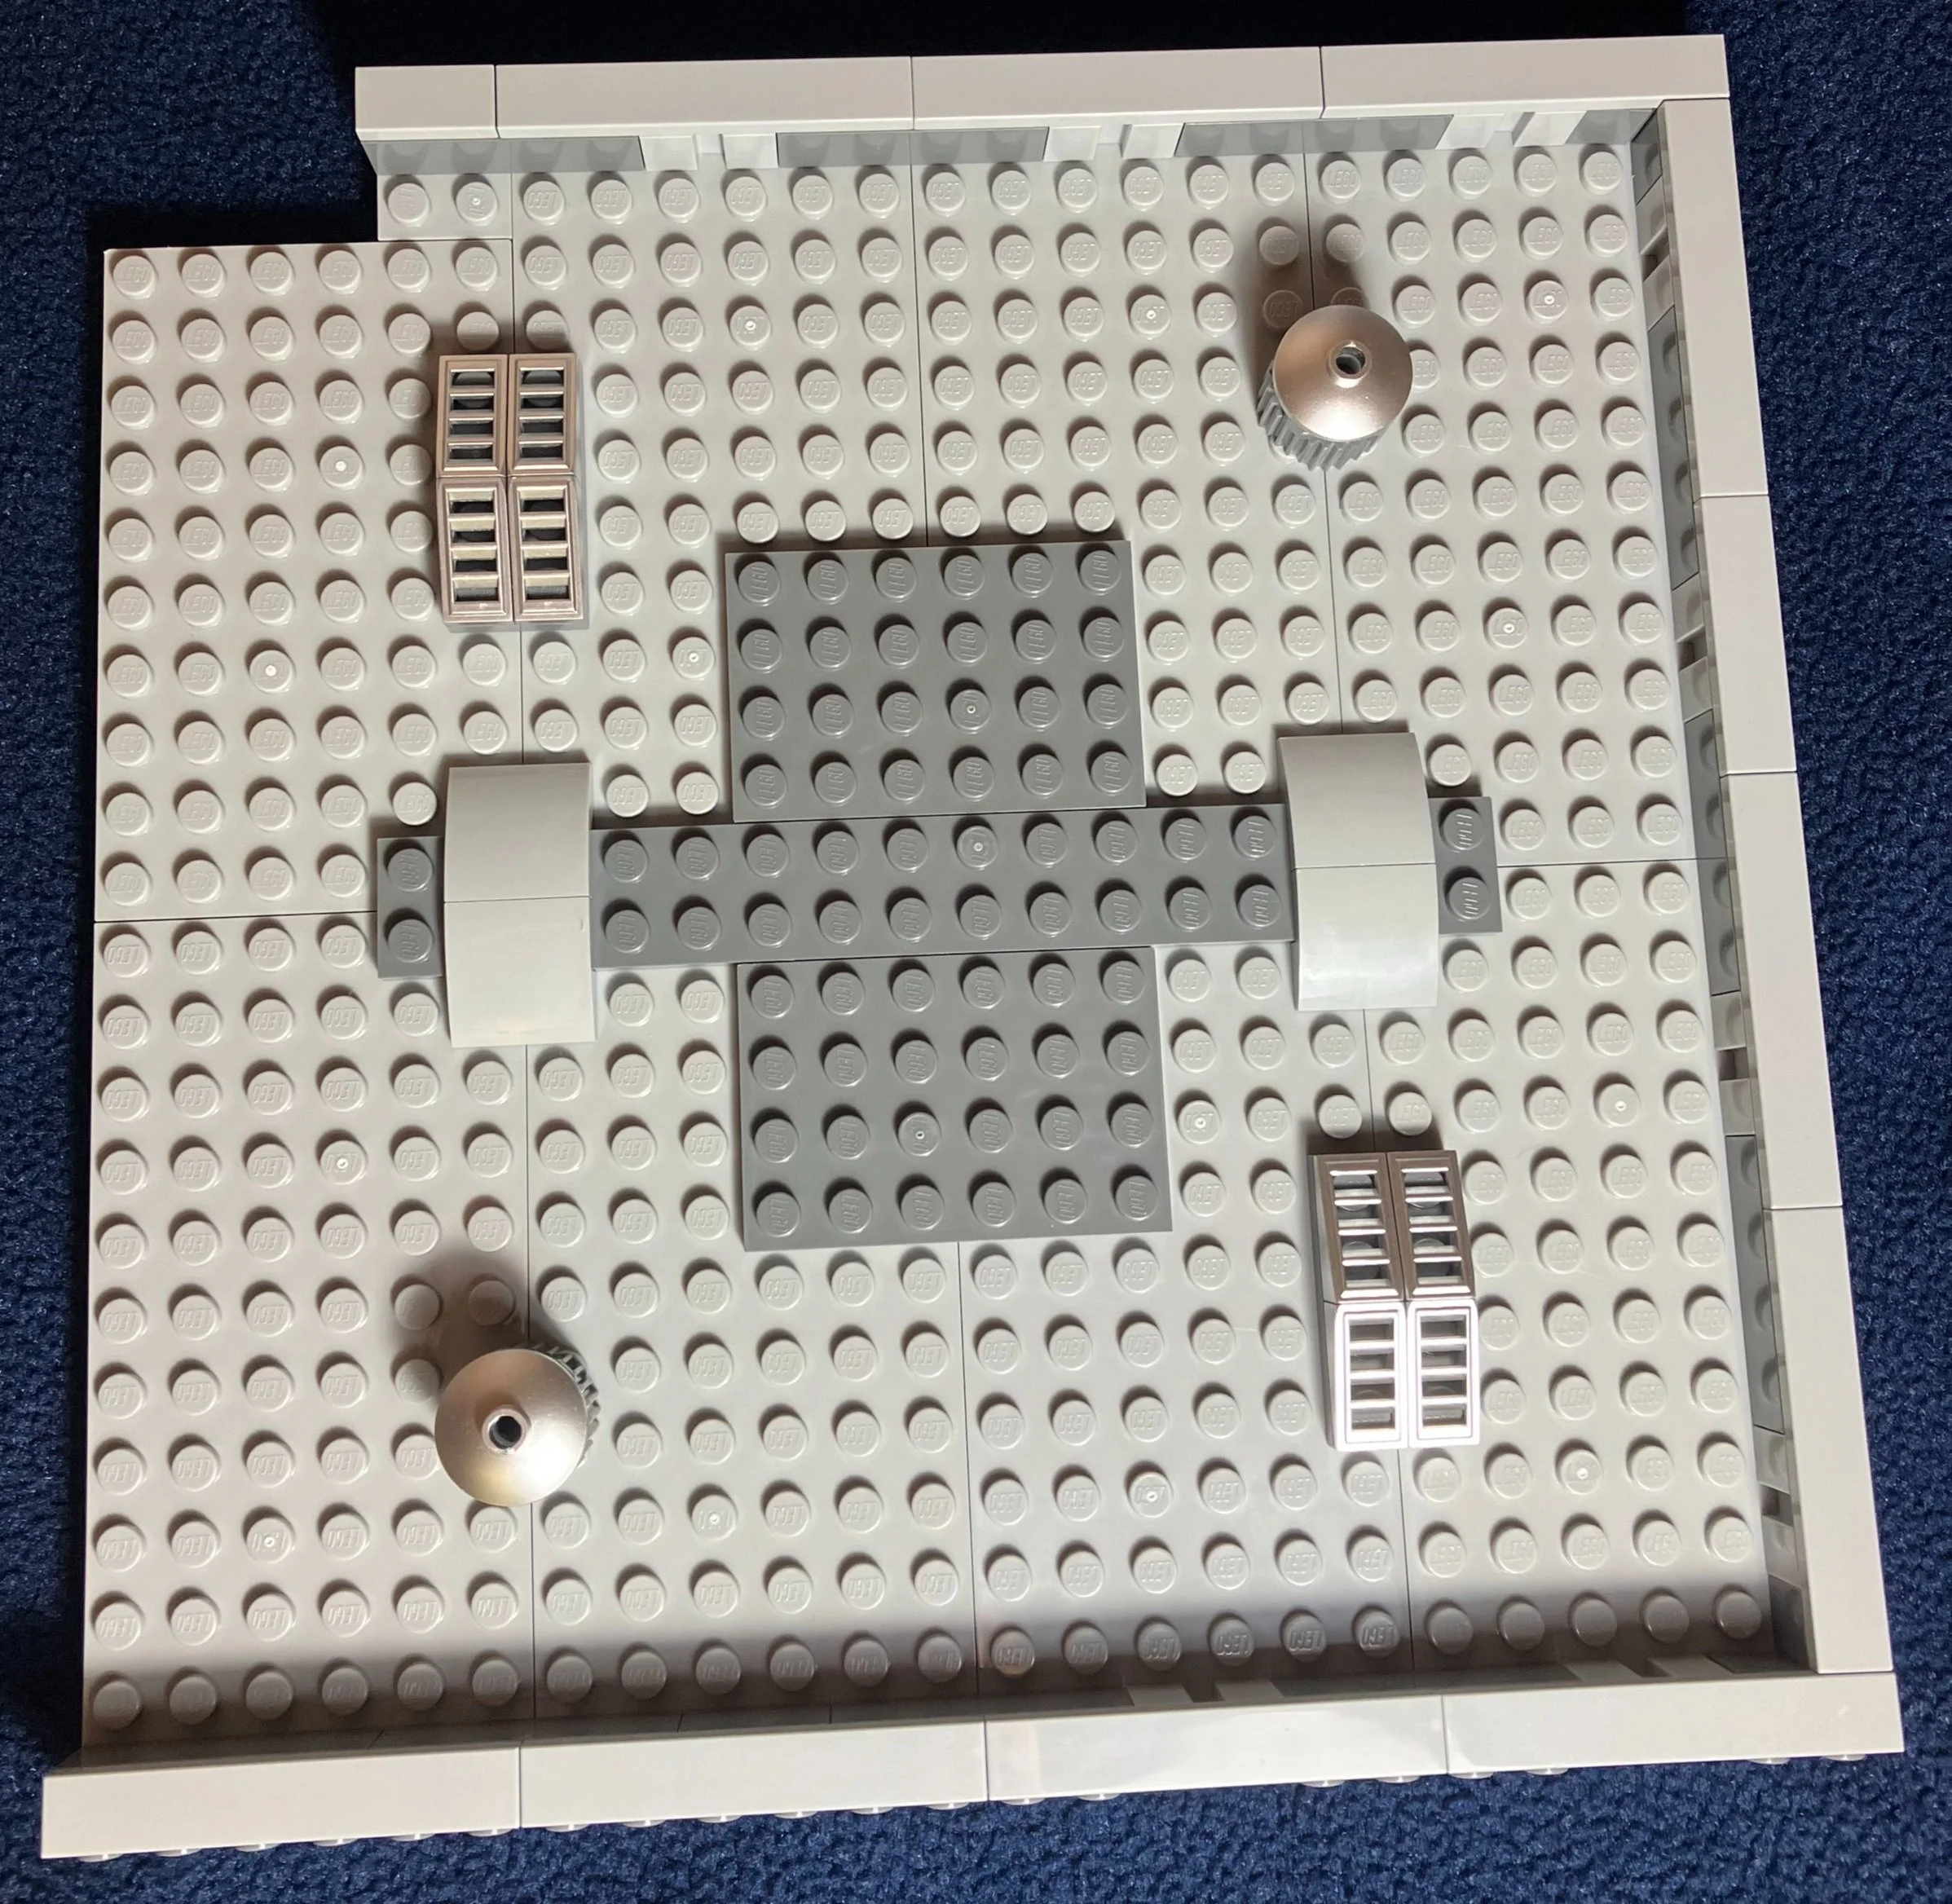
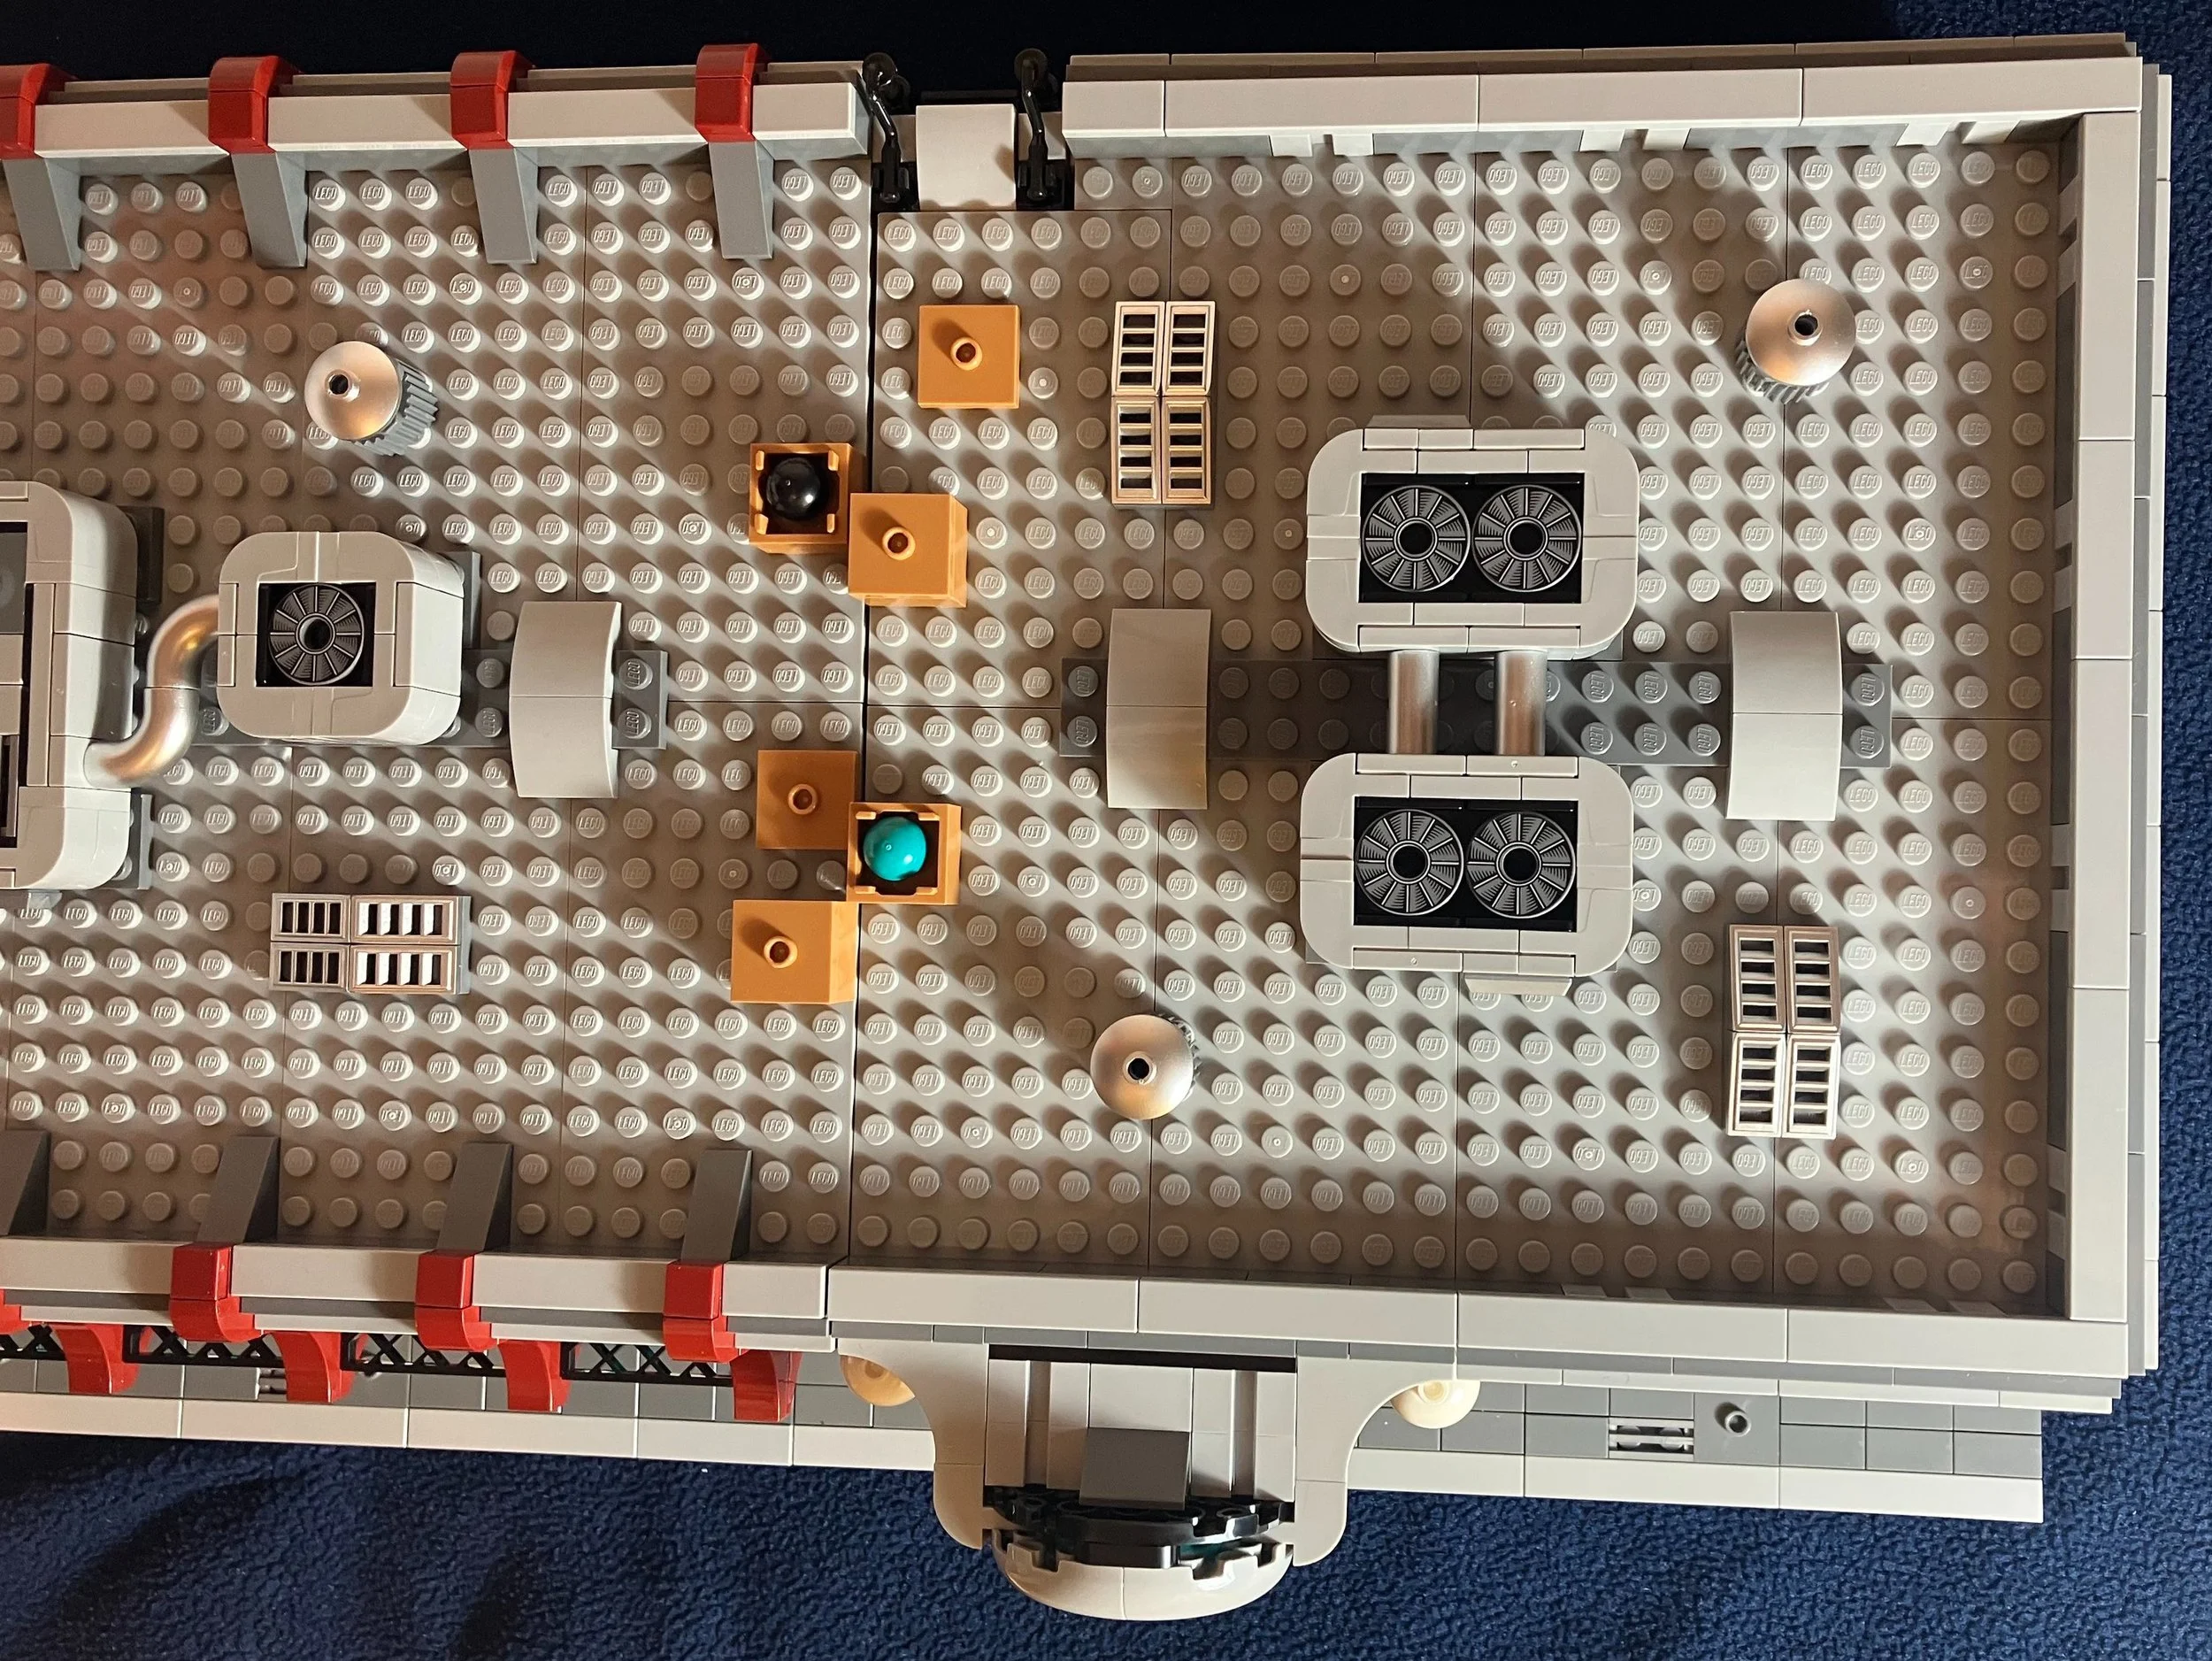
Bag 12 starts half of the roof. It continues the design from the walls and then there’s some ventilation units. I like the use of the silver pieces.

Bag 13 finishes that section of the roof and then adds some additional detail along the sides. Then you start on the other half of the roof.

You add some boxes to the roof. One is just a box with a jumper plate top. Then there is a jumper plate and an open box. That box has a black ball with a hole for a Technic axle. I’m not sure if this is supposed to be a part of the roof or if it’s just a place to store bowling balls. Any ideas?

Bag 13 starts the other section of the roof.

Bag 14 finishes the other half of the roof. This section fits around the ladder to the top in the back. It also includes another box with a “ball” in it. I don’t know…

You add an awning over the entrance to the alley which is a cool curved design. I like the techniques used and the curvature.

Bag 15 finishes the build. You attach a sign to the baseplate. The sign is very colorful and the stickers actually look pretty good. The only downside I found to this portion of the build is that you use 2x2 round bricks stacked together with a long Technic axle inside. This works fine only my Technic axle came bent and so the sign looks like it’s leaning over. I’m not sure the best way to fix this. Any ideas?

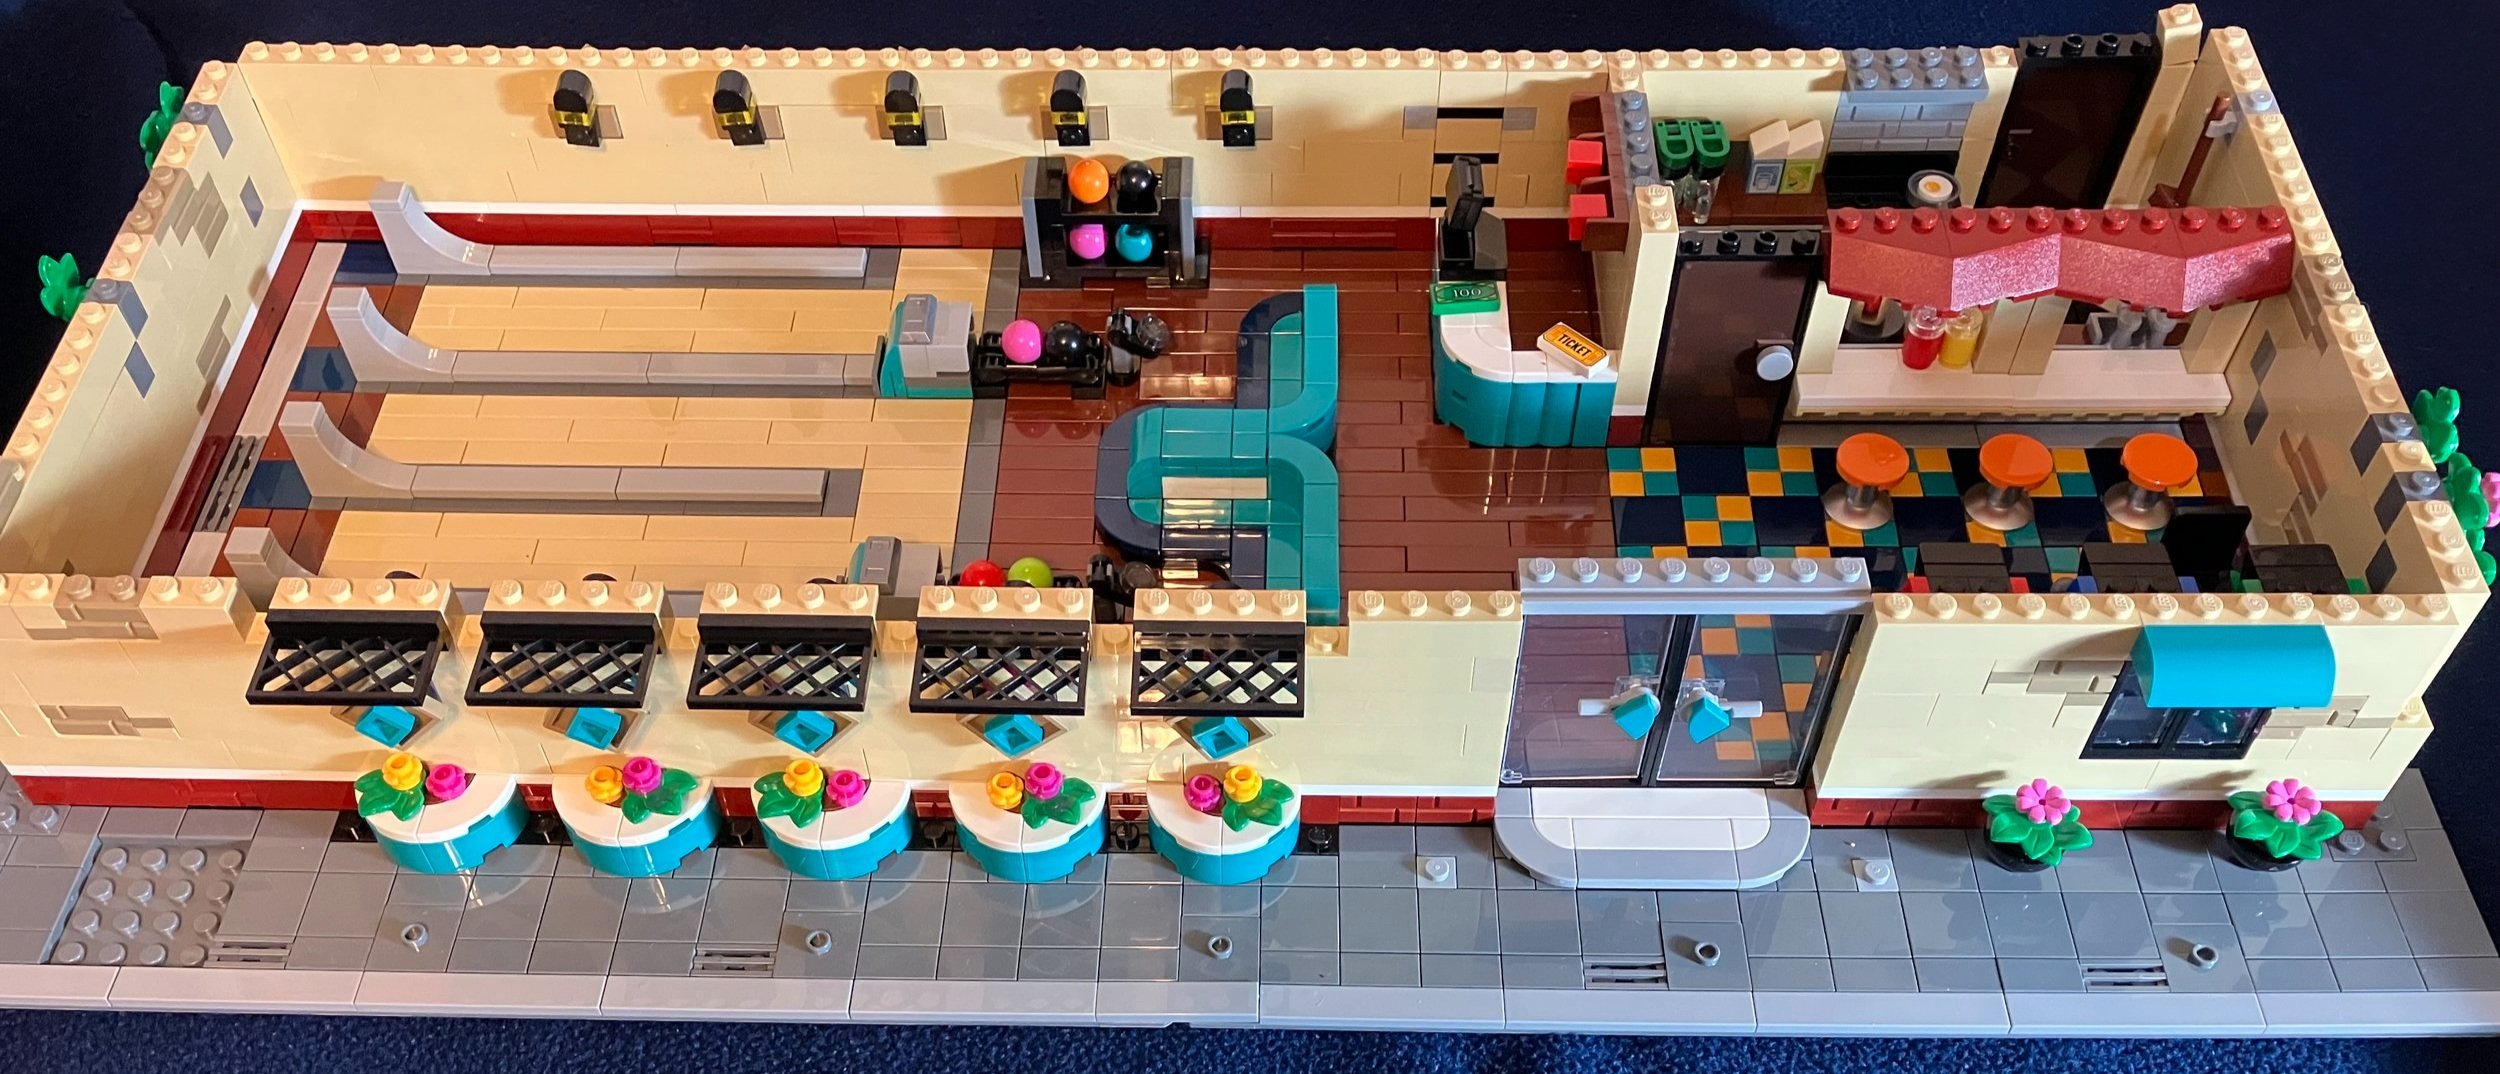
Here’s the final build. It’s a large, one-story modular building that isn’t modular. You can’t easily disconnect this set for storage or to move it around. I wish I had my Downtown Diner Modular building still assembled as I think this would look great next to it and I look forward to someday building a MOC with the two or having both in a city layout next to each other.

Overall, it’s not a bad set. The build was fun with only a few repetitive parts. There were a lot of great details and the color scheme was great. There are also a lot of great pieces if you want to tear it apart for MOC pieces. The minifigures are okay. Nothing too exciting, but they fit the set well. The price per piece is decent although $230 is pretty steep to pay. Due to the limited production run, you won’t find this one for $230 anymore. Sorry.

Happy building!


Set Review - #76399-1: Hogwarts™ Magical Trunk

The 2022 wave of Harry Potter themed sets have been out for a while and I finally purchased a few as the sales have started to occur and prices have gone down. #76399-1: Hogwarts™ Magical Trunk was released in the US on 1 March 2022. It contains 603 pieces and retails for $64.99 in the US. This works out to $0.108 per piece. I picked it up on sale for $52 and I will say up front that for the overall size and amount of pieces that you get, it still seems expensive.

This set is a little different from some of the past sets. Many of the Harry Potter themed sets focus on a specific scene in a movie that you can re-create in brick form. This one has you build a trunk that you can customize the outside and then you can re-create multiple scenes from the movies as listed in the instructions or you can free play/build as desired.

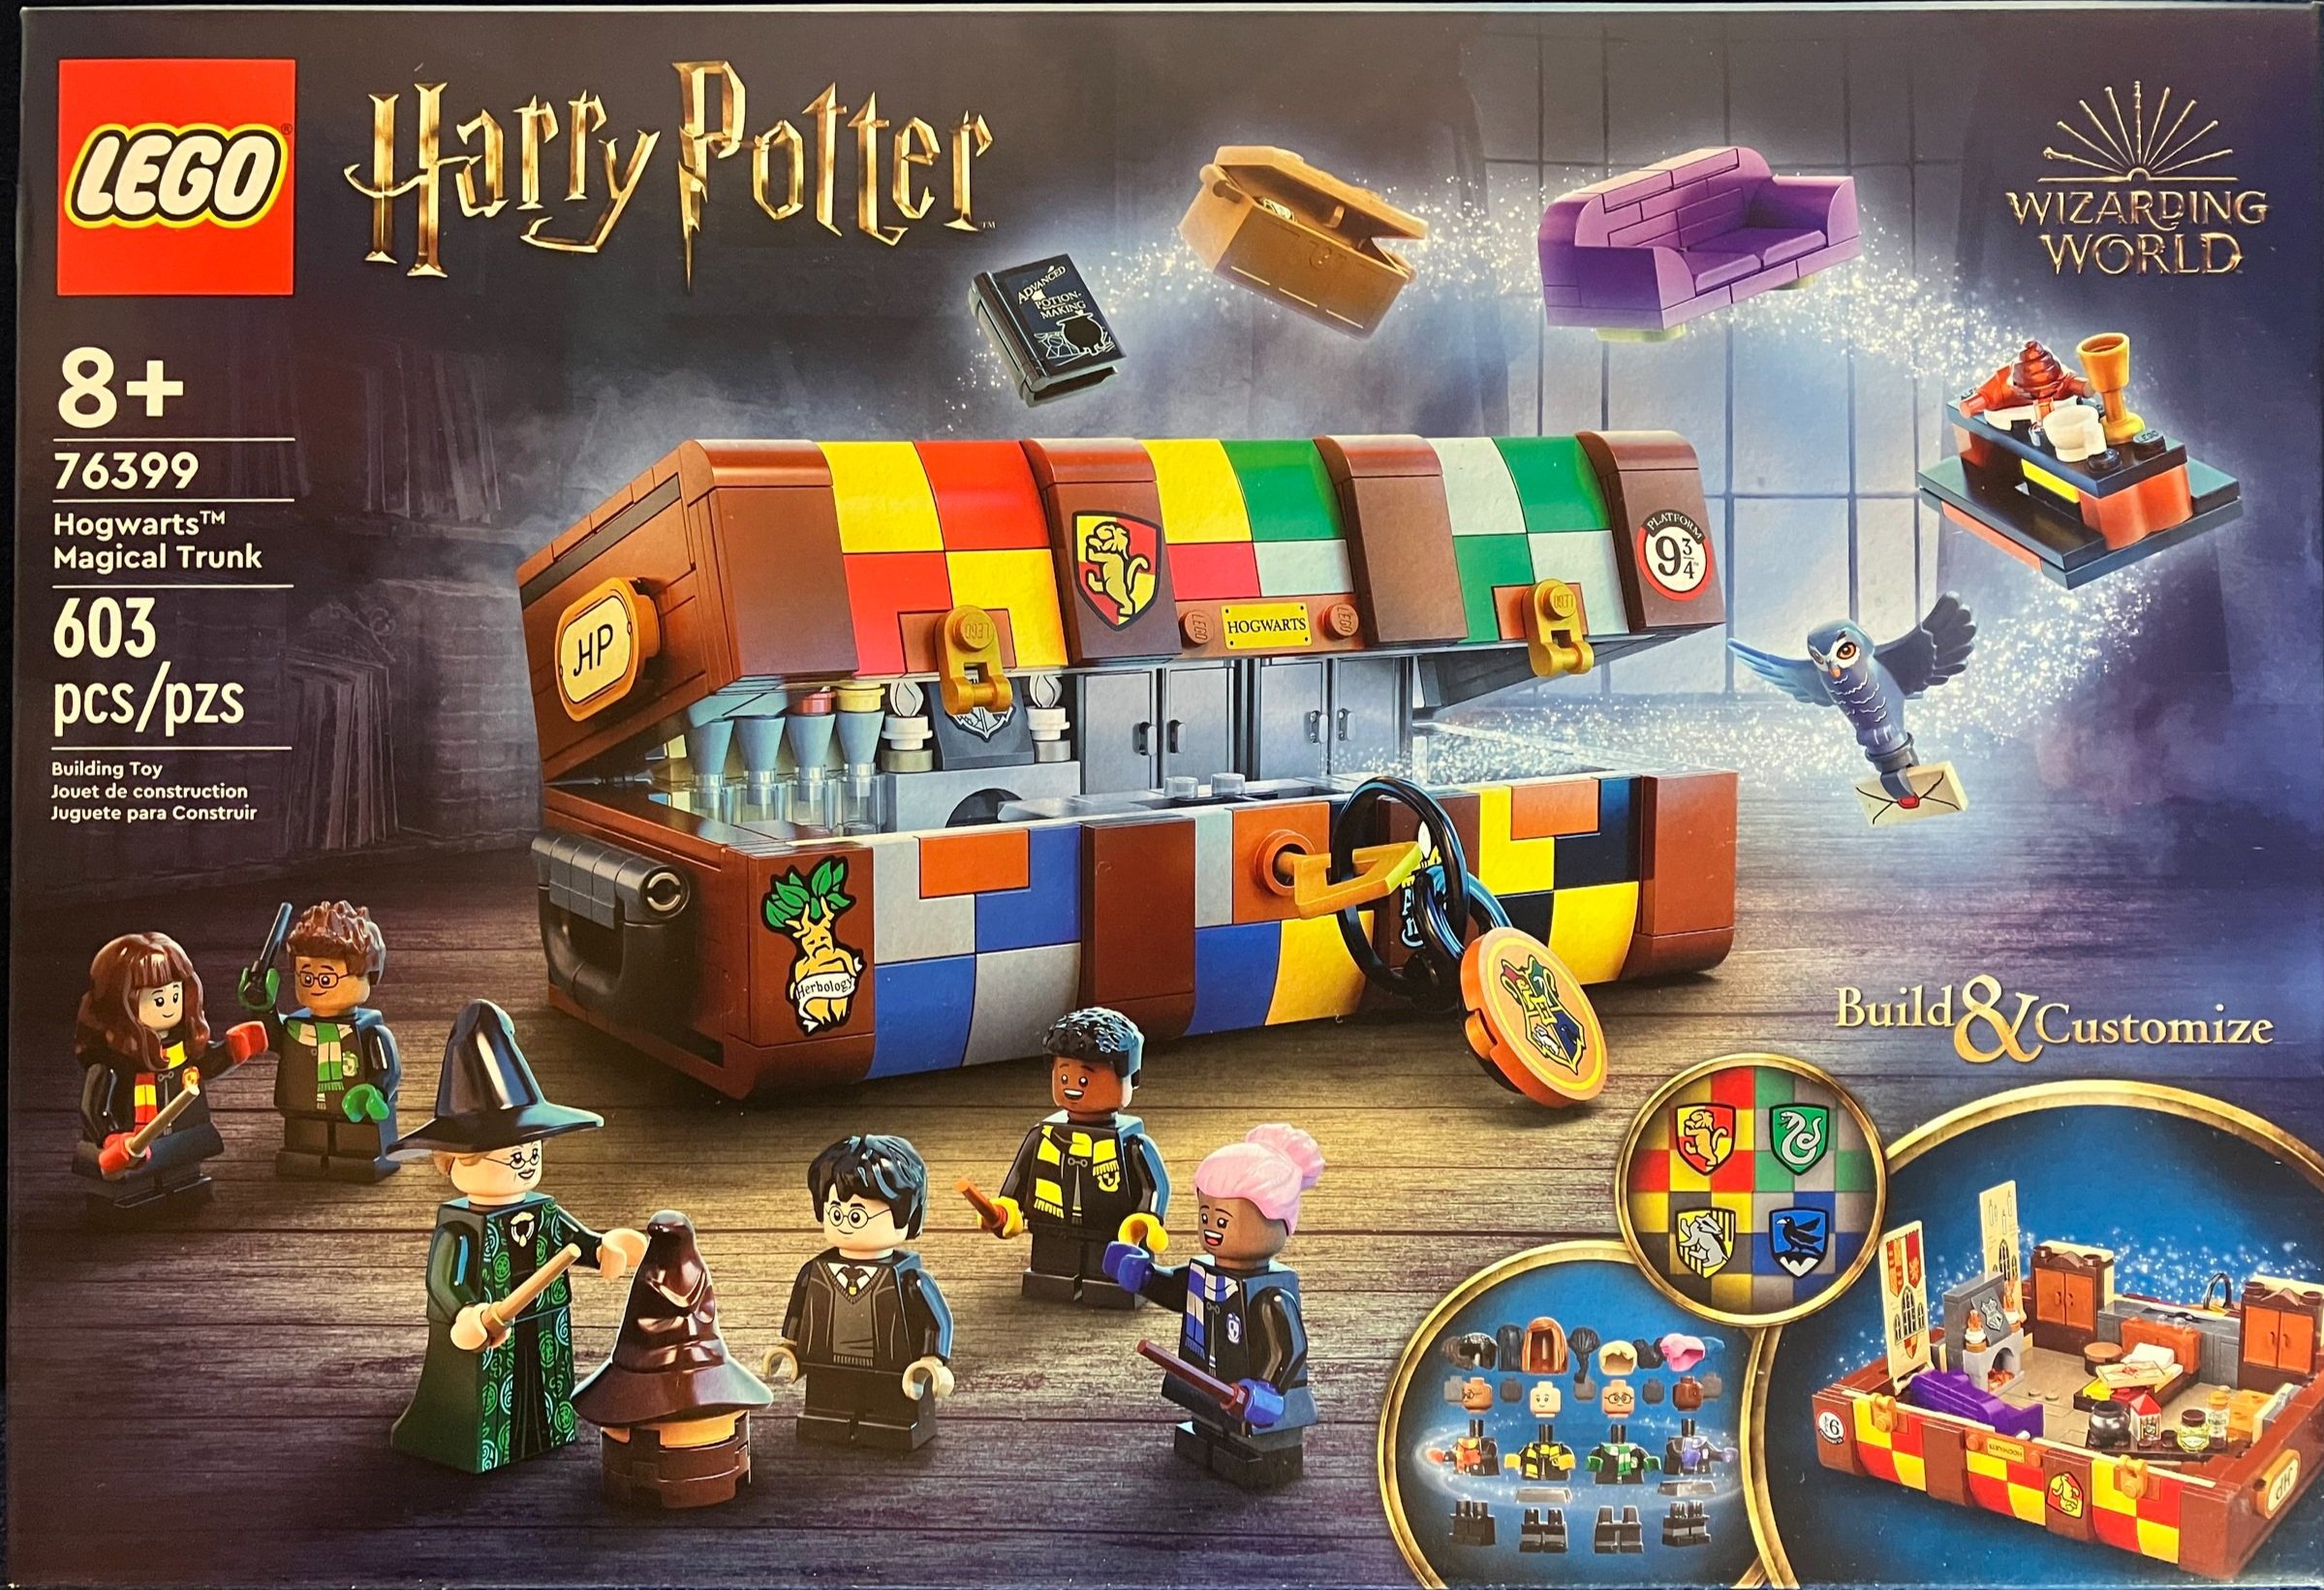
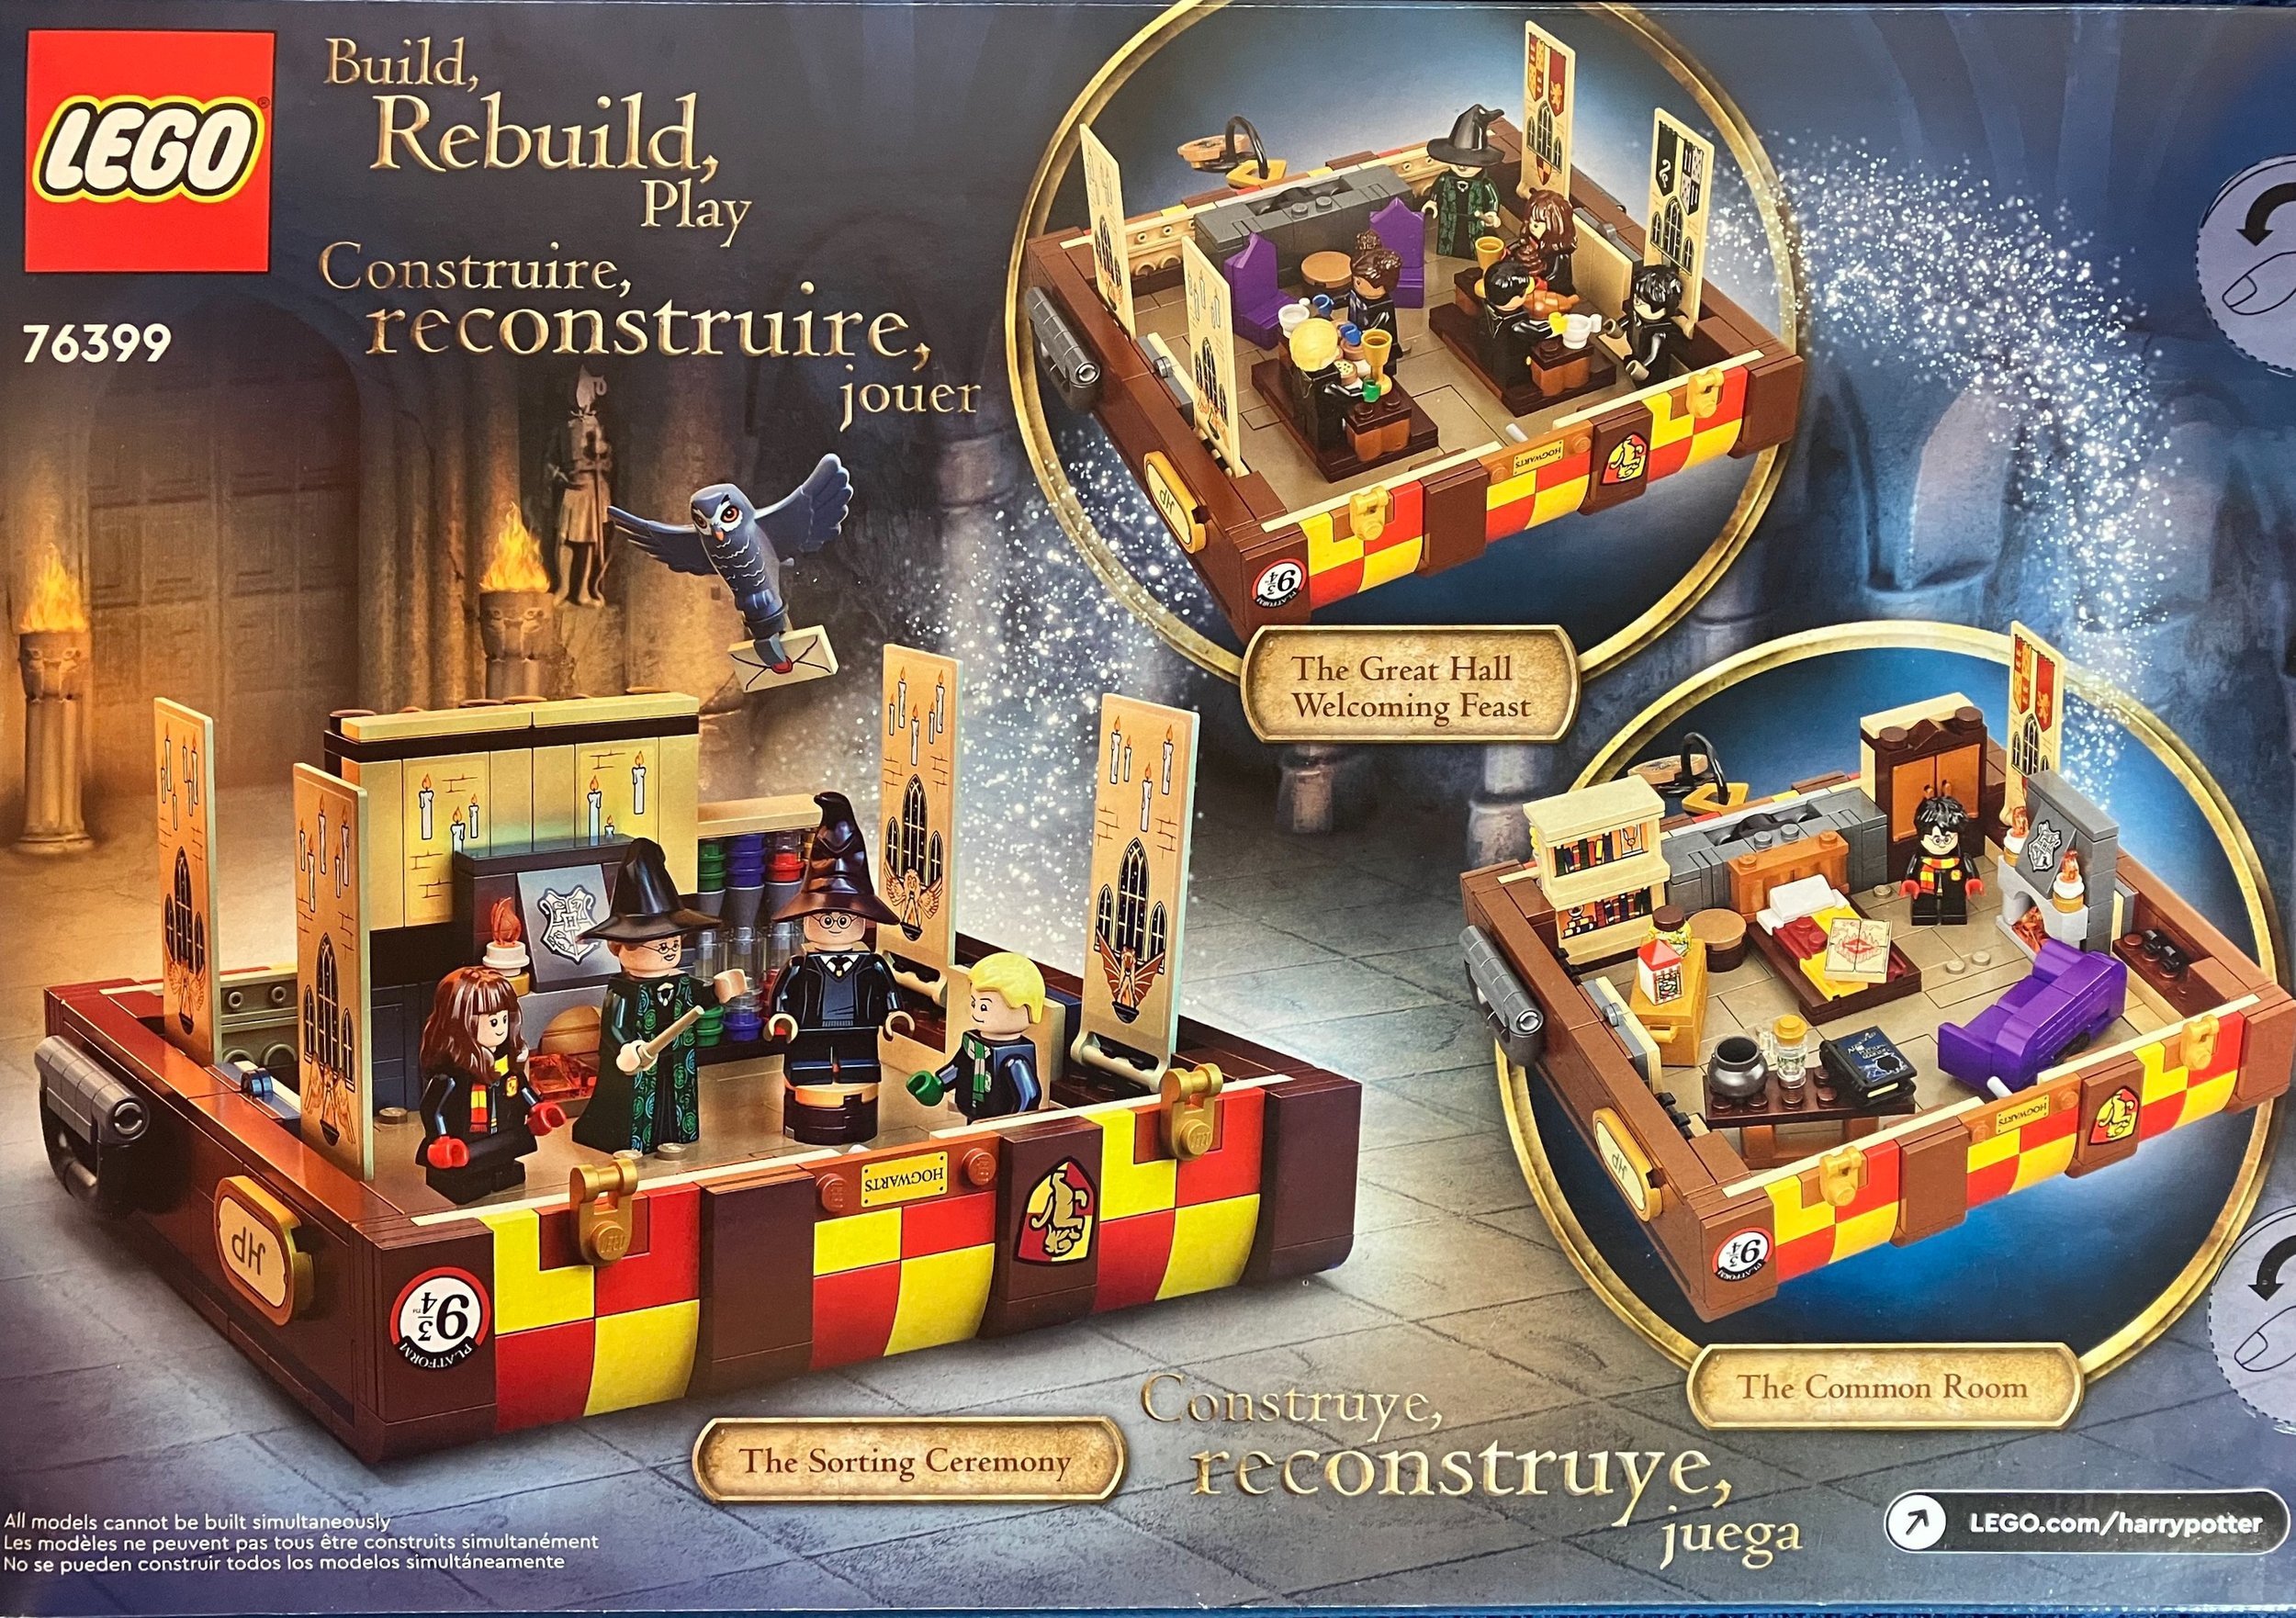
Let’s dig into the set… The front of the box shows the trunk, some minifigures, how you have options for switching up the minifigures and an example of how you can set up the trunk. The back shows the three different scenes you can make using the examples in the instructions.

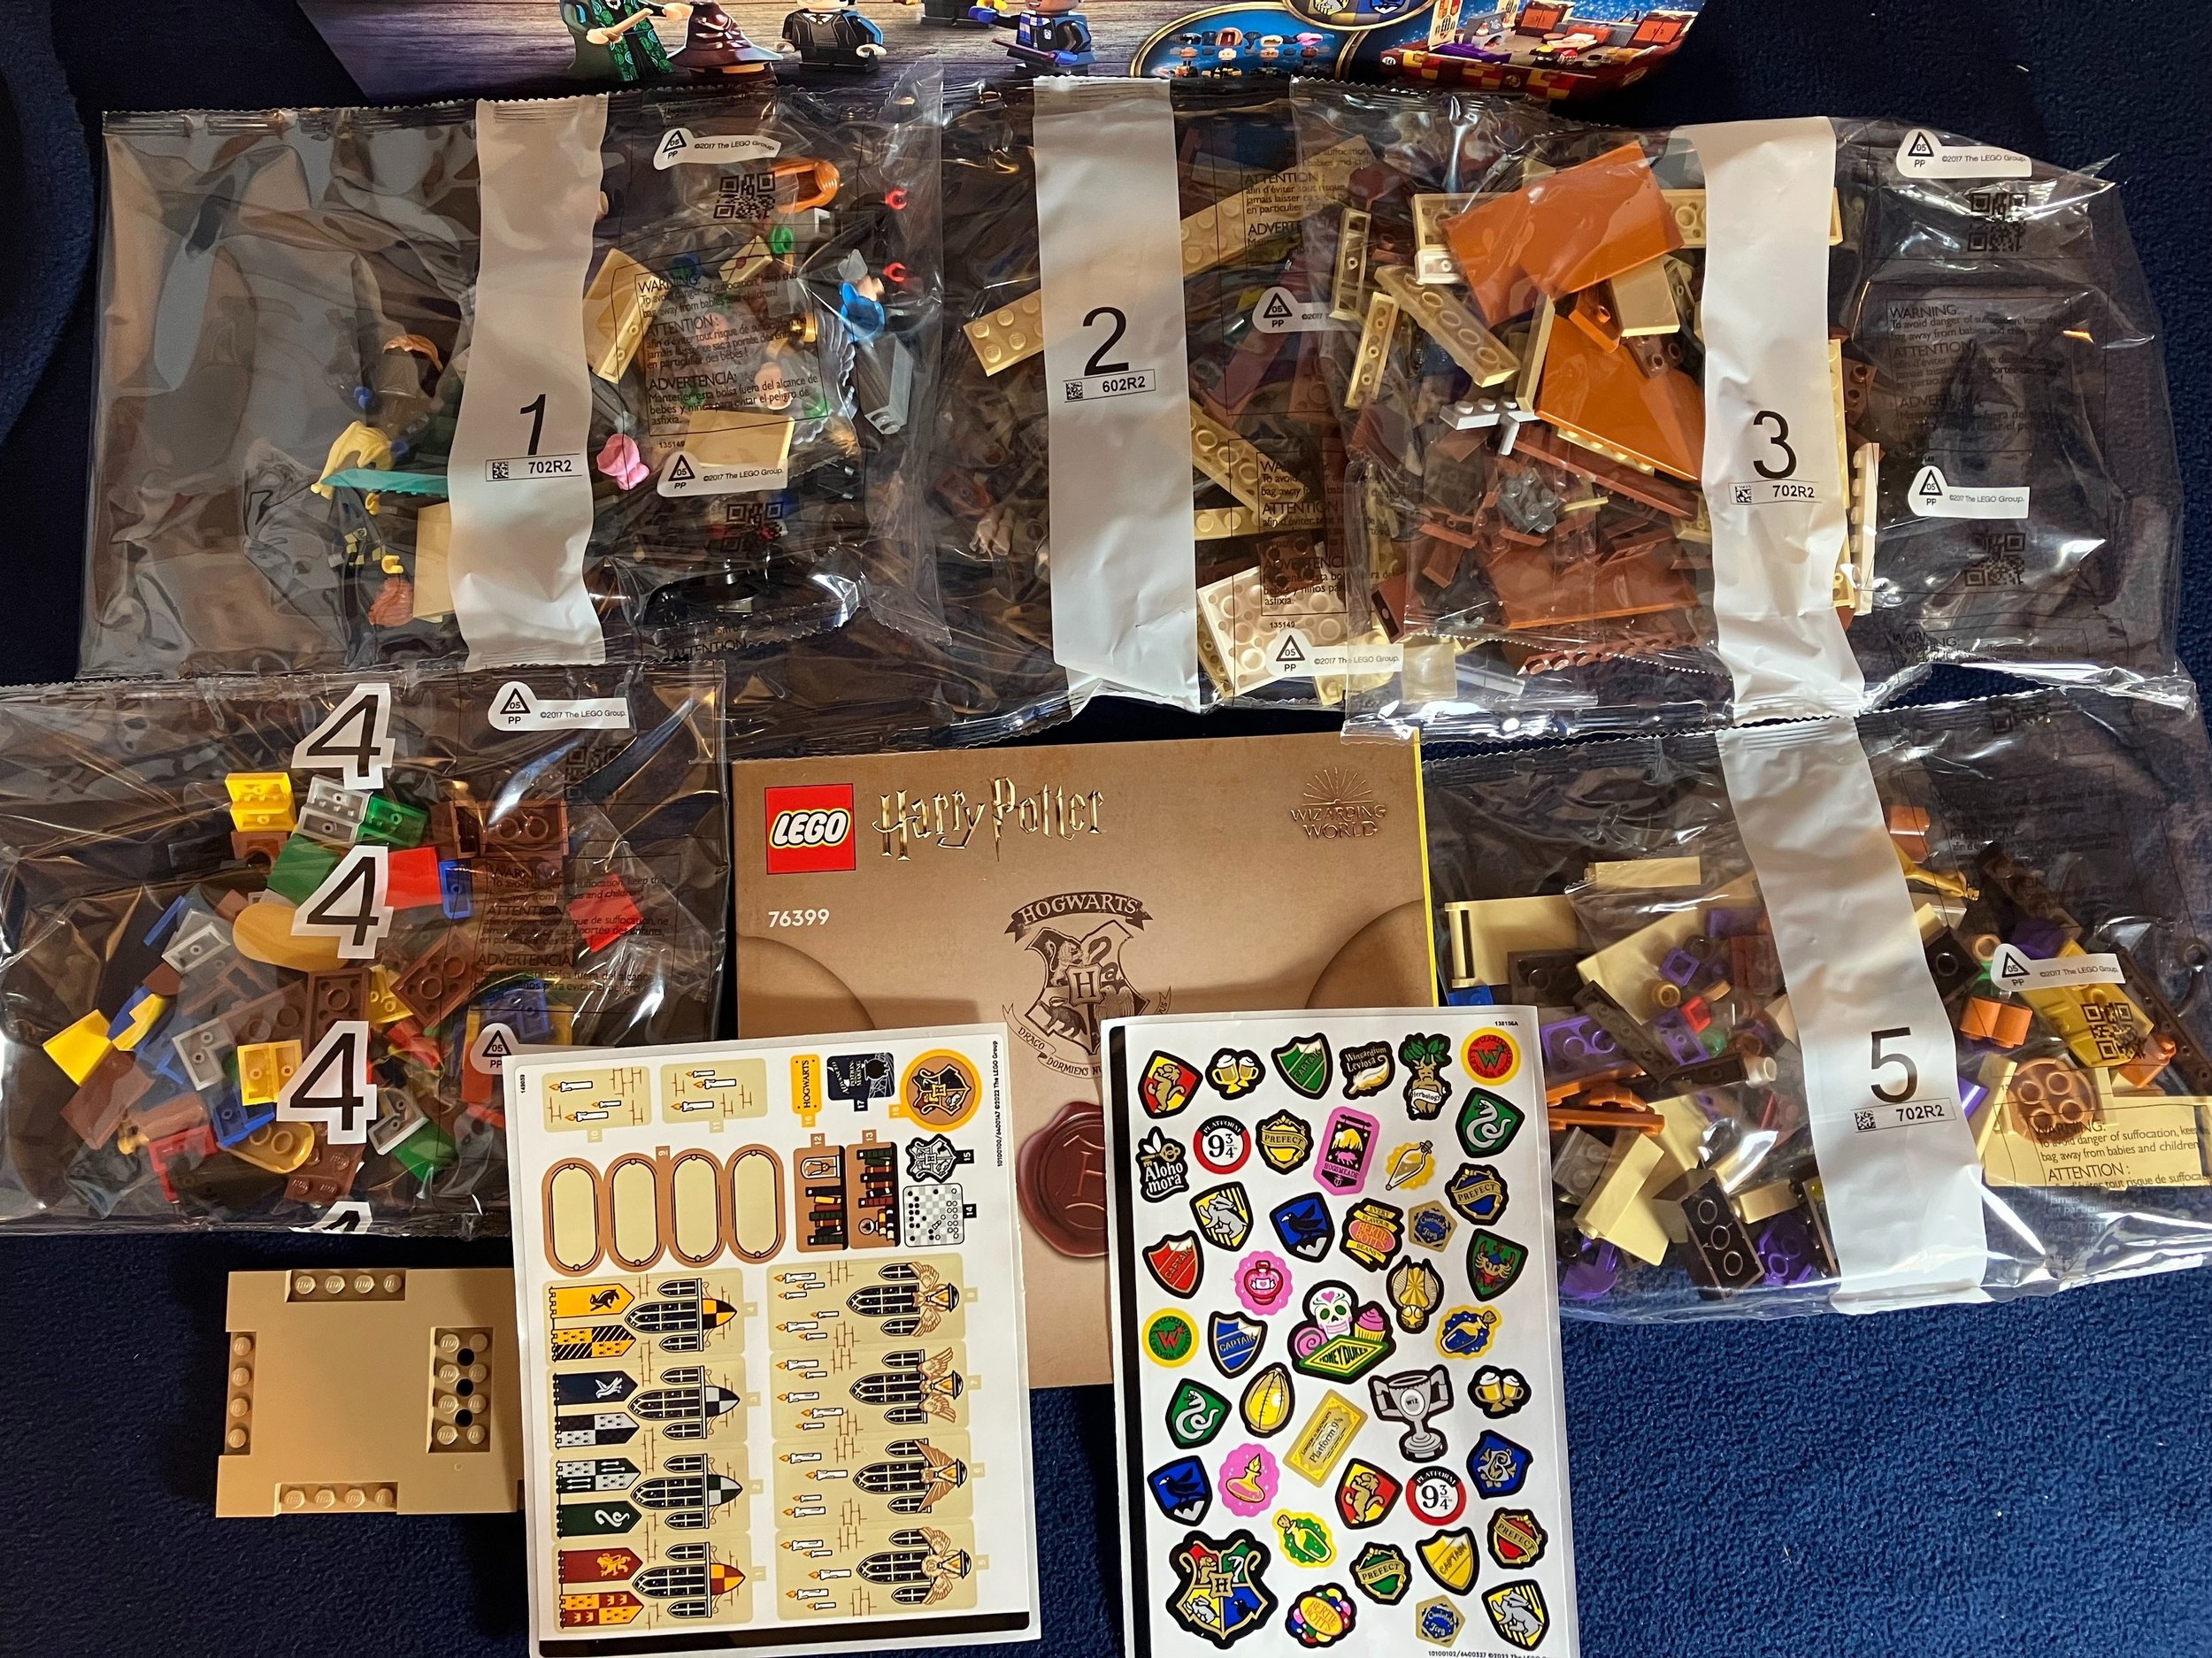
The set comes with five numbered parts bags, a larger plate/tile piece, and two sticker sheets. One sticker sheet is the standard sheet you’d expect in a set where you place the stickers where the instructions tell you to. The other is for you to place stickers where you want around the set. I chose to put the bare minimum stickers on in the event I decide to break the set down and use it for parts at a later date.

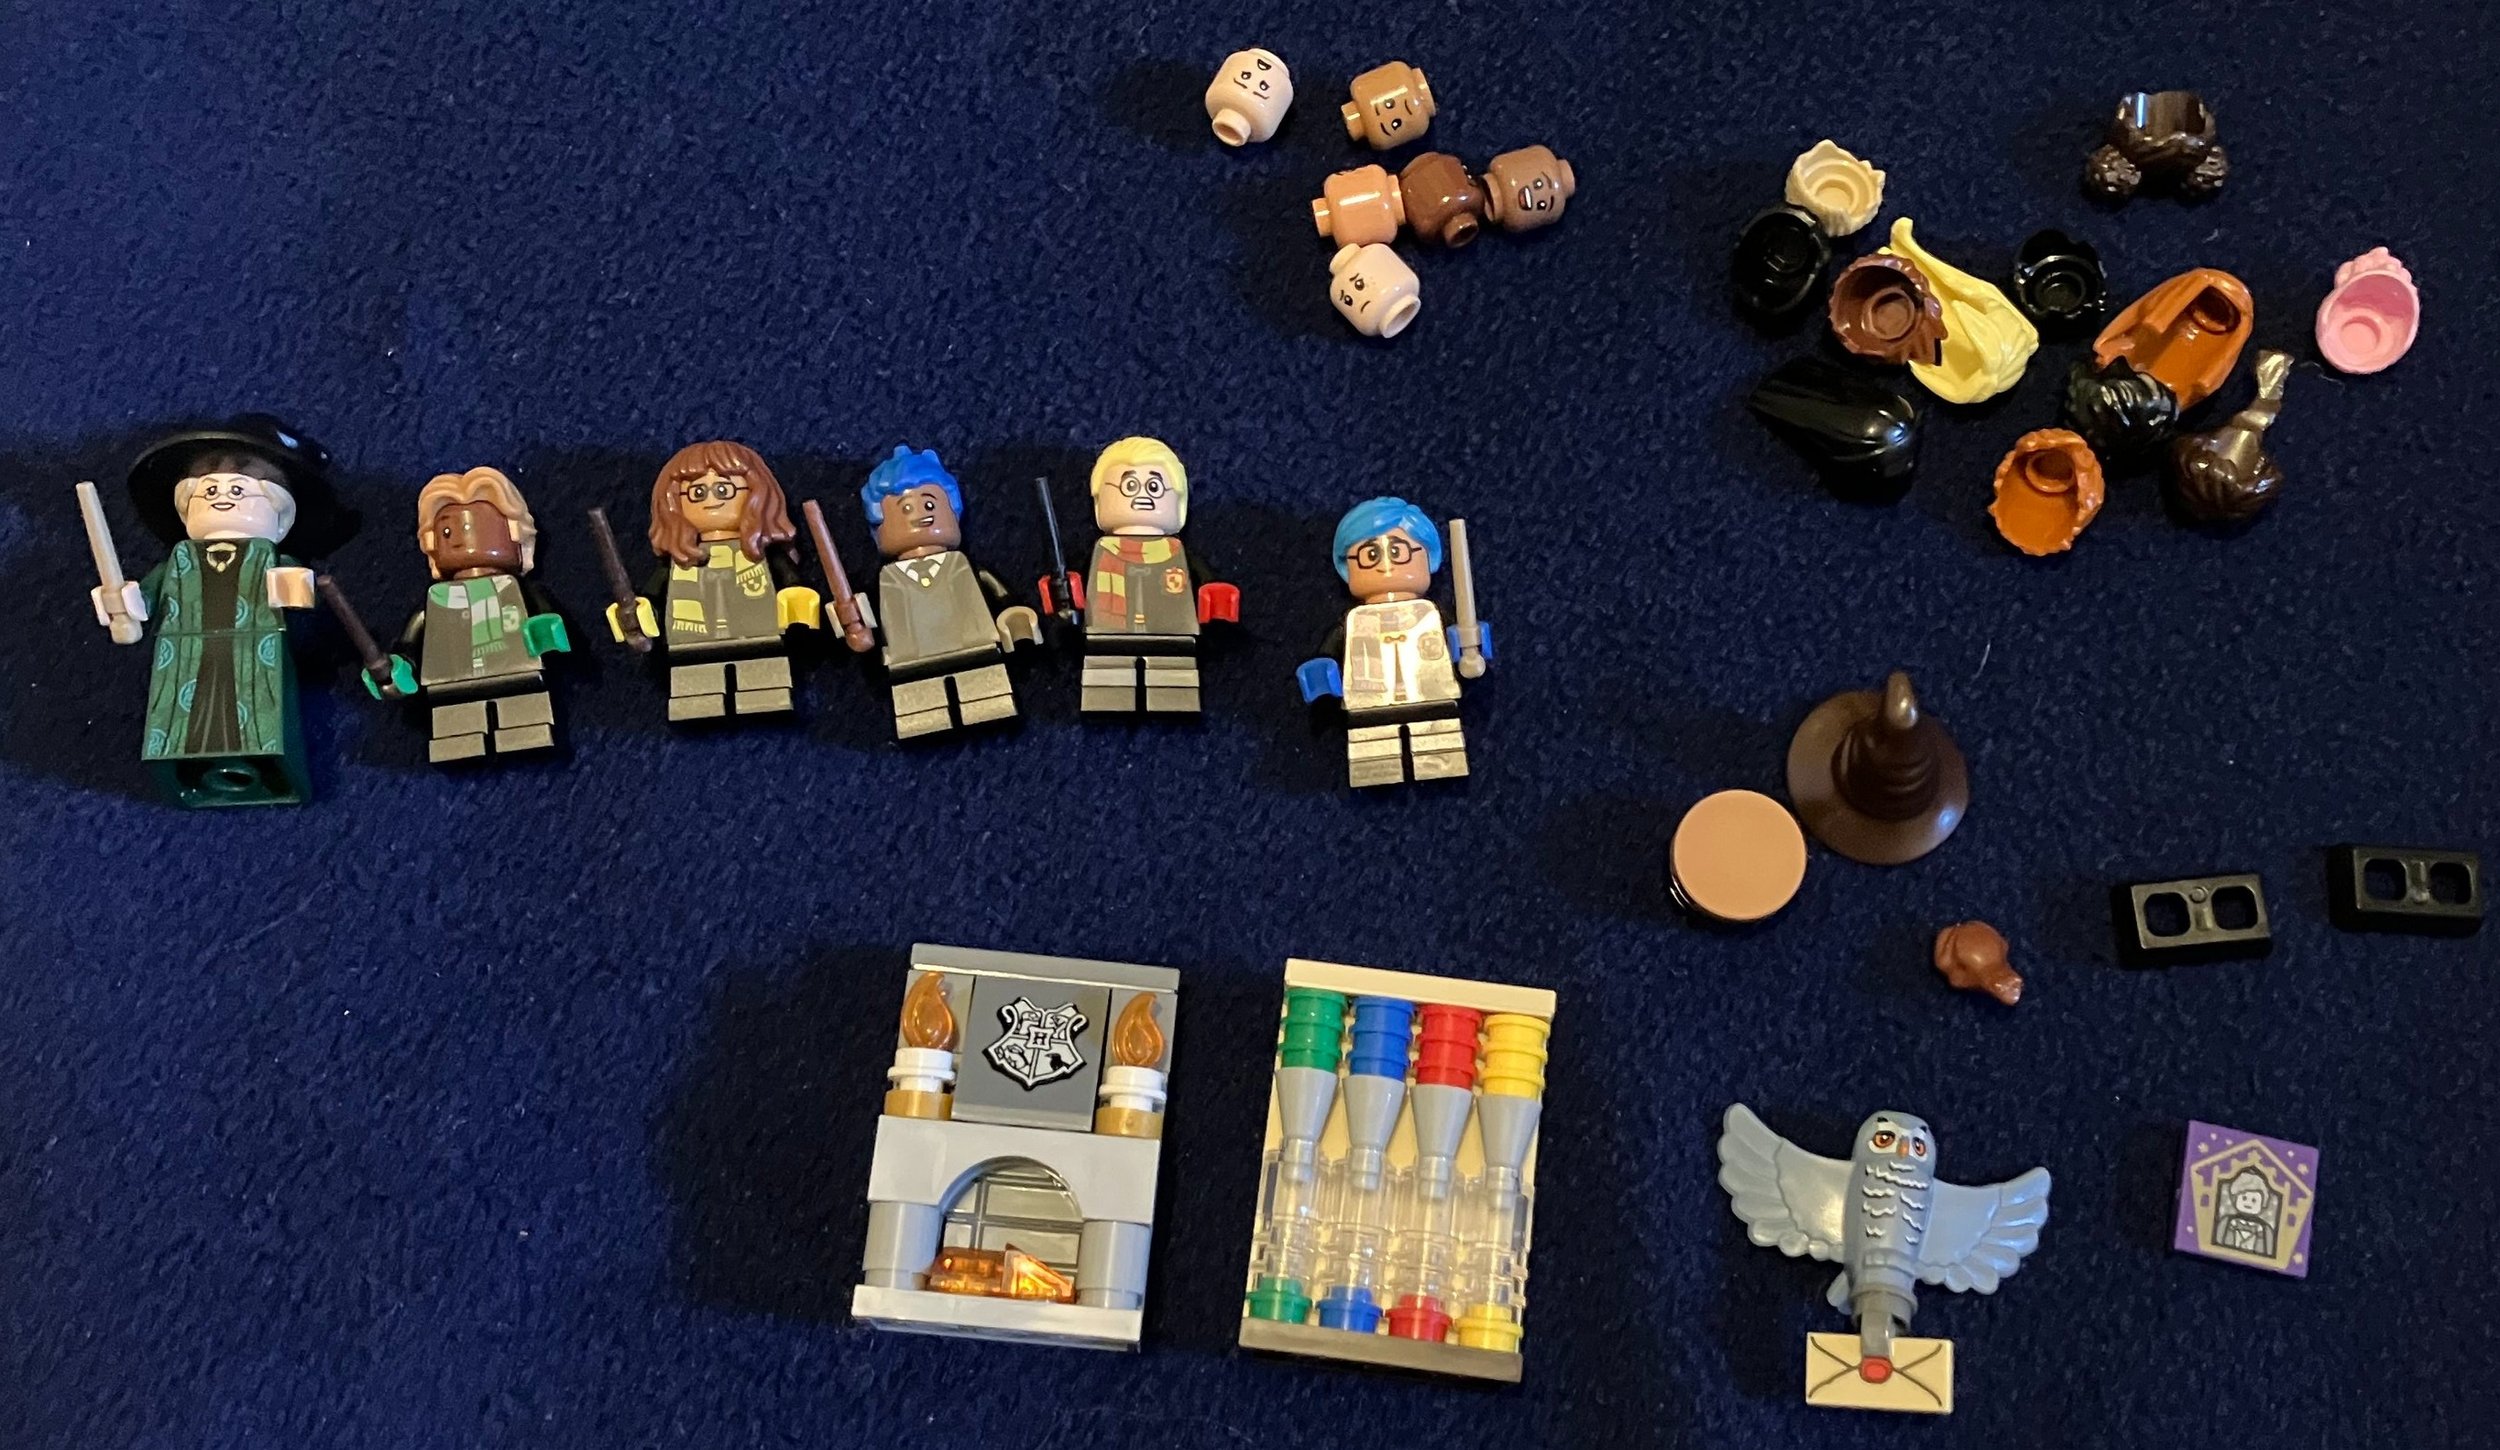
The first bag assembles a fire place, a… I’m not sure what it is… some sort of colored thing with tubes/cups… and a small stand for the sorting hat. You also get an owl that can deliver a printed tile letter, and a 2x2 collectible tile started in 2021. There are six minifigures. One is Professor McGonagall who comes with a wand. The others are various students that you can assemble as desired. You can create them to be the characters you recognize or make them into whatever random students you want. My 5-year old assembled the students. I like the use of the bright blue hair. Especially with the student with blue hands. Given the recent push into diversity and inclusion in the US and the world, I suspect this is one of LEGO’s responses. You can build whatever student you want and that student doesn’t have to be a white person like many of the characters in the movies. Not a bad thing in my opinion. Plus you get some great minifigure heads and hair pieces to use. I’m sure this will be useful for those looking to create Harry Potter themed MOCs who have a ton of minifigures of Harry Potter, but not a lot of the others.

The second bag starts to build the trunk. The build itself is actually pretty interesting with the use of SNOT techniques to help get the shape. This section of the build also puts together the locking mechanism which you’ll see later.

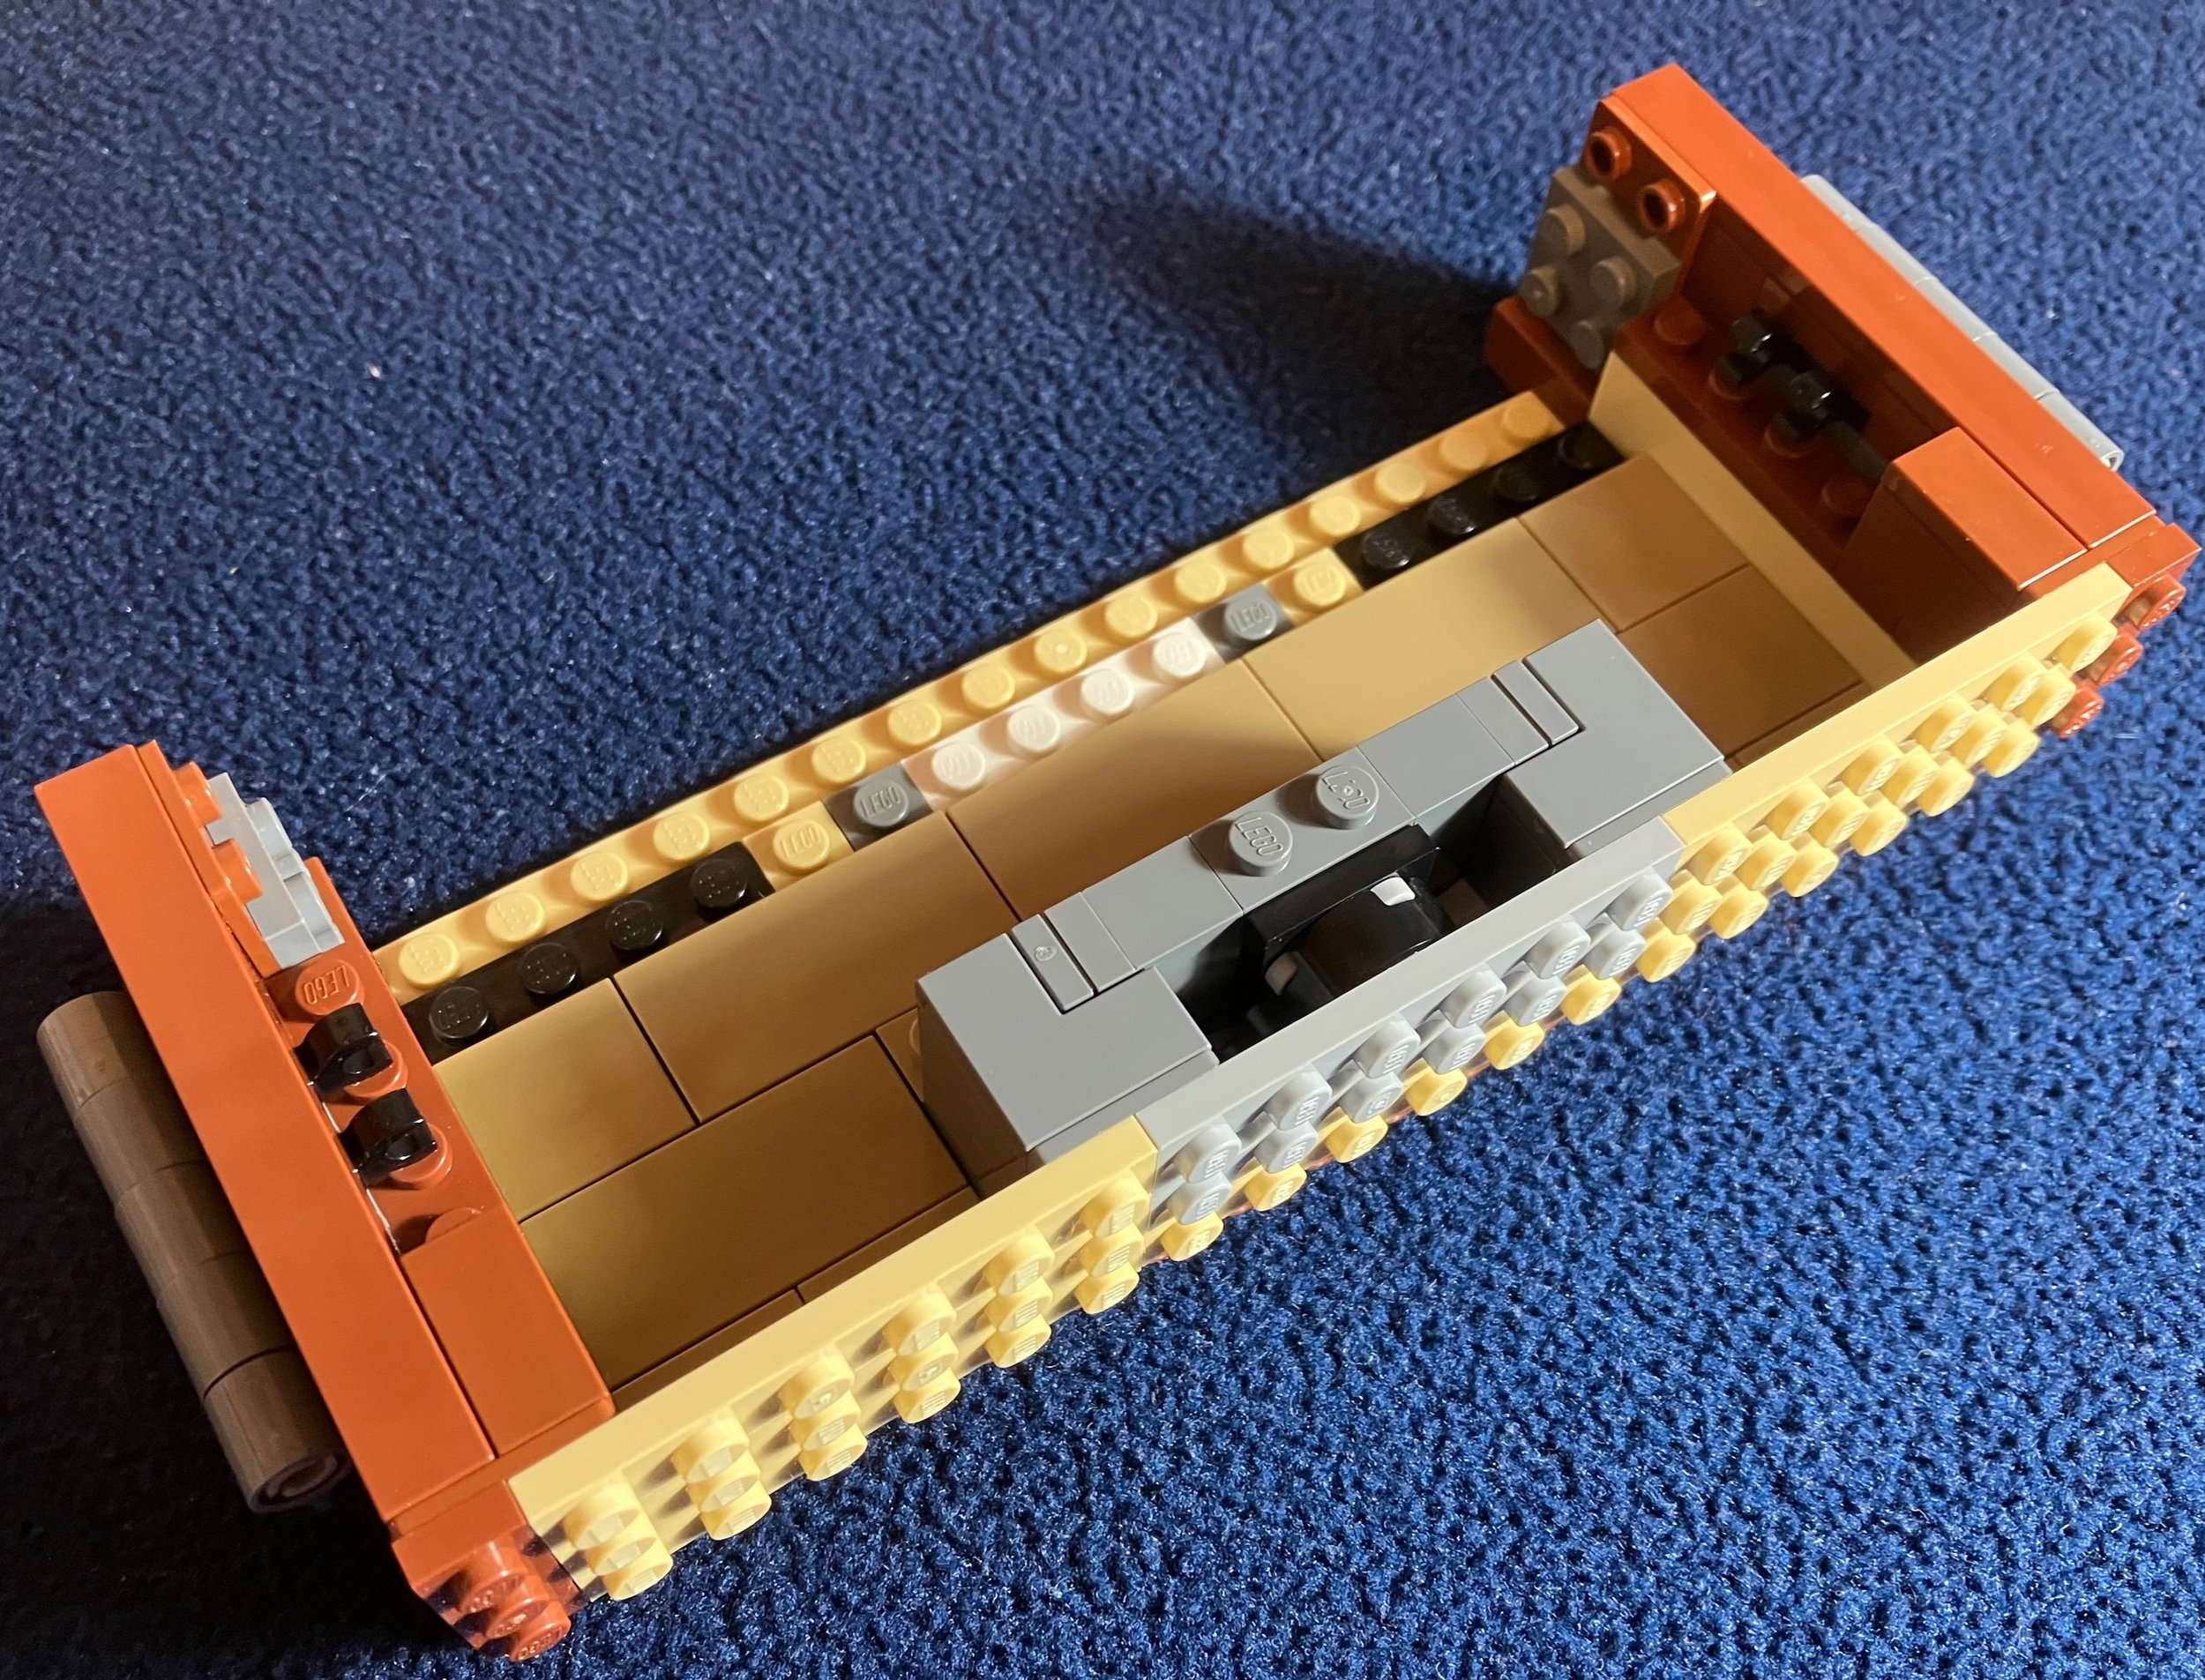
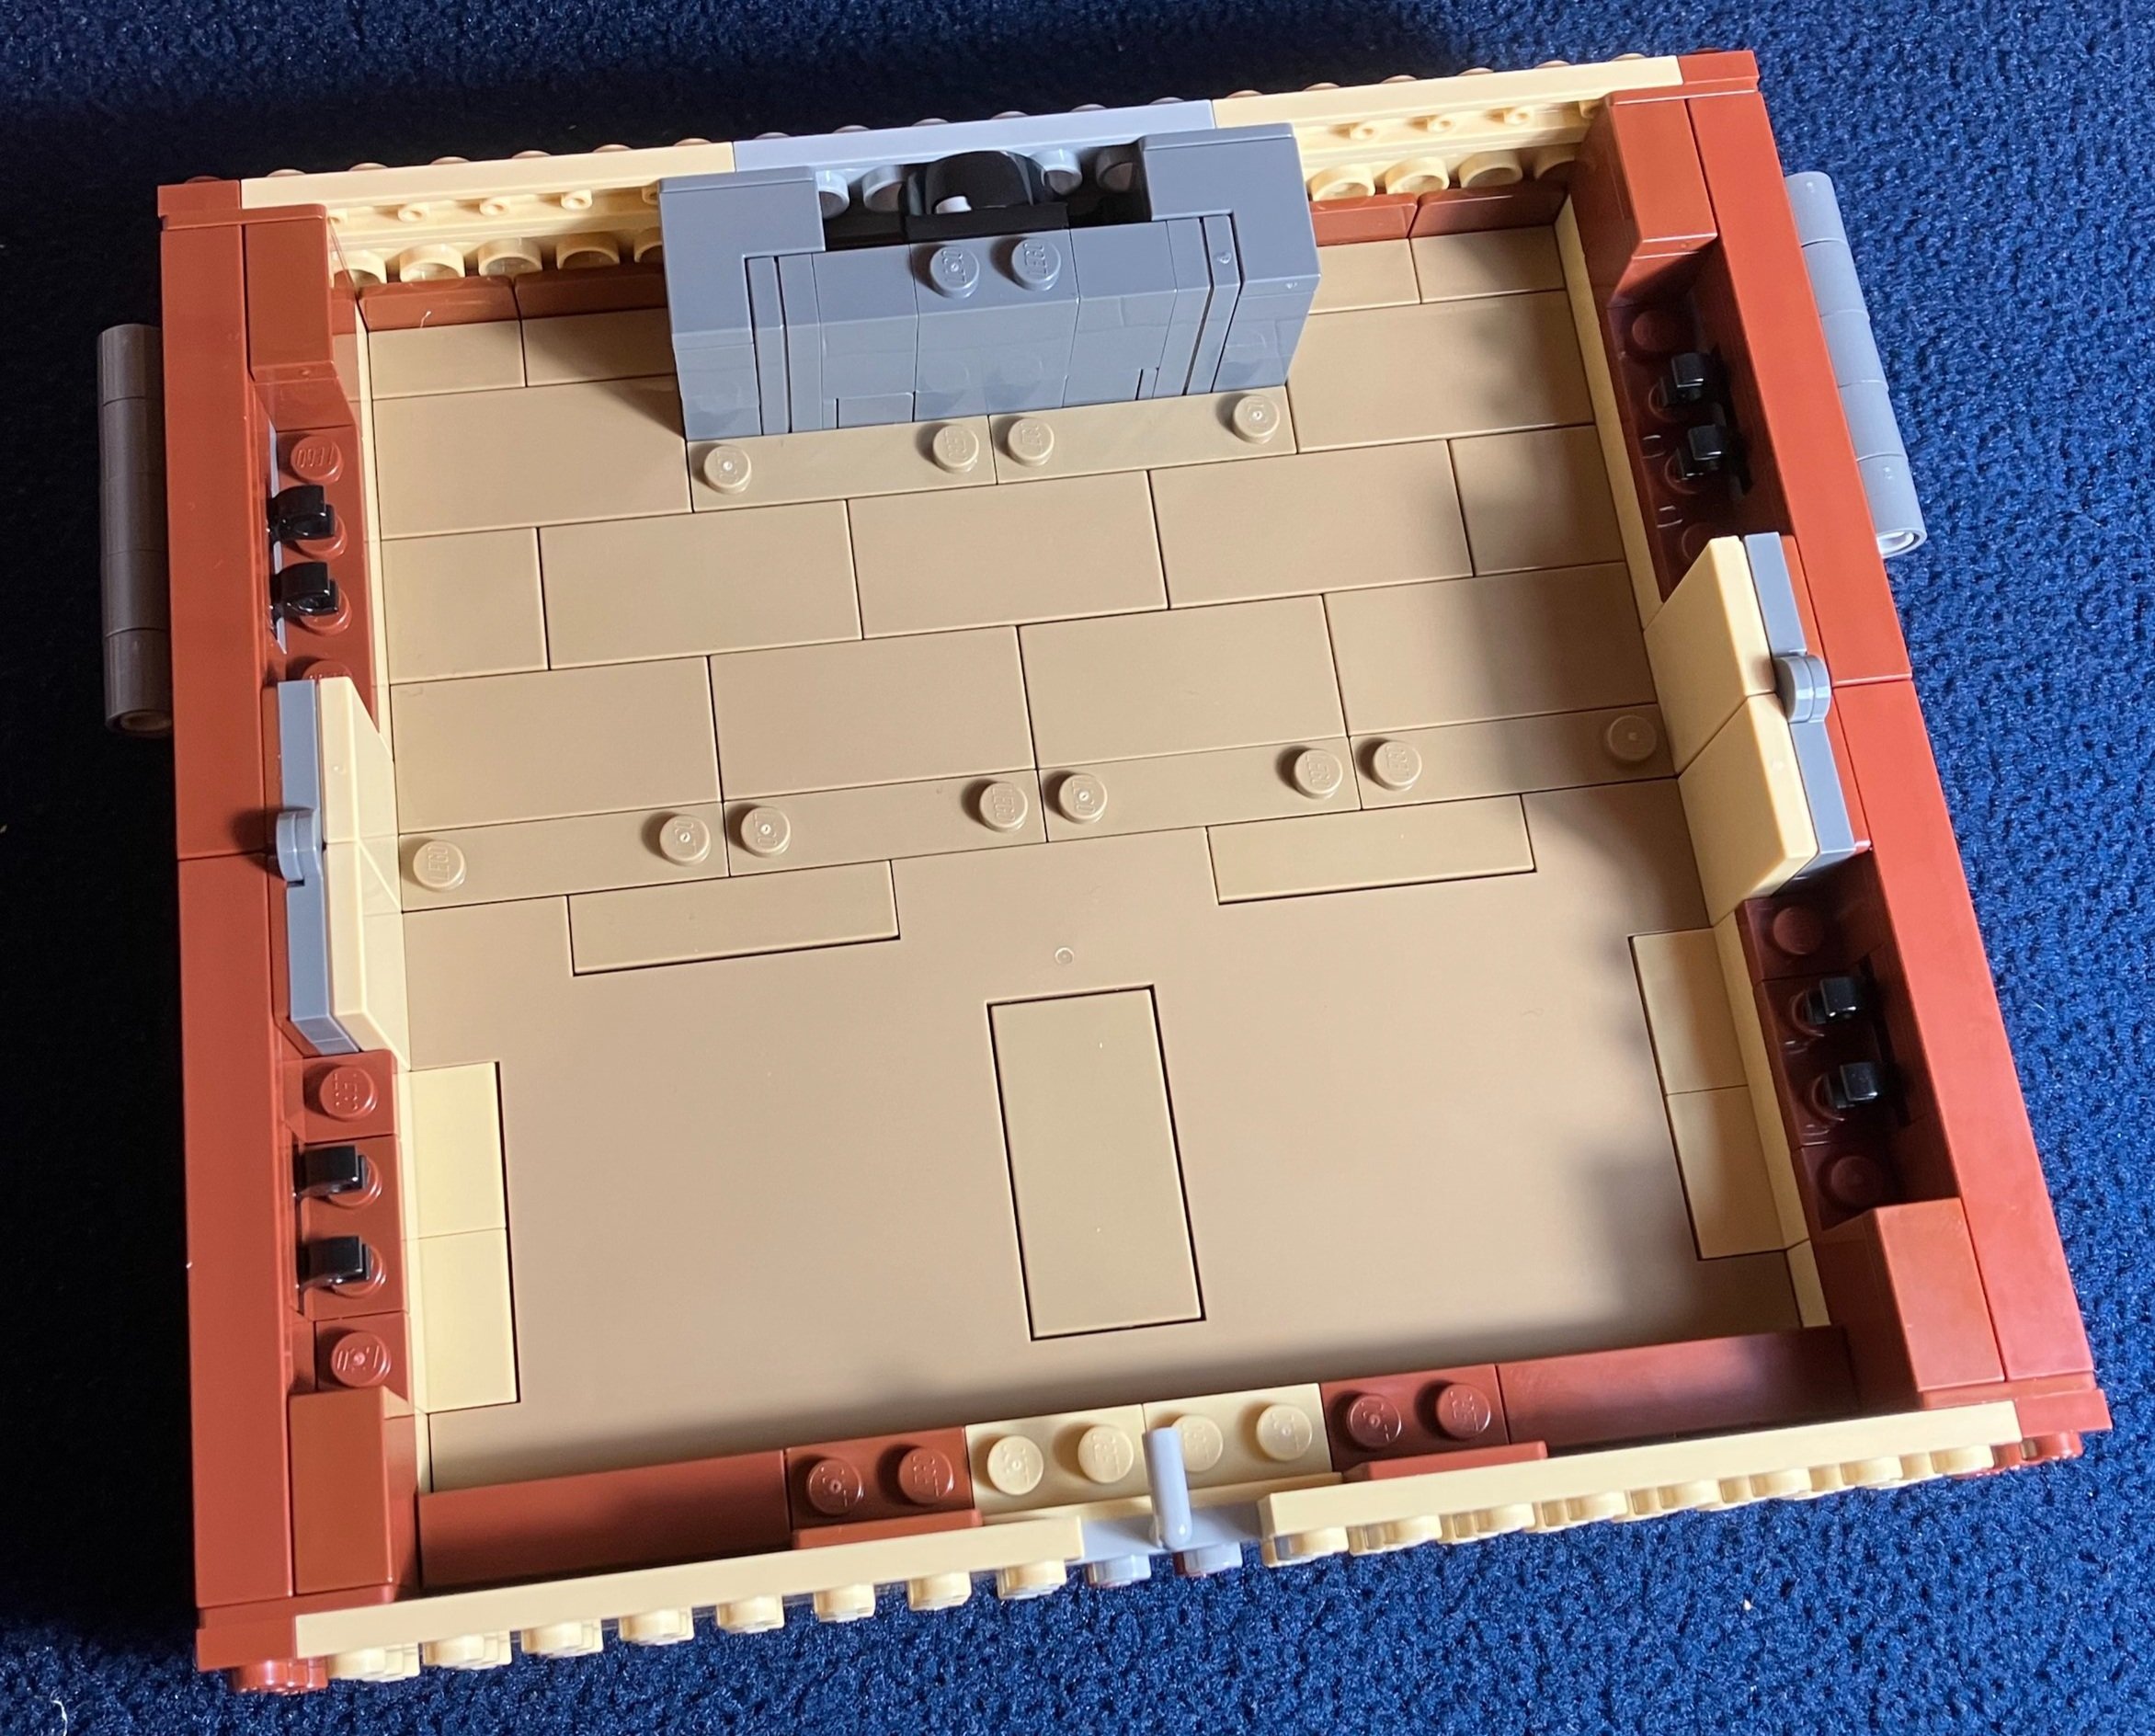
The third bag assembles the other half of the trunk so you can now open and close the trunk as the hinge pieces are in place. The mostly tiled surface on the inside is where you can assemble your various scenes from the movies.

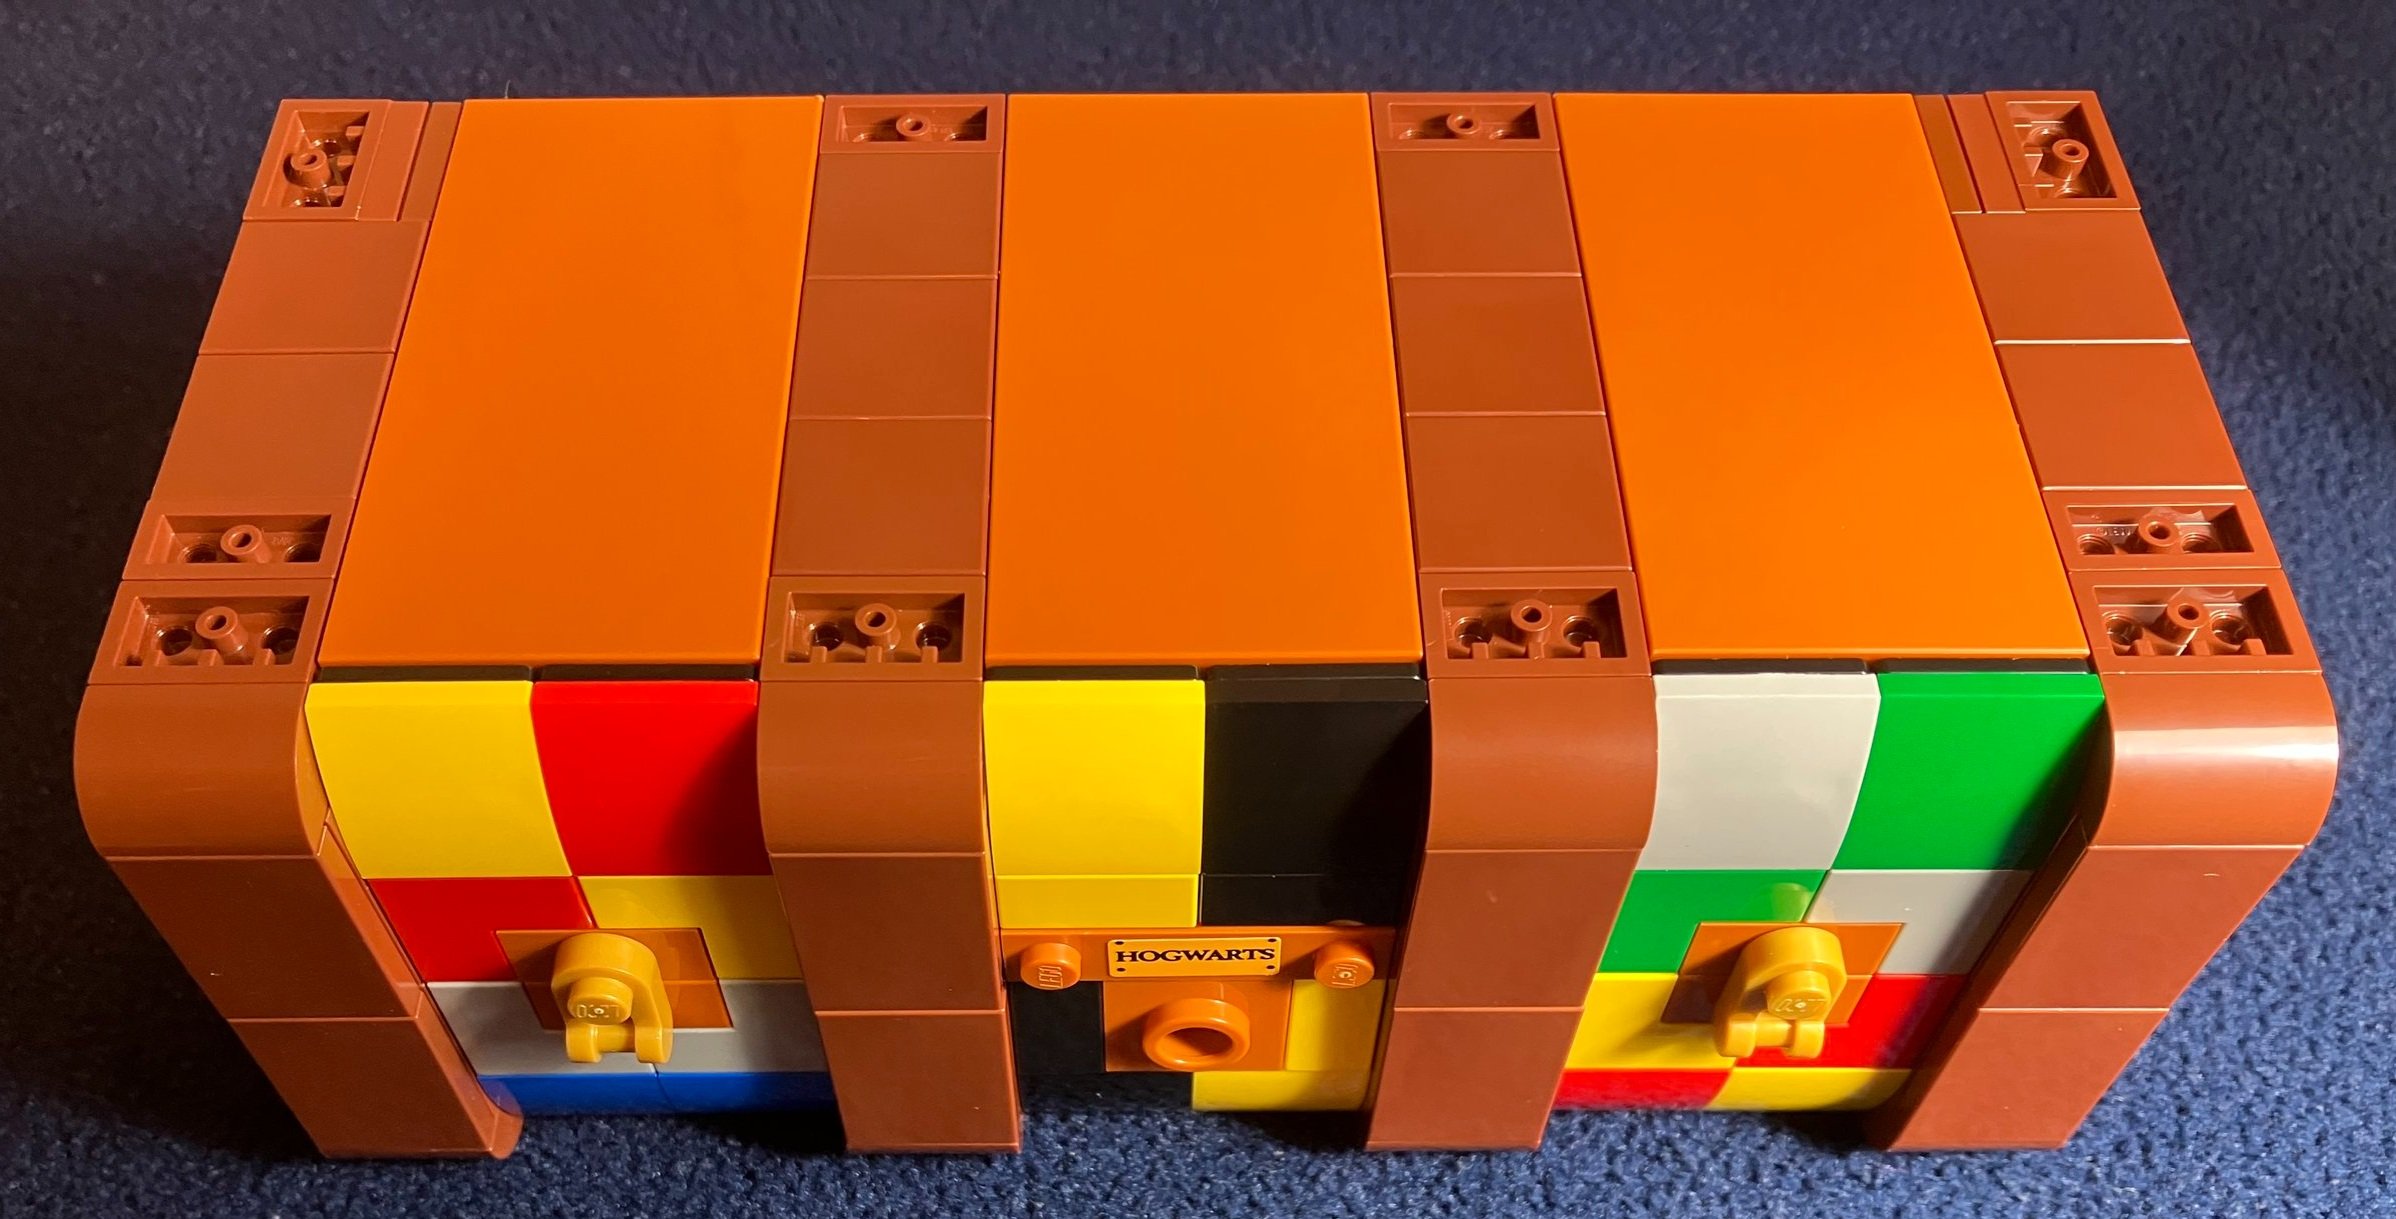
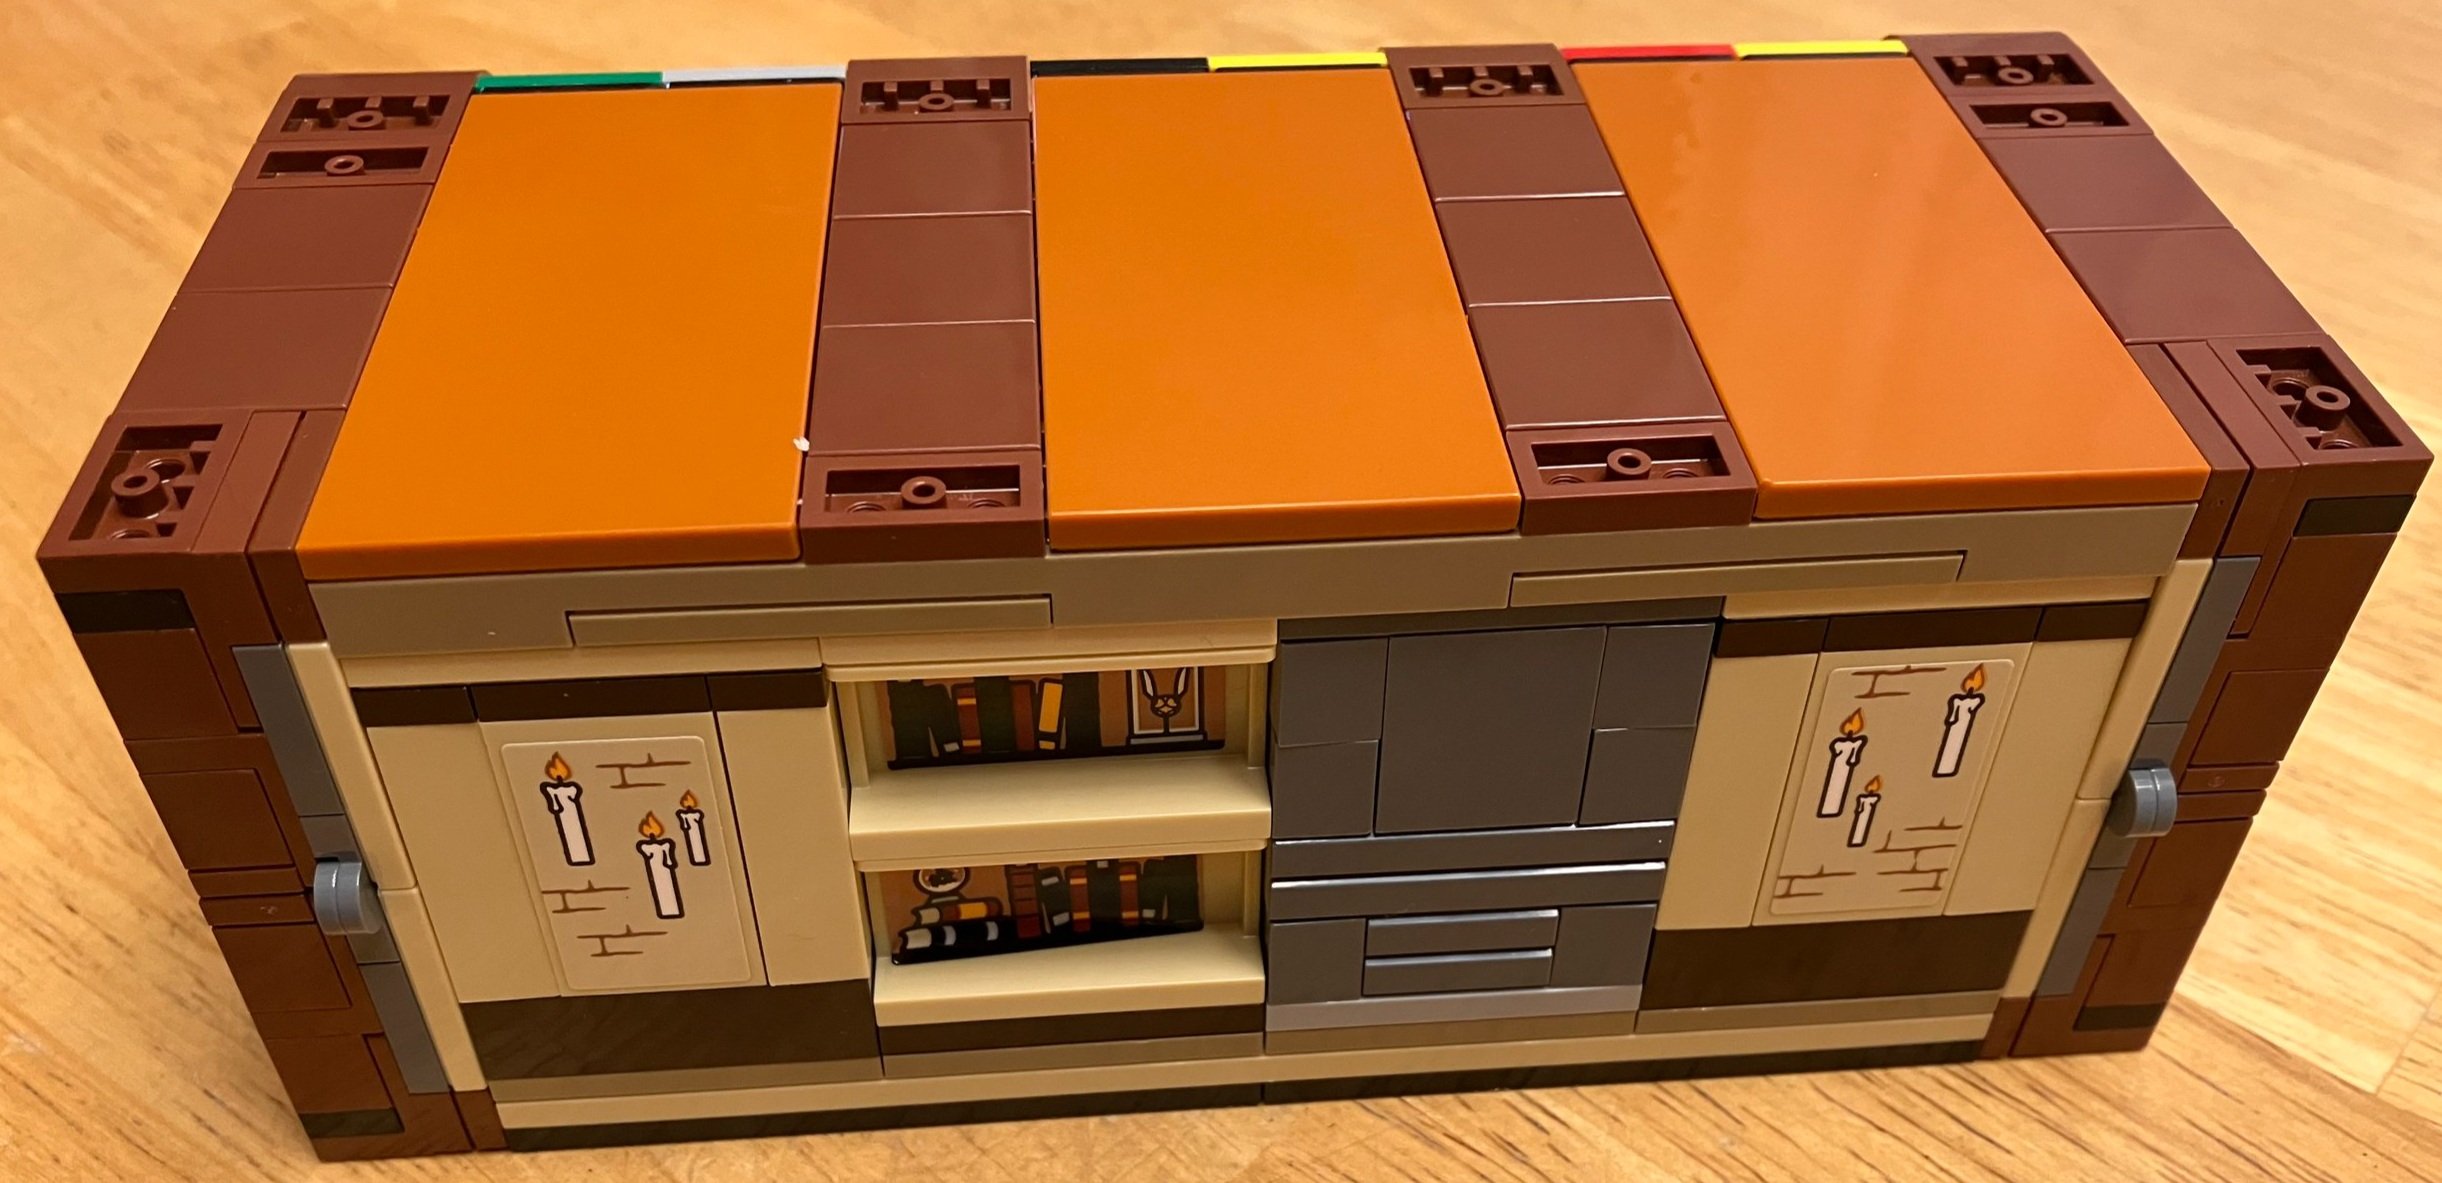
The fourth bag assembles some of the outer decorations on the trunk. You are given a number of pieces to add color to it so it will look like a student from one of the houses. I chose to use all of the colors so my trunk doesn’t represent just one. Feel free to mix and match as you want.

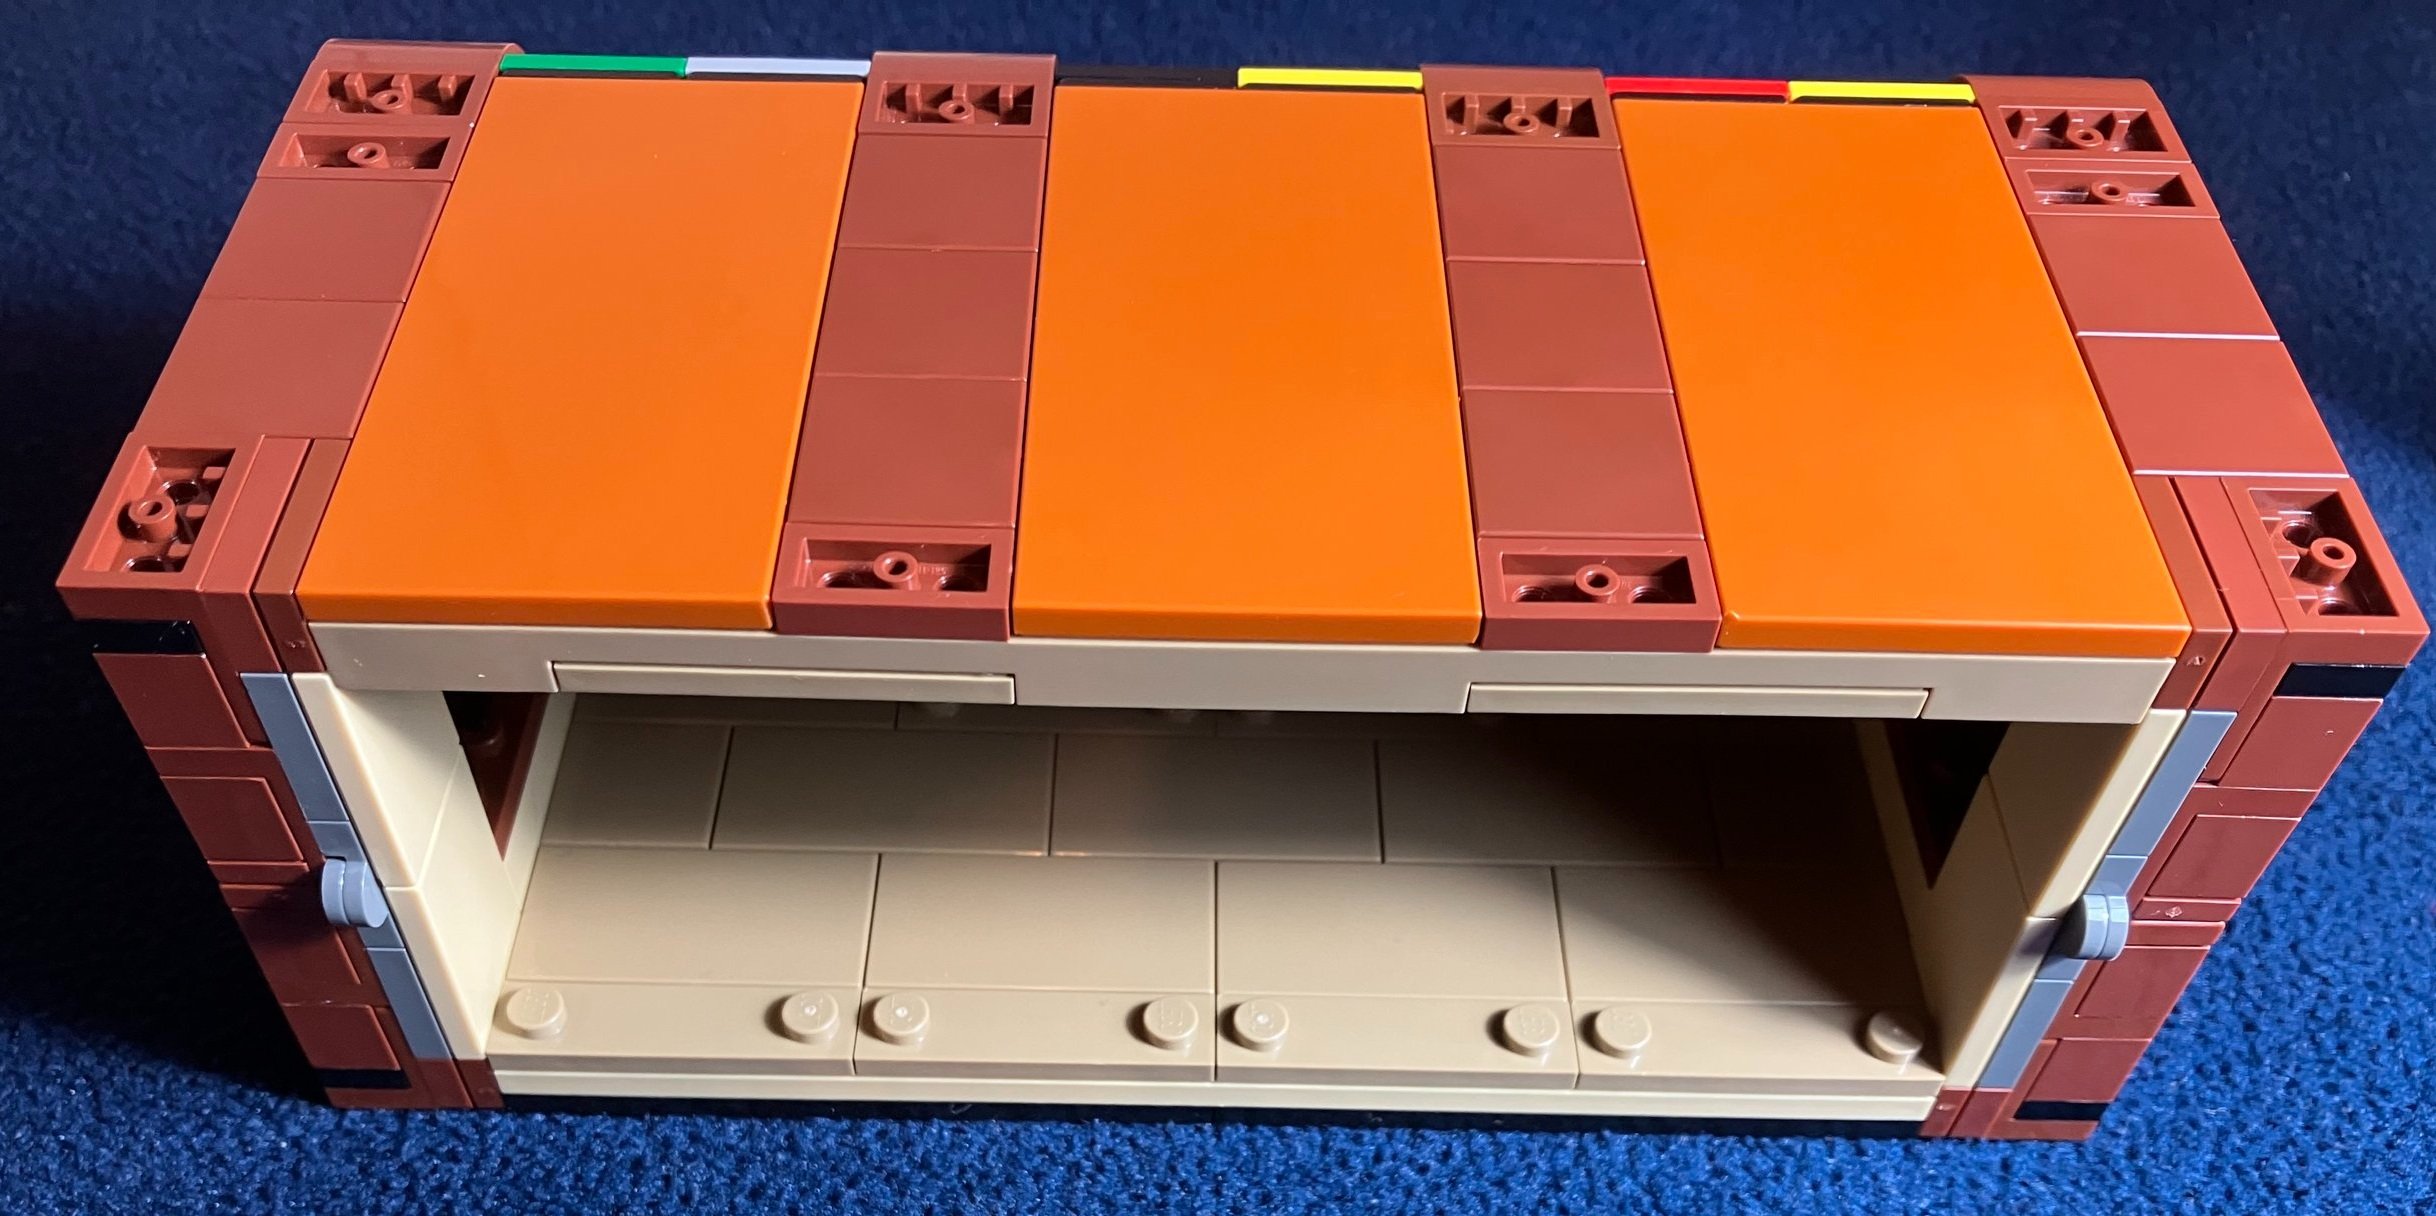
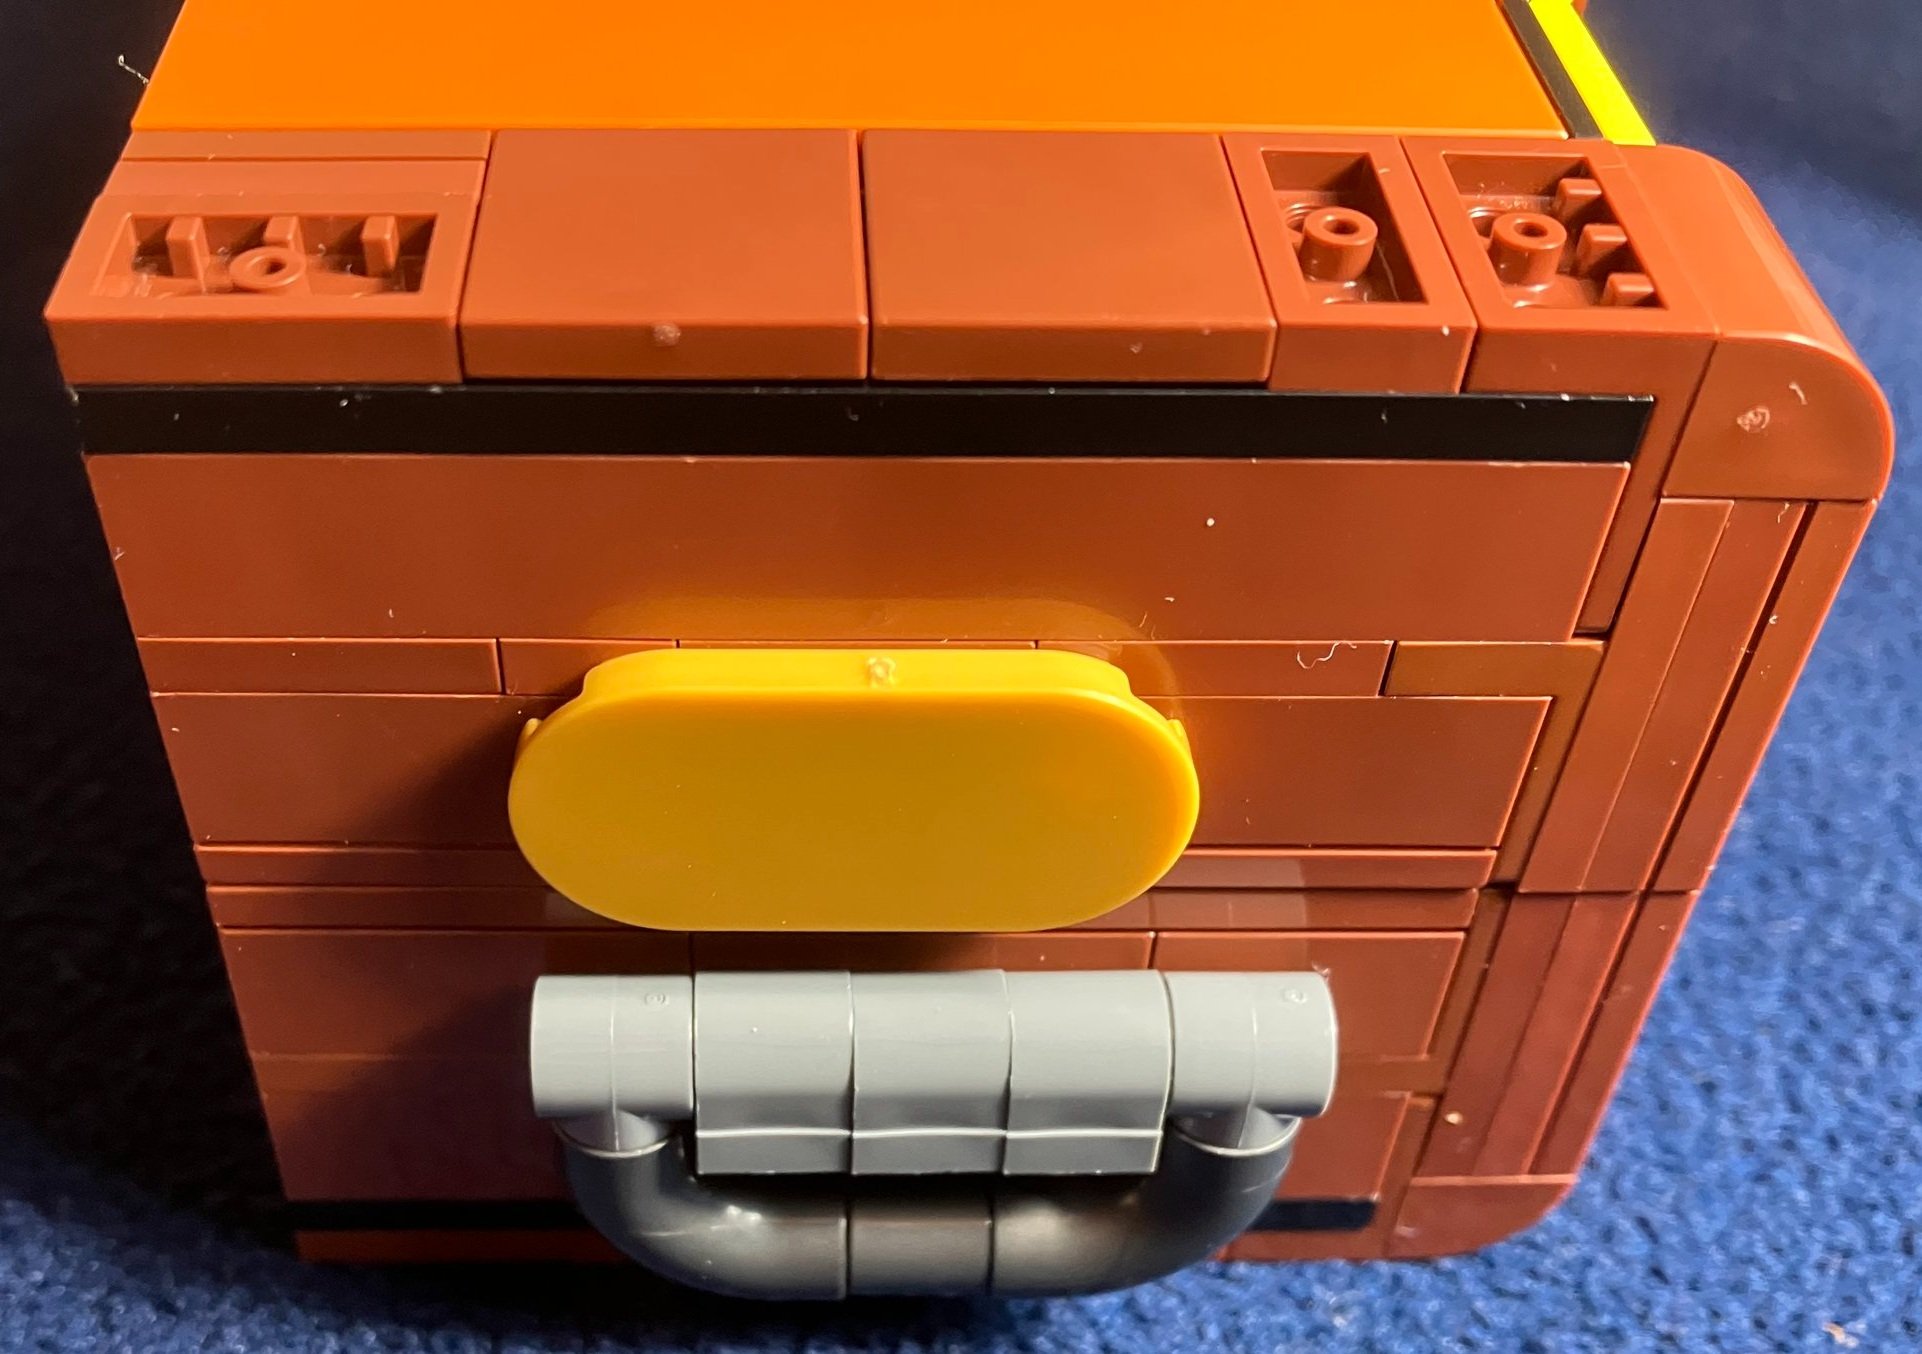
The trunk doesn’t have a bottom/back side yet. It does have some decorations on the side to include the locking mechanism cover, some trunk “clips,” and some handles to help carry the trunk.

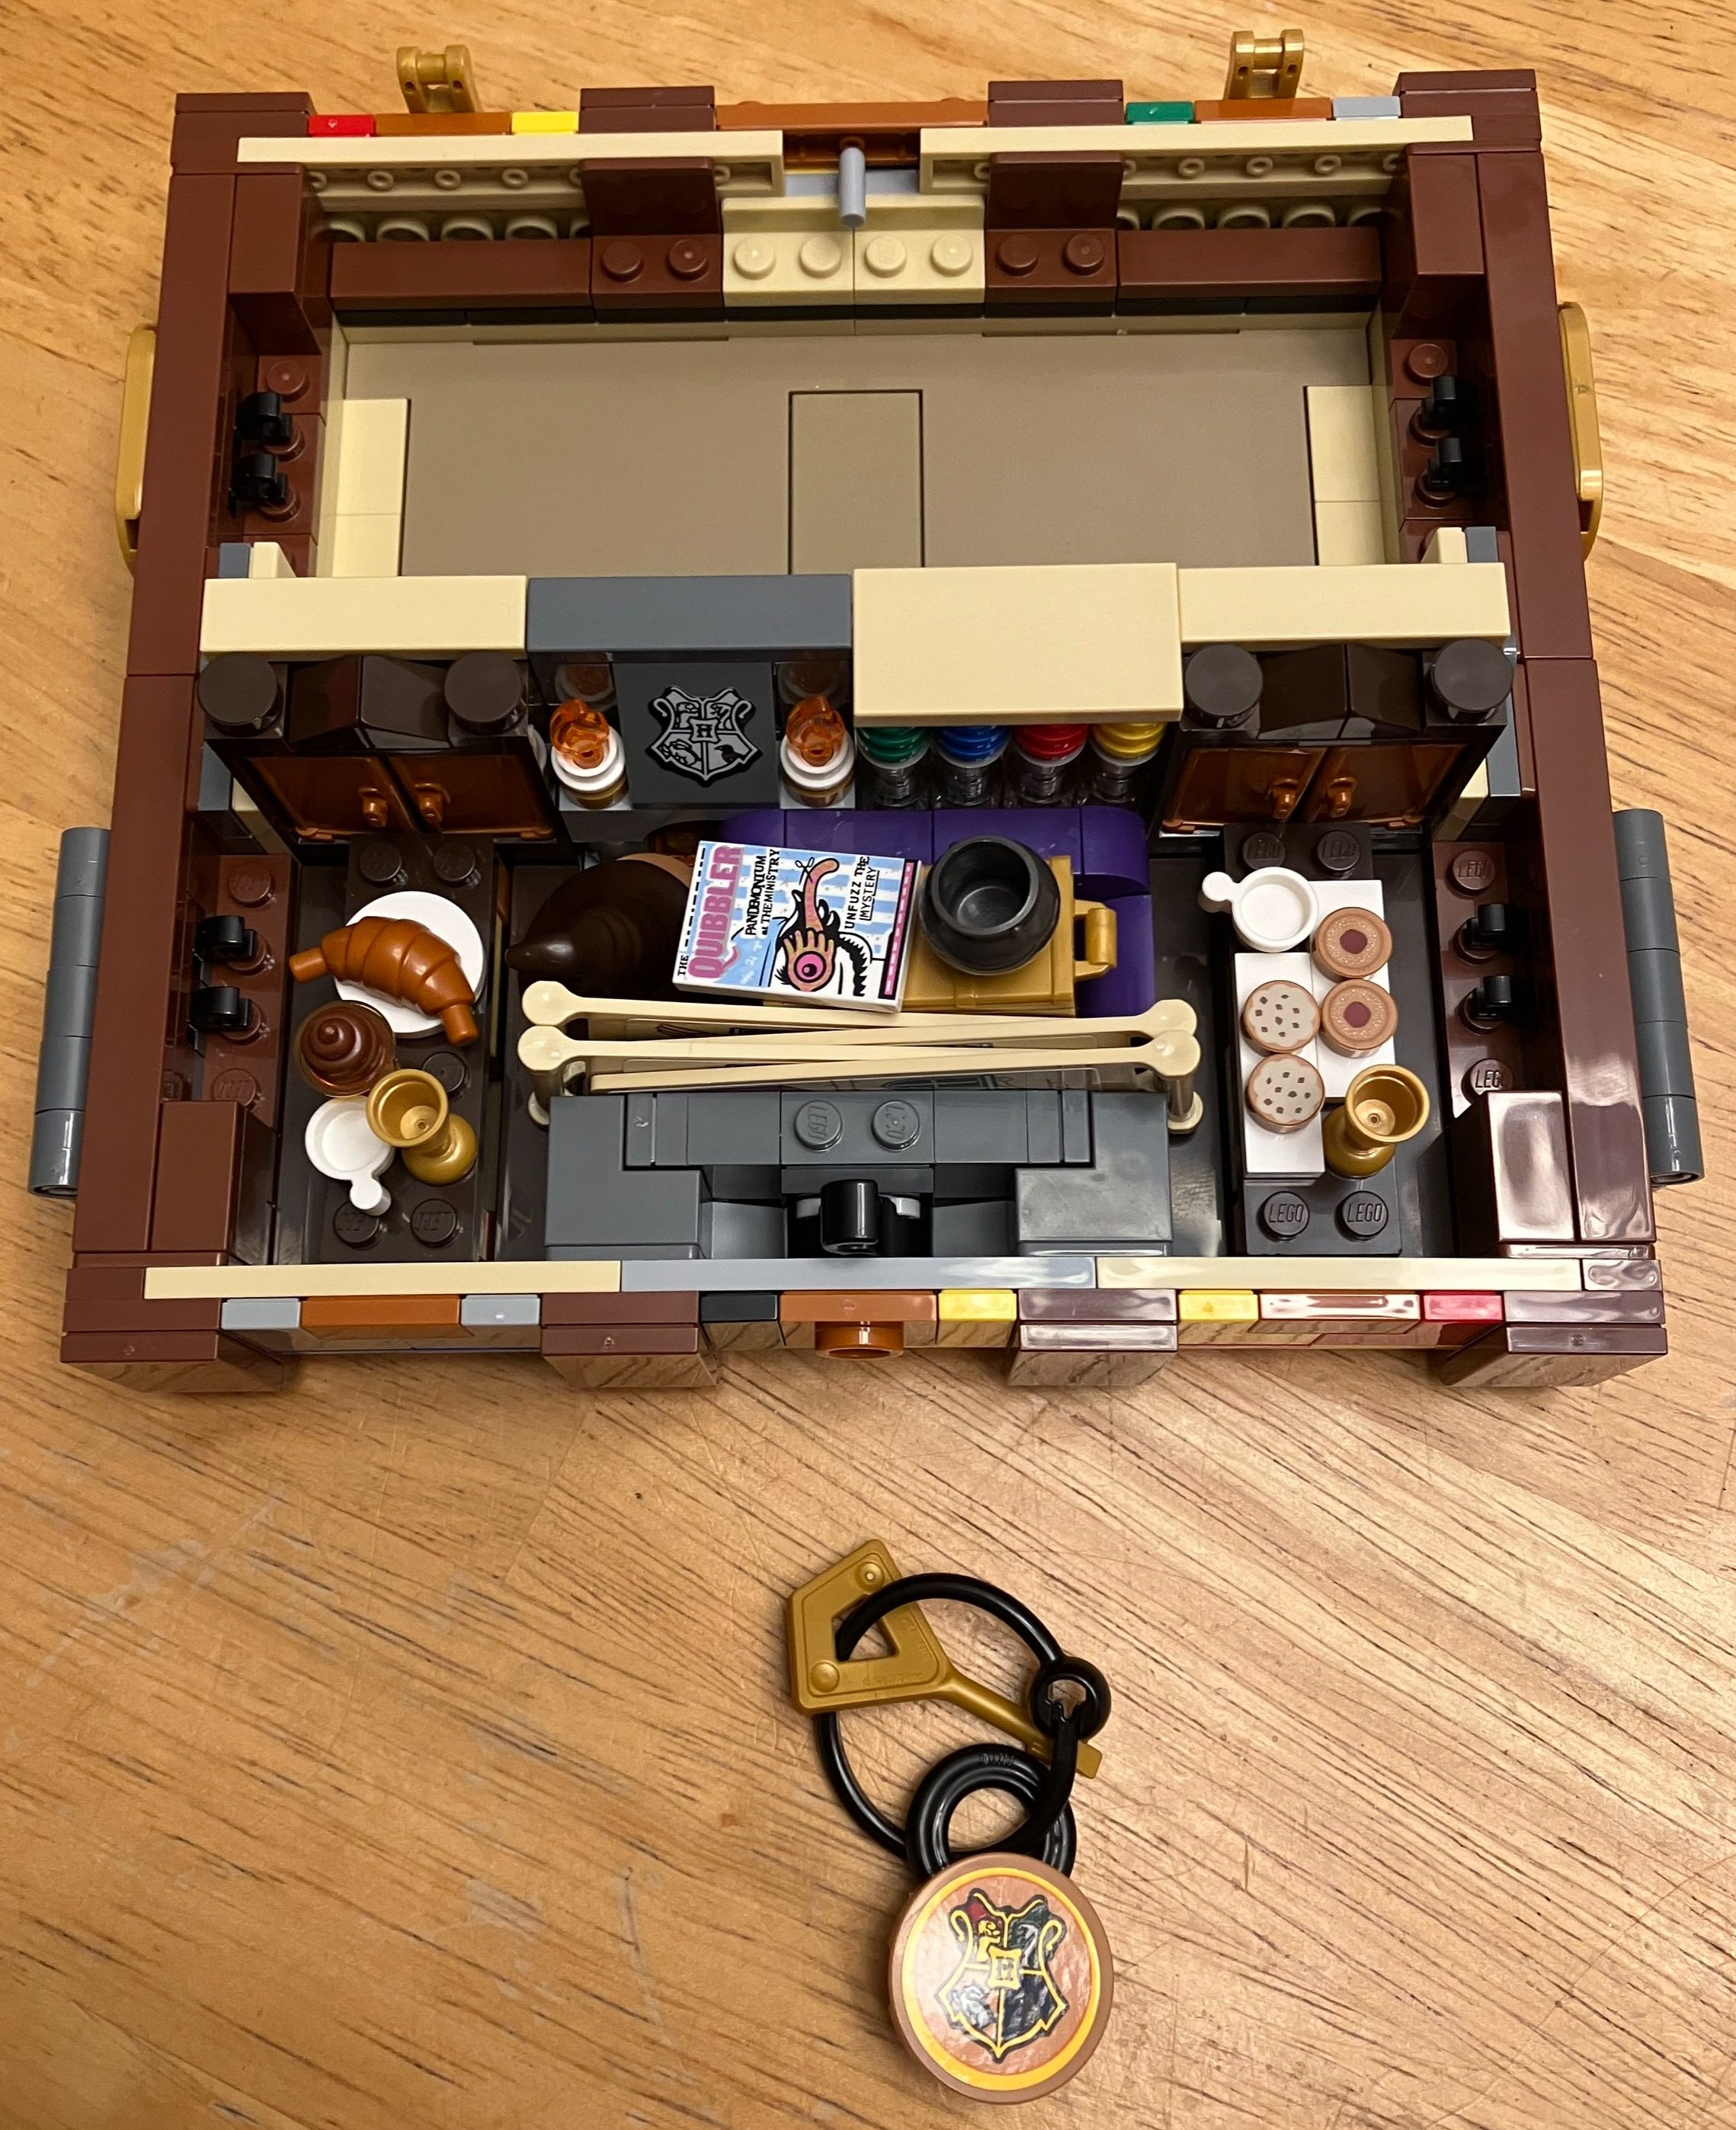
The fifth bag wraps up the build. You add in some tables with food items (which can be converted into a bed), a couch that can be turned into chairs and a table to play chess, some banners to attach to the sides of the trunk to show the house colors, 2 small closets to store items with candles on the back, and some other accessories like a cauldron, a smaller chest/trunk, a newspaper, and some candy items.

For this set you assemble a key on a key chain for the lock. I’m not exactly sure where each of the pieces came from for the key, but I like how it looks and you can actually use it to lock and unlock the trunk. Both of my kids enjoyed playing with that mechanism and then figuring how how it works. The lock holds pretty well considering it is plastic LEGO pieces. Eventually you would break the set apart if you applied enough force, but it holds with the gentle force that you would use to open the trunk assuming the lock wasn’t engaged.

Overall, I wasn’t super impressed with this set. For how much the set costs and for what you get, I thought it was a bit underwhelming. The six minifigures and the ability to change them around are useful to MOC builders so that is a benefit, but the rest wasn’t all that thrilling. There are some good pieces to use so that helps. My recommendation would be to not get this set.

On the other hand, my 5-year old had a blast with this set. He enjoyed setting up random scenes even though he’s never read the books or watched the movies. We spent quite a while putting different foods on the tables and then we did the modification of the tables into a bed. He also enjoyed seeing what he could fit into the cabinets. He wasn’t as thrilled about adjusting the minifigures to have different heads or hair pieces, but that’s okay. His biggest complaint was that you build a bunch of tables and chairs, but then the minifigures in the set have the short legs so they can’t actually sit in any of the seats that you build. They all have to stand on the tables, the couch, and the chairs.

So not a great set for adults in my opinion, but a good set for at least one younger kid (so much for the 8+ age range). The price is a bit high, even with the sale, but it does contain a lot of play features and customization options. What are your thoughts? Have you built this one?

Happy building!
Set Review - #10308-1: Holiday Main Street - Winter Village

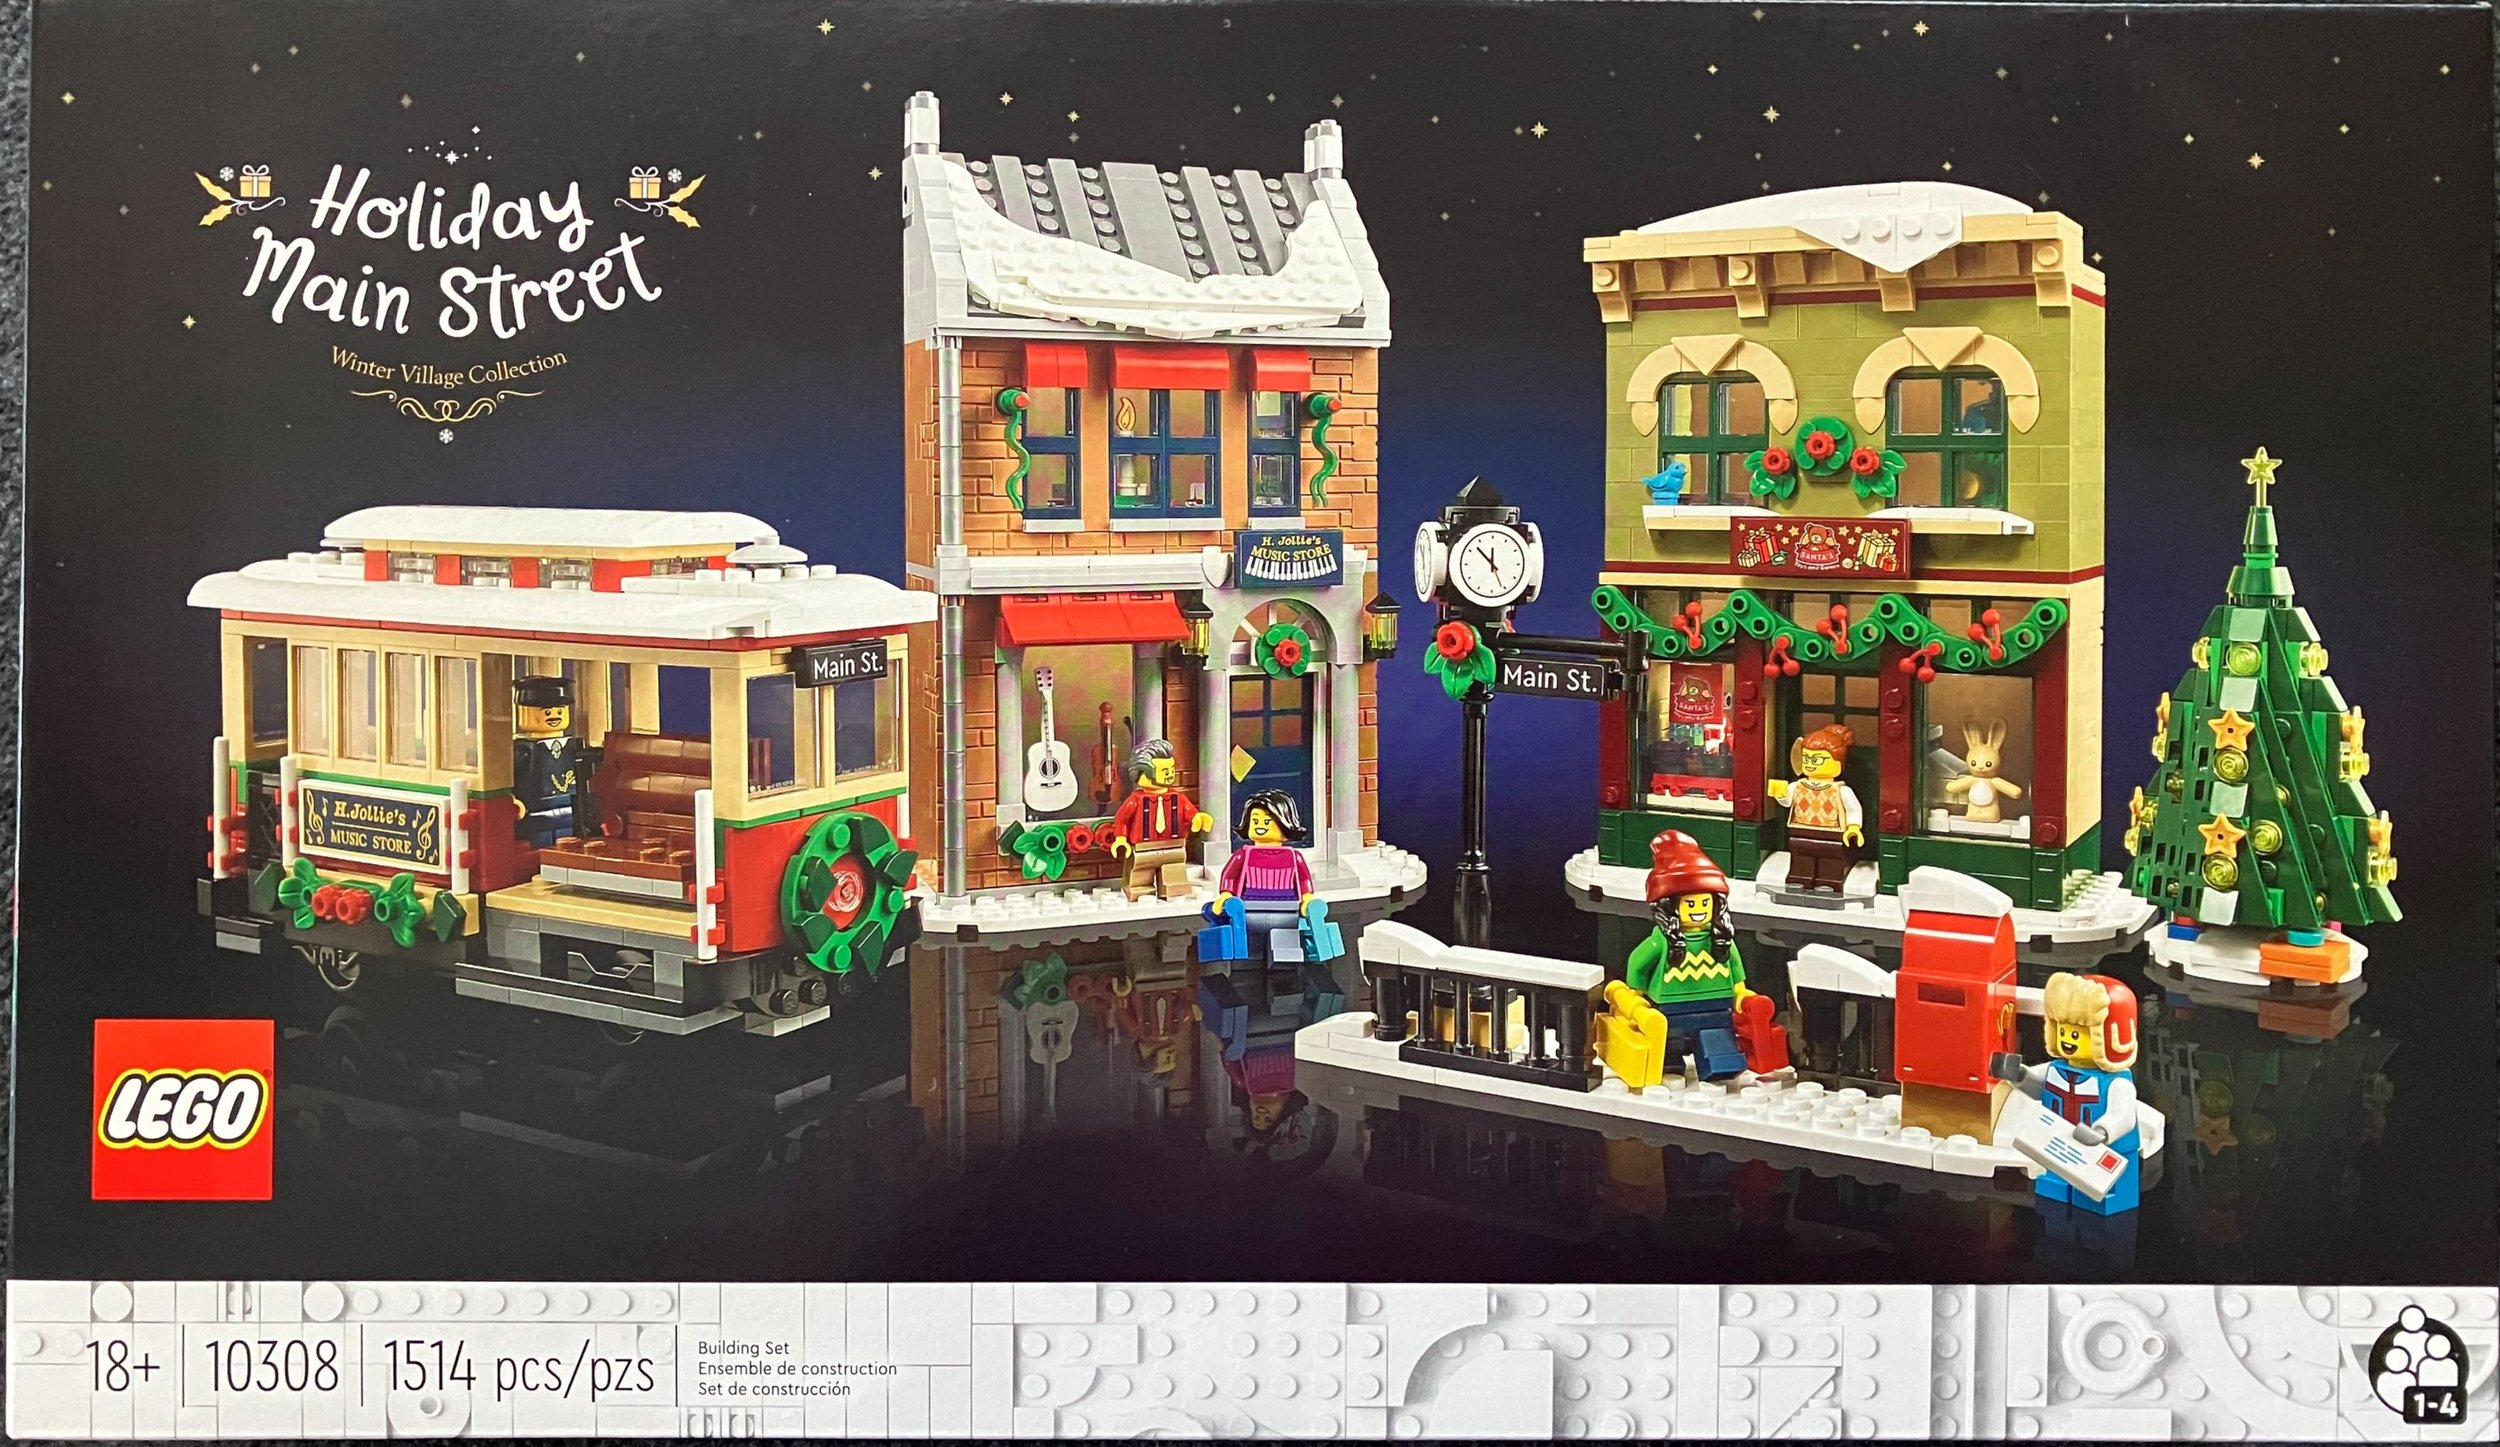
It’s become a tradition in the world of LEGO sets with the Winter Village theme returning every year in the fall timeframe. While I am not a complete addict, I have purchased many of these sets. #10308-1: Holiday Main Street was released in the US on 23 September 2022. This one contains 1,514 pieces and retails for $99.99 in the US. This works out to $0.066 per piece.

The set this year includes a trolley, a toy shop, a music shop, and a small trolley stop with a mailbox, street sign, and street light. Let’s dig into the set.

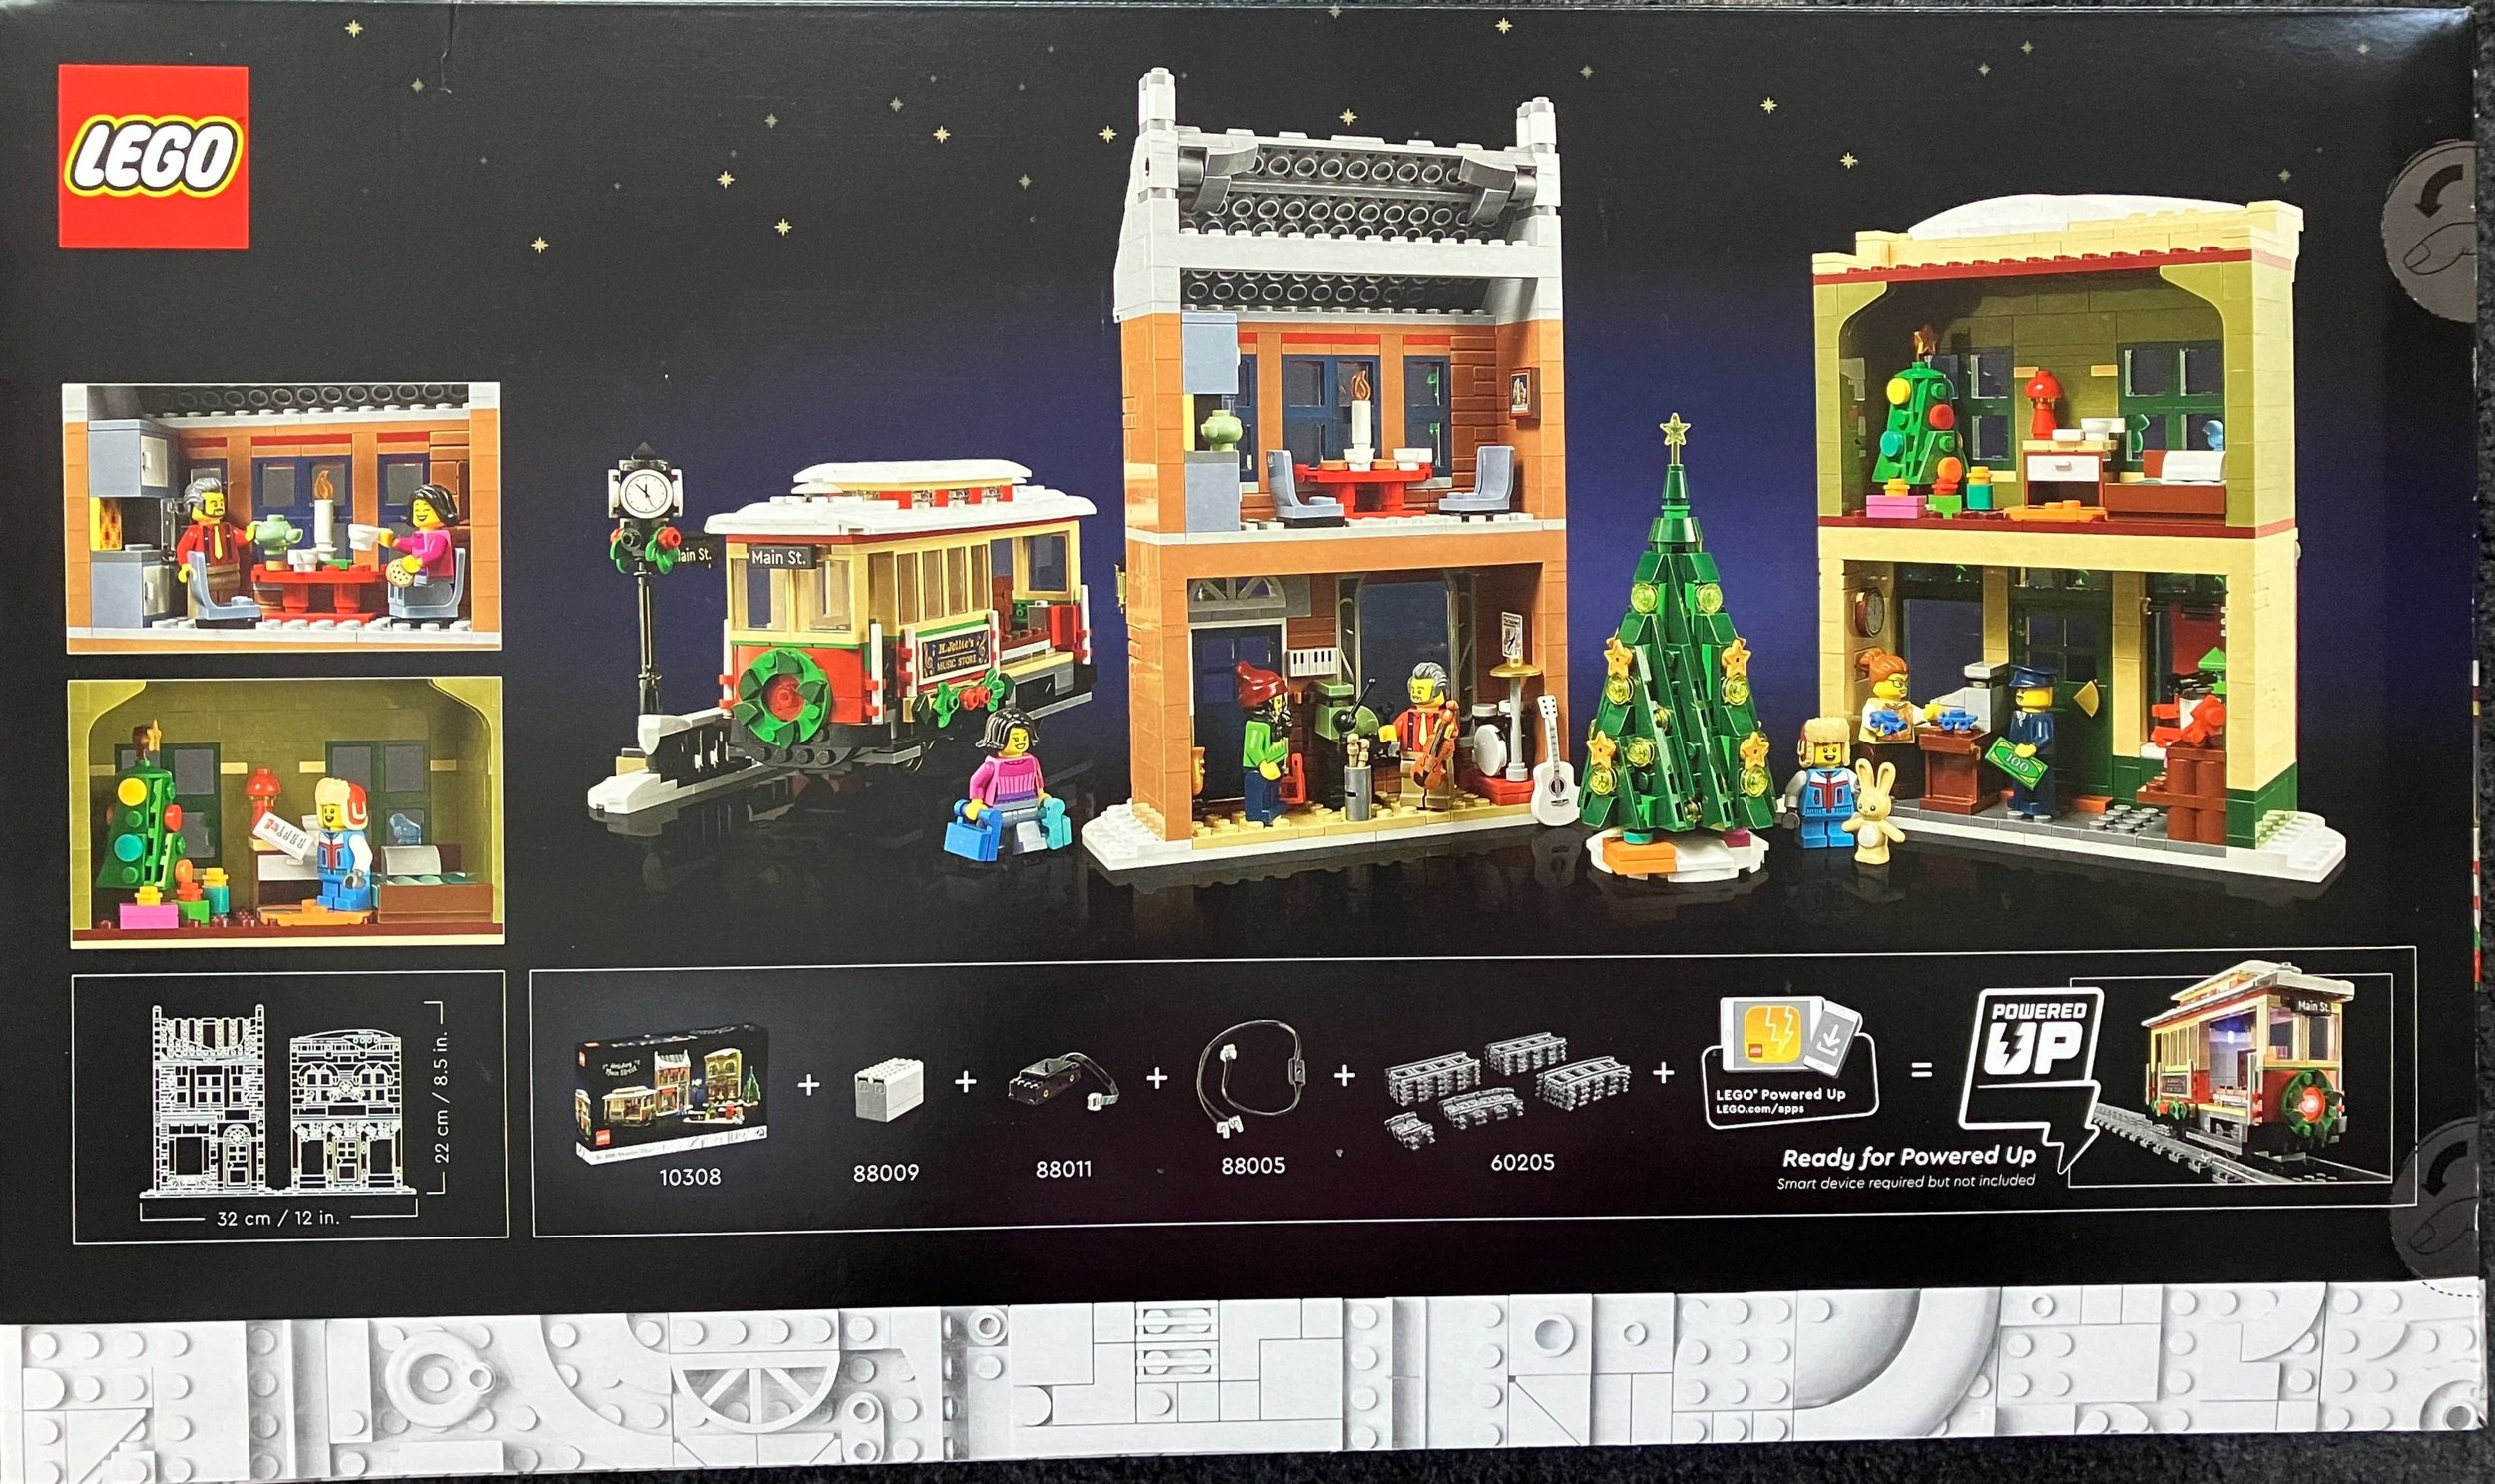
The box shows the full set built on the front with the set title on the top left. The bottom has the 18+ greebling in white. The back of the box shows the back of the set, some of the details up close, a drawing showing the dimensions of the set, and it mentions that you can take the set, buy more parts, and motorize the trolley.

The set contains seven parts bags, a 6x16 plate, and the instruction booklets. The instructions are set up so that you can build the set with other people. My family split this up where my NLS built the music shop, my daughter built the toy shop, and my son and I built the trolley and trolley stop.

This set contains a sticker sheet. Thankfully it’s not a ton of stickers, but you still have to apply these details to the set.

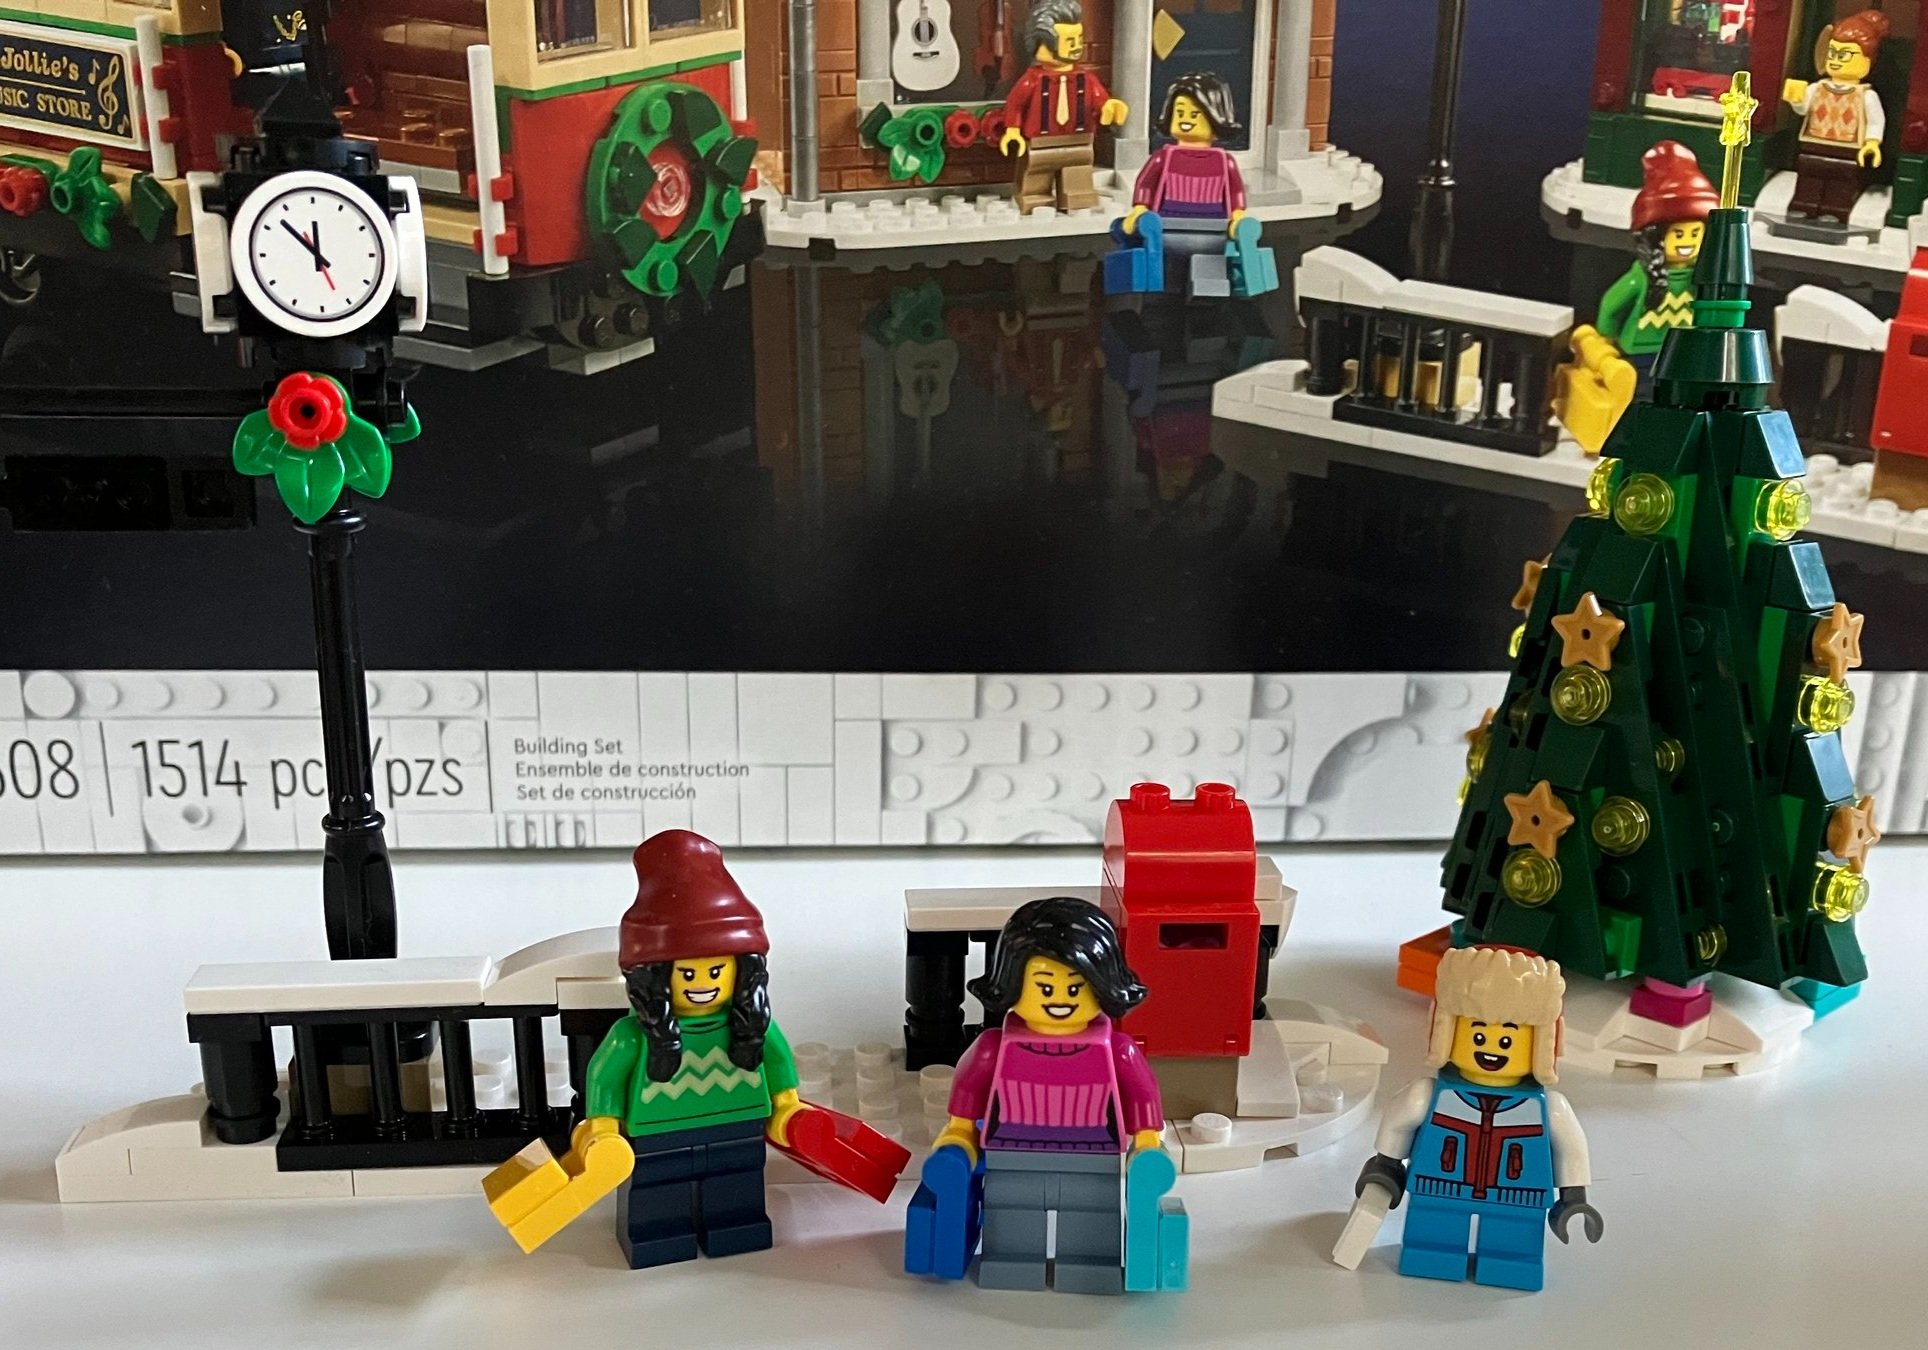
The first bag comes with three minifigures and builds a number of items. One of the items that seems to come standard in Winter Village sets is a Christmas tree. This one is about the same size as previous ones, but is a completely different design. I like the use of plates to make this one. It’s a fun new design. You also build a small waiting area for the trolley. This area comes with a mail box some fence pieces, and a lamp post. The lamp post has clocks on the top and the street signage.

Bags two and three build the trolley. My initial look at it led me to believe it would be a simple design, but it’s actually pretty detailed and fairly accurate looking. The top easily comes off so you can place minifigures inside and it comes with a trolley operator. You put a sticker on a tile for each side to advertise the stores you build later on which is a fun addition. The instructions show you how to add a motor if you buy the extra parts. I haven’t done that nor do I plan on it at any time soon, but it’s nice that they factored that in for those interested in doing so.

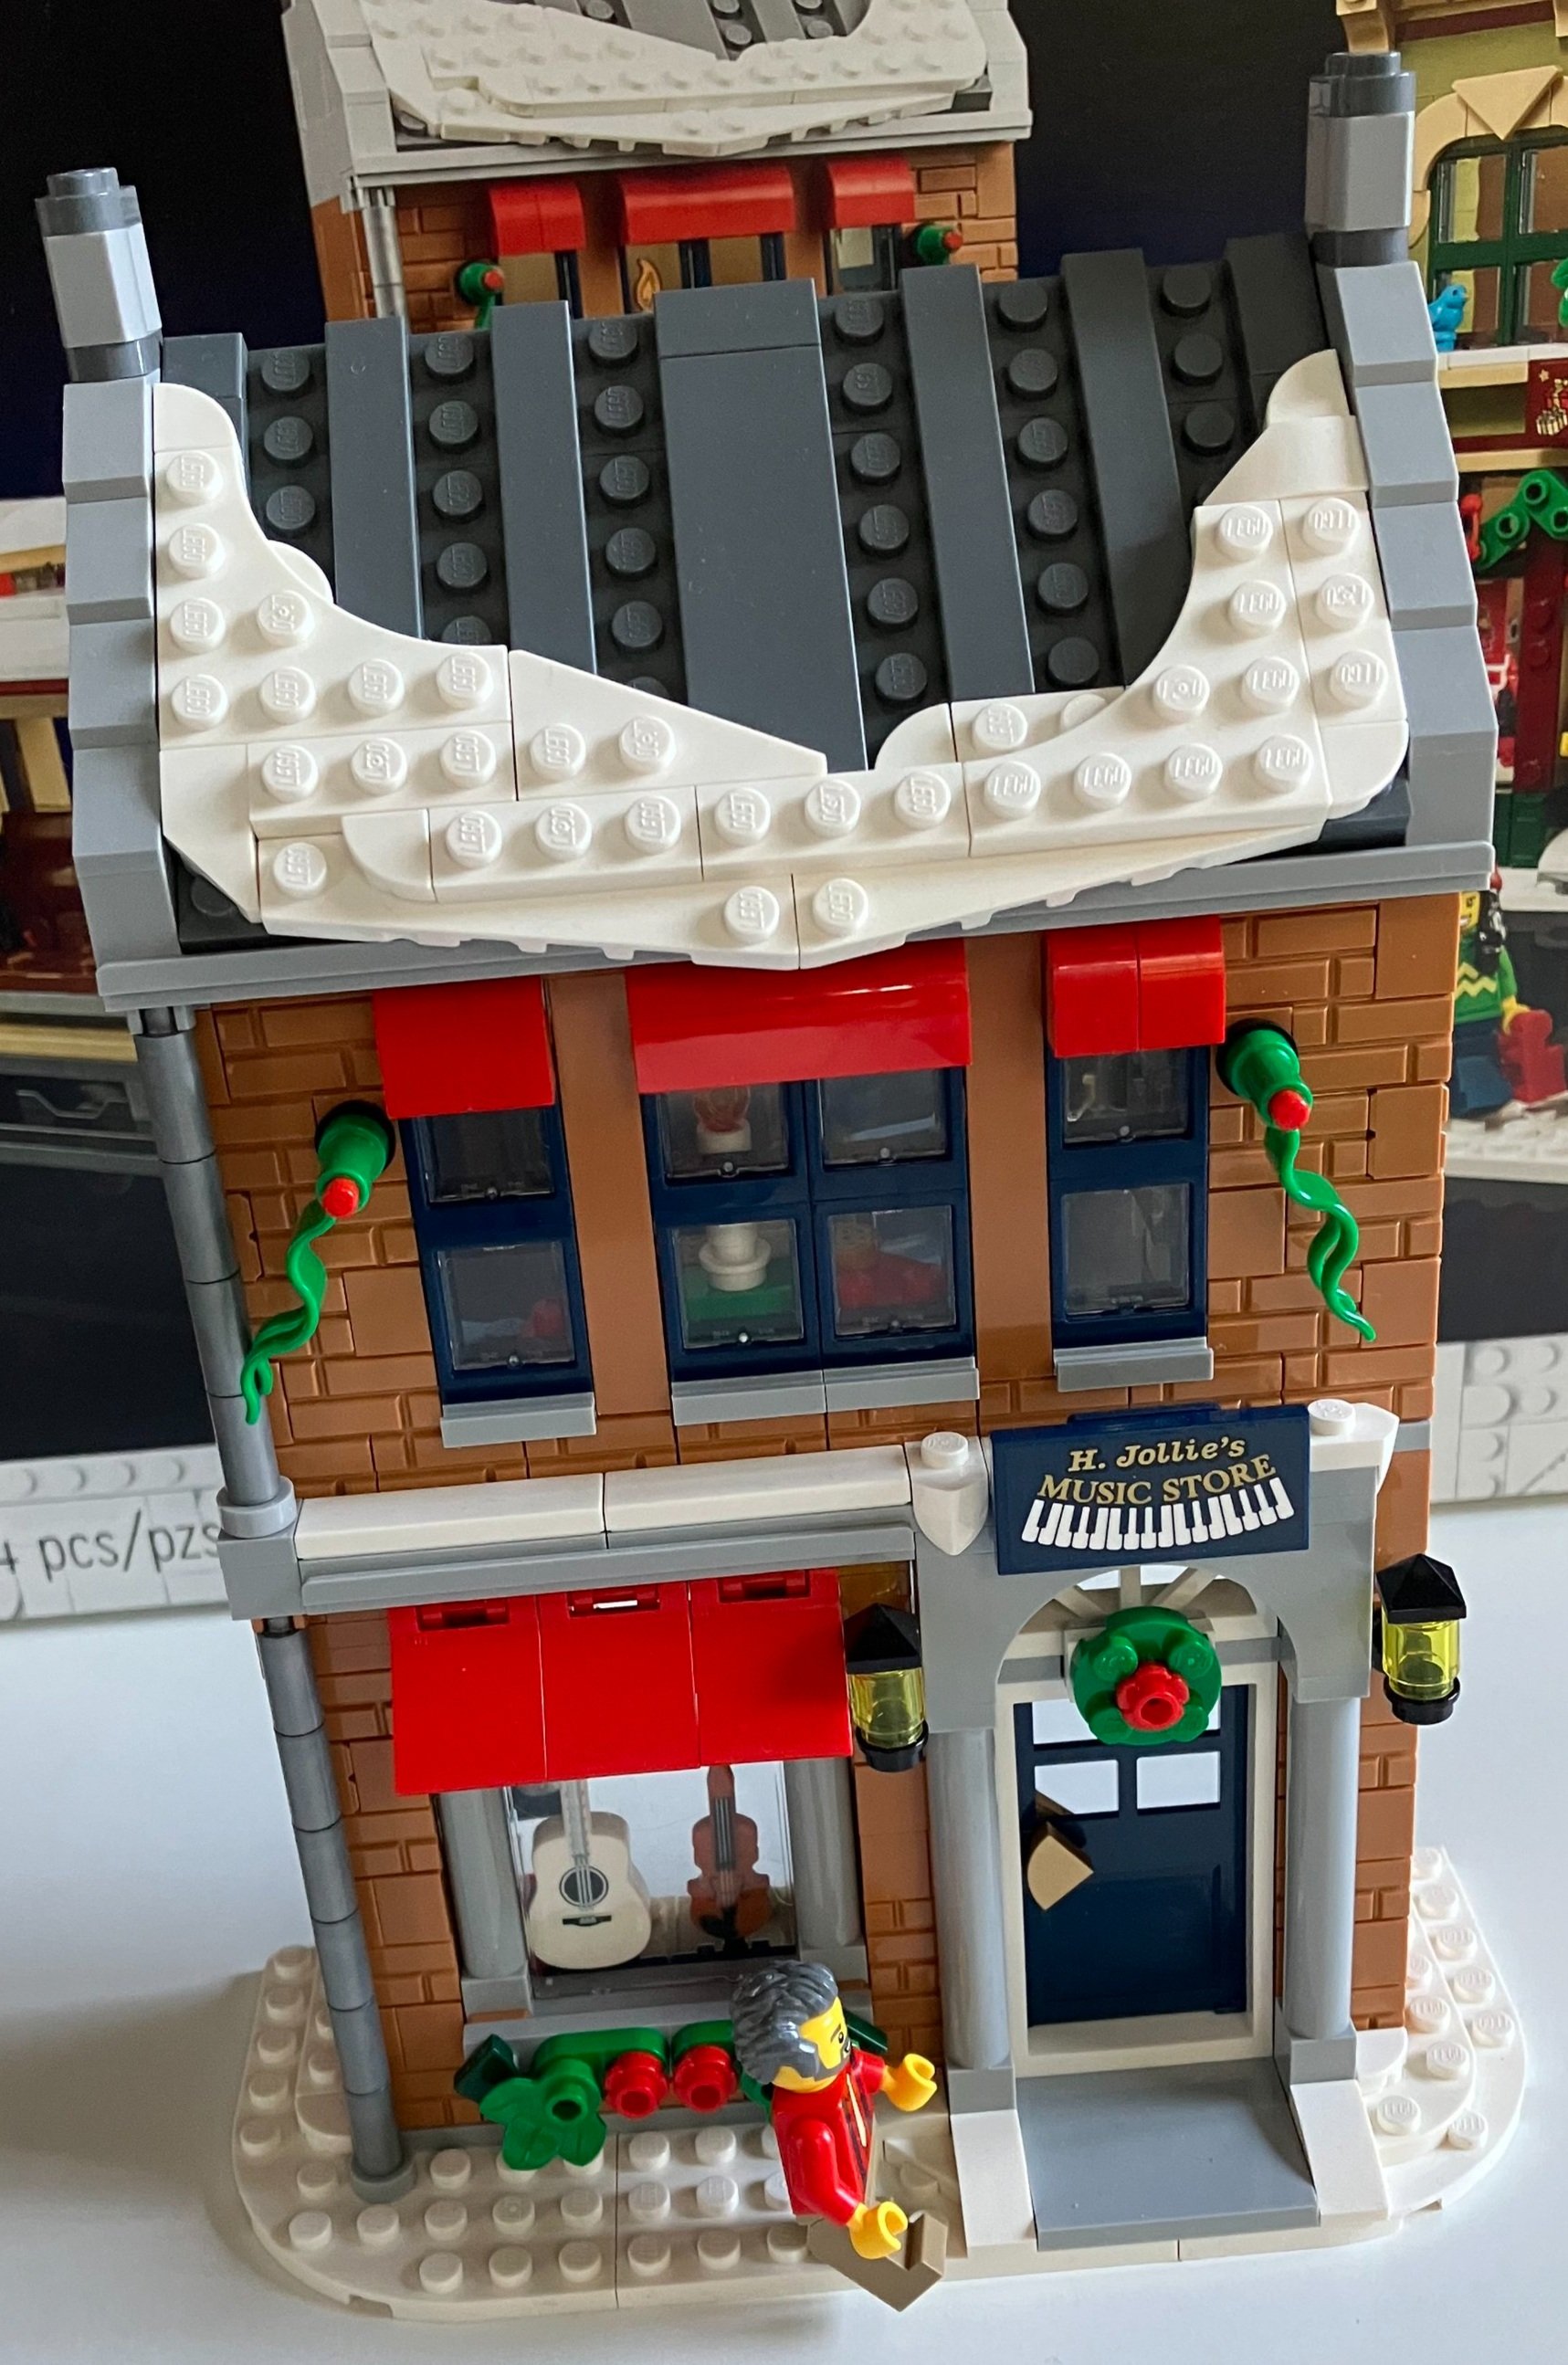
This set comes with two building facades that are two stories high each. This is very similar to #76388-1: Hogsmeade Village from the Harry Potter theme. I disassembled the Hogsmeade Village set, but I’m sure you could put the two together to add to the village theme. Bags four and five assemble H. Jollie’s Music Store. The front of the store uses the brick textured bricks along with some good color choices to make the store stand out. There’s some white plates as snow on the roof, some Christmas decor, and a sticker for the store shop sign. This building comes with one minifigure to work at the shop.

Inside on the ground floor is the shop. It has a drum set, violin, guitar, saxophone, and a keyboard on the wall. There’s a small cash register on a counter as well. Upstairs is a small kitchenette with a table, chairs, and a tea kettle, oven/microwave, and some cabinets. The table is set with some mugs, treats, and a candle. On the wall is a picture of #10267-1: Gingerbread House.

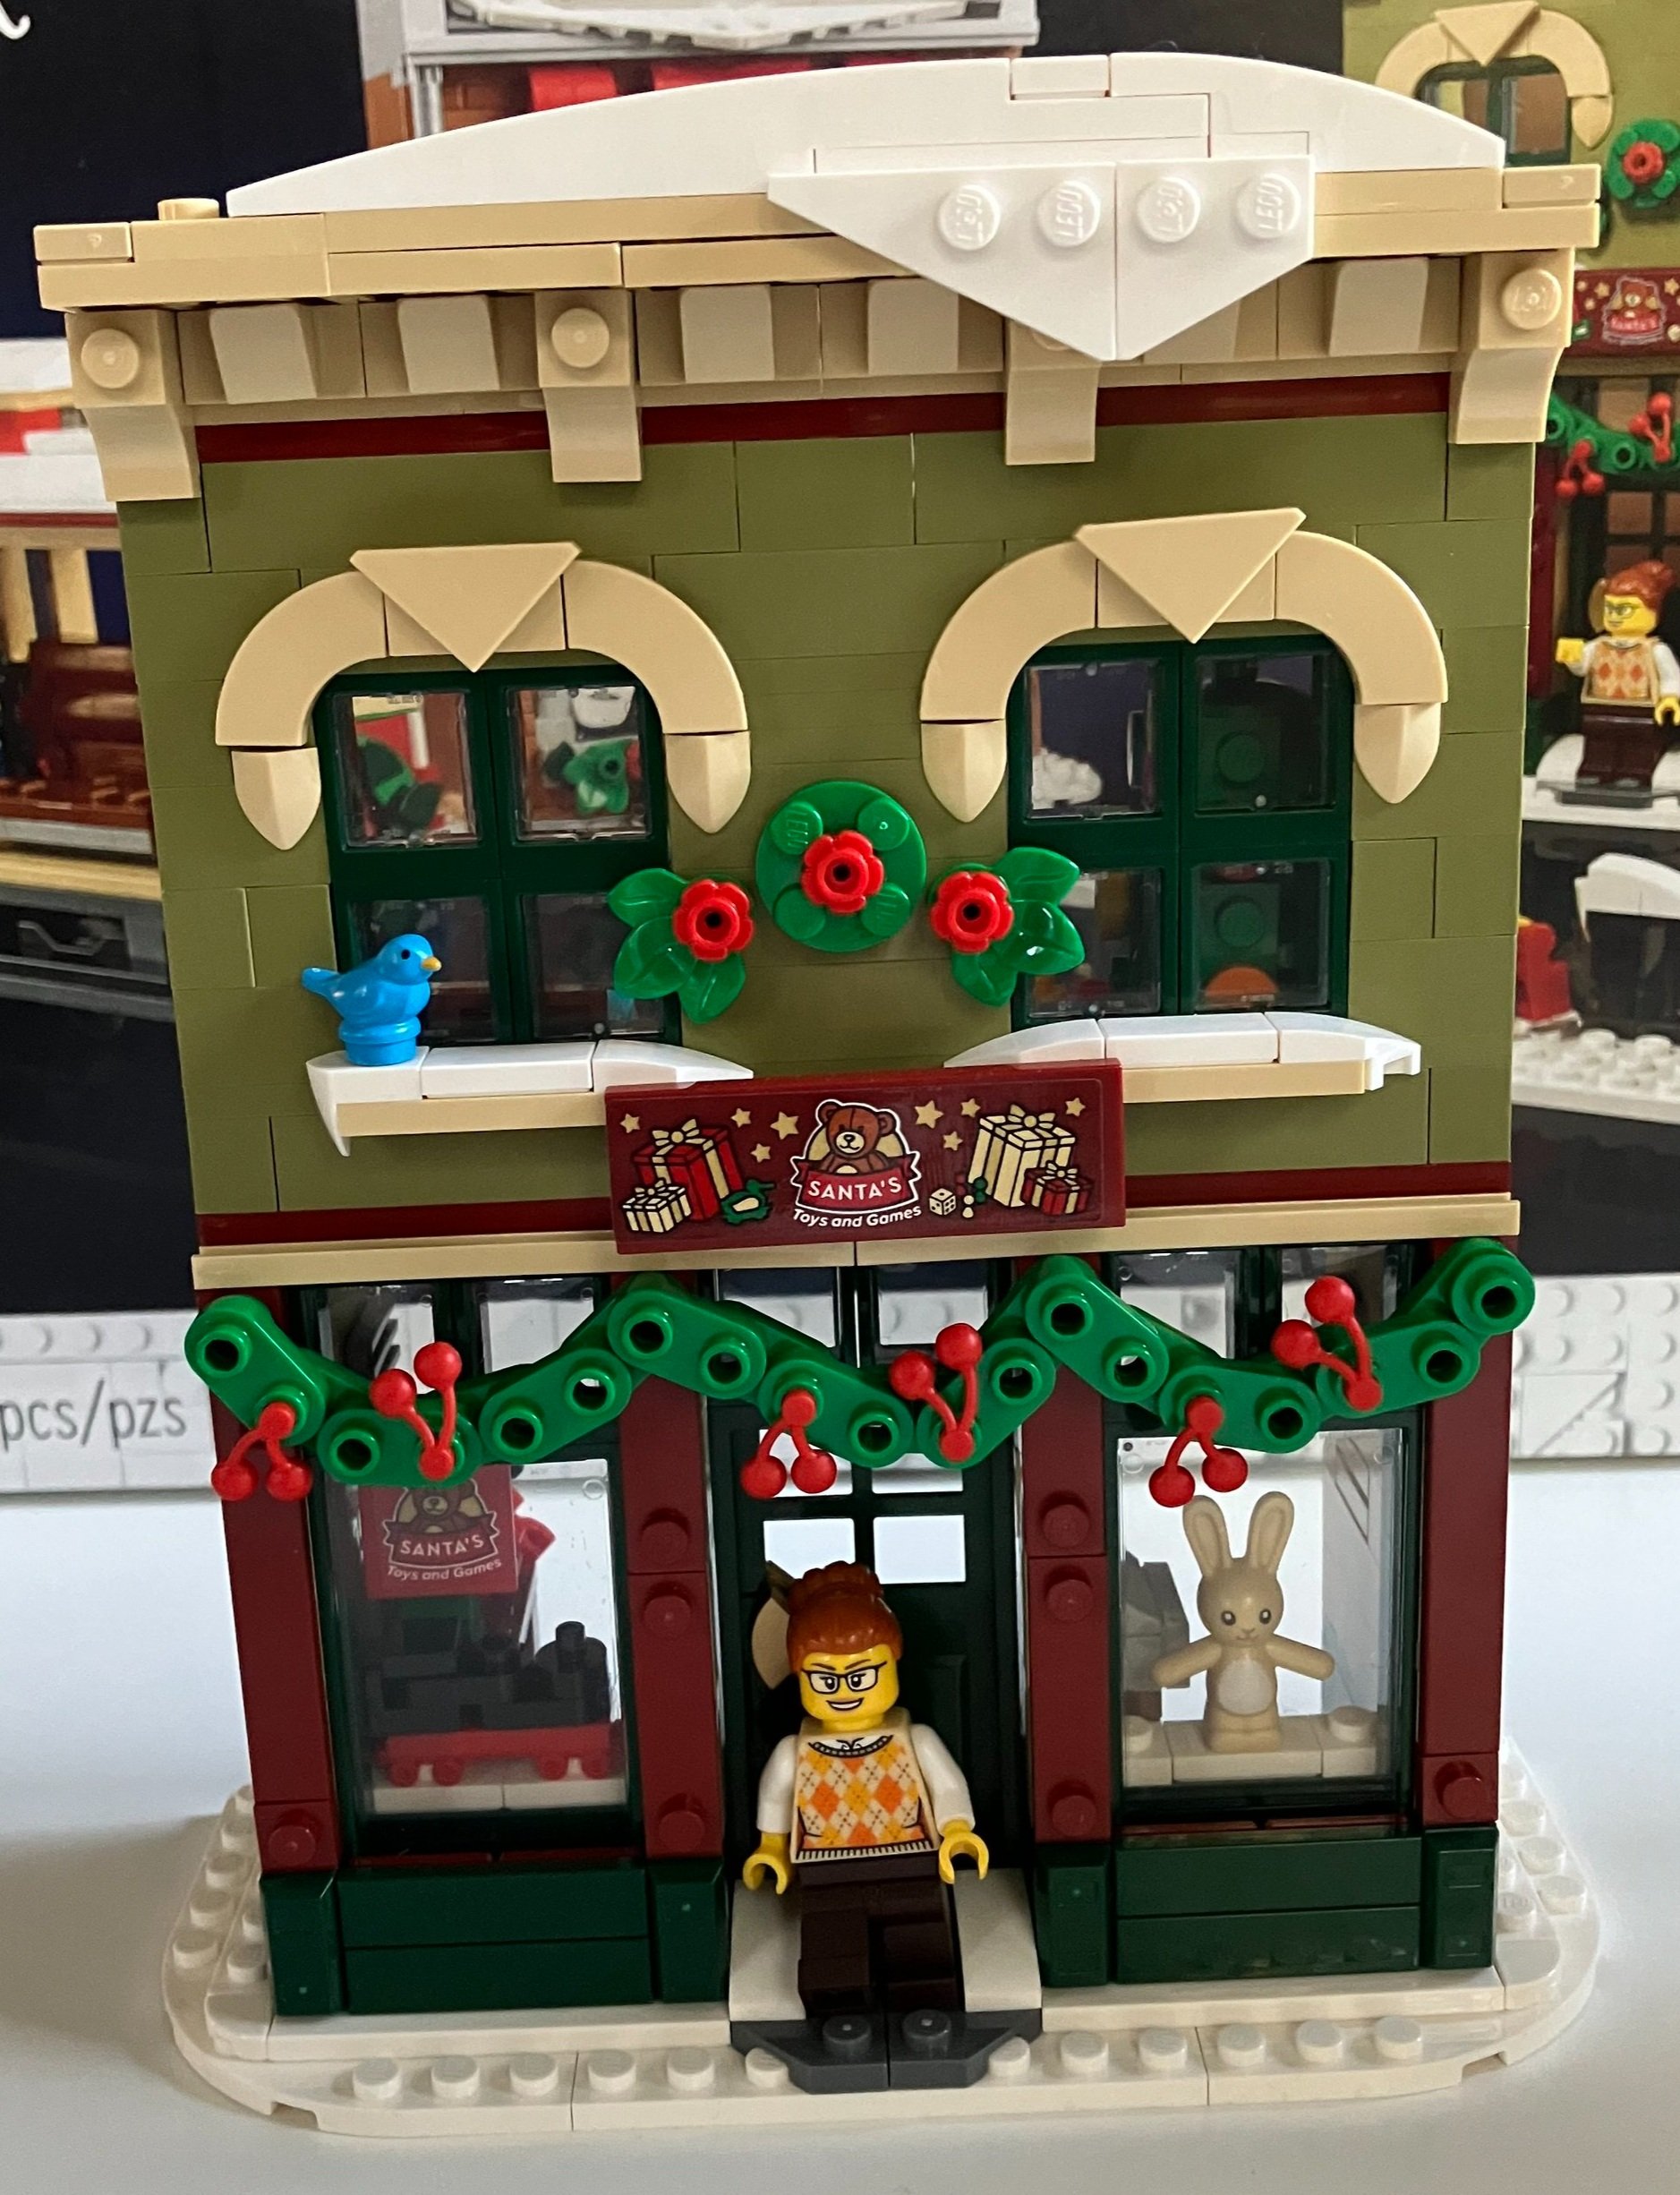
Bags six and seven assemble “Santa’s Toys and Games” shop. The outside of the building has some simple designs, but again, they are enough to make the building stand out and the build process not as boring. I like the colors, especially the green of the second floor. You get some more Christmas decor, a sign, and a small blue bird.

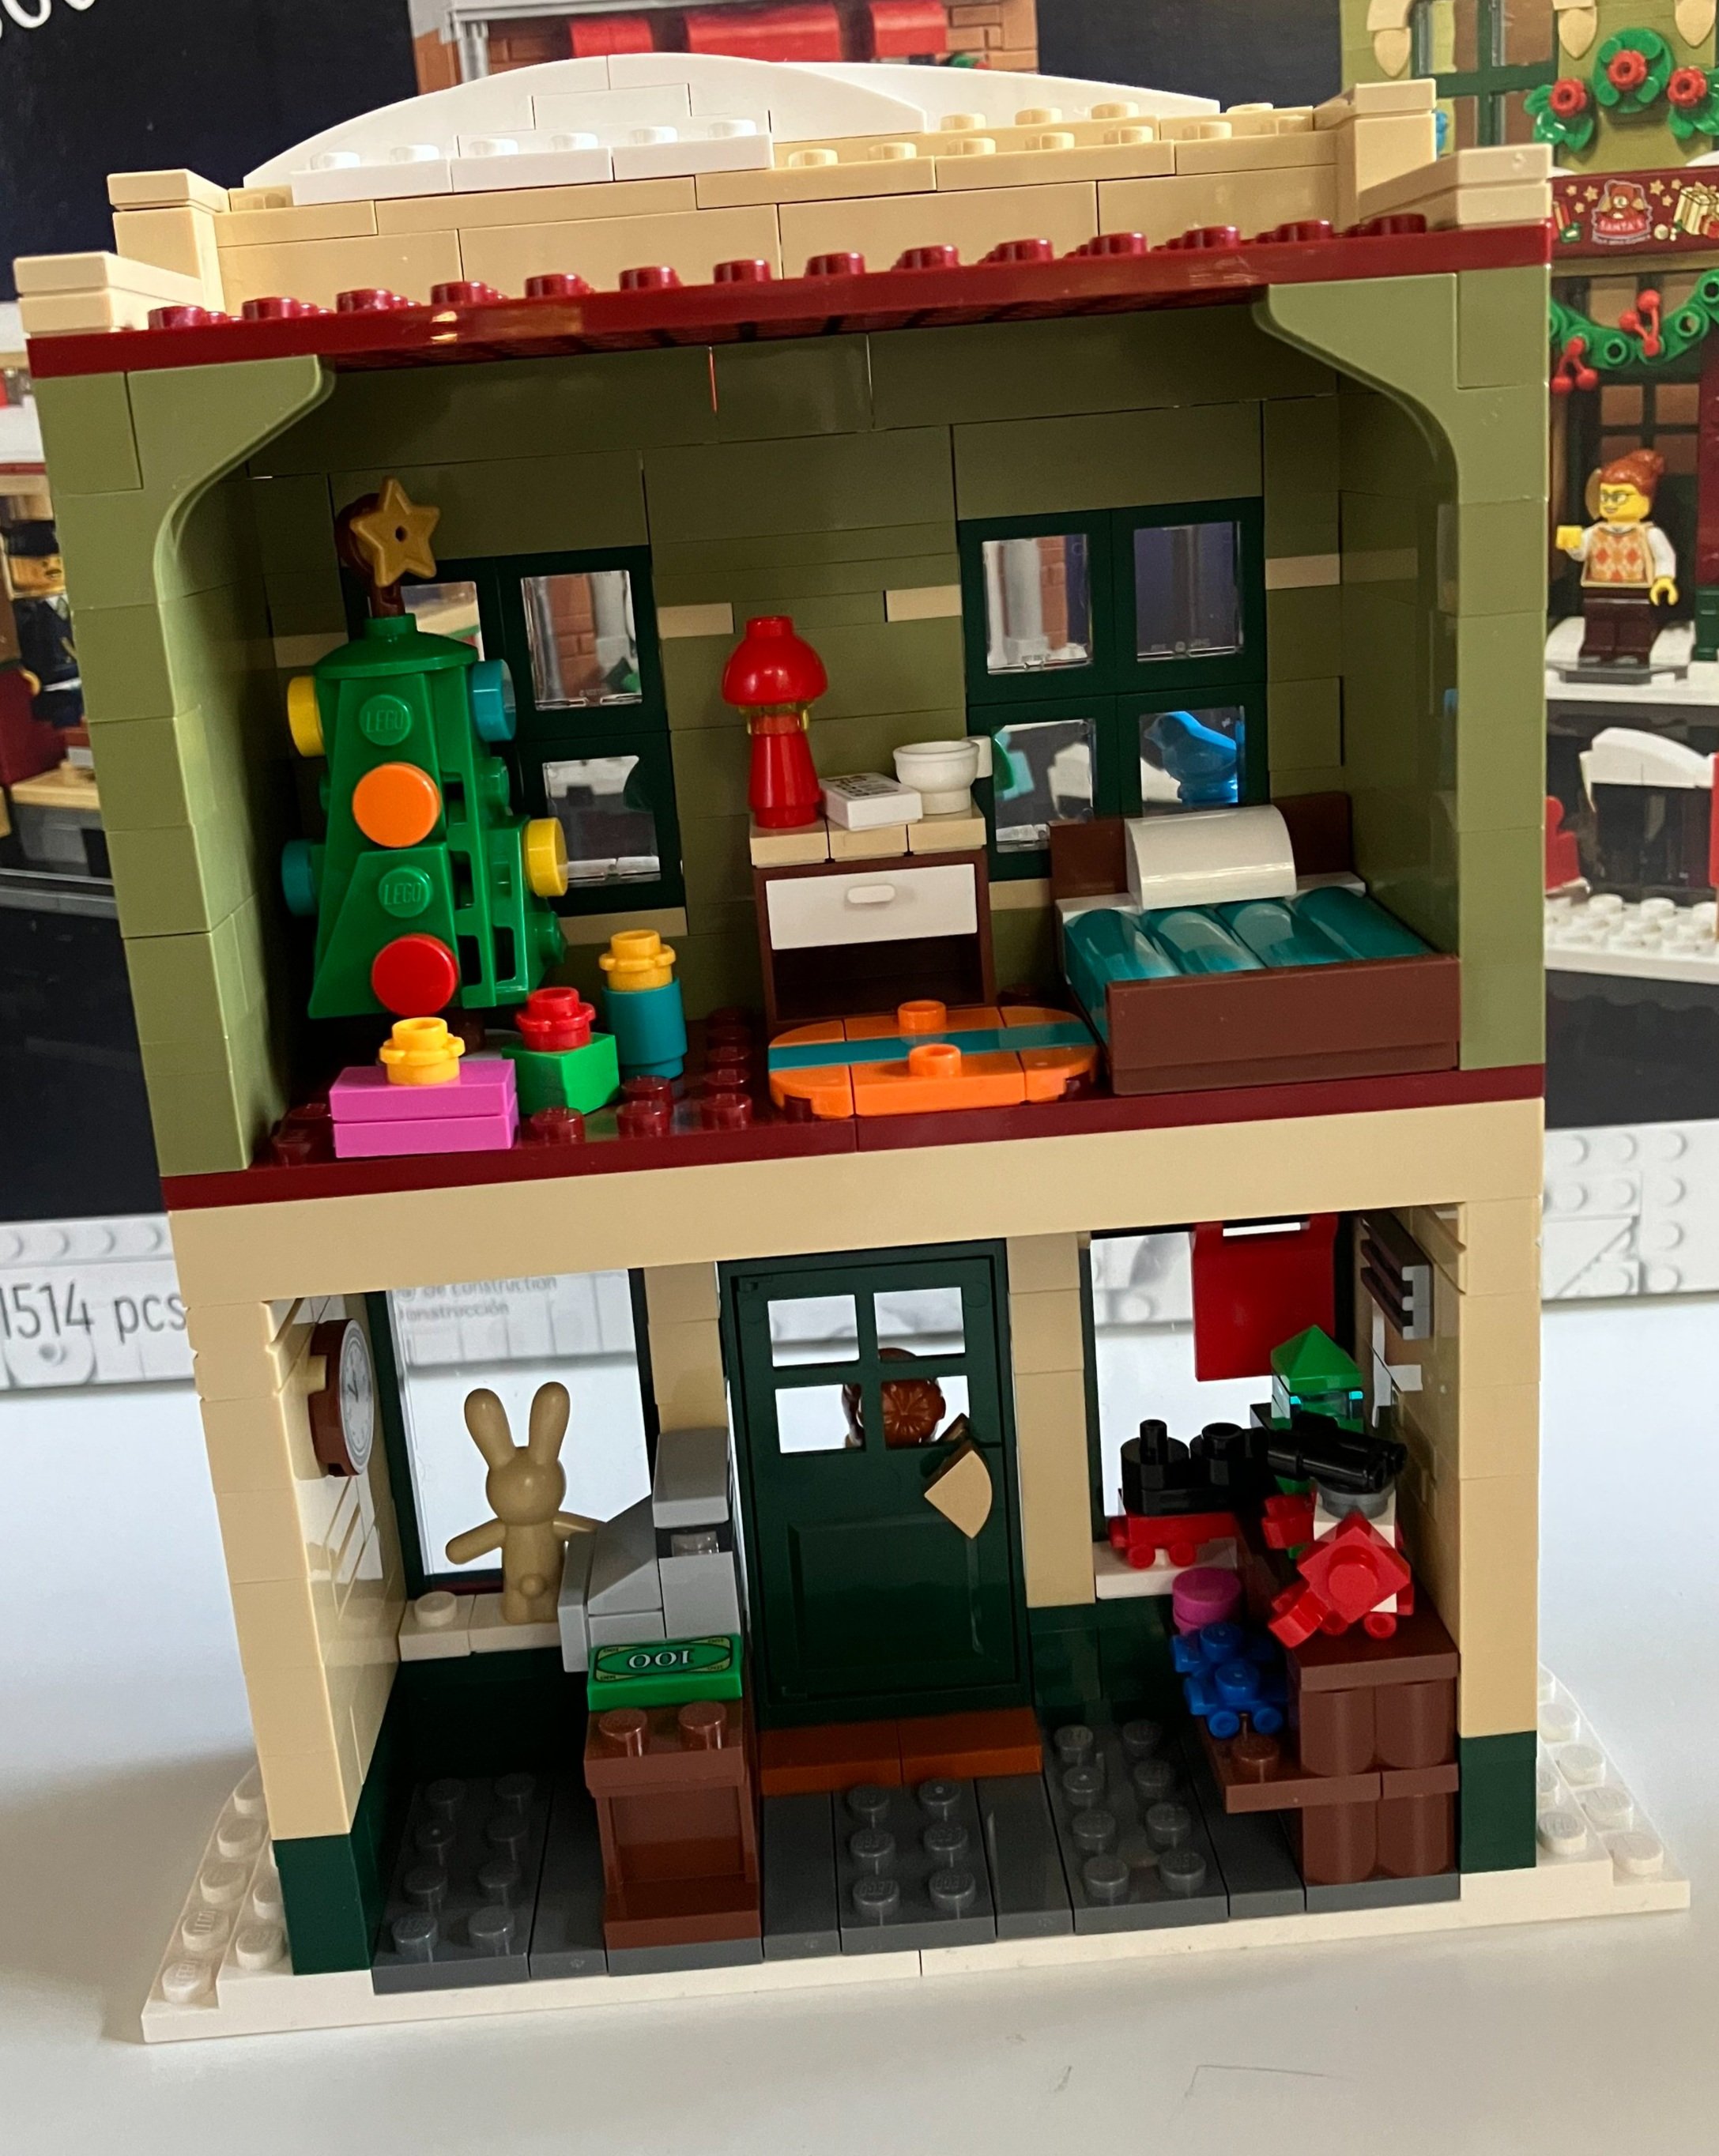
The ground floor is a toy shop with minature toys on sale to include a robot, train, building, roller skates, and a rabbit. There is a counter with a cash register as well and someone even left $100 on the counter for us. This store comes with one worker minifigure.

Floor number two has a small apartment bedroom with a small Christmas tree, a bed, a night stand, a rug, and some gifts under the tree.

This set comes with six minifigures. It’s a decent mix of figures and parts in my opinion. Not really anything super new, but that’s okay in my opinion.

Here’s the full assembled set. I like this addition to the winter village theme and I wish I had the rest of my sets together so I can put them all in the same spot for a larger photo. Someday… This is priced reasonably in my opinion if you look at the price per piece. I’m okay without the motor and track being included and I’m glad there is no light brick as I typically don’t use them anyways. Hopefully the lack of a light brick kept the cost lower.

What are your thoughts? Are they running out of set ideas in the Winter Village theme or does this one fit right in?

Happy building!
MECHS!!!! -- Bricks in the News - NPR

A lot of the Fan Media sites are quick to publish articles when LEGO shows up in popular media or a larger news media site. I caught one yesterday that I haven’t seen posted elsewhere. It was posted on 28 November 2022 on NPR. The article is written by Rakiesha Chase-Jackson. It’s titled “How Legos helped me rebuild my foundation.”

And before I go any further, I will acknowledge that there are some fans out there screaming about the misuse of “Legos” and how she should have said “Lego Sets” or Lego Bricks” or something like that. It’s all good friends. Not the end of the world. We get what she’s talking about.

You can find the NPR article here. It’s a good story about someone stumbling into the hobby and how they came to enjoy it. I think it also does a good job pointing out the benefits of LEGO producing sets in different themes to appeal to different audiences. Not everyone has to be a die hard Star Wars fan. Some people are really into mechs.

Enjoy the read. Happy building!

Set Review - #21334-1: Jazz Quartet - Ideas (#42)

We’re at LEGO Ideas set #42 already!?!?!?! What?!?!?! When did that happen?
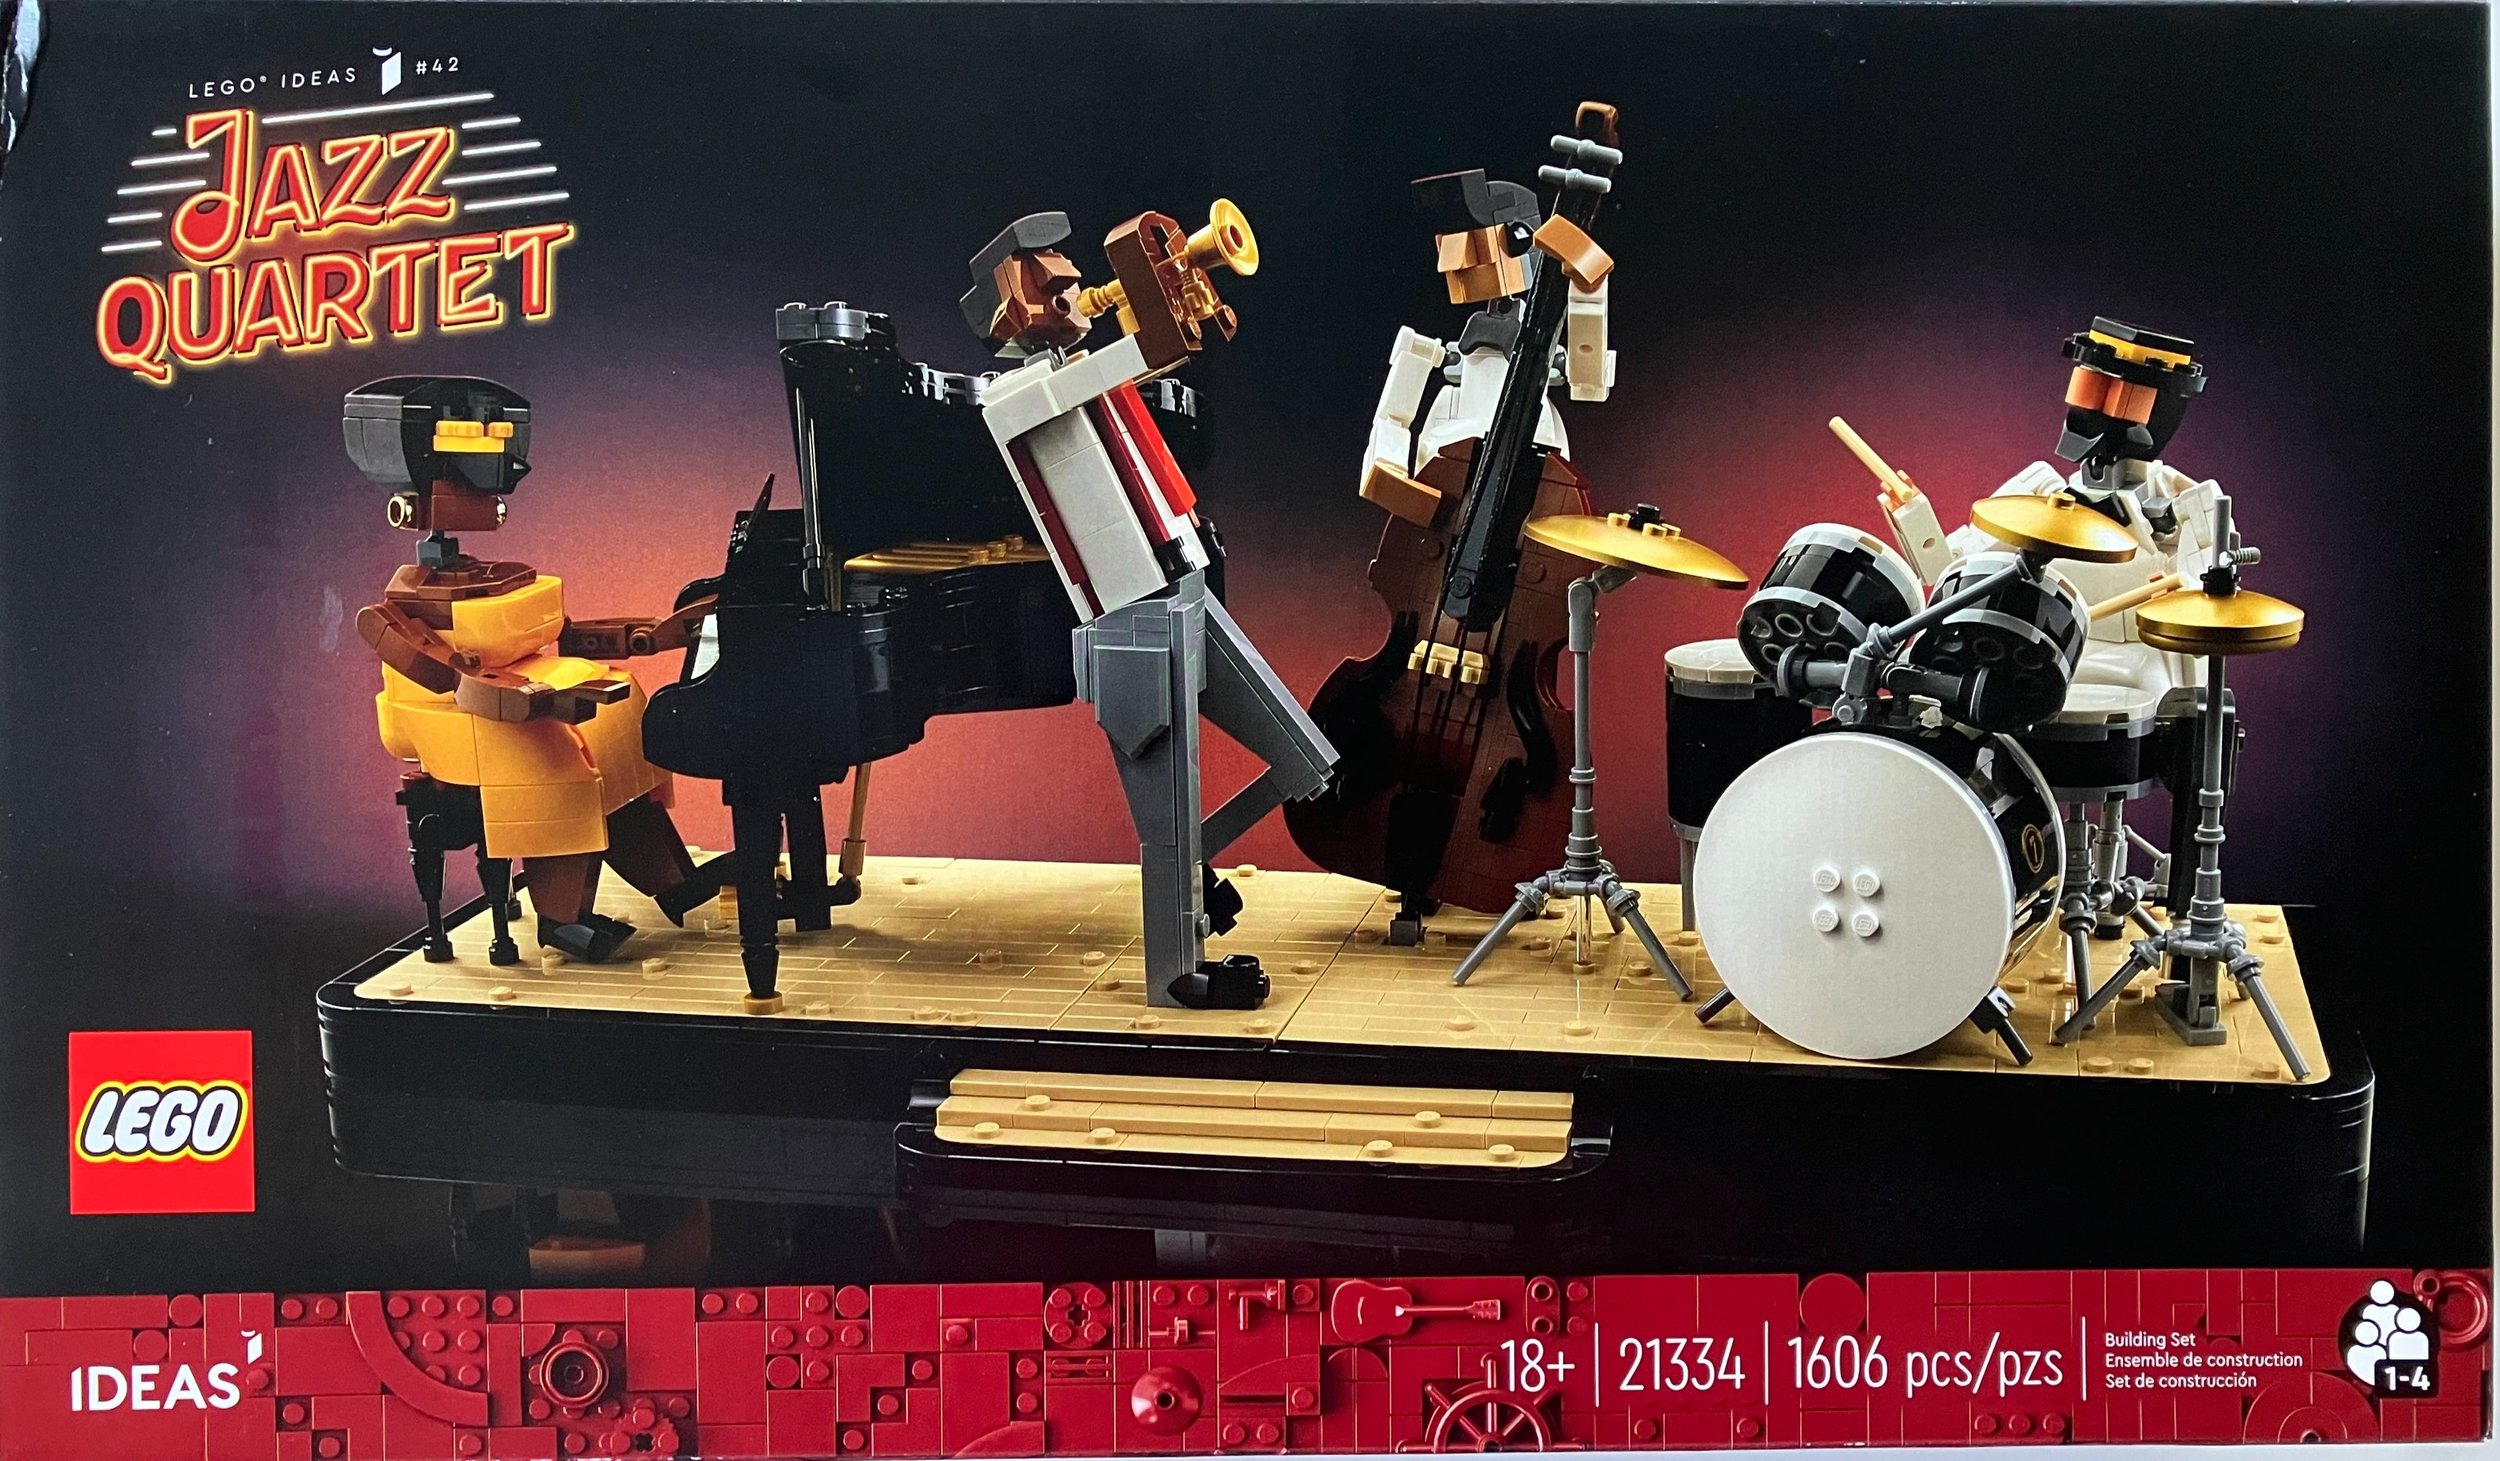
This is #21334-1: Jazz Quartet. It was released on 29 June 2022 in the US for $99.99. The set contains 1,606 pieces which works out to $0.062 per piece. This set is very different from any other we’ve seen. I don’t think we’ve had a set with figures that look like this ever (or at least that I can recall) and the jazz/music theme is something out of the ordinary from what we usually see. Let’s dig into this set…

The box has a fun design with the 18+ banner and then a cool looking neon light style title in the top left corner of the front of the set. Then it shows the set and it looks like there’s a spot light on the them as if they are performing. The back shows how you can break apart the stage to re-arrange how the figures are positioned. The back also shows the dimensions and how the set looks in an actual room.

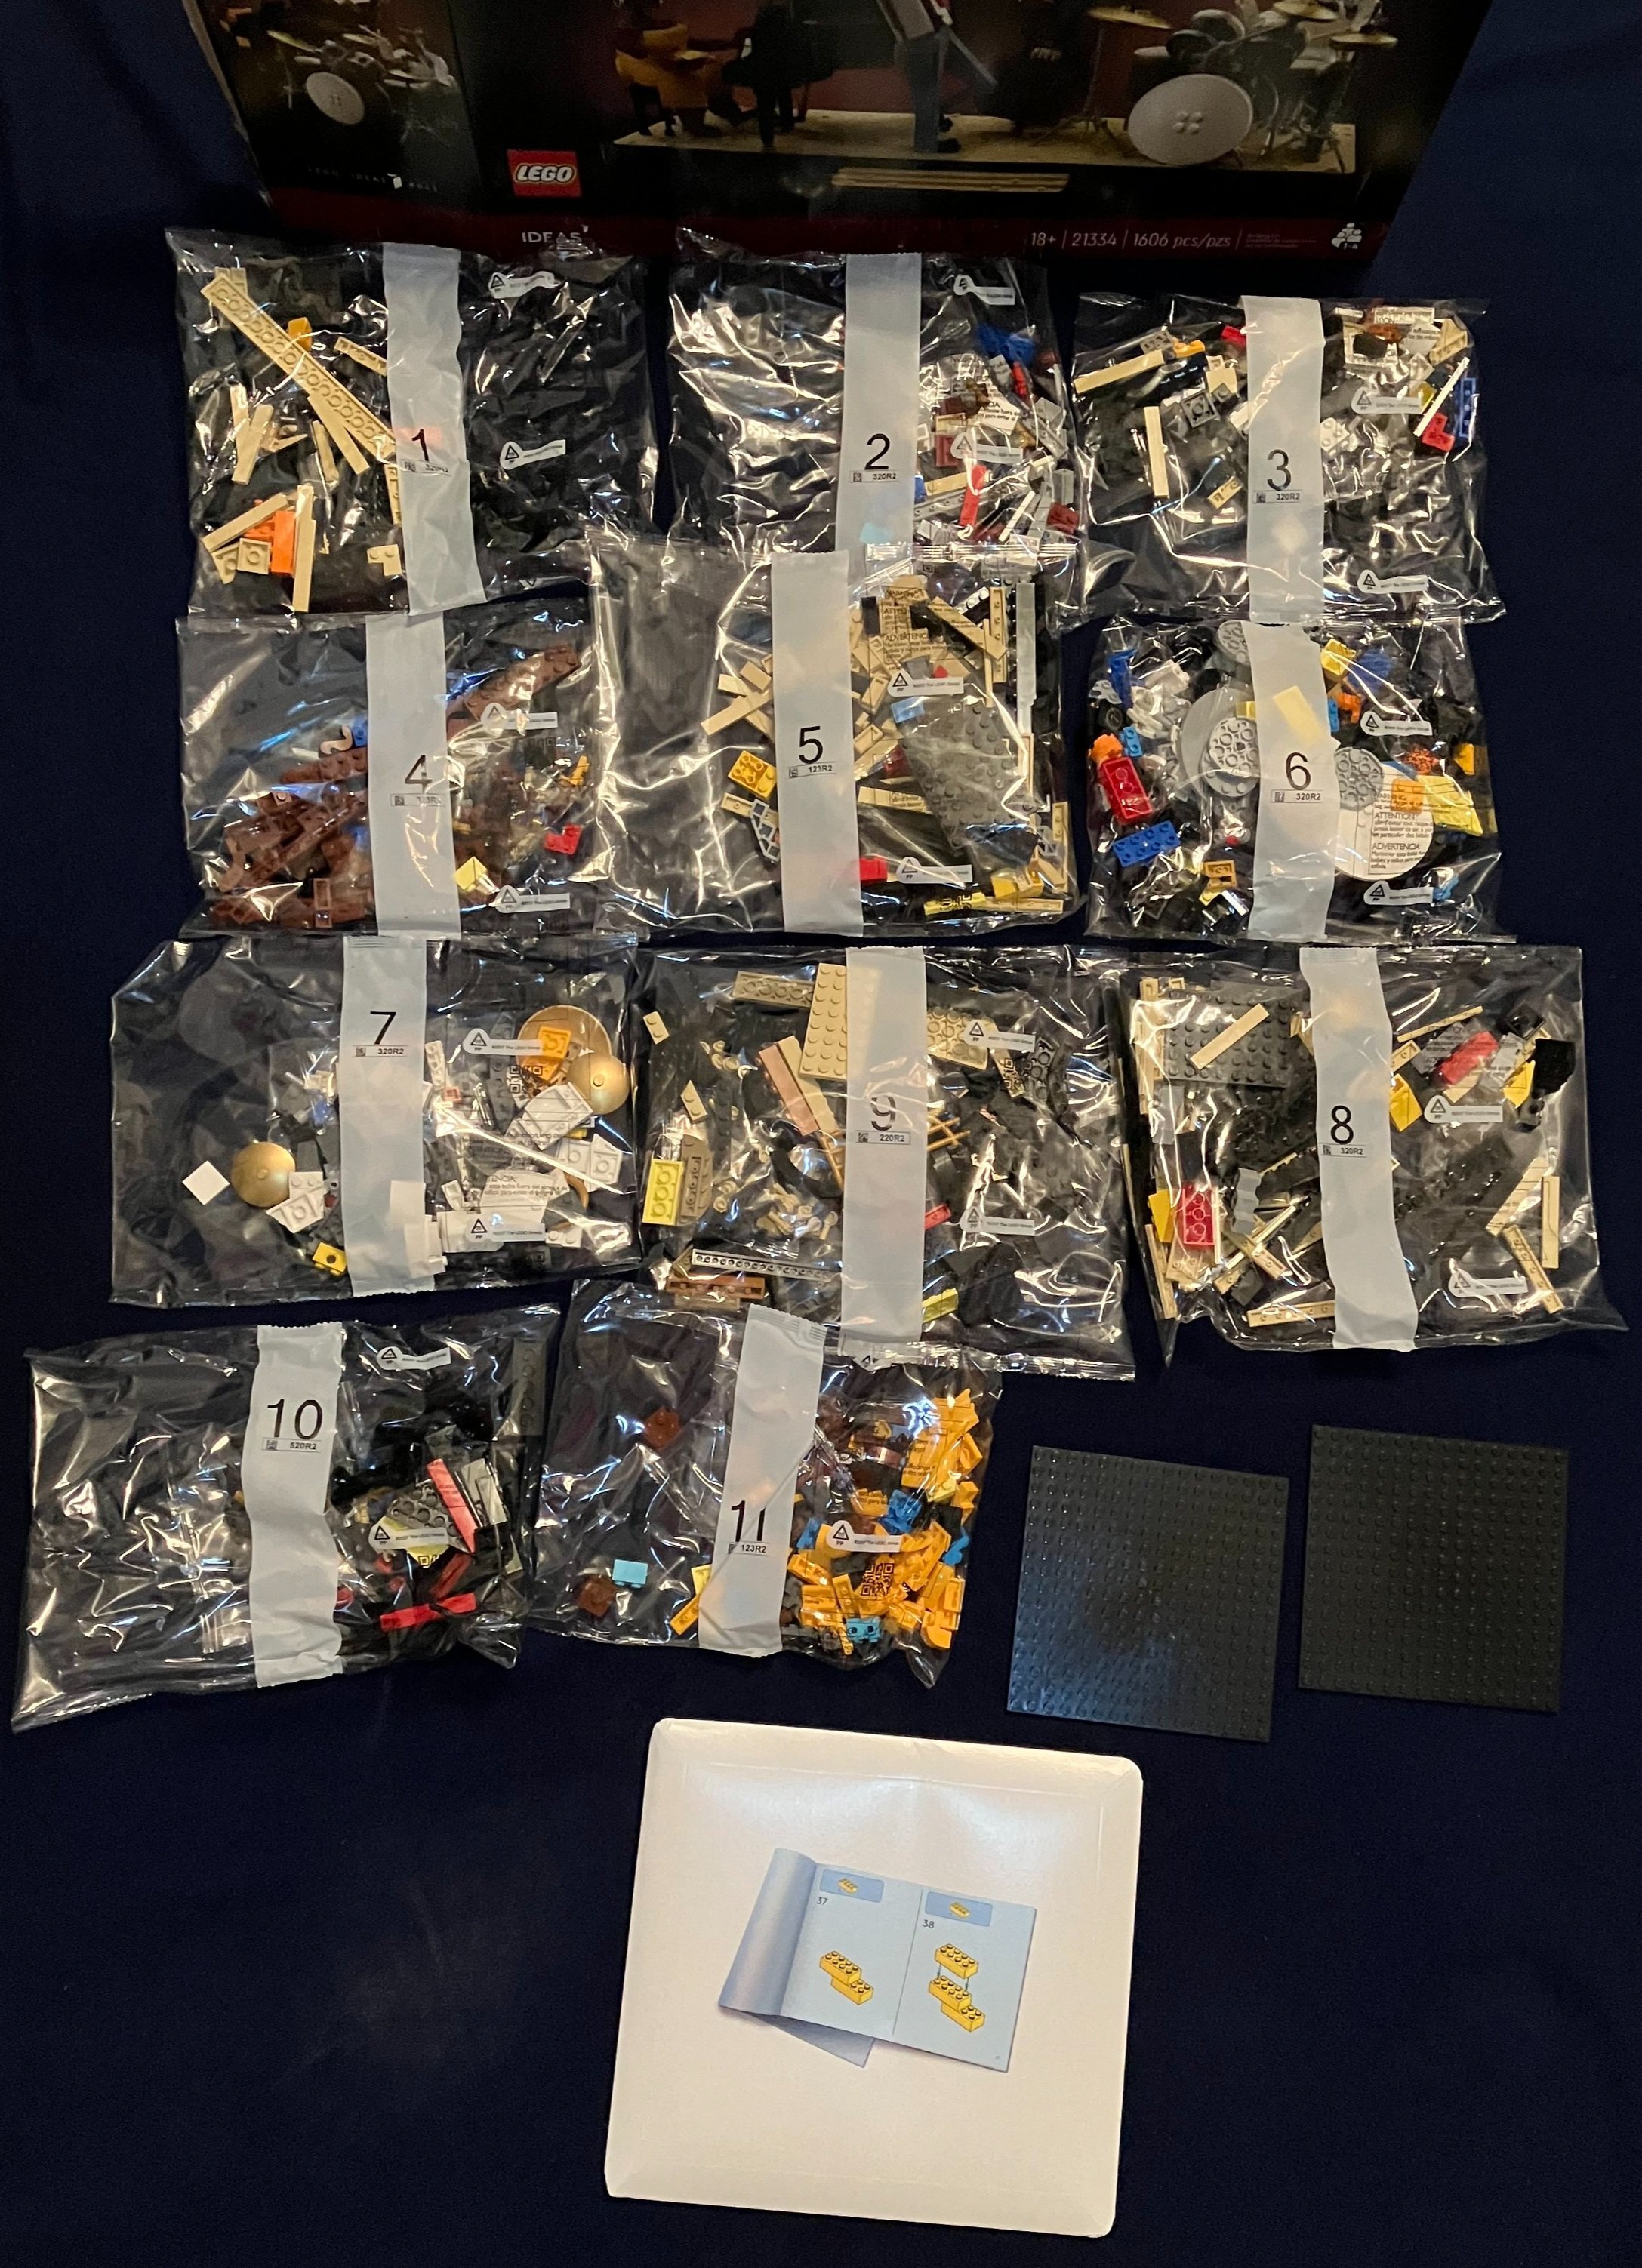
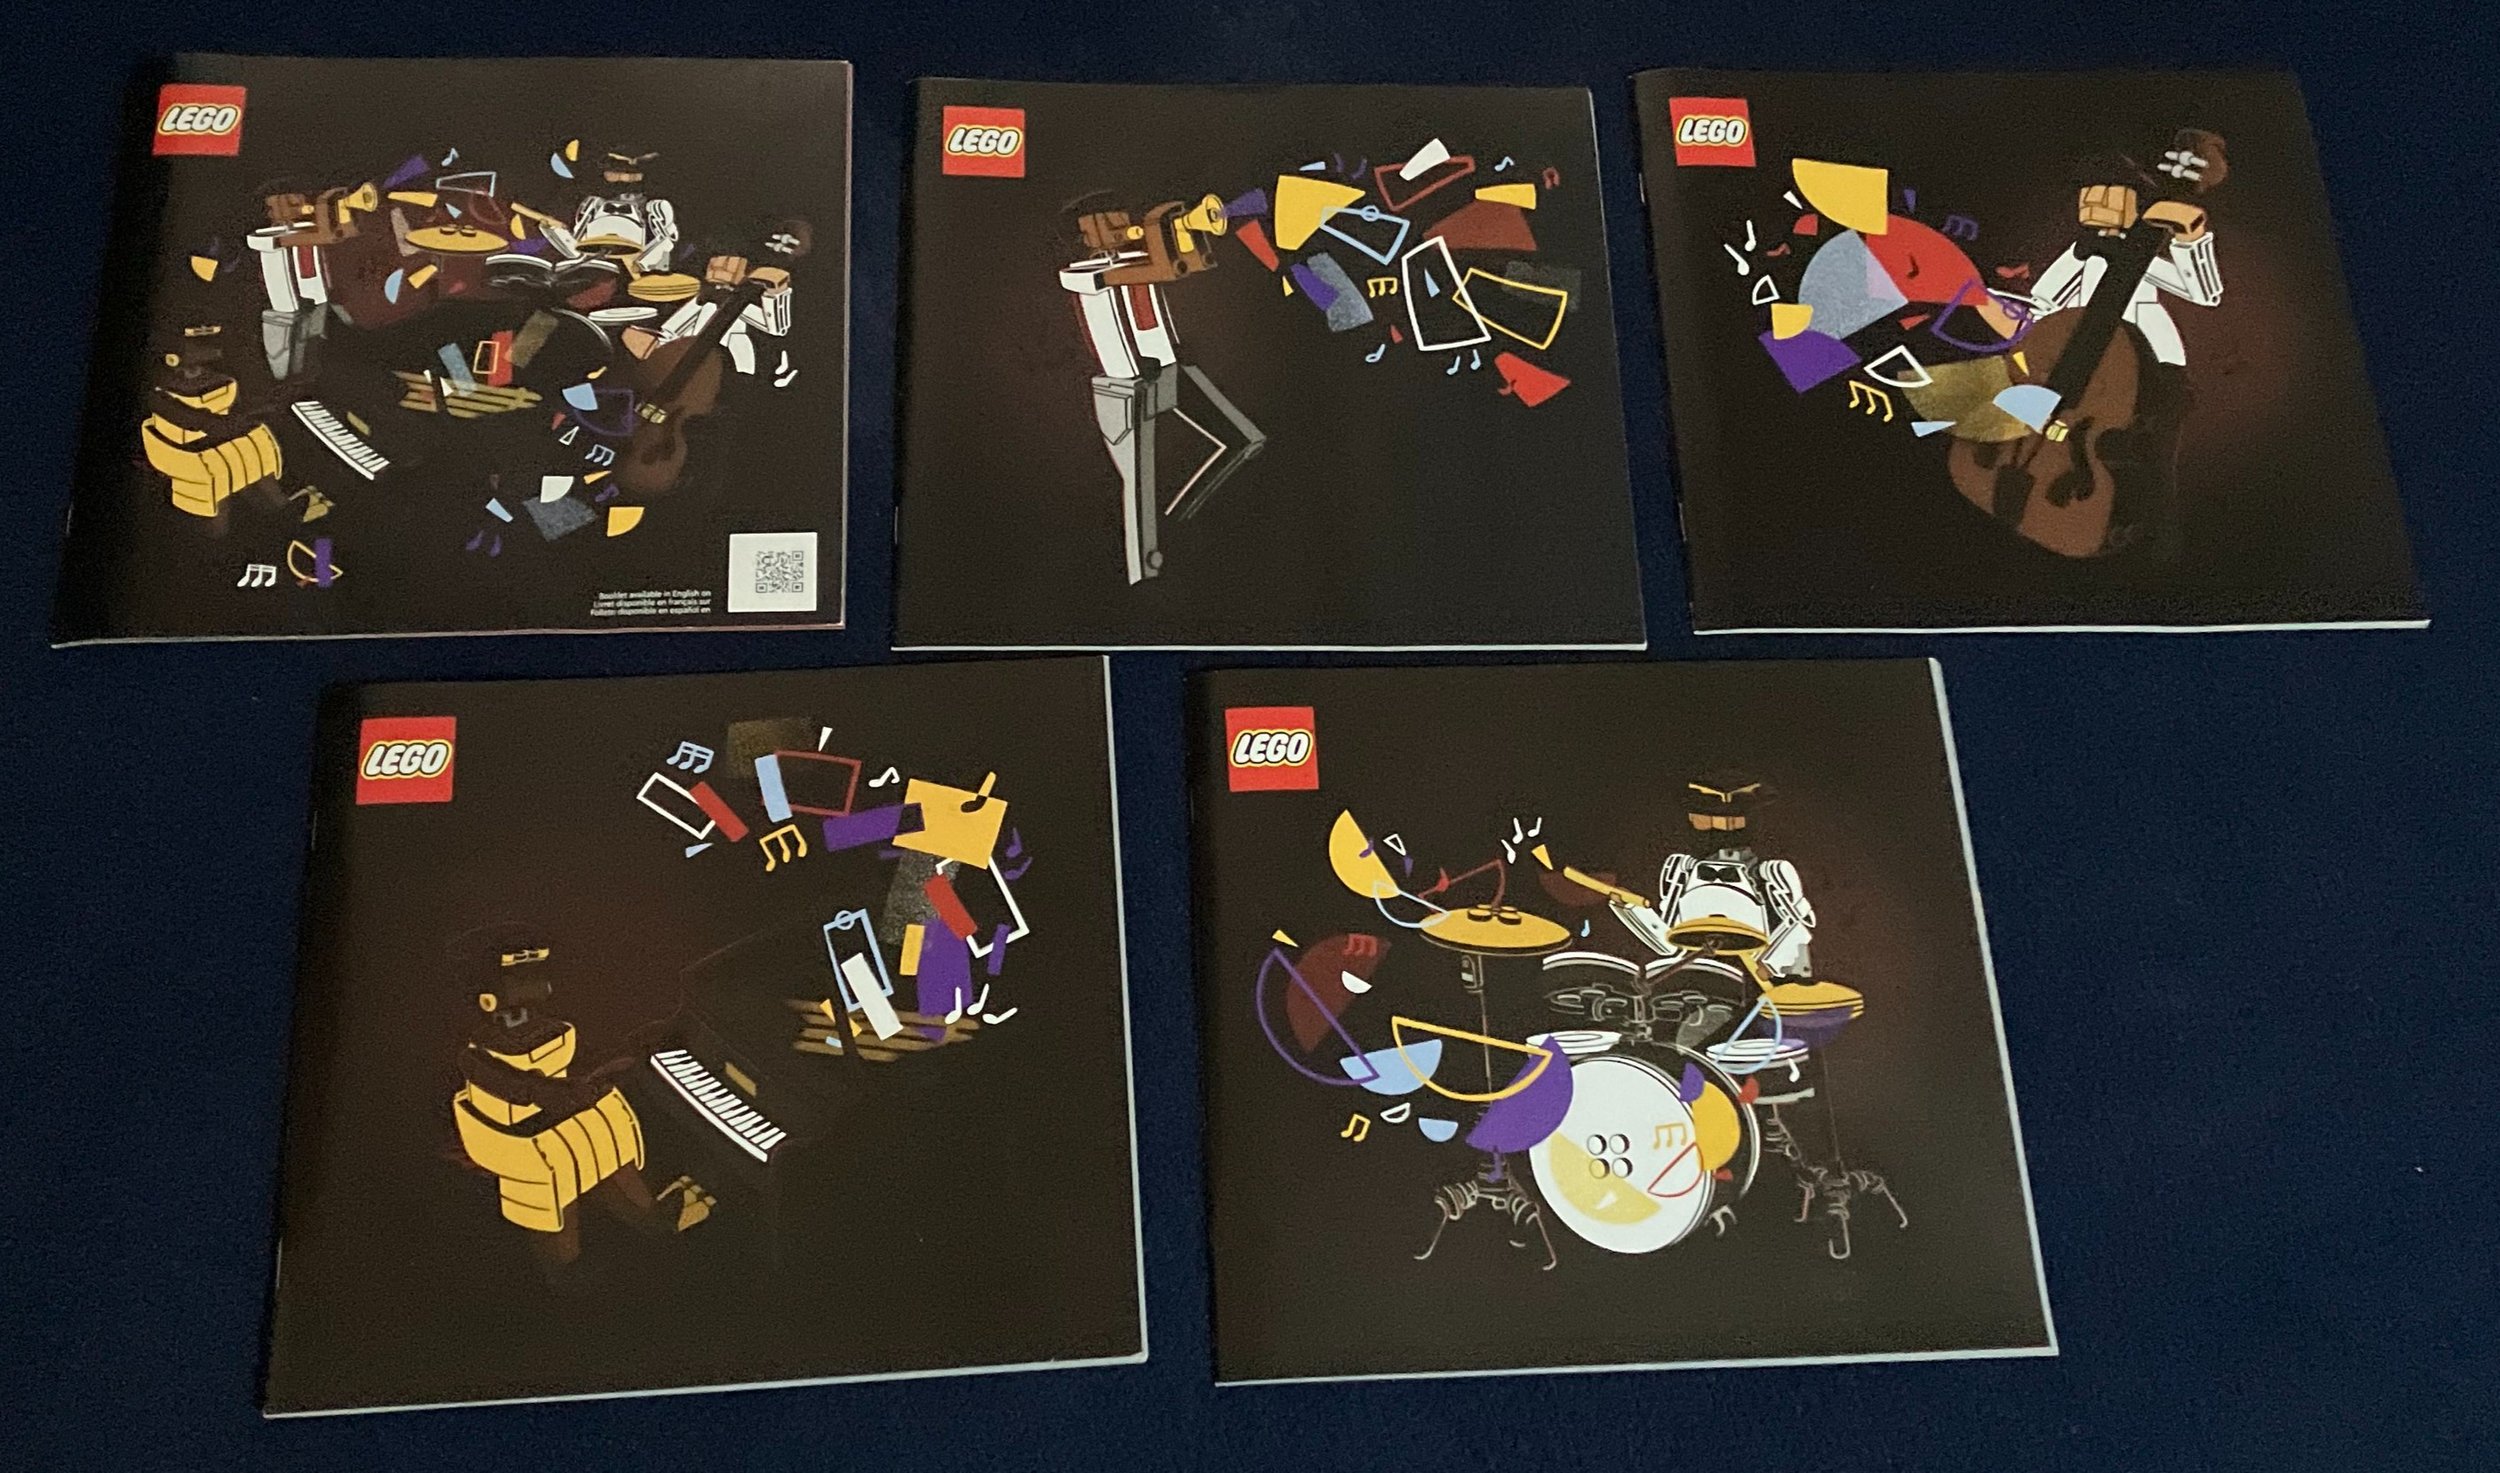
The set contains 11 numbered parts bags and two 16x16 black plates. The instructions are in a cardboard envelope for protection which is great as you can recycle the envelope and the instructions aren’t bent. There are five booklets in the envelope. The first one describes the set, talks about the fan designer, and gives information about the LEGO designers. The remaining booklets build each figure from the set and the figure is pictured on the front of each booklet.

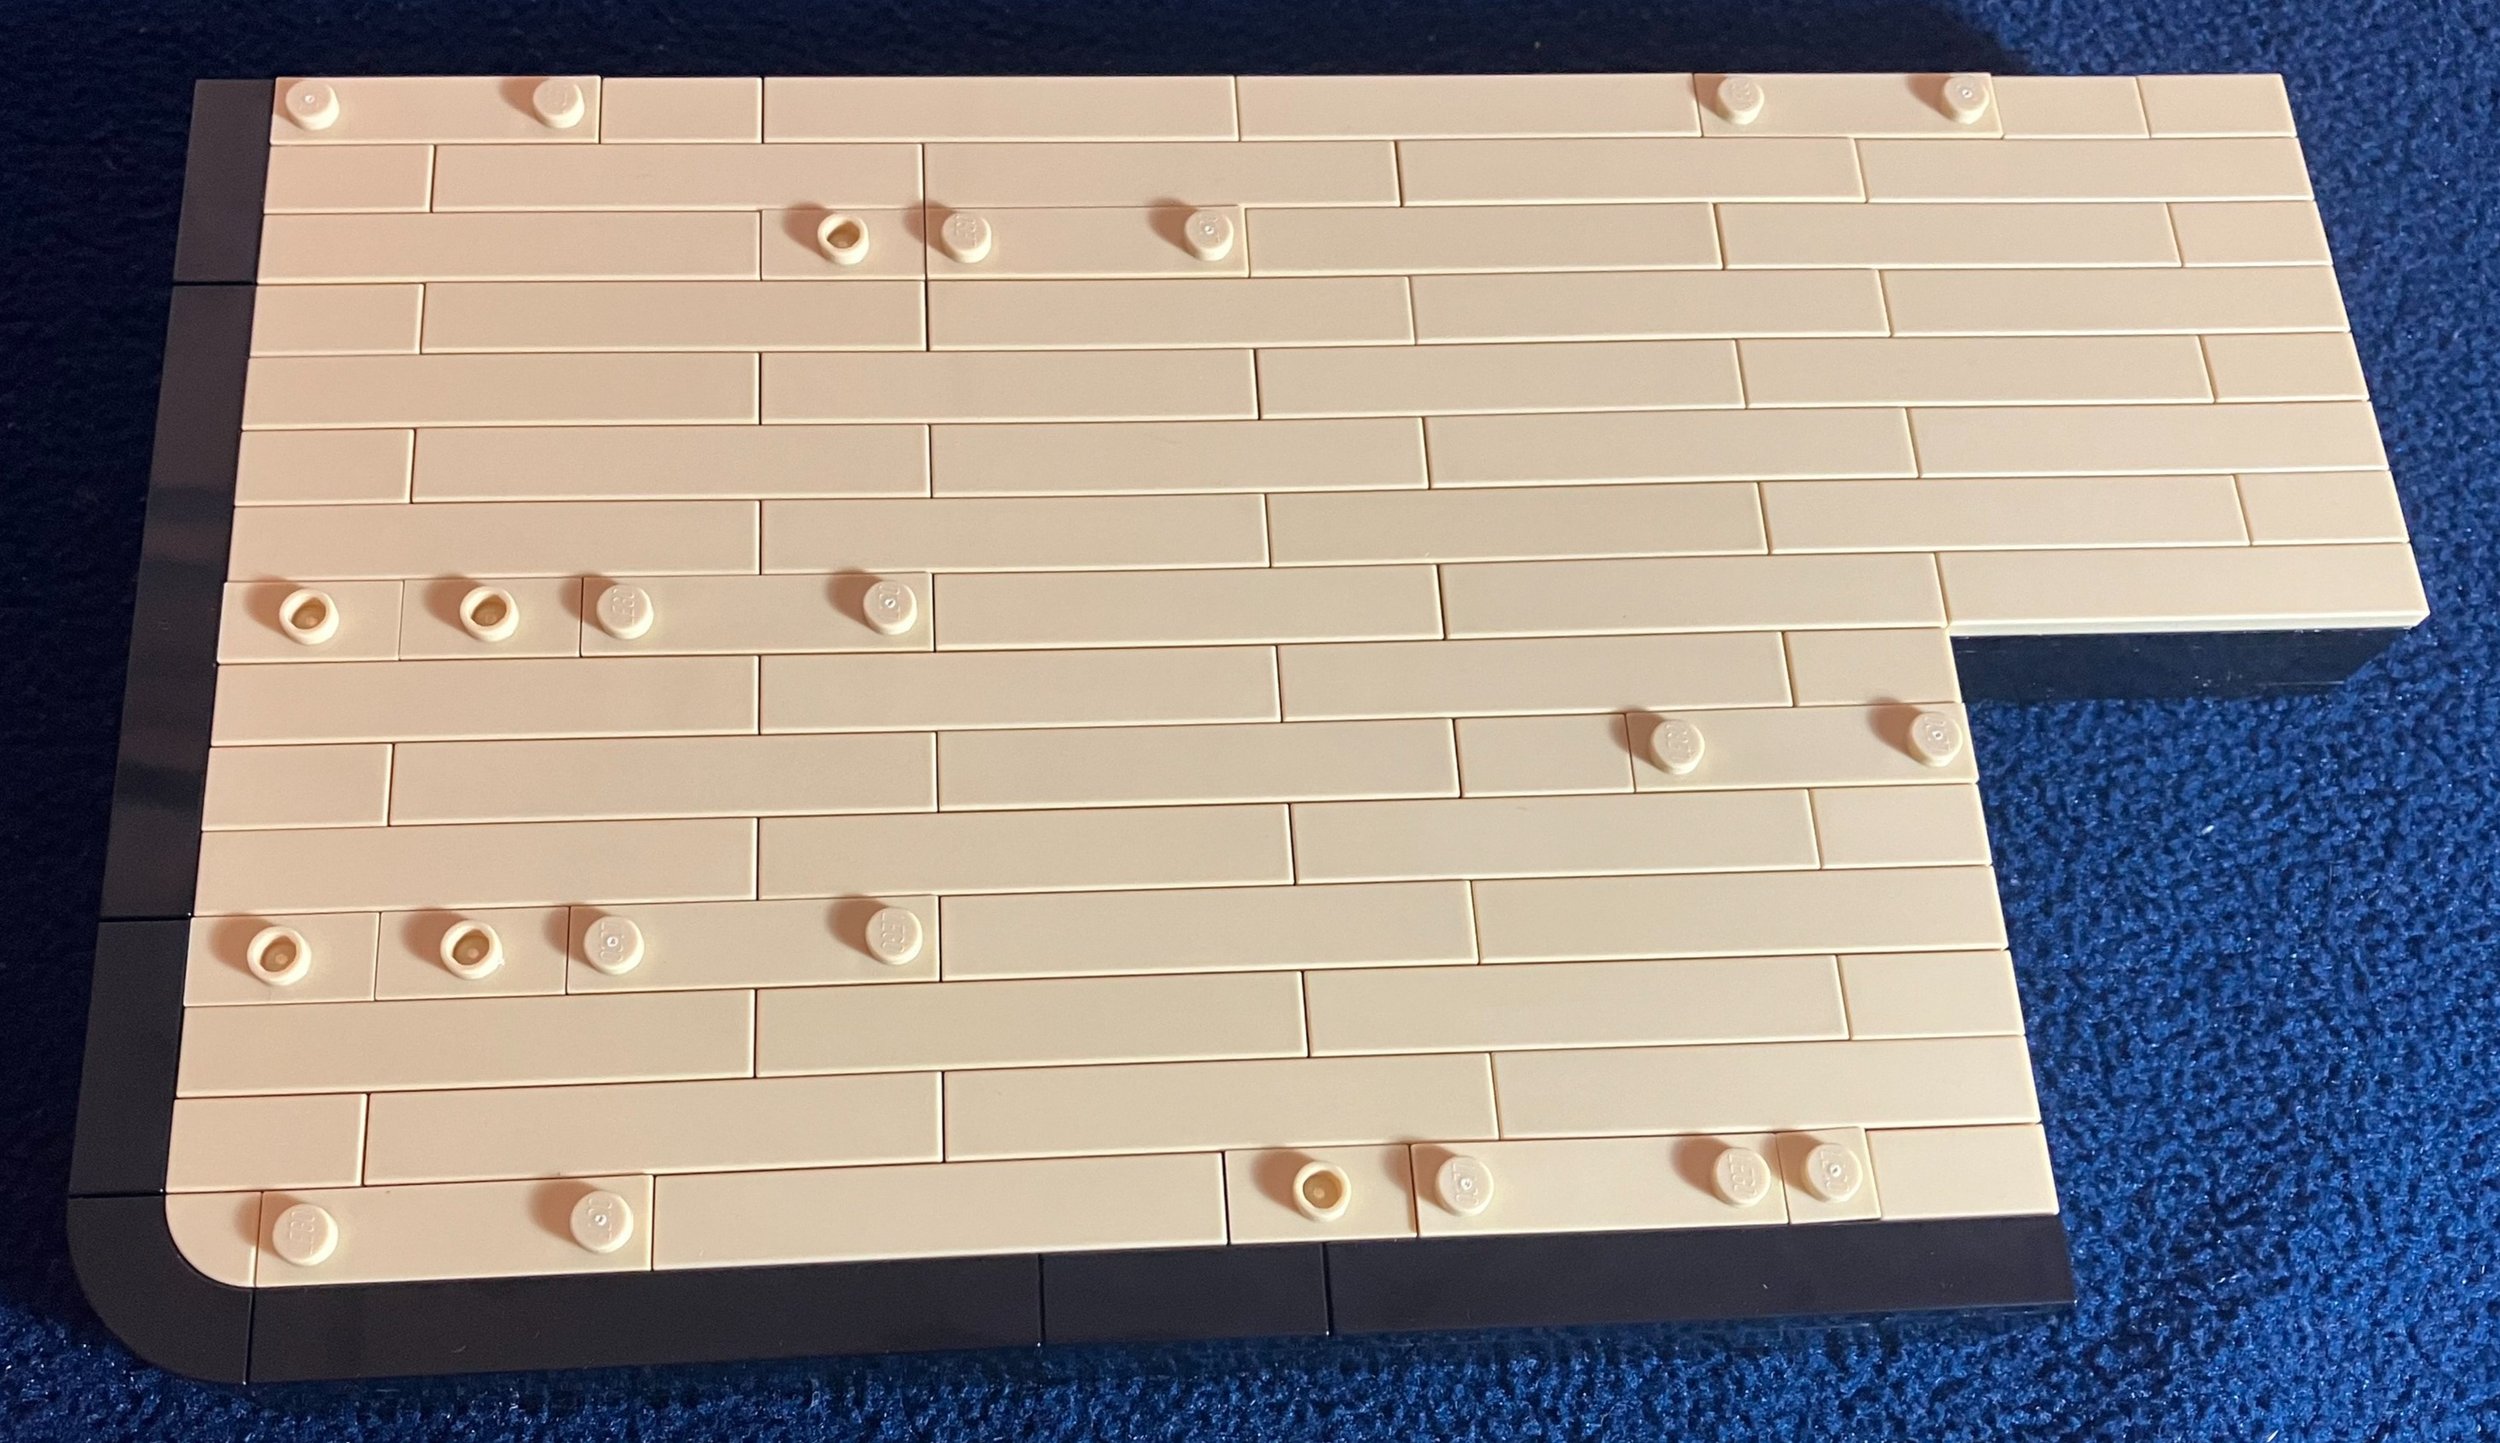
The first bag assembles the start of the trumpet player. The build is fairly similar for each of the parts of the stage. The top uses a mixture of tiles and tiles with studs. There is also a slot for where the trumpet playing figure will be attached. I like how the edges of the stage are made of black and there are curves without studs. Also, the step down is cool to mimic a real stage.

The second bag assembles the trumpet playing figure. Initially, it doesn’t make sense what you’re building, but then as you put it together you realize what is a leg, arm, head piece, etc. The details are great with the suspenders, tile for a tie, jumper plate as the mouth as if he is blowing out into the trumpet, and the use of sloped pieces for the hair to show his hair style. The trumpet is a pretty simple assembly, but it looks pretty realistic for a brick built version.

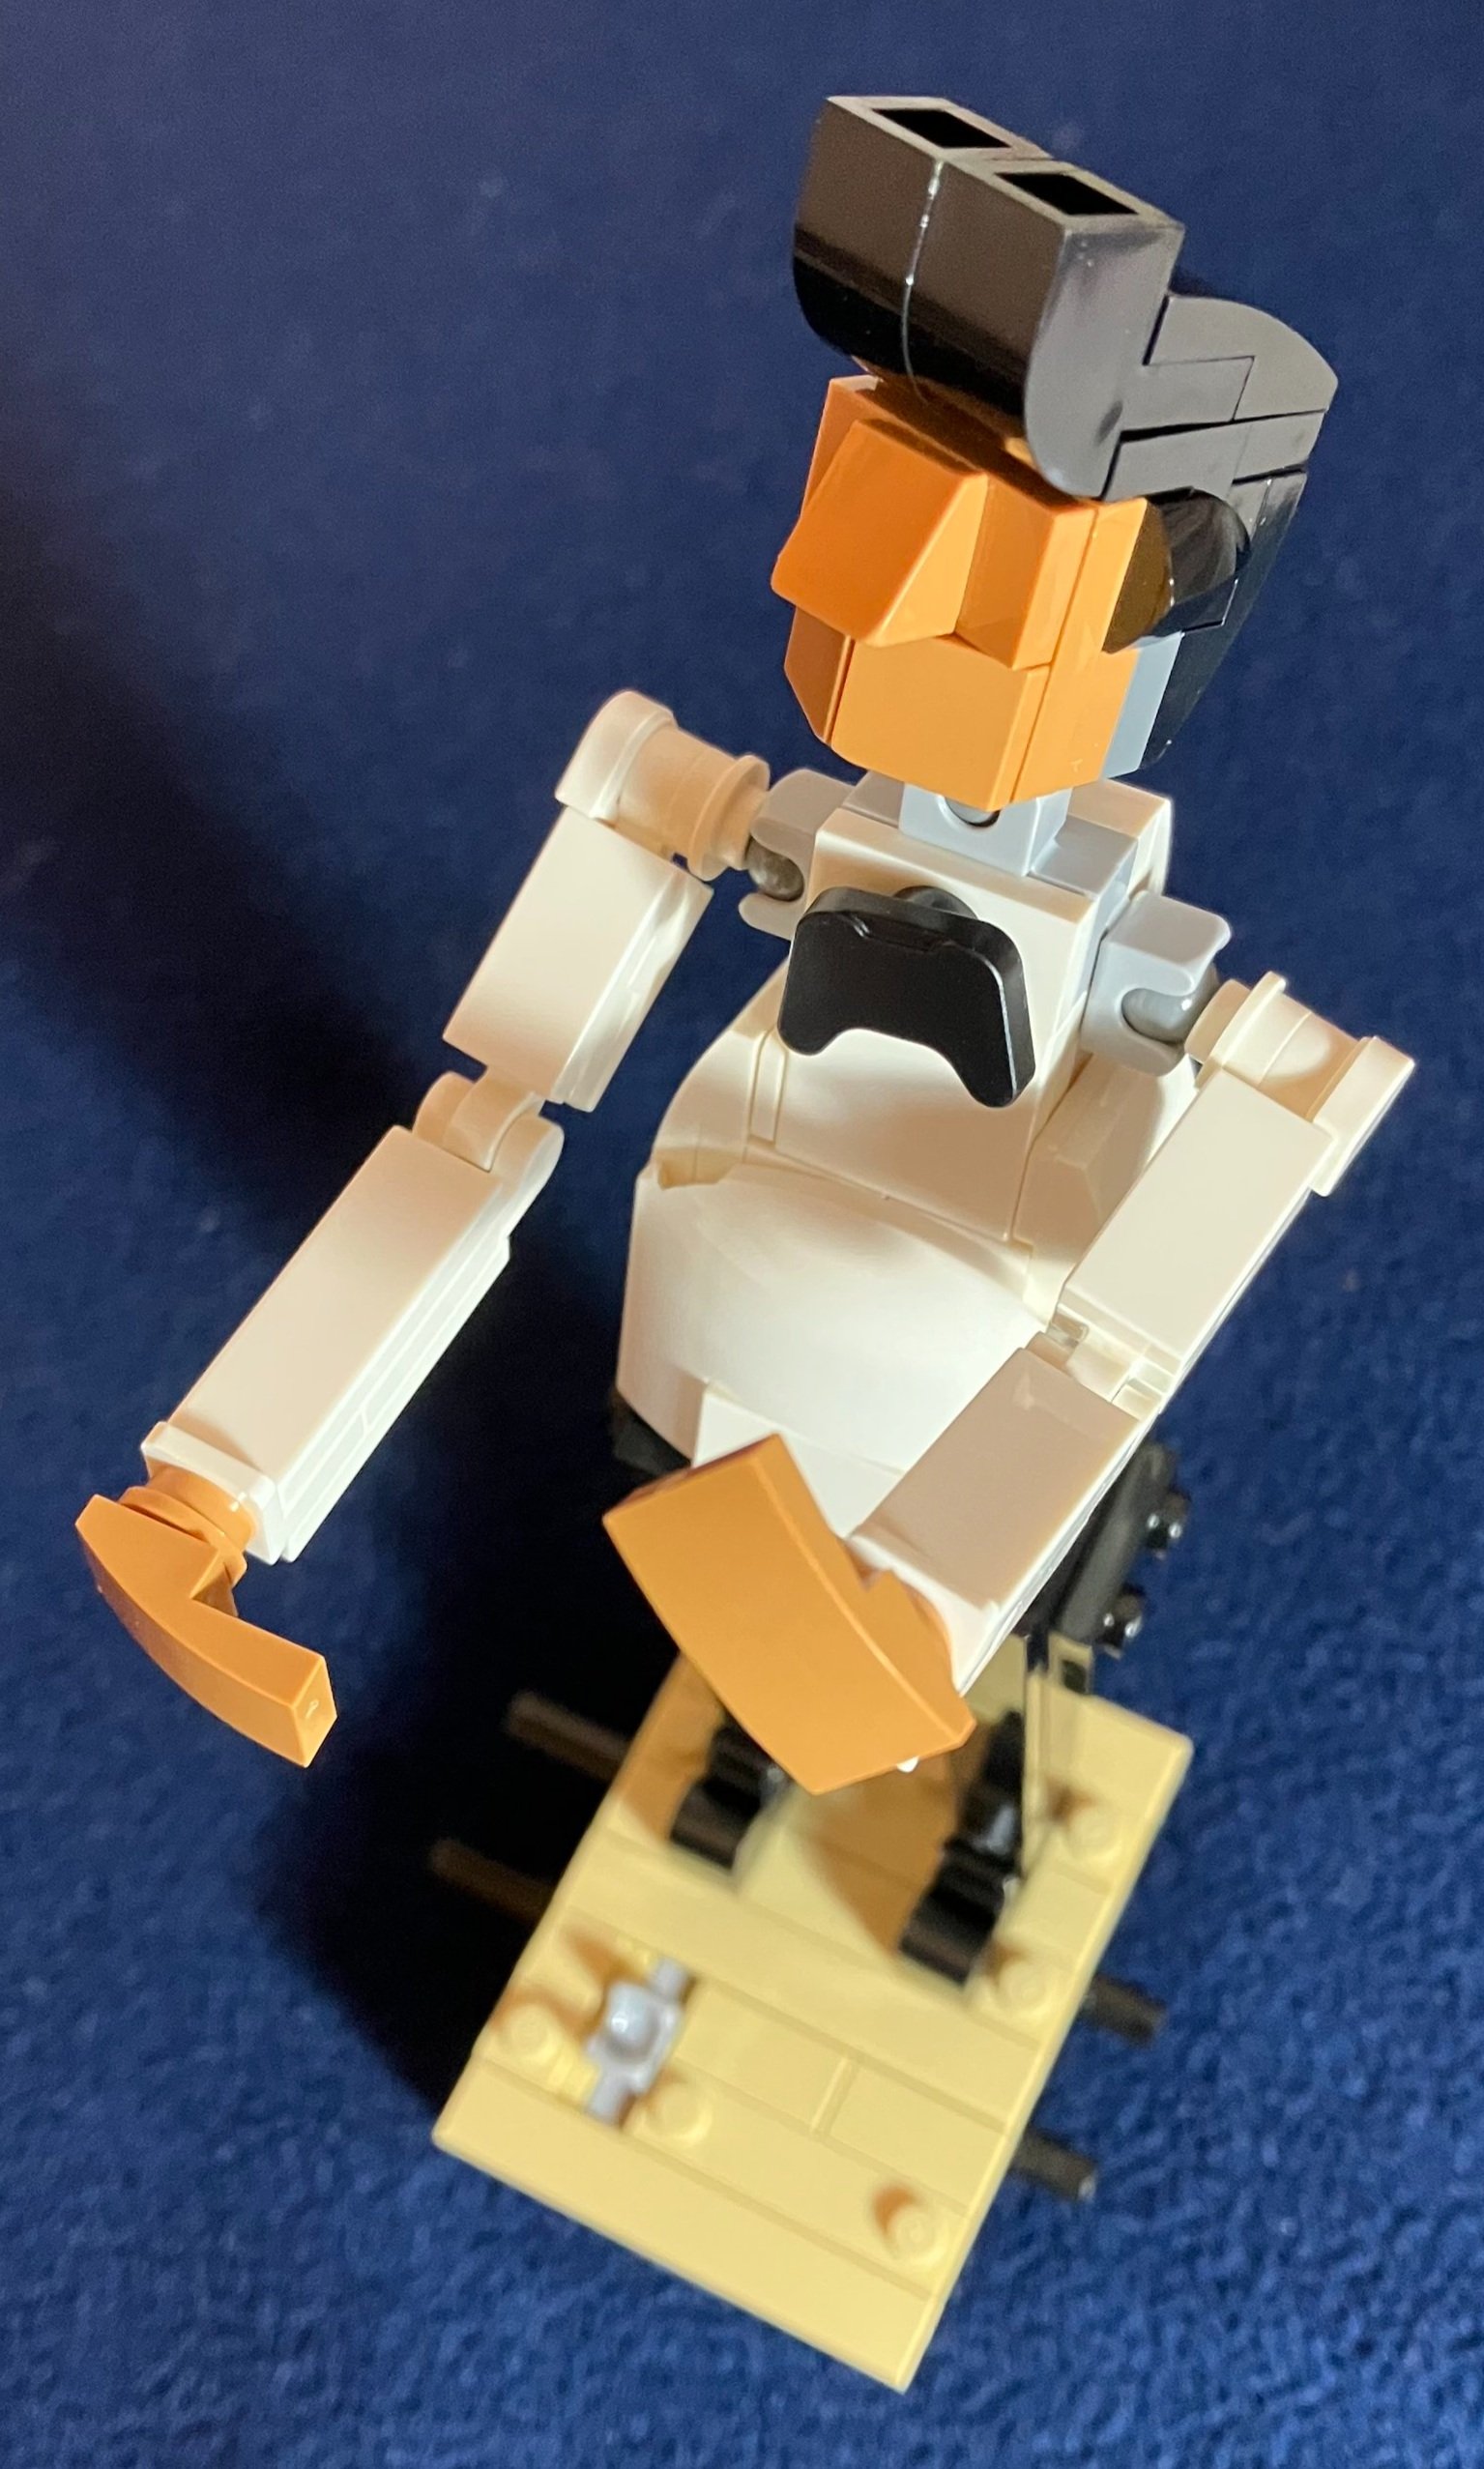
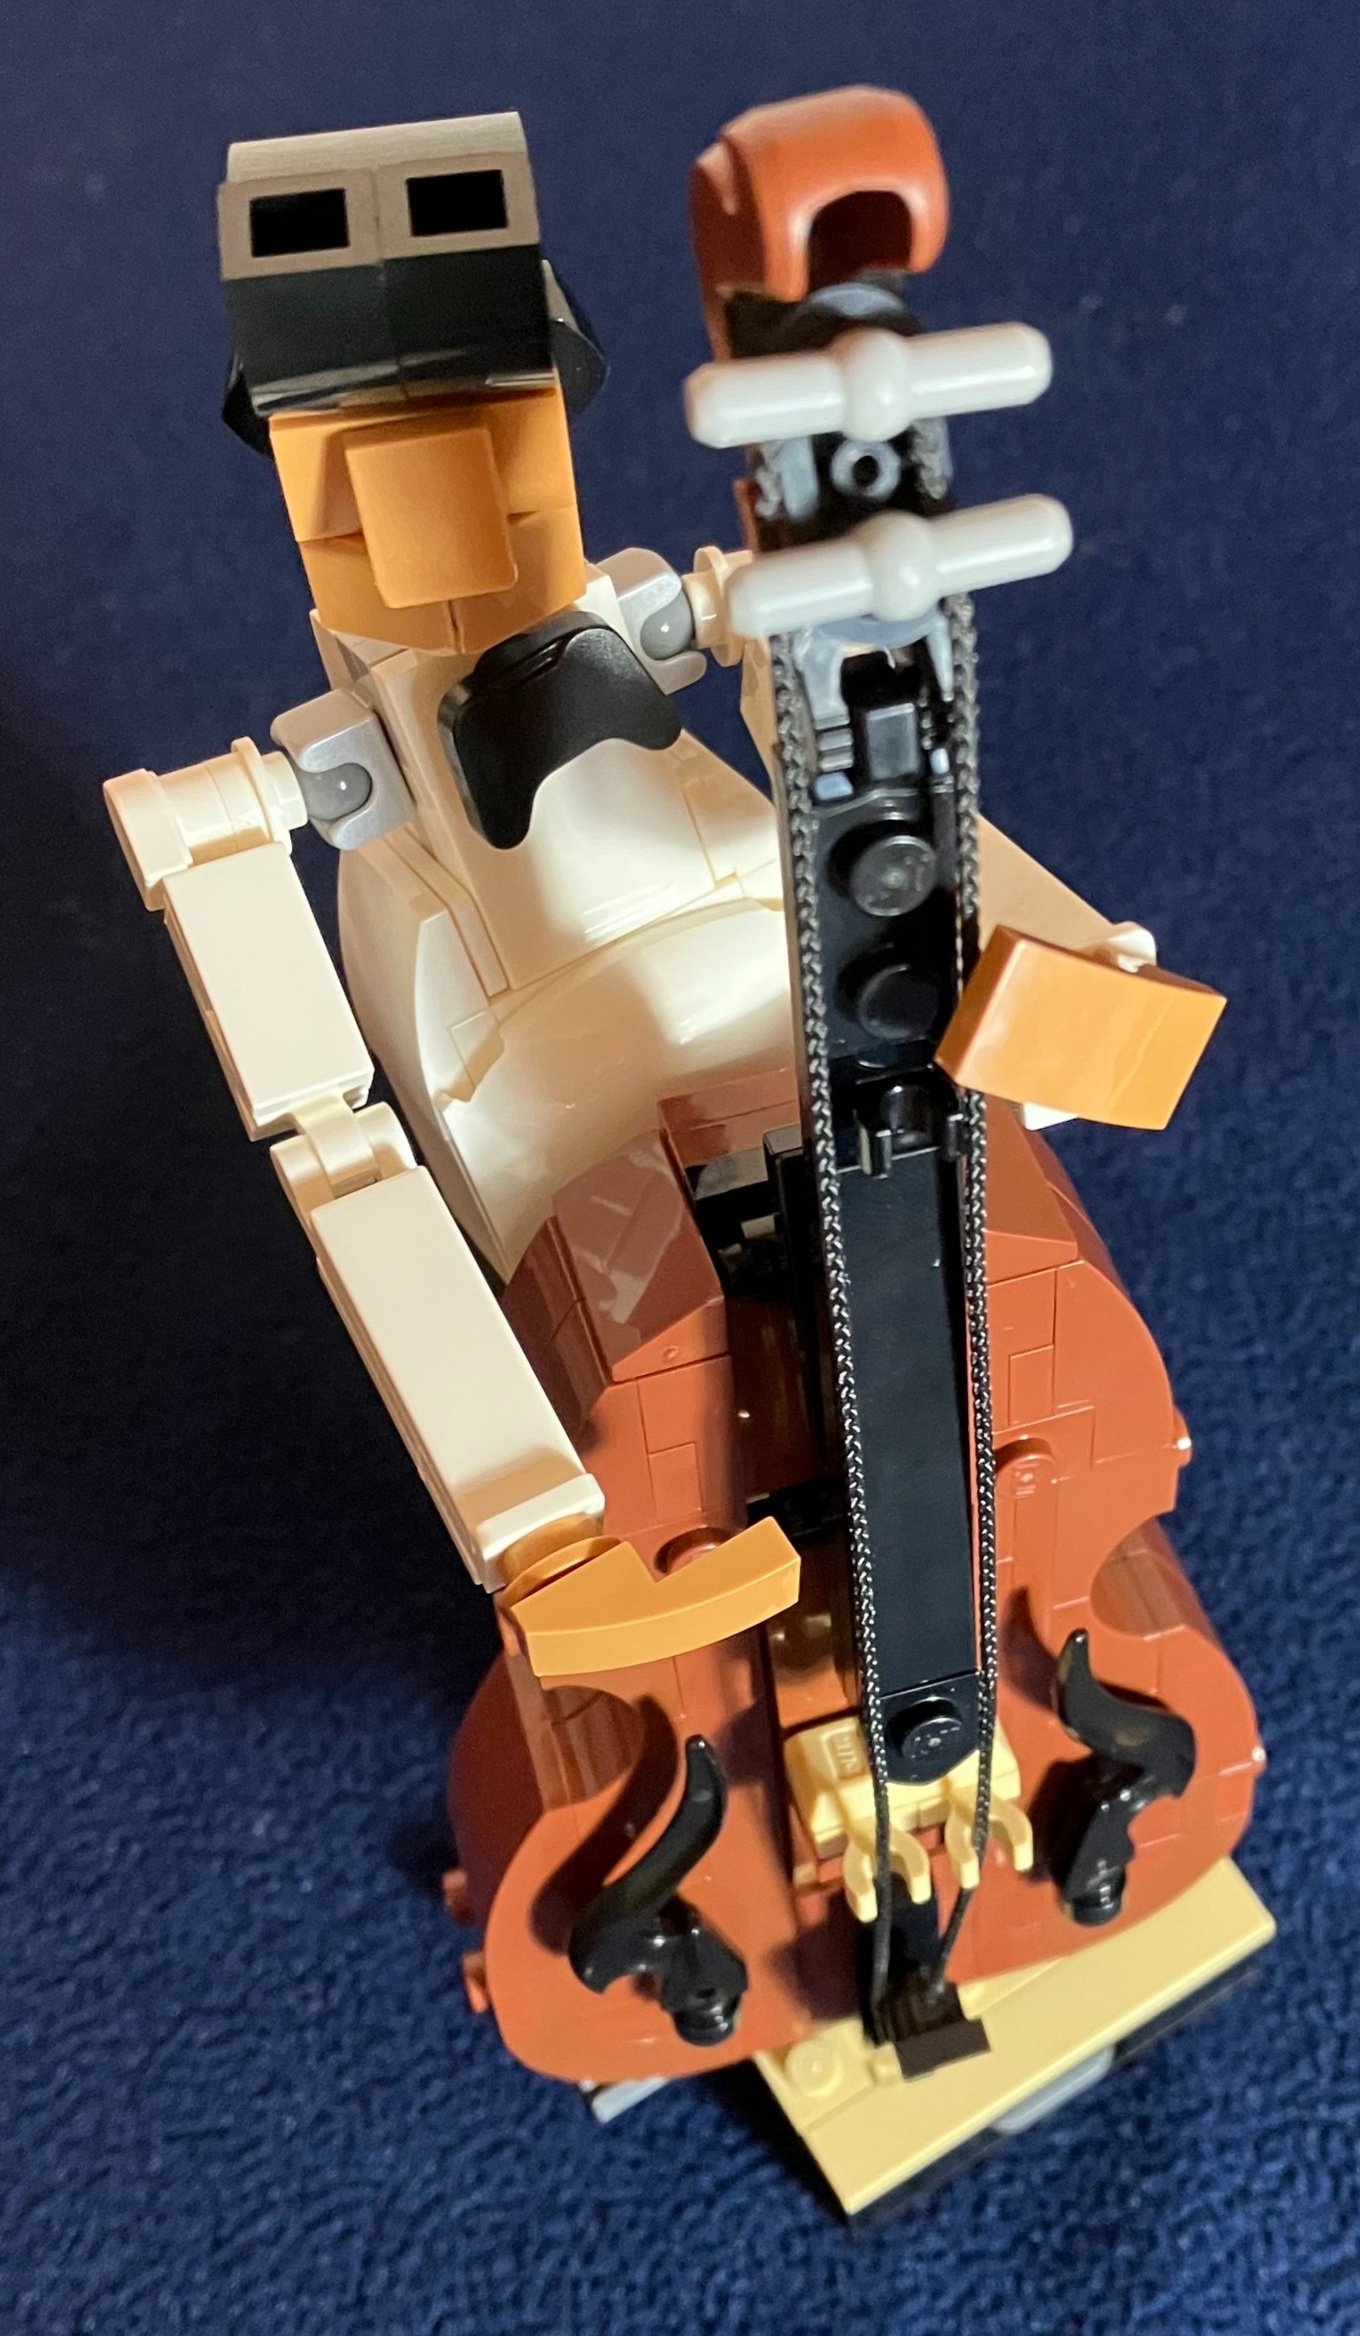
Bag three builds the small section of stage that the bass player is on and then the bass player himself. The figure is great with the bow tie and slick hairdo. The ball and joint pieces are gray so they look a bit out of place, but I don’t think they completely detract from the figure. The slicked up hair above the forehead is great, but the open studs on top look a little off. I’m not sure of the right way to fix that? Maybe a reverse stud tile piece? I’m not sure they even make a 1x2 version of a reverse stud tile like that.

The fourth bag builds the bass itself. I think the designers did a great job recreating the shape using existing pieces in the LEGO world. The curves look great and even the S shaped pieces to show the holes where the sound comes out (okay, I don’t know the technical names of everything… sorry) looks awesome. The minor issues of the open studs and gray ball joints don’t really stand out when you put the full set together.

The fifth bag assembles the stage for the drummer. It’s a much larger section of stage, but still follows the same pattern and style as the other sections. Instead of the drummer being attached to the stage, you connect him via studs on the stage. This part was a little tricky to follow as I had to make sure I put tiles and jumper plates in the right spots. It matters as you need the drum set, seat, and drummer to fit on the stage.

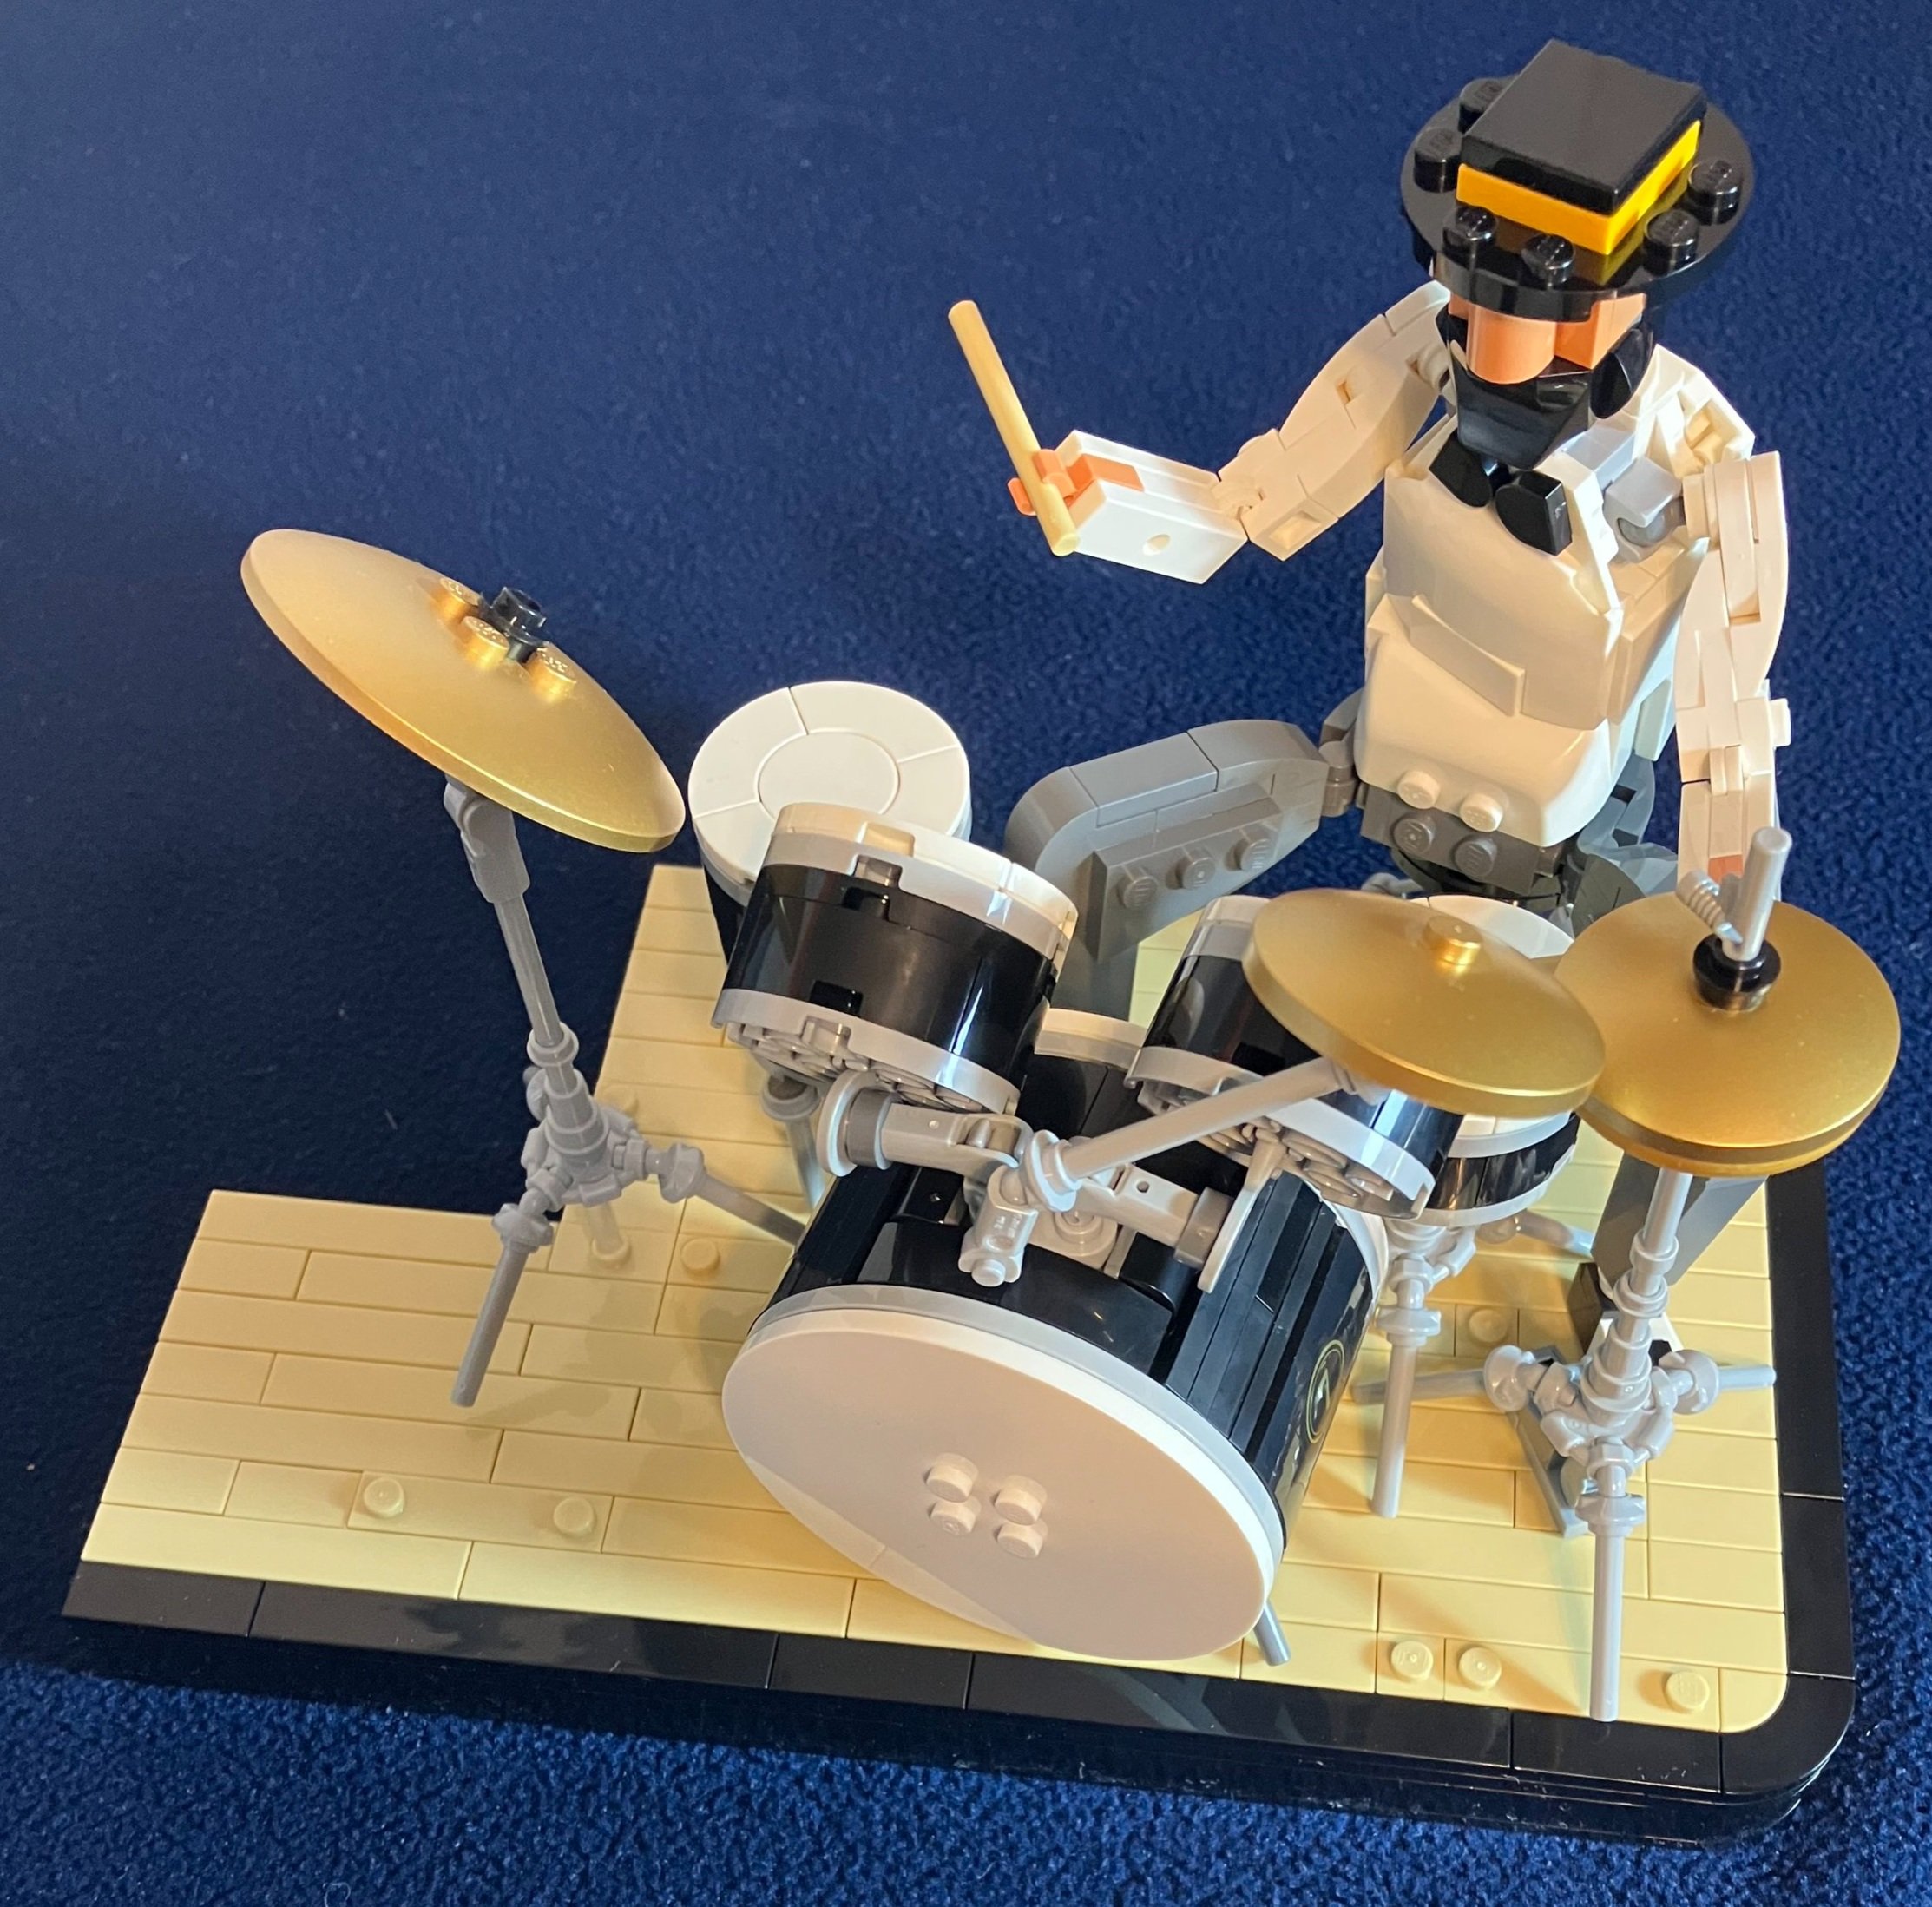
The sixth bag assembles the drum set without the cymbals or high hat. The base drum has a pedal to play it and gets the round shape well to include allowing it to hold up the tom-toms. The tom-toms, snare, and the… I’m not sure what it’s called, are all round with the use of round bricks, plates, and tiles. The shapes of everything match what a drum set would look like quite well in my opinion. It’s not a large drum set with all kinds of extra drums, but it does the trick. You also build some stands which will hold up the cymbals.

Bag seven adds the cymbals. They are gold in color and look pretty accurate. I like how they did the high hat. It looks like you could actually hit the pedal to make it work and they use the cymbals in opposite directions to create the looks of a high hat.

The drummer looks pretty swank. The hat is simple, but gives him a cool look and the beard and bow tie add to it. Interestingly enough, none of the figures have eyes, but it doesn’t seem to matter with how these are built. The pants are gray so the connectors for the legs to the torso don’t stand out, but the shoulder sockets are gray. Not too big of a deal in my opinion. I’m a big fan of the drummer!

Bag eight builds the stage for the piano and piano player. I again had to pay attention to where the jumper plates and plates with studs on them went as it helps to make sure the piano and seat attach to the stage.

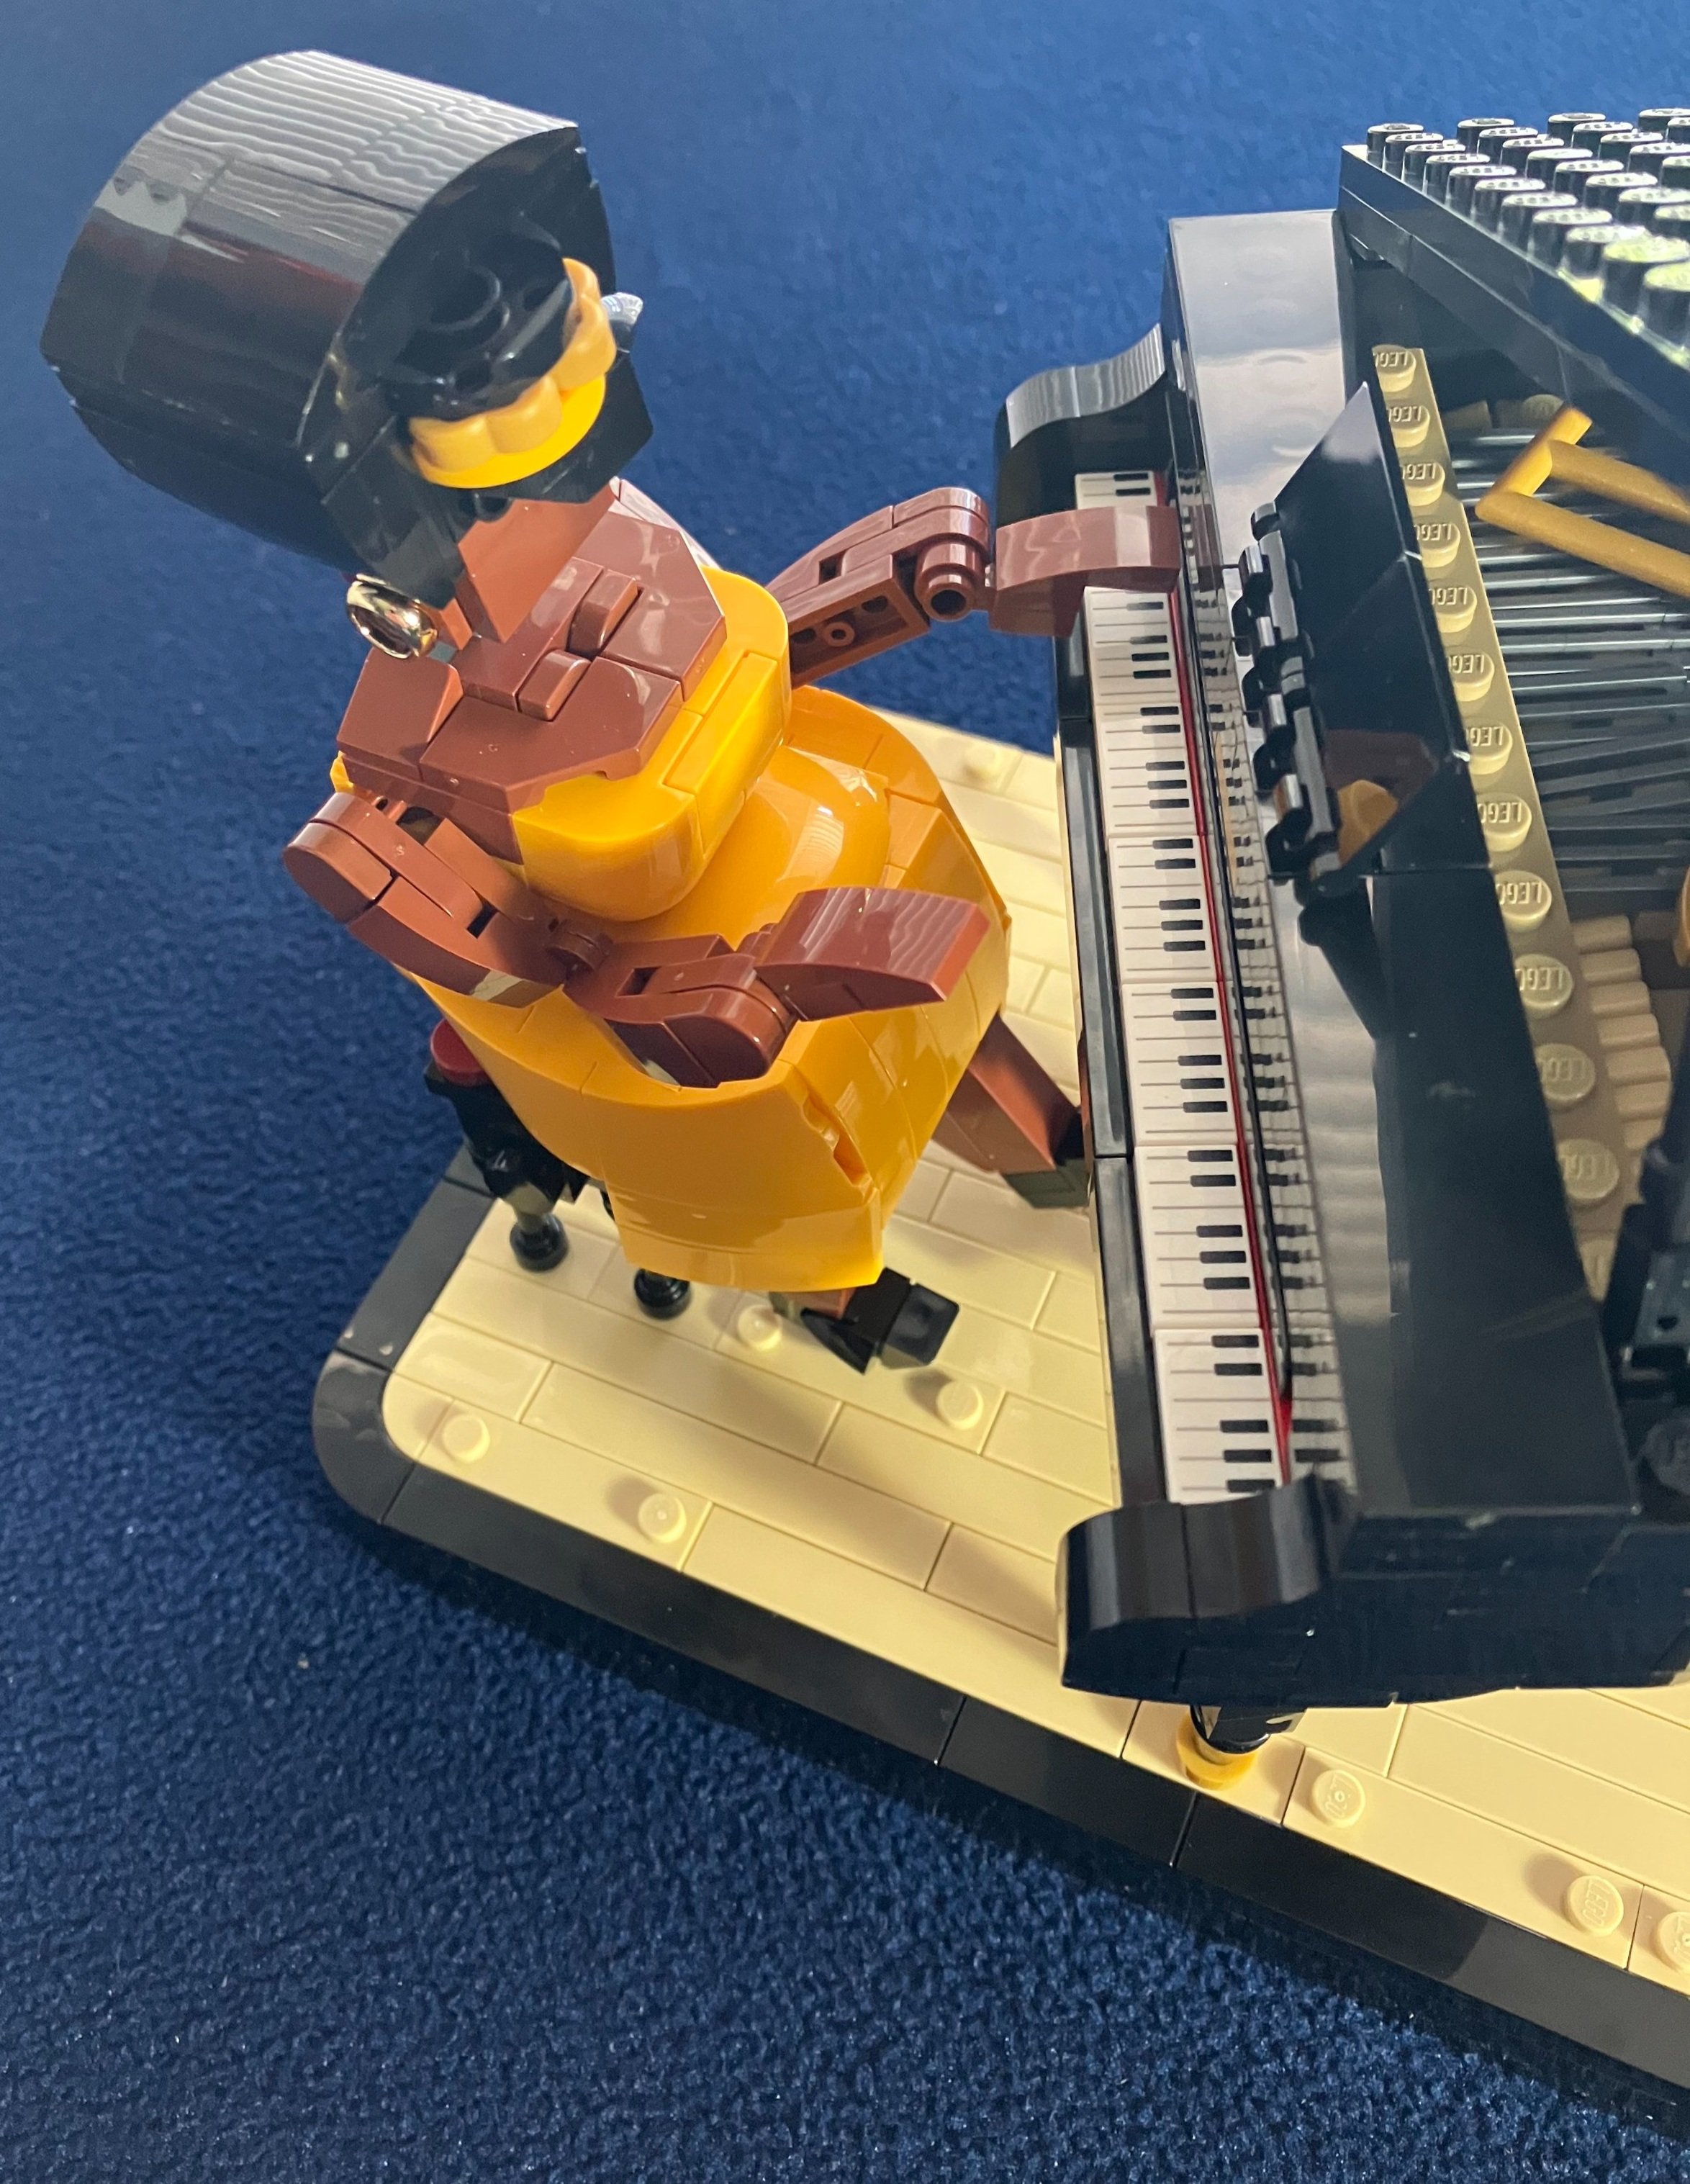
Bags nine and ten build the piano. It’s almost like a mini version of #21323-1: Grand Piano. I appreciated how the large one kept the shape of a grand piano and this one does the same only at a smaller scale. The piano isn’t as smooth as the larger Ideas set, but the outer edge is smooth. I like how the keyboard is printed tiles and you can still see the keys. The bench/seat looks like it belongs to a piano and the reddish colored tiles on top help to give it the look of a cushion.

Bag 11 builds the piano player and I think this design is awesome. Everything from the big poufy hair and the yellow headband to the yellow dress and heels really make her look like quite the soulful pianist. I also like the use of the gold rings as earrings. The way she’s built, she fits on the seat well and looks like she’s jamming away on the piano.

Here’s the final assembled set. In just looking at it, it looks like they are jamming away on stage. There isn’t any actual movement, but the poses really do add life to the set. I’m a big fan of this set and can’t wait until I have a place where I can display it. At $100 and over 1,000 pieces, the price works out pretty good for what you get. Plus there are no stickers and a few printed elements. If you don’t like the set, you get a bunch of great pieces for MOCs.

From my viewing of the fan media, this one came and then left the spotlight quickly which is too bad. I hope you enjoy it if you get to build it. Maybe we’ll see LEGO do more like these someday. What are your thoughts? Am I too positive on this one? Is it not as great as I make it out to be? Let me know what you think in the comments.

Happy building!