modular building

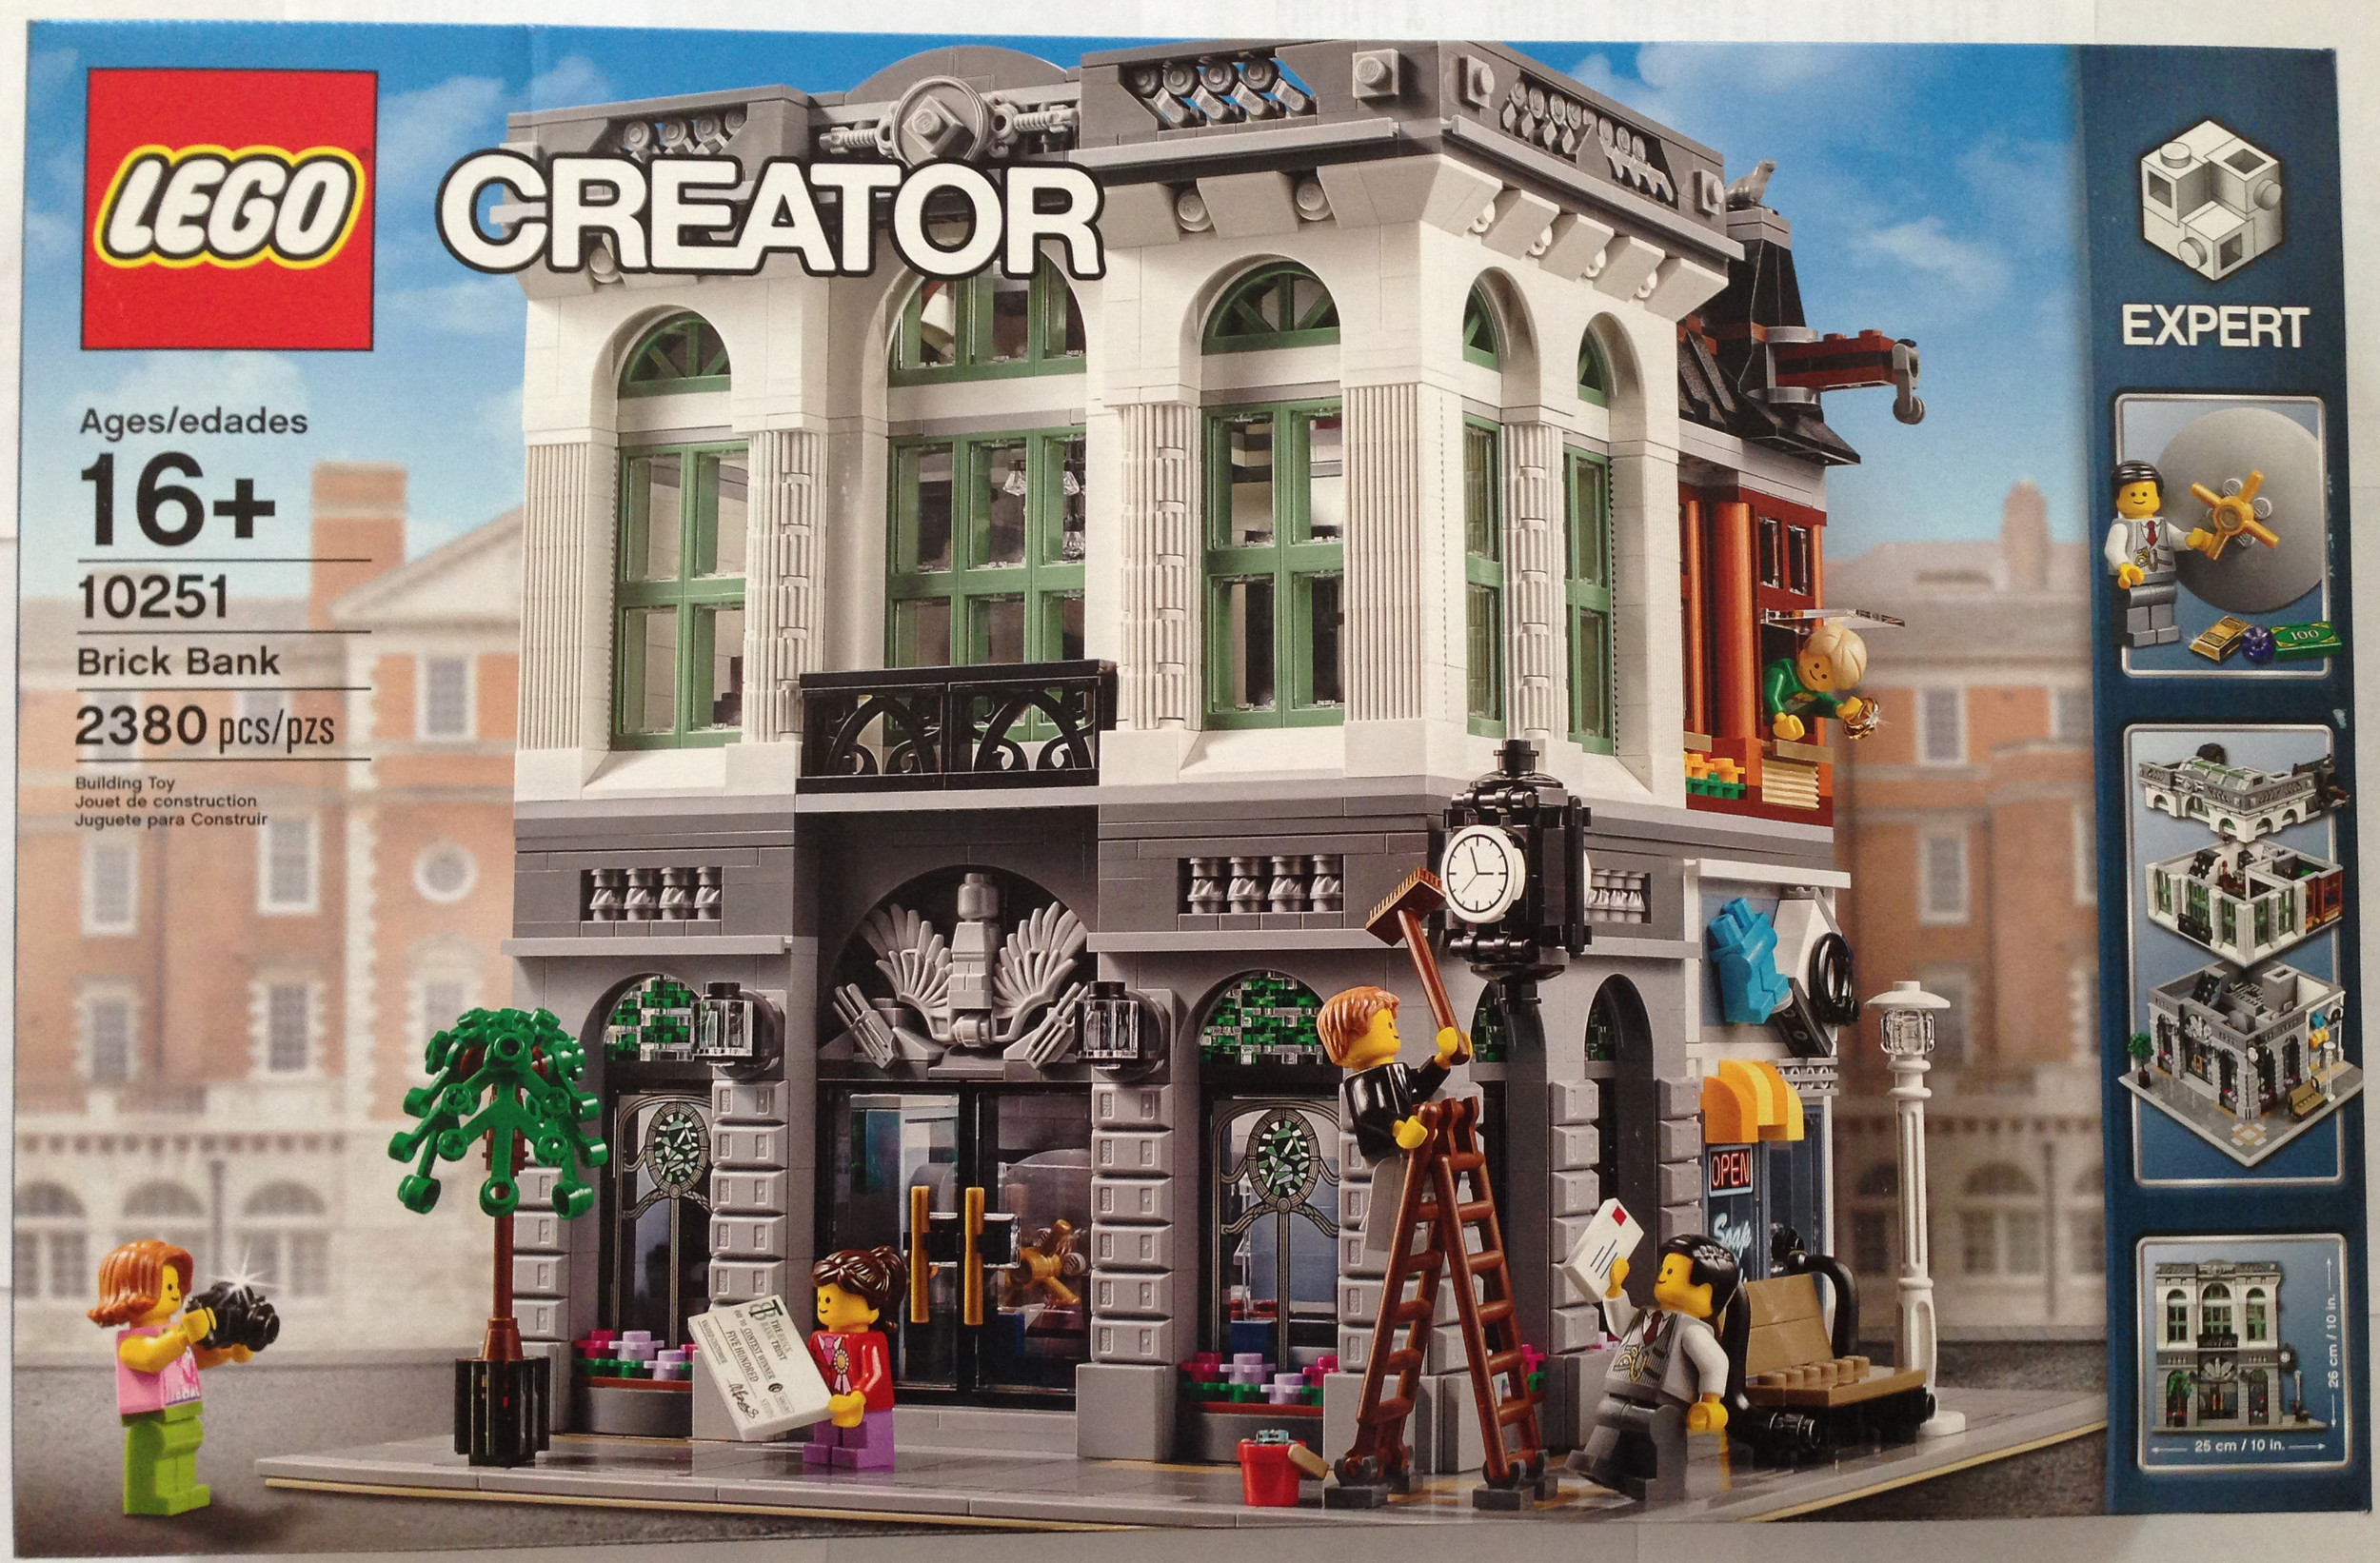
Set Review - #10264-1: Corner Garage - Creator Expert - Modular Building

The modular building line for Creator Expert started in 2007 and is back this year with #10264-1: Corner Garage. It was released on 2 January 2019. This one cost $199.99 and with 2,569 pieces, it works out to be $0.078 per piece.

You can see the previous Modular Building reviews at the following links:
#10246-1: Detective’s Office (2015)
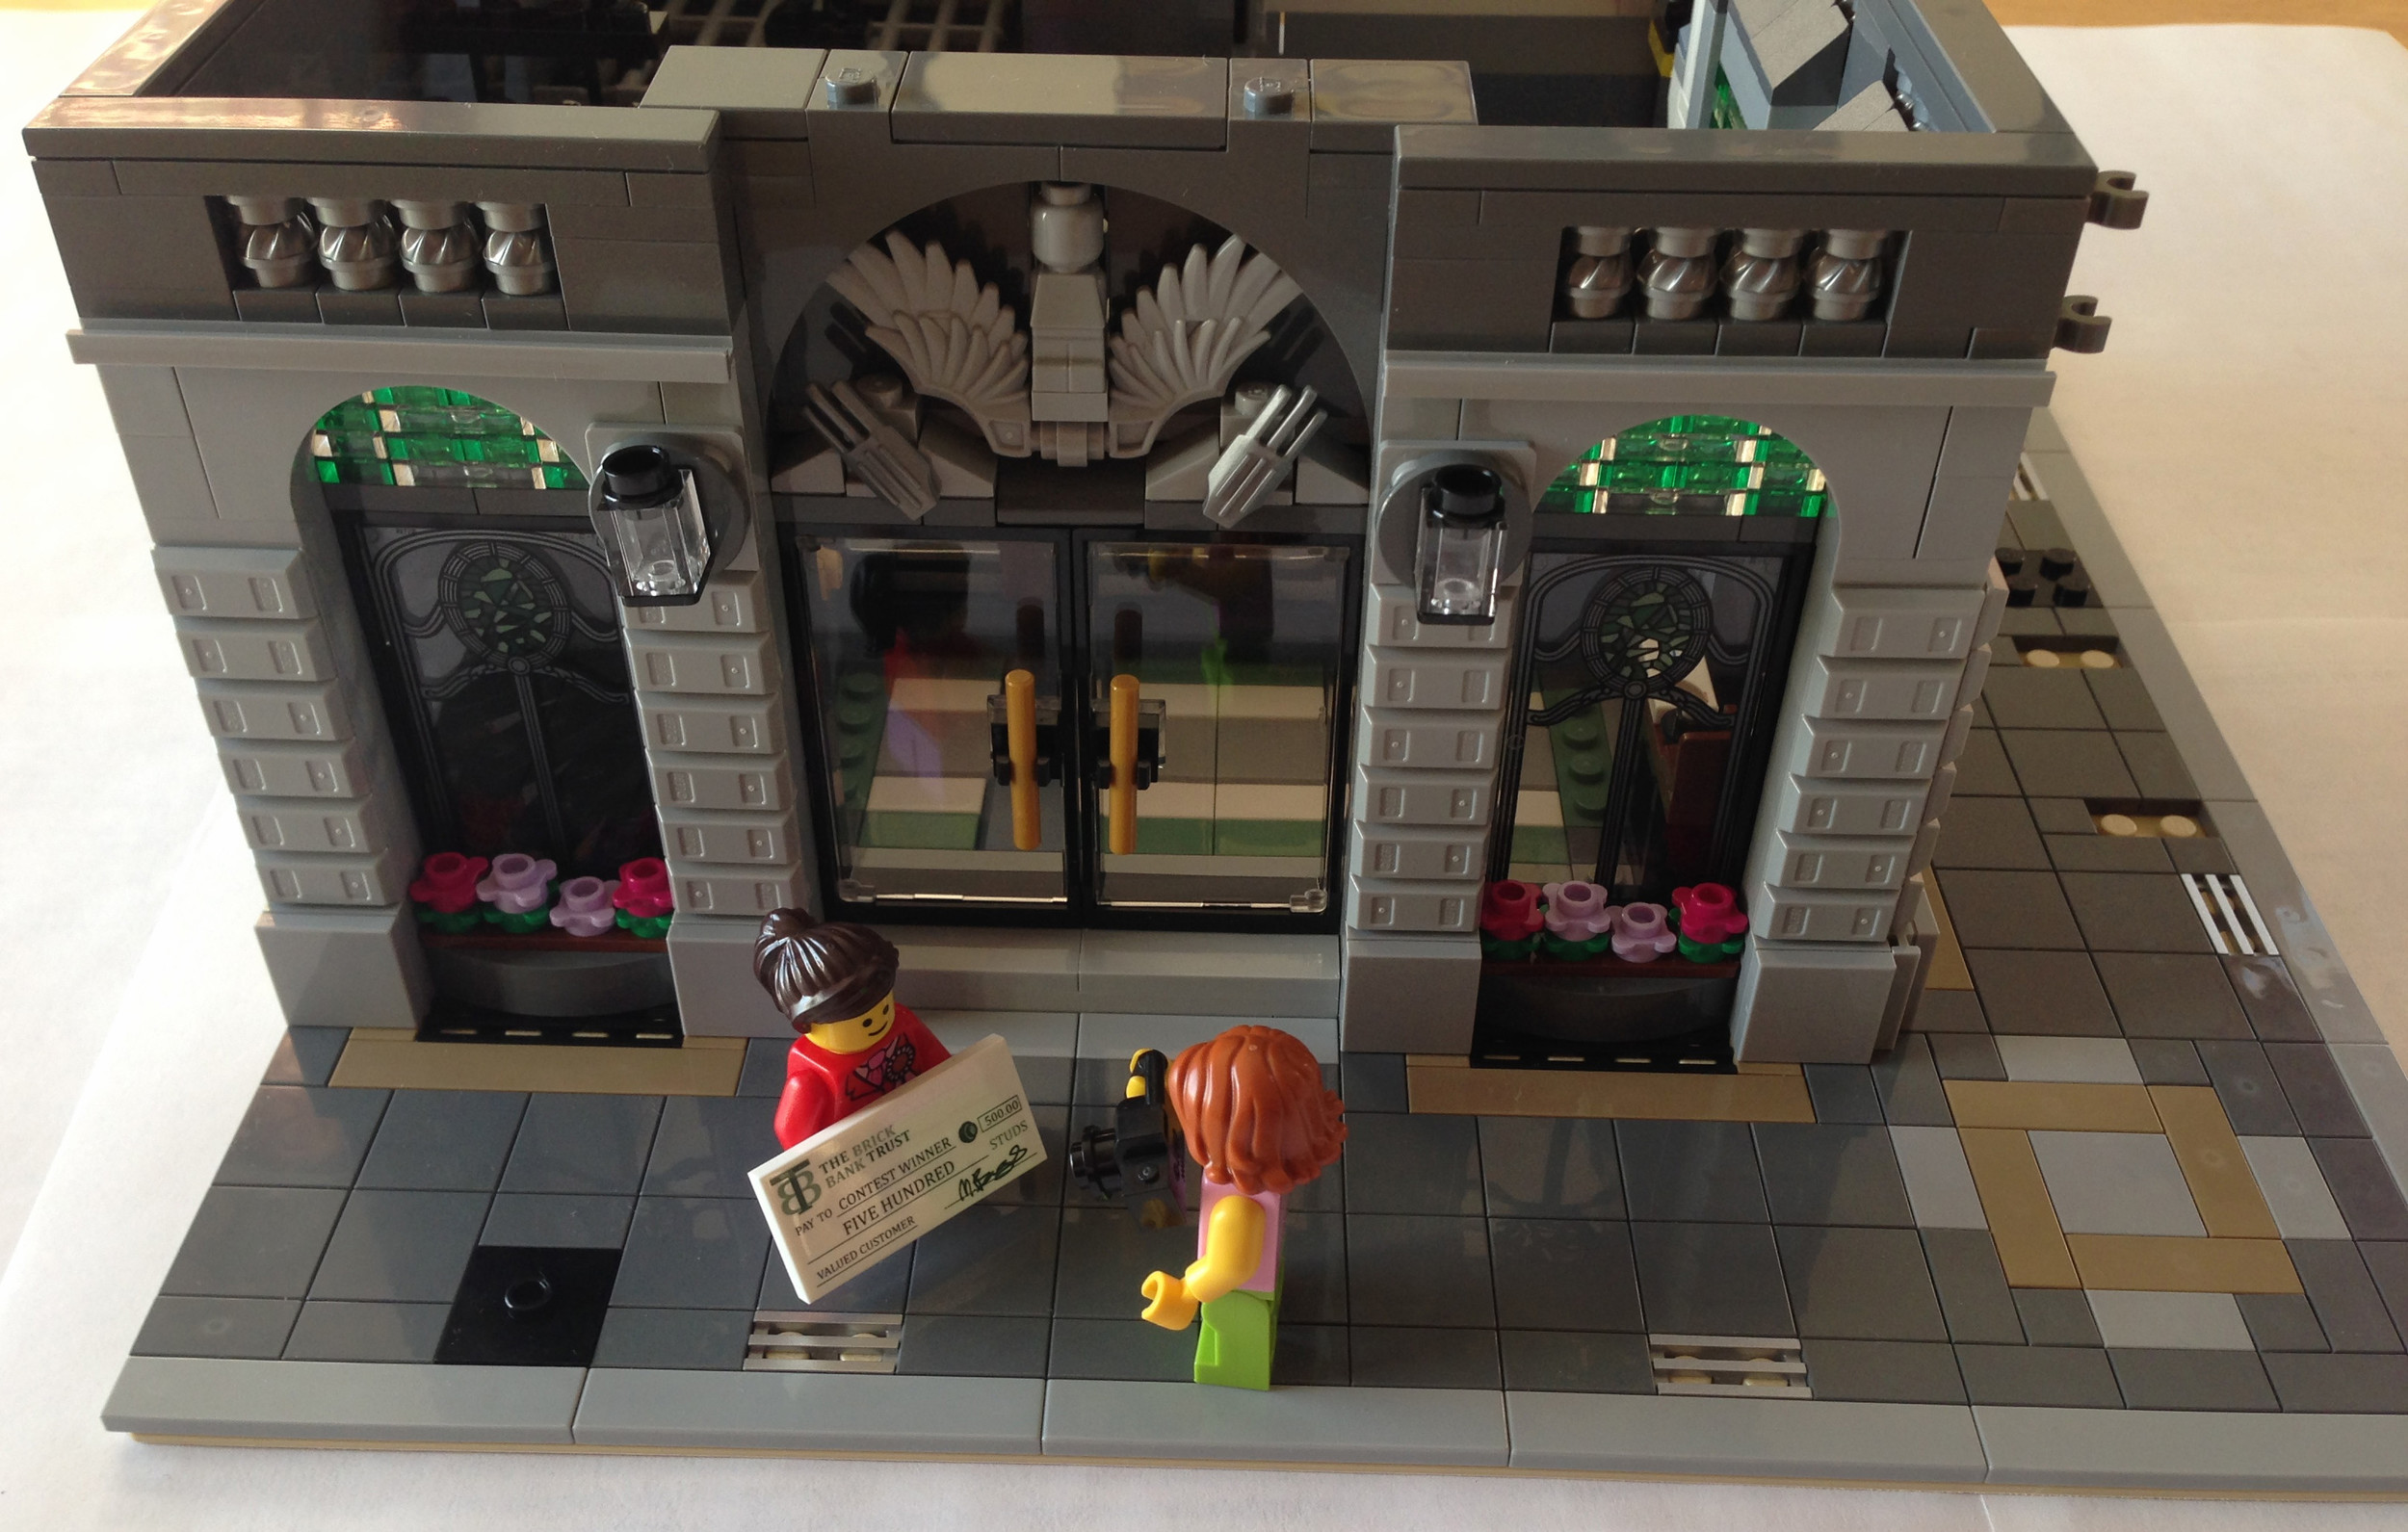
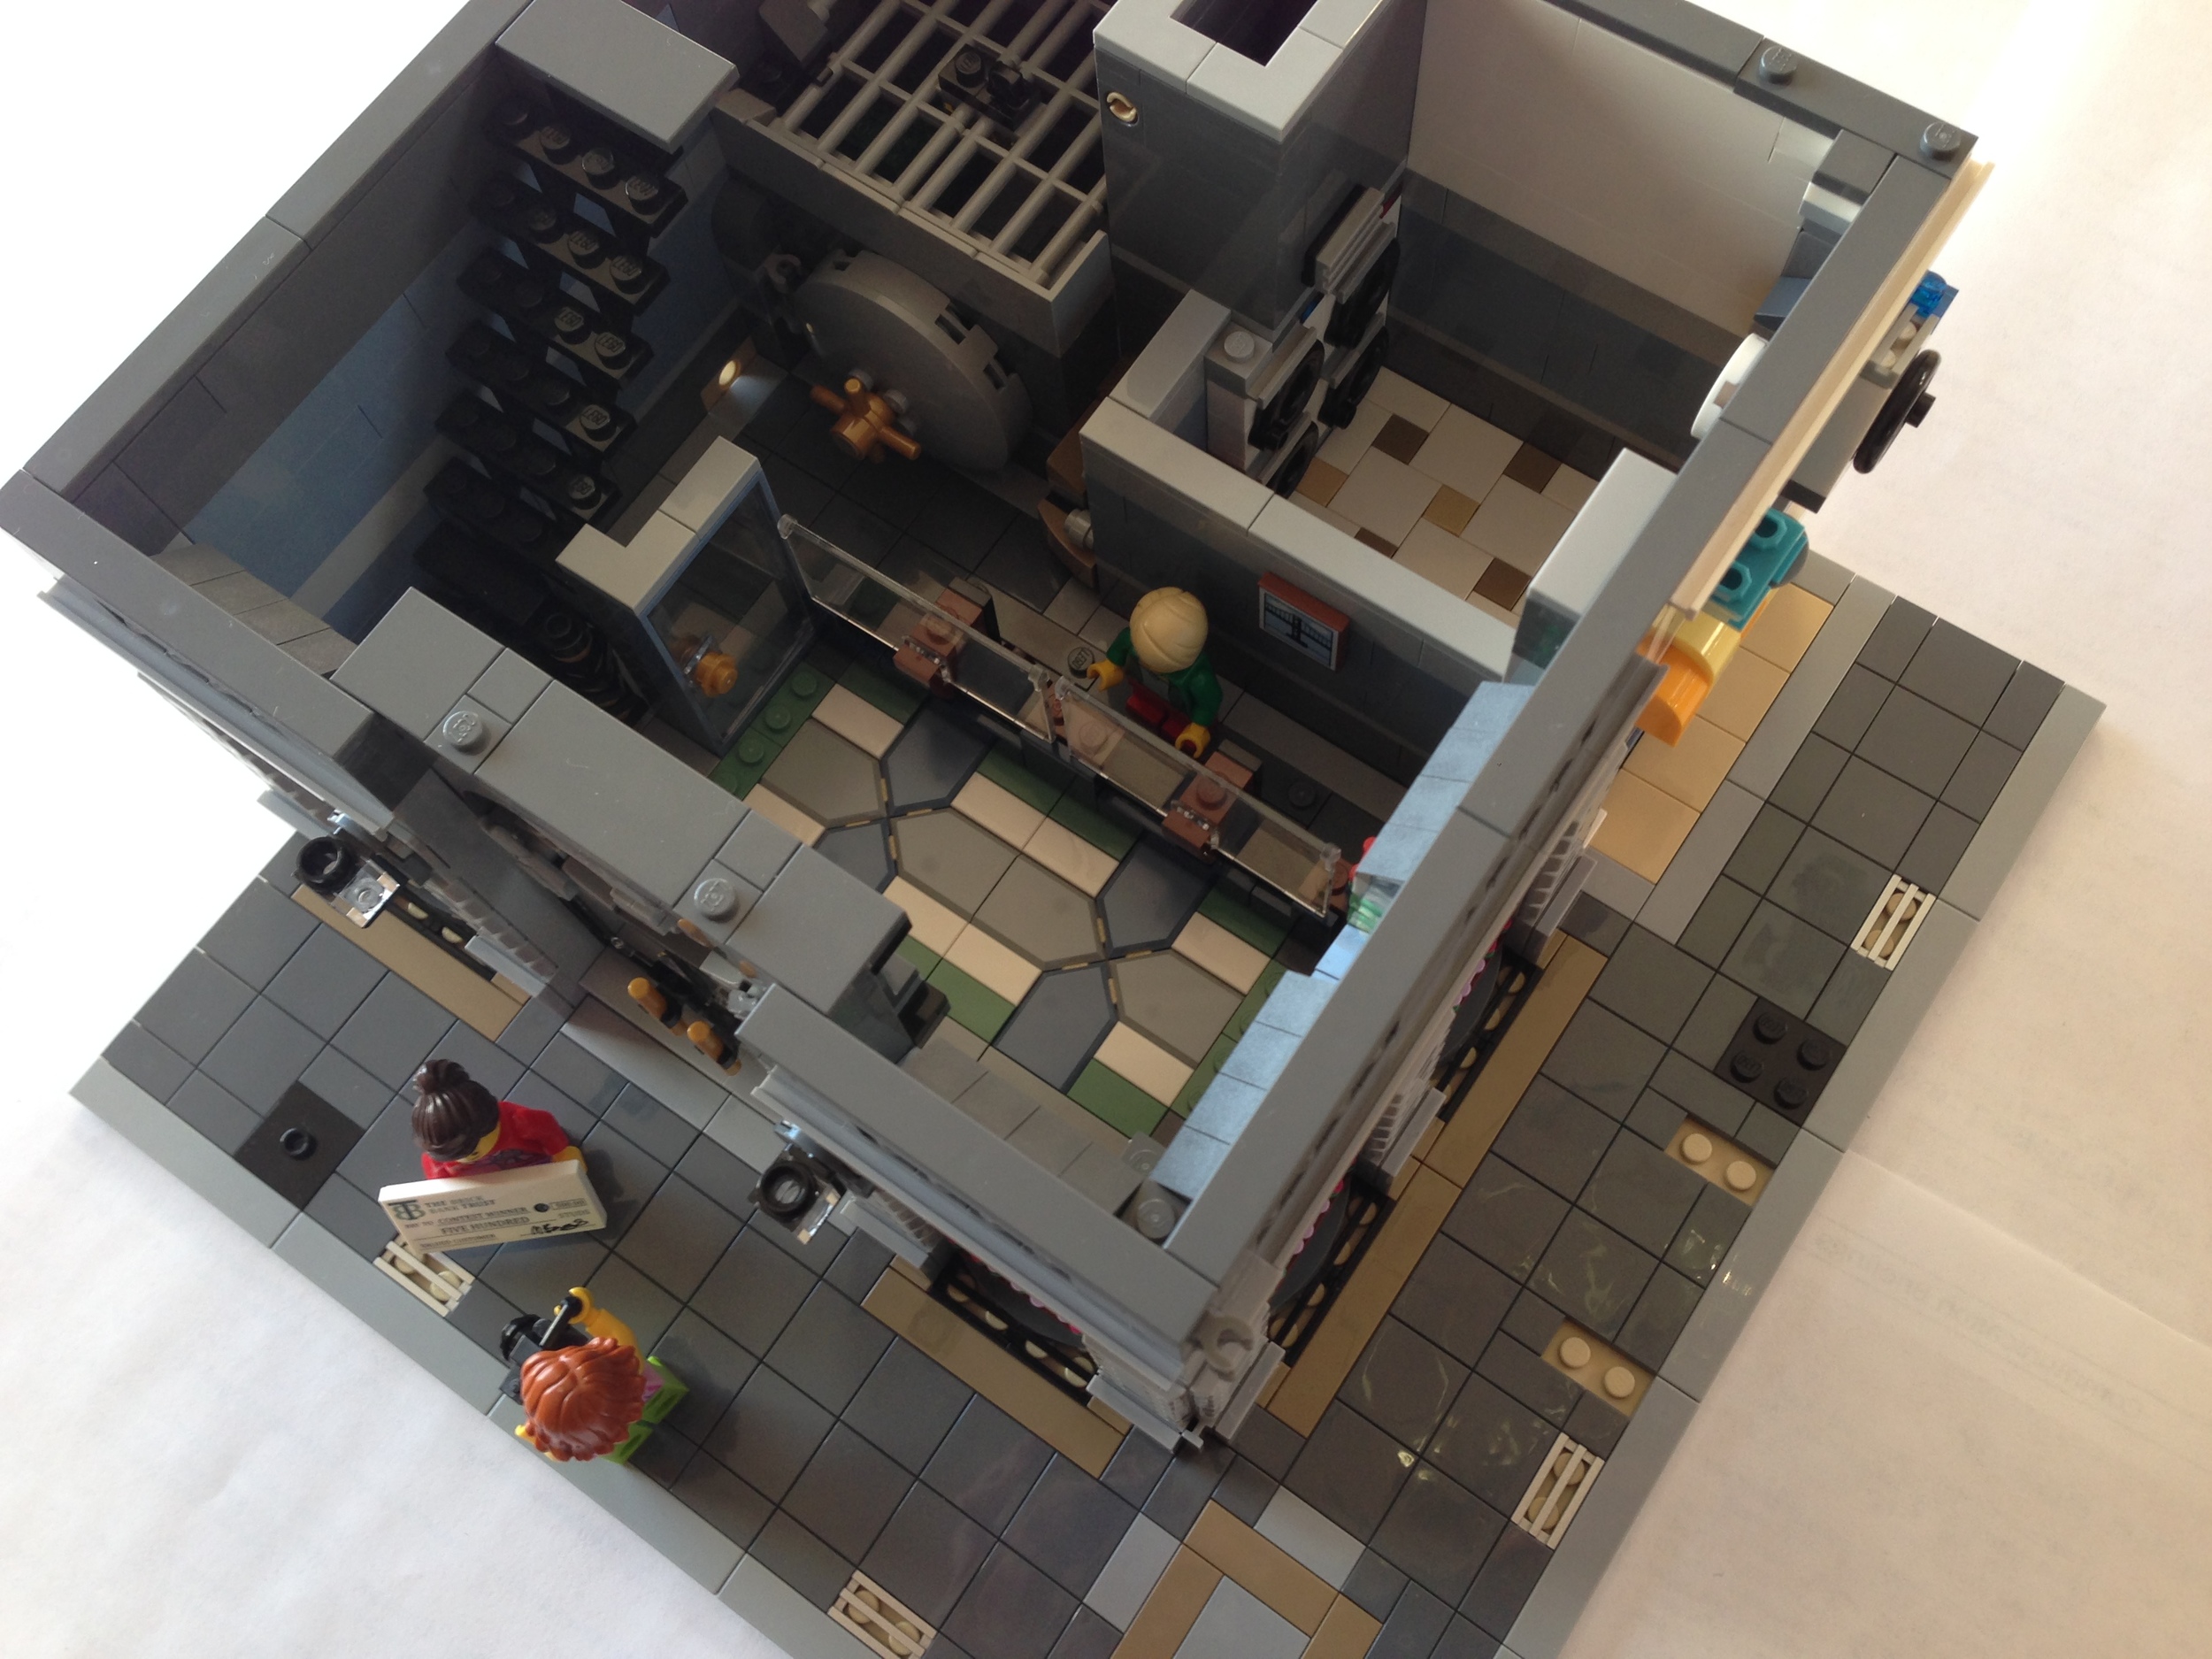
#10251-1: Brick Bank (2016)
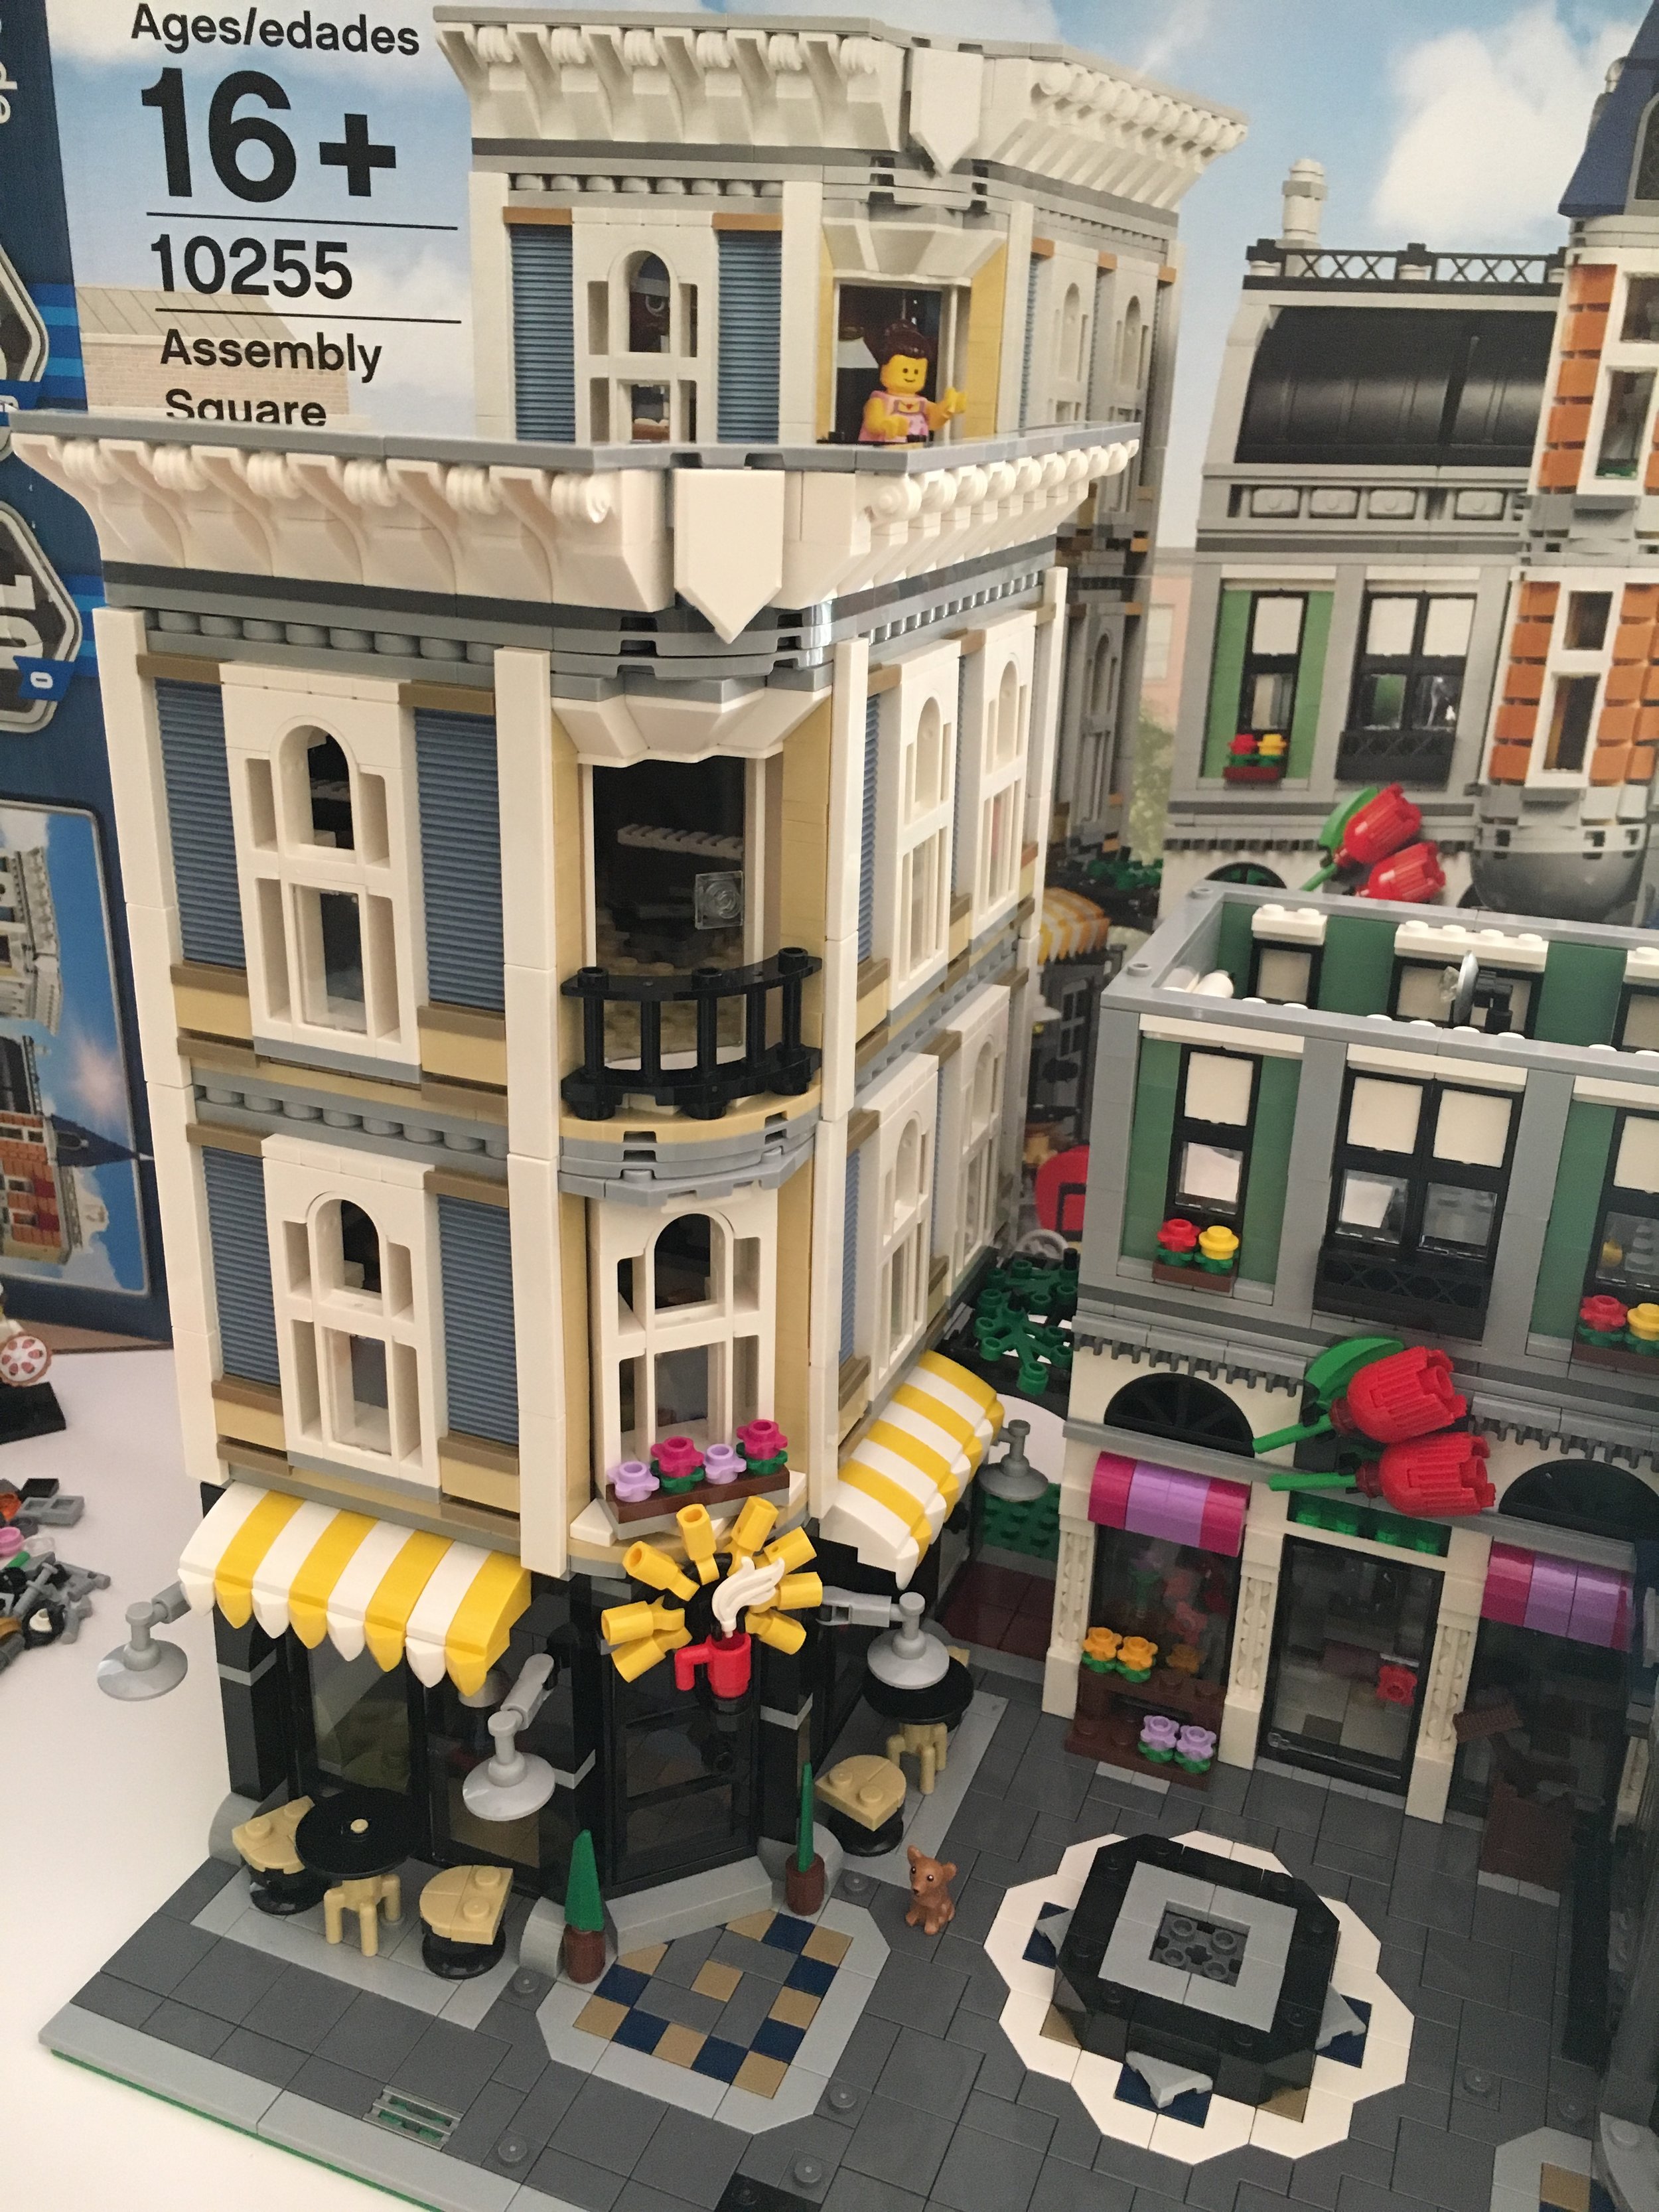
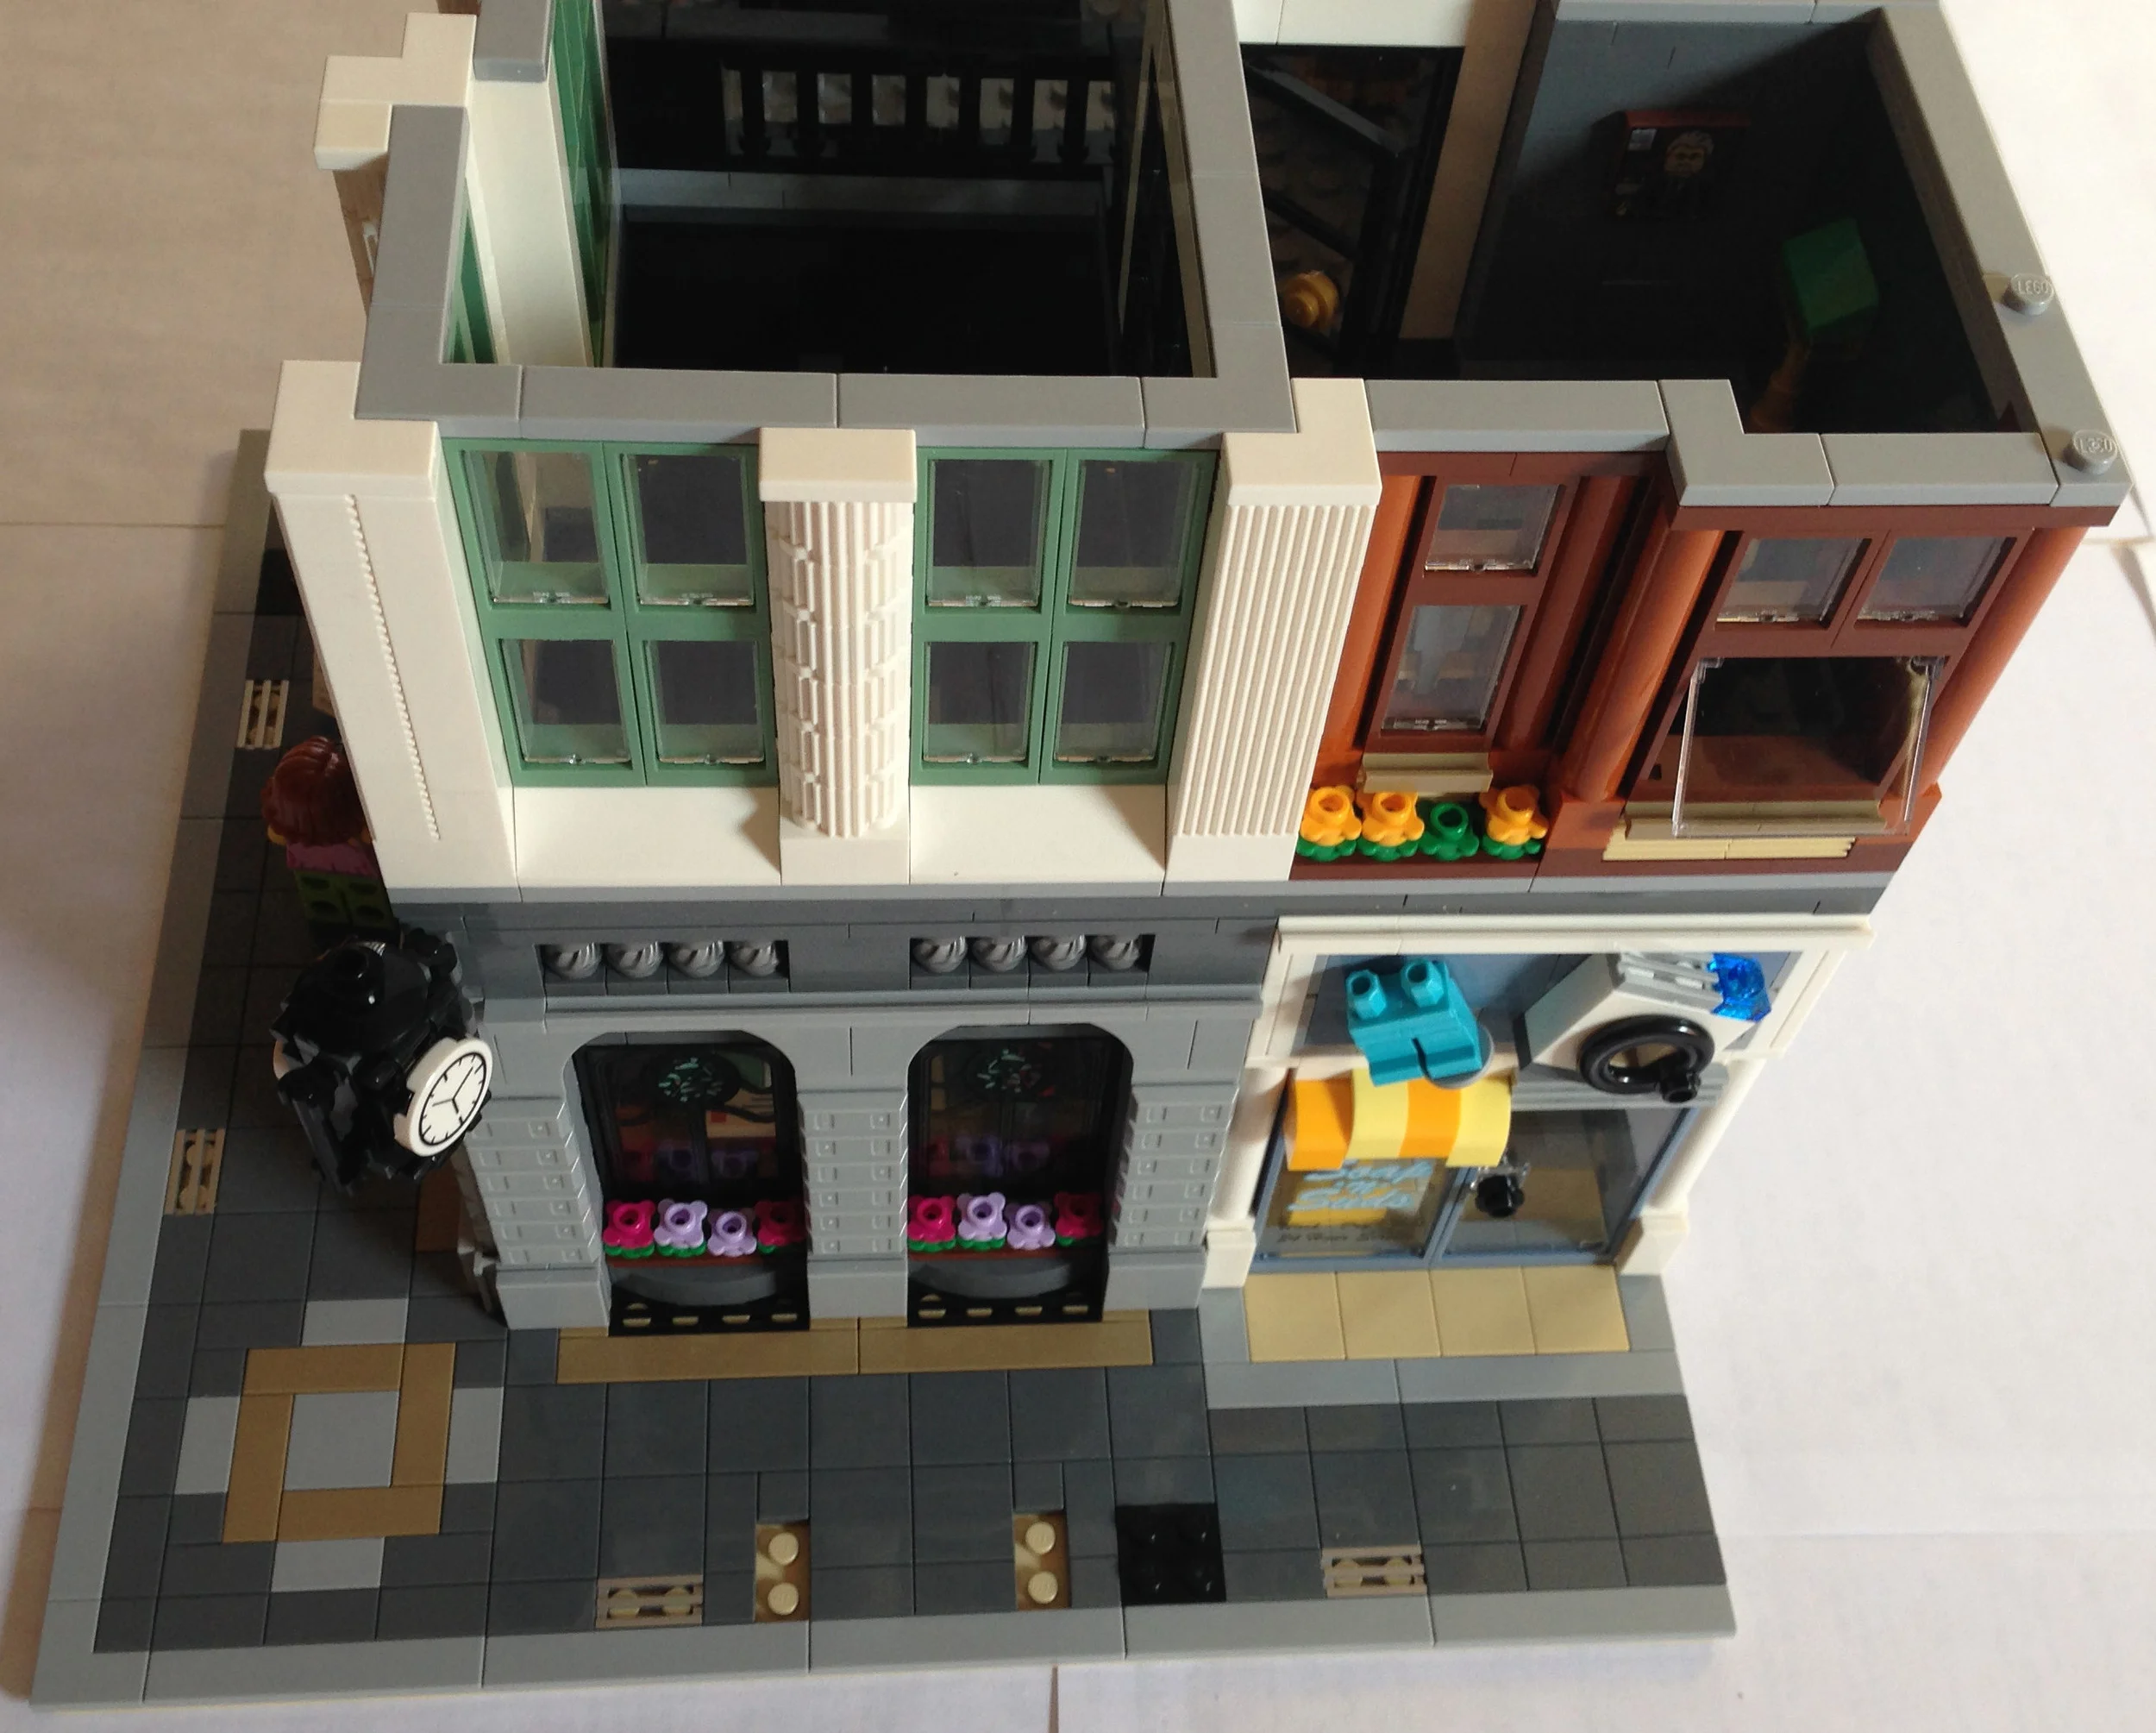
#10255-1: Assembly Square (2017)
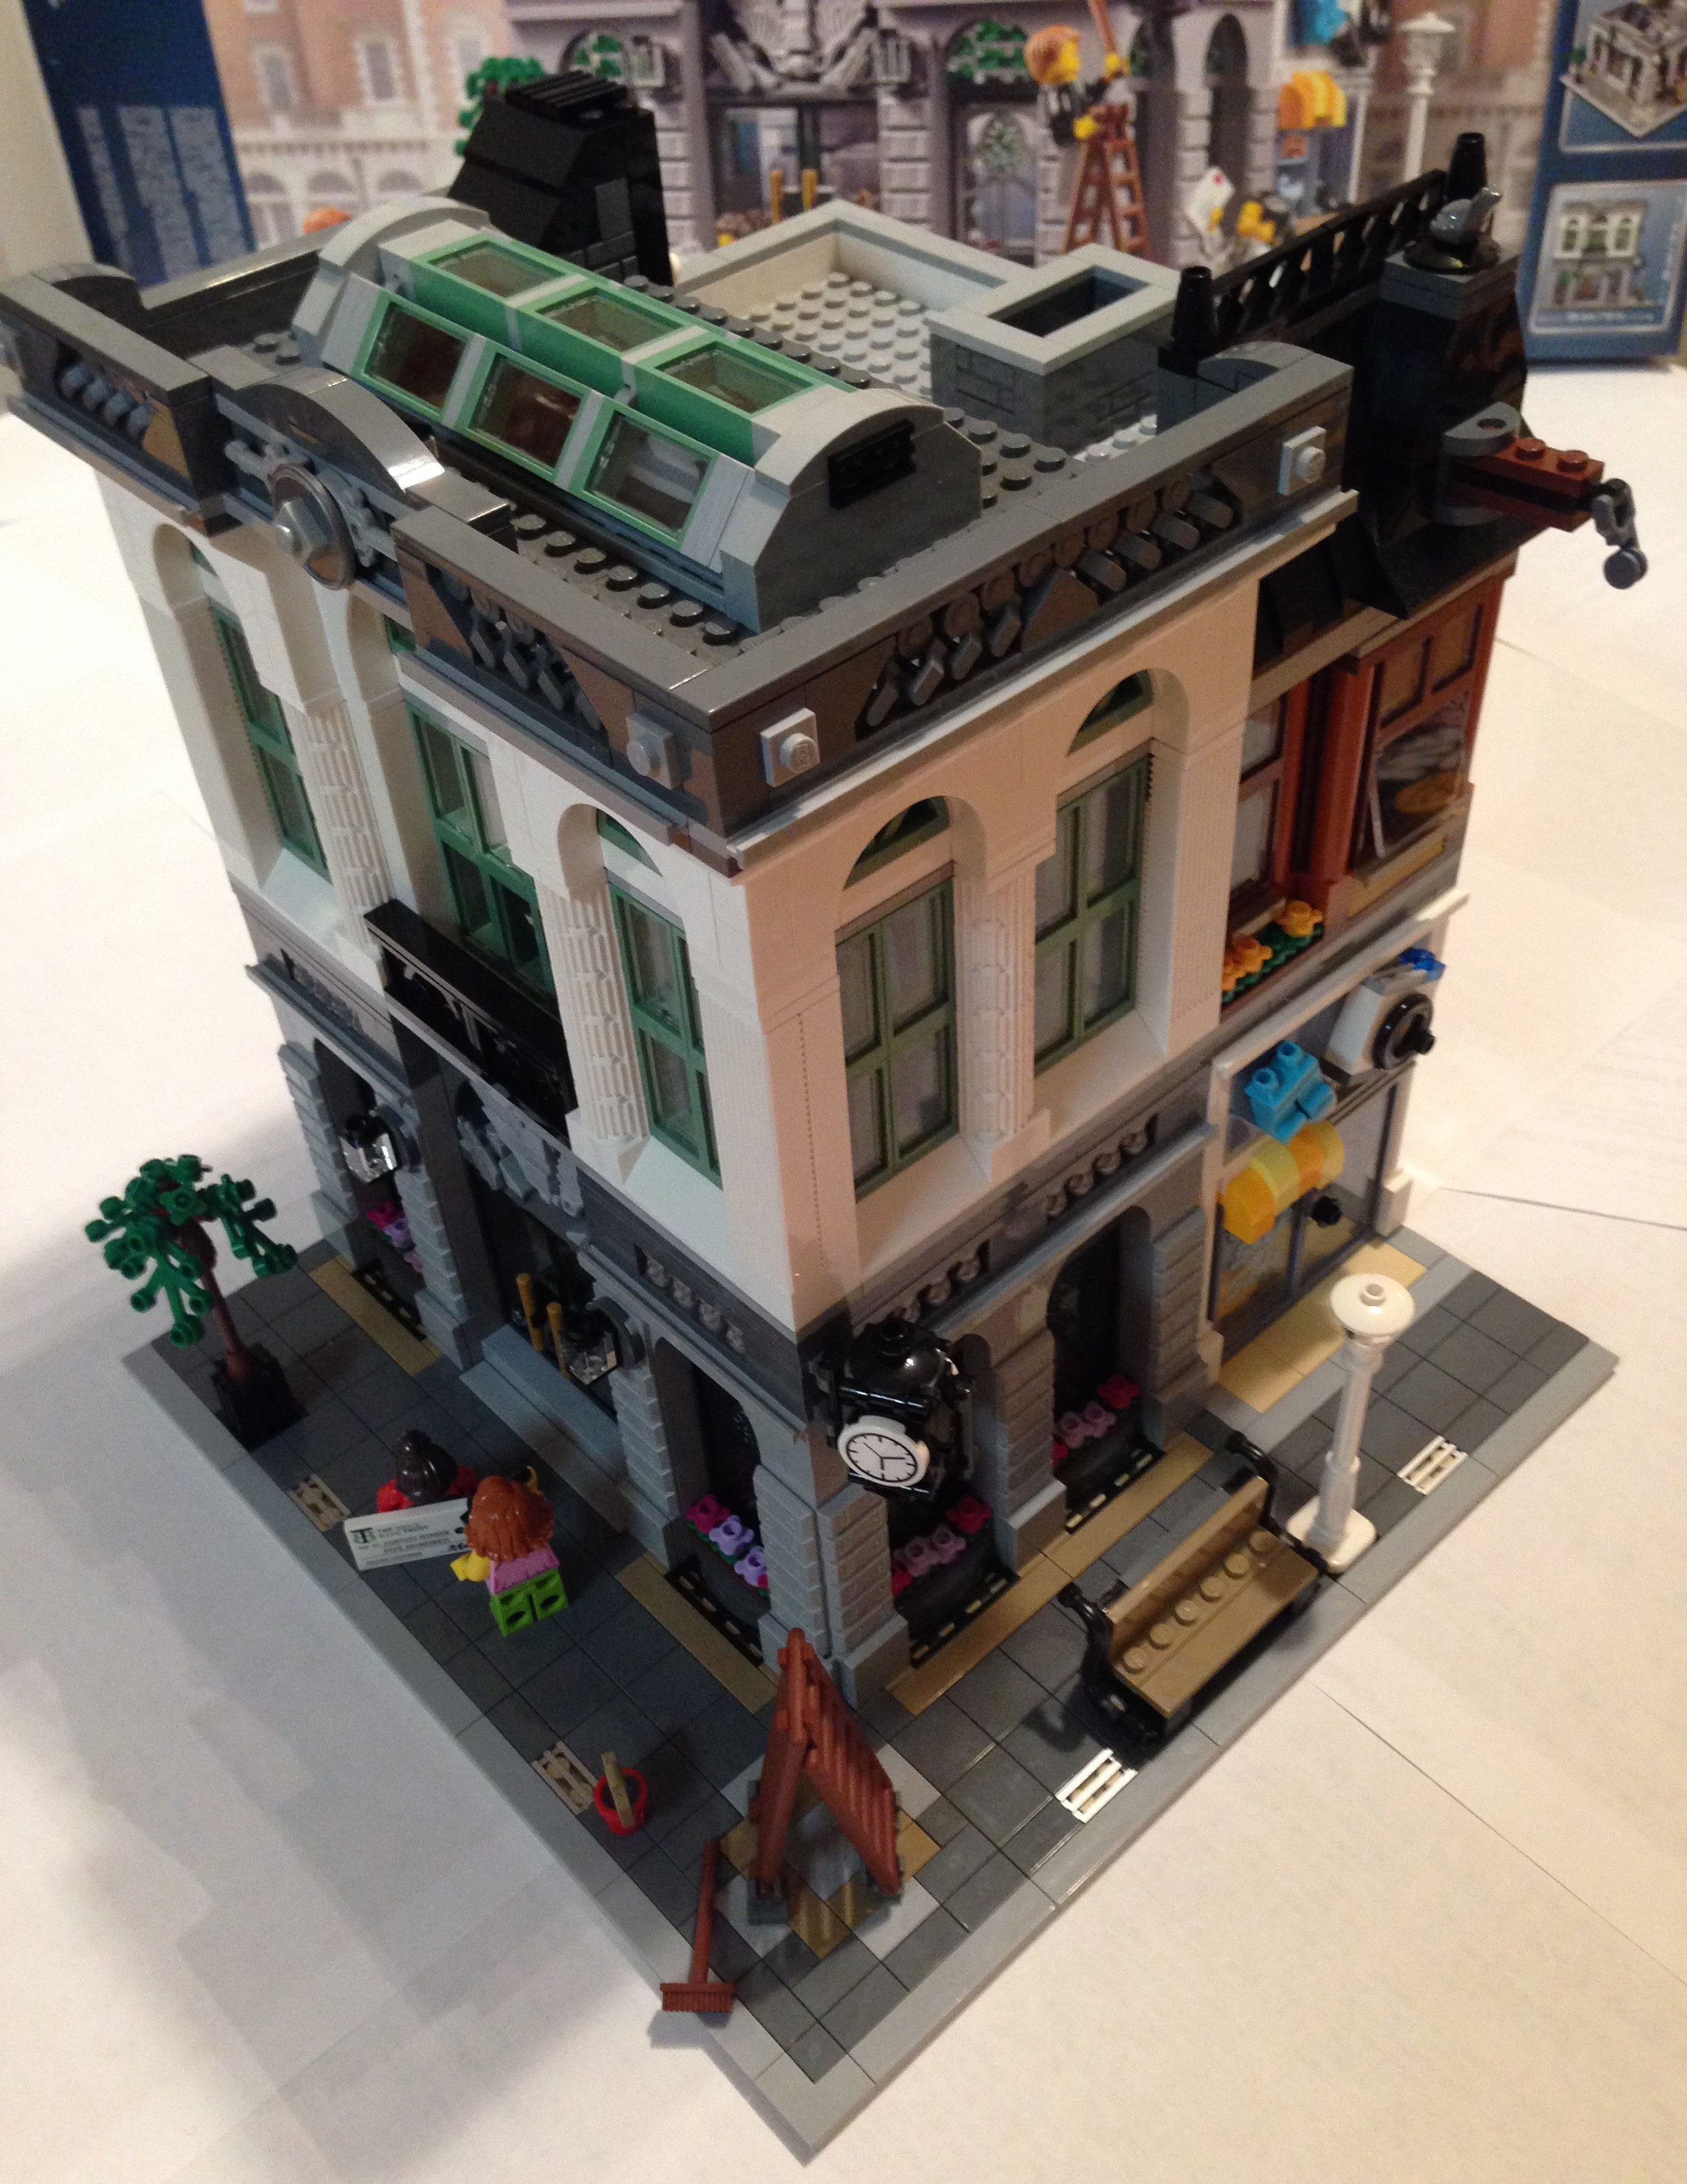
#10260-1: Downtown Diner (2018)

A lot of the reviews I’ve read or watched have been negative towards this modular set. They’ve said it’s rather plain and doesn’t have a lot of the detail others have had. So we’ll see…

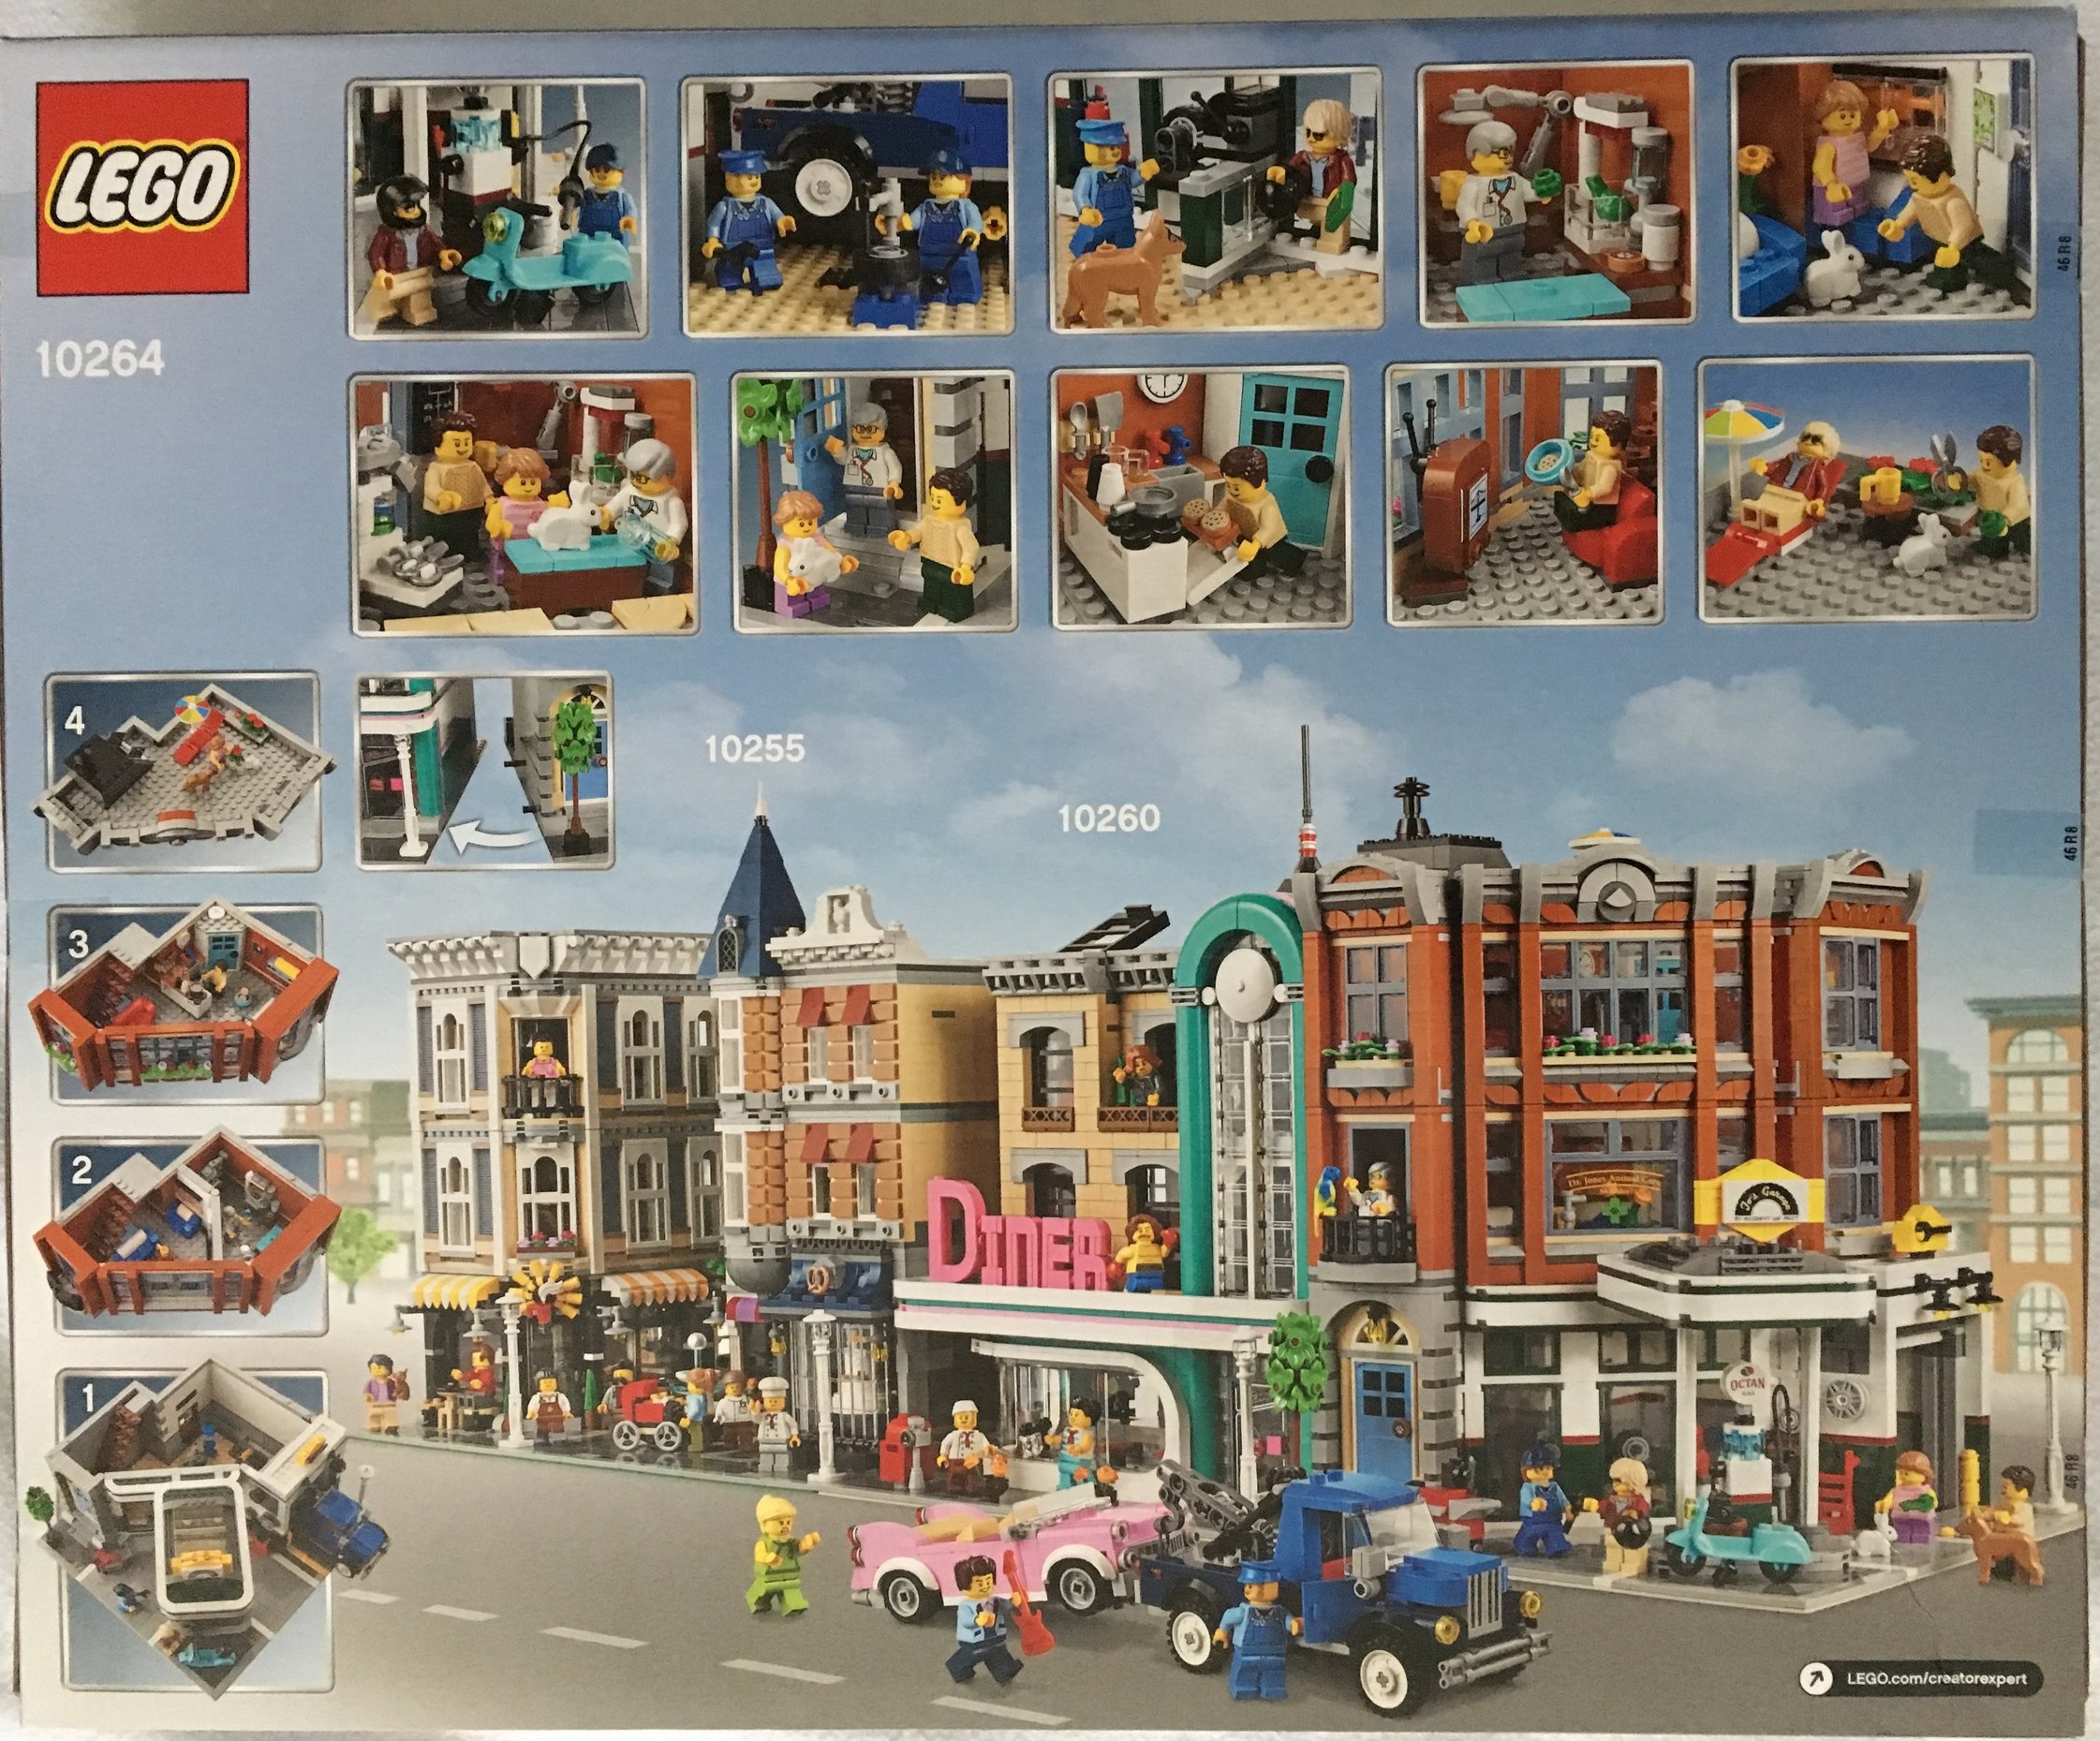
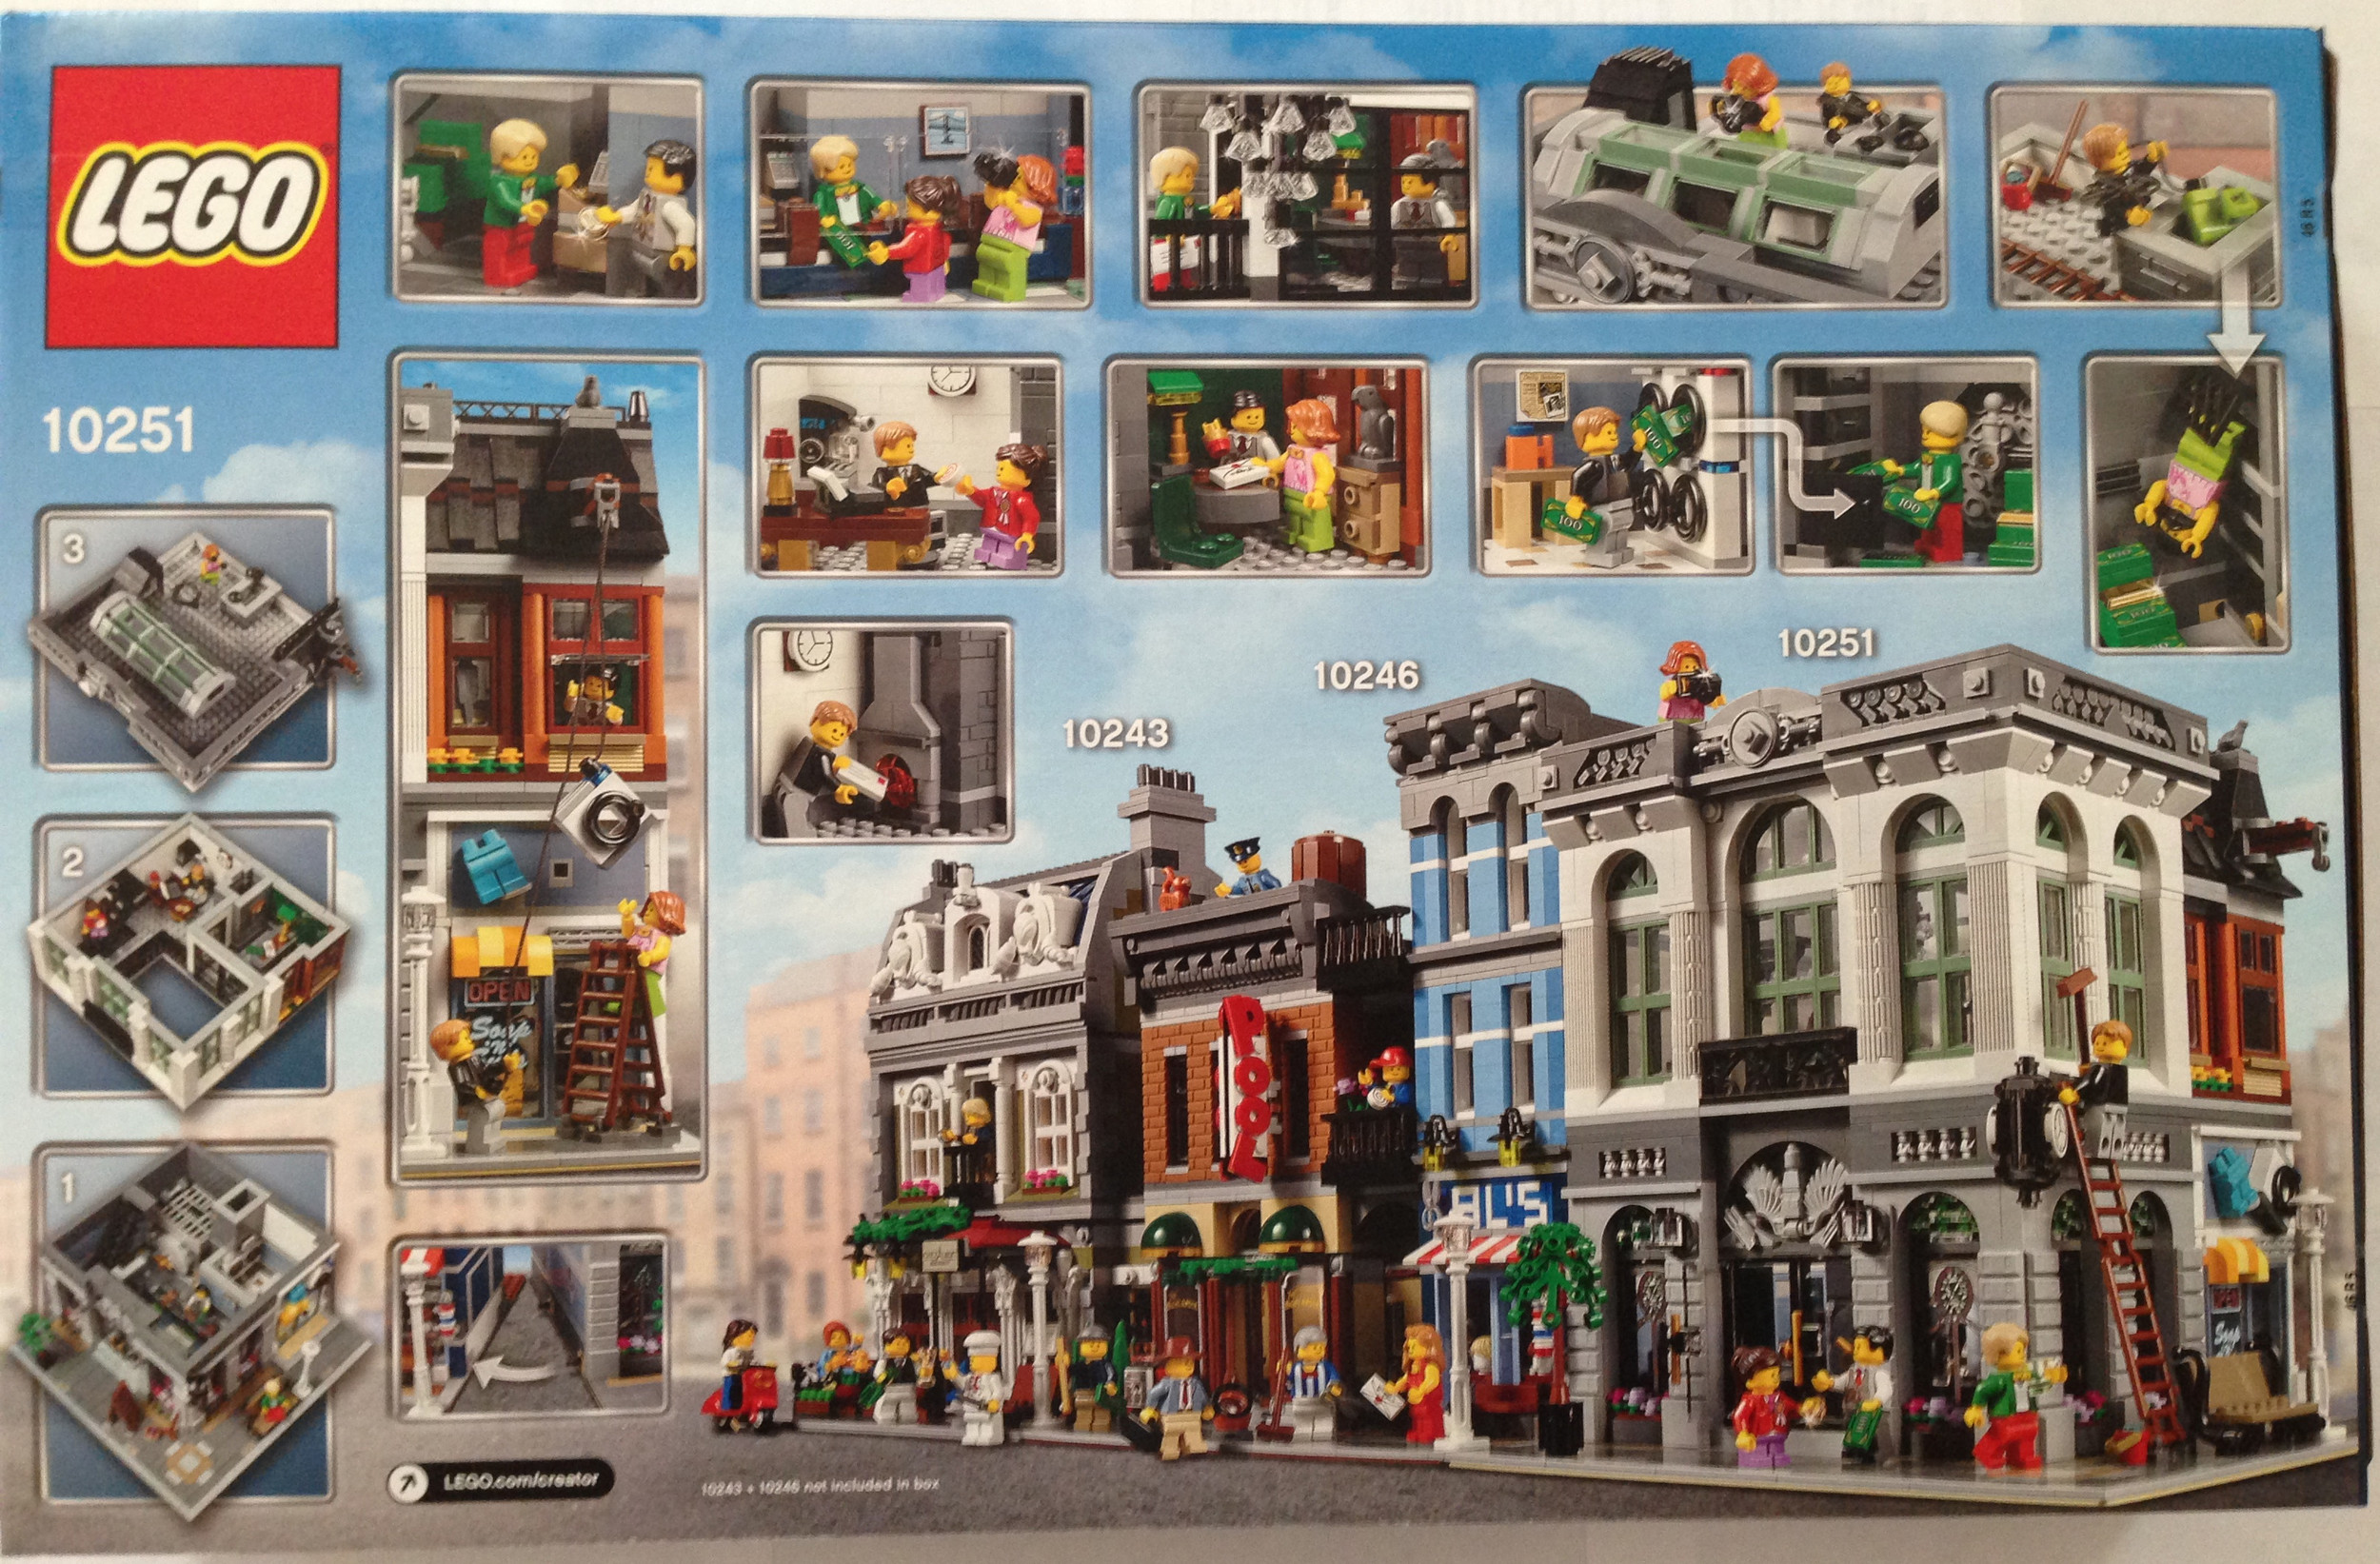
Like others, the front shows the full build with the different floors on the right side. The back shows some of the inner details and then how it looks next to some of the previous modulars. The box shows it next to the Assembly Square and Downtown Diner. I think it looks pretty good there.

10264_box_front.jpg
10264_box_back.jpg

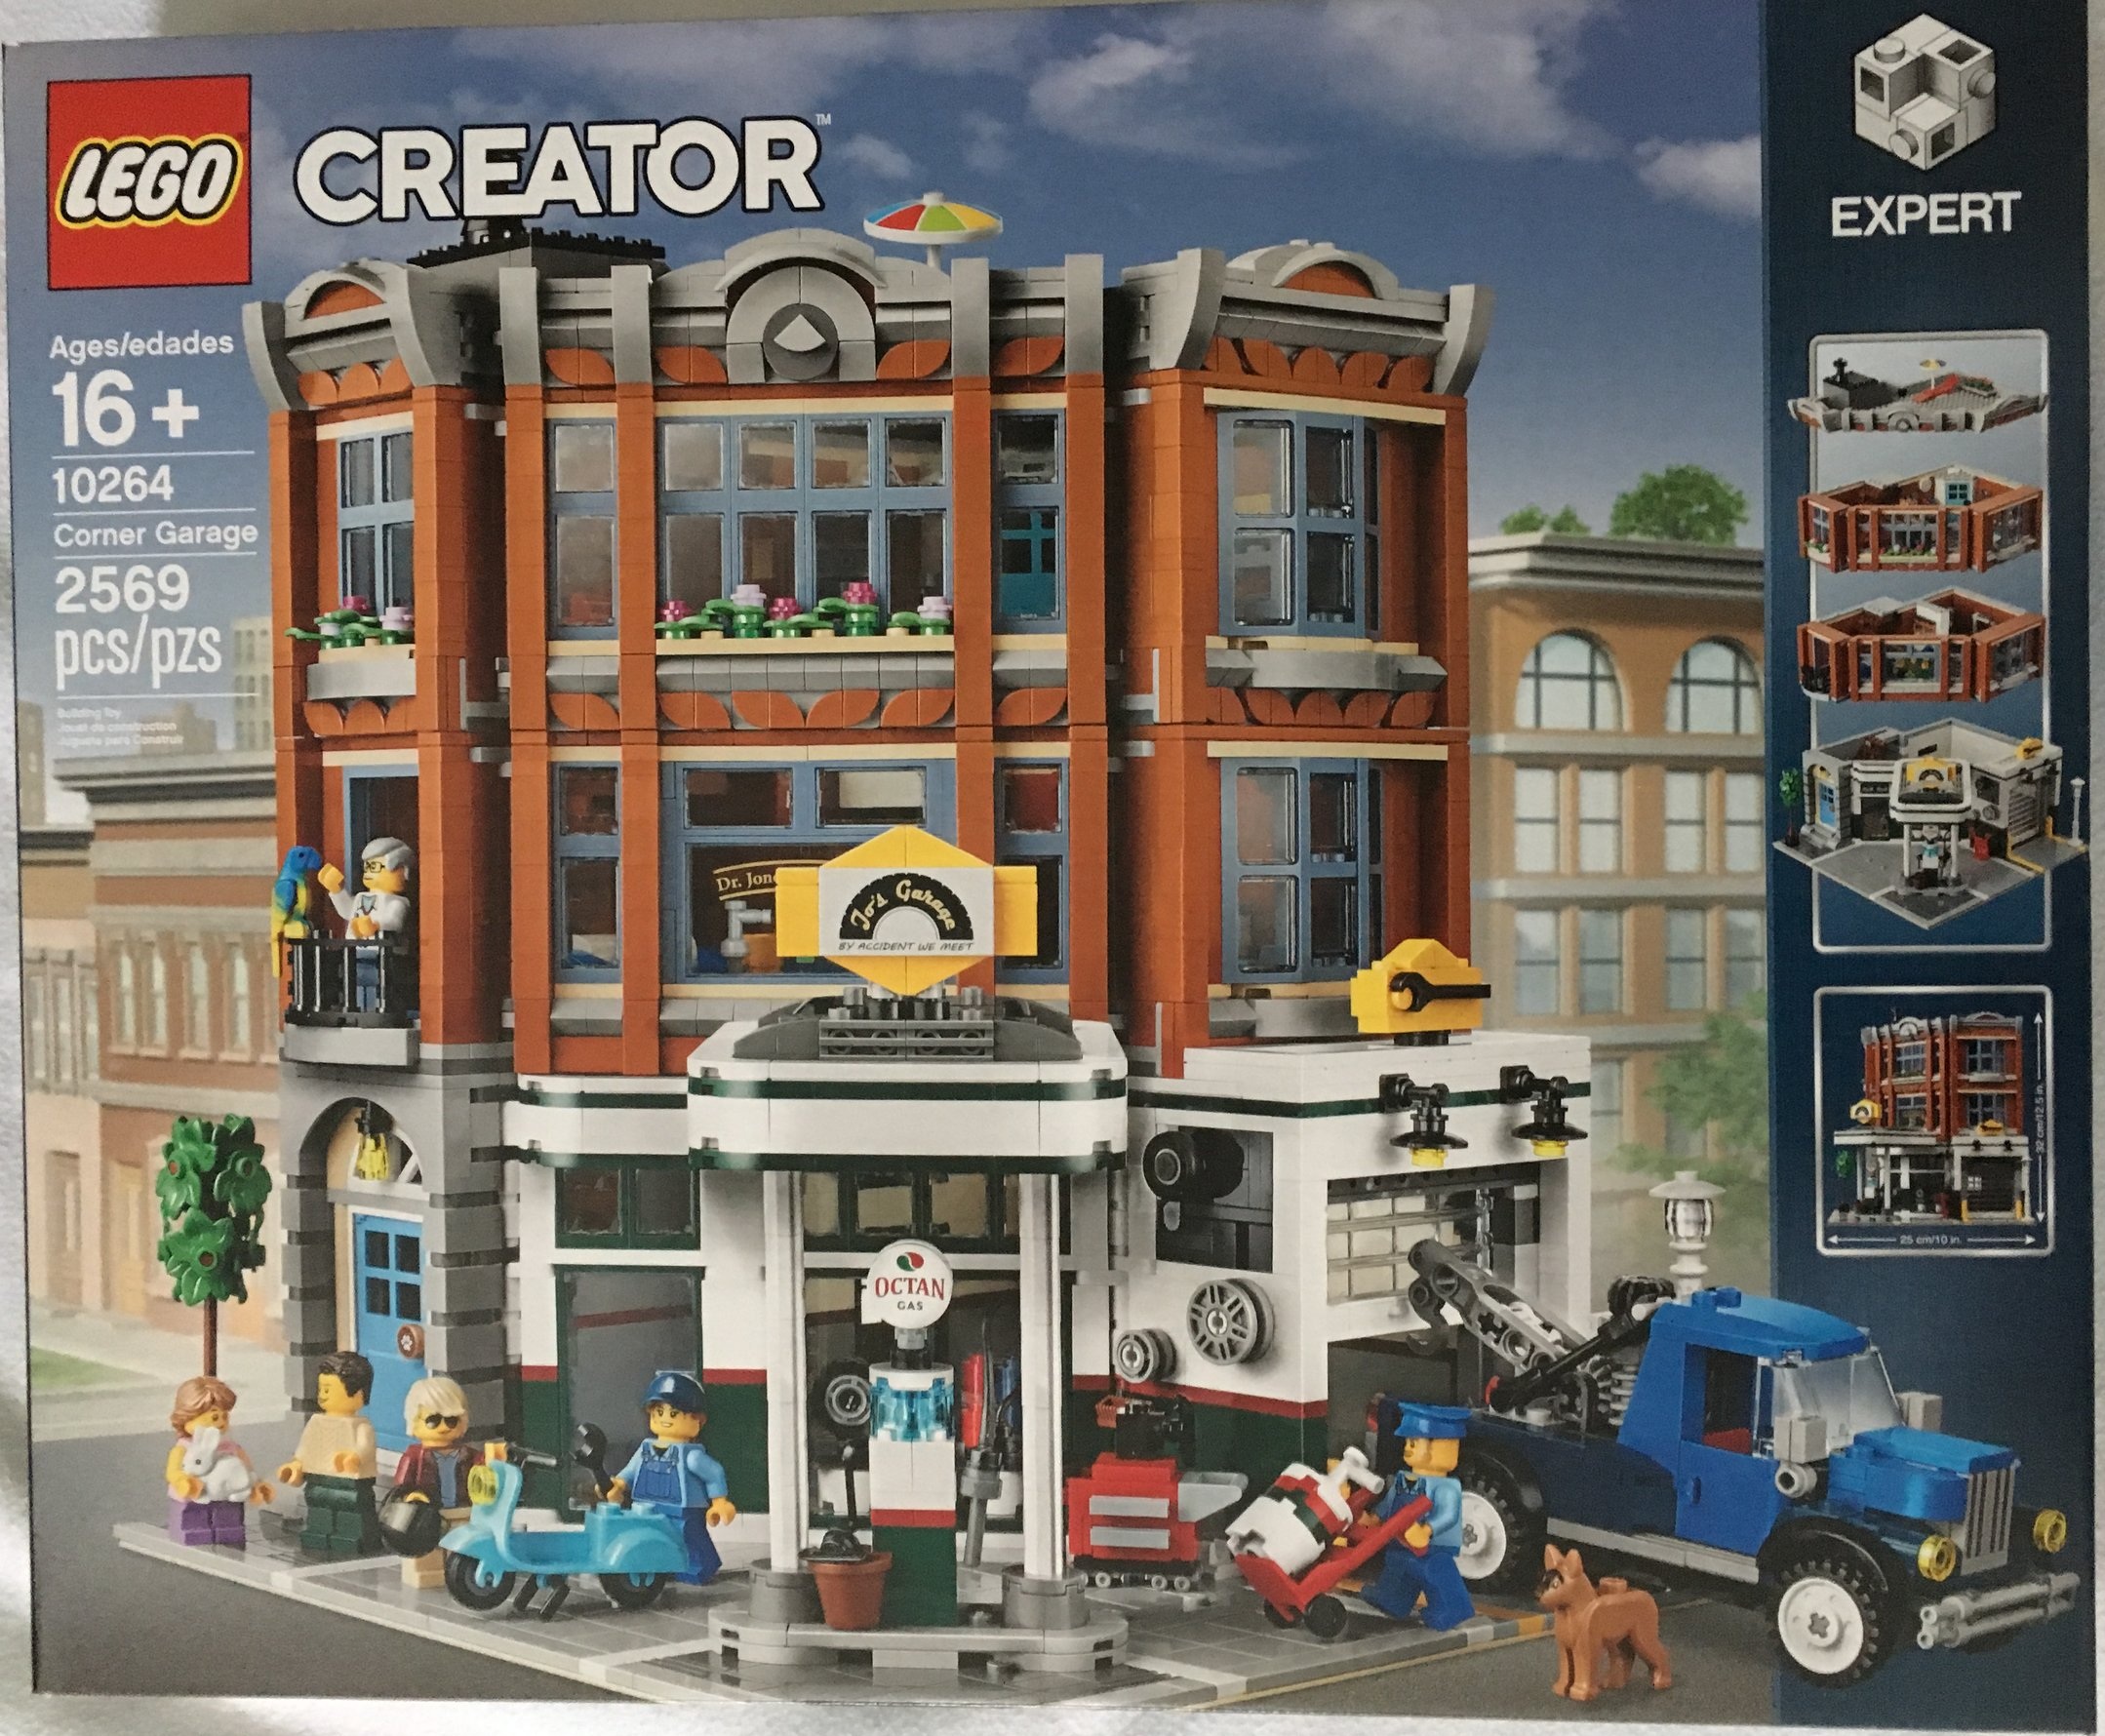
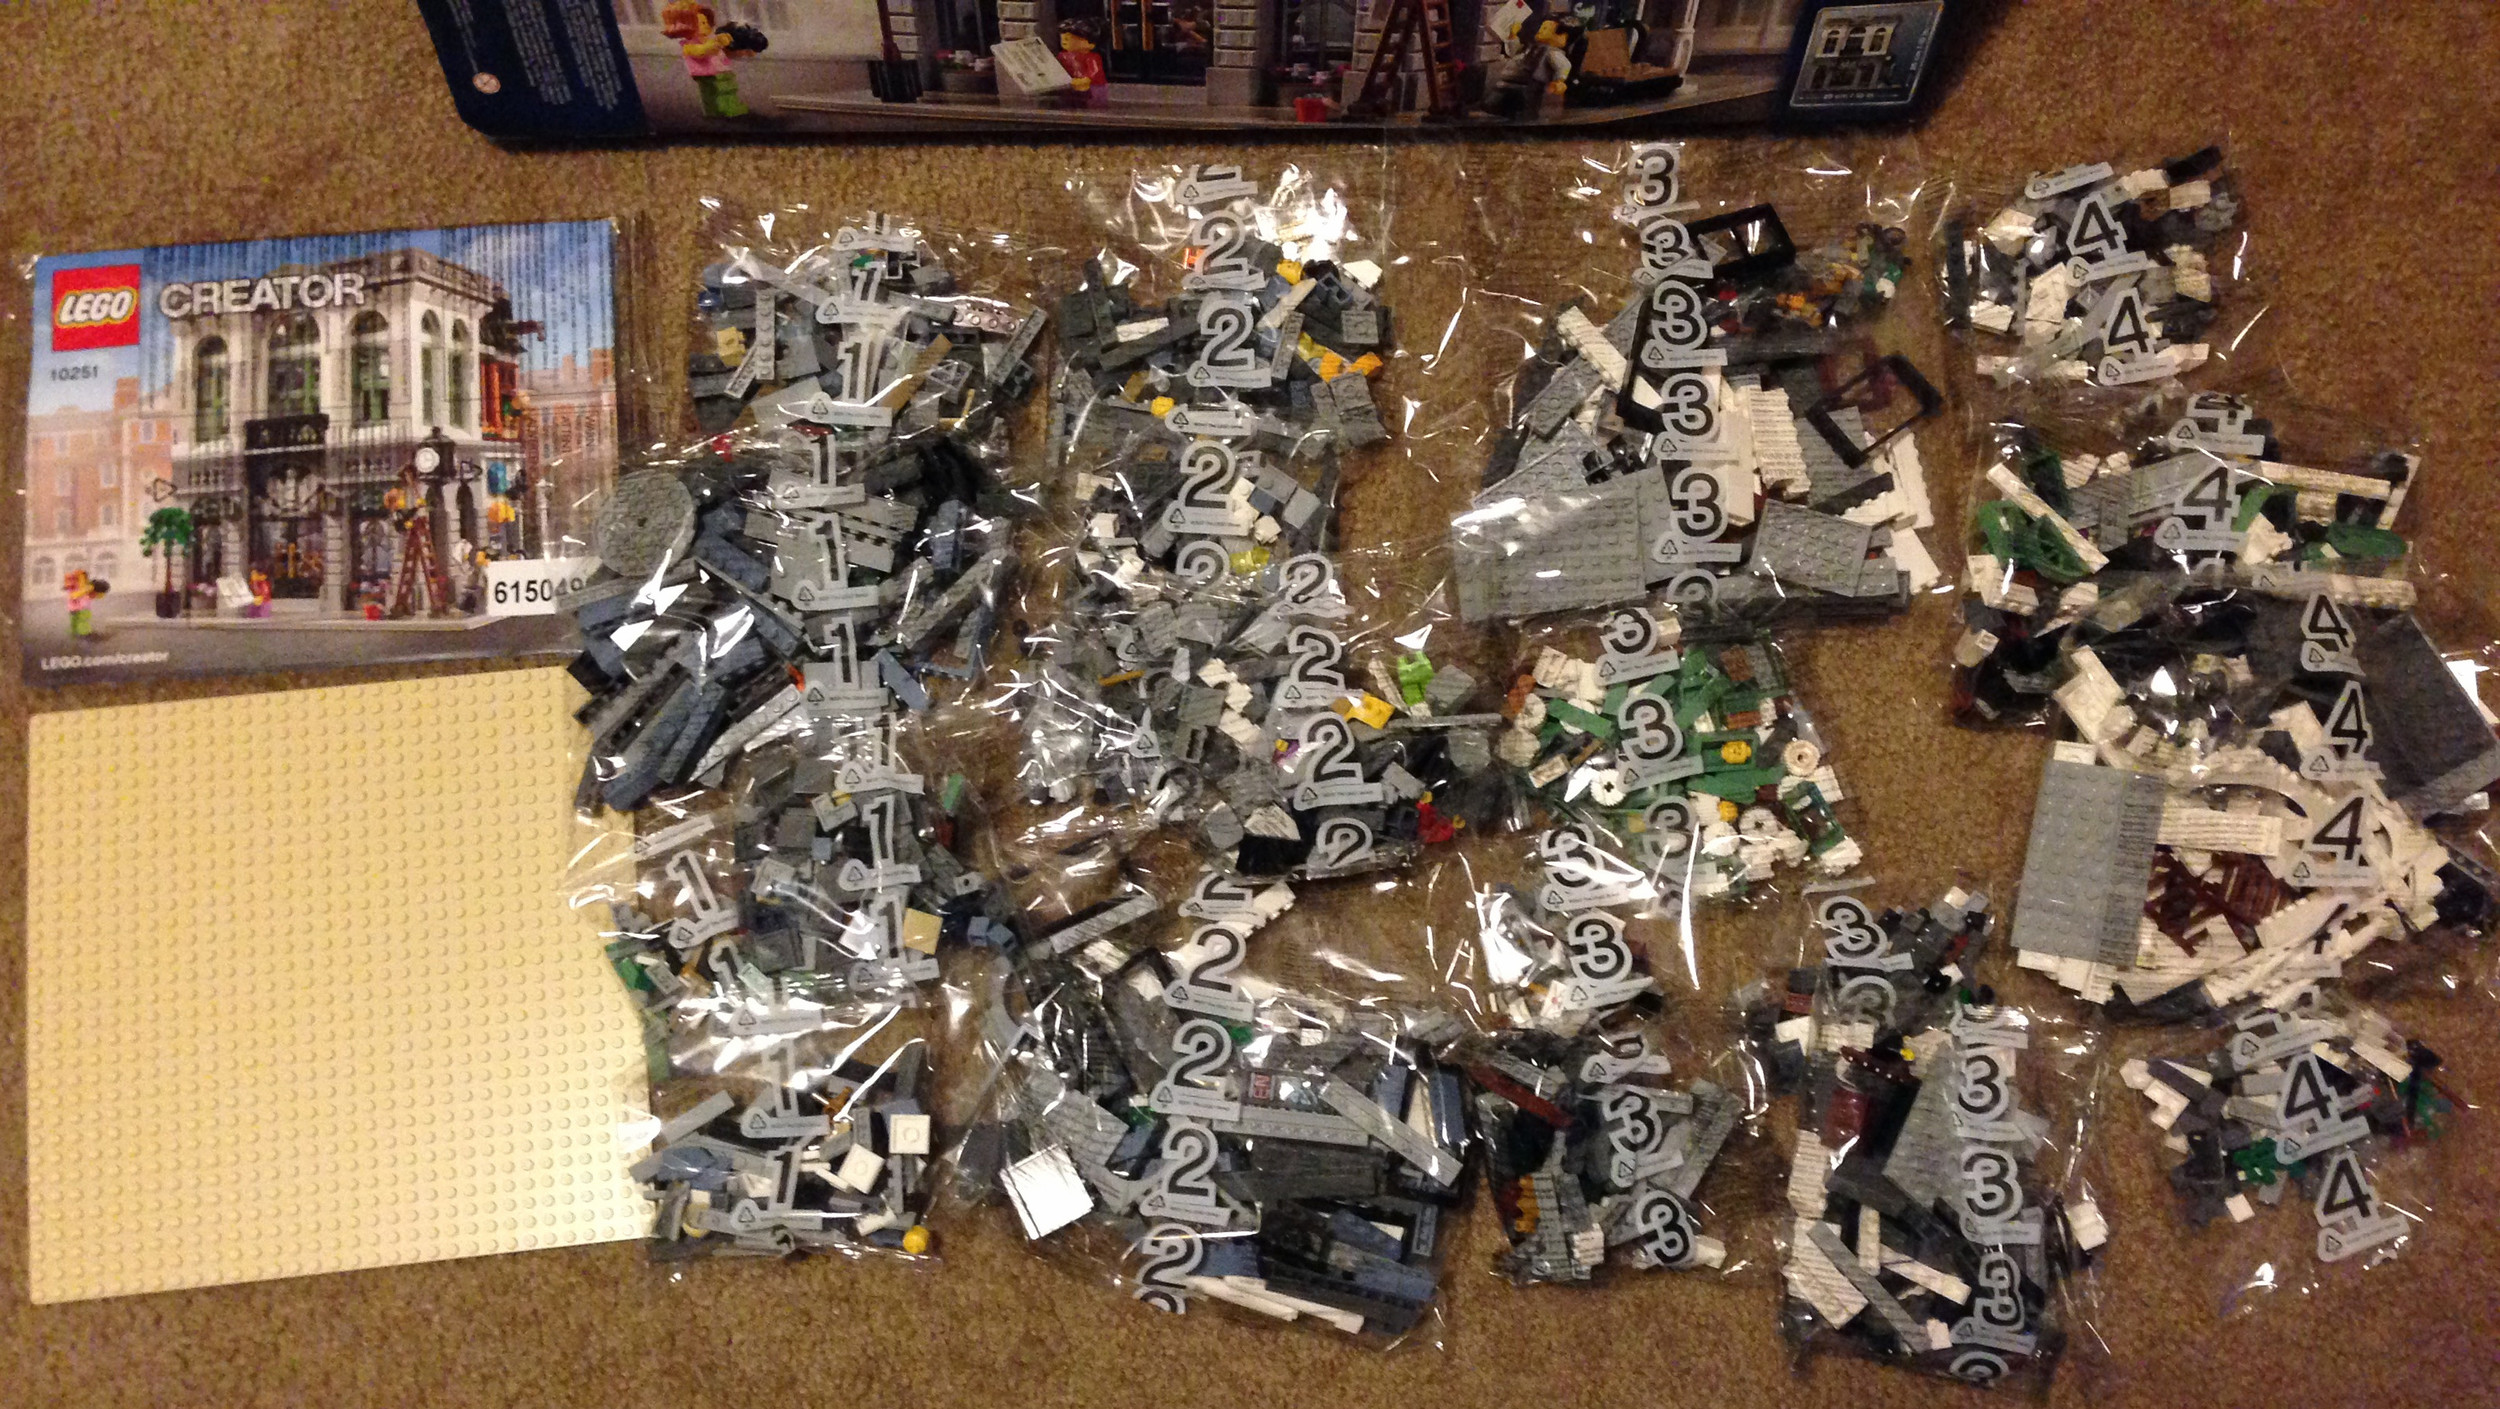
The contents are six sets of bags, an instruction booklet (that comes wrapped), a 32x32 stud tan base plate, and two 8x16 light gray plates. I’m not sure why the 2 light gray 8x16 plates are separated as there are also some in bags too. Oh, and no stickers! Whoo-hoo!

10264_contents.jpg

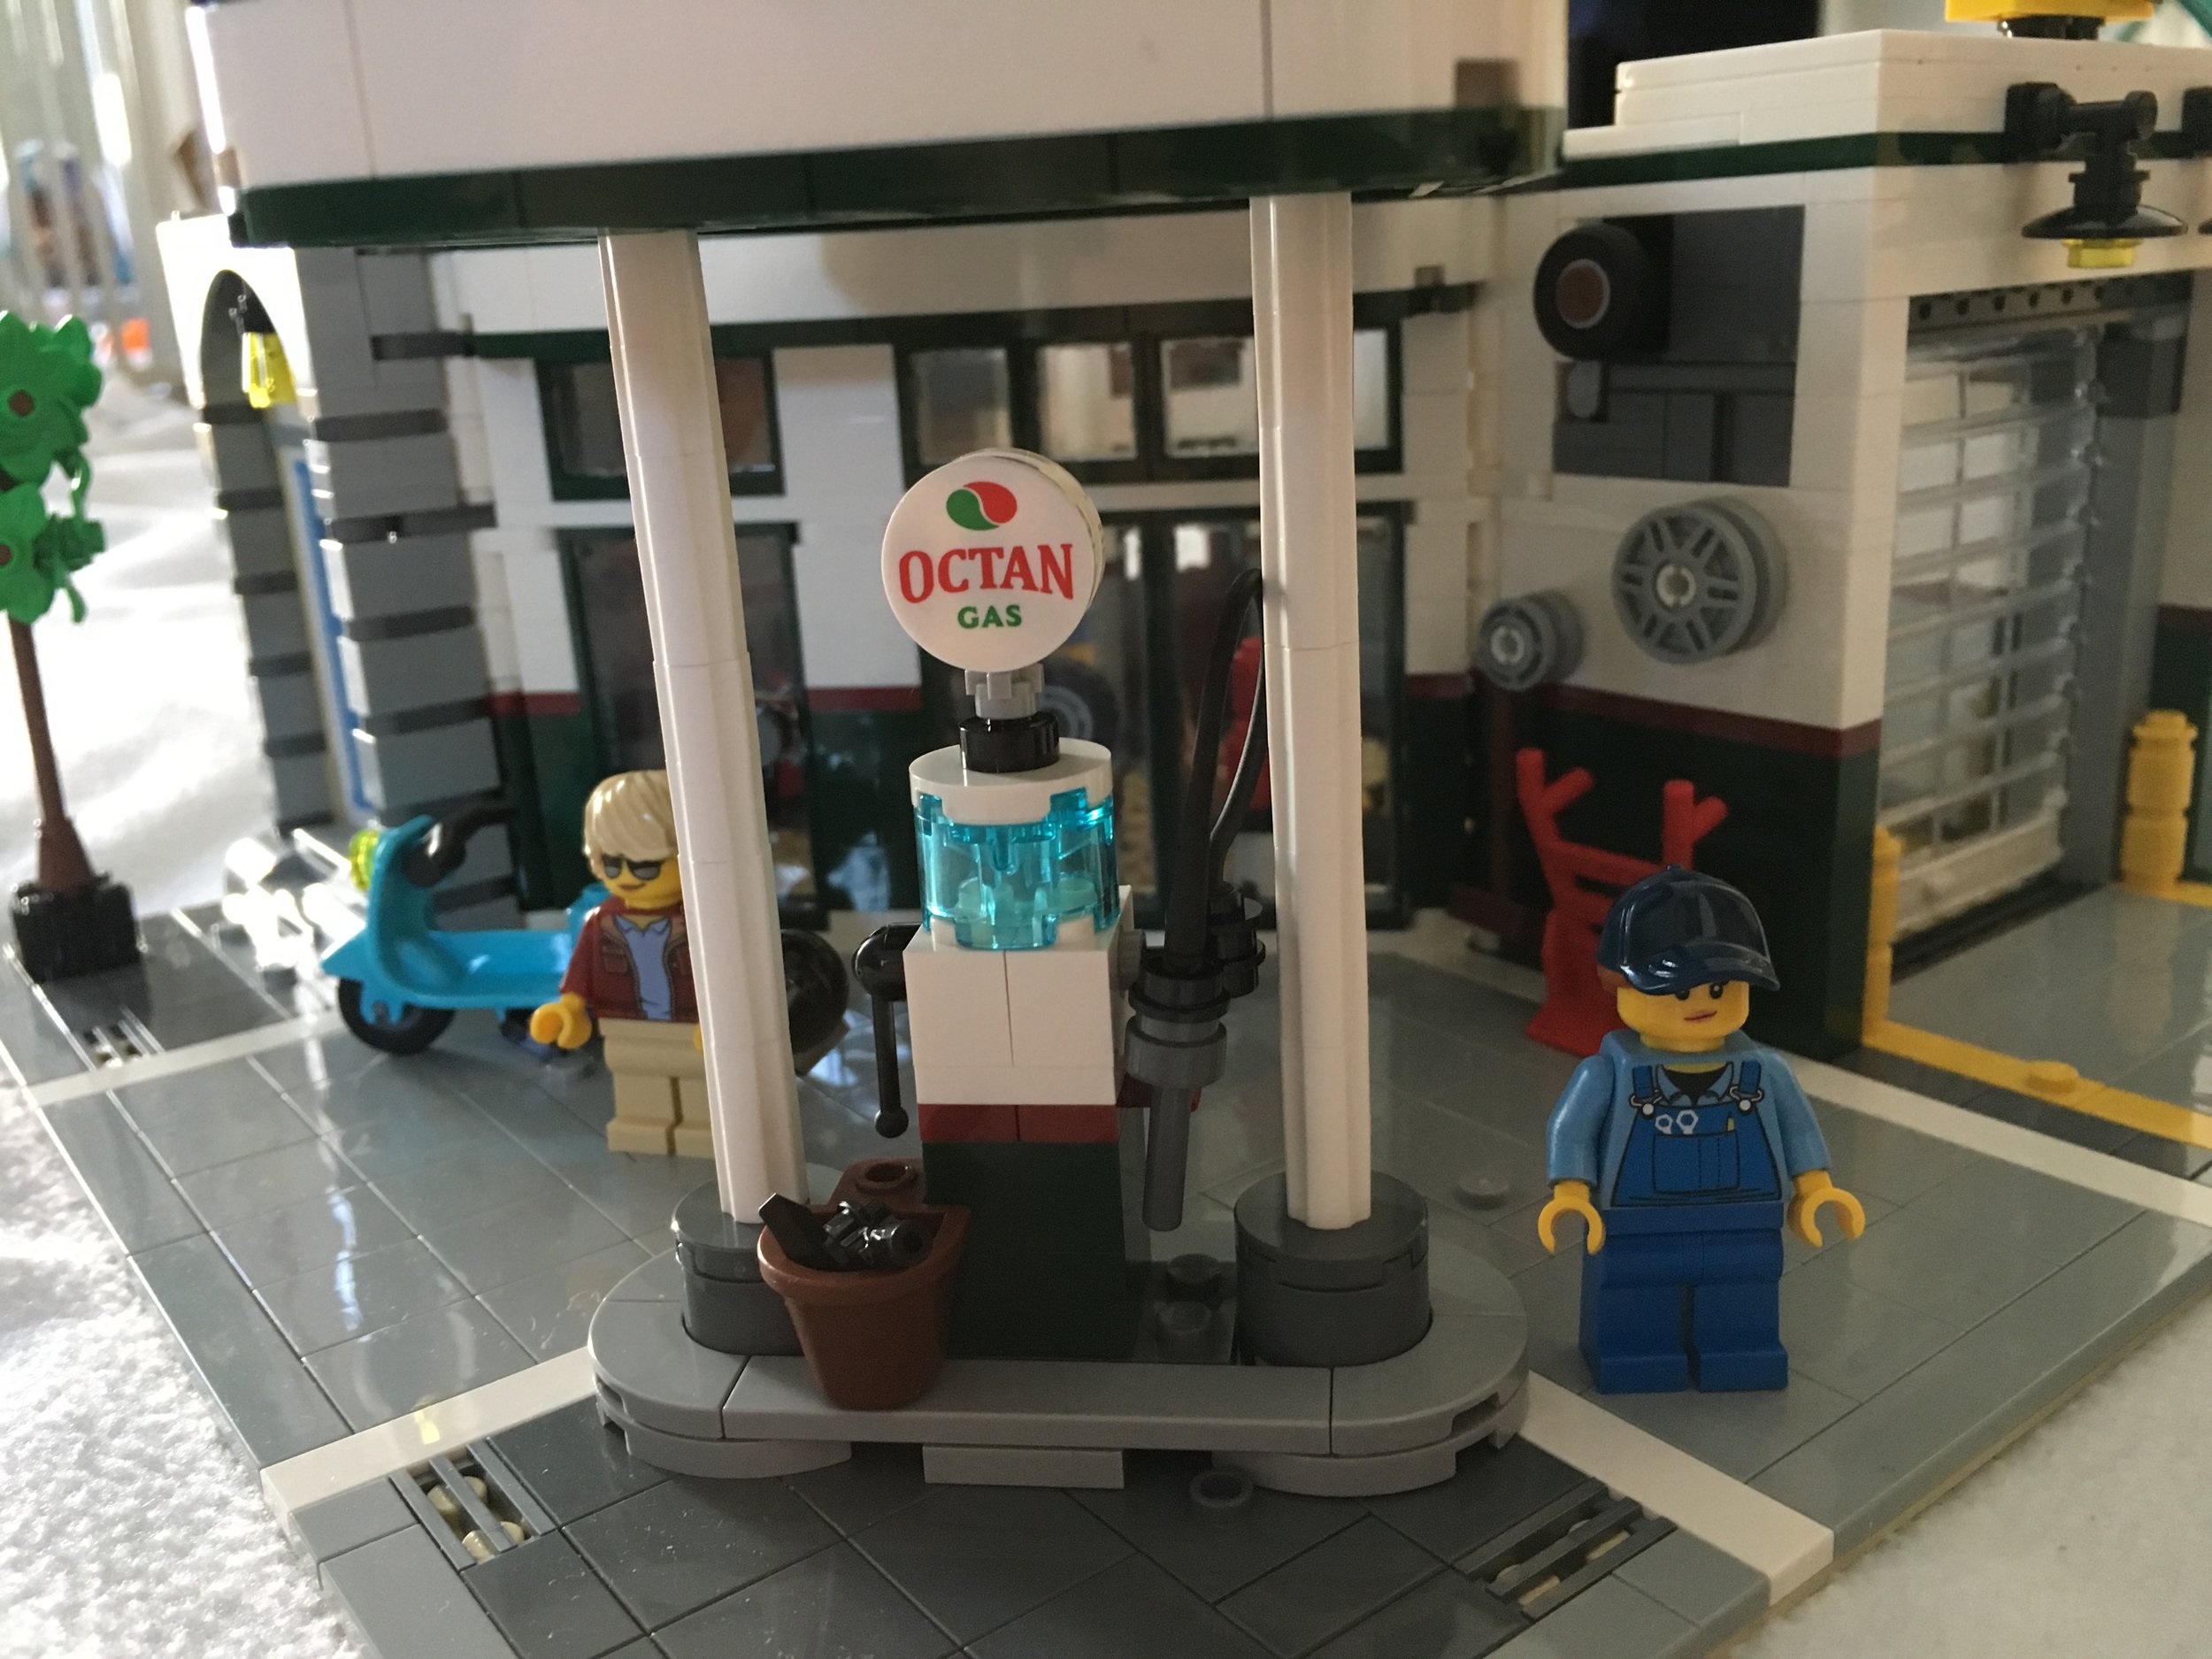
The first set of bags starts the first/ground floor. It includes quite a few 2x2 light gray tiles for the floor and road portion. You can see the start of the garage as well as the lift. There is a tool box in the garage for the mechanic to use and a broom and dolly outside. This set of bags come with a dog and a male mechanic minifigure (I’ll hit on the minifigures later).

10264_bag1.jpg

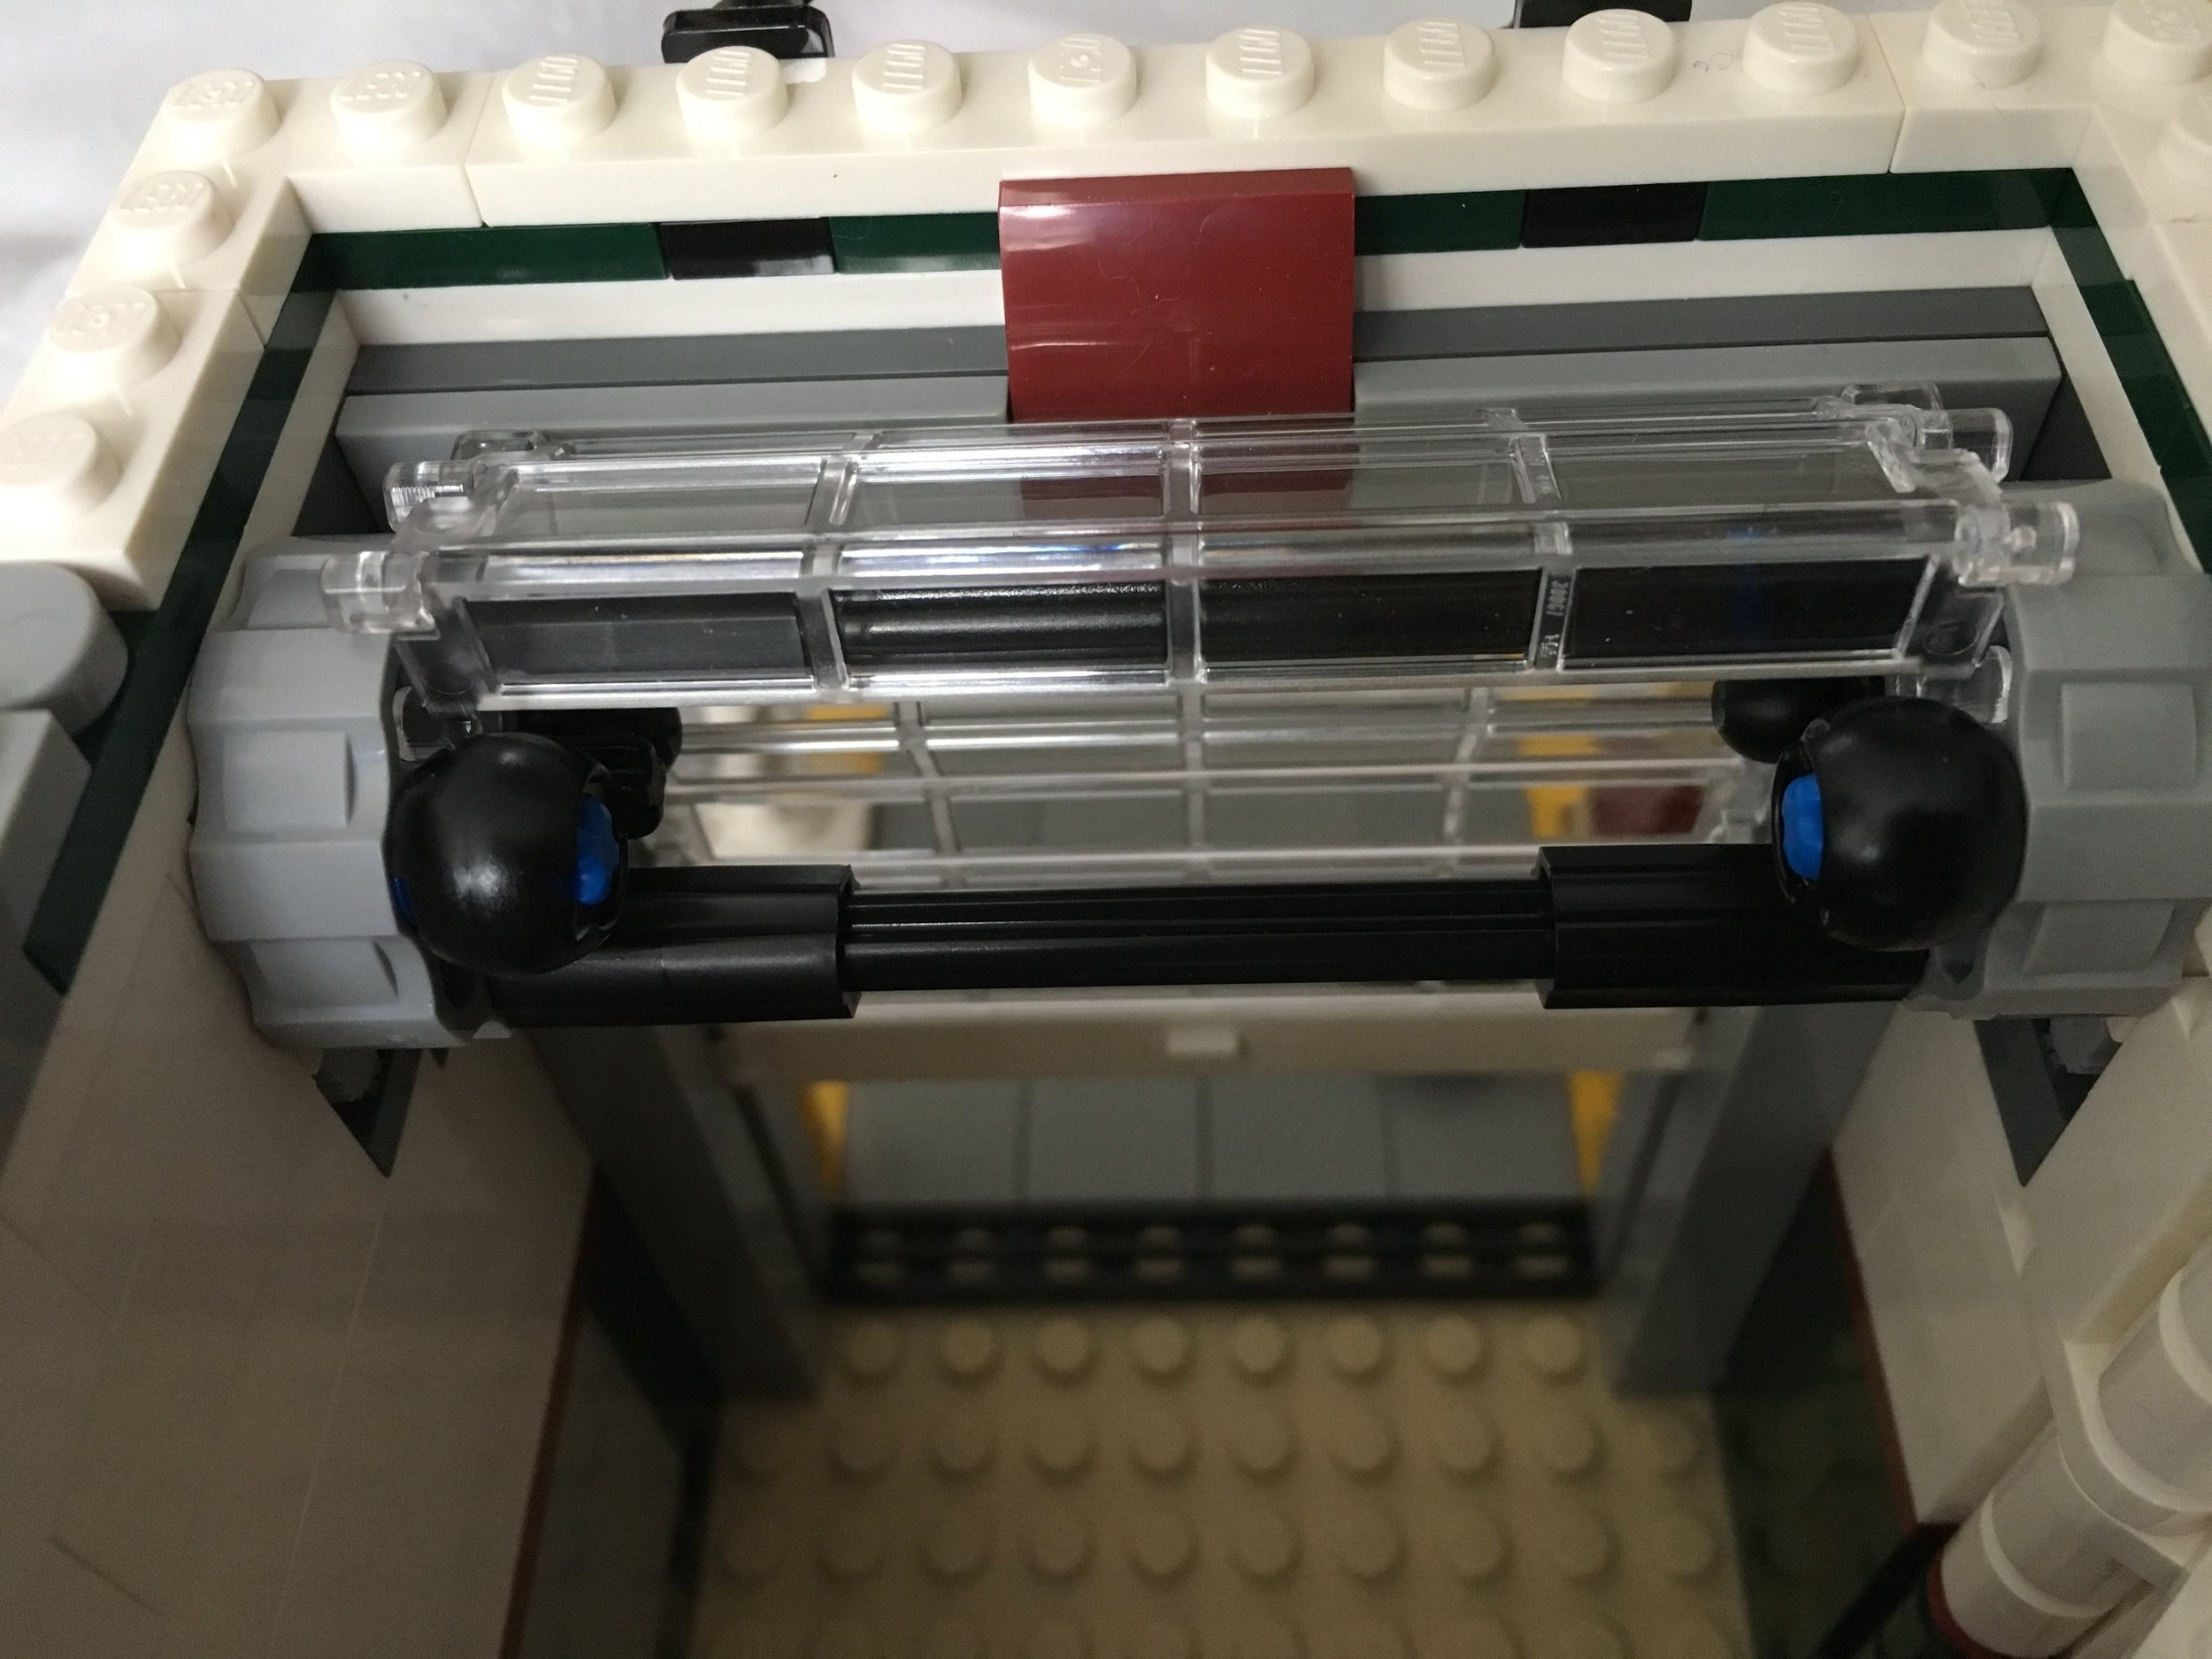
One thing out of the ordinary for this portion of the build is the lift. There is a simple function that allows you to have the lift go up and then down. As you can see in the 2 pictures, you slide the piece out and it goes down and then you push it in and the lift goes up. Nothing to challenging, but it is cleverly integrated in the build without taking away from the aesthetics too much. So far I have only tried it with the vehicle that comes with this set and it works with that one, but that one is slightly heavy. I have yet to try it with a lighter vehicle.

10264_lift_down.jpg
10264_lift_up.jpg

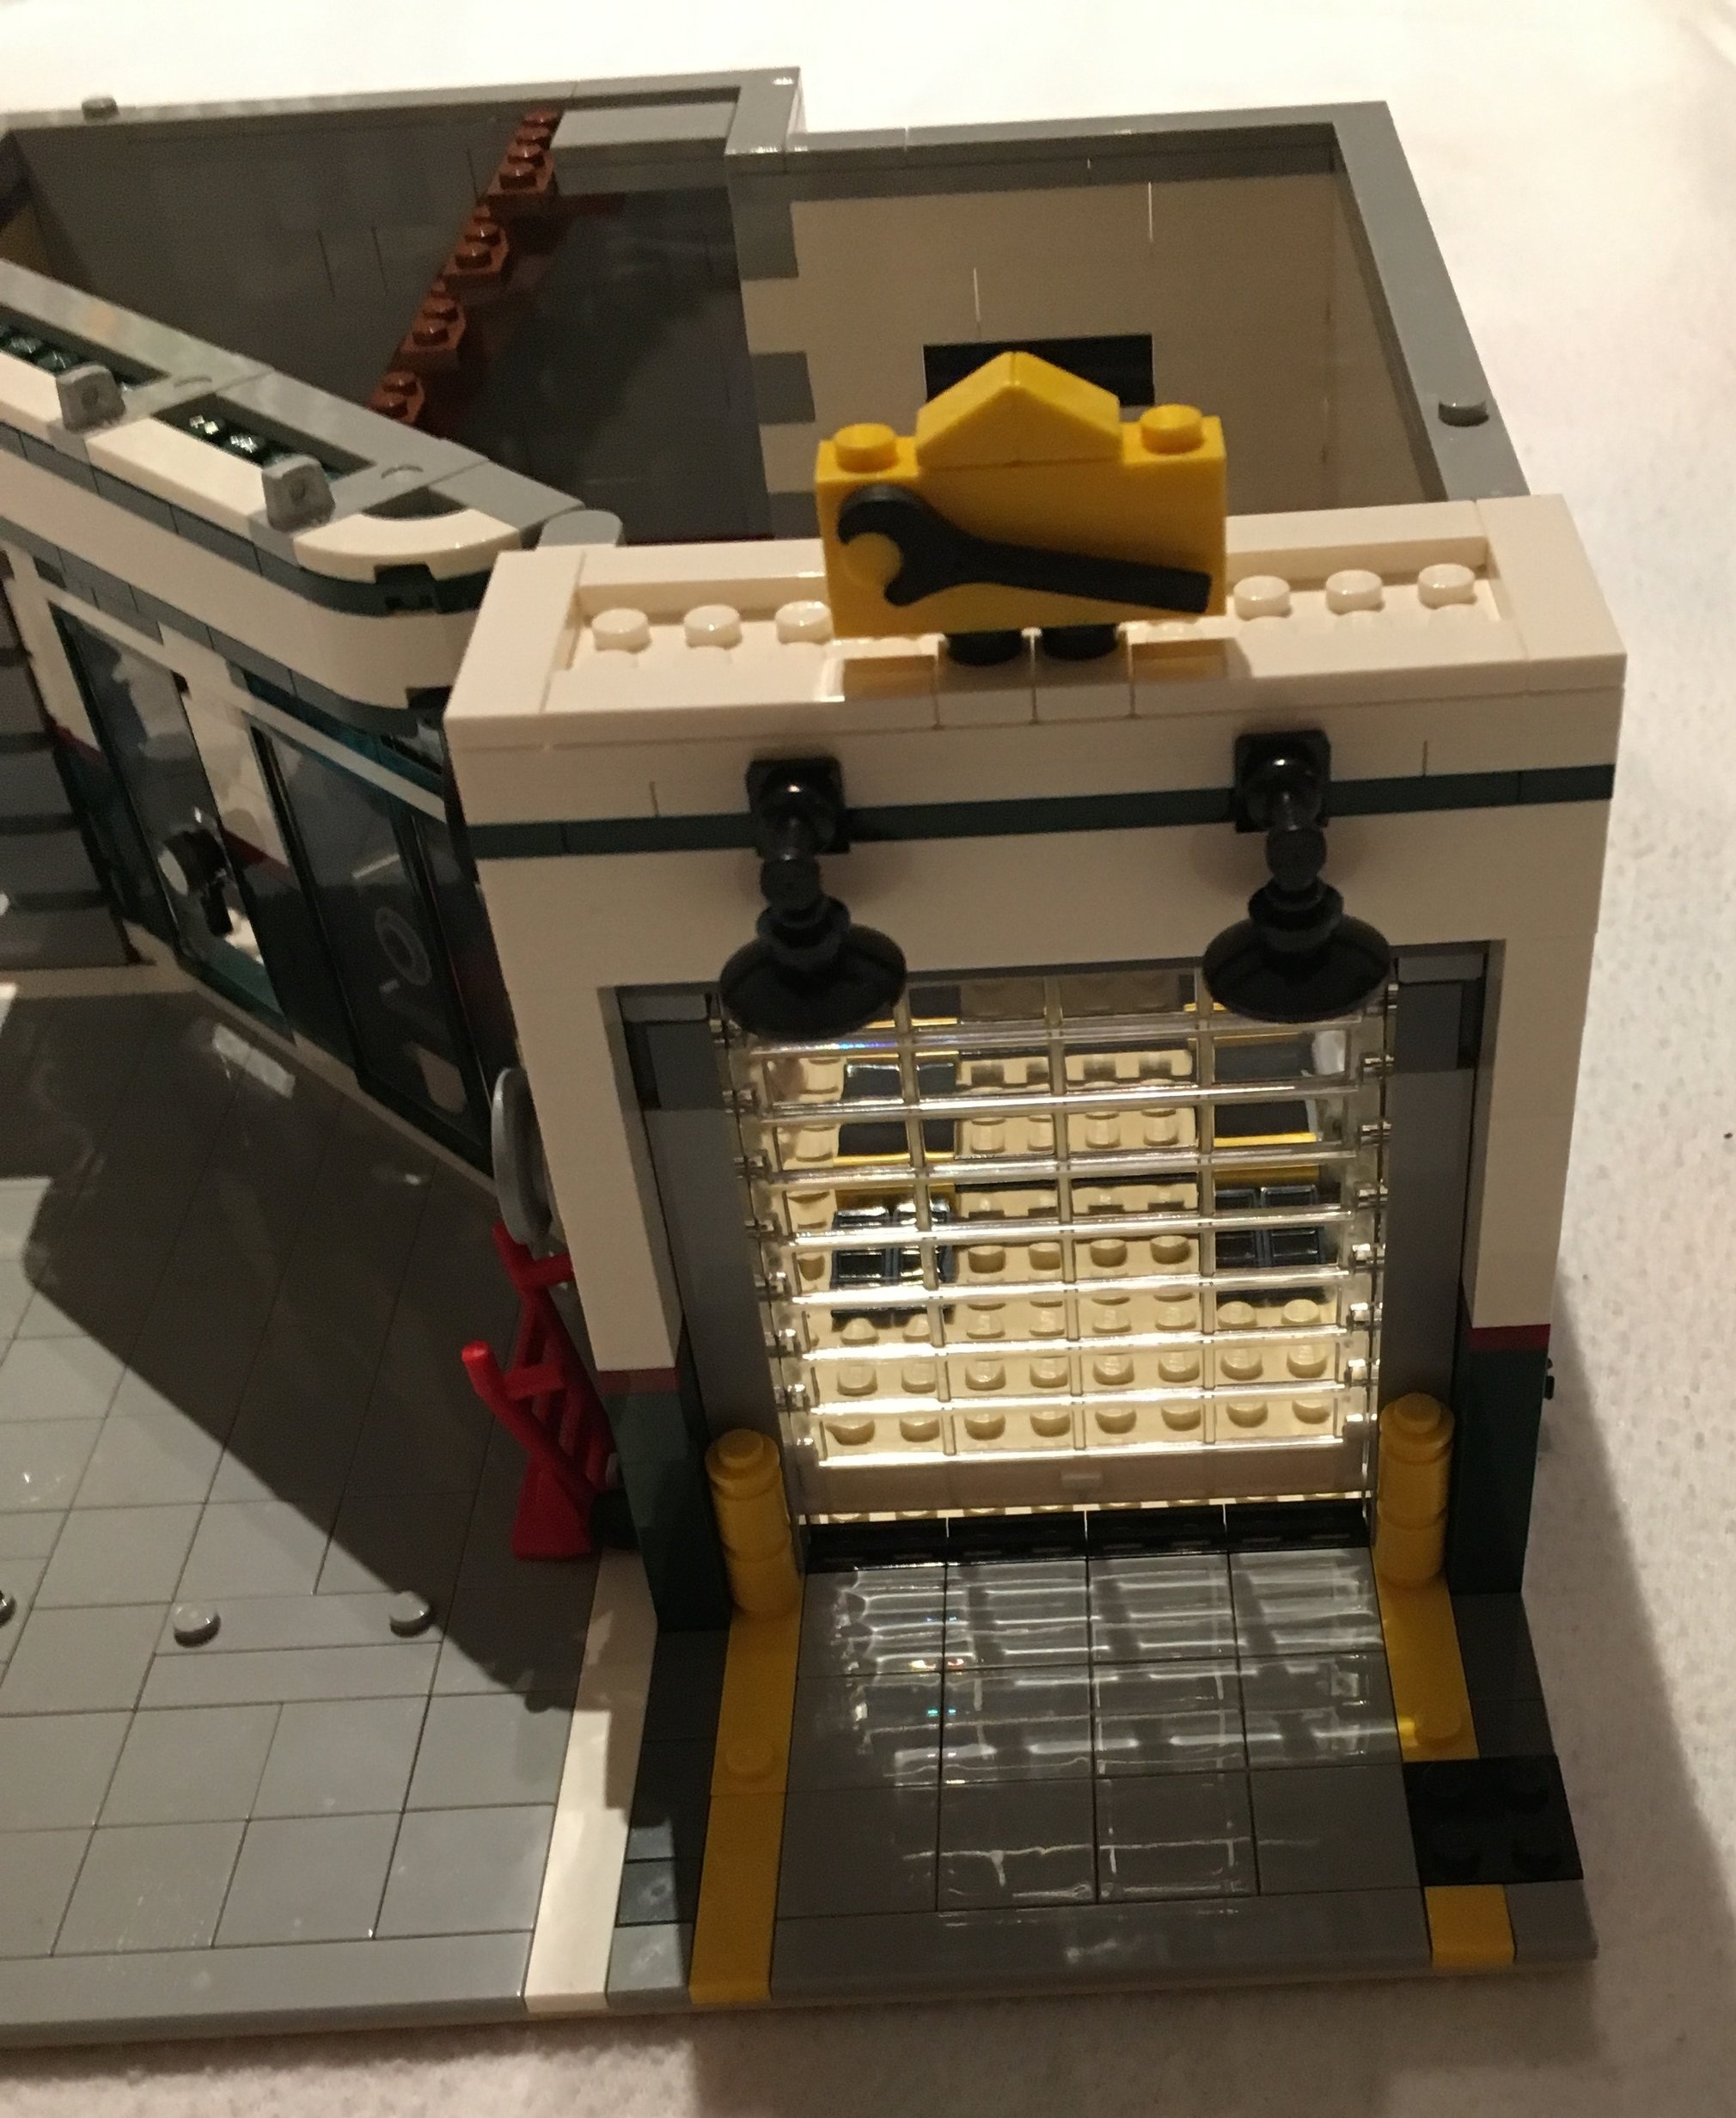
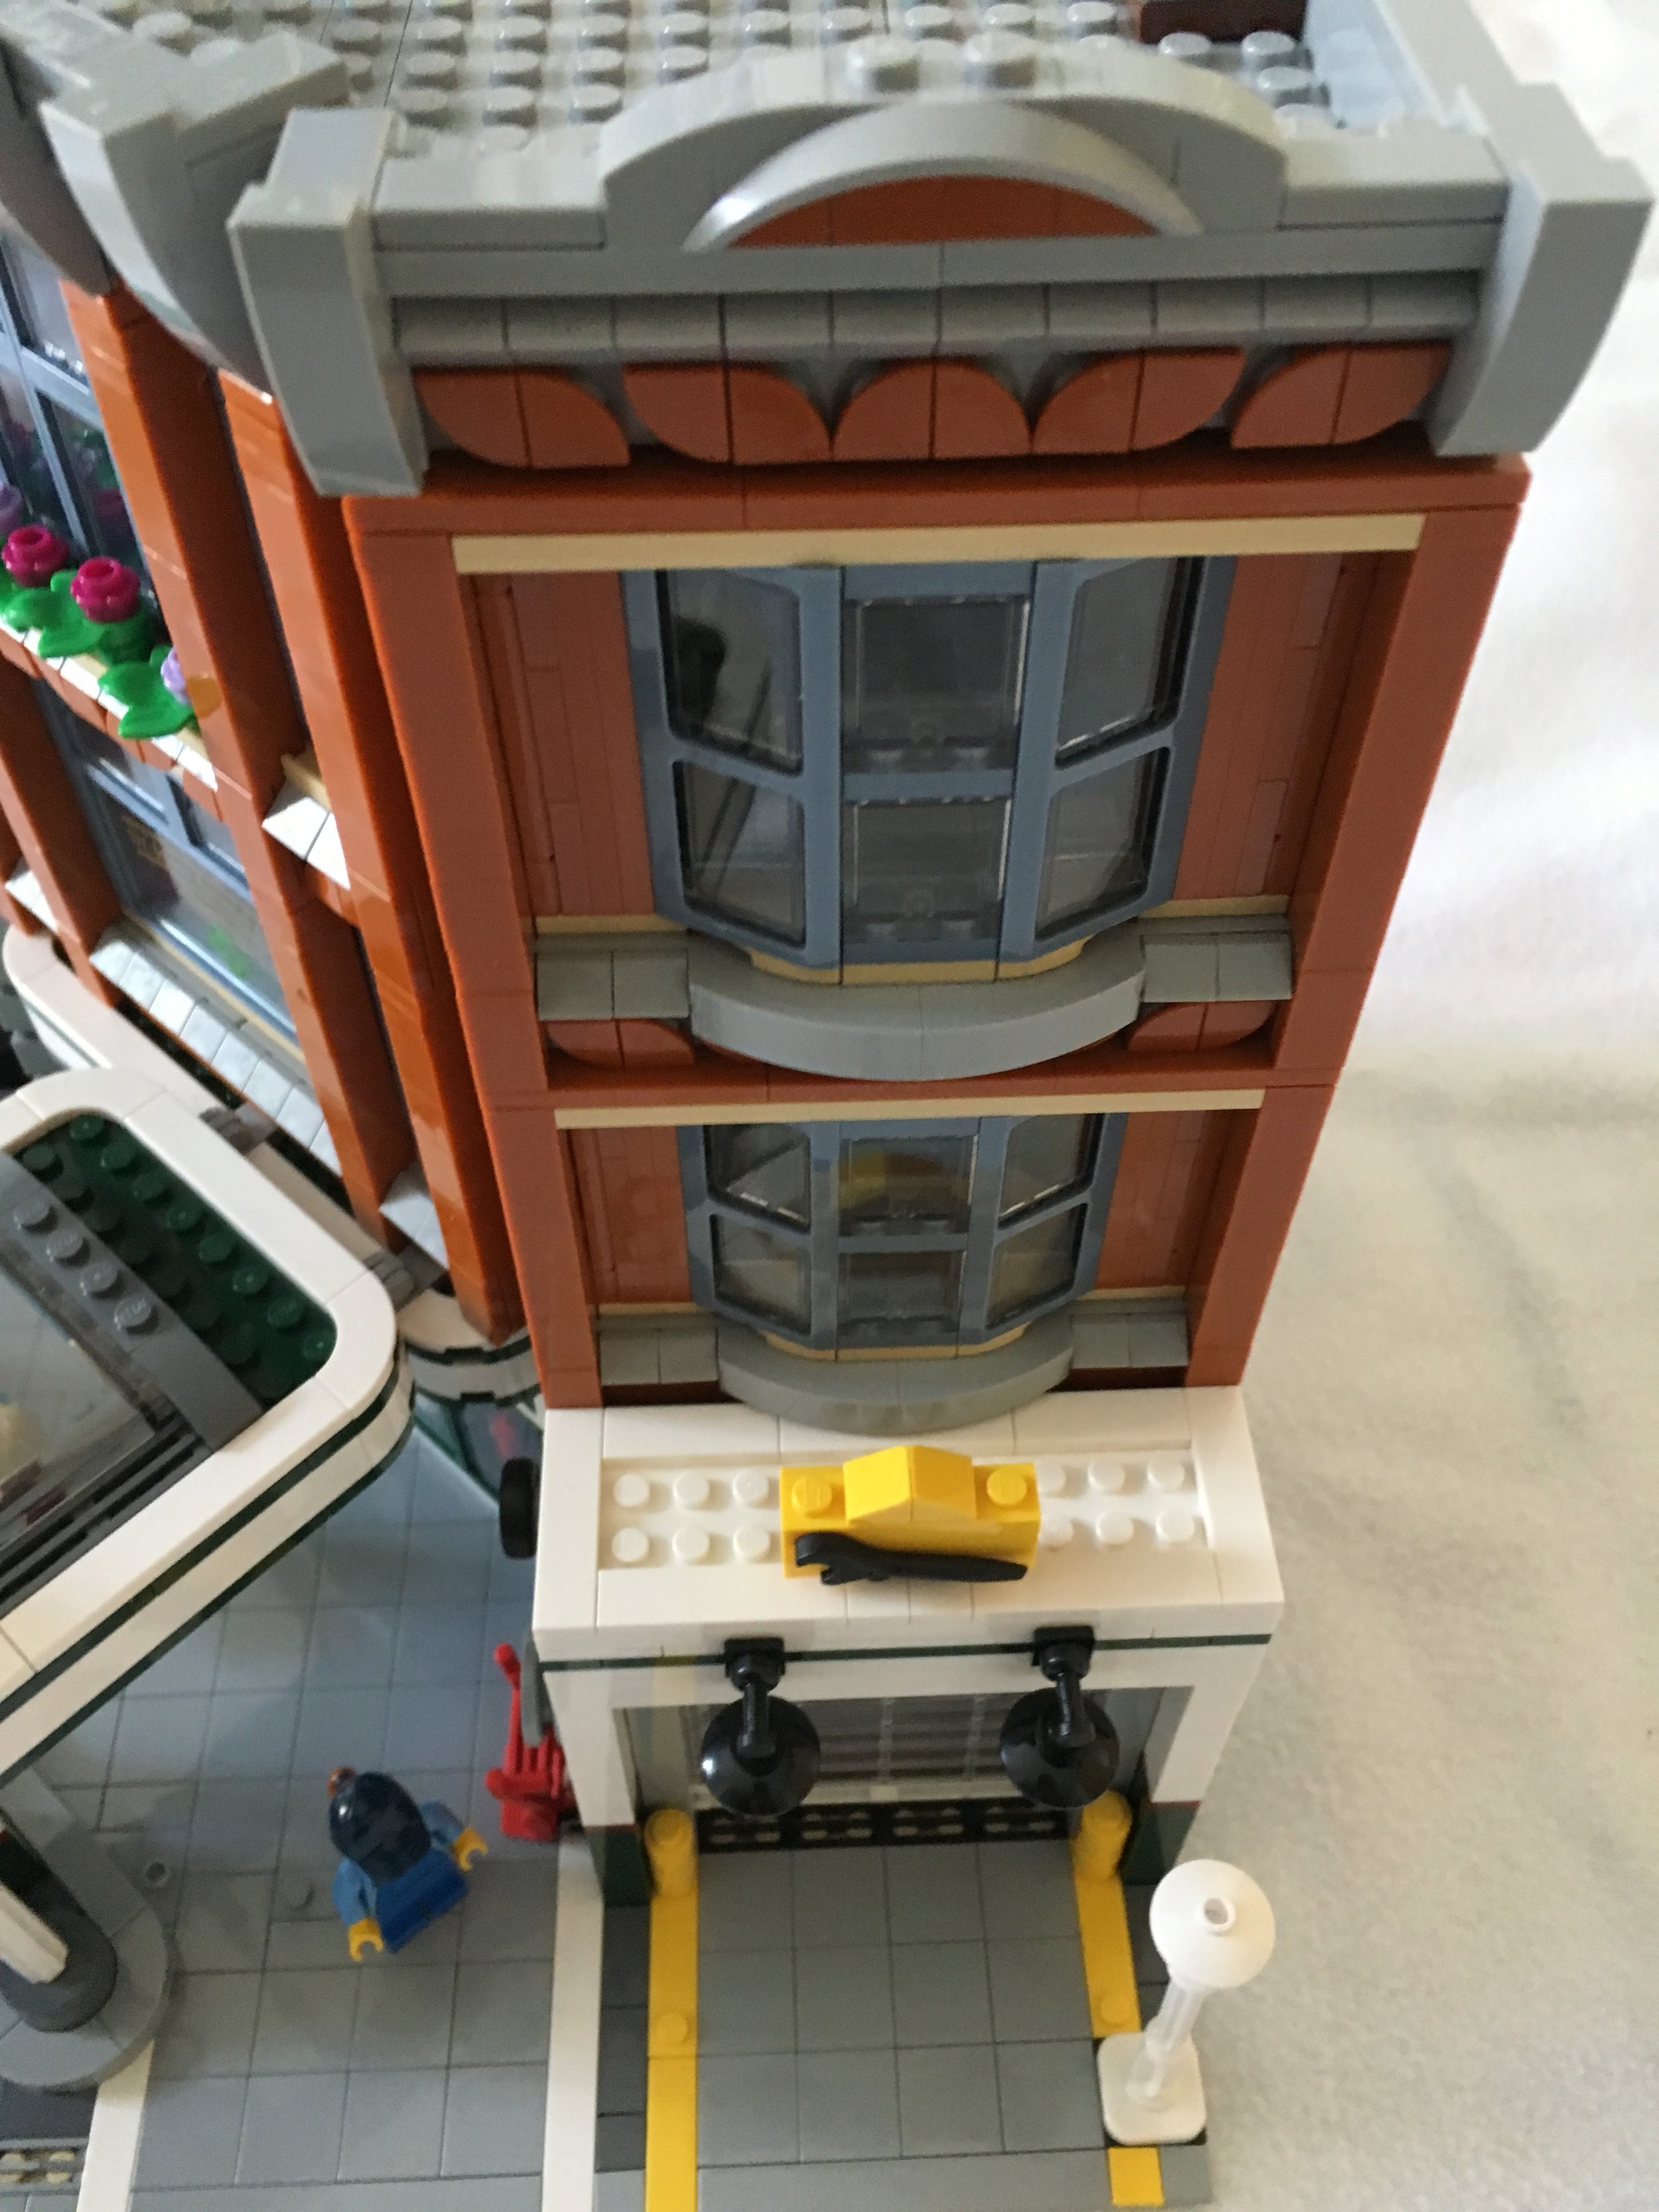
The second set of bags mostly finishes the ground floor. Internally, there are some items for sale to include tires and maybe motor oil. There is also a cash register and counter. Then there’s a door entrance opposite the garage to go up to the higher floors. On top of the garage door is a small sign for the shop with a wrench on it.

This set of bags include a small Vespa type motor bike and a male minifigure who is the rider.

10264_bag2a.jpg
10264_bag2b.jpg

The garage has a door that can be opened and closed. It is the standard door used in some of the CITY sets, but it does not have the same attachment. There is a wheel on the outer wall that you spin to open or close the door. When you open it, the door parts roll up. When it closes the door goes down in a track along the walls. Some of the CITY fire stations just have the garage doors stay on the track the whole time. When the door goes up, it just slides up above the vehicle stall versus rolling up like it does in this set. I had a bit of trouble putting this together correctly, but eventually figured it out so it works fine.

10264_bag2_door.jpg
10264_garage.jpg

The third set of bags builds the gas pump, the covering over the pump, and the tow truck. The gas pump is an old fashioned pump with a cool Octan logo on it. The covering over the pump has a sign that reads “Jo’s Garage” with the catchy and clever saying of “By Accident We Meet.” A blue tow truck is included too. It’s in the older style… maybe 1930s or 1940s… and has a simple mechanism to raise and lower the hook. This parts bag also has a female minifigure who is a mechanic.

Also included in this parts bag is a small tree that uses one of the newer leaf pieces to make the branches.

10264_bag3a.jpg
10264_tree.jpg
10264_bag3b.jpg

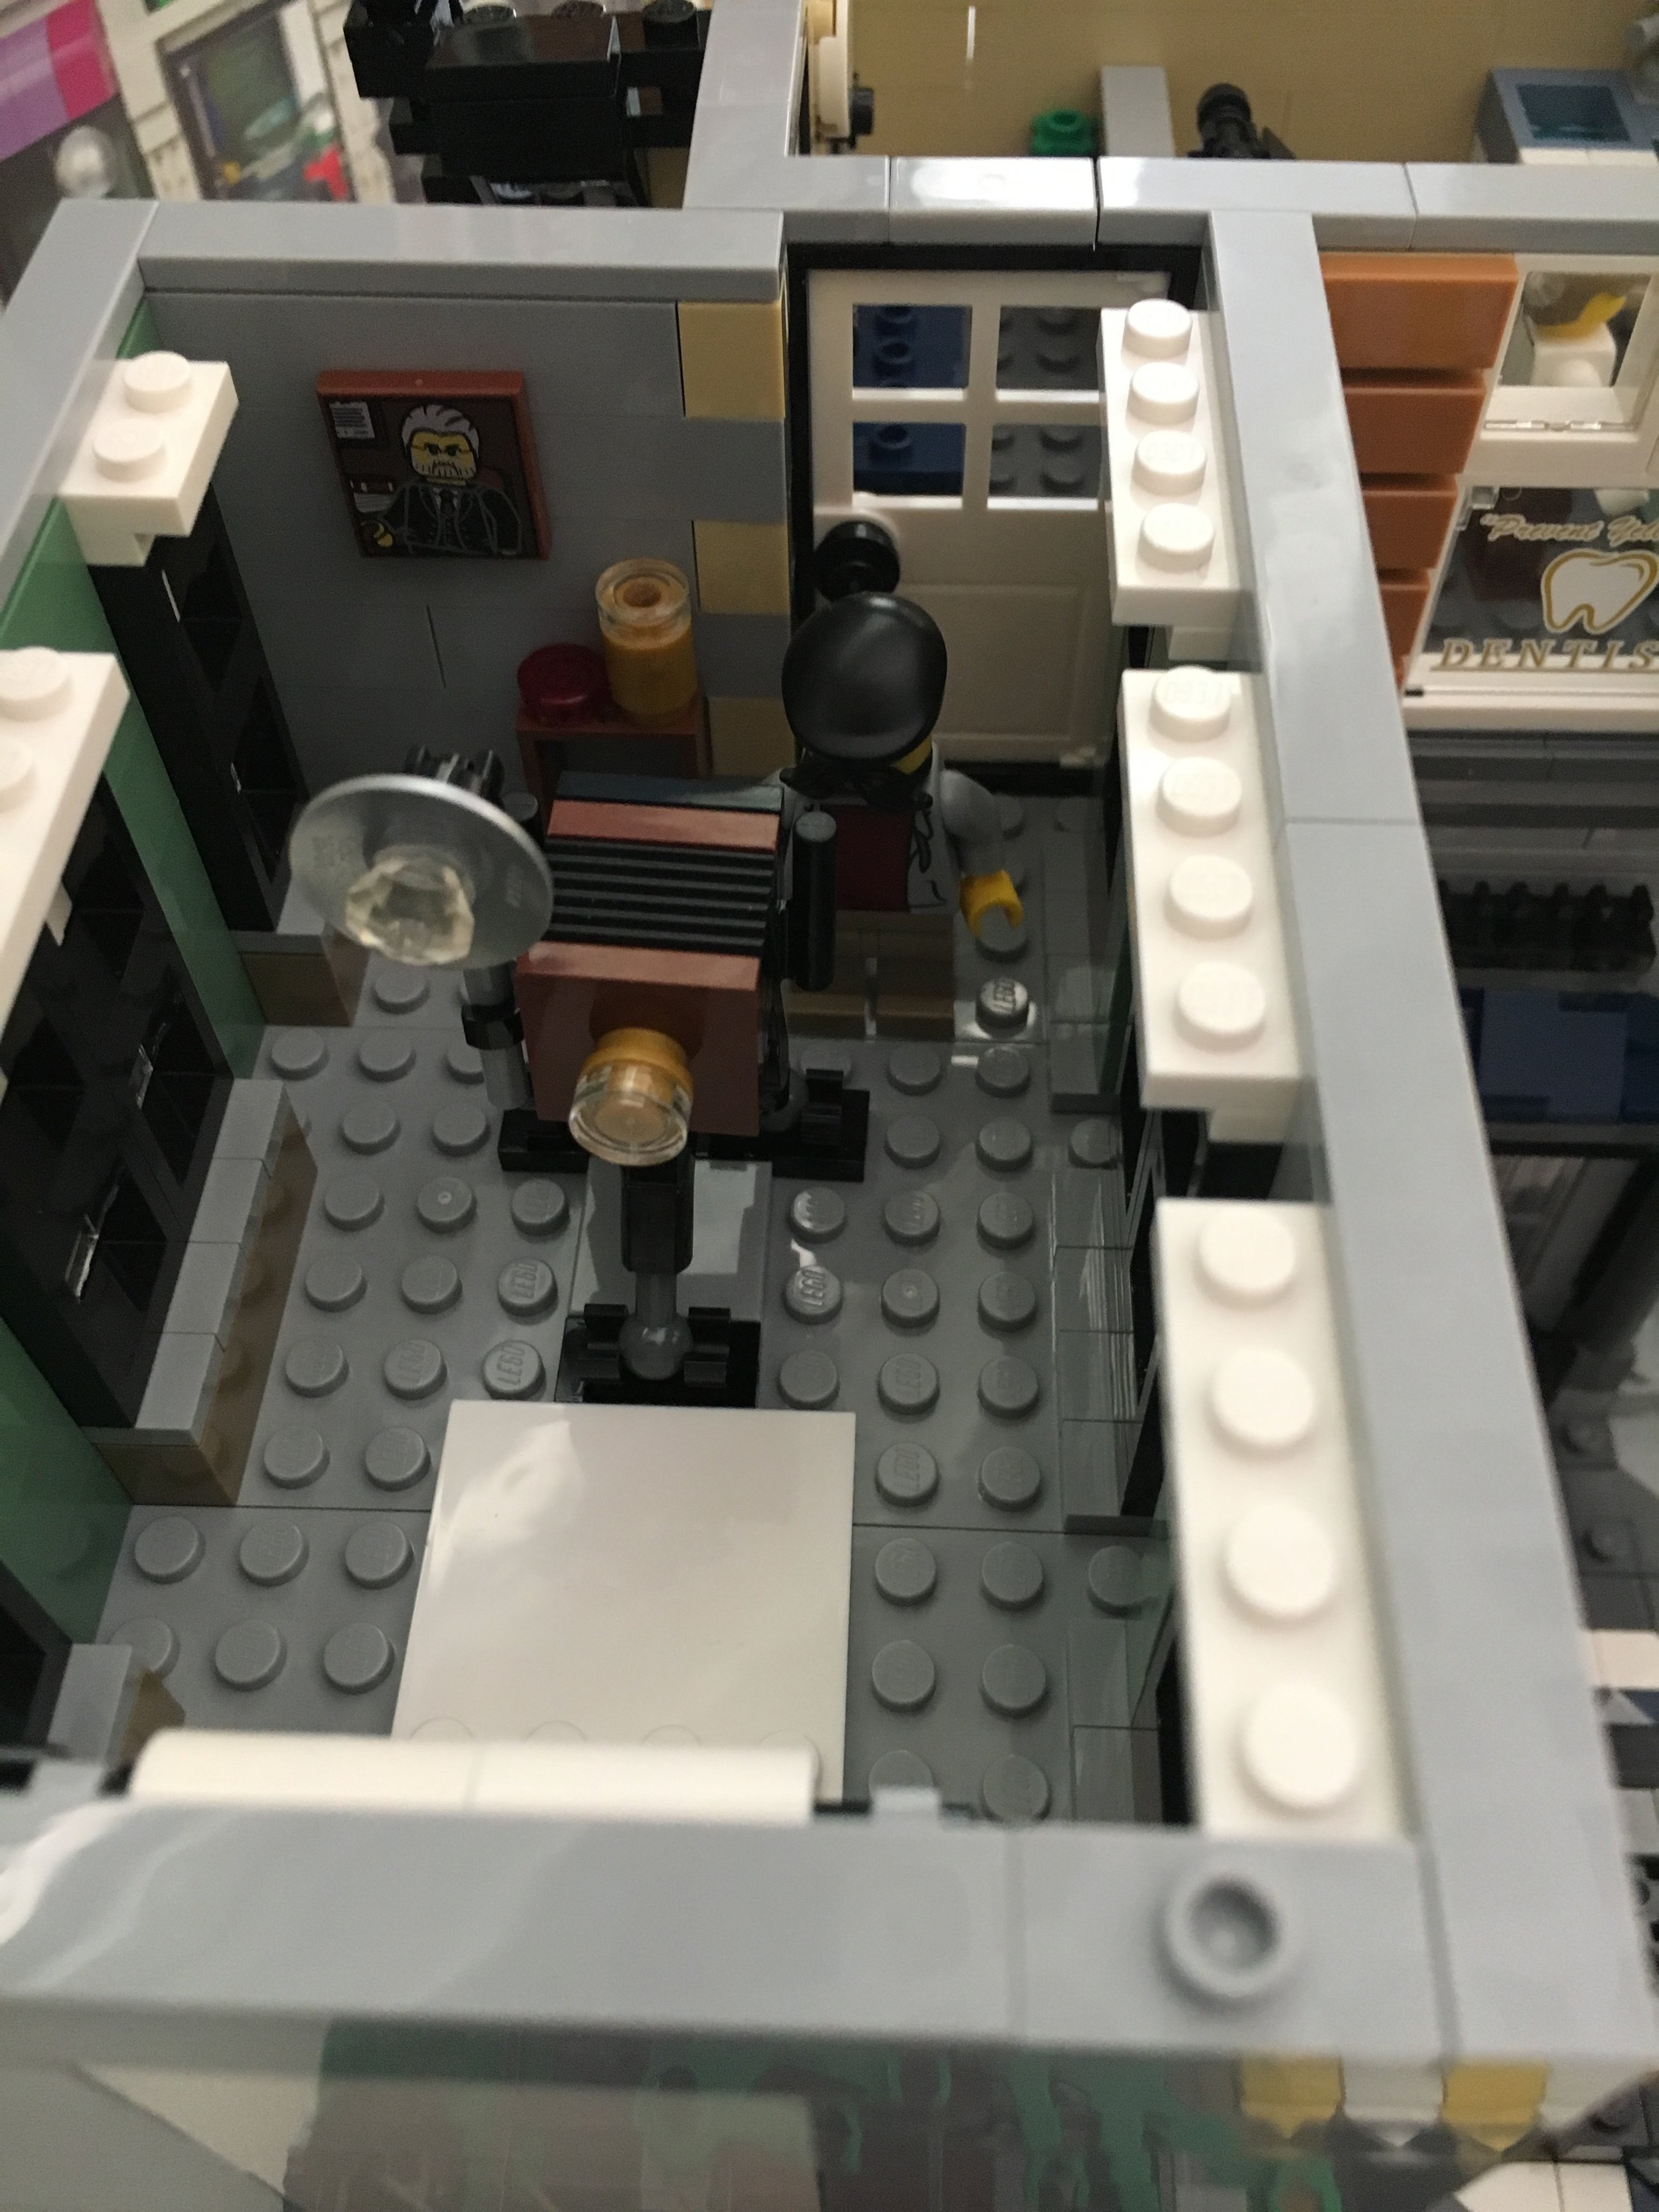
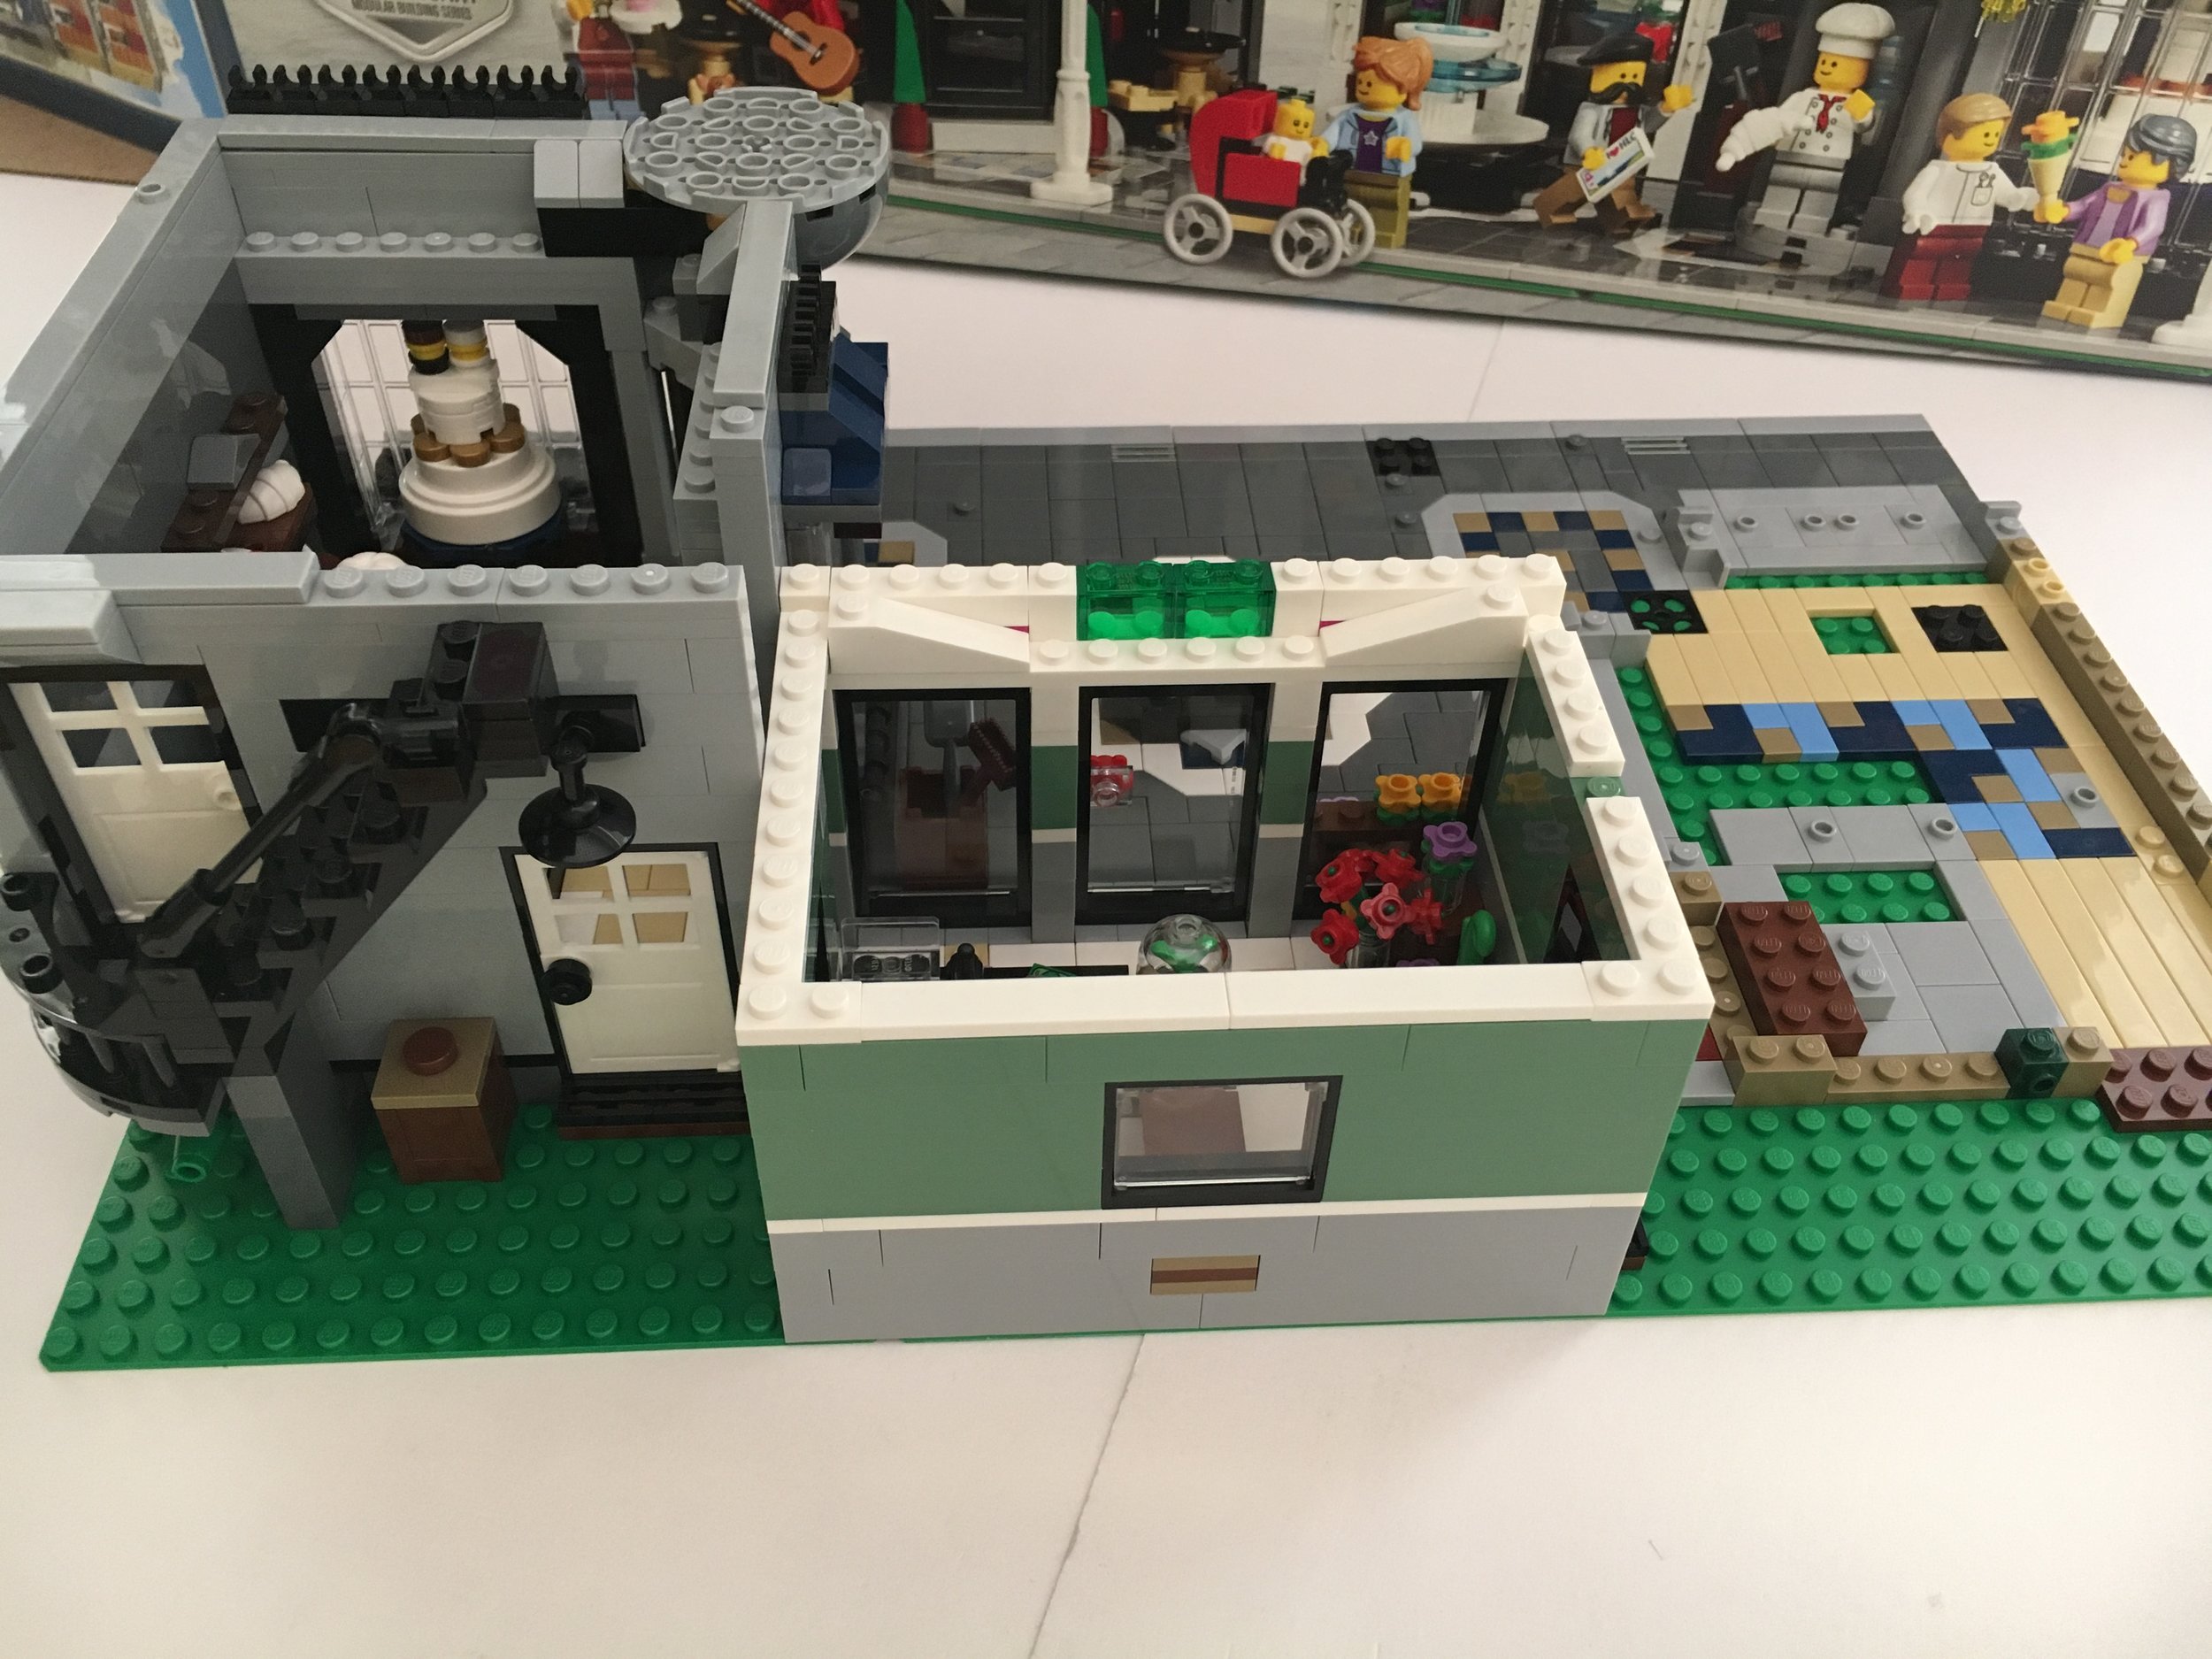
The fourth set of bags builds the second floor which is a Veterinarian’s Office. The front window says “Dr. Jones Animal Care - No Snakes.” Yet another clever graphic by the designers.

10264_bag4a.jpg
10264_bag4b.jpg

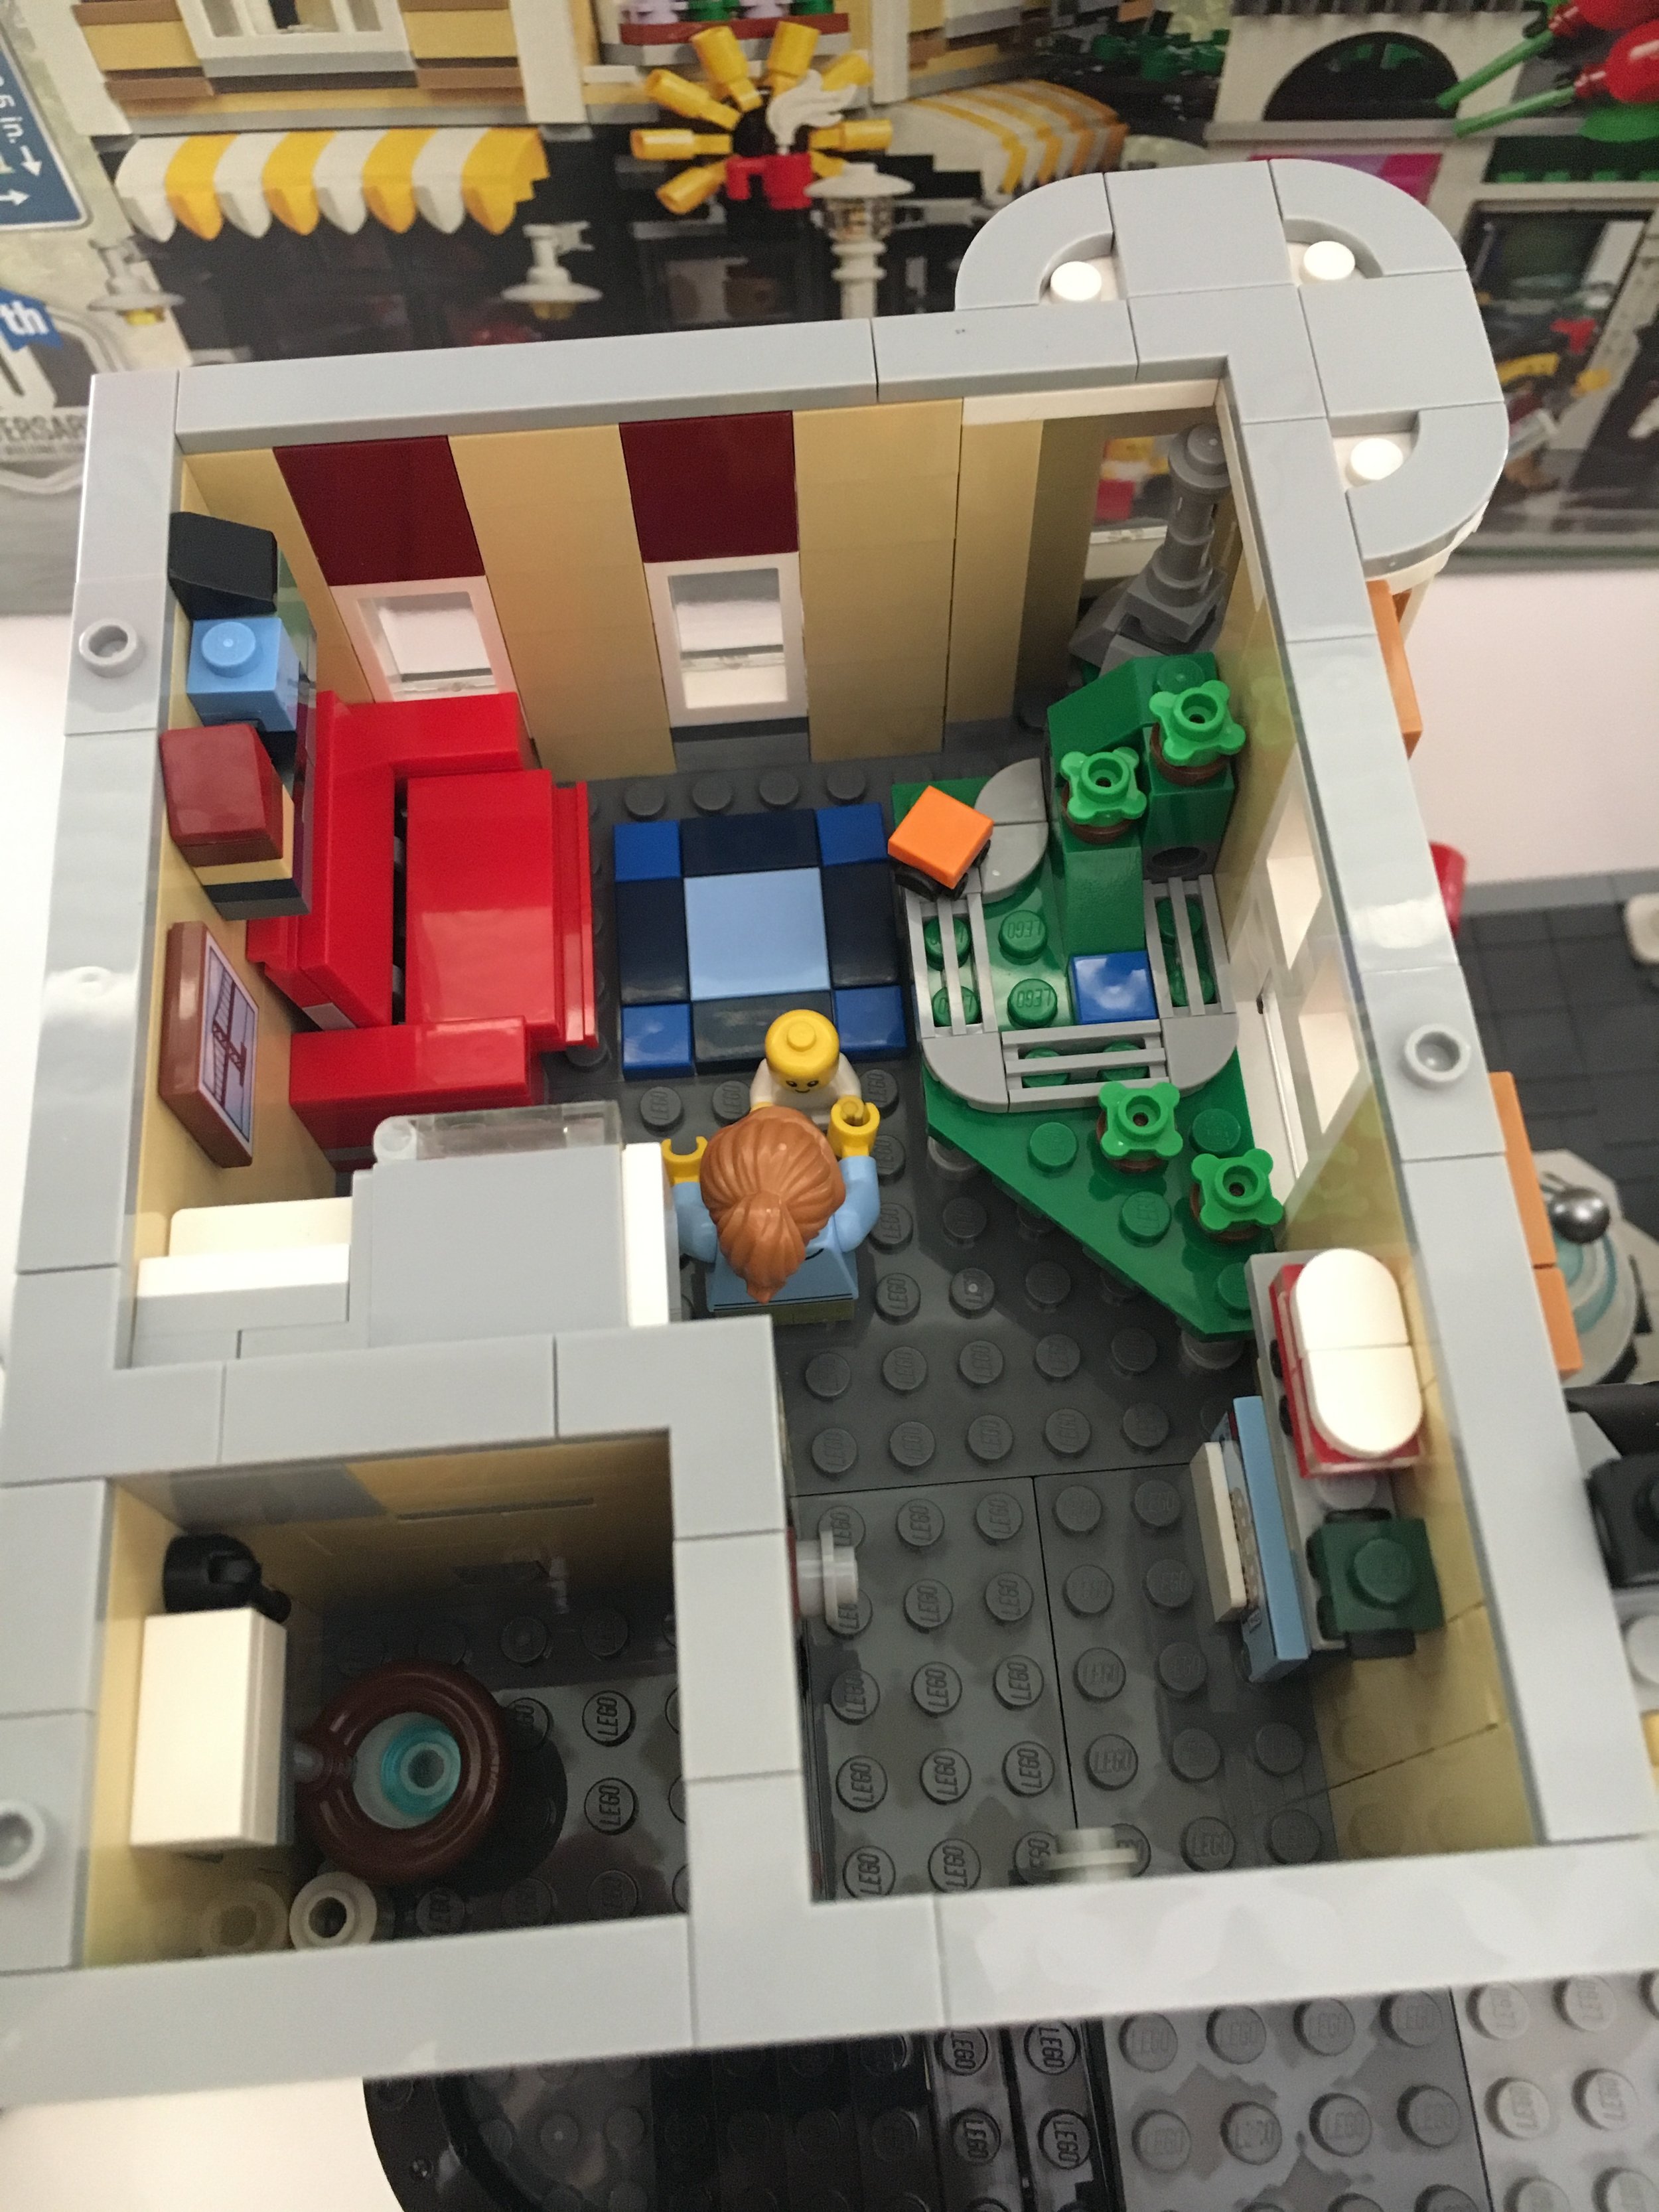
The waiting room has a small waiting area to wait for your animal to be taken care of. There is a girl minifigure who can’t actually sit on the couch or chair and a parrot who hangs out there. The waiting room also has a small table with a coffee mug, some flowers, and a fish tank with a fish in it that is build into the wall that divides the office with the waiting room.

The Office has an examining table, a work desk for the vet, a lab station, and a table with some equipment for the vet to use. The instructions have the vet examining a rabbit on the table.

Despite the size of the floor, the designers were able to squeeze a decent amount of detail in. I’m impressed.

10264_bag4c.jpg
10264_bag4d.jpg

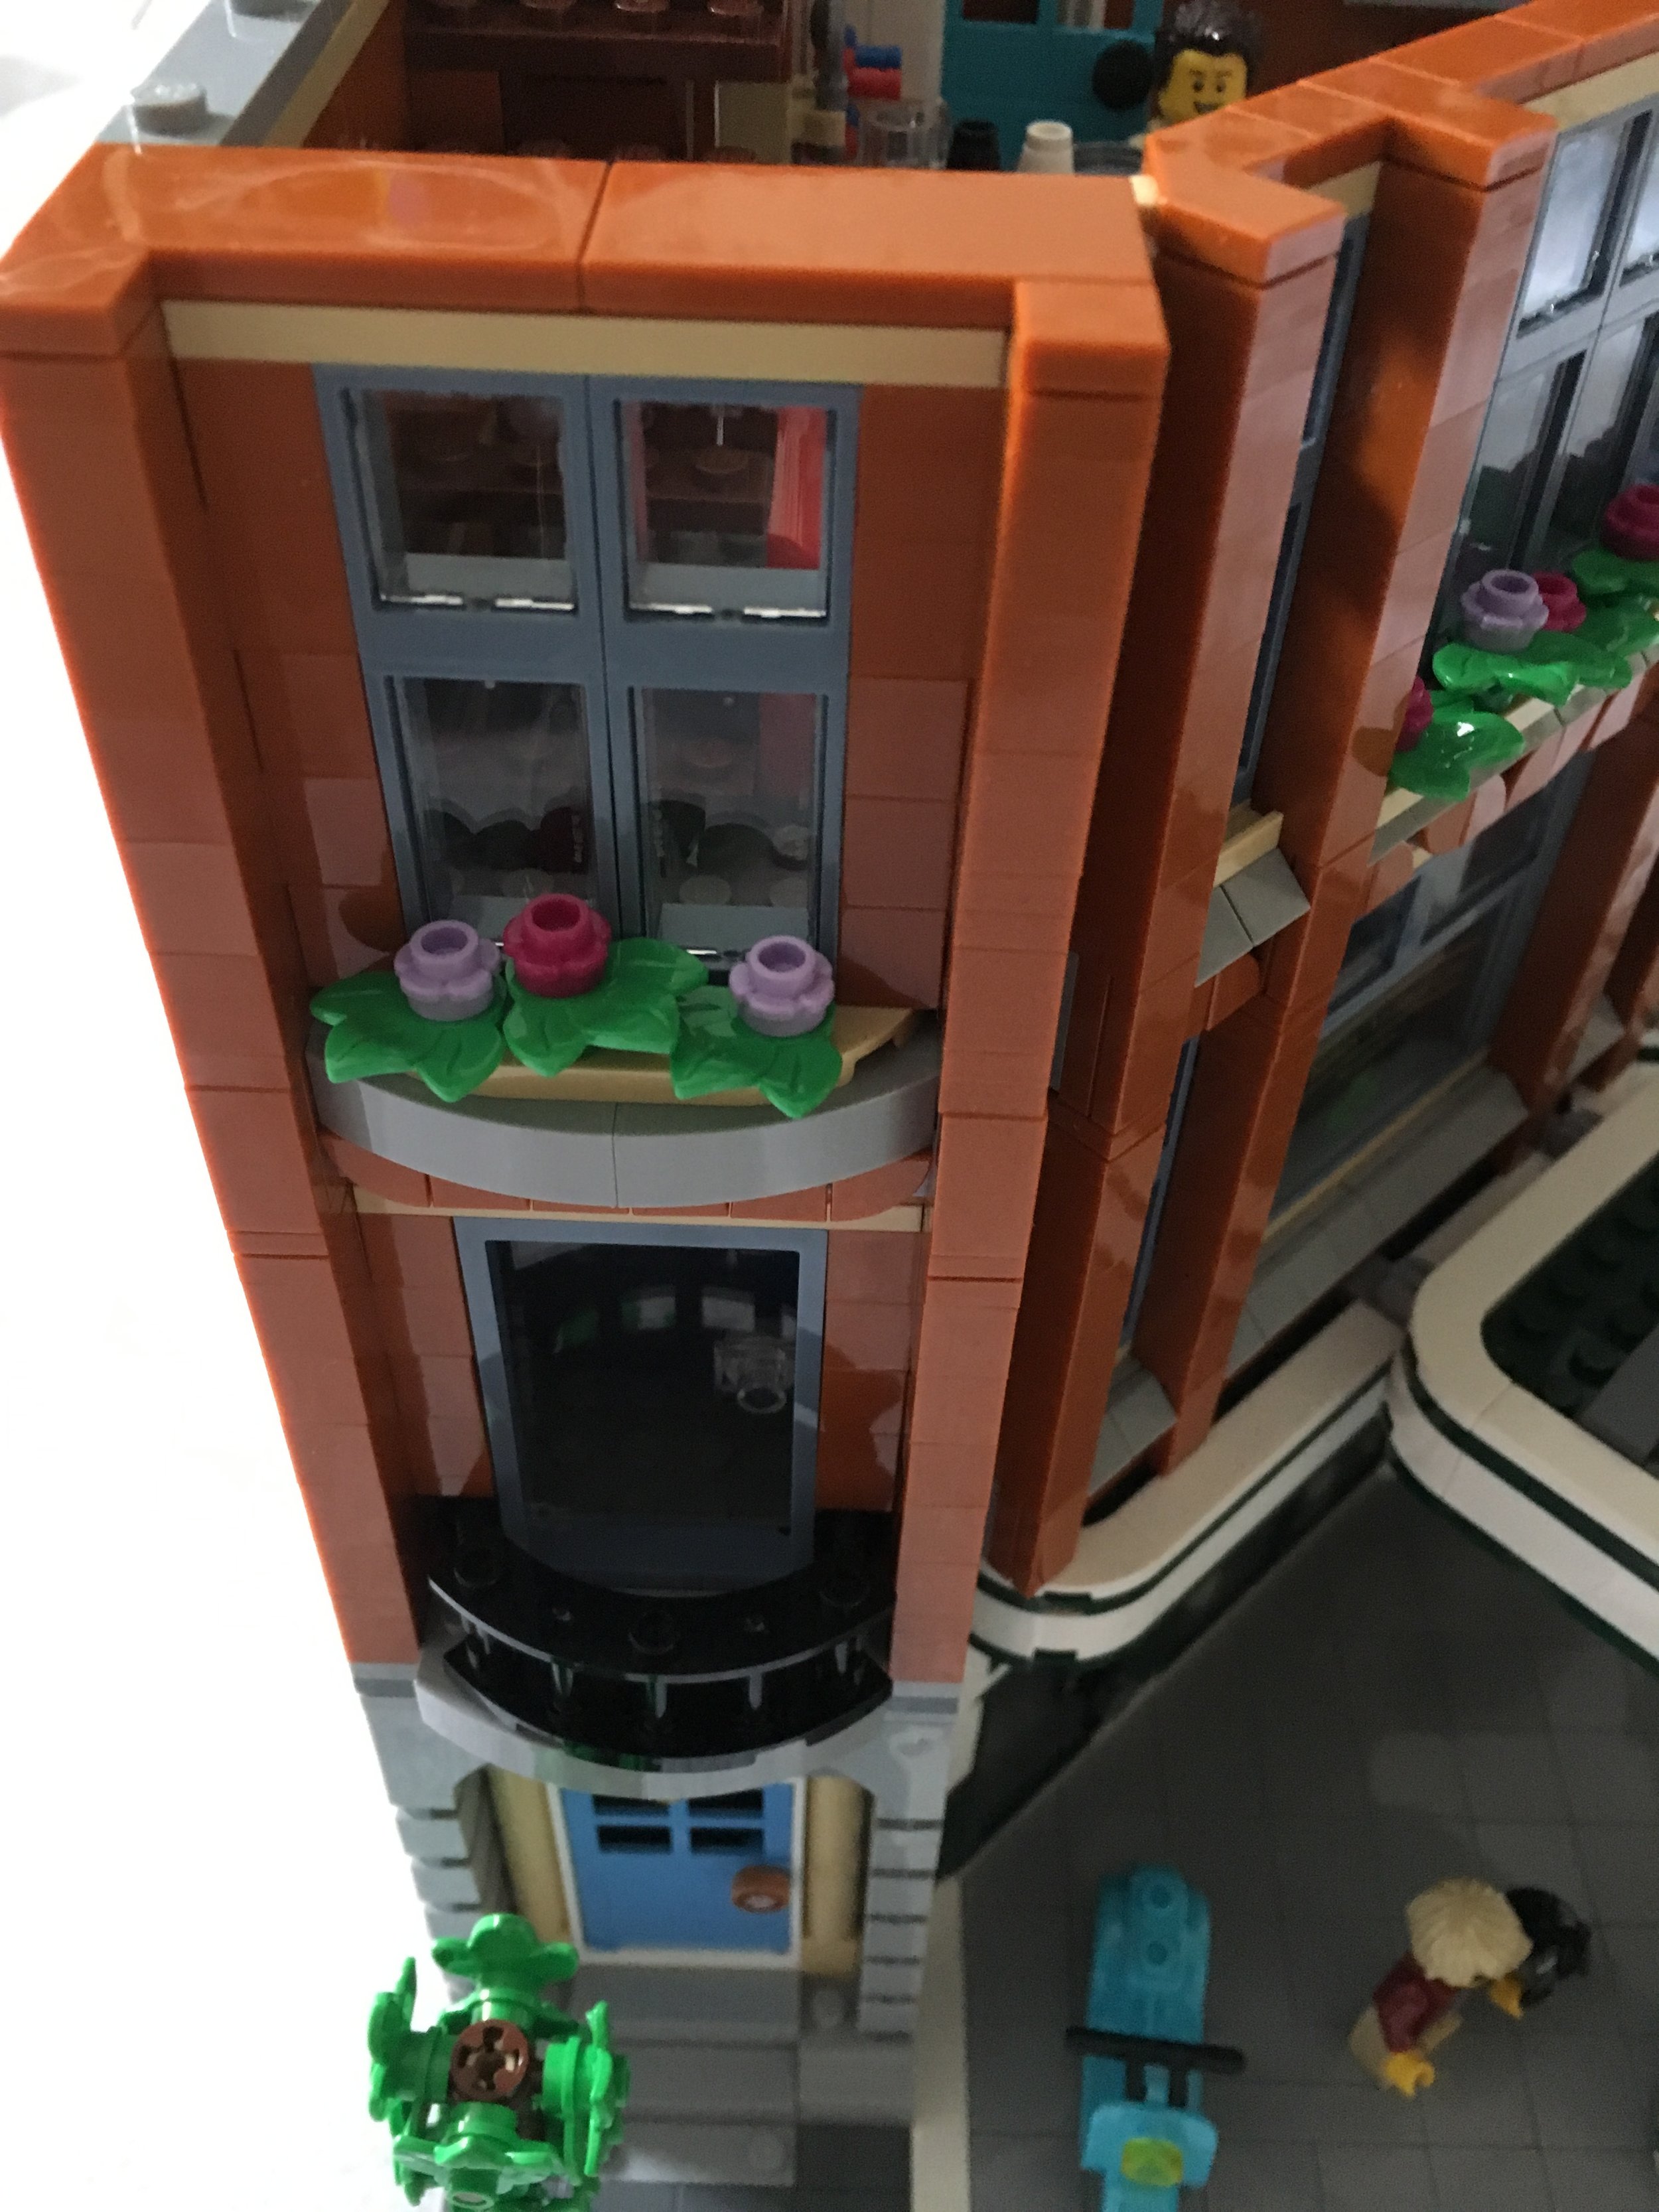
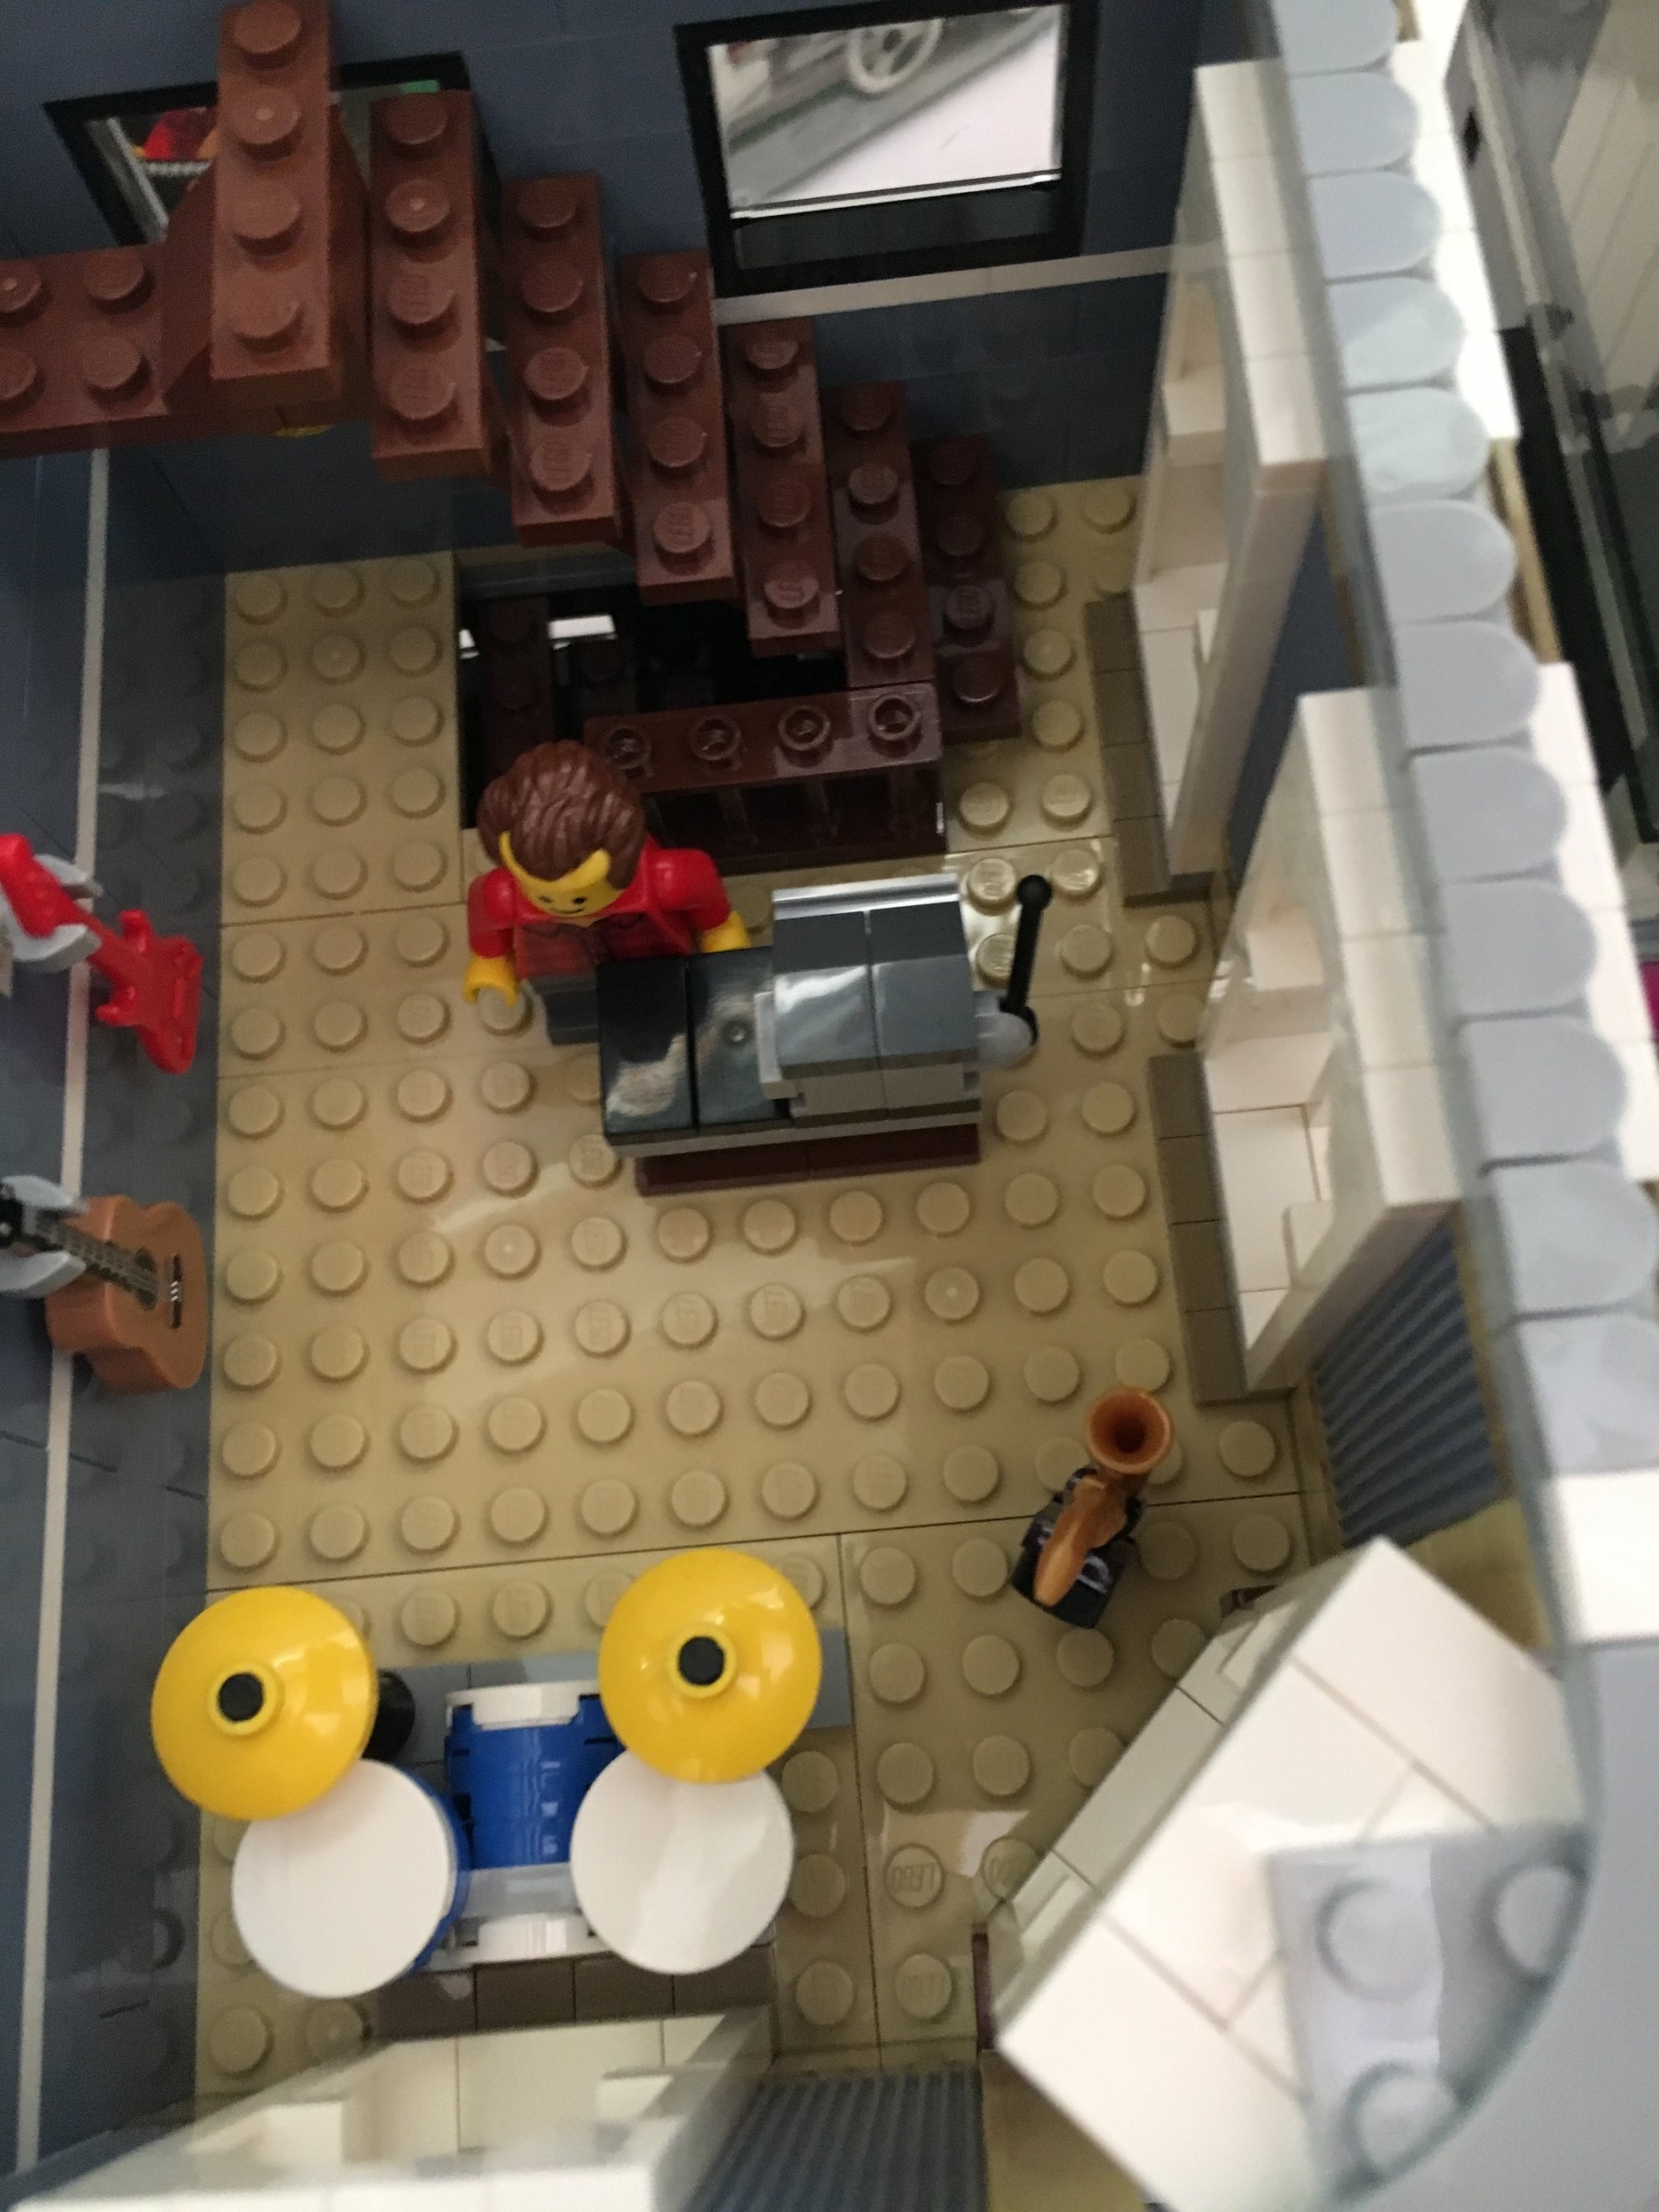
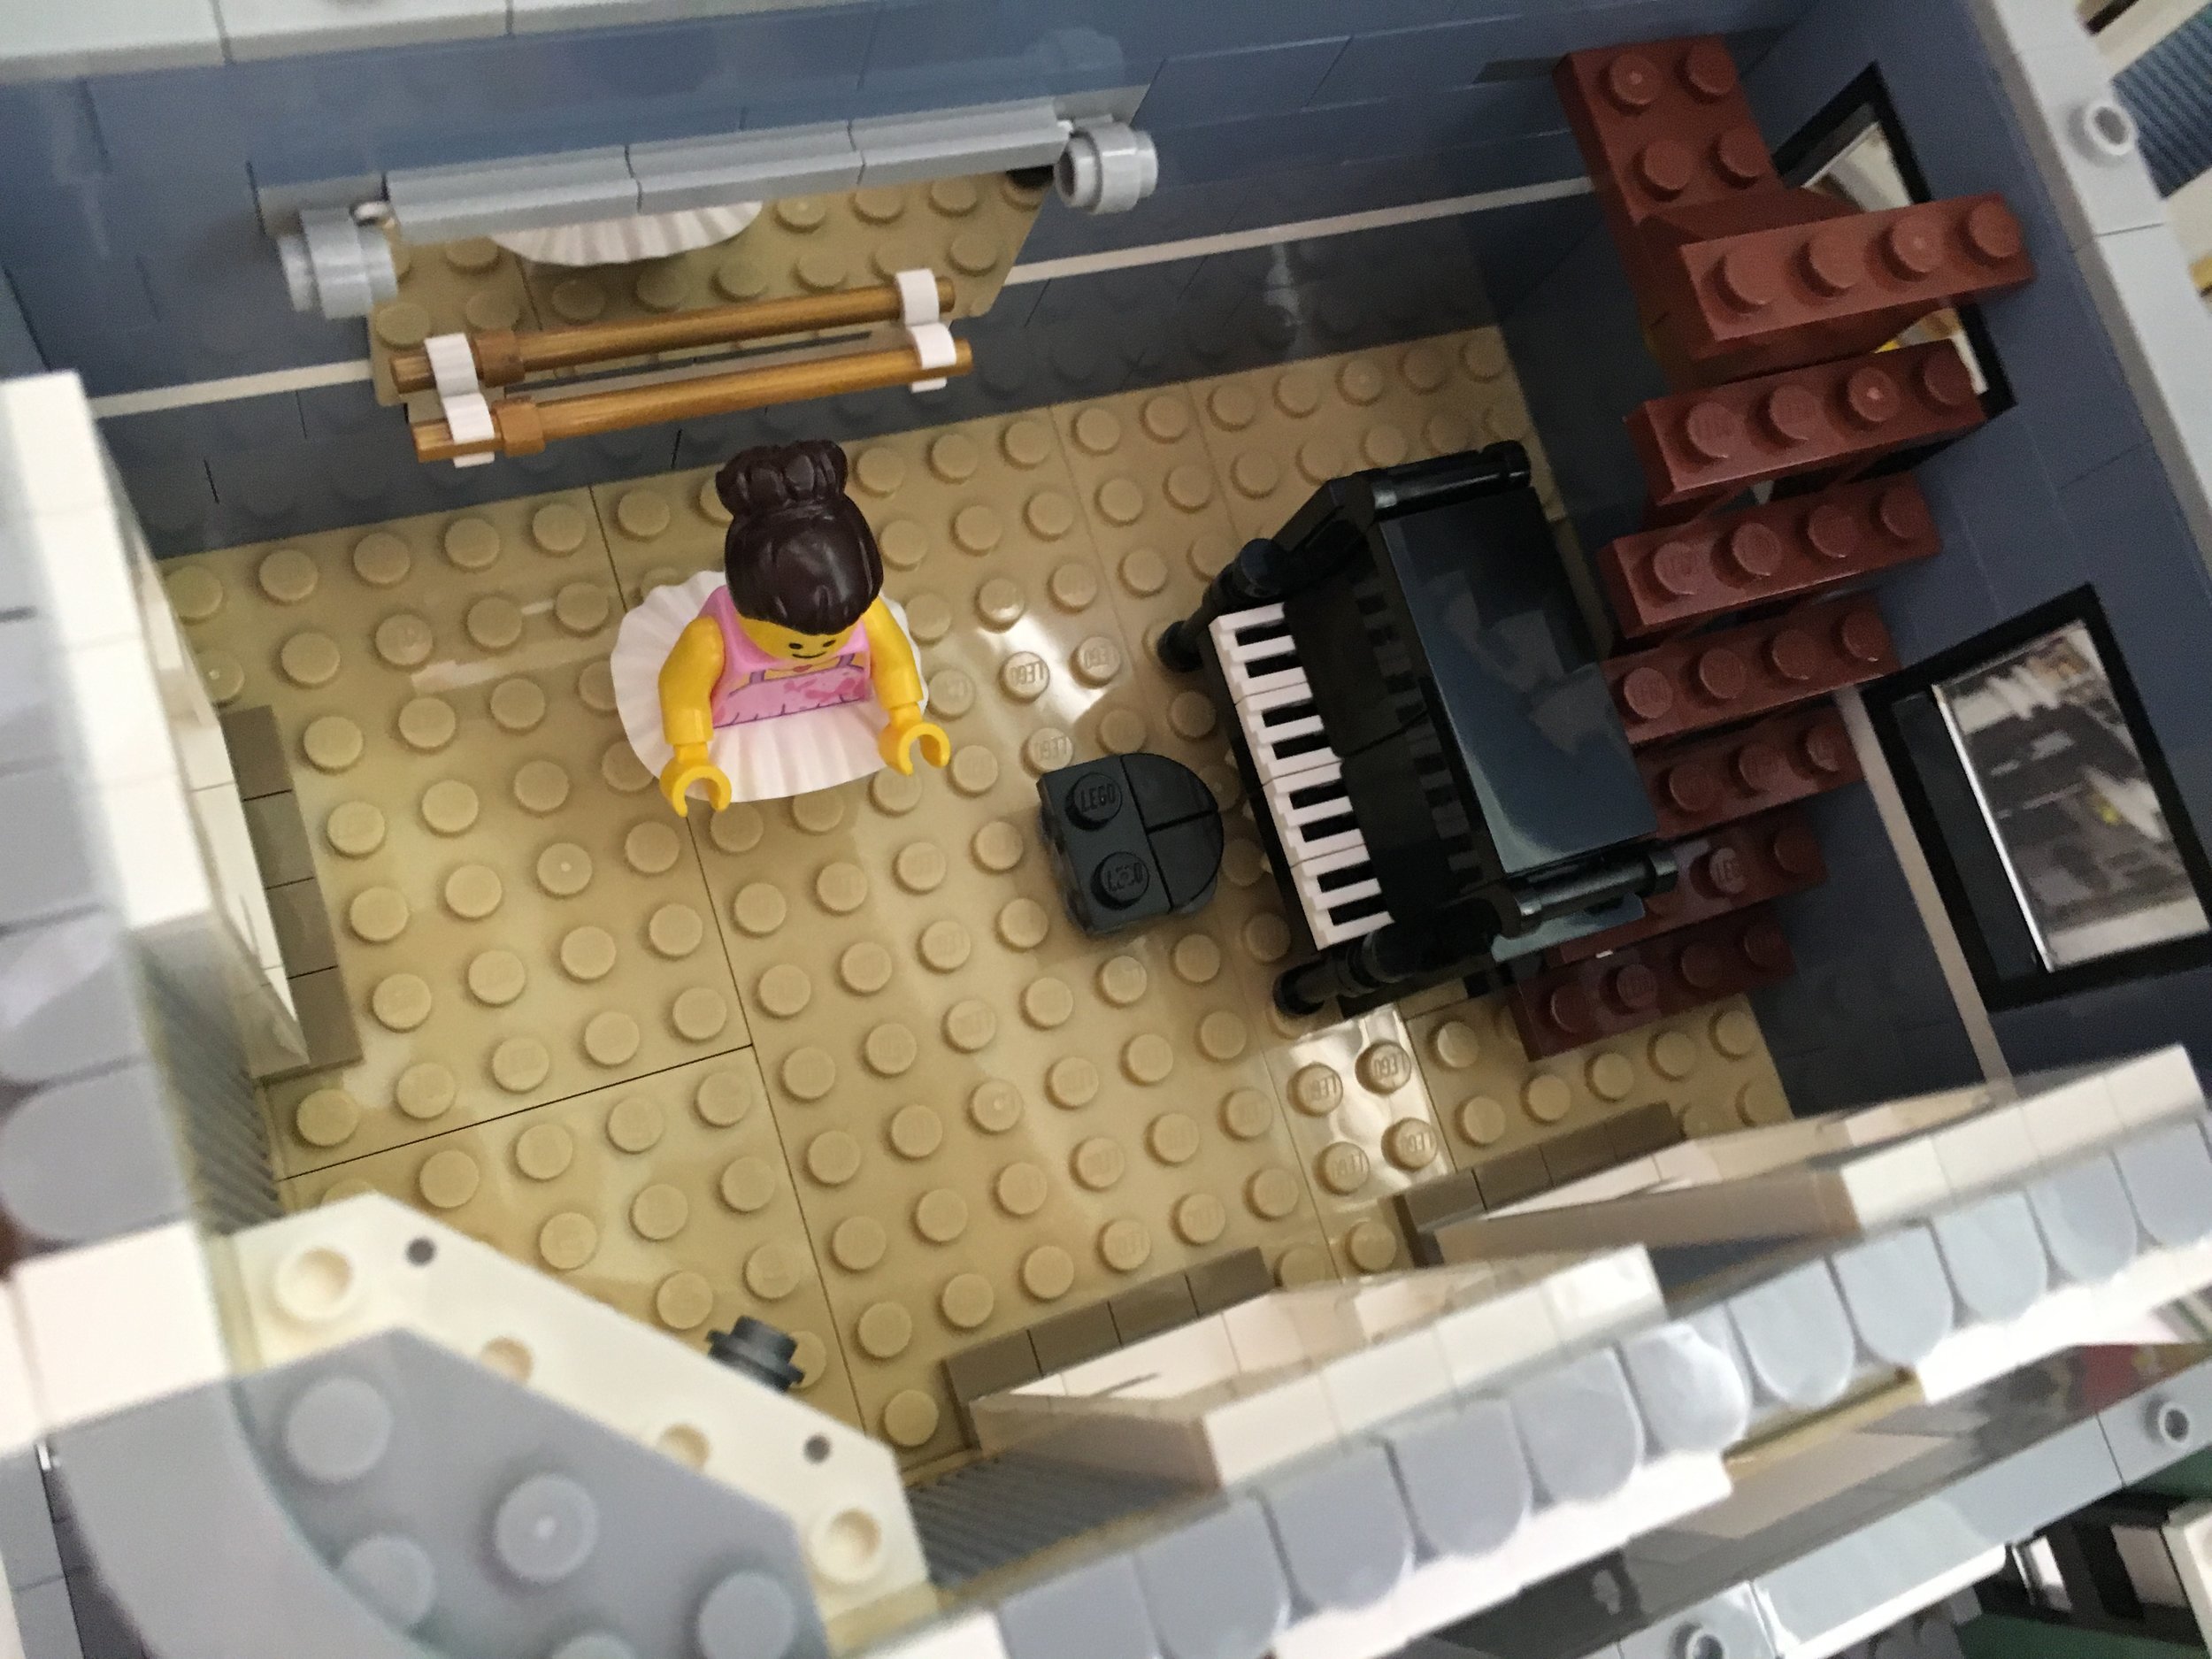
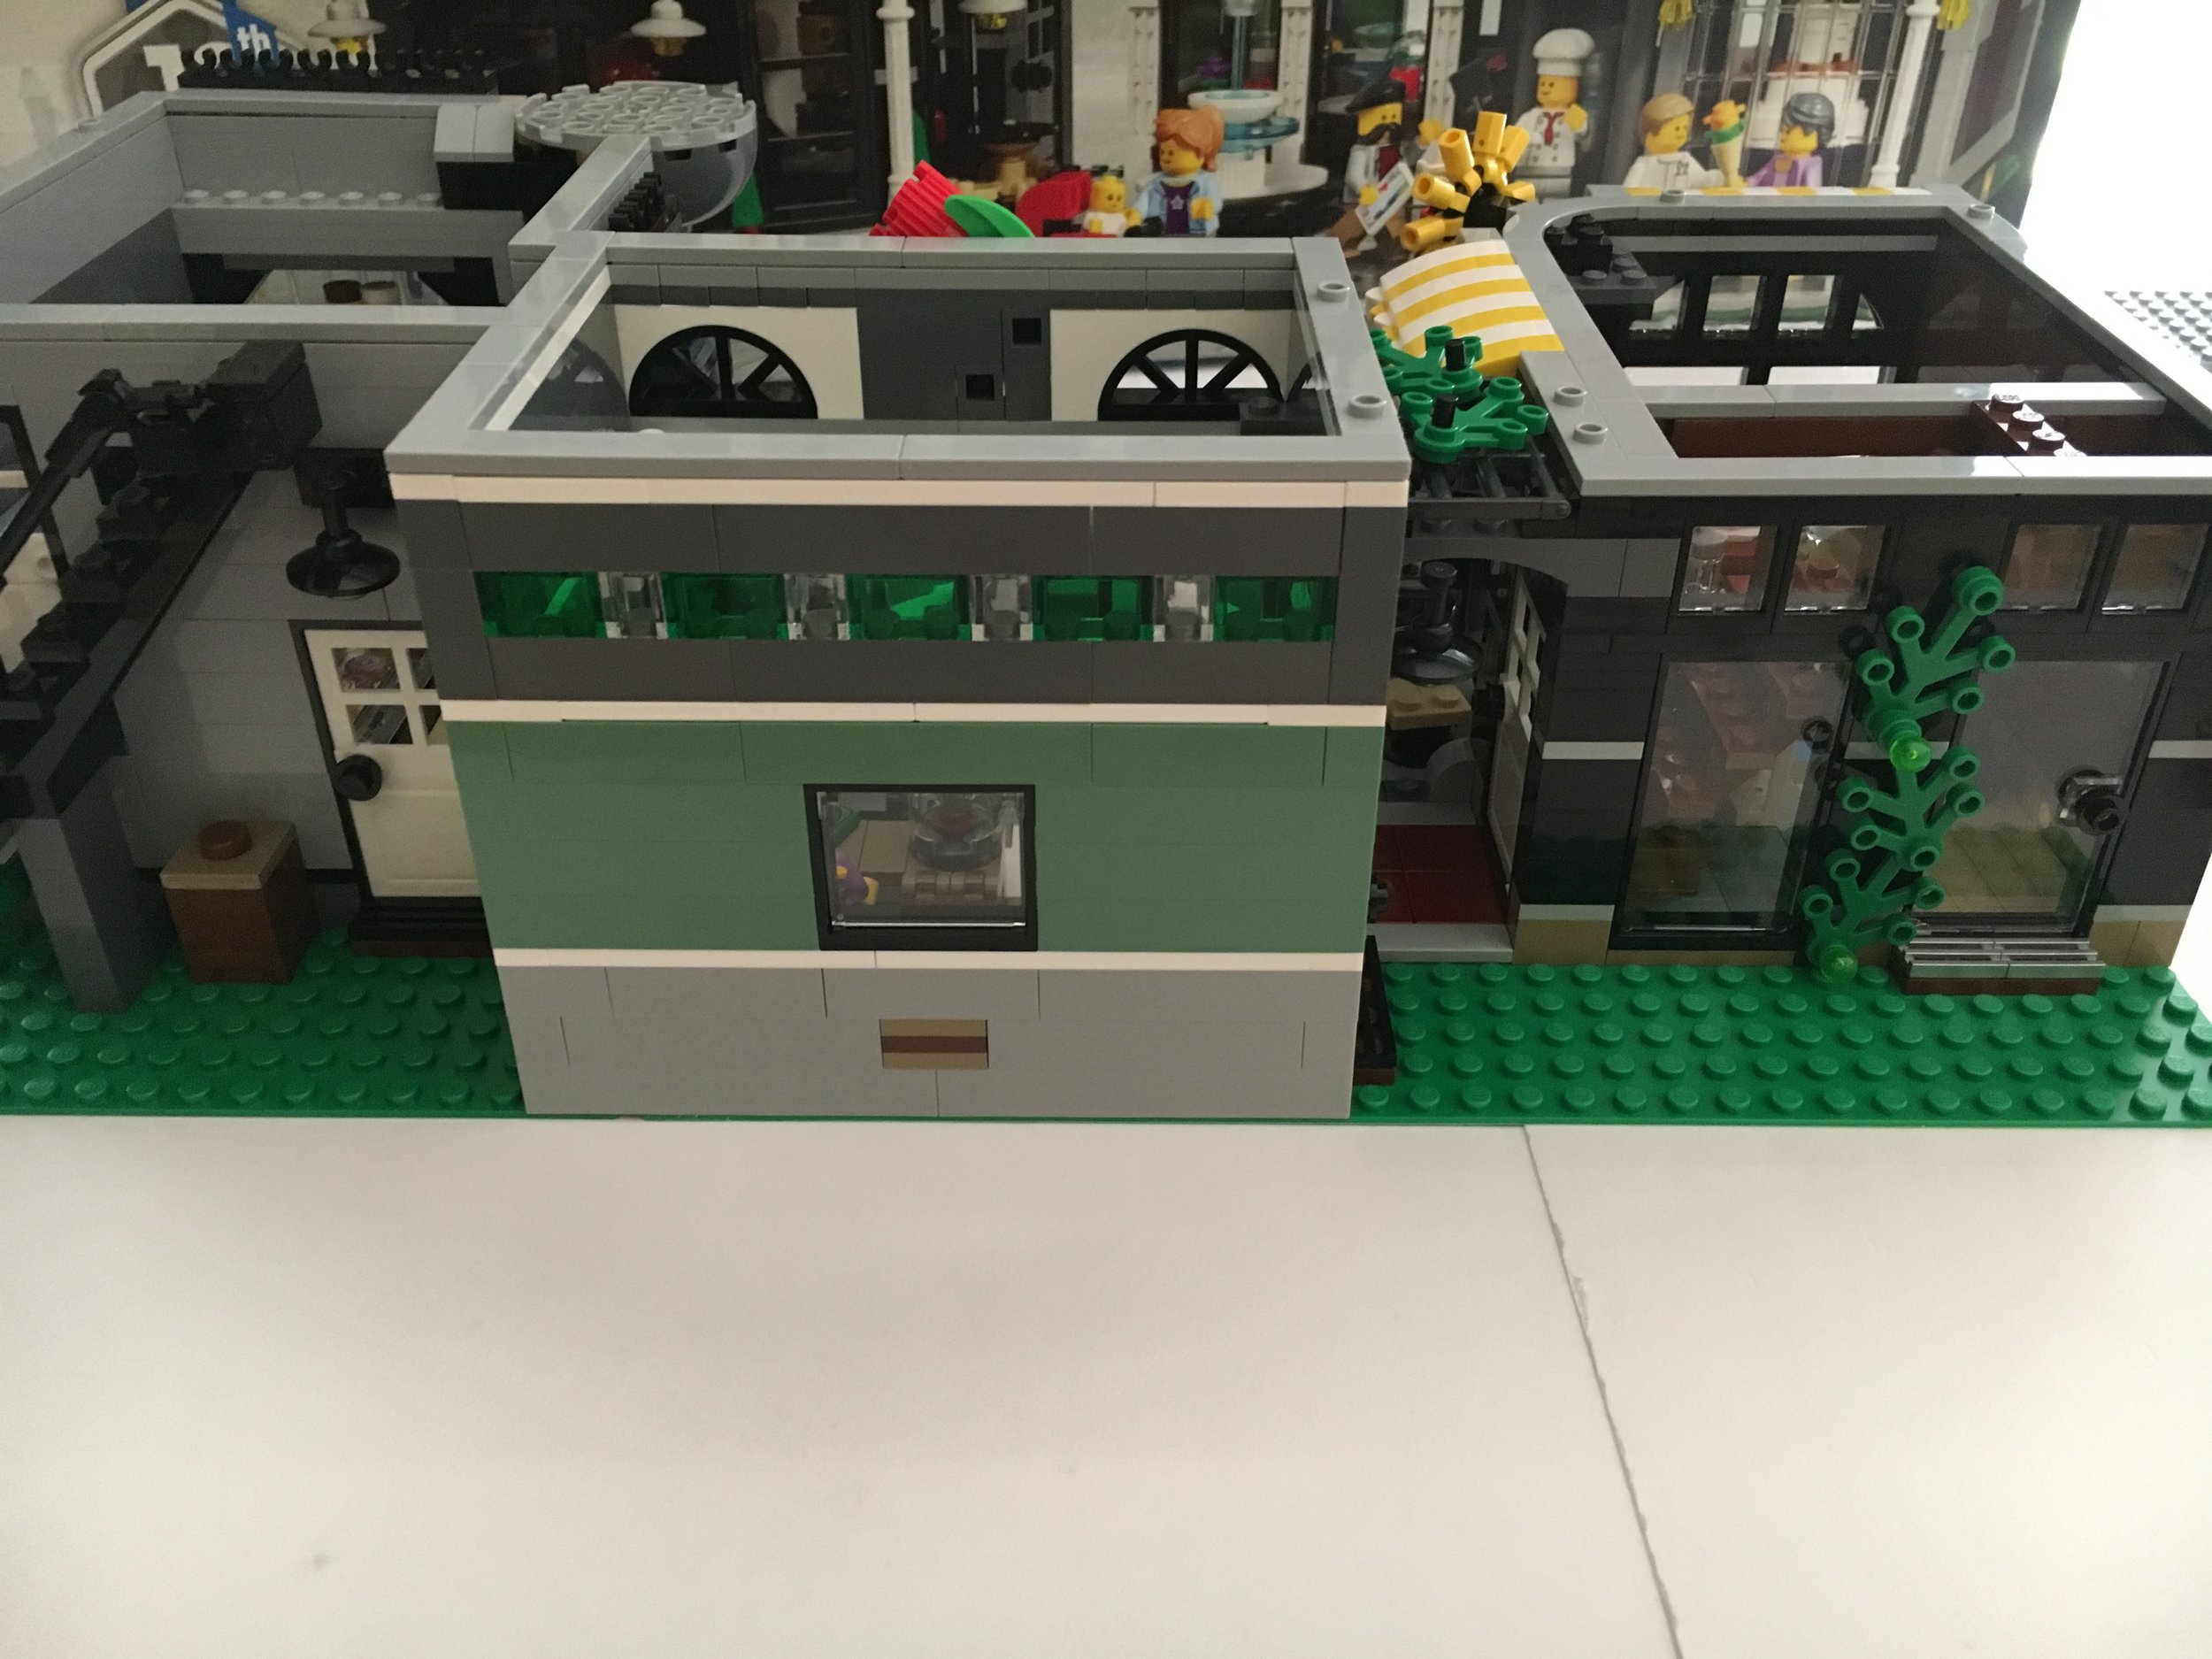
The fifth set of bags completes the third floor. This floor is a studio apartment with one male minifigure that lives there. The apartment has a small kitchenette, a bathroom, a bed, a TV, a couch, and some decorations on the wall (a truck and a record). The front of the building continues with the brownish color (I’m not sure of the official term used by LEGO) with the blue-gray colored window frames. The third floor has some flowers growing on the window sill. You can also see some of the design done by the 1x1 pizza slice tiles (my name, not the official name) on the second floor.

10264_bag5a.jpg
10264_bag5b.jpg

I wanted to make sure the windows get captured because I like the way they were designed. The ones on the second and third floor above the garage door are made using SNOT techniques with one of the clear pieces used for truck windshields. I like that the windshield pieces are still framed by the same blue-gray color as the other window frames. The side above the front door has a balcony on the second floor and a window on the third floor. I’m not sure why the vet’s office needs a balcony versus the studio apartment, but you can always swap them if you want.

10264_bag5c.jpg
10264_bag5d.jpg

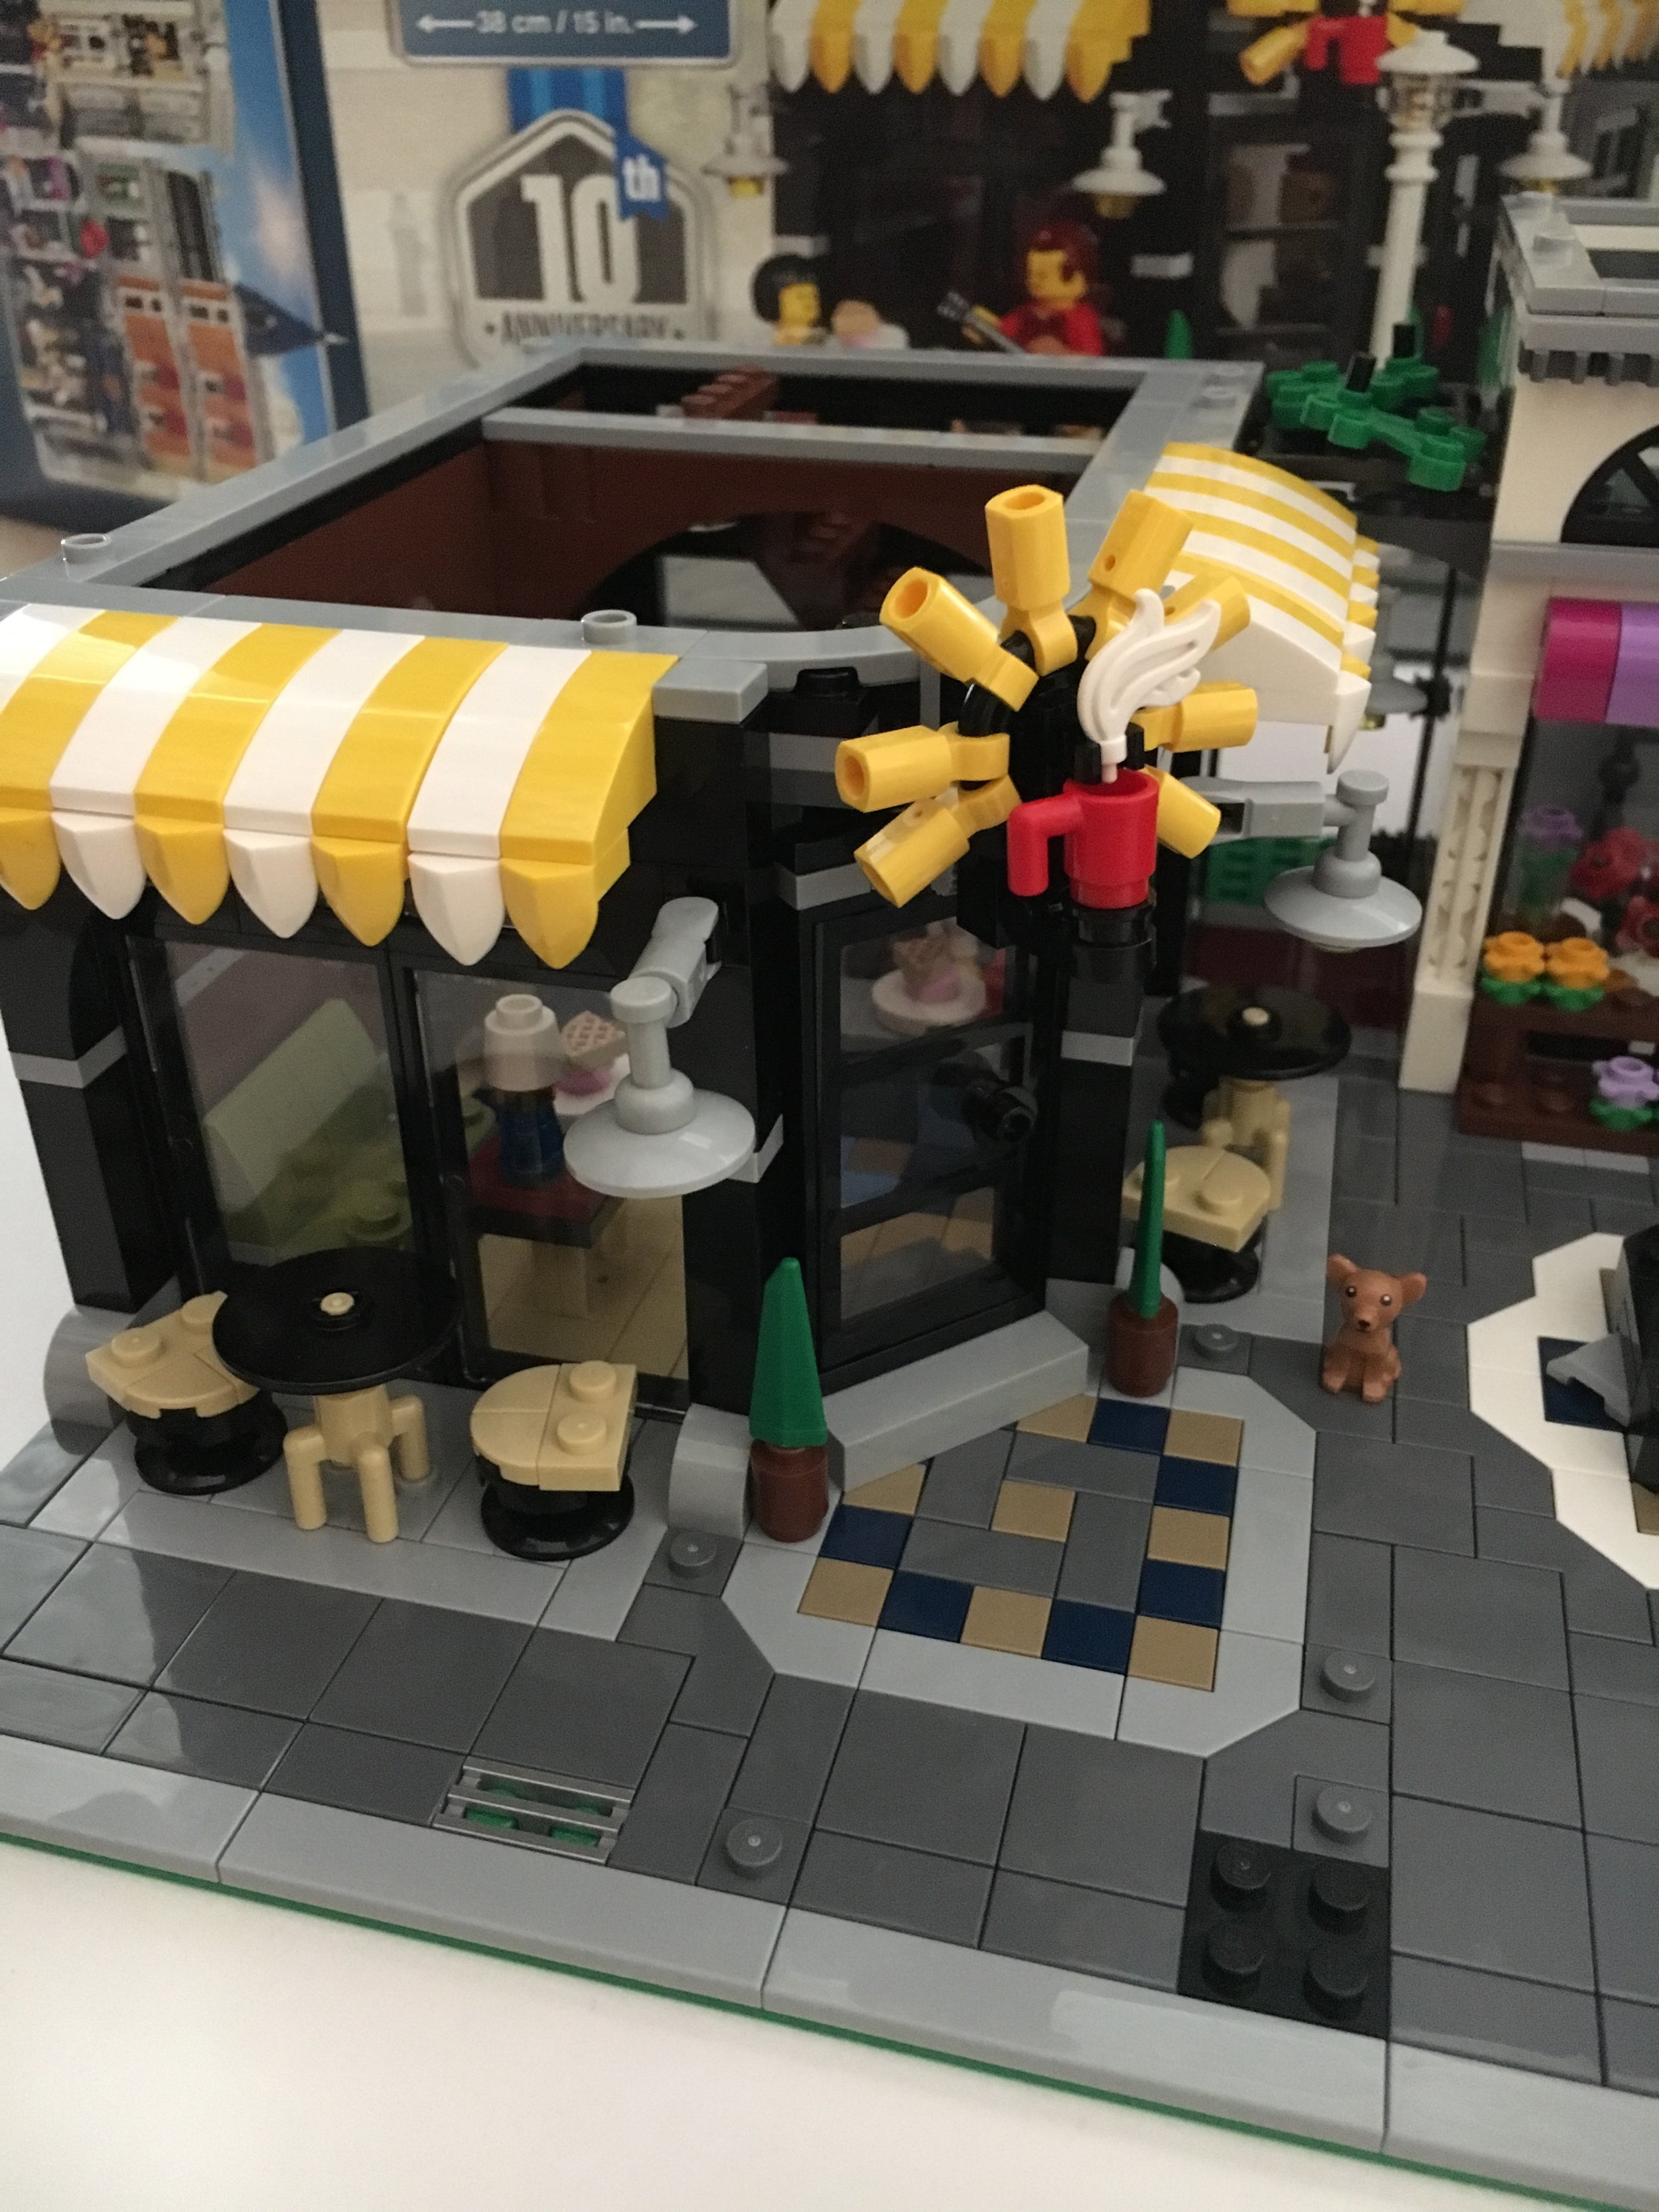
The sixth set of bags finishes up the build and completes the roof. The roof has some flowers growing, a lounge chair to relax on with umbrella overhead, and the doorway to get up there from the stairwell. This floor also completes the facade on the front. The facade design is pretty simple, but I still think it makes it look a bit more elegant and fancy versus just a plain corner on the top.

10264_bag6a.jpg
10264_bag6b.jpg

I added pictures of both sides so you can see the designs above each of the side windows. I like the use of the new-ish 1x1… um… it looks like more of an equilateral triangle or isosceles triangle versus a cheese slope… piece.

10264_bag6c.jpg
10264_bag6d.jpg

This set comes with six minifigures. On the top there’s the vet (Dr. Jones we assume) and 2 mechanics (a female and male). On the bottom are the “cool guy” who has a helmet to ride the motor bike, the girl who brings her pet to the Vet, and the man in a sweater who lives in the studio apartment. In my opinion, it’s a good mix of minifigures and I think having facial expressions adds to the set versus the original smiley face they used to have in the original modular building sets.

10264_minifigs.jpg

A closer shot of the vehicles… The tow truck has 2 tones of blue which gives it a nice look and then the motor bike.

10264_truck.jpg

Overall, this is not my favorite modular building, but I don’t have as many complaints as I saw in other reviews. I like how the angled wall in the front was done to create a corner building. There are a lot of pieces in great colors you can use in MOCs if you decide to tear your building down. The signage is clever with some of the humorous clips and the old fashioned Octan logo should become pretty popular on the secondary market. I’m a fan and I can’t wait to add it to my other modular buildings some day.

As for downsides, I think the garage portion could use a bit more detail. Maybe some more equipment for fixing cars or more things to sell. Also, the color transition from the white and green to the tan-ish and blue-gray on the second and third floors doesn’t go well with my untrained eye. I’m not sure what to recommend, but it seems to clash slightly with me. To be fair, if I’m going to complain, why don’t I just redesign it myself, right?

What are your thoughts? Is this modular building really awful? Or maybe just not as good as some of the ones in the past? Or maybe it’s just different from some of the ones we’ve had in the past like the Parisian Cafe or Grand Emporium. Let me know what you think.

Happy building!

10264_final1.jpg
10264_final2.jpg

Set Review - #10255 - Creator Expert - Assembly Square (Modular Building) - Part 3

Part 1 of the review        Part 2 of the review

It was a challenge, but I managed to finish the build before moving.  Here is the rest of the review...

The fourth set of bags contains 5 parts bags.  It includes the second floor build above the bakery and flower shop which consists of the dentist's office and photographer's office.  Below is the complete version from the front.  

Assembly_Square_bag4.jpg

The dentist's office is impressively full of details.  The chair, light, and trays for the dentist to use all look similar to many dental facilities.  I don't know about some of the tools that he has to use, but I guess they weren't going to make special tools just for this set.  

Assembly_Square_dentist_office.jpg

The photographer has a small shop attached to the dental office and he shares a waiting room with the dentist.  The camera itself is very old looking, but is a great design of an old camera by LEGO bricks.  There is a photographer minifig (is this the first mustache in a modular?) and then you can see the photograph 2x2 tile on the wall.  There is also a white background for taking photos.  The box shows the ballerina figure (shown later) posing on it.

Assembly_Square_photographer.jpg

The fifth set of bags contains 7 parts bags.  As can be seen below, this completes the floors above the coffee shop.  It includes a music studio/store, the dance studio, and then the top of the building.

Assembly_Square_bag5.jpg

The second floor is the music shop.  It contains a counter with cash register and then some instruments you can buy to include a drum set, saxophone, acoustic guitar, and an electric guitar.  The store looks a little bare, but I'm sure you could MOC up some good additional things to fill it up the store like records or other instruments.

Assembly_Square_music_shop2.jpg
Assembly_square_music_shop1.jpg

The third floor is the dance studio.  It contains a bar, mirror (similar to the barber shop from the detective's office), and piano with a seat to play.  Beyond that, there isn't much detail which is okay in my opinion.  The dance studio also has a clear door that opens up to a small balcony which can be seen in the picture on the bottom left below.

Assembly_Square_dance_studio.jpg
Assembly_square_floor2.jpg

To roof of the 3 story building in Assembly Square deserves some mention.  The design is fairly simple, yet it comes across as very detailed and architectural (If that's the right word to describe it).  The designers used a piece new to me that I found pretty cool.  Brickset says it appears in 6 sets so apparently I'm not up on my new pieces.  

Assembly_Square_roof1.jpg
Assembly_Square_roof2.jpg

The sixth and final set of bags contains 7 parts bags.  It completes the top floor of the right side building, the fountain, and lamp posts.  To start off, the top floor is an apartment for a LEGO fan.  The instructions show a female minifigure with a baby minfigure.  You can decide whether those are the only 2 occupants or who the true LEGO fan is in that apartment.  The apartment contains an interesting design for a couch that folds out to be a bed as well.  There is a small kitchen and toilet in a room too.  In terms of LEGO, there is a table with a train display (and a Horizon Express?), a box for the cafe corner, an Eiffel Tower, and a few others I'll let you figure out on your own if you get the set.  

Assembly_Square_apartment1.jpg
Assembly_Square_apartment2.jpg

The back of the set shows the outdoor patio area with a grill/cooking area, seating, and a plant that has seen better days.  

Assembly_Square_back.jpg

The roof over the apartment has another simple, but cool design which includes a spire and even a white chicken.  I was disappointed in the roof over the outside patio area as it contains 2 BURPs (Big Ugly Rock Pieces).  I thought that for a Creator Expert modular building and for the 10th anniversary set they would come up with some great design similar to what was done in the Parisian Restaurant.  Oh well.  It still looks okay, just a disappointment that it is such a big piece.  

Assembly_Square_roof3.jpg
Assembly_Square_BURP.jpg

Last up is the fountain and lights.  The lights are similar to others from other modular sets.  The fountain is a nice touch to the square.  

Assembly_Square_fountain.jpg

Overall it is another amazing build.  I wish I had all of my modulars built so I could add this one to the mix and take a picture.  In my opinion, the Creator Expert team did an outstanding job putting this one together.  I like the use of some of the colors and techniques from previous modulars and a few of the fan references like the AFOL apartment.  While this set is expensive, I found it to be worth the price (even if I used a lot of VIP points).  The build was exceptional and challenging, the types of pieces and colors were fantastic, and the design will go great in many CITY scenes.  Happy building!

Assembly_Square_final.jpg

Set Review - #10255 - Creator Expert - Assembly Square (Modular Building) - Part 2

See part 1 of the review here

See part 3 of the review here

Assembly Square is slightly different from previous modular building sets.  There is a separate box inside the main box that contains bags numbered four through six.  The main box has bags one through three and the base plates.  The instructions are in a separate package, but there is not cardboard backing to it.  To be fair the book is quite thick so I don't think it will fold up during shipment.  Has anyone had this issue yet?  Also, no stickers.  YAY!

To start off, there are three bags labeled #1.  The first part of the build is uses the 2 base plates.  One base plate is the standard green 32x32 studs and the other is 16x32 studs in green as well. I haven't seen this one used in a while, but I do have some from when I was a kid.  Like the other modulars, this one contains a piece separator.  Here is the final build for the first set of bags..  

Assembly_Square_bag1.jpg

The designs for the sidewalks and floors are pretty intricate.  The addition of some angled tiled pieces in light gray and dark gray help to make it more detailed too.  The addition of some 1x2 plates with one stud help with play-ability later on when the various stores are finished and minifigs need to stand.

Assembly_Square_bag1_carriage.jpg

The carriage is part of the first set of bags.  It's a simple design as can be seen here.  

Next up is the second set of bags which includes 7 bags of bricks.  This includes the bakery and the flower shop along with a baker minifig and a minifig to work in the flower shop.  

Assembly_Square_bakery_front.jpg
Assembly_Square_bag2_bakery_top.jpg

First off... the bakery.  The left picture shows the front.  I like the use of the garage door pieces for the front window.  The design to add them in is pretty easy, but not something I would have thought of on my own.  Go Creator Expert team!  You can see the wedding cake in the front with the "wedding couple" on top.  The bakery has some great details to includes some cakes and other pastries on display throughout the store.  It also has an oven to cook the various items, but really no area to bake in.  I get it... not a lot of space and the designers did what they could given the space they had.

Assembly_Square_bag2_flower_shop.jpg

The flower shop is next and I included a top view here.  It is very detailed with various sizes of flowers.  As you can see, there is a bird and I think it is the first time there is a bluish-yellow bird.  Also, the design of the flowers that can be handed from one minifig to another is a first that I recall from any sets.  In this picture they are located right behind the minifig in a stand on the wall.

Assembly_Square_bag2_front.jpg
Assembly_Square_bag2_back.jpg

Above are pictures of the front and back.  The flower shop is actually completed in the next set of bags.  You can see the front of the bakery a little better with the pretzel on the front of the store and then I am also a fan of the bottom part of the half circle that will be completed in a later build as part of the floors above the bakery.  The awnings on the flower shop are fun shades of pink/purple too which help the store to standout.

Assembly_Square_cafe_front.jpg
Assembly_Square_bag3_cafe_interior.jpg

The cafe makes up bag 3 with 4 bags of bricks.  The cafe is chuck full of some great details.  As you can see above, it includes a female barista and then a small dog.  Above and to the left is the front and exterior.  There is a fun 3D logo above the door for the coffee brand.  The steam coming out of the cup is a genius design.  The chairs on the outside are much fancier than the ones from the original Cafe Corner back in the day.  Inside, there's a couch by a table with some chairs and some fun lamps and various foods on the tables.  The barista has a small work station and cash register.  It definitely looks like a cozy place to sit back and enjoy a cup of coffee.

Assembly_Square_bag3_front.jpg
Assembly_Square_bag3_back.jpg

Next are pictures of the front and back of the set after the 3rd set of bags are done.  The left shows the completion of the flower shop to include the 3D flowers and some additional design to the front facade.  You can see on the right that the back of the flower shop has translucent green and clear pieces to let some natural light into the store.  You can see the window placement on the cafe and the green plant growing up the back of the cafe as well.  

So far so good.  No complaints yet.  Onto the rest of the build...

See part 3 of the review here

Set Review - #10255 - Creator Expert - Assembly Square (Modular Building) - Part 1

As an AFOL this is one of my favorite times of year, the arrival of the new modular building set.  Released on 2 January 2017, #10255 is the tenth year anniversary set for the modular building series.  The cost is $279.99 in the US for 4,002 pieces.  That works out to be $0.07 per piece.  This is typical for most of these sets in terms of price per piece, but 4,002 pieces is quite a bit more than usual.  There are 13 sets in all over the past 10 years and I am lucky enough to have 11 of them.  I'm missing The Green Grocer and Market Street.  

10255_Assembly_Square_front.jpg
10255_assembly_square_back.jpg

This will be a multi-part review as it will take me a while to build this.  For now, I have taken pictures of the box (for some real excitement).  So let the building begin!!!!!!!!

In case you missed it, here is the LEGO designer video.

See part 2 of the review here.

See part 3 of the review here


Set Review - Creator Expert - Brick Bank - #10251 - Part 2

In case you missed part 1 of the review, it's here.

With 2380 pieces and 20 bags of LEGOs, this set takes a while to build.  After a few days, I was finally able to put it together.  Here goes...

contents.jpg

There are the contents.  A pretty thick instruction booklet that comes in a wrapped package for protection, a tan base plate, and 4 sets of bags (20 total).  This set also comes with a brick separator which comes in handy given the number of pieces.

The first set of bags is the tiles for the sidewalk and floors along with the start to the first floor.

build1.jpg

The designs for the floors inside the cleaner and bank are awesome.  Some new pieces were used to make the design inside of the bank part.  You can also see the start to the vault to include a vault that opens and closes with a dial.  The vault has a stack of cash... all $100s of course.  The first set of bags comes with one minifigure who is shown working as a bank teller.

build 2a.jpg

The Brick Bank is a corner building.  The bank side is shown here with the second set of bags complete.  It comes with 2 minifigures, a girl and a woman.  The box shows the woman taking a picture of the girl receiving a check for 500 studs.  You can also see some of the great design features used to make this set stand out.  You'll also notice that there is a decal on the windows.  If you were paying attention, I didn't mention a sticker sheet.  YES!!!  No stickers in this set, everything is already printed on.

build2b.jpg

Here is the other side of the bank and "Soap 'n' Suds" the laundromat.  The advertising on the laundromat is fun with a pair of pants and a washing machine.

build2c.jpg

Here is a top view of the set with the second set of bags completed.  The vault is complete although you'll notice there is a way for a potential thief to sneak into the vault through a shaft above.  Also, the laundromat has 4 machines to include one for "laundering" your money.  

build3a.jpg

The third set of bags complete here with the second floor done.  The second floor has 2 office spaces to include a private office.  The chimney continues to allow a thief down to the vault.  2 more minifigures come with this set of bags.  They are both male figures.  One is shown in the office stamping and another is shown just outside the office at another desk.

build3b.jpg

Here is the other side of the building.  You can see the clock attached to the building and the design of the front of the building to include the textured pillars and the window designs.

final1.jpg

Here is the final set .  The top has a large sky light.  Also the picture doesn't show it, but there is a cool looking chandelier that lights the building.  You can also see included is a ladder, broom, and bucket so someone can clean the windows.  

finalcorner.jpg

Here is the front of the building from a corner view.  You can see the tree, bench, and lamp post outside.  Also, there is a pulley that the box shows as a way for them to install the laundry machine on the signage.  It could also be used for a thief trying to climb up.  I don't have it shown, but the set include a LEGO string, black hat, and scarf for one of the characters to put on and sneak into the vault through the chimney.

2modulars.jpg

I have other modulars, but many are boxed up as I don't have space to have them displayed all the time.  Here is the Detective's Office from last year attached to the Brick Bank.  Both fantastic sets with some creative building techniques.  The Brick Bank does not disappoint.  While you have to shell out some extra cash to get it, it's well worth it.  It's a challenging build with some interesting building techniques.  For those people that like to build MOCs, there are some great pieces in here for building future designs.  

Well done LEGO on another great modular building!


Set Review - Creator Expert - Brick Bank - #10251 - Part 1

(CLICK HERE FOR PART 2 OF THE REVIEW.)

The LEGO modular building line was started in 2007 and I am a huge fan!  Each set typically has more than 1,000 pieces and many have over 2,000 pieces.  As they have continued to be released, the details have become even more impressive. You don't buy these sets for the minifigures (they exist, but have the standard yellow face), you buy them for the build.  

This year's set is the Brick Bank.  It contains 2,380 pieces and costs $169.99 in the US. This works out to $0.07 per piece (it's actually .07142 and so on, but I figured you all weren't too concerned about that).  Not a bad price at all in terms of price per piece.  It was released on 2 January 2016 and LEGO keeps them out for a few years (some have been on sale for 4 years, others less).  Often times it's best to wait for Double VIP point promotions or other details, but in this case I was given some LEGO gift cards as Christmas gifts so I decided to order it sooner rather than wait for Double VIP points.  

I haven't had a chance to open it yet.  I'll release details on set contents and the build in a future post.  For now, here is the box.

brickbank10251front.jpg

As you can see from the front, it contains 5 minifigures and the build is split into 2 floors and a roof.  The front of the building is the bank and then along the back, it's a laundromat.  It's a corner building similar to the Cafe Corner, Grand Emporium, and Palace Cinema.  If you're not familiar with the modular buildings, along the bottom of the building are Technic pins that can be attached to other modular buildings (or you can build your own).  

brickbank10251back.jpg

The back of the box shows some details of the set, the different floors, and what the set looks like next to previous years modular buildings.  This box shows the Detective's Office (and here) as well as the Parisian Restaurant.  I'll go into some of the fun details of the build once I build it.

Has anyone else purchased or built it yet?  Let me know in the comments.

CLICK HERE FOR PART 2 OF THE REVIEW.

Set Review - Detective's Office - #10246 (part 1)

detectiveoffice.jpg

Once a year, since 2007, the LEGO company has released a modular building.  You can see the full list here.  They are typically made up of around 2,000 pieces and are full of different building techniques and styles.  The 2015 set is the Detective Office.  It includes a detective office, pool hall, and barber shop.  While these sets are rather pricey, $159.99 this year, with over 2,262 pieces it makes it worth it.  It has taken me a while to build this set, but once I'm finished, I'll post a picture.

(Read part 2 here)