0
items
$0
LEGO® House: History Collection
The LEGO® House has some fun stairs that you can take up or down. I like how the walls look like they could be made of large size plastic bricks. If you go down, you go to the History Collection. In this post I hope to take you through my experience there. I took a lot of pictures, but still did not capture the whole thing. With 2 kiddos, I wasn’t able to stay and read everything, but I still had a good amount of time to see it all. So let’s go!
(Note: you can take an elevator too. This is especially good if you have a stroller or a little person who is slow on stairs.)

The History Collection is not as bright and colorful as the rest of the House. The walls are black as if you are underground. When you get downstairs, there is a glass covered area in the floor. The area is full of gray 2x4 bricks and some old brick molds. A sign explains how they used to put the old molds underneath new buildings so they couldn’t be used by a competitor. You can read the sign that explains it in the picture. We also thought it was fun that there was a brick built mole digging around in the basement.

From the room with the molds in the floor, you can see a brightly lit LEGO® logo. I took a few pictures so you can see it as you get up close. It’s pretty awesome.
And another mole hanging out…


The tour goes through a hallway in a square. You turn left and you start to learn about the very initial states of the LEGO® Company. It talks about the founding family and you can see some of the early non-plastic toys. It’s impressive that they still have some of the very old toys and first brick sets around.


As you continue to make your way around the History Collection, there are more modern bricks to include some sets or sets mixed in with MOCs.

#10184-1: Town Plan - This was the 50th anniversary set from LEGO®

The factories don’t look like this anymore.

Is this an official set?

The origins of the train line

I’m not sure if the train is an official set or a MOC.
As you continue on, you see more of the modern sets that we’re used to seeing. It was definitely a walk down memory lane to see some of the older items that I still have. And some of the things I always wanted as a kid… like the whole Classic Space line.


The Classic Space monorail

The origins of the minifigure

The castle theme and 9V town sets (I have the police car and fire engine and they still work)

Throughout the LEGO® House are benches. Many of the benches have parts to build with, minifigure parts, or in this picture, DUPLO®. My youngest kiddo enjoyed the History Collection because there were tons of cars, trains, and planes, but it was good to know we had another distraction if needed to occupy him in the “boring” museum portion.
After you finish walking around the square, you can enter into the space inside the square. This area has a collection of many of the old sets by time period. I failed to get a picture or write it down, but I think it is by decade (please correct me if I’m wrong). Definitely a walk down memory lane for me. “I have that one!” “I always wanted that one!” “Wow! I’ve never actually seen that one.”
Sorry for the reflections on the glass covering the windows in my pictures.

Some of the very first sets.

More castle and Classic Space in there.

Duplo®, Pirates, Blacktron, and more!

Here’s a shot of what the wall looks like with the various sets.

Classic space, early CITY/Town, Castle

Technic, Space Police, Pirates, and more!

Can they bring back Classic Space and Castle please?

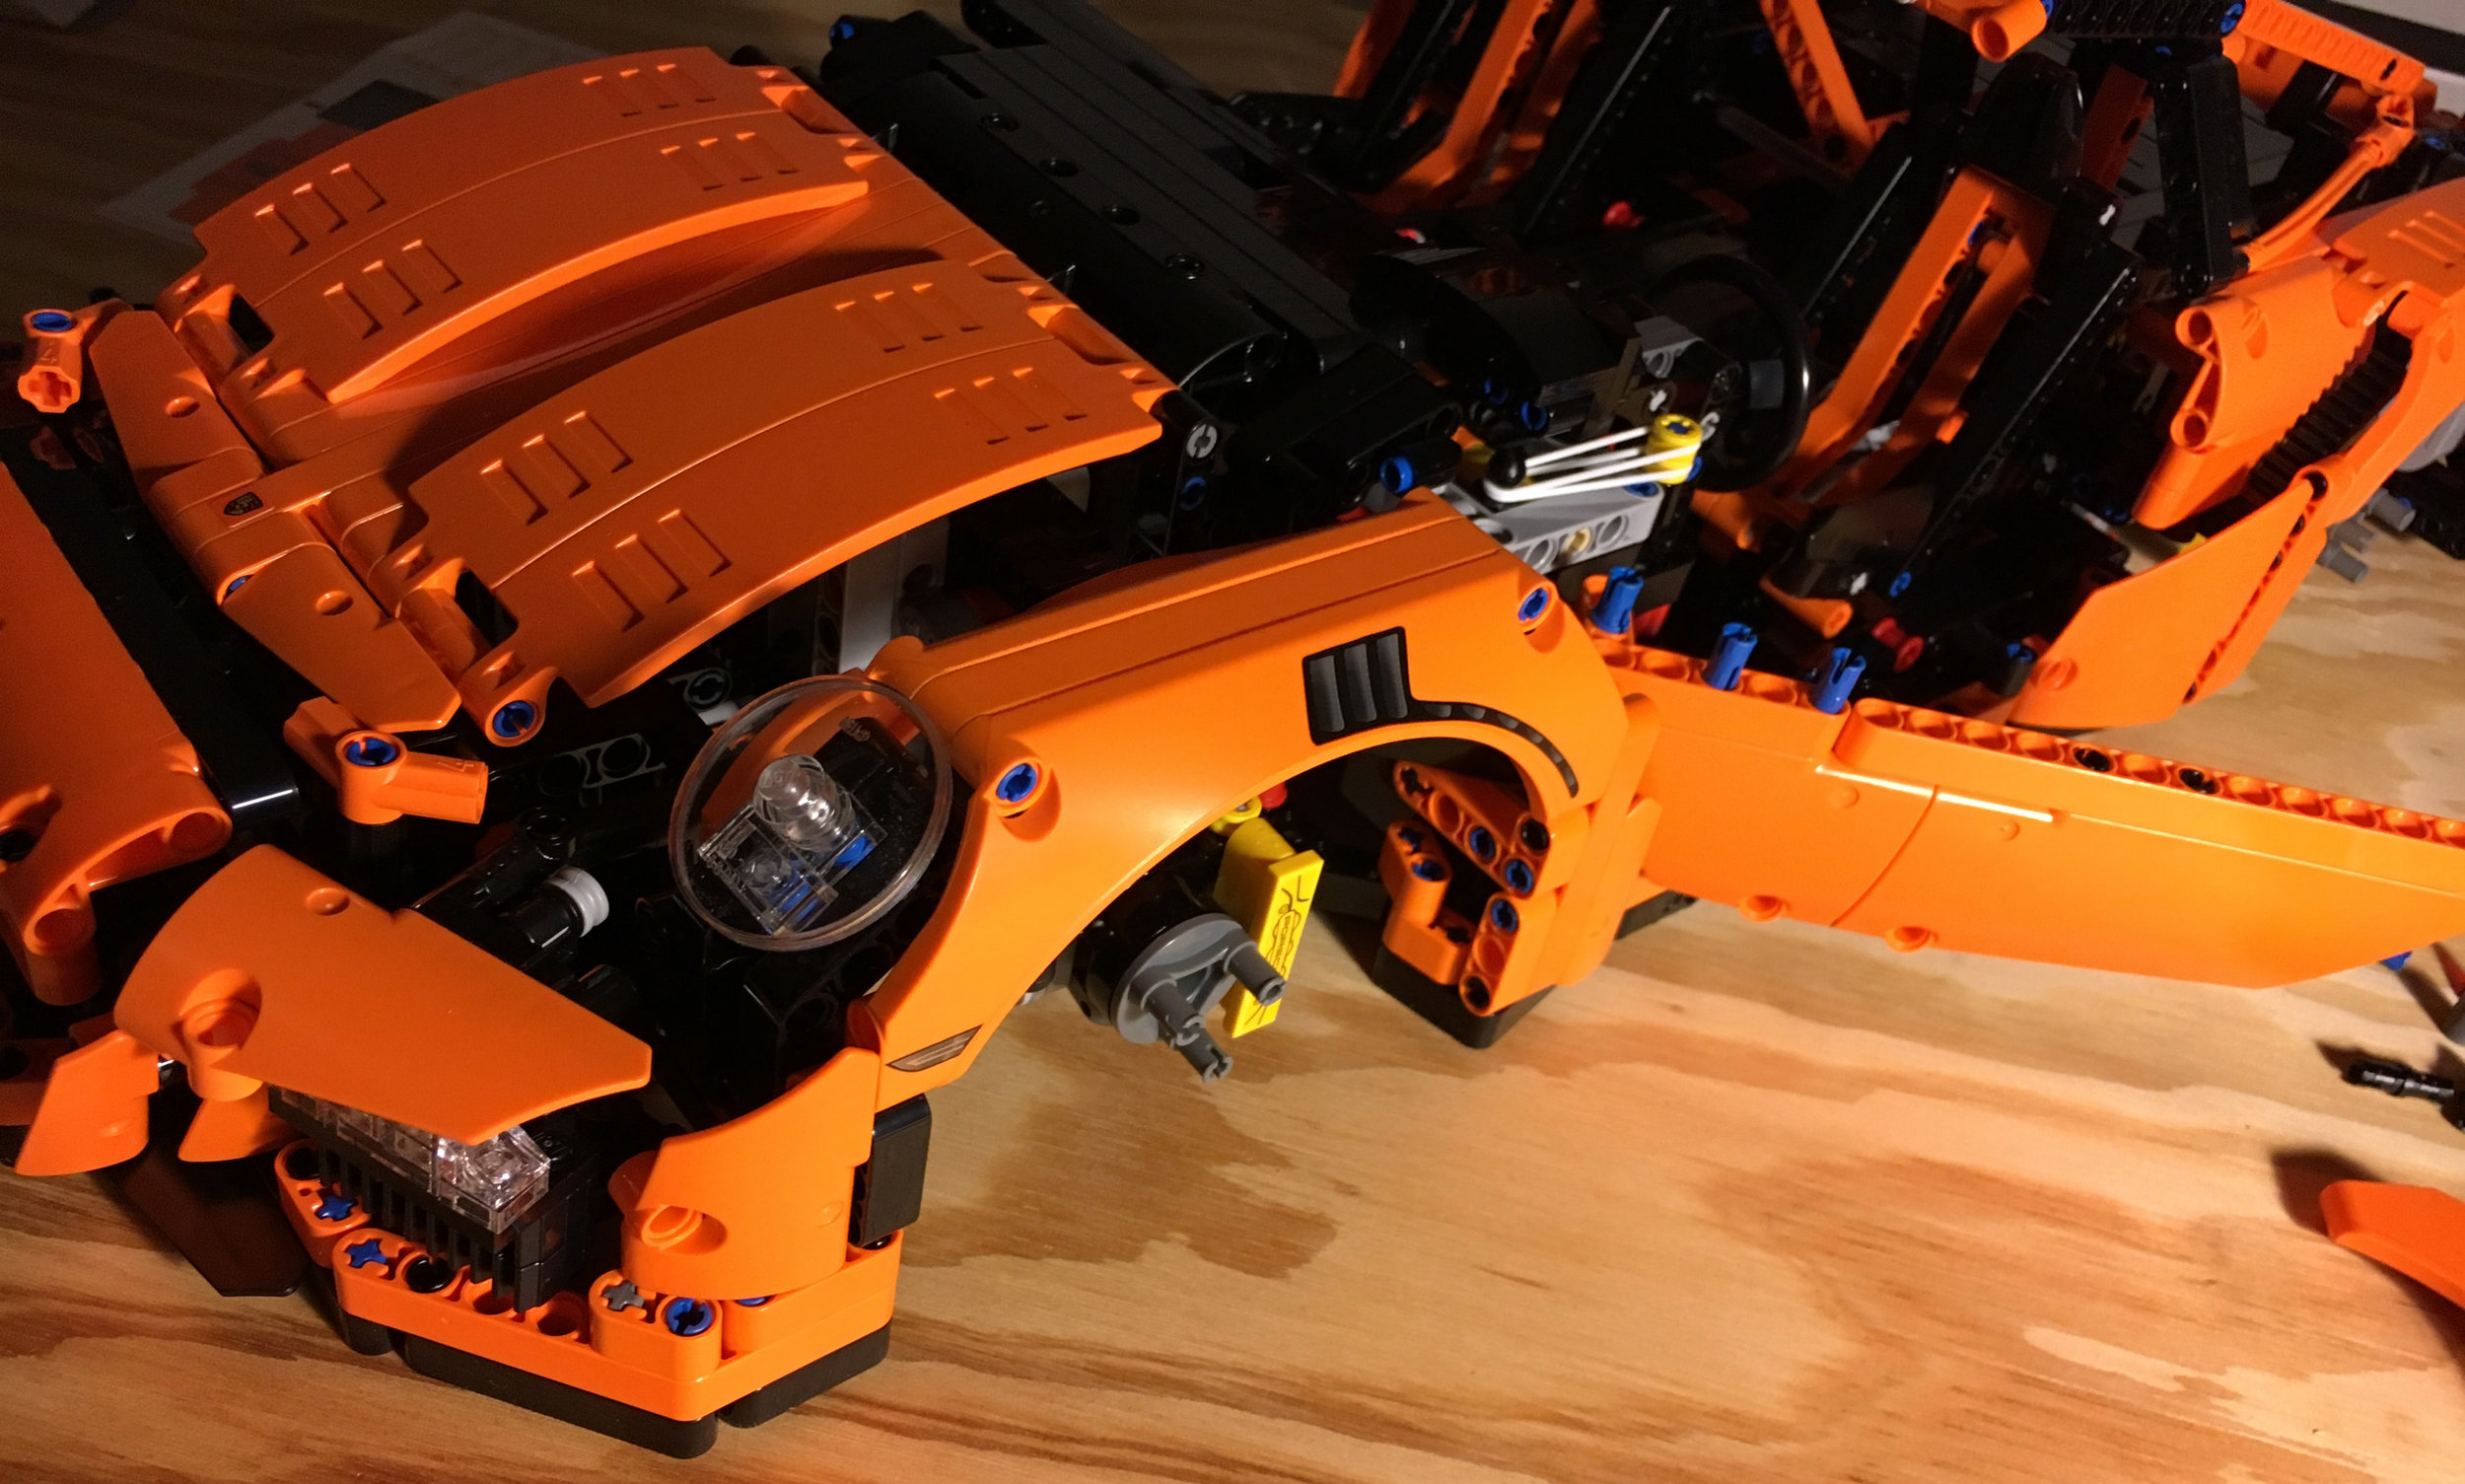
Some Technic sets in the center of the room.
The center of the room had the Technic display that I showed and then these trains. Please re-release the Super Chief and the BNSF diesel!
Also in the center of the room was a computer screen where you could go through each of the sets from every year and add them to your digital collection. When you are finished, the collection is loaded into your file that is attached to the wrist band. We did not build our digital collection. I’m not sure I could even remember it all. A cool idea though.


If you are an AFOL, definitely make some time to check out the History Collection. I regret that I didn’t get to read everything about the company, but I was glad that I got to see what I did. It’s not the best place for kids. My 5-year old got bored pretty quick and wanted to go back upstairs to do all of the fun stuff.
It will be curious to see how the History Collection changes over the years. How will they add another decade of sets in?
My next post will be about the Star Wars™ 20th anniversary display which was located with the History Collection.