LEGO CITY

Set Review - #60223-1: Harvester Transport - LEGO CITY

Another LEGO CITY set to take a look at. LEGO has done a farm theme within CITY in the past. A quick search in Brickset found that there was a farm subtheme in 2009. I found it on Brickset here. This set does not seem to be a part of a larger subtheme. Instead, it is more of a one off like the Snow Groomer.

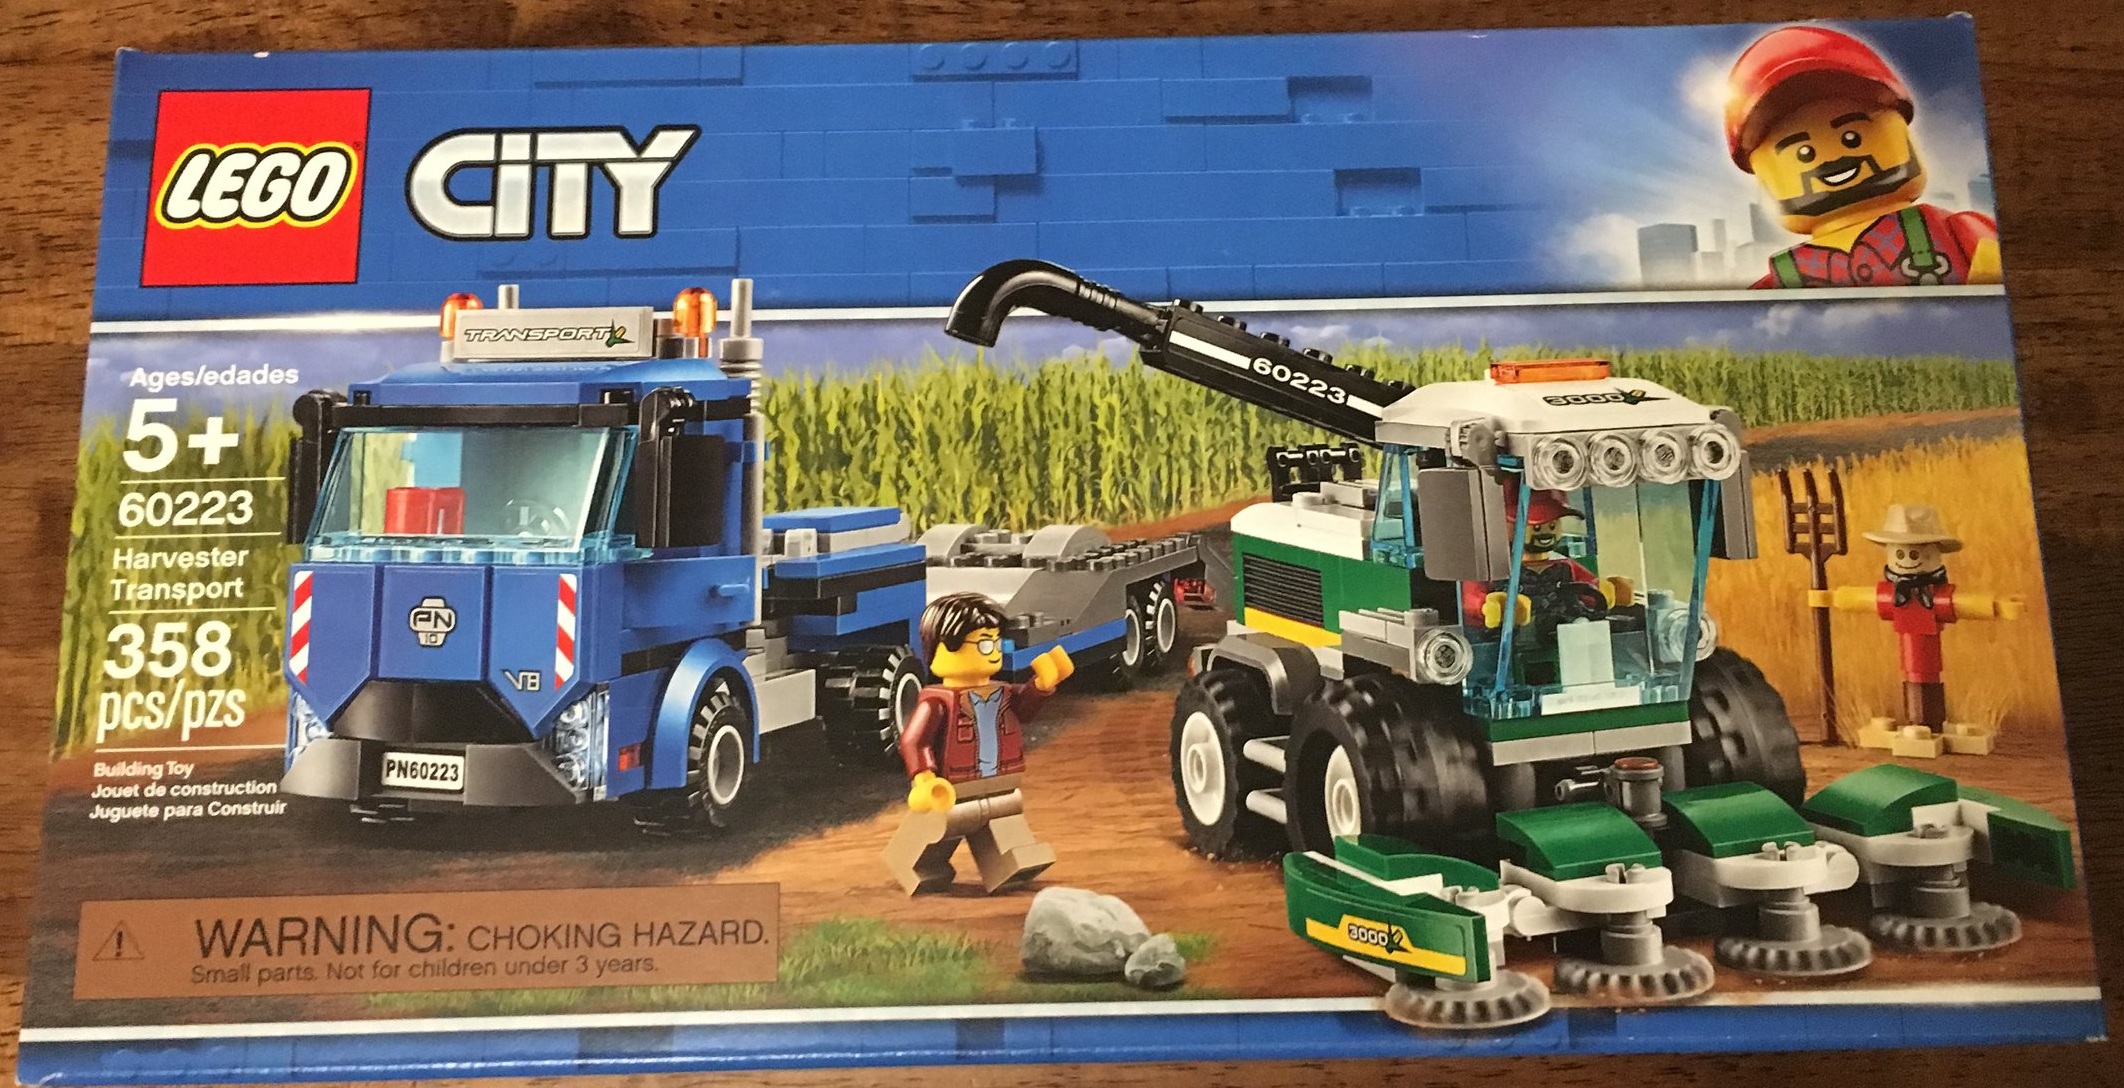
#60223-1: Harvester Transport was released in the US on 1 Jan 19. It contains 358 pieces and retails for $29.99 in the US. That brings it to $0.084 per piece. I picked it up on Amazon.com for 20% off or $23.99.

Here’s the box. It’s the standard presentation with the front showing the full set and the back showing some play features.

60223_box_front.jpg
60223_box_back.jpg

The contents are 4 parts bags, 2 instruction booklets, and a small sticker sheet. Besides the instructions being jammed in, I found bags 1 and 3 stuck together by a piece of tape. I’ve never seen this before and I’m not quite sure why it’s like that. Someone within LEGO Quality Control needs to investigate this one. I don’t know how a piece of tape would even get inside of a package like this.

60223_contents.jpg
60223_taped_bags.jpg

Before I continue with the review, I will note that the box says that this set is for ages 5+. At the time I purchased this set, I had a newly turned 5 year-old kiddo so I had some help. I had help building and a photographer to take pictures of what we built.

Bag one builds the truck that pulls the trailer that carries the harvester. The truck isn’t anything too out of the ordinary. I like the use of the shield plates on the front to help create the front bumper. Bag one comes with a minifigure to drive the truck. He has sun glasses and like many LEGO CITY trucks, a coffee mug.

60223_bag1.jpg

The second bag completes the trailer that hooks to the truck. The build is fairly simple although my 5 year-old had trouble with anything that needed to clip on and had trouble installing any 1x1 plates or tiles. On the other hand, the wheels were not an issue and they got properly tested to ensure they spun appropriately prior to moving on.

60223_bag2.jpg

The third bag starts the harvester and has a farmer minifigure and scarecrow. The scarecrow looks more like a scarecrow that would be in a farmer’s field then some of the full up minifigure scarecrows of the past LEGO has made. The build for the harvester starts the main body of the vehicle in this bag.

60223_bag3.jpg
60223_bag3_minifigs.jpg

The fourth and final bag finishes the harvester. It has a fun design for the shoot to deposit the grain into a truck (not sure of the technical term here). The arm rotates back and forth as well as up and down. The rotating pieces in the front that would cut the plant are hooked in using Technic pins. That portion can rotate up and down and the outer blades also fold up. The whole front assembly can be removed and installed on the truck for transport. The cab top comes off so the driver can get in. My 5 year-old required a lot of help to put this together. Also, Dad is a perfectionist when it comes to stickers so I was the sticker placer. My 1 year-old ended up playing with the harvester for a bit. It actually held up pretty well. The only challenge was that he held it by the cab and the cab kept coming off. Other than that it’s pretty solid and 5+ seems like a good age range (with some help from a parent or another adult).

60223_bag4.jpg

Below is a final picture of the set with the harvester stored on the trailer for transport. Overall it is a fun build. Nothing too overly challenging, but a few Technic parts that can be challenging for a younger kid. The set has a lot of moving parts and pieces which are good for play. It also opens up the possibility of building more (a field to harvest, a farm, a barn, etc.). Being able to get the set on sale was an added bonus. I’d recommend this set to any LEGO CITY fan. Even if you don’t have a farm scene, it is a vehicle that can fit on a road or highway you’re building. Definitely pick it up on sale if you’re going to get it.

Happy building!
60223_final.jpg

Set Review - #60222-1: Snow Groomer - LEGO CITY

I tend to avoid some of the repeating CITY subthemes like police or fire, but I find some of the less repeating sets interesting sometimes. The last CITY set I reviewed was #60204: City Hospital (the previous City Hospital was 11 years prior). Today we’ll go through the smaller #60222-1: Snow Groomer. I’m not sure where this set fits in as it doesn’t really fall into the Arctic subtheme and there aren’t any other similar sets in the lineup and I don’t recall there being a skiing set out there unless I’m missing something. It’s an interesting concept nonetheless.

This one was released in the US on 1 January 2019. It contains 197 pieces and retails for $19.99 or $0.101 per piece. I got mine for this review from Amazon.com for 20% off or $15.99 ($0.089 per piece). It definitely pays to wait a few months to save a few dollars as the trend seems to be the Amazon.com, Walmart, and Target run sales soon after release these days versus having to wait for the end of a set’s life to catch it on clearance before it retires.

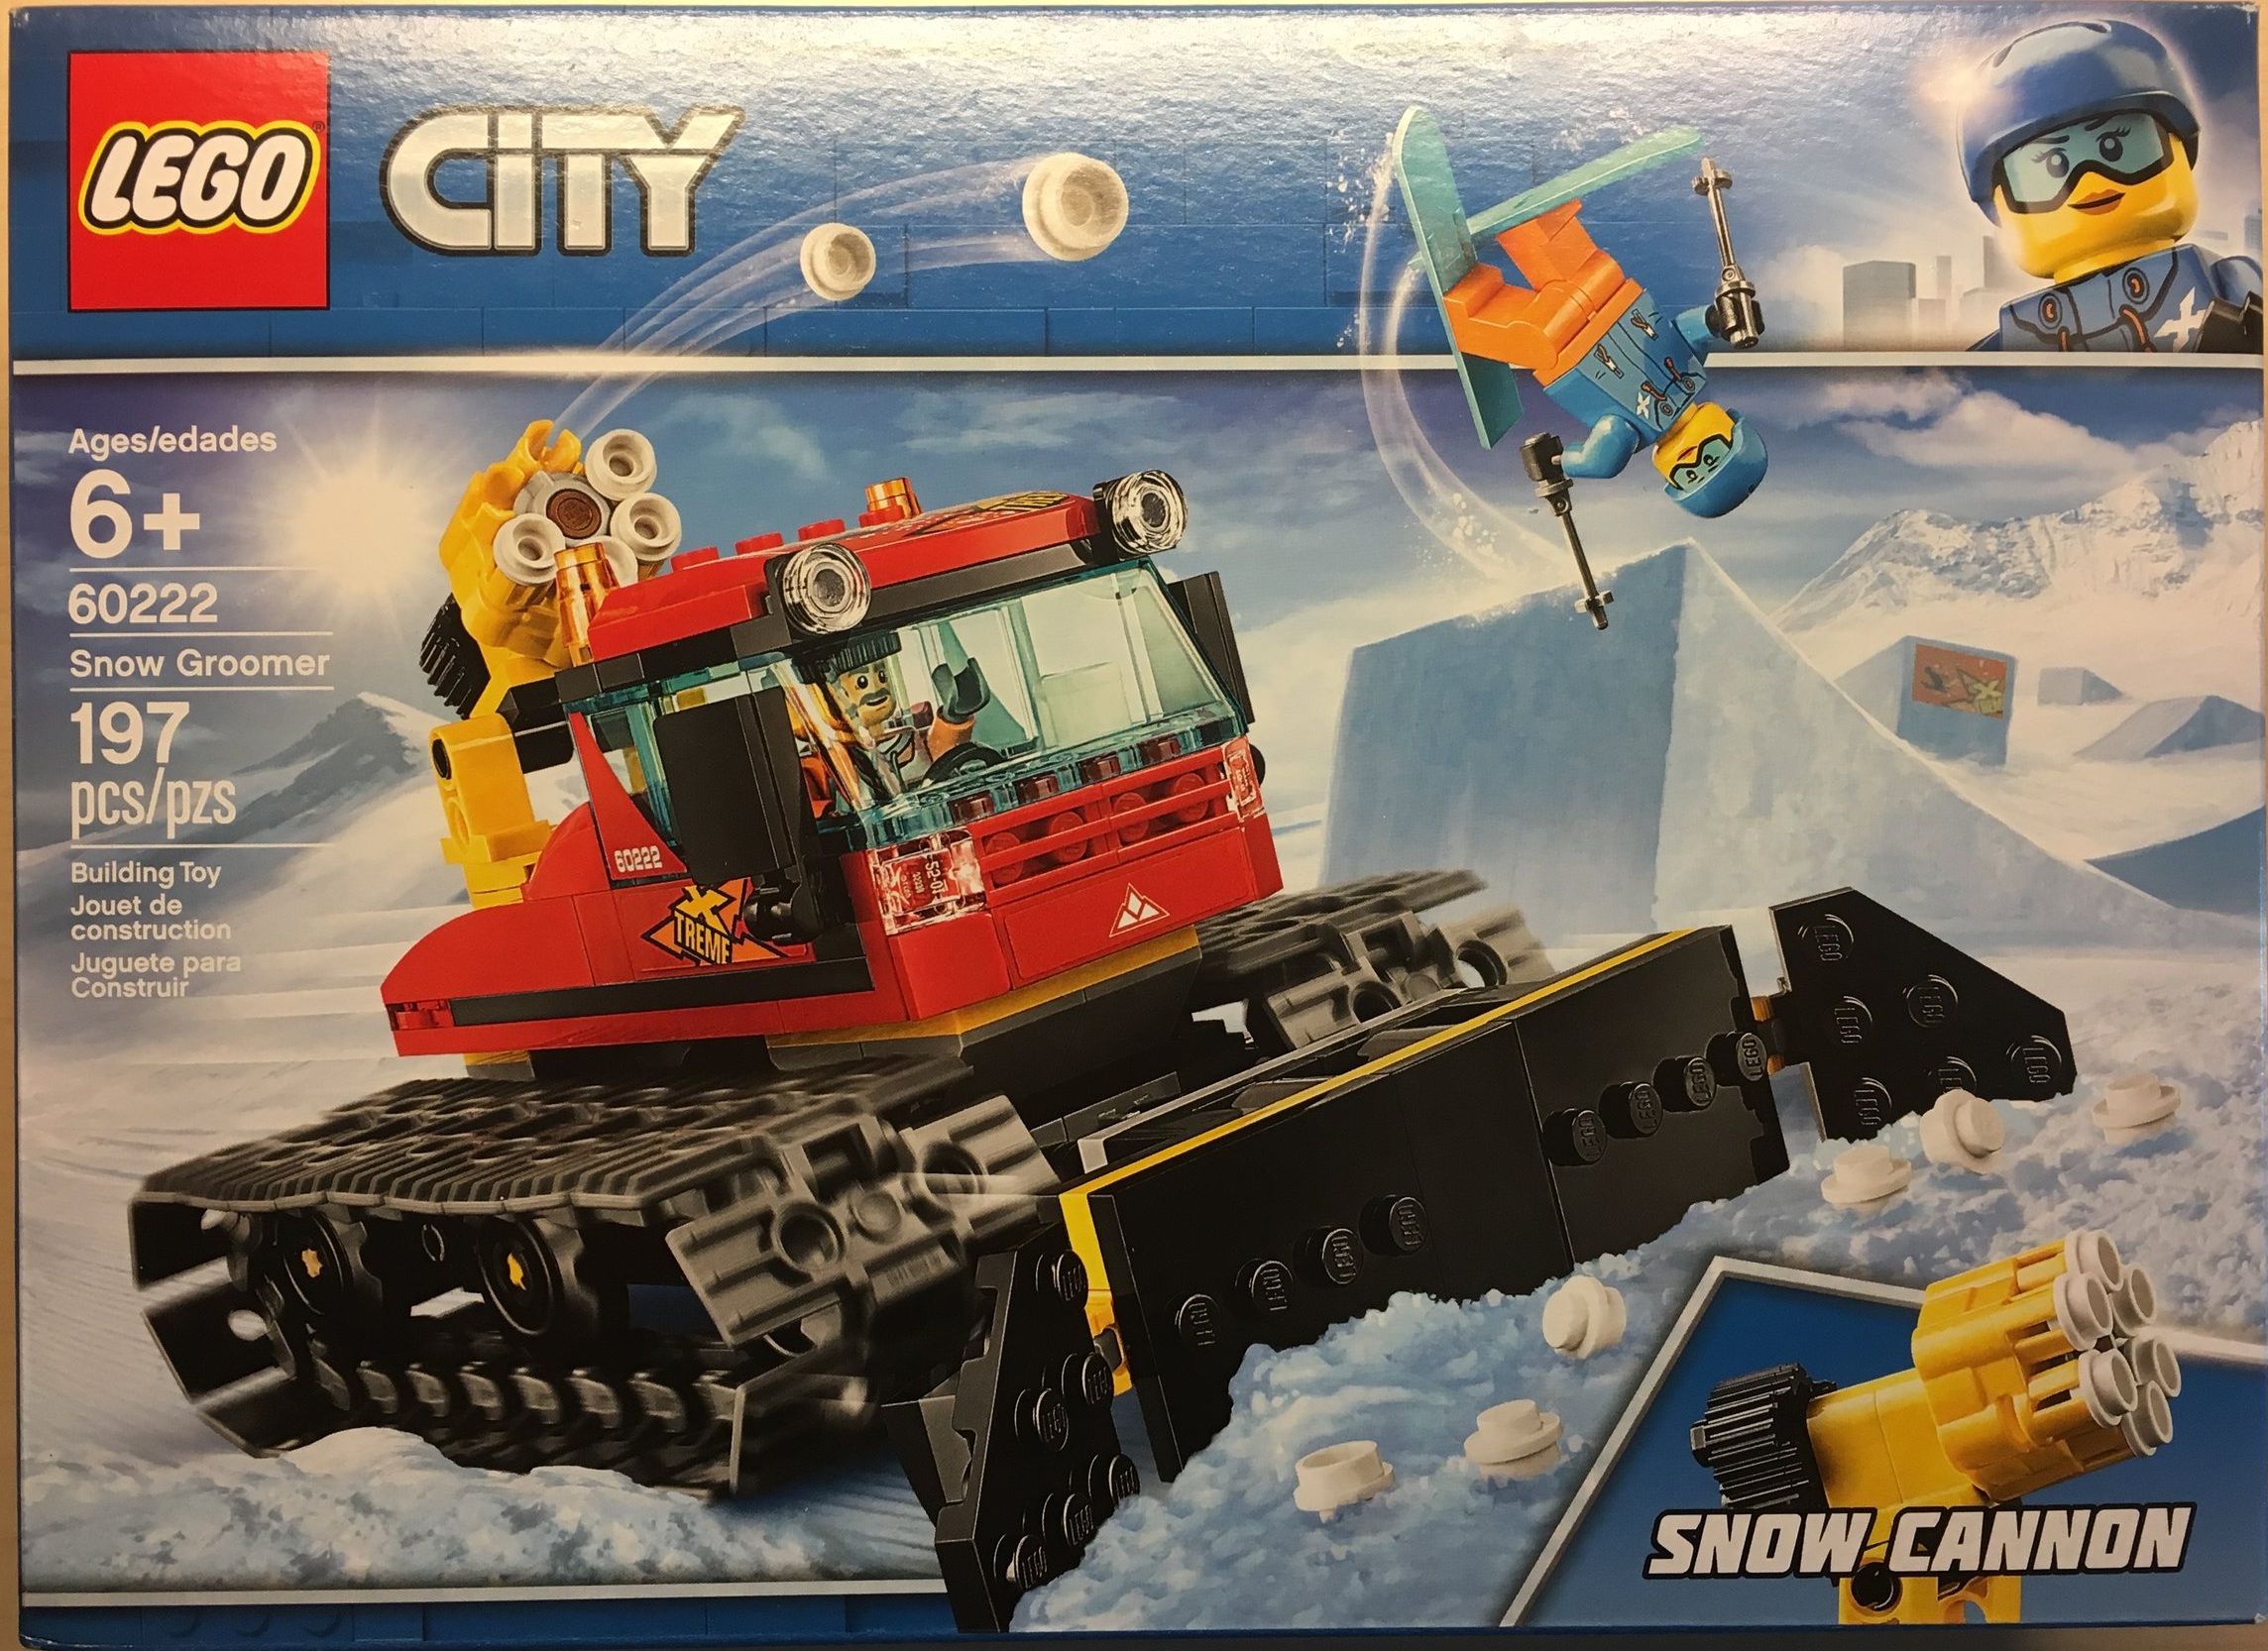
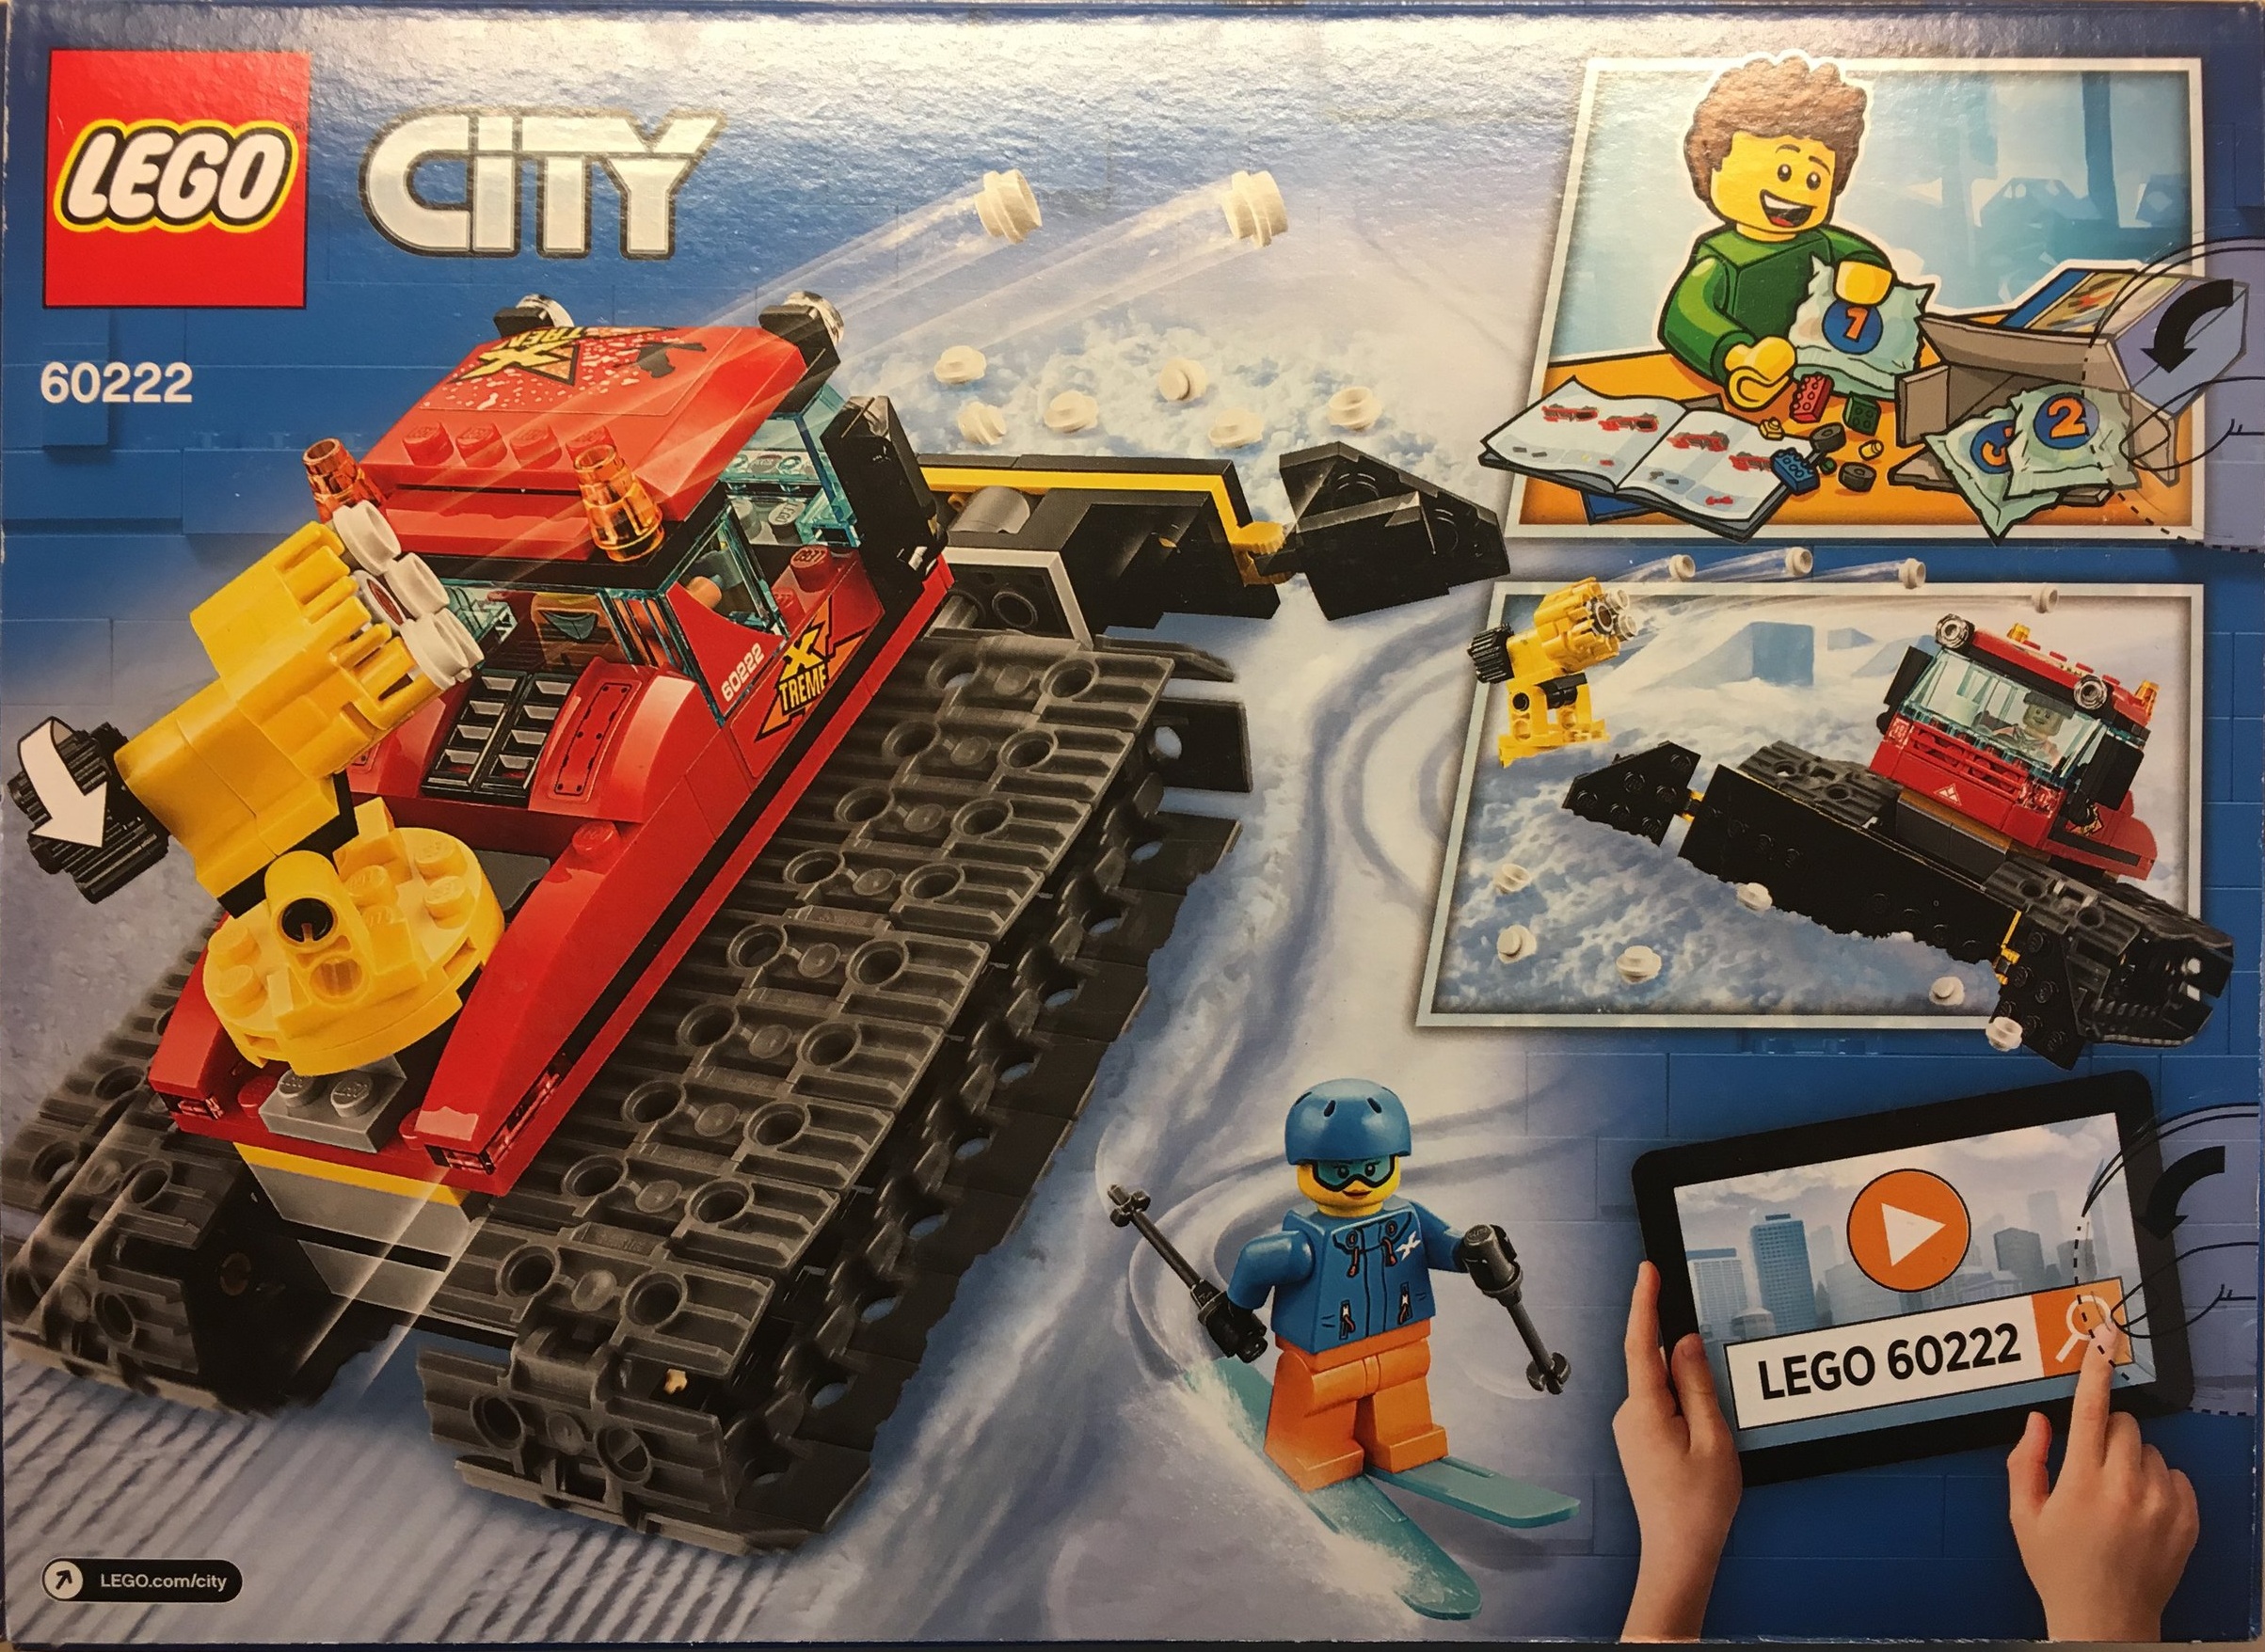
Here’s the box. The front shows the set with its snow cannon feature and the back shows the snow cannon again along with a minifigure happily building the set. It also shows that you can set up the snow cannon on the ground.

60222_box_front.jpg
60222_box_back.jpg

The contents include two parts bags, a small sticker sheet, and an instruction booklet. I was happy to see that the instruction booklet was nicely placed inside and not jammed in with a massive crease in it when you take it out.

60222_contents.jpg

The first bag builds the base. Some Technic pieces make up the main portion and then you attach on the treads. Then there’s a spot for you to attach the cab and the plow. But let’s focus on the wheel in the middle for a minute… I’m not a fan. It makes the set slightly off balance and a little unrealistic in my opinion. However, with an age range of 6+ for the set, I’m pretty sure the concern was that kids would be frustrated that the treads don’t move easily. The table surface I built on is a good example. With the wheel, the treads move great. To be fair, it is easy to build this without the wheel in the middle. It is there for the play factor and that makes sense to me.

60222_bag1.jpg

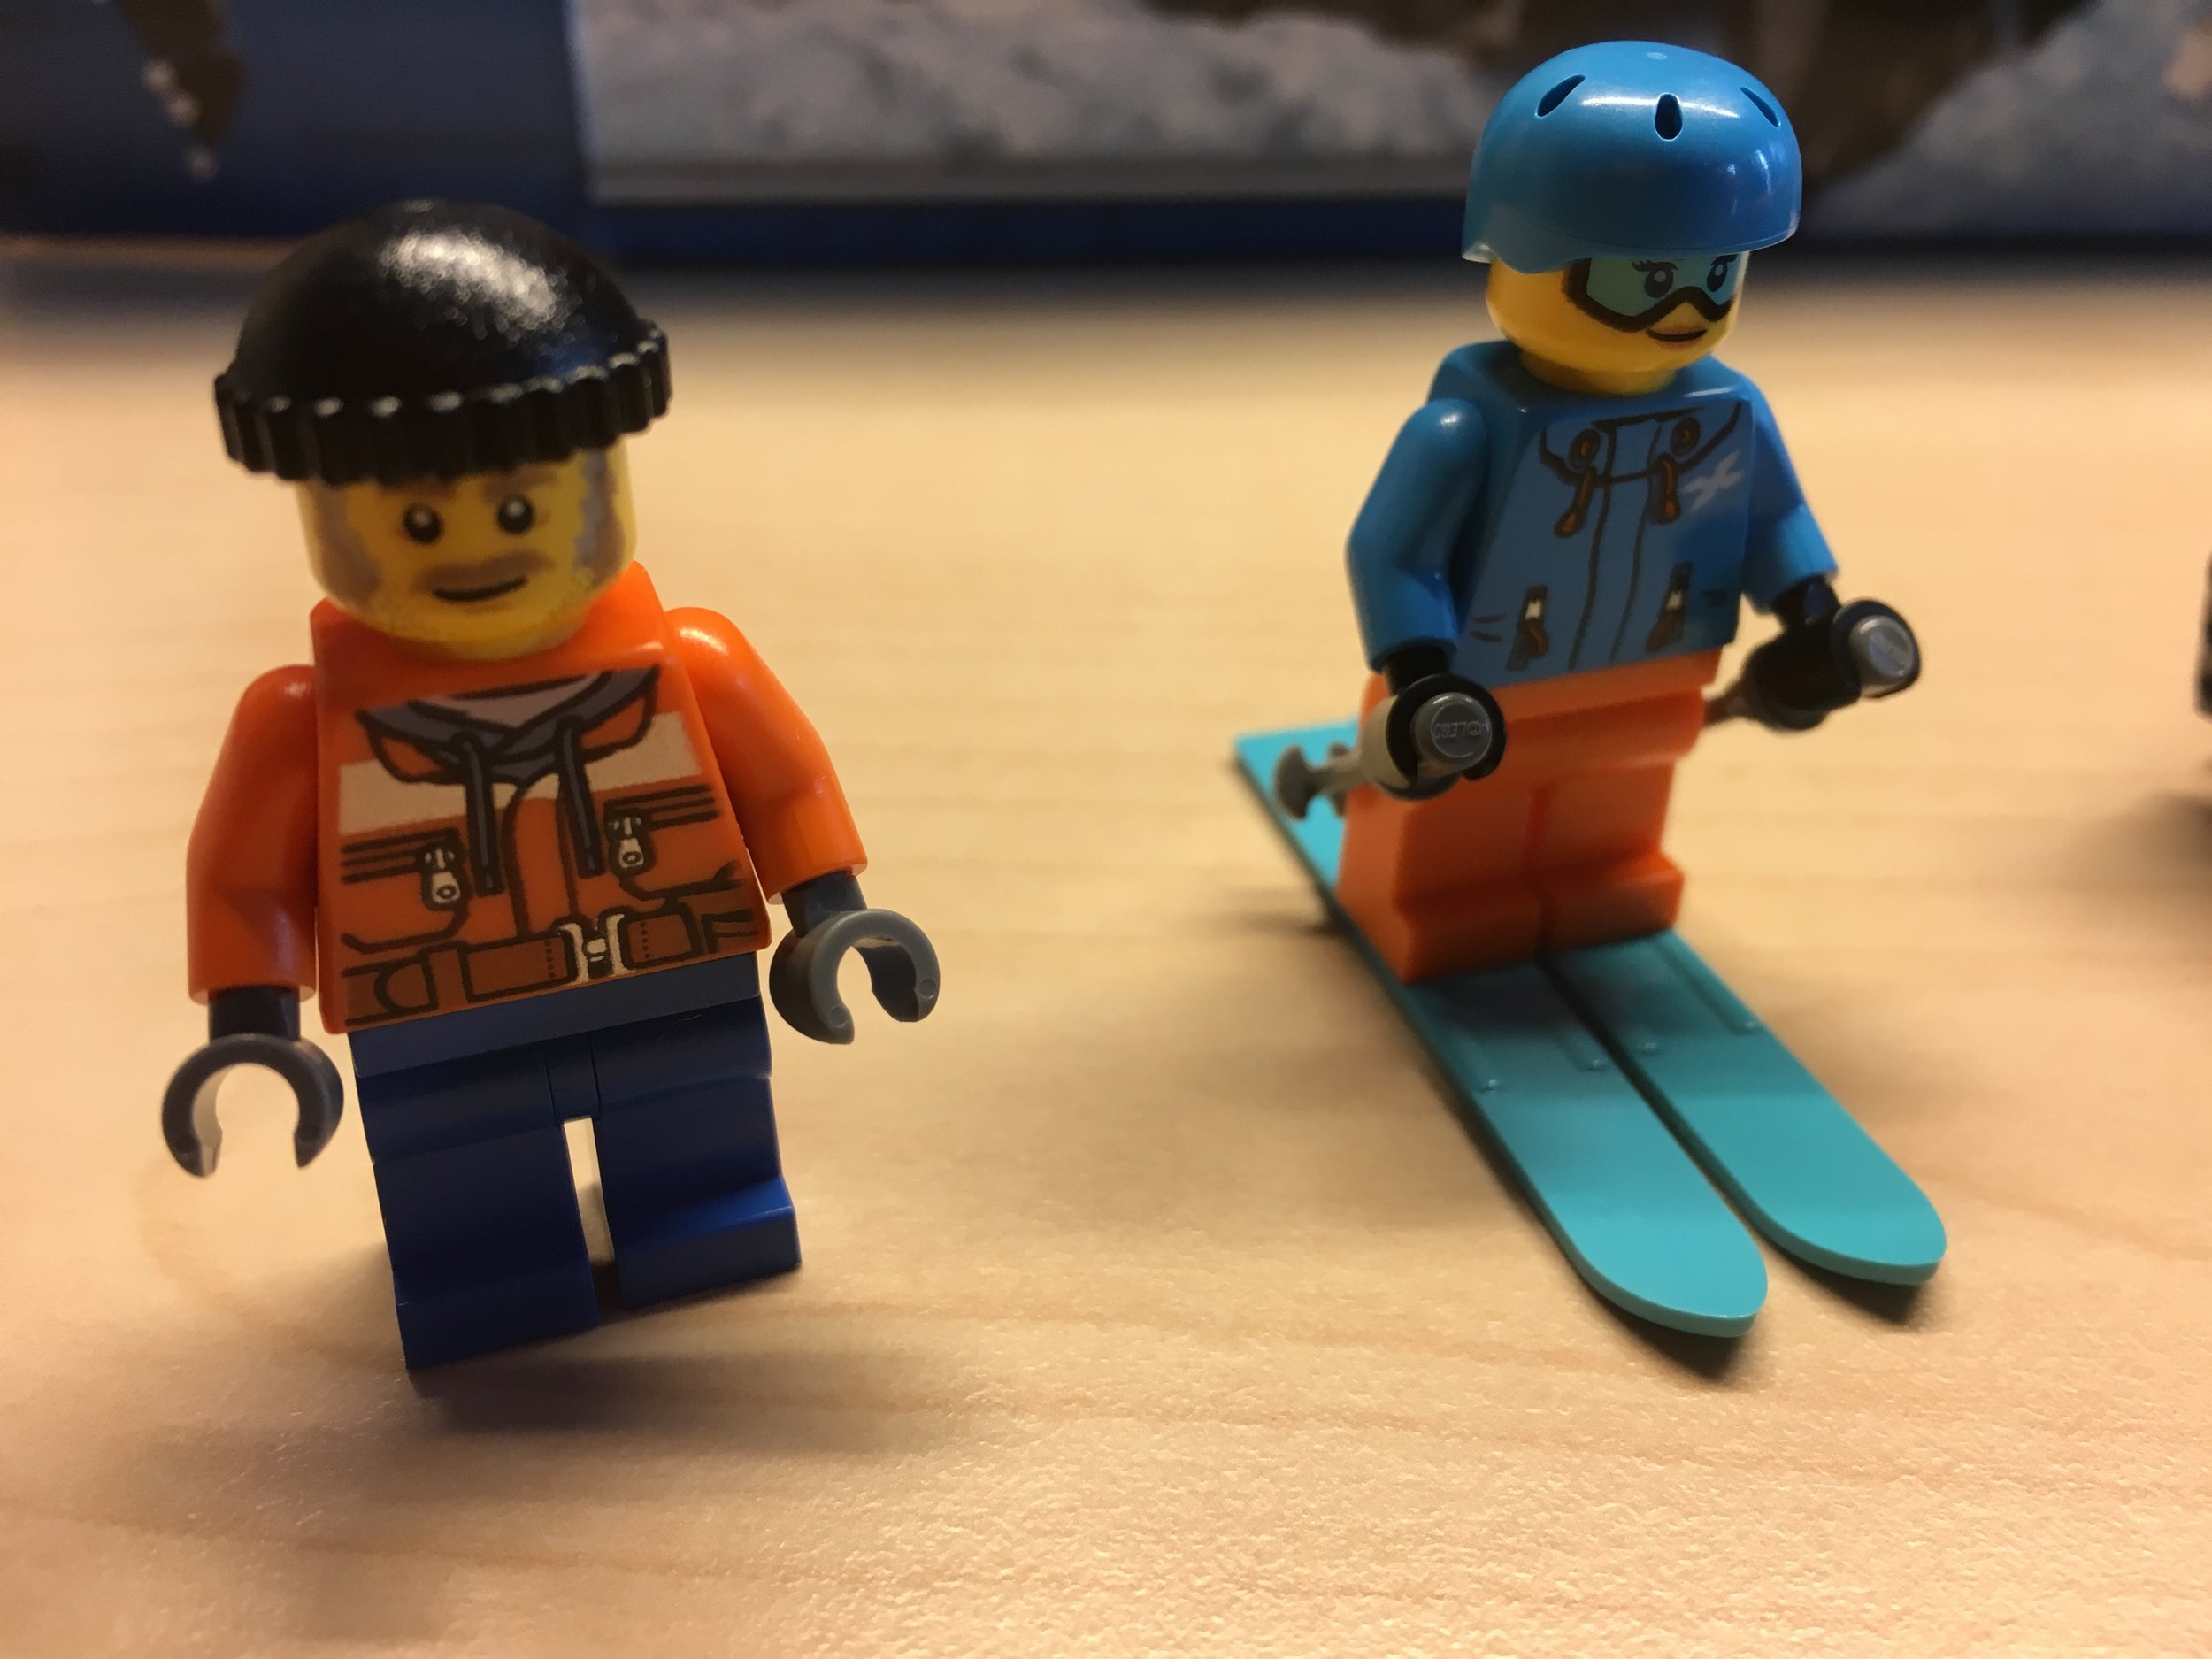
Bag one also comes with the two minifigures. One is a male in a bright orange jacket with a winter cap and gloves on. He has some long side burns and a mustache too. The other is a female skier. She’s got a helmet, goggles printed on versus attached to the helmet, a ski jacket, two poles, and two skis. Both have no designs on their pants. I remember growing up and playing with LEGO with my sister. We would argue over who got the limited number of female minifigues that we had. Most were male and it made for a pretty lopsided town. I’m thankful that LEGO has changed and we now have a very diverse crowd. My town today has a great mix of the two genders.

60222_minifigs.jpg

The second bag assembles the cab on top and the snow cannon. It also adds the plow in front. The cab is pretty simple and comes with a coffee mug so the worker can drink and plow. The cannon feature has been seen before only this one shoots snow (white 1x1 round plates). I don’t think I’ve ever tested the feature before, but these things go pretty far when shot. I’m sure some parents will be vacuuming up some 1x1 round plates in the near future. You do get a few extras in the set though so a kid hopefully won’t lose them all right away.

The plow needs a redesign. I’m okay with how it looks, but the attachment is very awkward. You can see a lot of the Technic axles sticking out and the plow just slides in and is not held in place. My suggestion for a redesign would be to either modify the attachment of the plow or to cover it up somehow so it doesn’t look so awkward. I would also make it so that it stays on. If a kid is playing with the plow down and decides to back it up, the plow slides off. It needs to stay on. I would think the LEGO designers would have caught that when designing the set.

Overall it is a pretty neat set that we haven’t seen in the LEGO CITY range before. There are a few minor design flaws in my opinion, but an AFOL with a large parts stash could easily refine this set to make some improvements. The option to pick this set up on sale makes it a little easier to swallow so look for it at some of the big retailers at a discount. It may get discounted more closer to the Christmas season.

I think this one is a win. What are your thoughts?

Happy building!
60222_bag2.jpg

Set Review - #60204-1: City Hospital - LEGO City

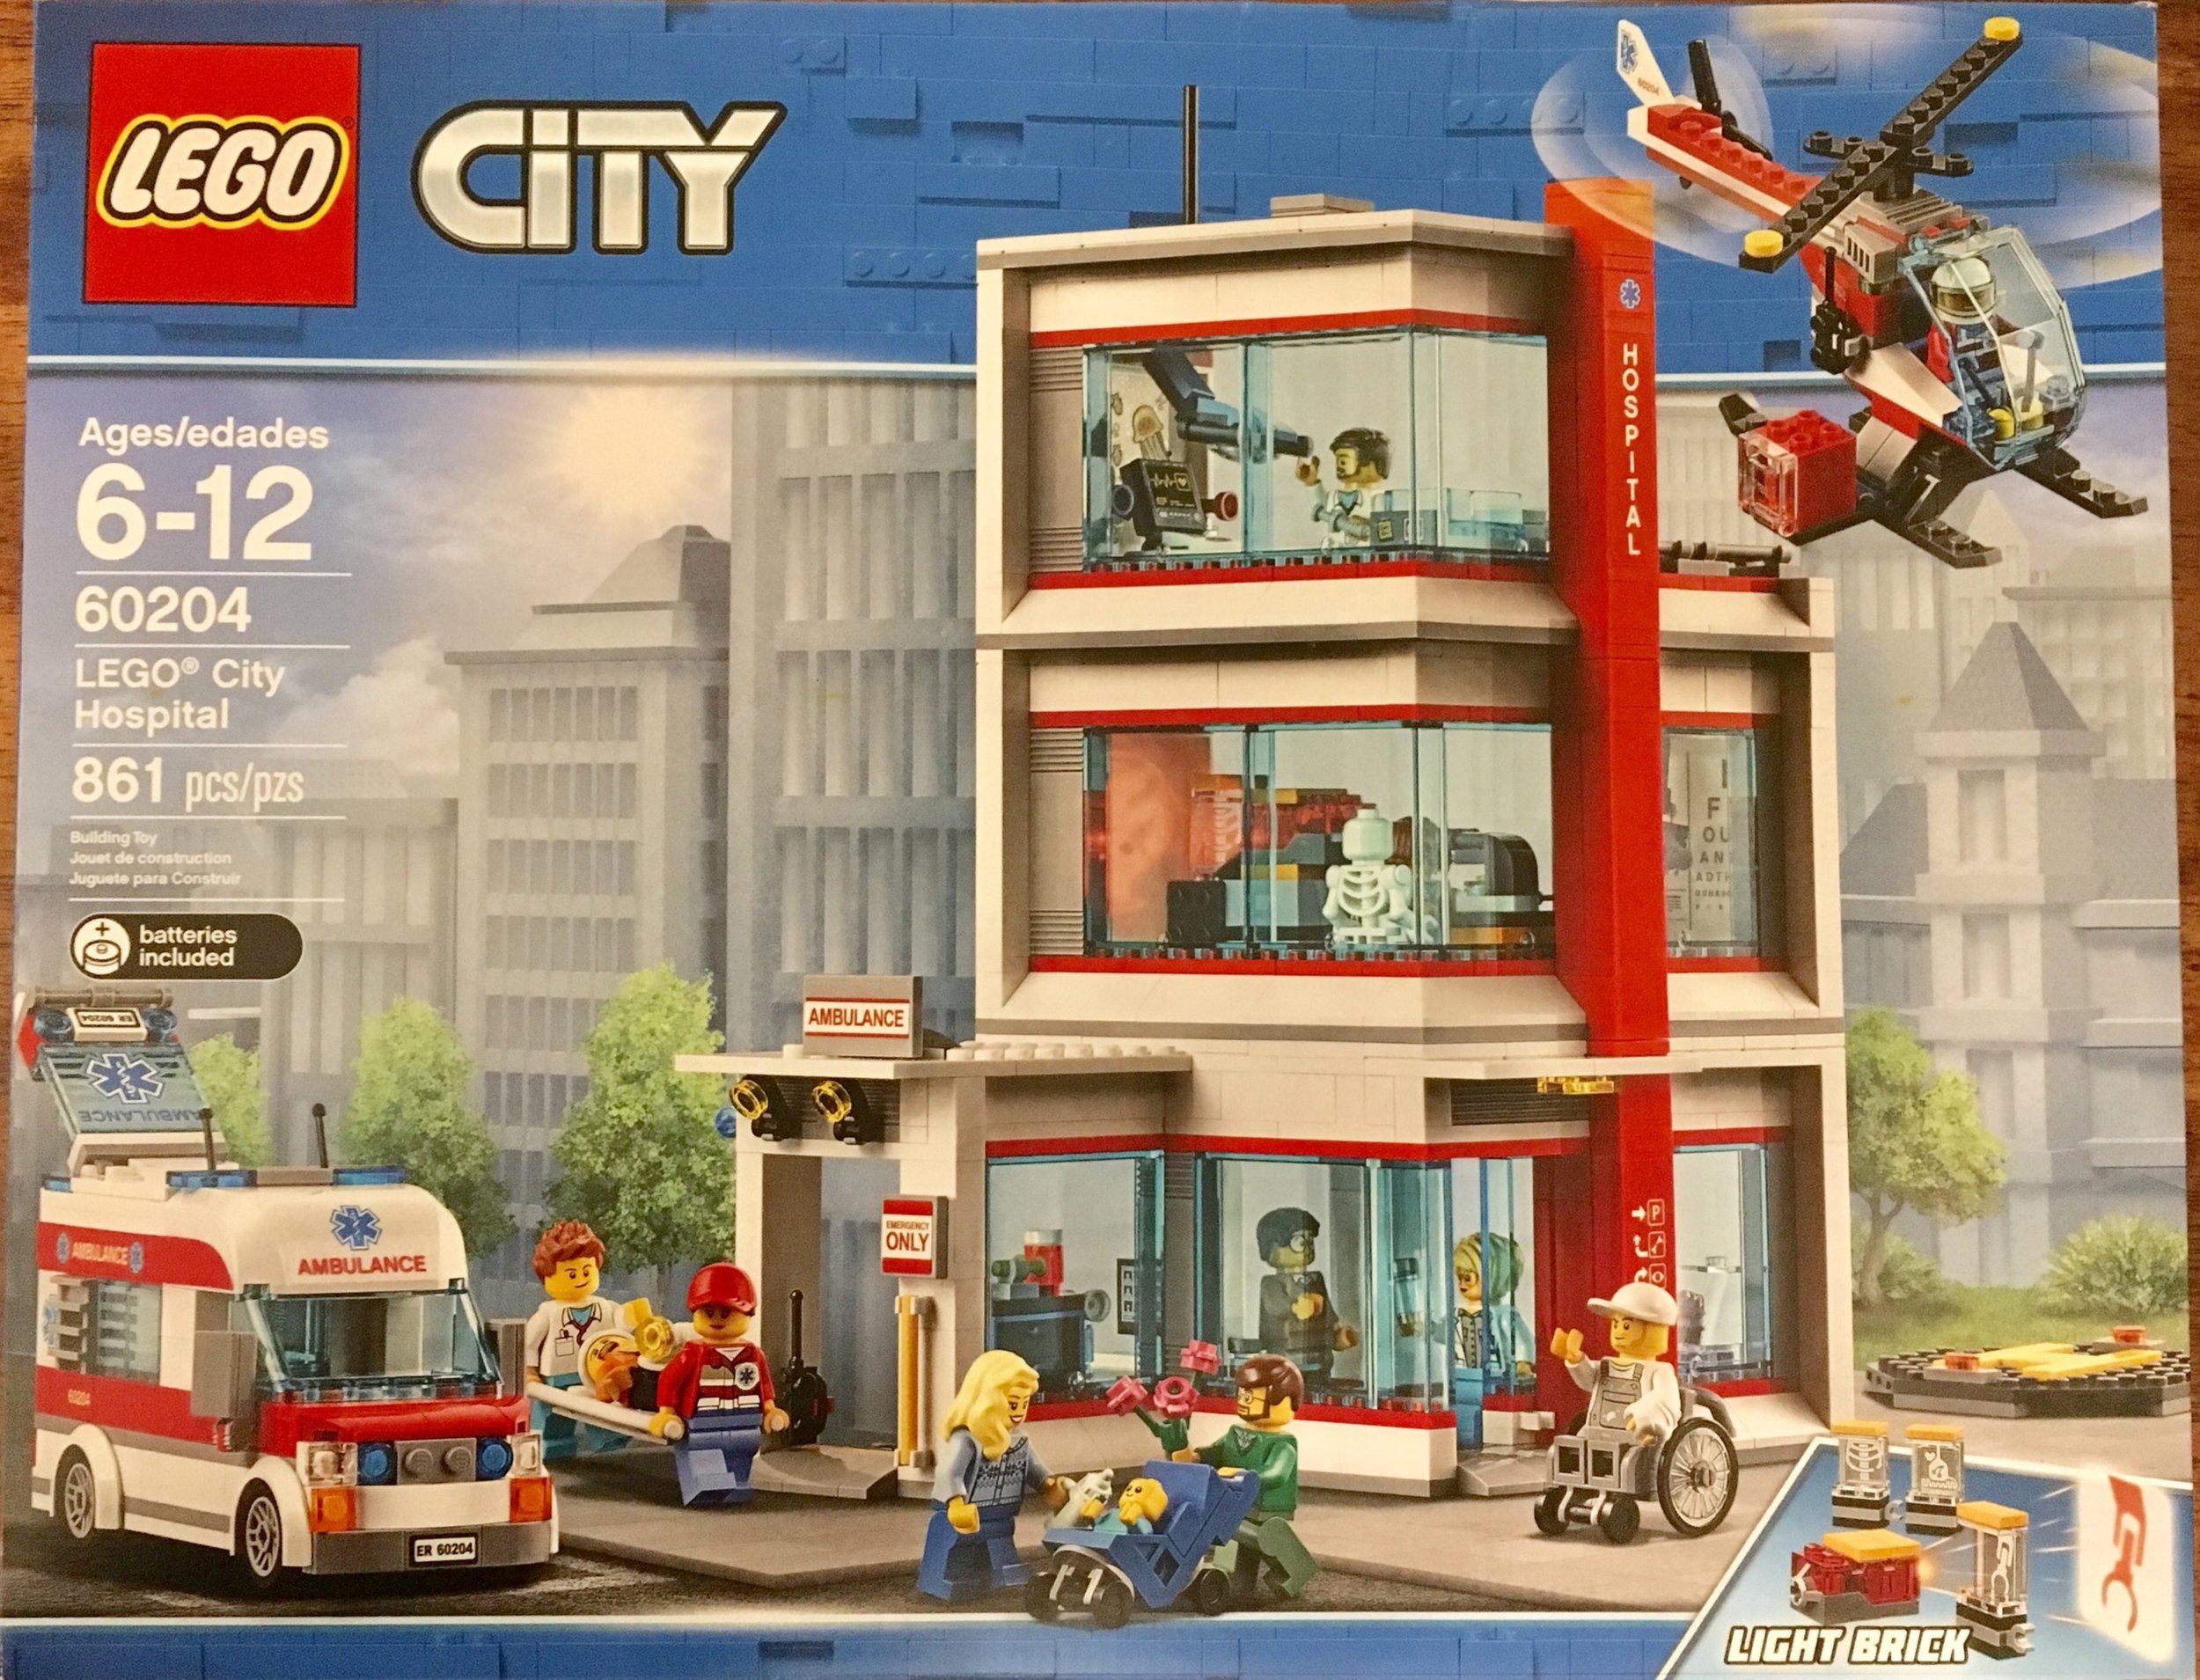
The CITY theme has a bunch of re-release sub-themes every year. The Fire and Police sub-themes always seem to re-appear. Well the Hospital sub-theme (or is it medical?) is one theme that is not often repeated. The last version came out in 2007. It was #7892-1 and I actually have it. It’s not that great of a set, but I do like the sub-theme. Since then there have been a few other themes that have had hospitals to include Duplo and Friends. Thankfully it returned to CITY and on 2 June 2018, #60204-1 was released in the US. It retails for $99.99 and contains 861 pieces and 13 minifigures. At that price it is $0.116 per piece which is a bit high in my opinion. It does have some large pieces which drives up the cost of plastic and there is a light brick which adds onto the price as well. Onto the review…

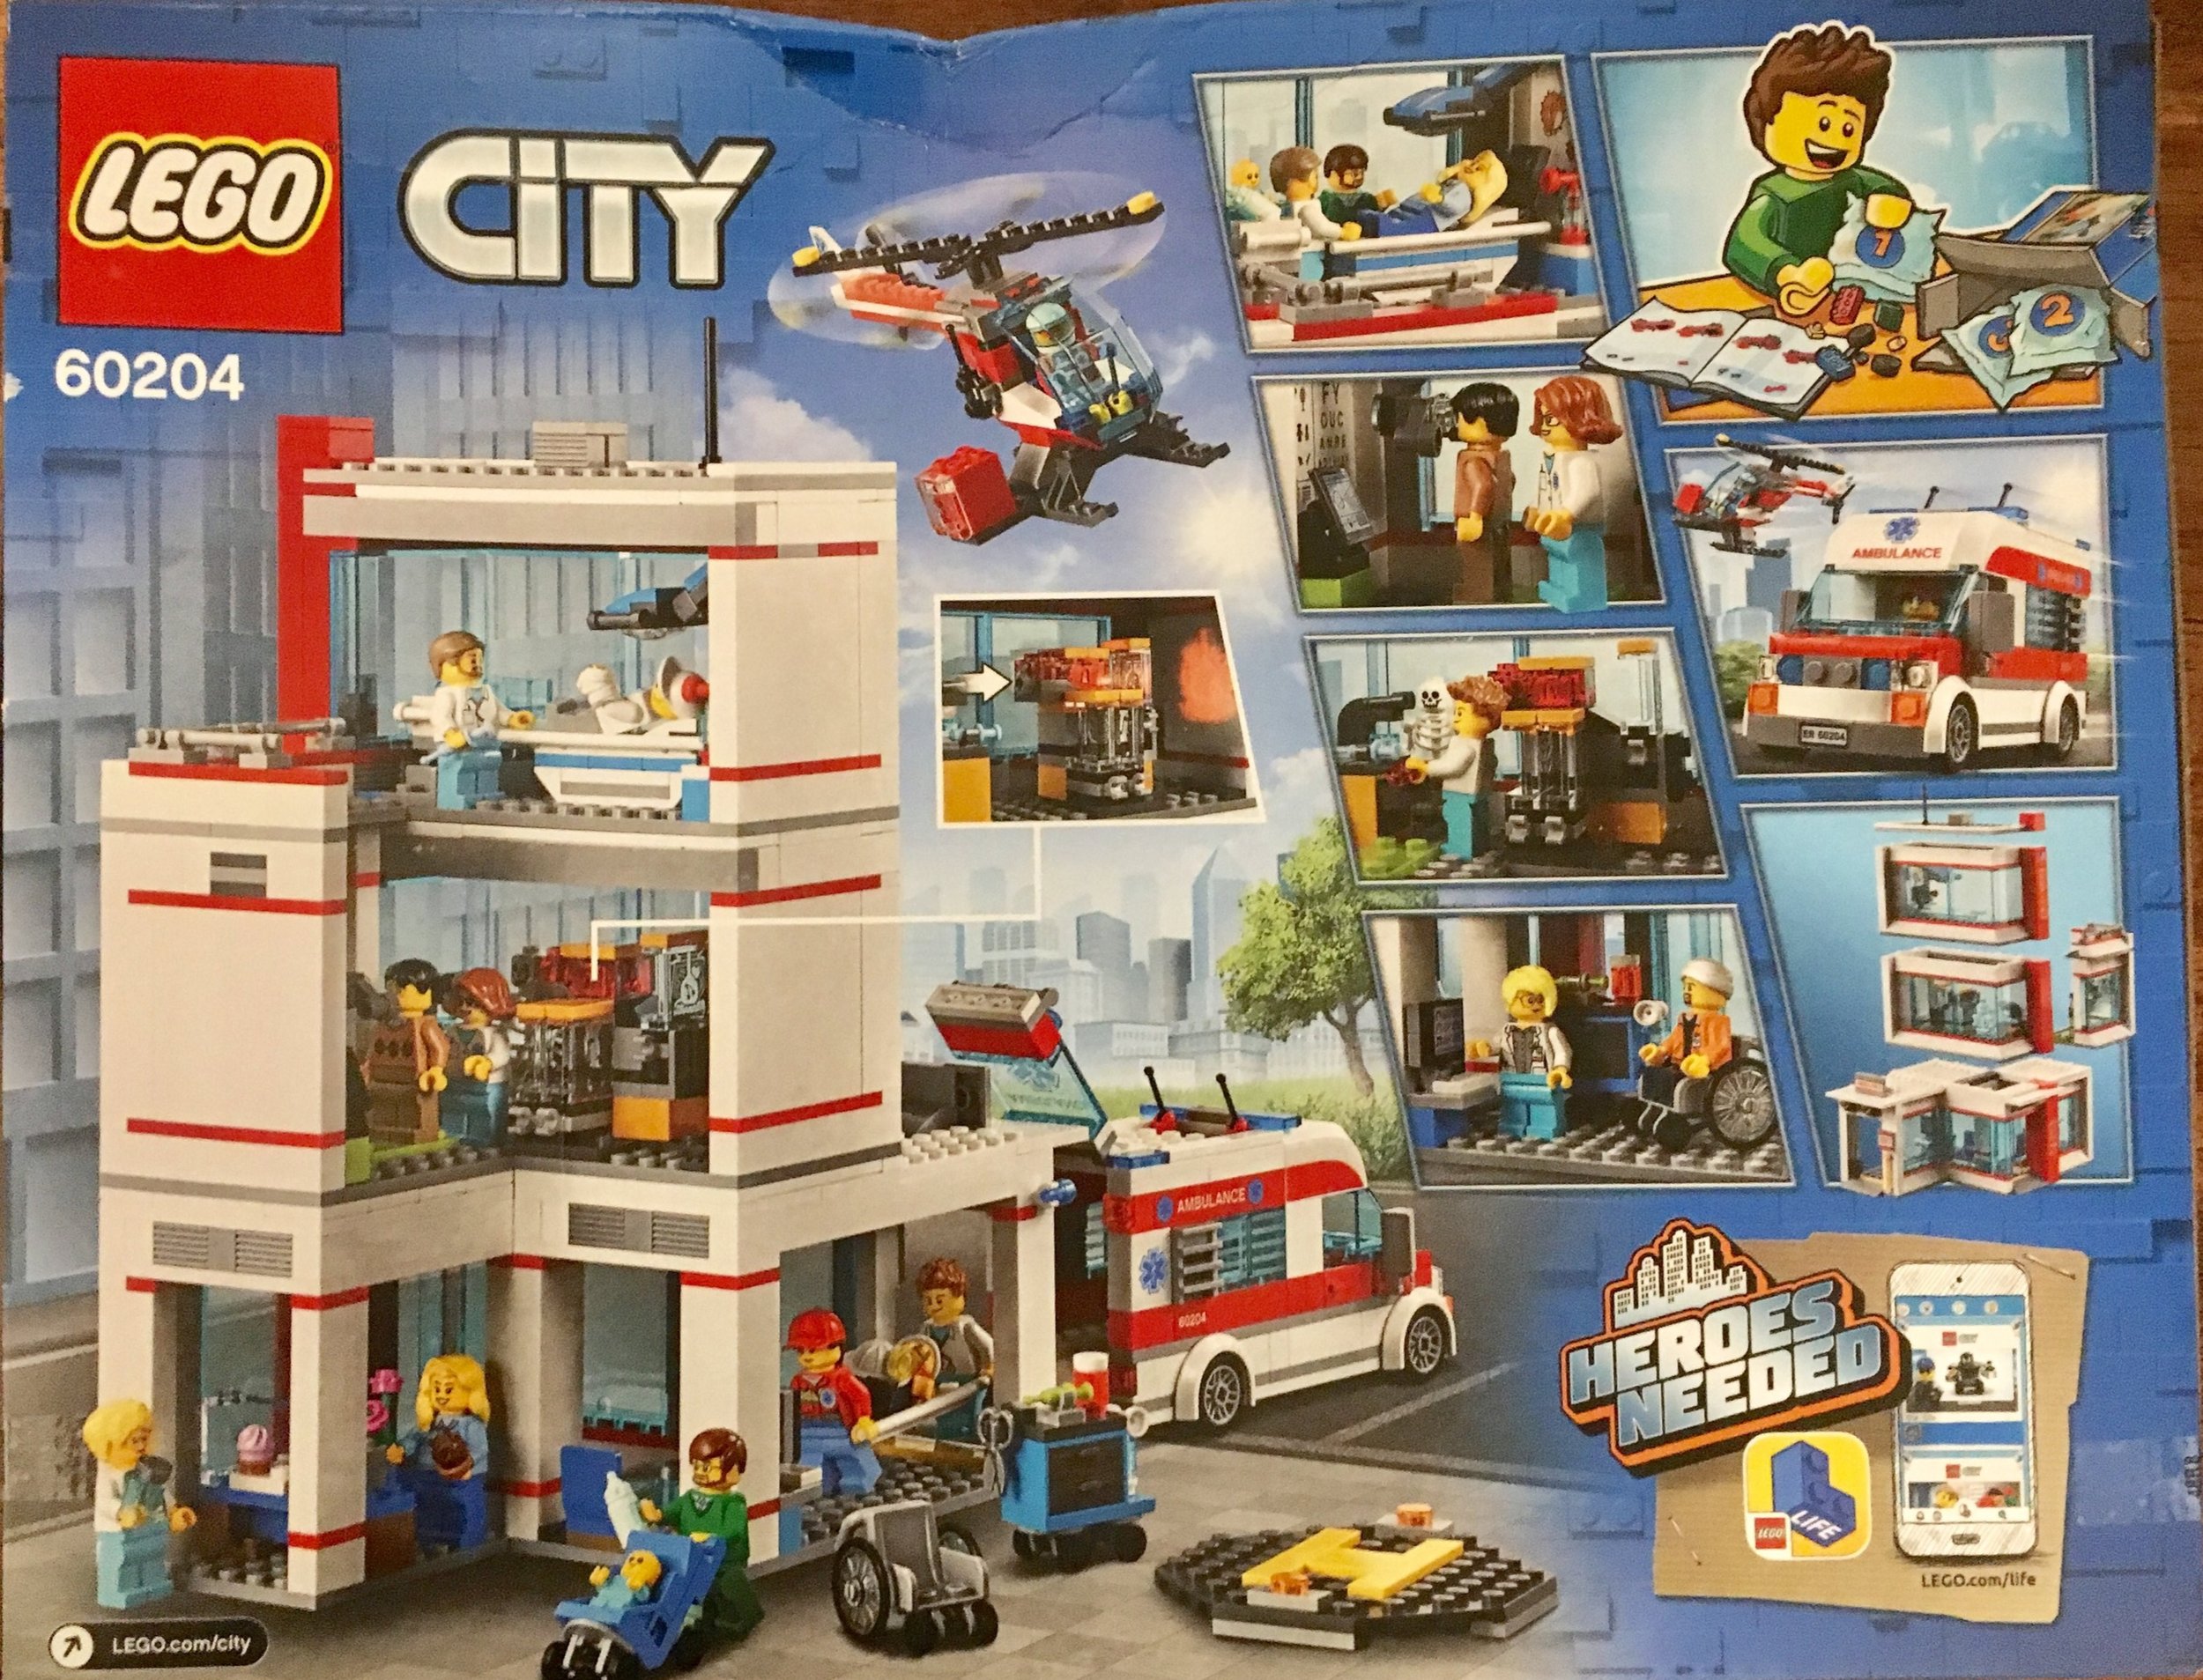
The box is pretty big with the front showing the full set and the back showing some of the play features like usual. My container got a bit banged up on the way to my house, but I can’t complain. It was packaged well… just had a lot of opportunities to get beat up on the way to Germany.

60204_boxfront.jpg
60204_boxback.jpg

The contents include 9 parts bags, 5 8x16 light gray plates, the instruction books, and a sticker sheet. The instructions and stickers were in a separate bag. While it is extra packaging, I like that they are protected versus some of the cheaper sets where they get all folded up and jammed into the box during packaging. I was especially thankful given the damage the outer box received on the way to my house. At least the instructions and stickers didn’t take the brunt of any of it.

There are a bunch of stickers… 26 numbered in total to include some that have more than one per instruction number. There are quite a few, but in my opinion, they add to the detail of the set so I made sure to place them all.

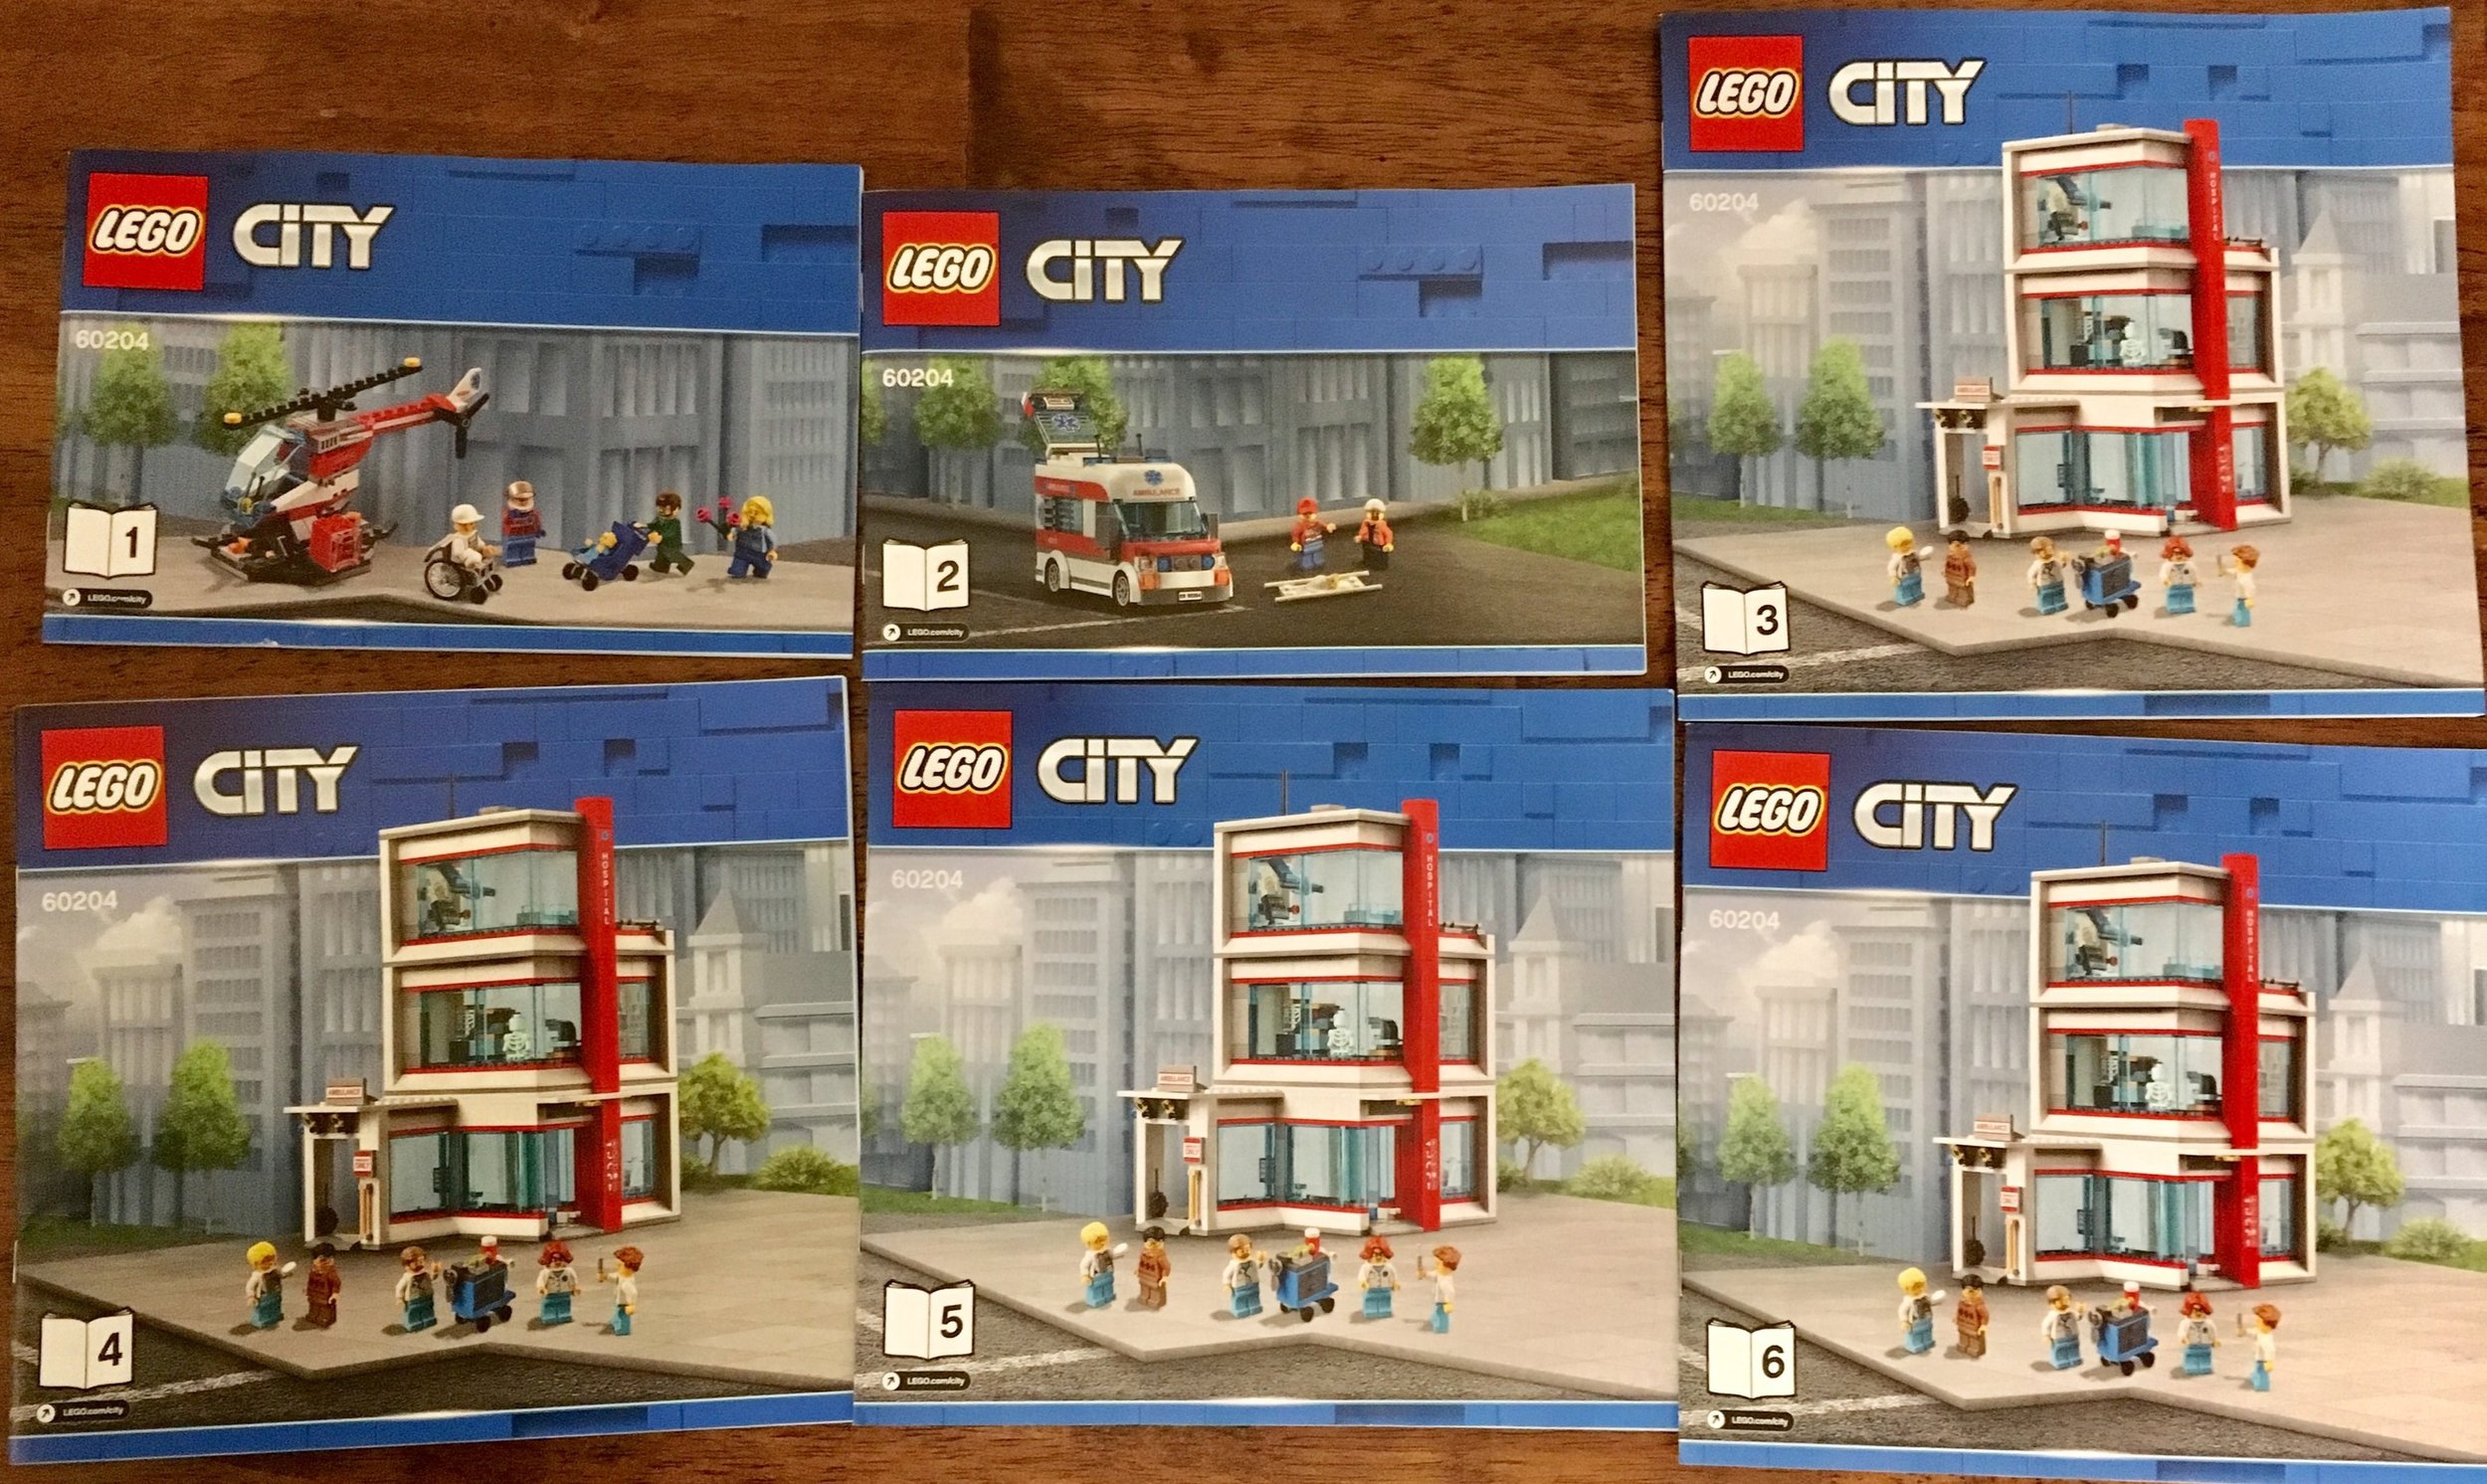
There are 6 instruction books. One is for the helicopter and some minifigures. One is for the ambulance. Four of them are for the hospital structure itself. The picture on the outside matches what the build is as well.

60204_contents.jpg
60204_stickers.jpg
60204_instructions.jpg

The first bag includes a helicopter, helicopter pad, and 5 minifigures (4 full size and one baby. The minifigures are a man with flowers, a woman, a baby with a stroller, a figure who we assume is a painter or some sort of handyman who has a cast on his arm, and the helicopter pilot. There is also a wheelchair that can be used for the man who broke his arm I guess. Not a bad selection of figures to start. As for the helicopter, I am not a fan of CITY helicopters in general. If you’re going to do one right, it needs to be larger with a bit more detail. This one has a purpose of carrying a small container of important medicine or something in a bulky container that sits on one of the landing skids. Really? The main rotor is pretty unrealistic as well given that it’s just 2 1x8 plates. I’m sure it has to do with kids enjoying playing with helicopters built out of LEGO bricks and not at all for AFOLs who want details on all sets to include those designed for kids.

60204_bag1.jpg

Bag 2 starts off the ambulance build. It builds the frame and then the hood, doors, and some of the outer walls. It also includes a stretcher, a female EMT/driver, and what appears to be a miner who comes with hair, a helmet, and a bandage to put over his head. I guess he forget to wear the helmet so he has to wear the bandage due to his injury.

60204_bag2.jpg

The third bag completes the ambulance. It’s not a bad design. Nothing too out of the ordinary, but I think it looks a bit more realistic versus what some past versions have looked like. The only design change I would make would be to have 2 doors that open out versus one door that swings up. In terms of the play factor, I think this one is missing some EMT equipment. Maybe a few small bags of equipment or something for the EMT to use when going on a call. Could also be something to design later with your own parts.

60204_bag3.jpg

Bag 4 starts to build the hospital itself. The first floor includes a sliding glass door, a very small snack shop with a newspaper and LEGO set, a single seat waiting area, and what will end up as the Emergency Room entrance. I understand it is a CITY set meant for 6 to 12 year old kids, so instead of criticizing LEGO for poor design, I’m going to see it as an opportunity to make improvements. I see opportunity to add some floor tiles for decoration, expand the gift/snack shop, provide a true waiting area, and maybe even an information/check in desk.

This bag also includes 2 female medical personnel. They both have glasses on and blue scrubs for pants.

60204_bag4.jpg

The fifth bag completes the first floor. This includes the roof, the ambulance/Emergency Room entrance, a cart for the ER with some equipment, and a computer built into the wall. There’s a lot of potential here for expansion to include a built up ER with beds, monitors and medical equipment, a nurses station, a door for the ER entrance, maybe a covered entrance for the ambulance… lots of possibilities, not a lot of time.

60204_bag5.jpg

Bag six starts work on the second floor with an optometry section. There the… I don’t know what it is called… the optometrist gives you different lenses and always asks “1 or 2?” There is also a computer scan or some sorts and 2 eye charts. The charts are a kid version and then the adult version with letters. The adult eye chart cleverly reads “if you can read this, you have good vision.” I would have added in a chair for the patient to sit in versus the little lime green tile with studs on the floor for the minifigure to stand on.

60204_bag6.jpg

The seventh bag completes a lab of sorts for the second floor and the doctor or technician who works there. There is a microscope, a skeleton, a syringe, and then an x-ray viewer. The viewer isn’t super great, but it isn’t bad for a CITY set. There’s a red brick light that is set up on some pieces. You then have 3 stickered windows that you can slide in front to project the image on the wall. The one I show is of a broken minifigure arm. There is also one of a broken minifigure rib and one of a minifigure who swallowed a LEGO cherry whole. This section attaches to the second floor right next to the optometry section. It is oddly placed, but I think some work on the second floor on top of a re-designed first floor could provide much better detail.

IMG_7473.JPG
60204_bag9.jpg
IMG_7474.JPG

The eighth bag starts the third and final floor. This section is the Labor and Delivery section of the hospital. Bag 8 includes the start of the floor, and another medical staff minifigure, and a bassinet for the baby. The bassinet includes a baby bottle and at the end it has a picture and some sort of label scribbled on it.

60204_bag8.jpg

The last bag (#9) is the final bag and finishes up Labor and Delivery. It includes a delivery bed, a monitor of sorts, and a red and blue… I’m not sure what they are. Some sort of monitor attachment maybe. There is also a light attached to the ceiling. My favorite detail on the inside is actually the sticker on the wall. The fish design is fun and makes the room look very kid friendly (although that’s not what you are thinking when the kid is being born).

60204_bag9.jpg

Here are the minifigures. In my opinion, they help to make the set a bit more worth buying. Besides the sheer number, you get a good collection of city figures, another baby minifigure, the 4 medical staff members, and 2 EMTs.

60204_minifigs.jpg

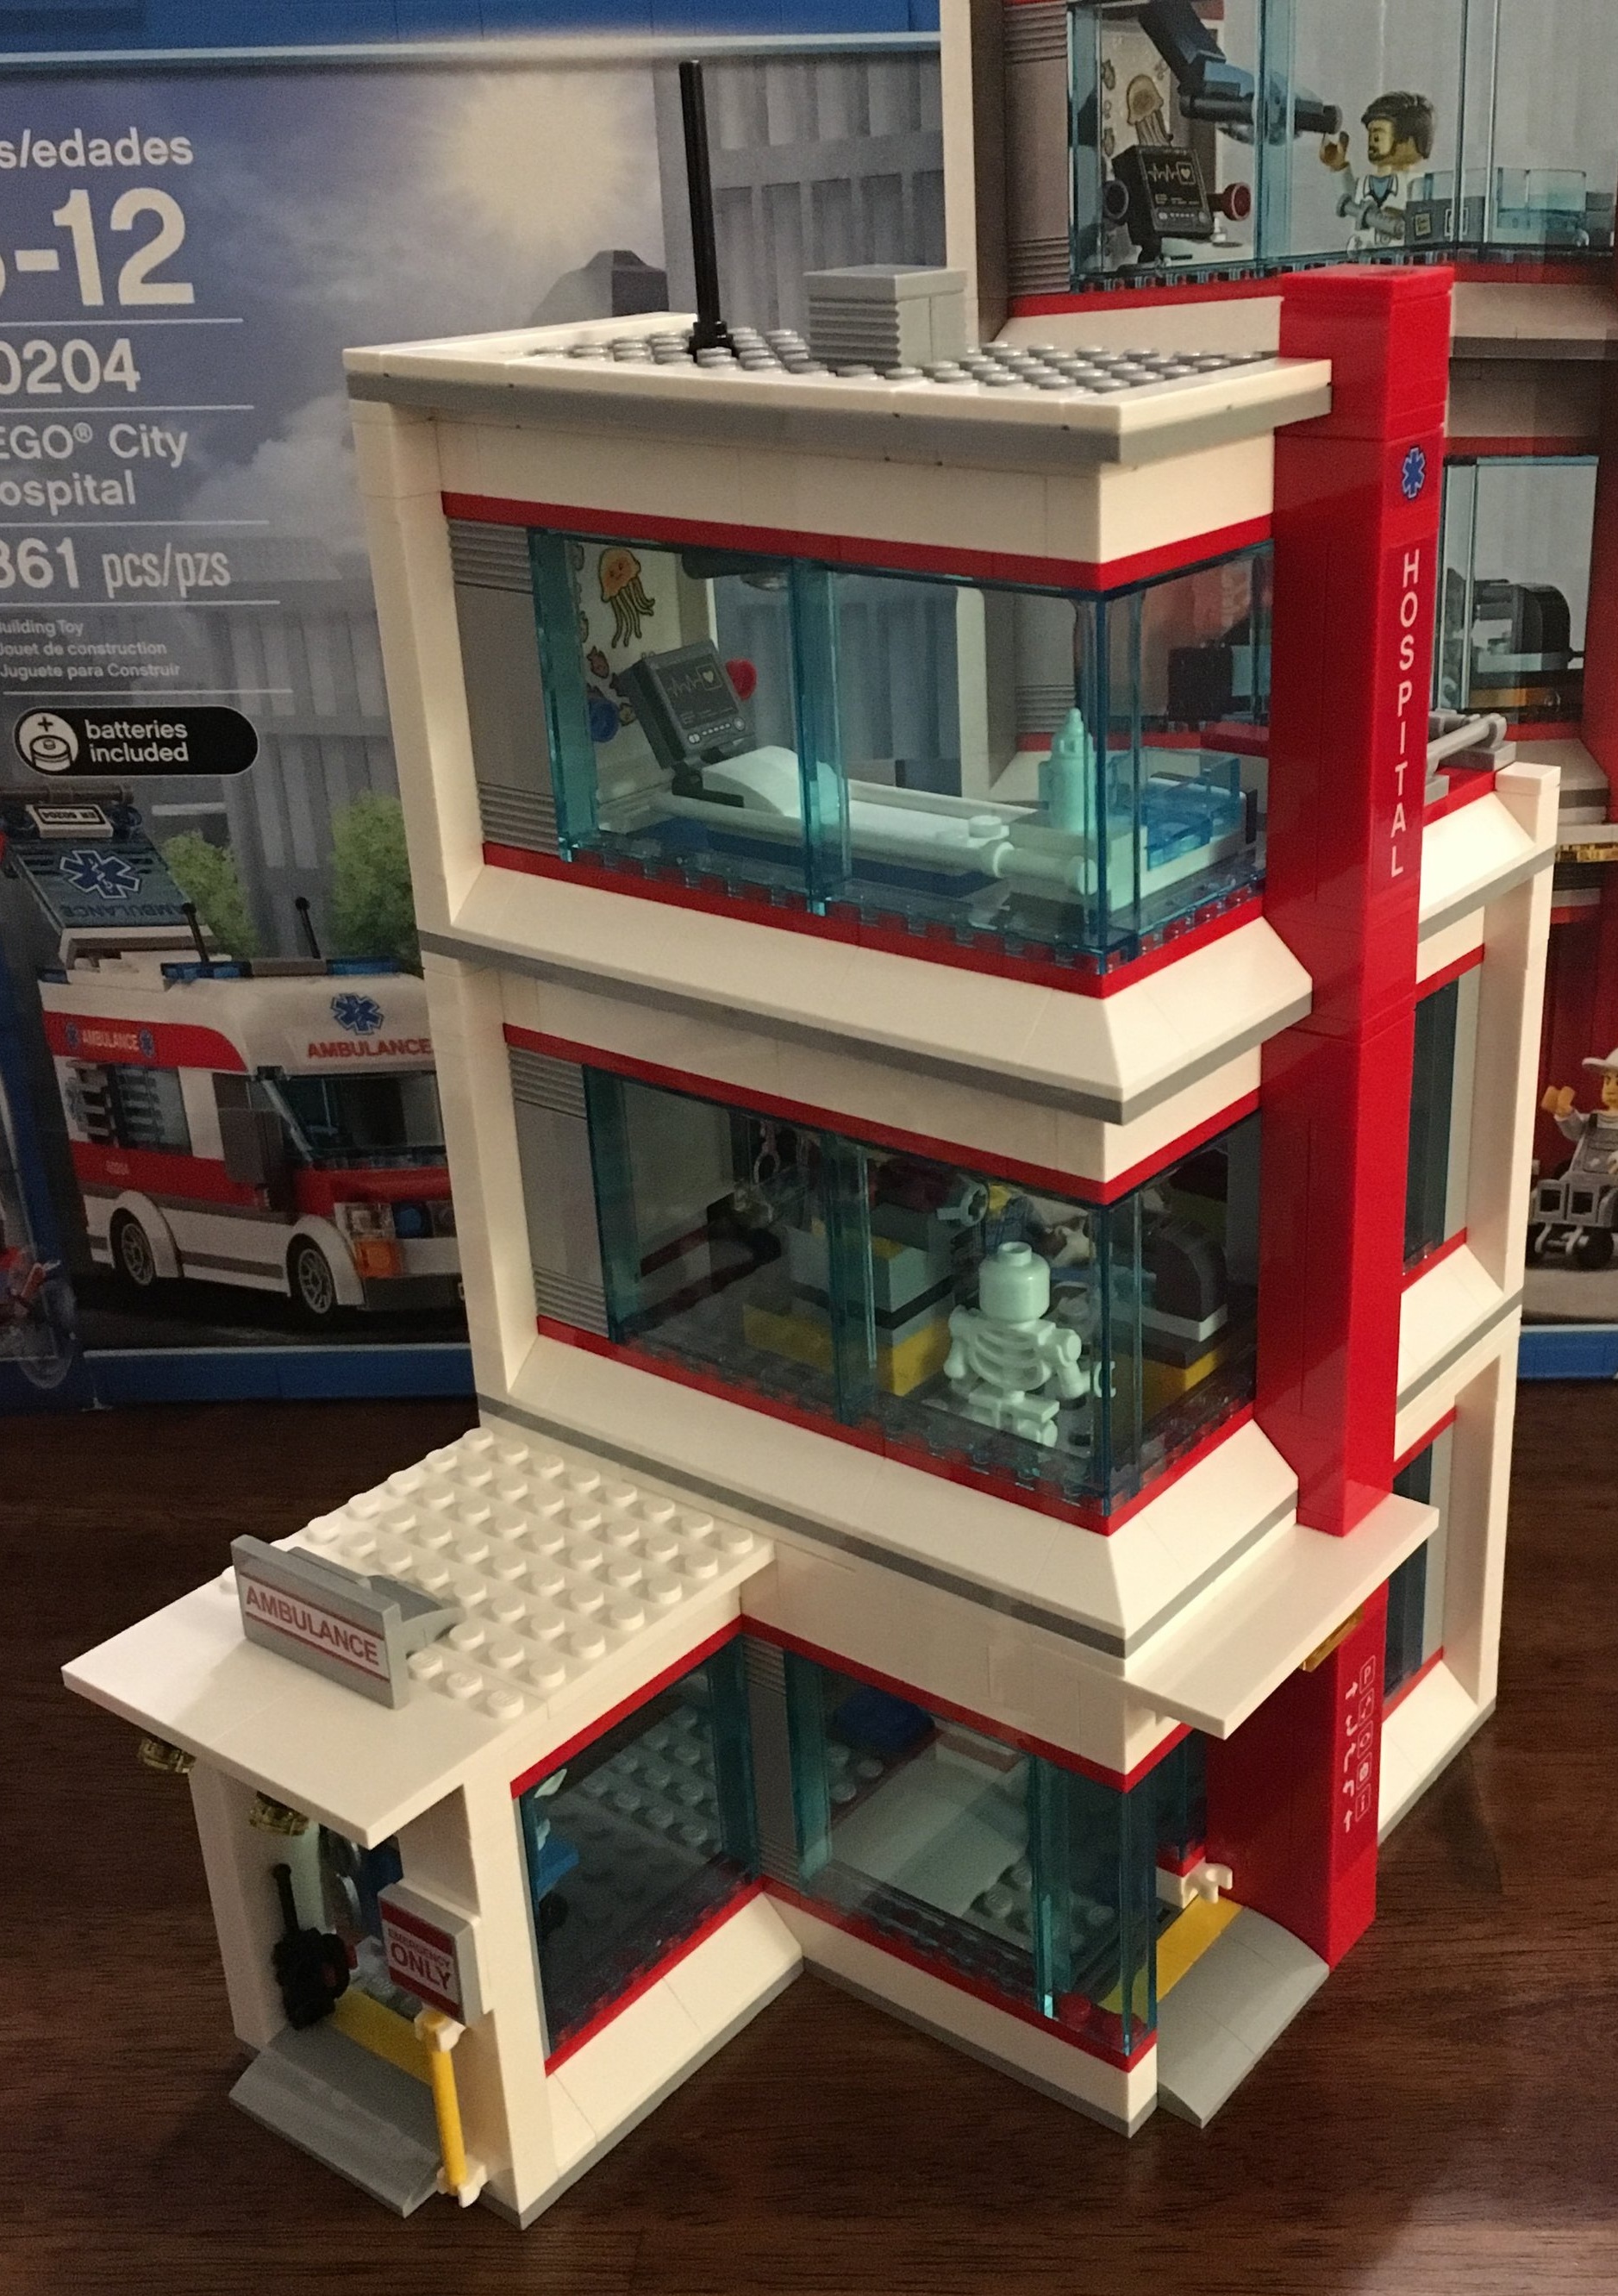
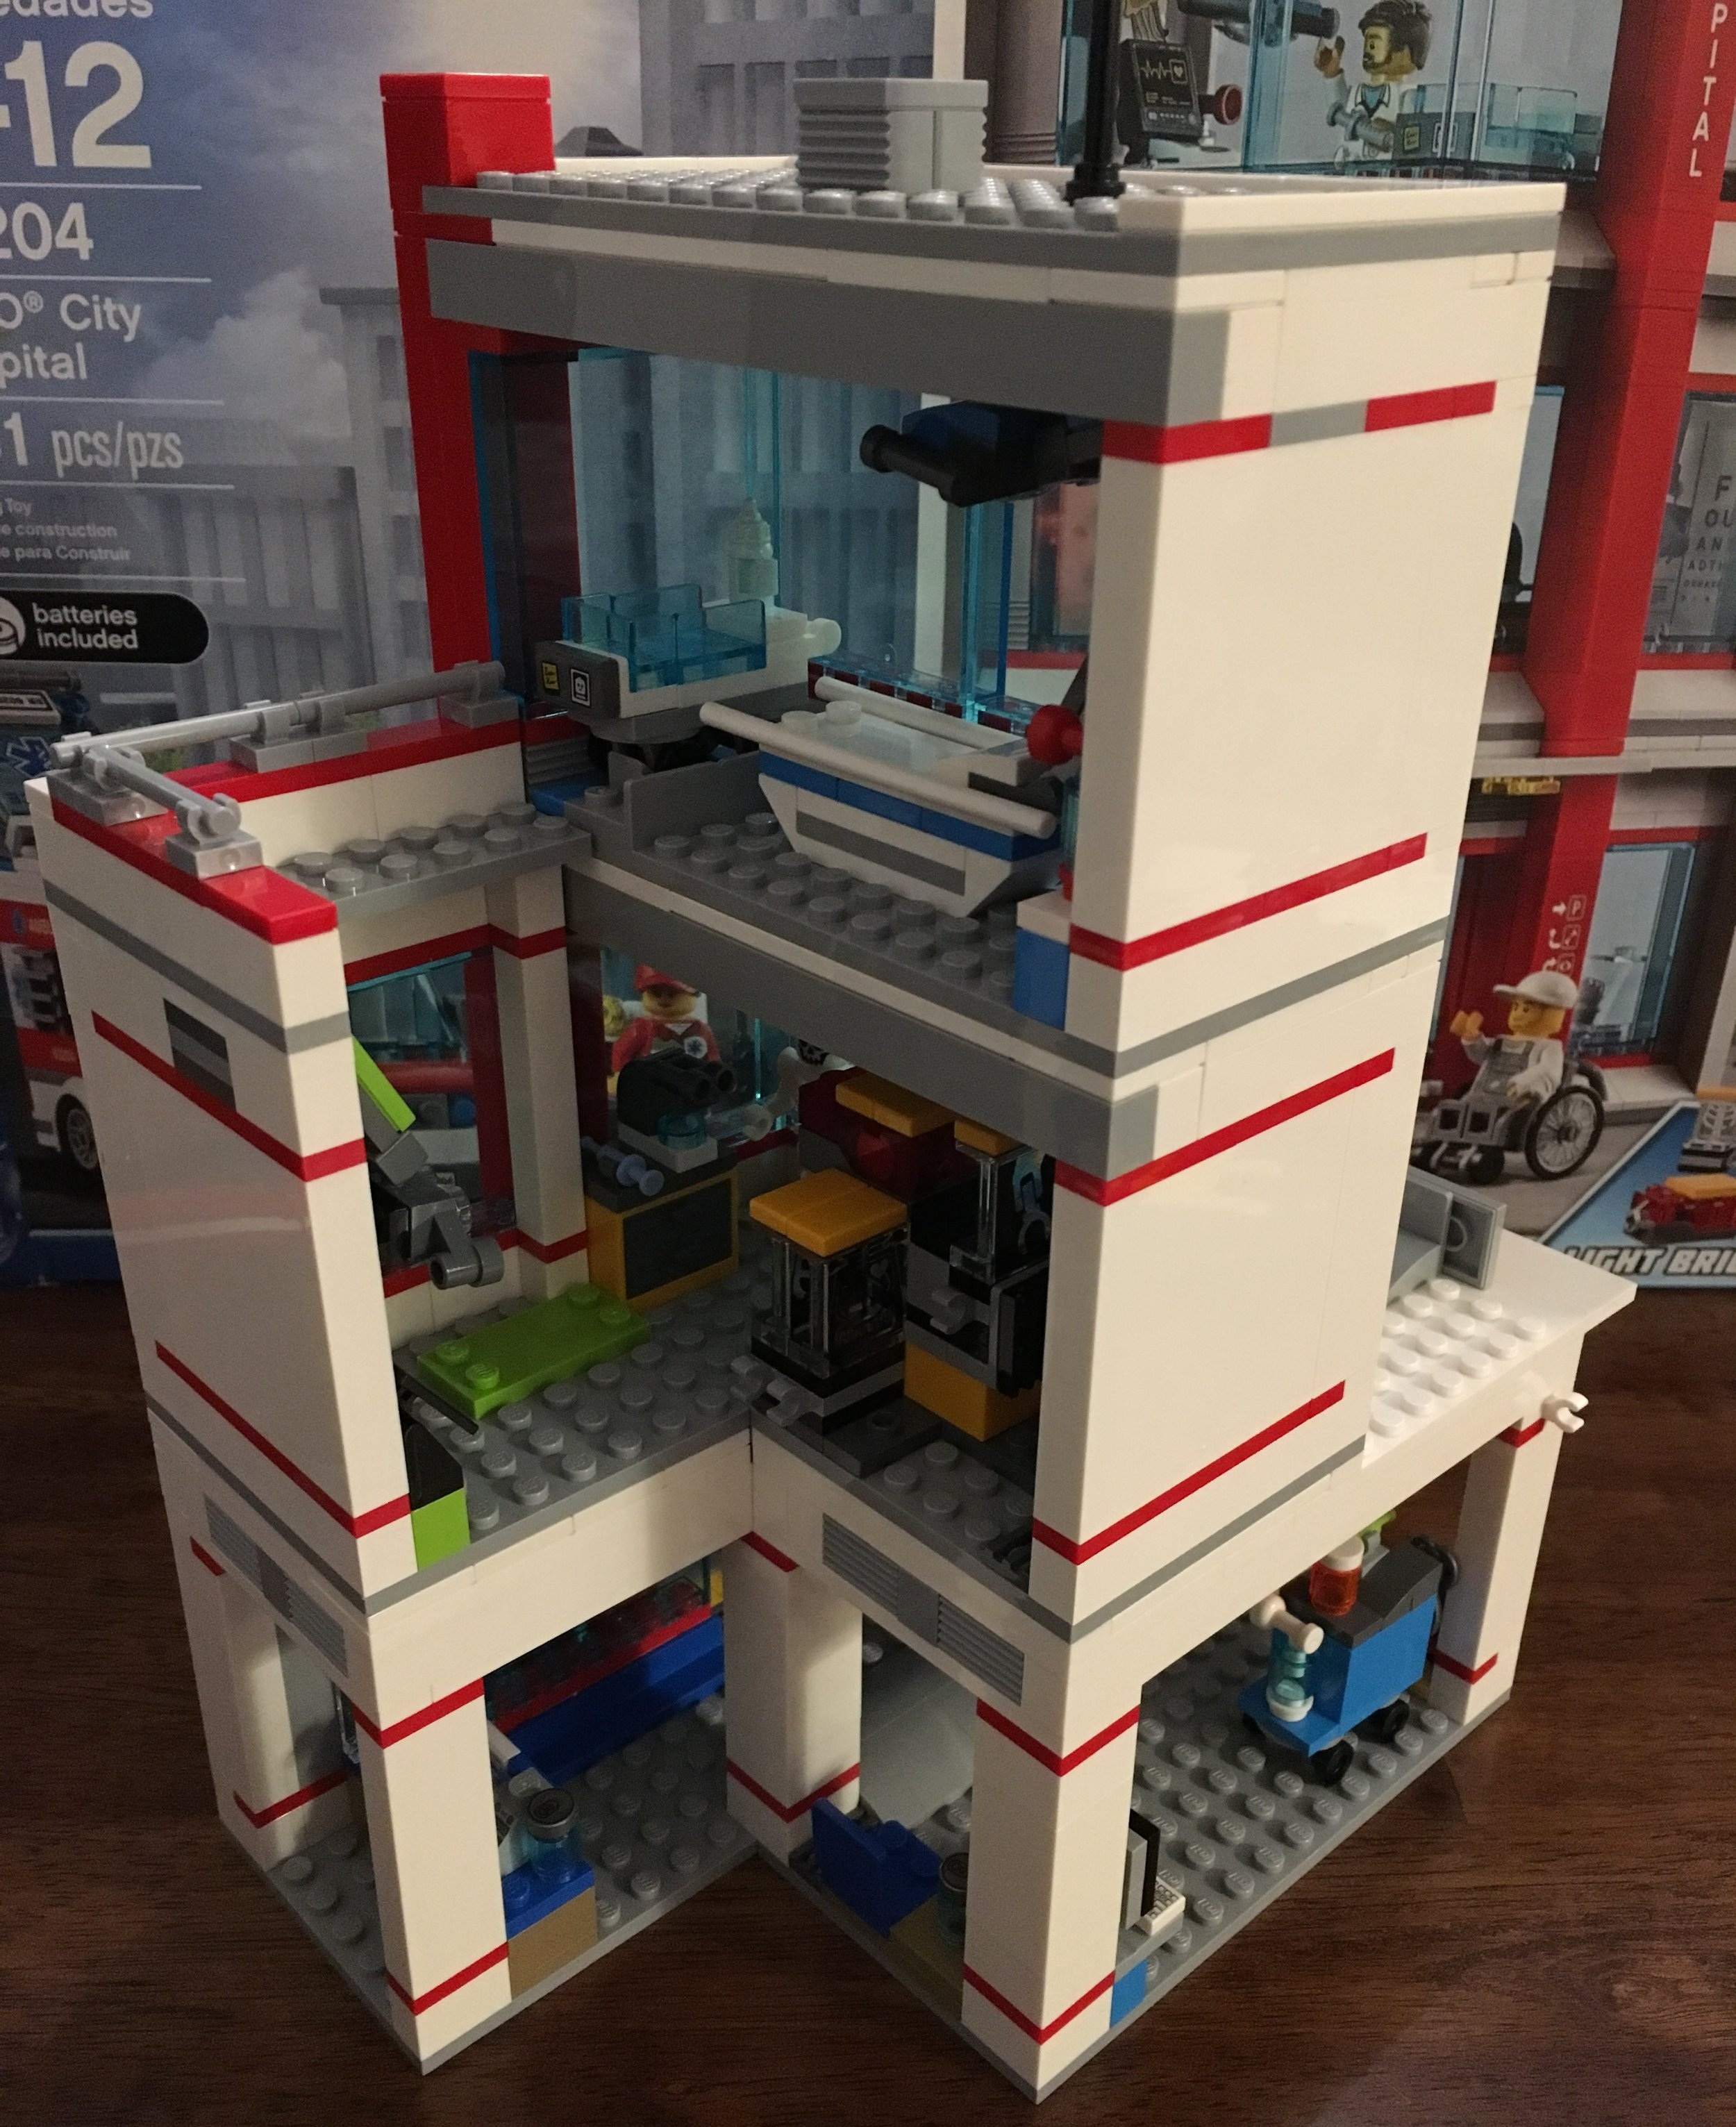
Here are the front and back of the building. It’s designed for play versus display or detail so in my opinion it’s lacking in some detail. The third floor only takes up part of the floor versus the second floor. There could have been some different choices in they types of clinics available. Or maybe they could have built some patient rooms? Or maybe we just need to expand it on our own?

60204_final_front.jpg
60204_final_back.jpg

Overall, not a bad set. A bit pricey, but considering the number of minifigures and the length of time between hospital set releases in the CITY sub-theme, it might be worth it. Wait for double VIP points or a good free offer set before you get it from LEGO Shop @ Home. Or maybe Amazon.com, Walmart, or Target will have a sale?

If anyone has modified it or put additions onto the set, let me know. I’ll be happy to post your versions for people to see how you spruced it up.

In the meantime, happy building!

60204_final2.jpg

Set Review - #60150 - Pizza Van

It's been a while since I've reviewed a LEGO CITY set.  If you've read some of my past posts, I have mentioned before that I am a CITY and TRAIN fan at heart.  It's been a while since I've had the space and time to build a large setup with trains going around a city, but that's where my LEGO passion lies.  Someday I plan to have a large space where I can build a big display.  In the meantime, I will pick up sets here and there to expand my scene-to-be.  

The CITY theme is geared towards kids.  The boxes say for ages 5 to 12 so clearly I am not the appropriate audience, but #60150 - Pizza Van is a set outside of the ordinary.  Typically CITY goes through sub-themes to include Police, Fire Fighters, Airport, and a few others that change out every now and then.  #60150 was released on 27 November 2016 at a retail price of $19.99 from LEGO (in the USA).  It contains 249 pieces so that makes it $0.08 per piece.  I picked the set up at 20% off for $15.99 at Amazon.com so $0.064 per piece (WOOHOO!).

Here is the box.  Nothing special or out of the ordinary here.

60150_front.jpg
60150_back.jpg

Here are the contents.  It contains 2 bags of parts, 2 instruction booklets, and a sticker sheet (that were shoved into the box).

60150_contents.jpg

Bag 1 contains the minifigures.  It has a male figure who is the chef and a female figure who could be a customer or the delivery driver or a customer who stores the pizza on their scooter.  The female figure has hair and then a helmet for riding the scooter.

60150_figs1.jpg
60150_figs2.jpg

Bag one comes with a table and umbrella for figs to stand and eat in the shade, the scooter with a pizza box, and the pizza.  There is one full pizza and then 2 pieces of pizza.  I'm not sure if this is the first set with the pizza pieces, but I think it's a great addition to LEGO's stash of bricks.  I remember growing up as a kid and having almost no options for food.  LEGO has come a long way with the various food options.  Pizza was one of the first that I can recall and now we have individual slices besides the entire pie.  

60150_accessories.jpg
60150_pizza.jpg

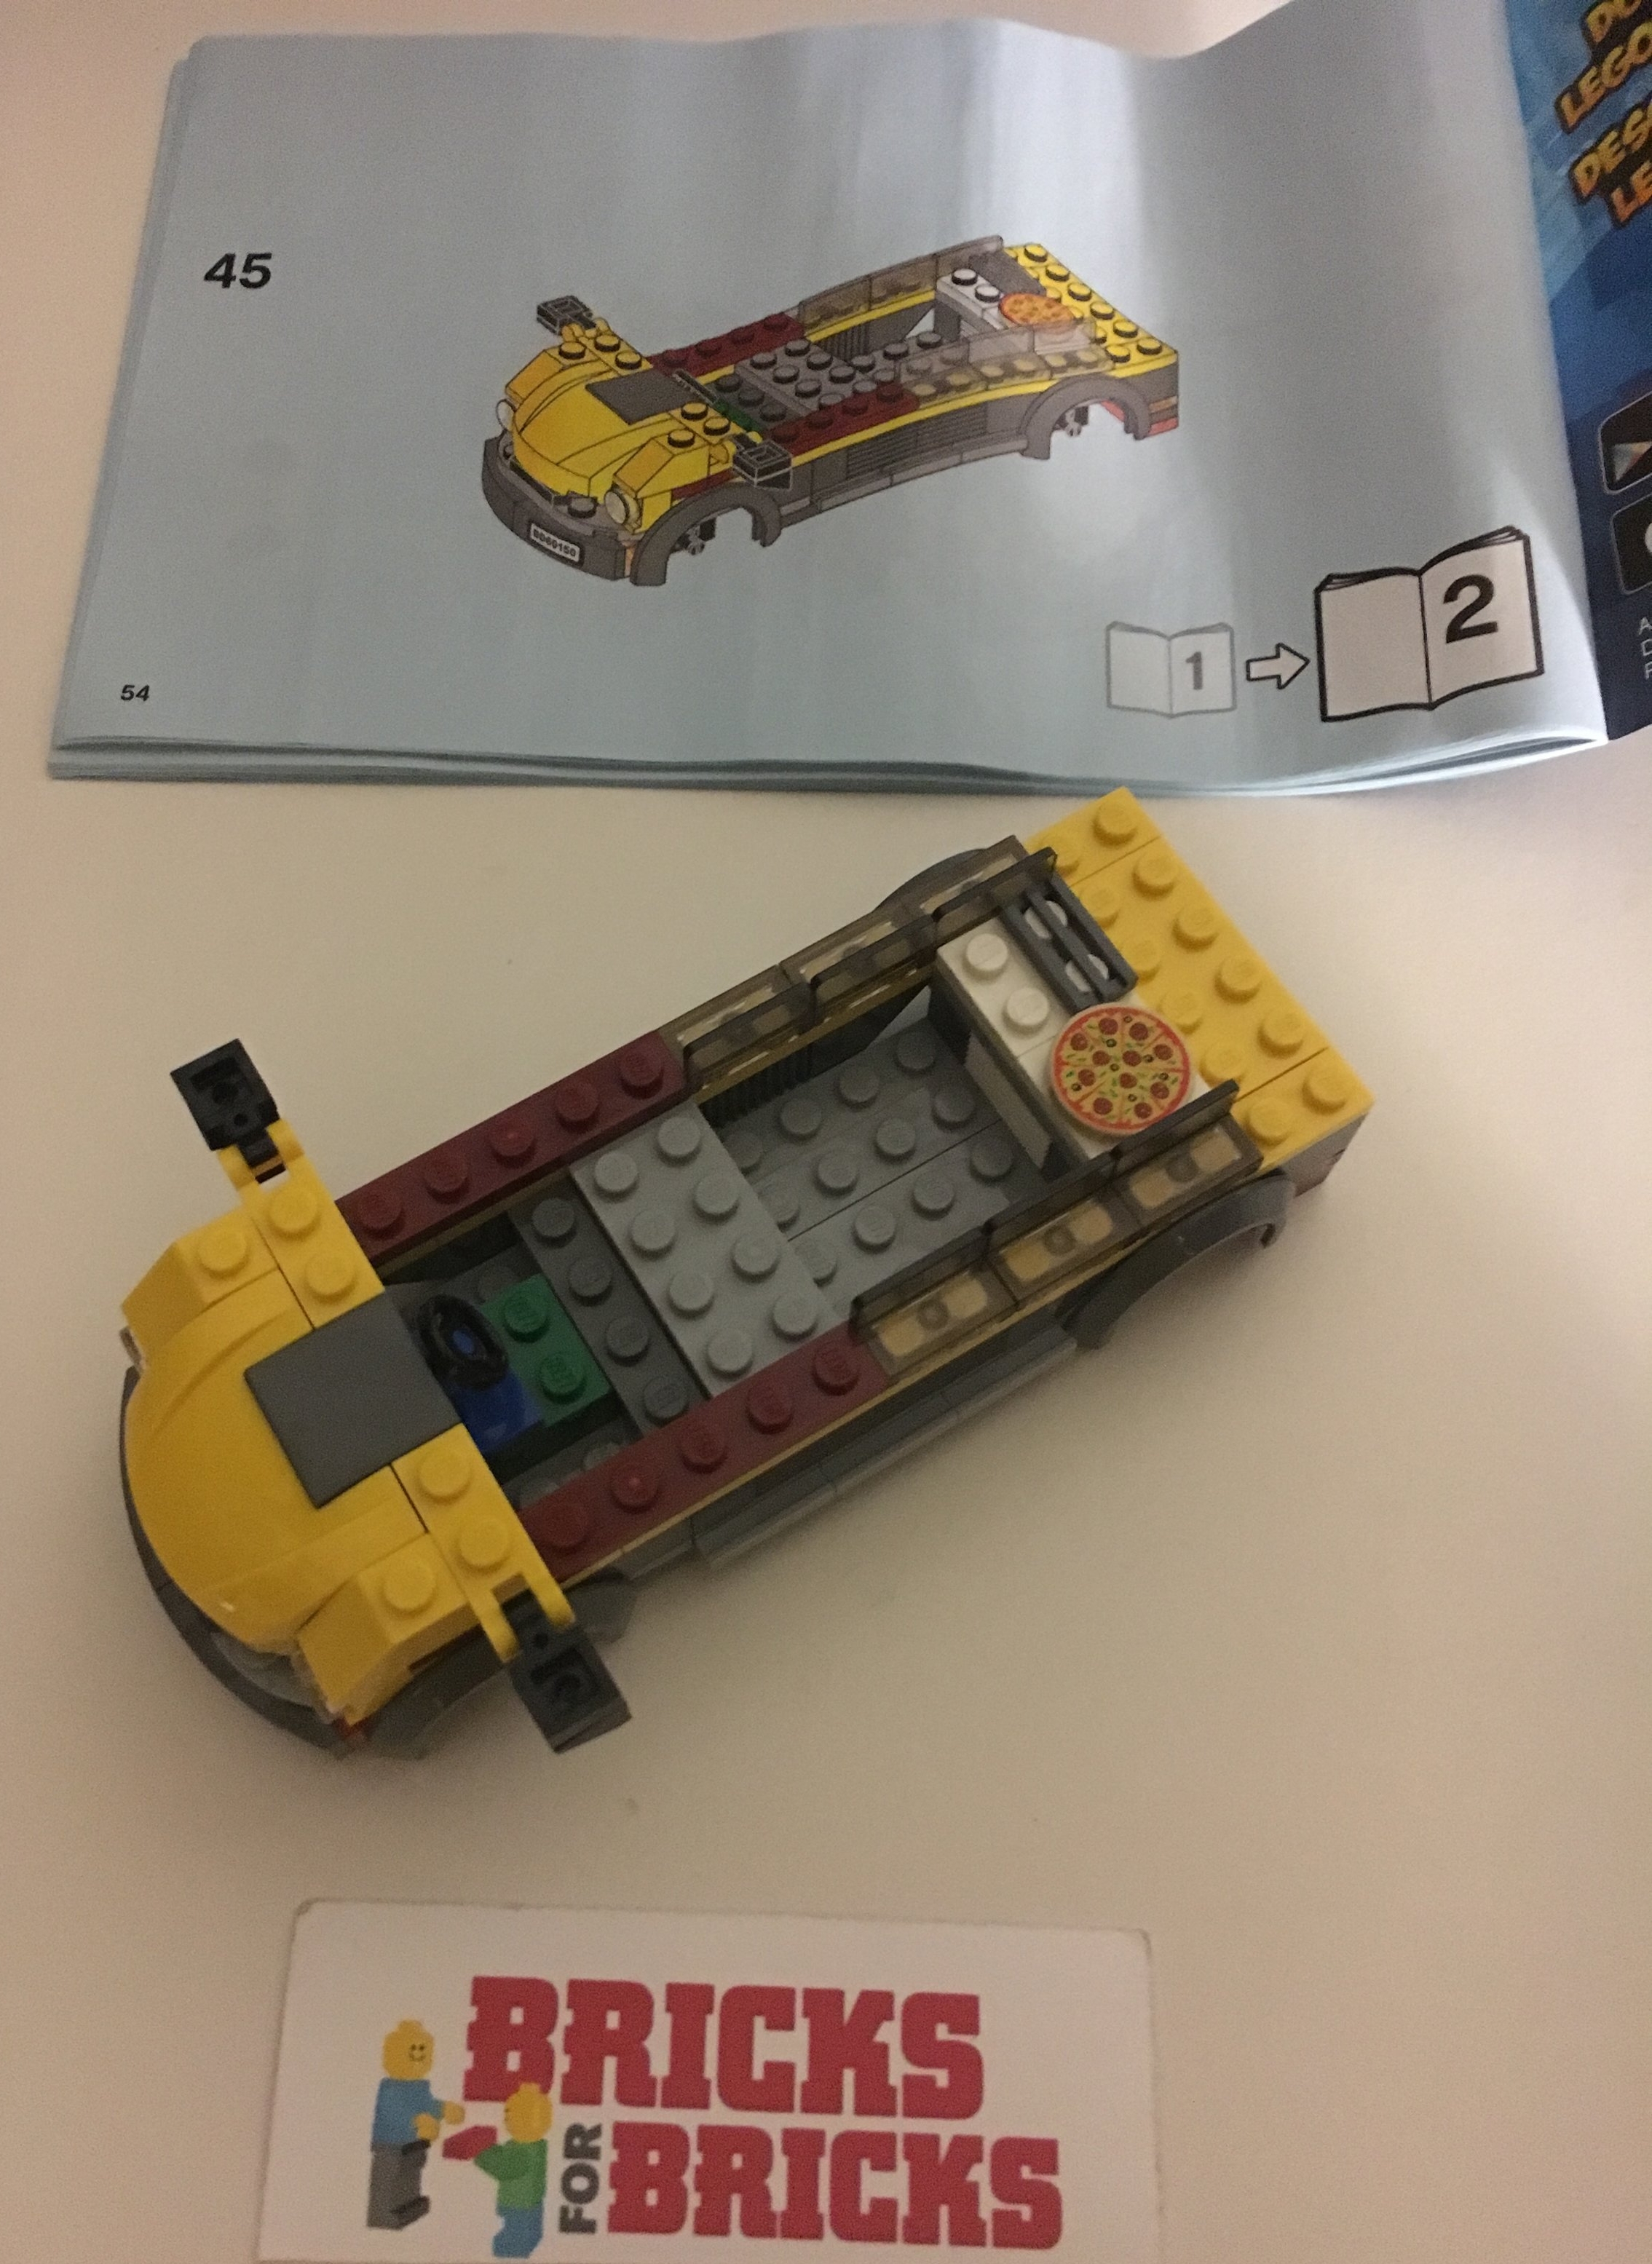
Onto the build.  Nothing extraordinary here.  It's a simple build of a vehicle without a ton of intricate parts.  The instructions are obviously not meant for AFOLs, but for kids as it goes one piece at a time.  I had it assembled quickly.

60150_build1.jpg

Bag 2 finishes up the set.  

60150_final.jpg

Should you get the set?  If you're a CITY and TRAIN nerd like me, then it is definitely a different piece to add to your display.  With some of the recent park themed sets, it could be good to have a food truck at your park.  In my opinion it's not a bad set to give to kids either.  A lot of play options with the set alone between the scooter, truck, and food serving options.  As always with some of the simple CITY sets, they left a lot of options for making changes to include swapping pieces to adjust the color scheme or maybe changing up the front of the truck which to me isn't that impressive.

What do you think?

Happy building!

Set Review - Airport Passenger Terminal #60104 - LEGO CITY

LEGO CITY has some recurring themes that can get old after a while and obviously are meant for younger LEGO fans.  The Fire and Police themes within CITY quickly come to mind as it seems like they have a new run each year.  The Airport theme is one of those that doesn't quite occur every year.  The last airport set was released in 2010 and was set #3182.  This year (2016) another airport was released.  #60104, Airport Passenger Terminal, was released on 1 August 2016 in the US.  It costs $99.99 in the US and contains 694 pieces or $0.144 per piece.  I picked the set up from Amazon at 20% off or $80 ($0.115 per piece).  Yay sales!  Onto the review...

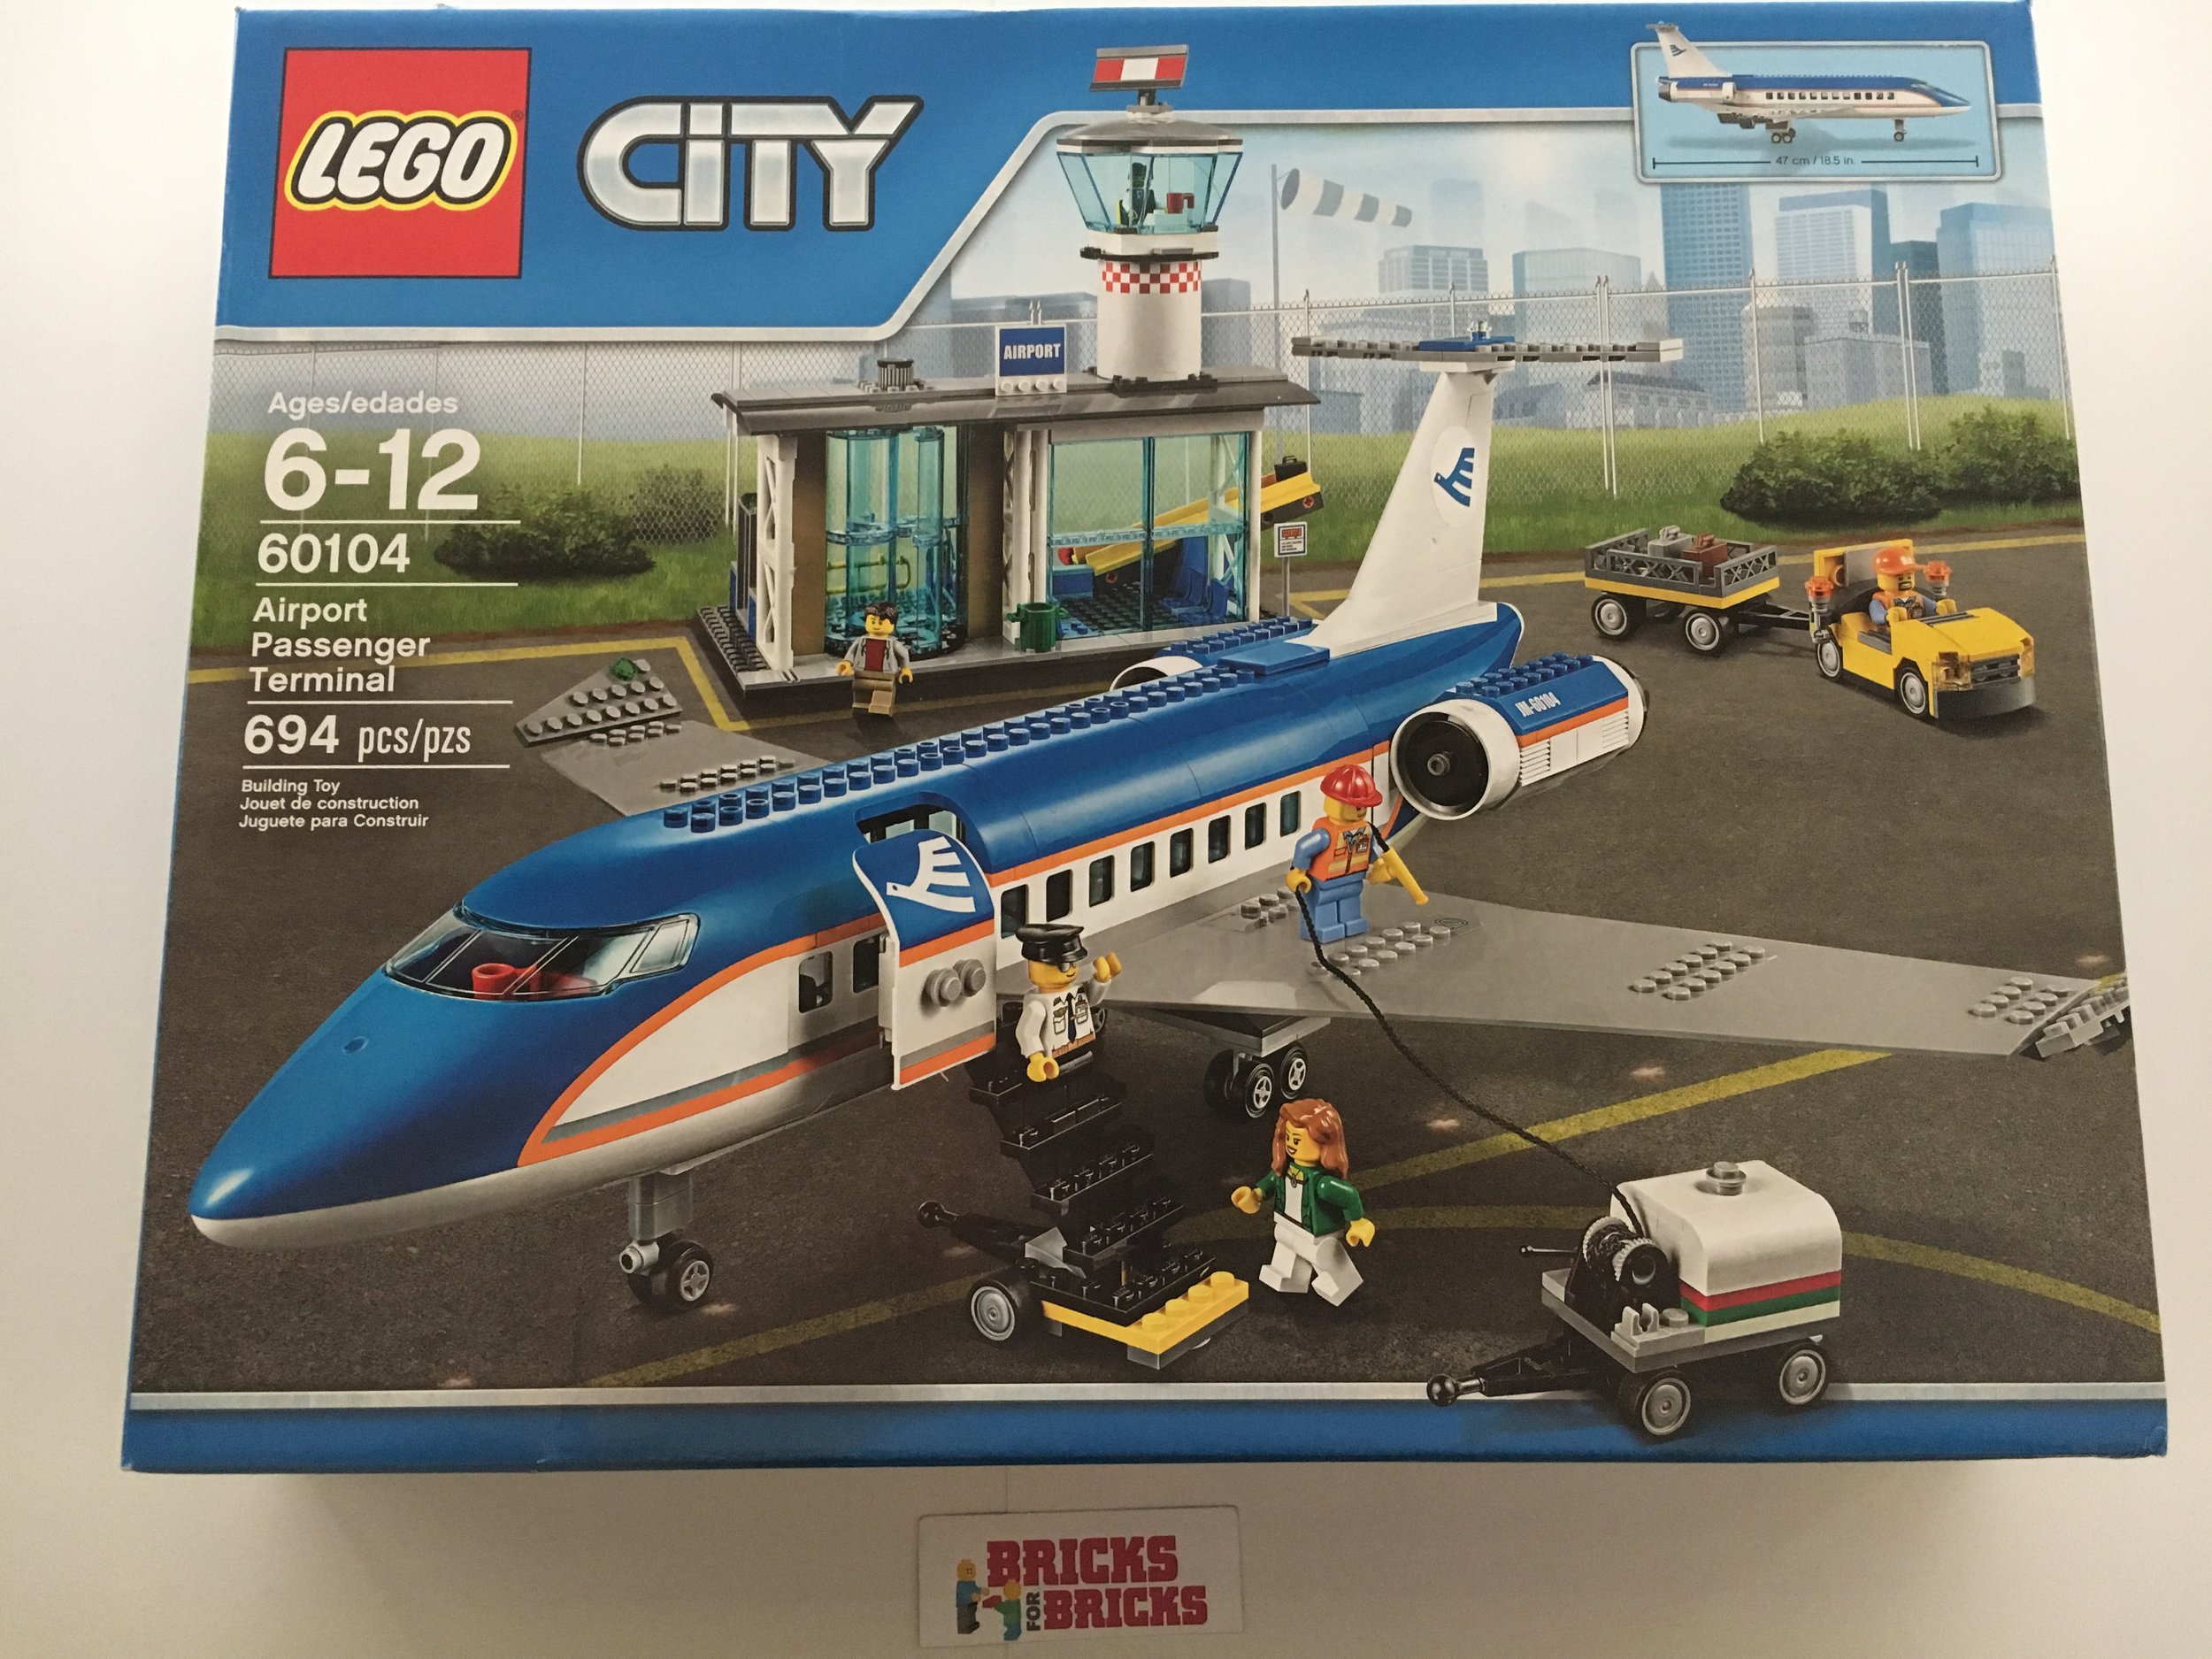
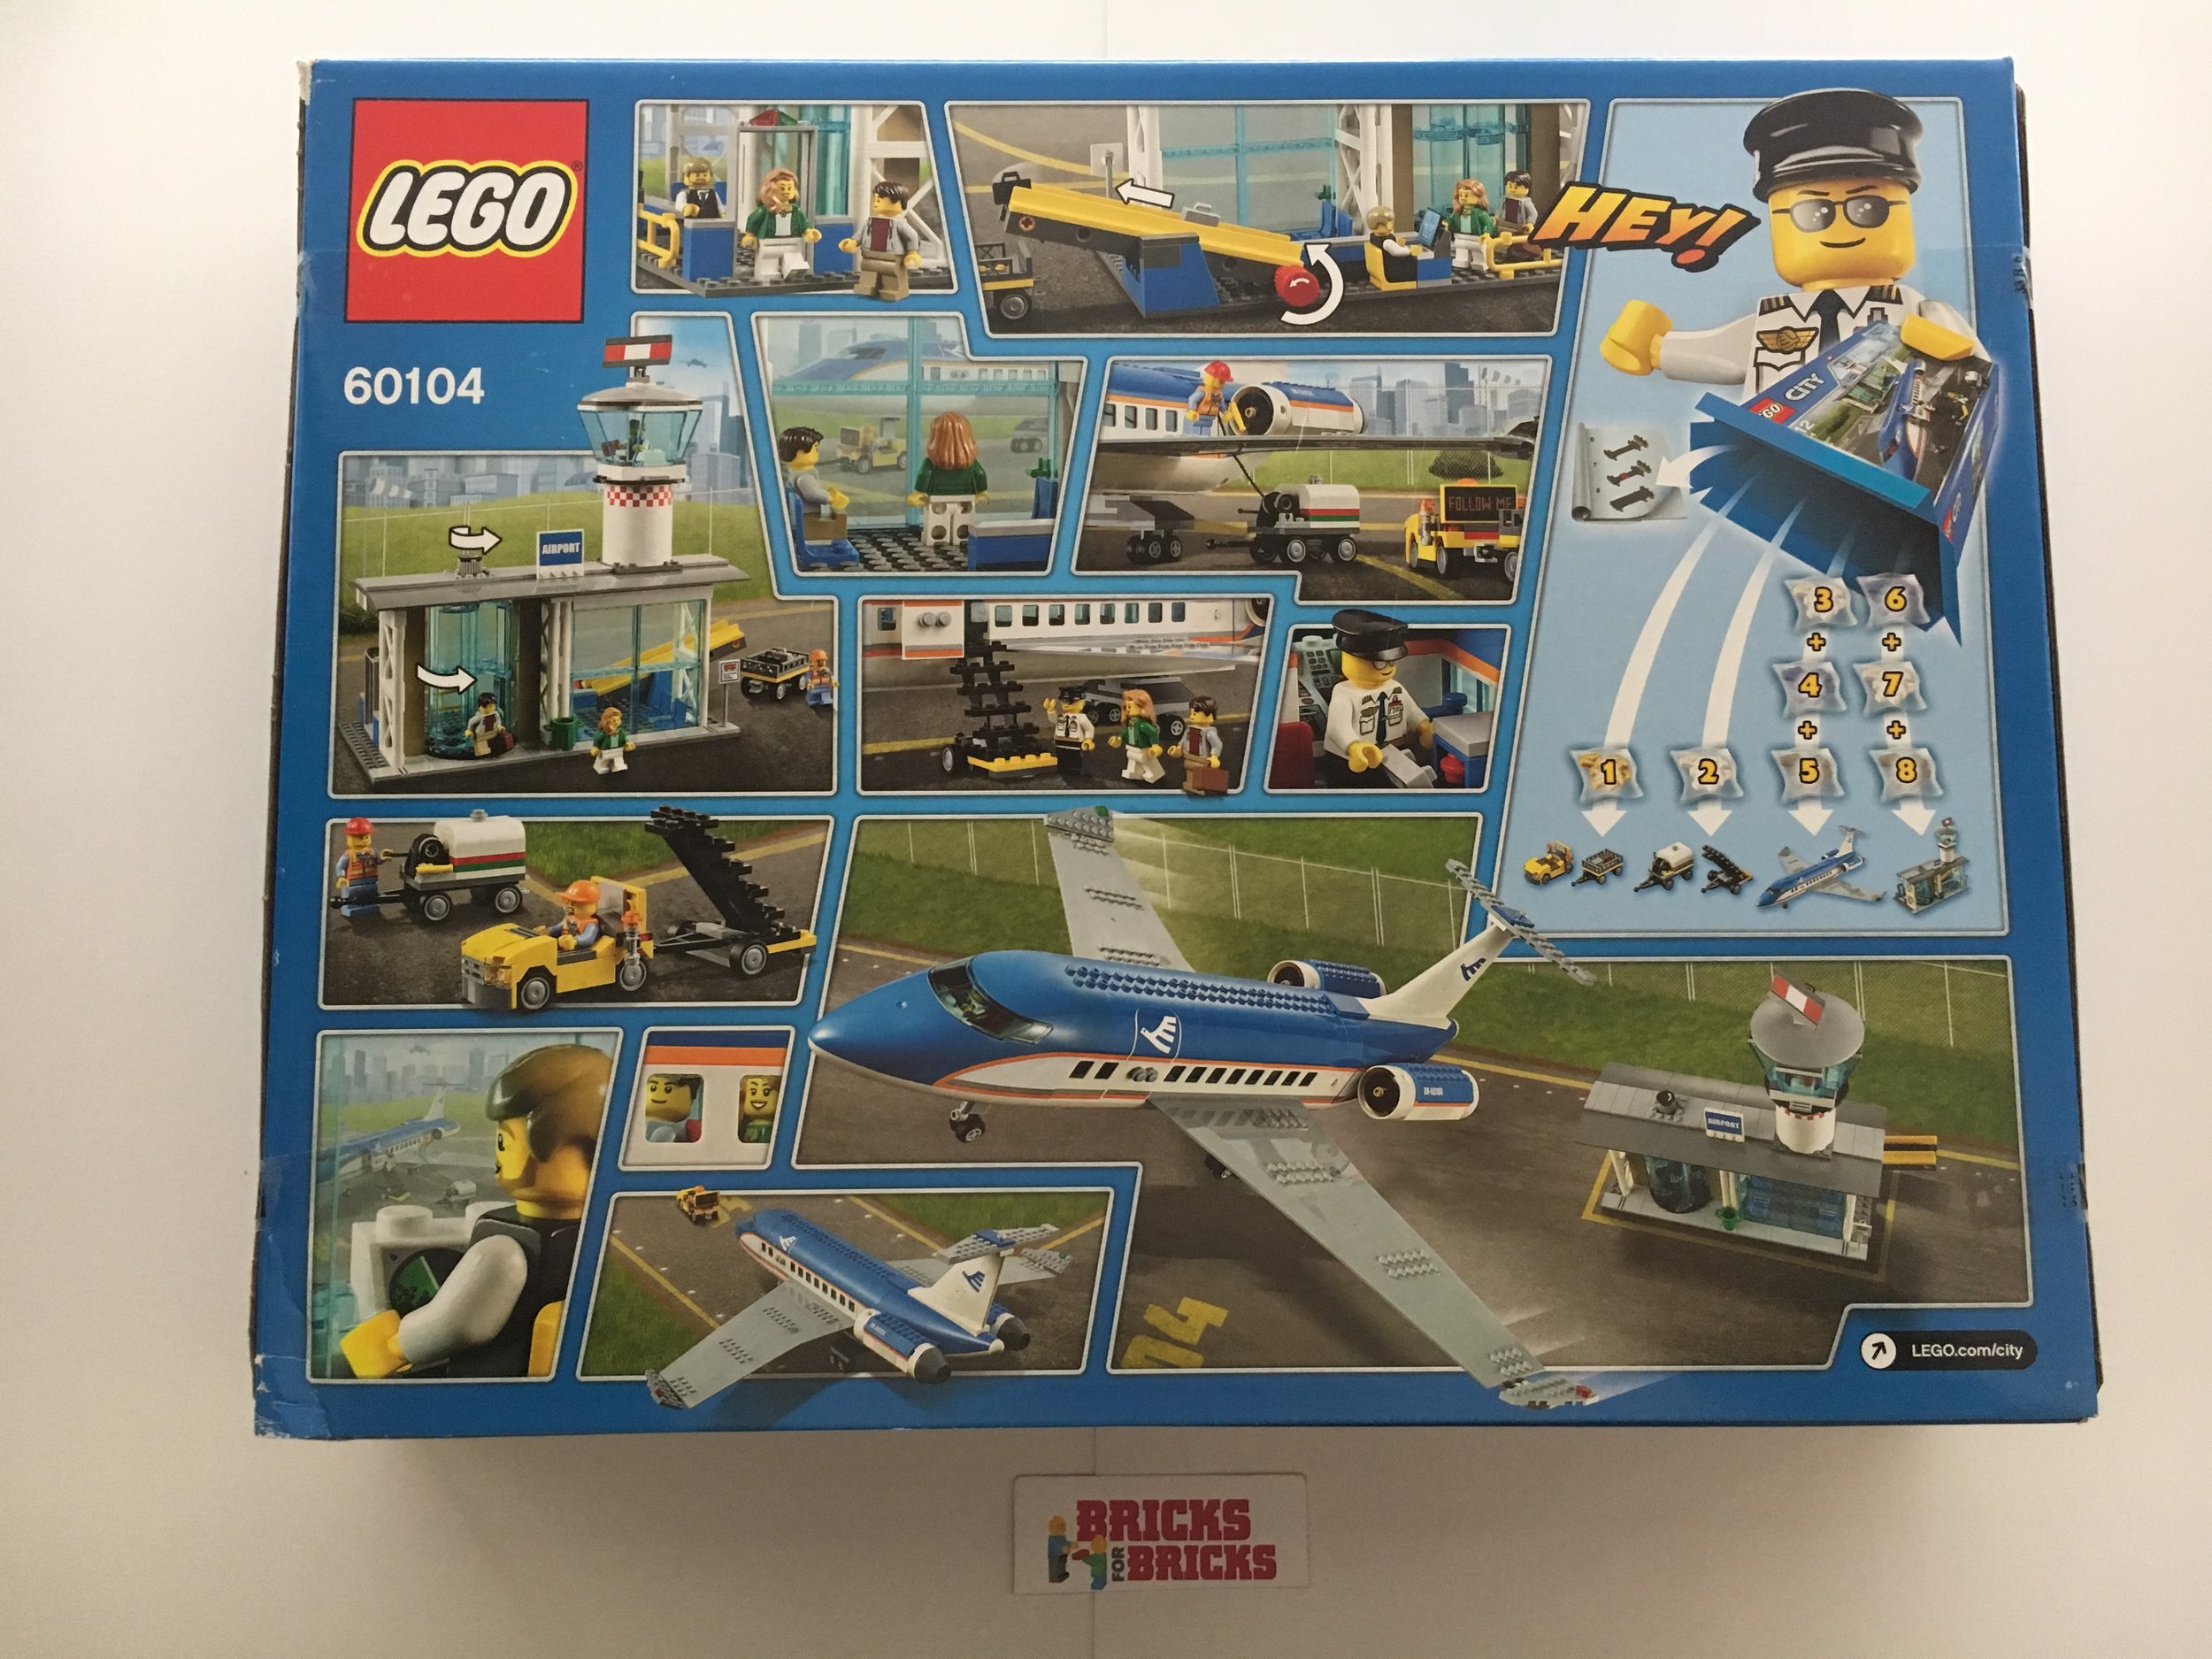
HEY!  Here is what the box looks like.  It's the standard LEGO CITY box with the whole set on the front and then some details on the back with a minifigure saying "hey!"

60104_box_front.jpg
60104_box_back.jpg

Set contents were 8 numbered bags, a bag of BURP pieces, a bag of random parts (not sure why they weren't in the numbered bags), and an instruction package with 4 booklets and stickers.

60104_contents.jpg

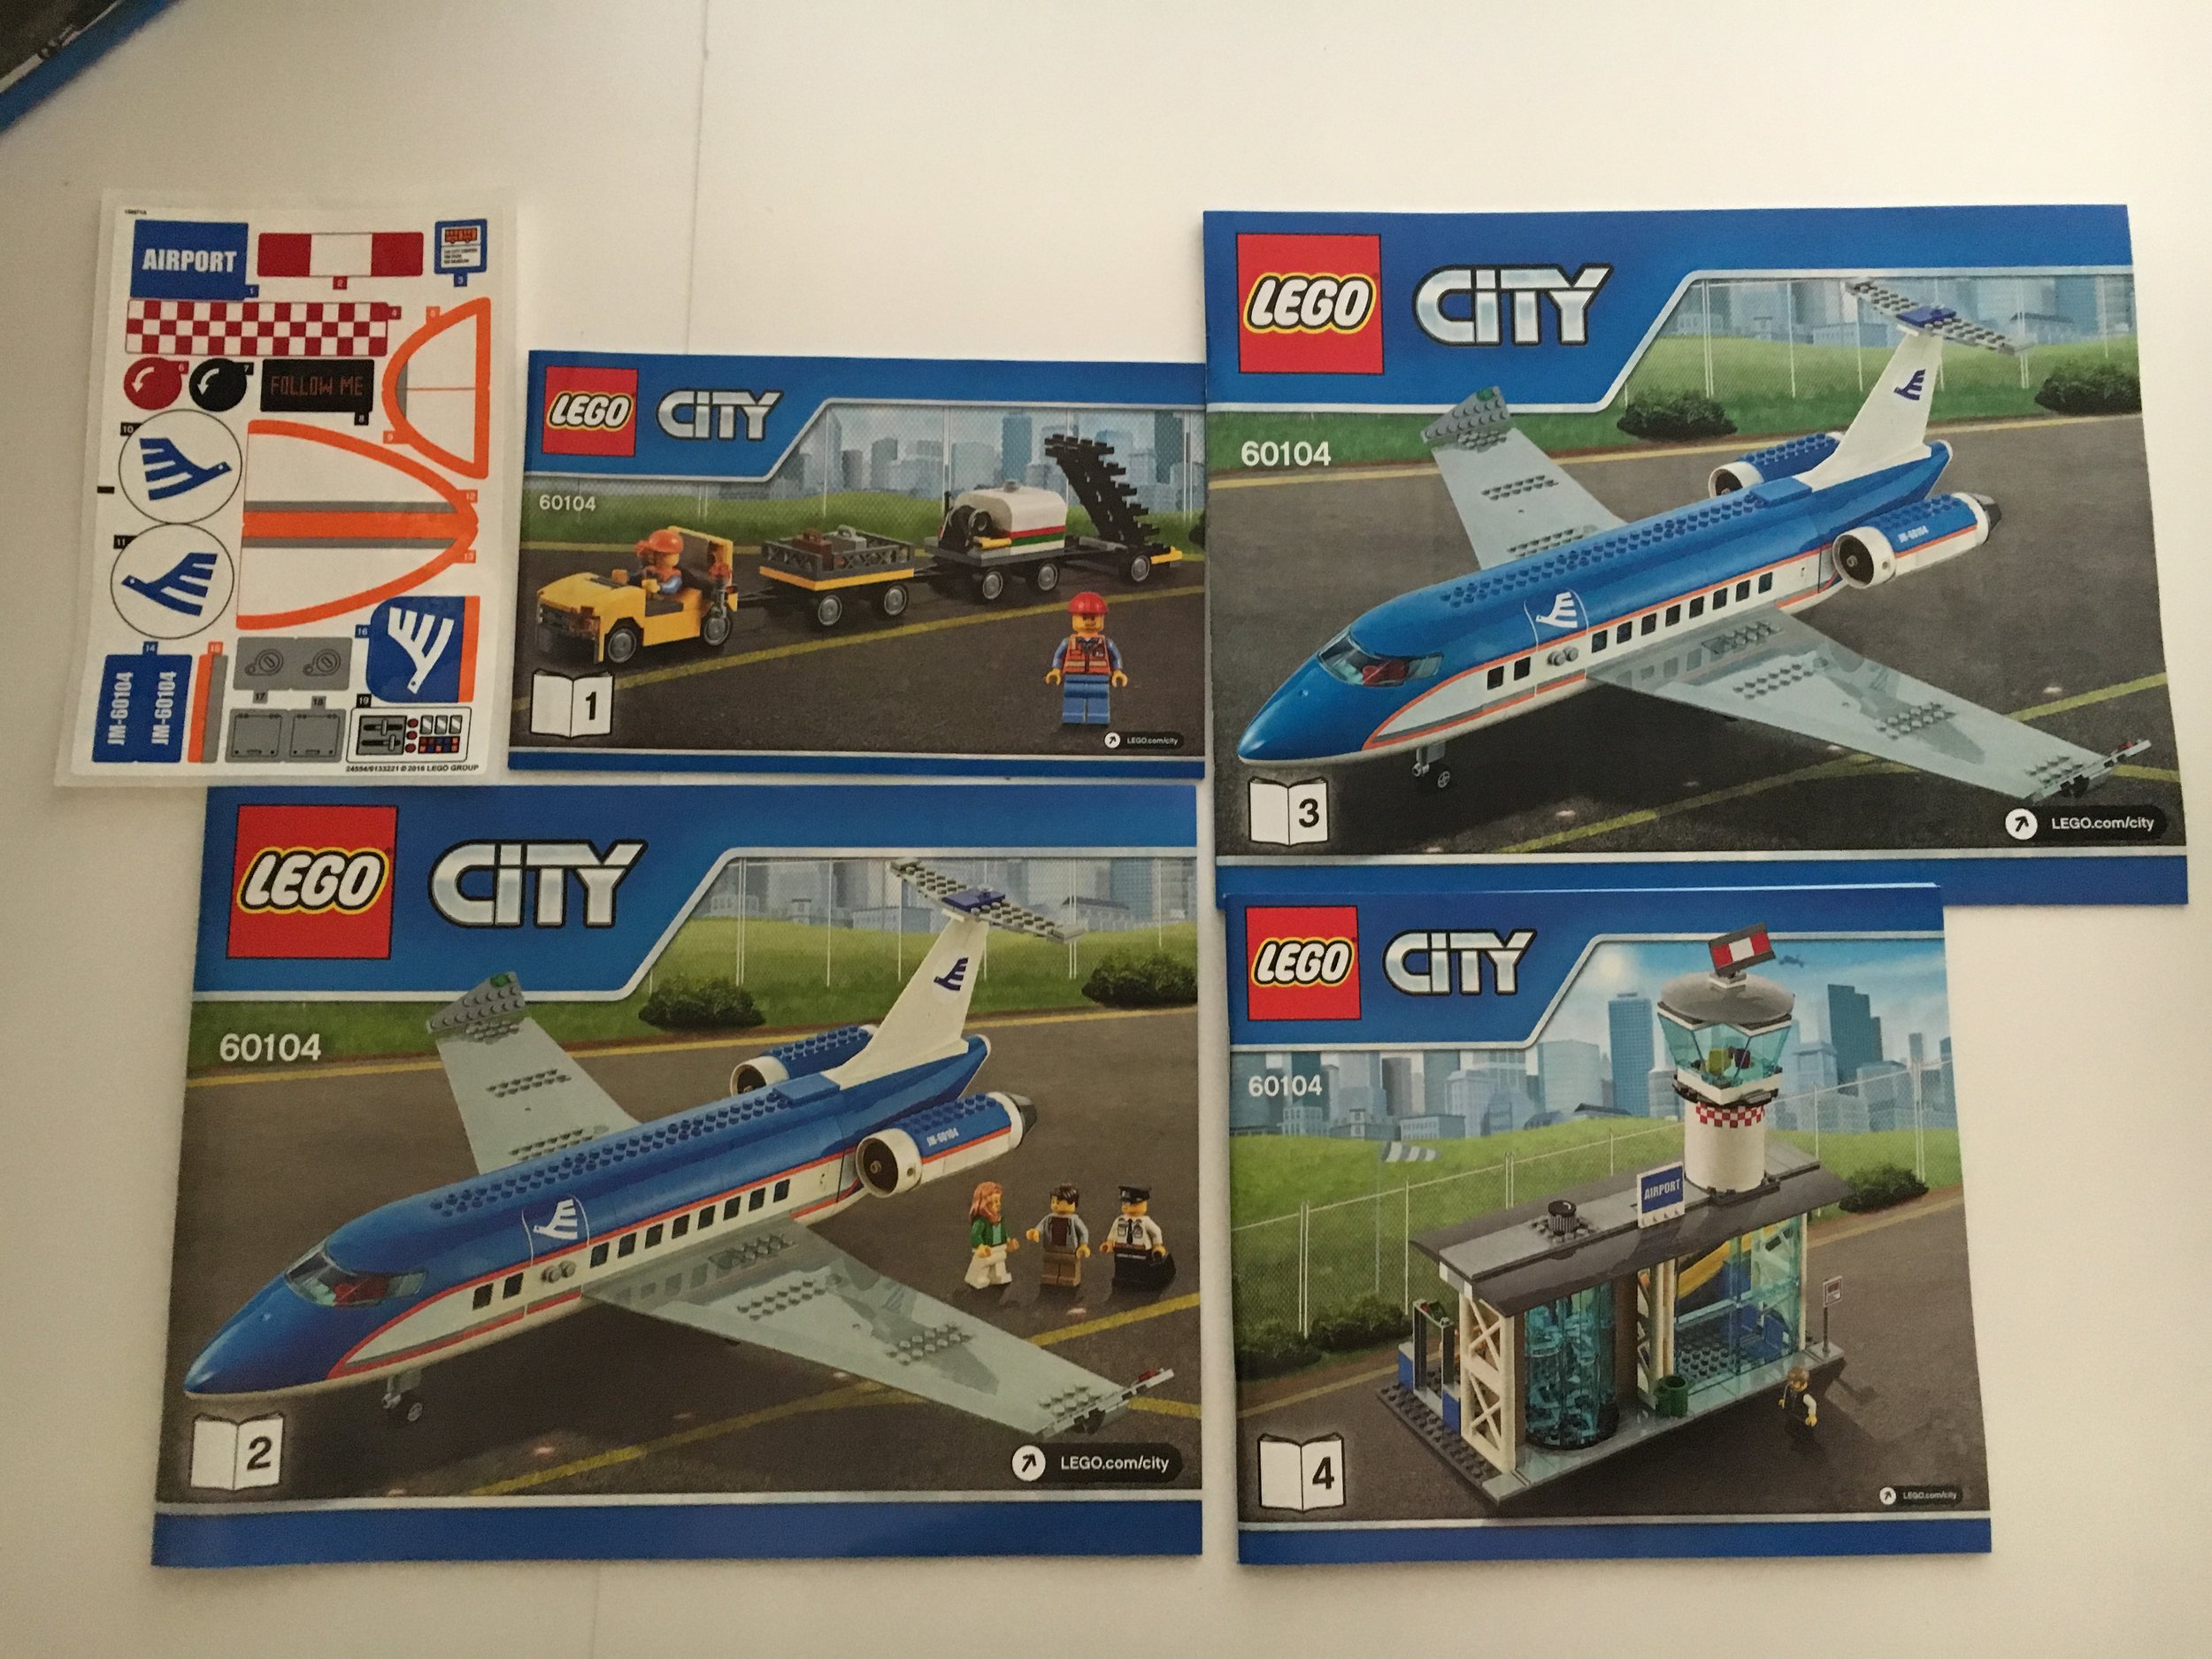
Here are the instruction booklets.  #1 is for the workers, baggage cart, fuel cart, and stairs.  #2 and #3 is for the passenger jet.  #4 is for the terminal.  Not a ton of stickers, but a bunch nonetheless.  

60104_instructions.jpg

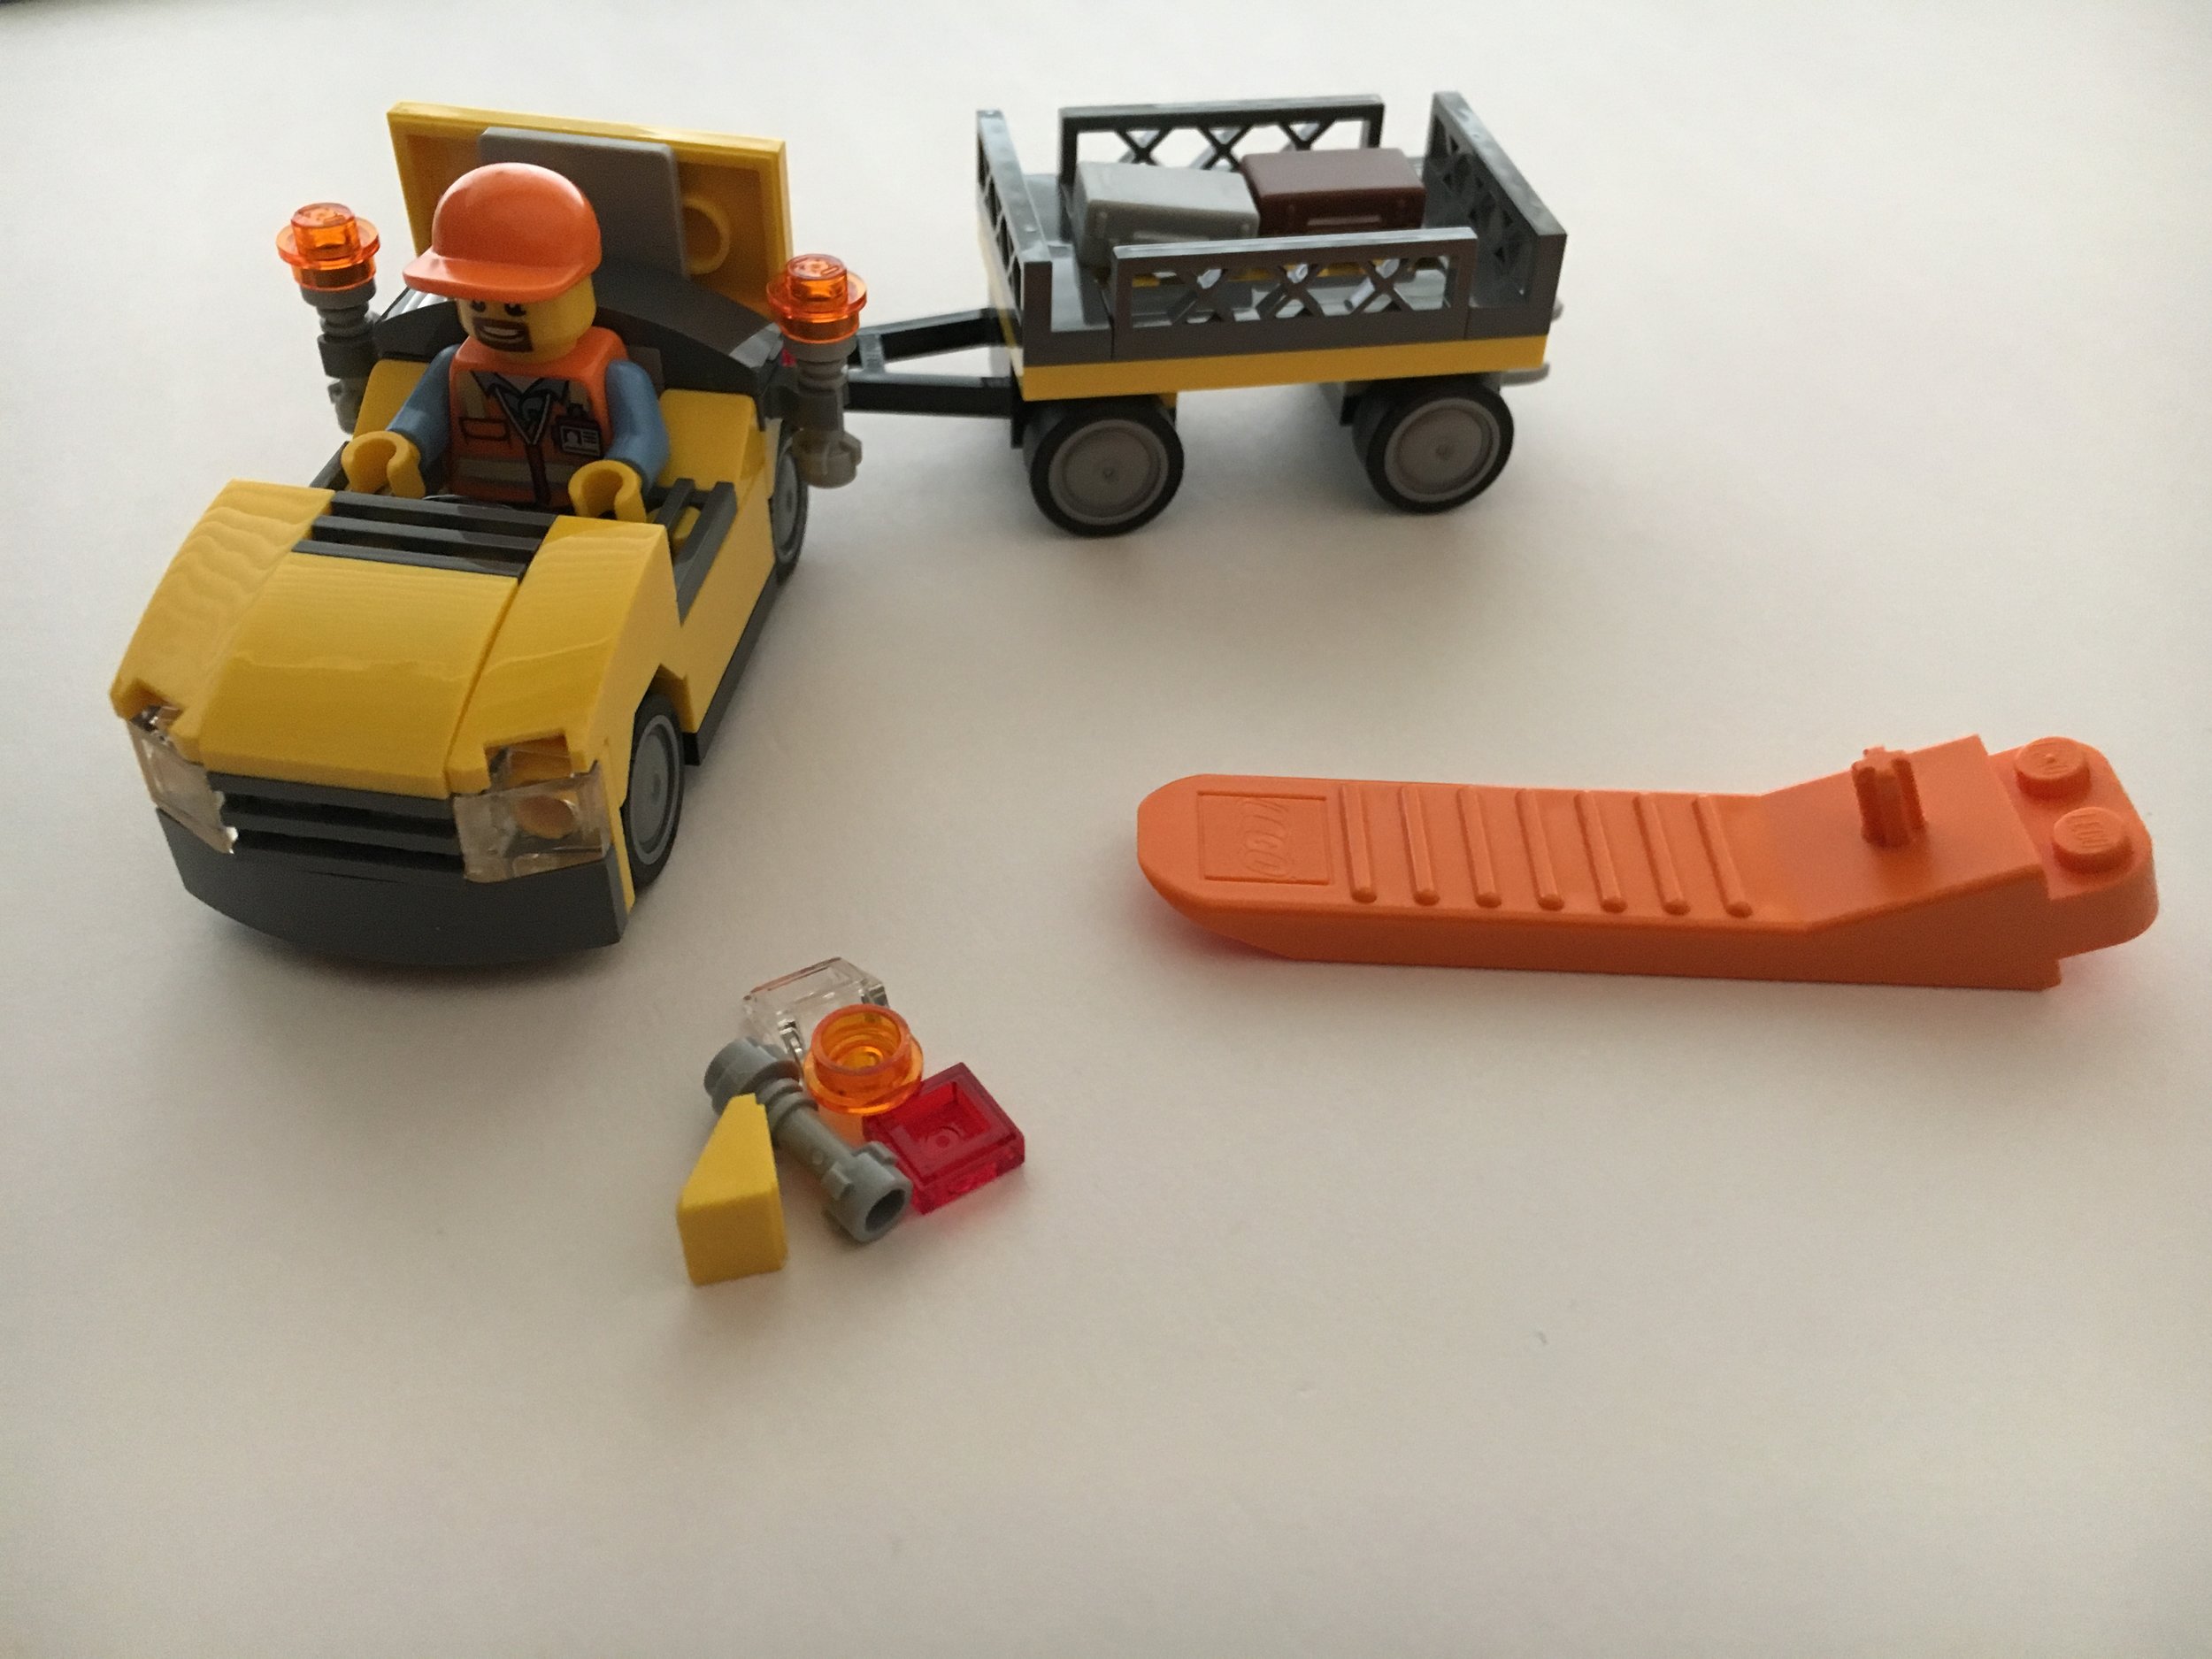
Onto the build... Bags 1 and 2 are the workers and the tractor to pull the baggage cart, fuel cart, and stairs.  Bag 1 also includes a brick separator.  

60104_bag1build1.jpg
60104_bag1build2

Bag 3 starts the aircraft and includes 3 minifigures (2 passengers and a pilot)  The aircraft has the standard wings and fuselage sections.  I am not a fan of the giant wing piece as it limits the number of seats.  It does however help to make the aircraft more realistic.  Given the size of the aircraft, there are only 5 seats for passengers which is rather disappointing.

60104_bag3minifigures
60104_bag3build1.jpg

Bag 4 finishes the fuselage and all that is left are the engines and tail section.  You'll notice that this aircraft has a bathroom on board as well as some storage for a non-existent flight attendant.  I think this is the first time that LEGO has put some additional details into aircraft besides just seats.  Also there is only one pilot for a 2 seat cockpit in the set.  

60104_bag4build.jpg
60104_bag4interior.jpg

Bag 5 has the landing gear, tail, winglets, and engines.  This is the first larger aircraft where the engines are built up versus just a big piece to strap on.  It's not really streamlined, but I like the design and how it is built.  

60104_bag5build.jpg

Bag 6 starts the airport terminal.  Like most CITY builds, they are meant for play so it's really only half a building.  It includes one minifigure and the revolving door entrance.  While the entrance is cool looking, it's about twice the height of a minifigure and there isn't enough physical space for one actually to fit through the door.  I'm not a fan of the design.

60104_bag5build.jpg

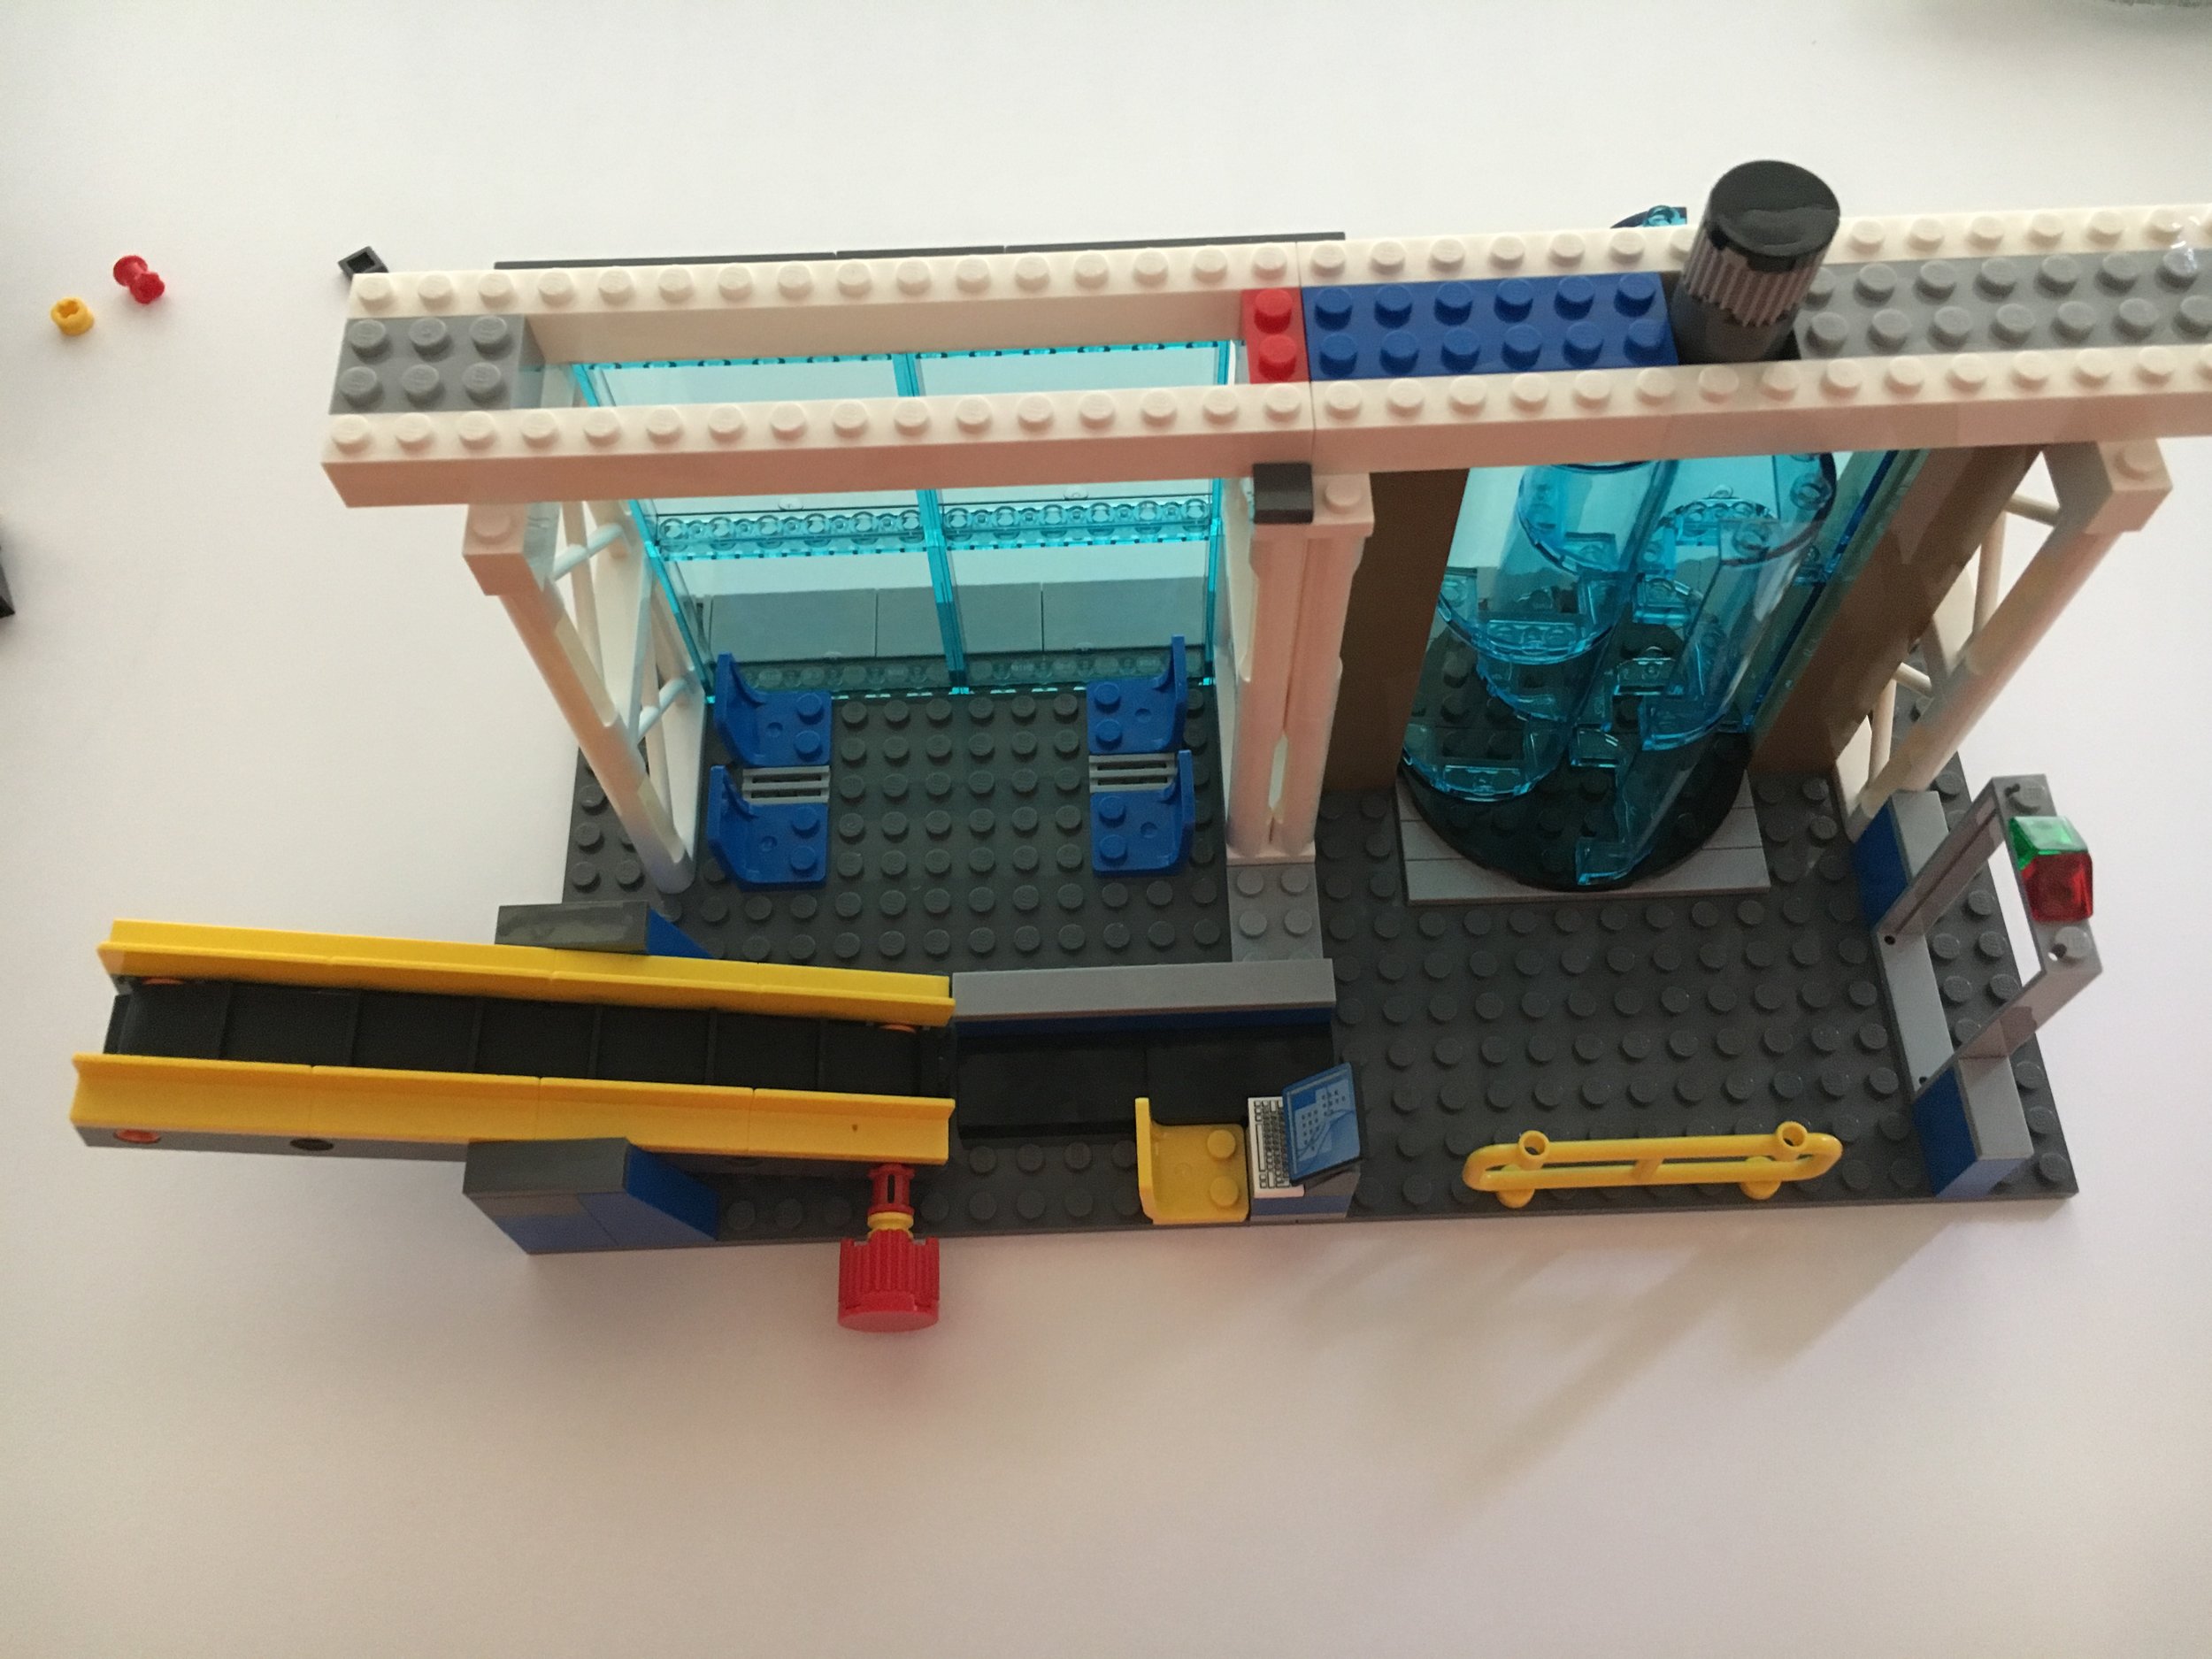
Bag 7 finished off the front facade adds in a metal detector and the baggage check-in station.  I guess you enter from the right and then maybe the revolving doors are where you can walk out to the plane.  I'm not really sure anymore.  The conveyor belt is a nice addition to the set for playability and is set up so you can pull the baggage cart right next to it.  

60104_Bag7.jpg

Bag 8 is the final bag with the roof being completed and then the control tower.  The control tower is unmanned... or maybe the one worker does everything?  I'm also not sure how a worker would actually get up to the tower.

60104_bag8.jpg

So that's it... It's the first passenger airport set released in 6 years.  It comes with a jet, 6 minifigures, a terminal, and some equipment for servicing the aircraft.  Should you get it?  After getting it, I'm glad I got it on sale, but I'm still not sure it was worth what I paid.  I think it needs at least another terminal worker and then a pilot and flight attendant.  Also you're paying for a lot of BURPs to help smooth the aircraft out. The age range listed is 6-12 years old so clearly it is not meant for old farts like me looking for a good building experience.  However, if you're a LEGO CITY fan and you build your own MOCs to go with your city, it has some good additions.  If you're looking to build an airport terminal of your own, you'll find some useful parts to make it realistic.  We'll see if it takes another 6 years for an upgrade.

60104_final.jpg

Set Review - Airport VIP Service - #60102

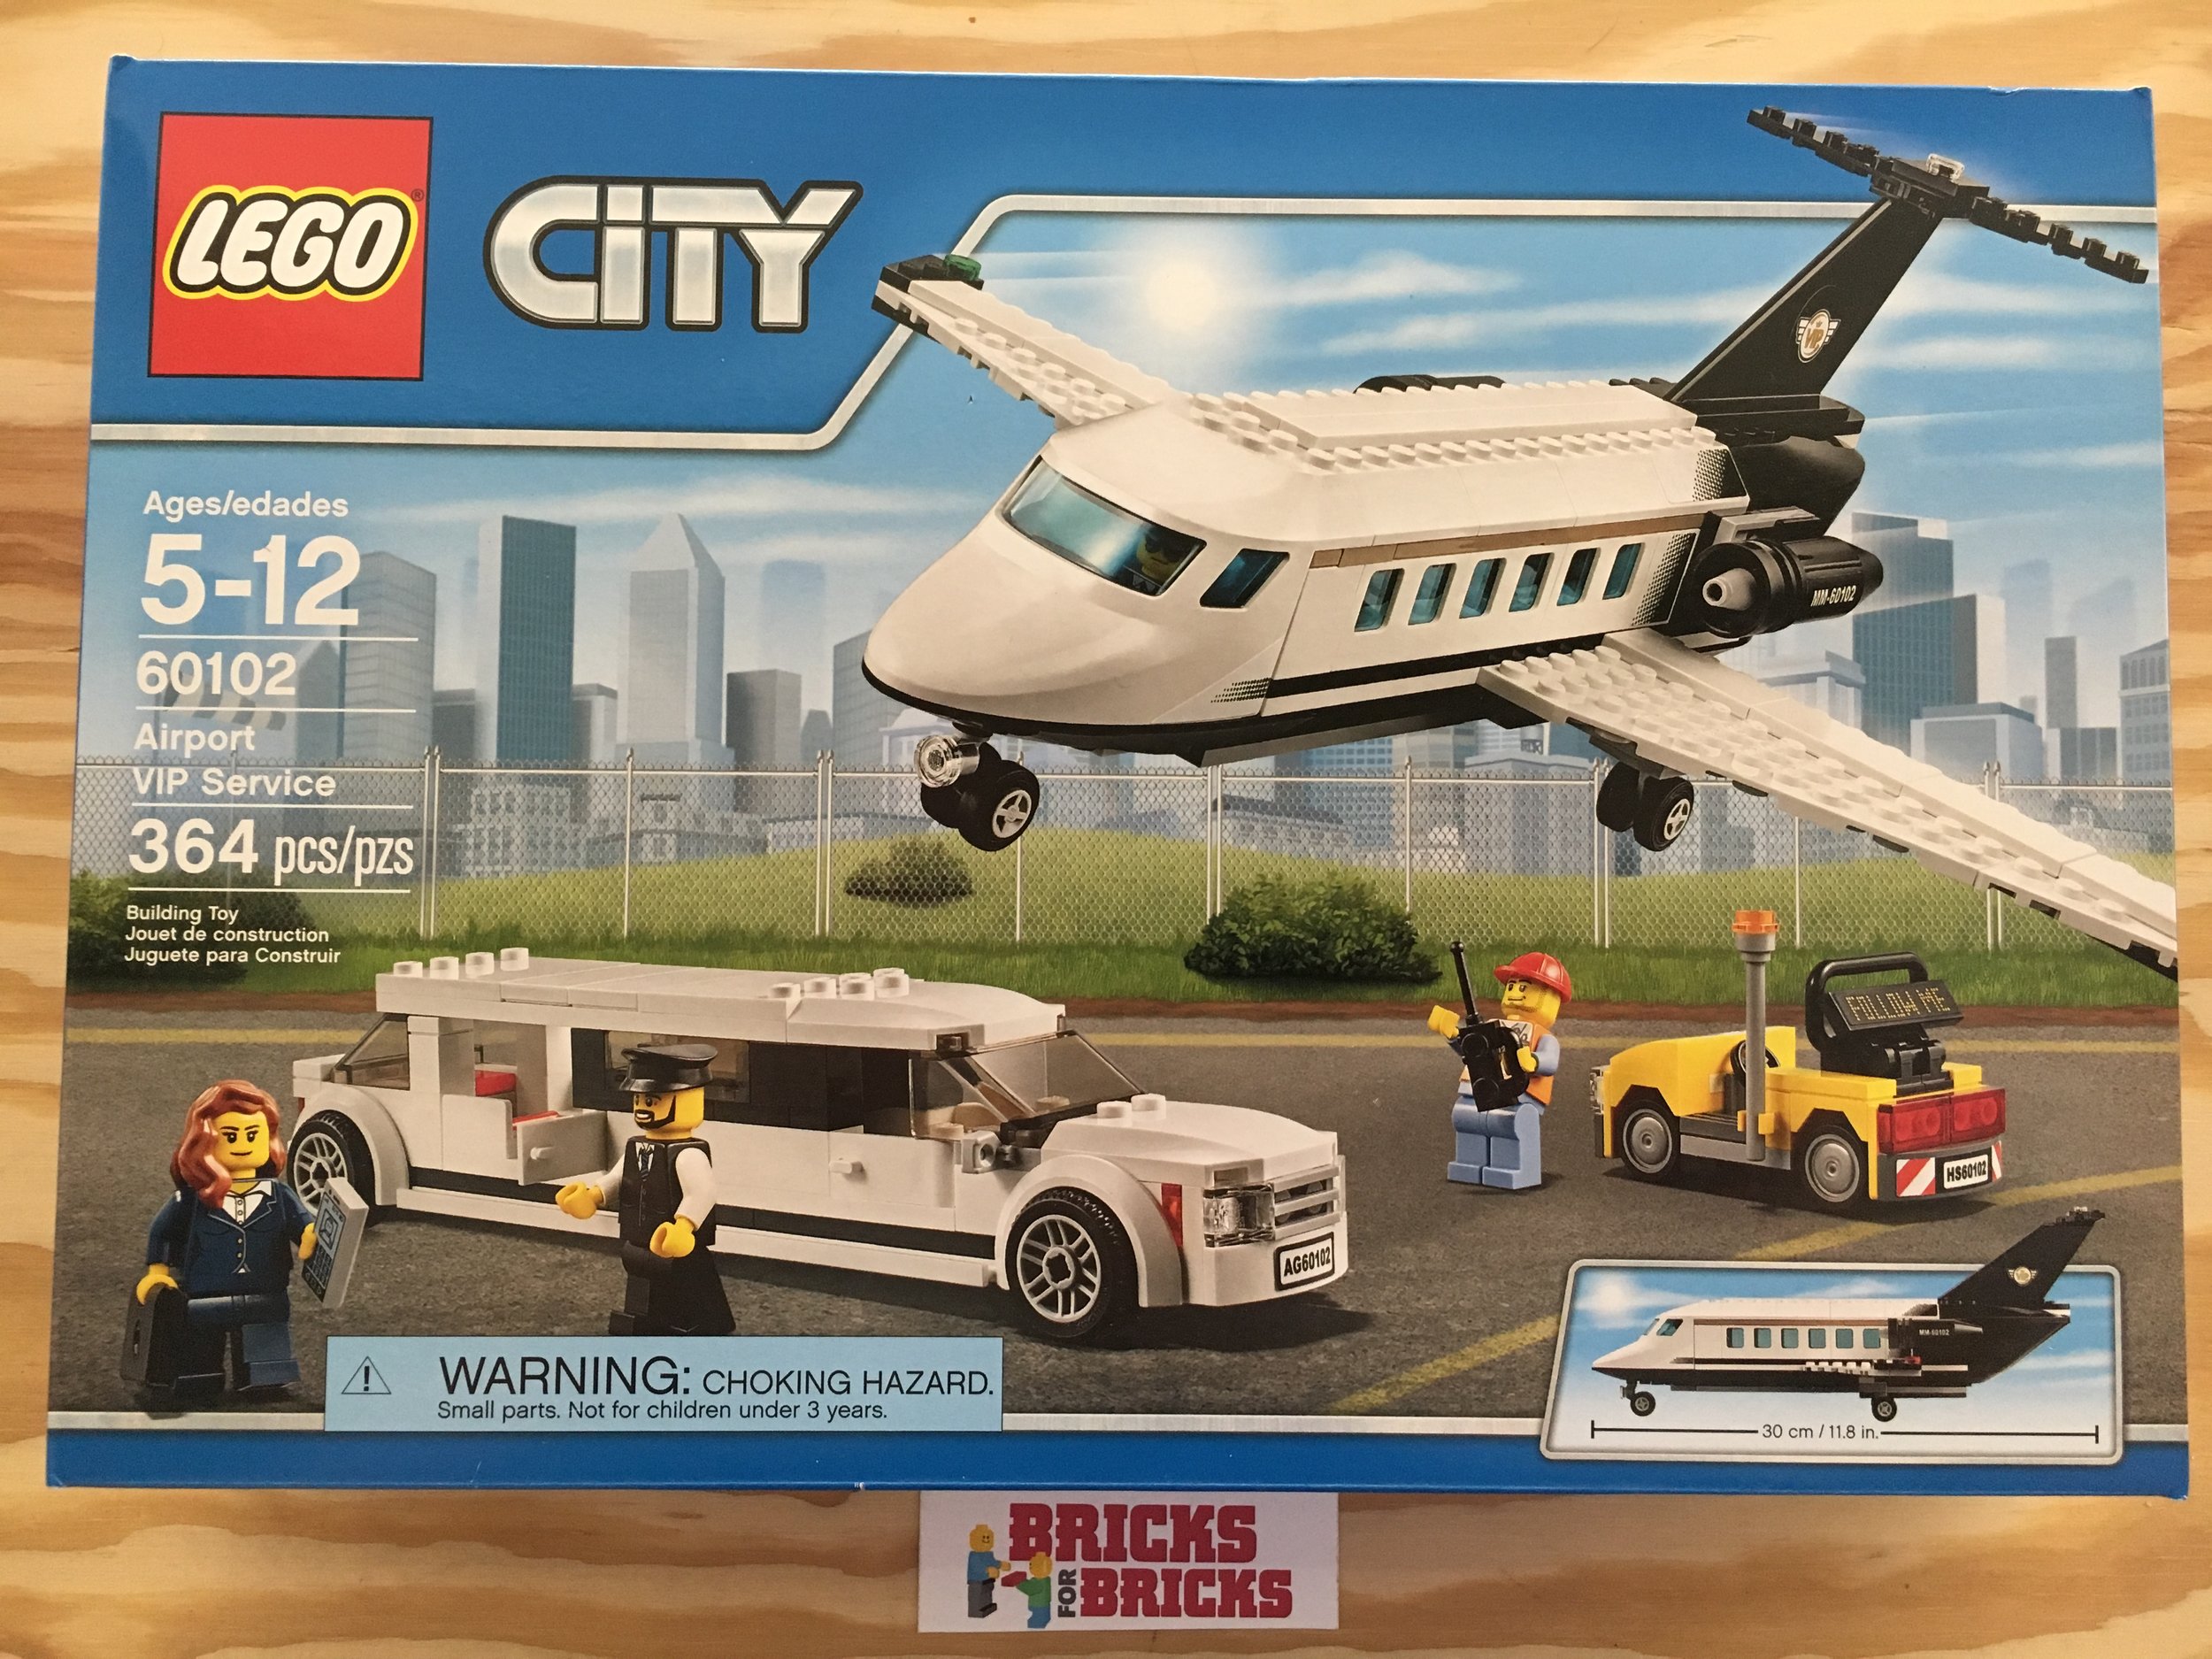
It's been a while since I've had the space to set up a large city scene, but I'm a fan of LEGO City and mixing in the modular buildings and LEGO Trains that I have.  While LEGO puts out a large number of fire fighter and police sets in the CITY theme yearly, they rotate through aircraft every 2 years or so.  One of them is the set I'll be reviewing today, Airport VIP Service (60102).  It was released on 22 May 2016 in the US and is priced at $39.99 with 364 pieces ($0.137 per piece).  In my opinion it is a bit overpriced, but I caught it 20% off on Amazon.com for $31.99 ($0.088 per piece).  A little better in my opinion.  I'm glad I waited 5 months for it to go on sale.

The box shows the set which includes 4 minifigures (business woman, pilot, car driver, and airport worker), business jet, limo, and airport vehicle on the front.  The back shows all of the things you can do with the set.  The set is listed for ages 5 to 12 so I am not LEGO's main customer, but it works.

60102_box_front.jpg
60102_box_back.jpg

The contents come in 5 bags (which are numbered), 3 instruction manuals (shoved into the box), a sticker sheet, and then the bottom of the nose of the fuselage.

60102_contents.jpg

Instruction manual #1 is the airport truck with the "follow me" sign on the back and the pilot and business woman.  The airport truck could stand some re-design as the worker has to keep his arms up in the air to sit in it and drive.  The worker comes with a radio.  The business woman comes with a laptop and smart phone.  The pilot does not come with anything.

60102_build1.jpg

Instruction booklet #2 goes with bags 2 and 3 and it makes the aircraft.  It's a simple design with a few BURPs (big, ugly, rock pieces) and the stickers definitely help to make it look better, but are a challenge to put on.  I can't see a 5 year old putting them on as listed without adult help.  Here are pictures of the aircraft with the top off and then a view with the pilot and business woman.  The aircraft comes with a glass for her to have a beverage and a croissant to eat.

60102_build2a.jpg
60102_build2b.jpg

Instruction booklet #3 and bags 4 and 5 are the limo.  It includes the vehicle and driver.  Below are pictures of bag 4 complete and then bag 5 complete.  There isn't anything special to the vehicle.  There's a space for the driver and the passenger.  The vehicle comes with an "ice box" that you can put a popsicle in.  It doesn't really fit in much, but again I'm not the right age range.  Also I debate whether this vehicle should be 4 studs wide or 6 studs wide.  You could easily modify it to make it a 6 wide.  I'll leave it as 4 for now.

60102_build3a.jpg

Here's a view of the inside with the minifigs.  There's space for the business woman to put her phone and laptop.  There's also a chart sticker that she can stare at on the cooler.  You can decide whether it is pointing up or down.

From this view, the cooler is a waste of space and adding a second seat in would be better.  Or maybe you could change the design of the cooler as the minifig has to take the roof off of the car before she can take the popsicle out.  Not very convenient if you're driving.   

60102_build3b.jpg
60102_build3.jpg
60102_final.jpg
 

Here's the final set with minifigs inside.  It doesn't have a lot of interesting building techniques and the piece selection isn't all that great, but if you're a CITY and airport fan, then it's a nice new addition.  If you can catch it on sale (it was 20% off on Amazon today - 22 Oct 16), it's even better.

Happy building!