Set Review - #BL19003: Skyline Express - BrickLink AFOL Designer Program
I reviewed the first set I received (Bikes!) from the BrickLink AFOL Designer Program here. This is the second one that I ordered. It is BL19003: Skyline Express. It arrived similar to the first one in a box with the BrickLink logo on it. The first picture is the outer box. Inside that box was the second box. I was glad to see it was well protected.
Here’s the set. It was $139.99 for 1,365 pieces. That works out to $0.103 per piece. The front of the box shows the set, the BrickLink logo, the 60th anniversary logo, and the hand written set number (#981). The back shows the opposite side of the set.
The other picture I posted shows that the set designer uses the name jazlecraz and he’s from Australia.
Much like the last set, this set has a cover on the box that comes off. The inside of the box cover is a printed photo that can be used as a background for the set. This one is of Sydney, Australia.
The box inside the cover is similar to the last set. It’s a black box. The top has the word “BrickLink” and the back has information about the AFOL Designer Program.
Much like the last set, there’s a seal on the box. When you open the seal, it says “void.” So if you’re planning to hold onto it or re-sell it, definitely don’t mess with that sticker. The inside looks like it was packed by hand with a card on top that has a “thank you” from LEGO and BrickLink.
The contents were 15 parts bags numbered one through four. There is a 16th bag with the special anniversary brick. There are 2 dark tan 16x16 plates as well. There is also the instruction booklet and the card which shows all of the sets on the opposite side of the “thank" you.”
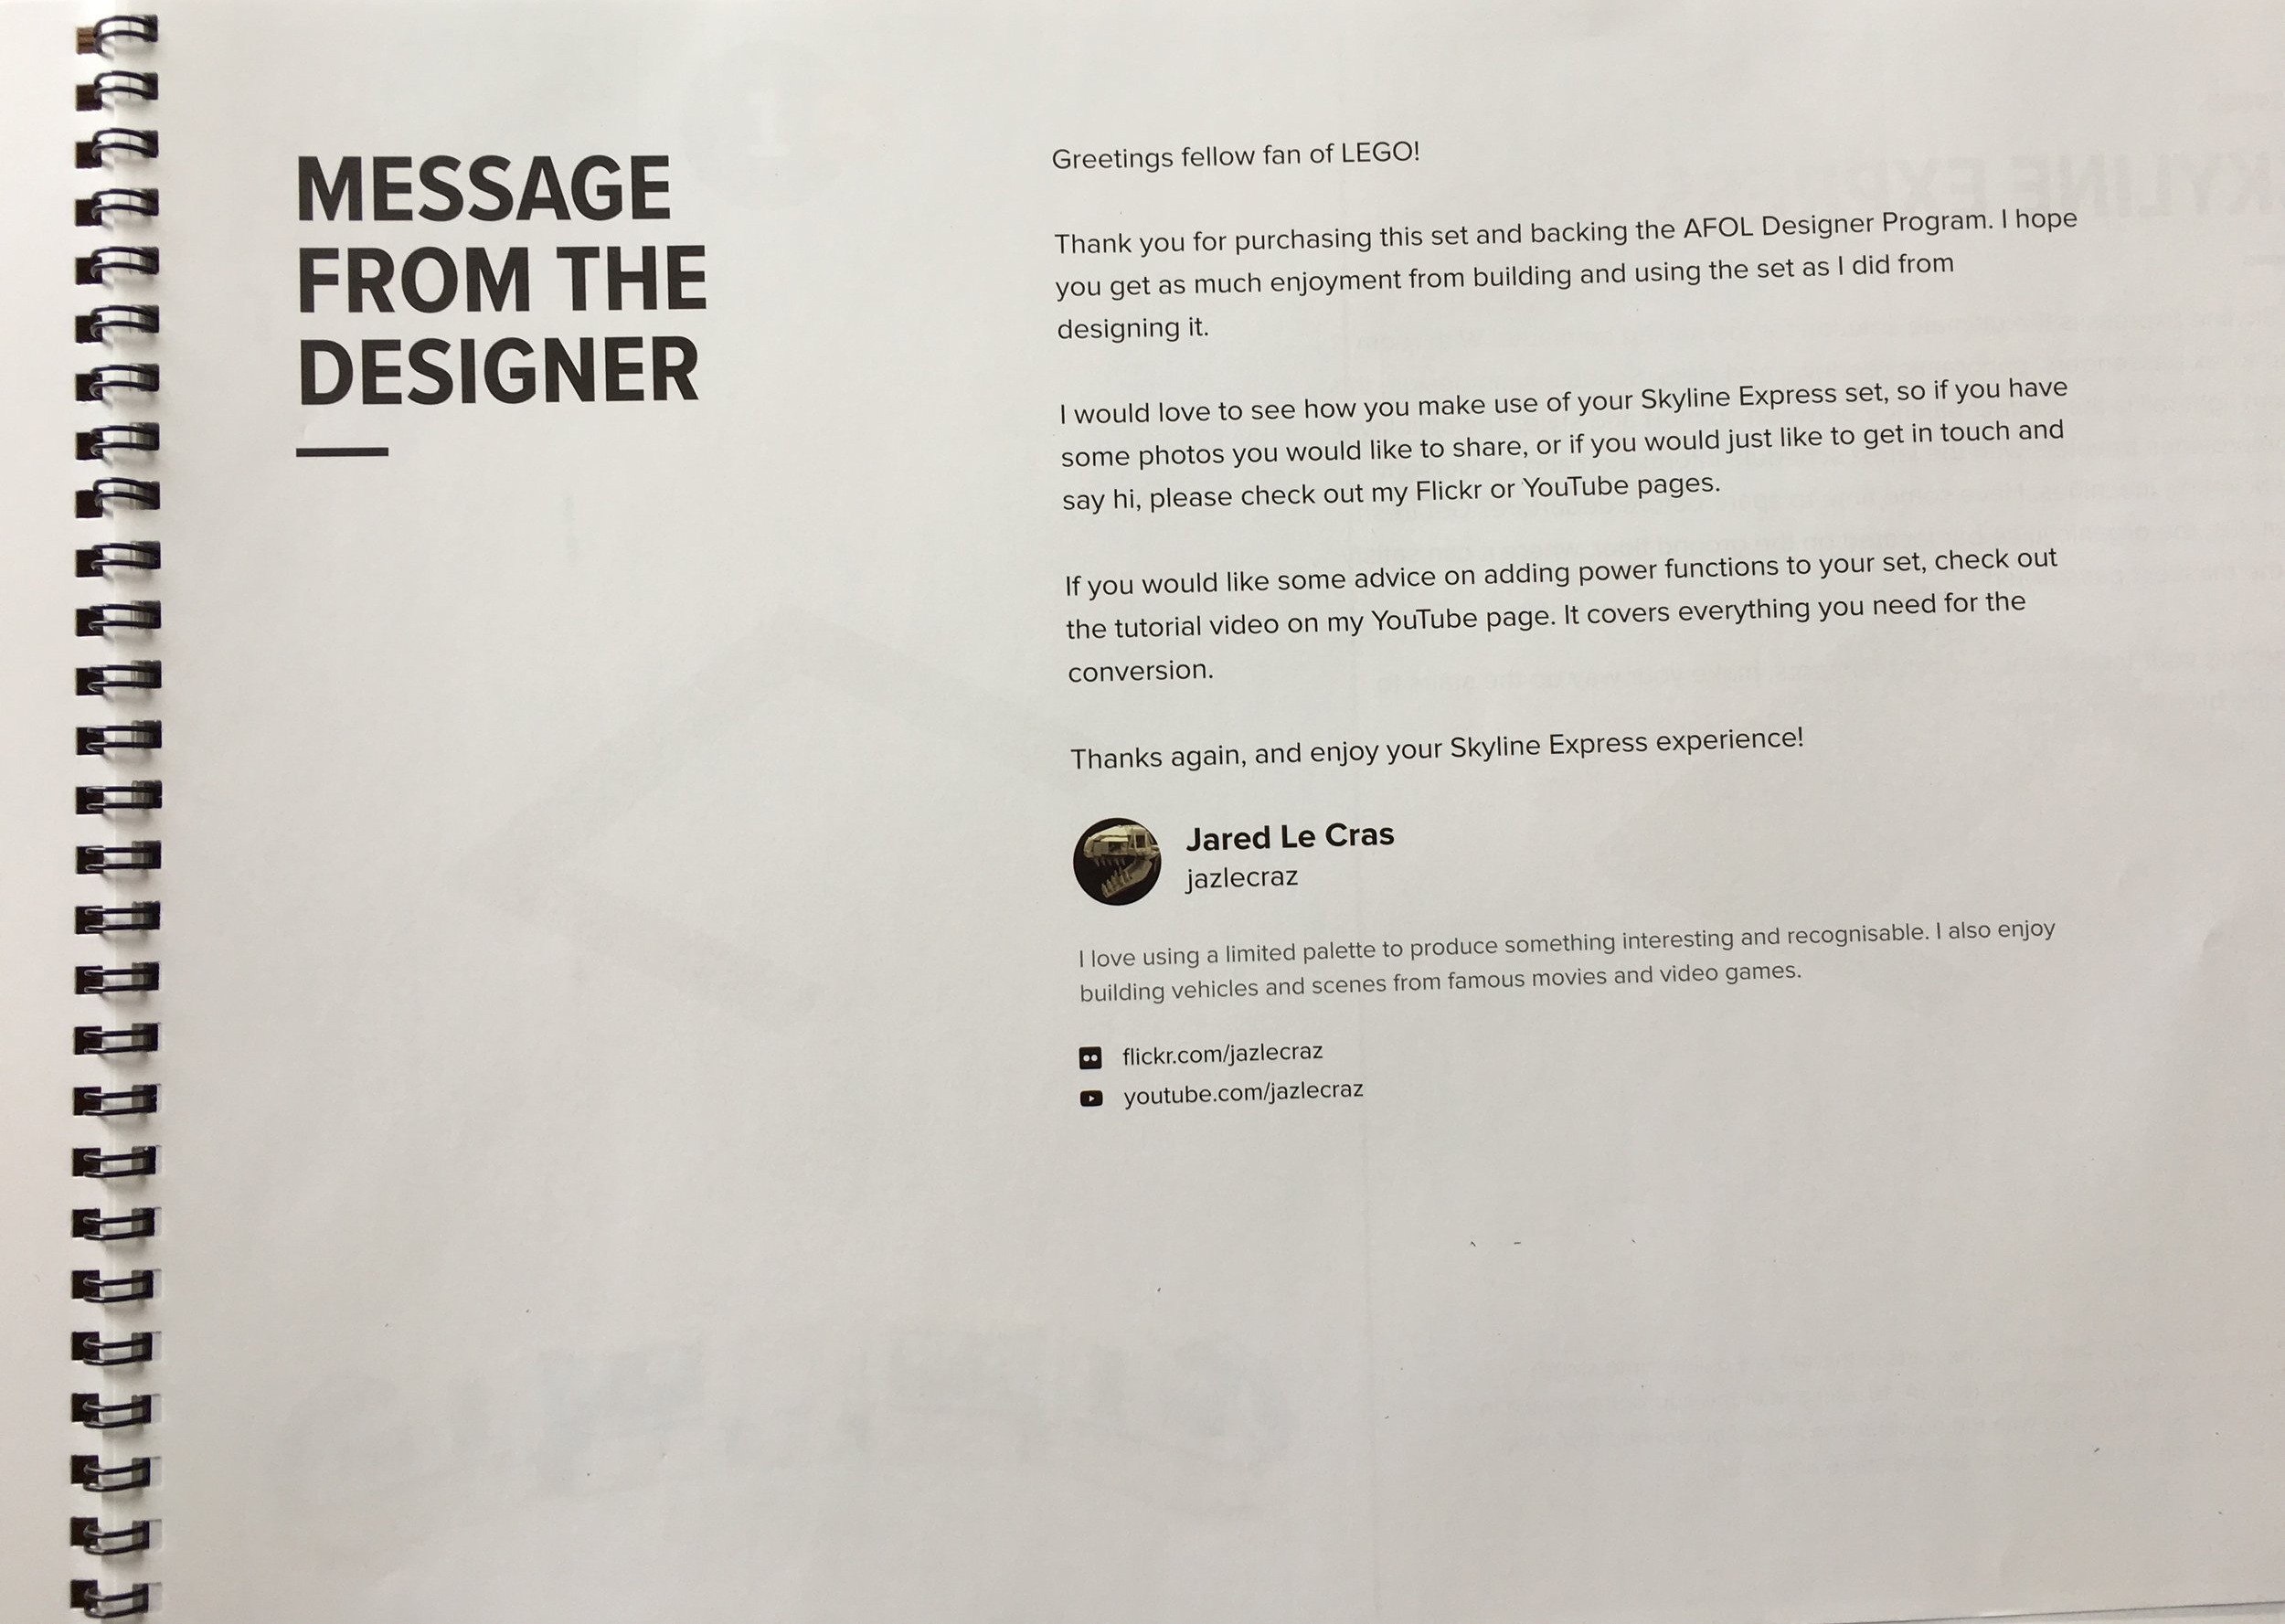
In the instruction book is a note from Jared Le Cres, the designer of the set. He mentions that he has a video that shows how to install a motor into the train. You can watch the video here. It’s not a smooth integration. You need to buy a bunch of parts if you don’t already have them on hand and you obviously need a motor and battery box. The design itself looks a bit bulky too as the motor pops out of one of the cars. To top it off, you need to raise the roof of the station to make sure the train fits. As I haven’t tried to motorize it myself, I won’t complain or be negative. Just a word of warning if you want to follow the designer’s plan.
Additionally, inside the instruction booklet is a quick write up on the set.
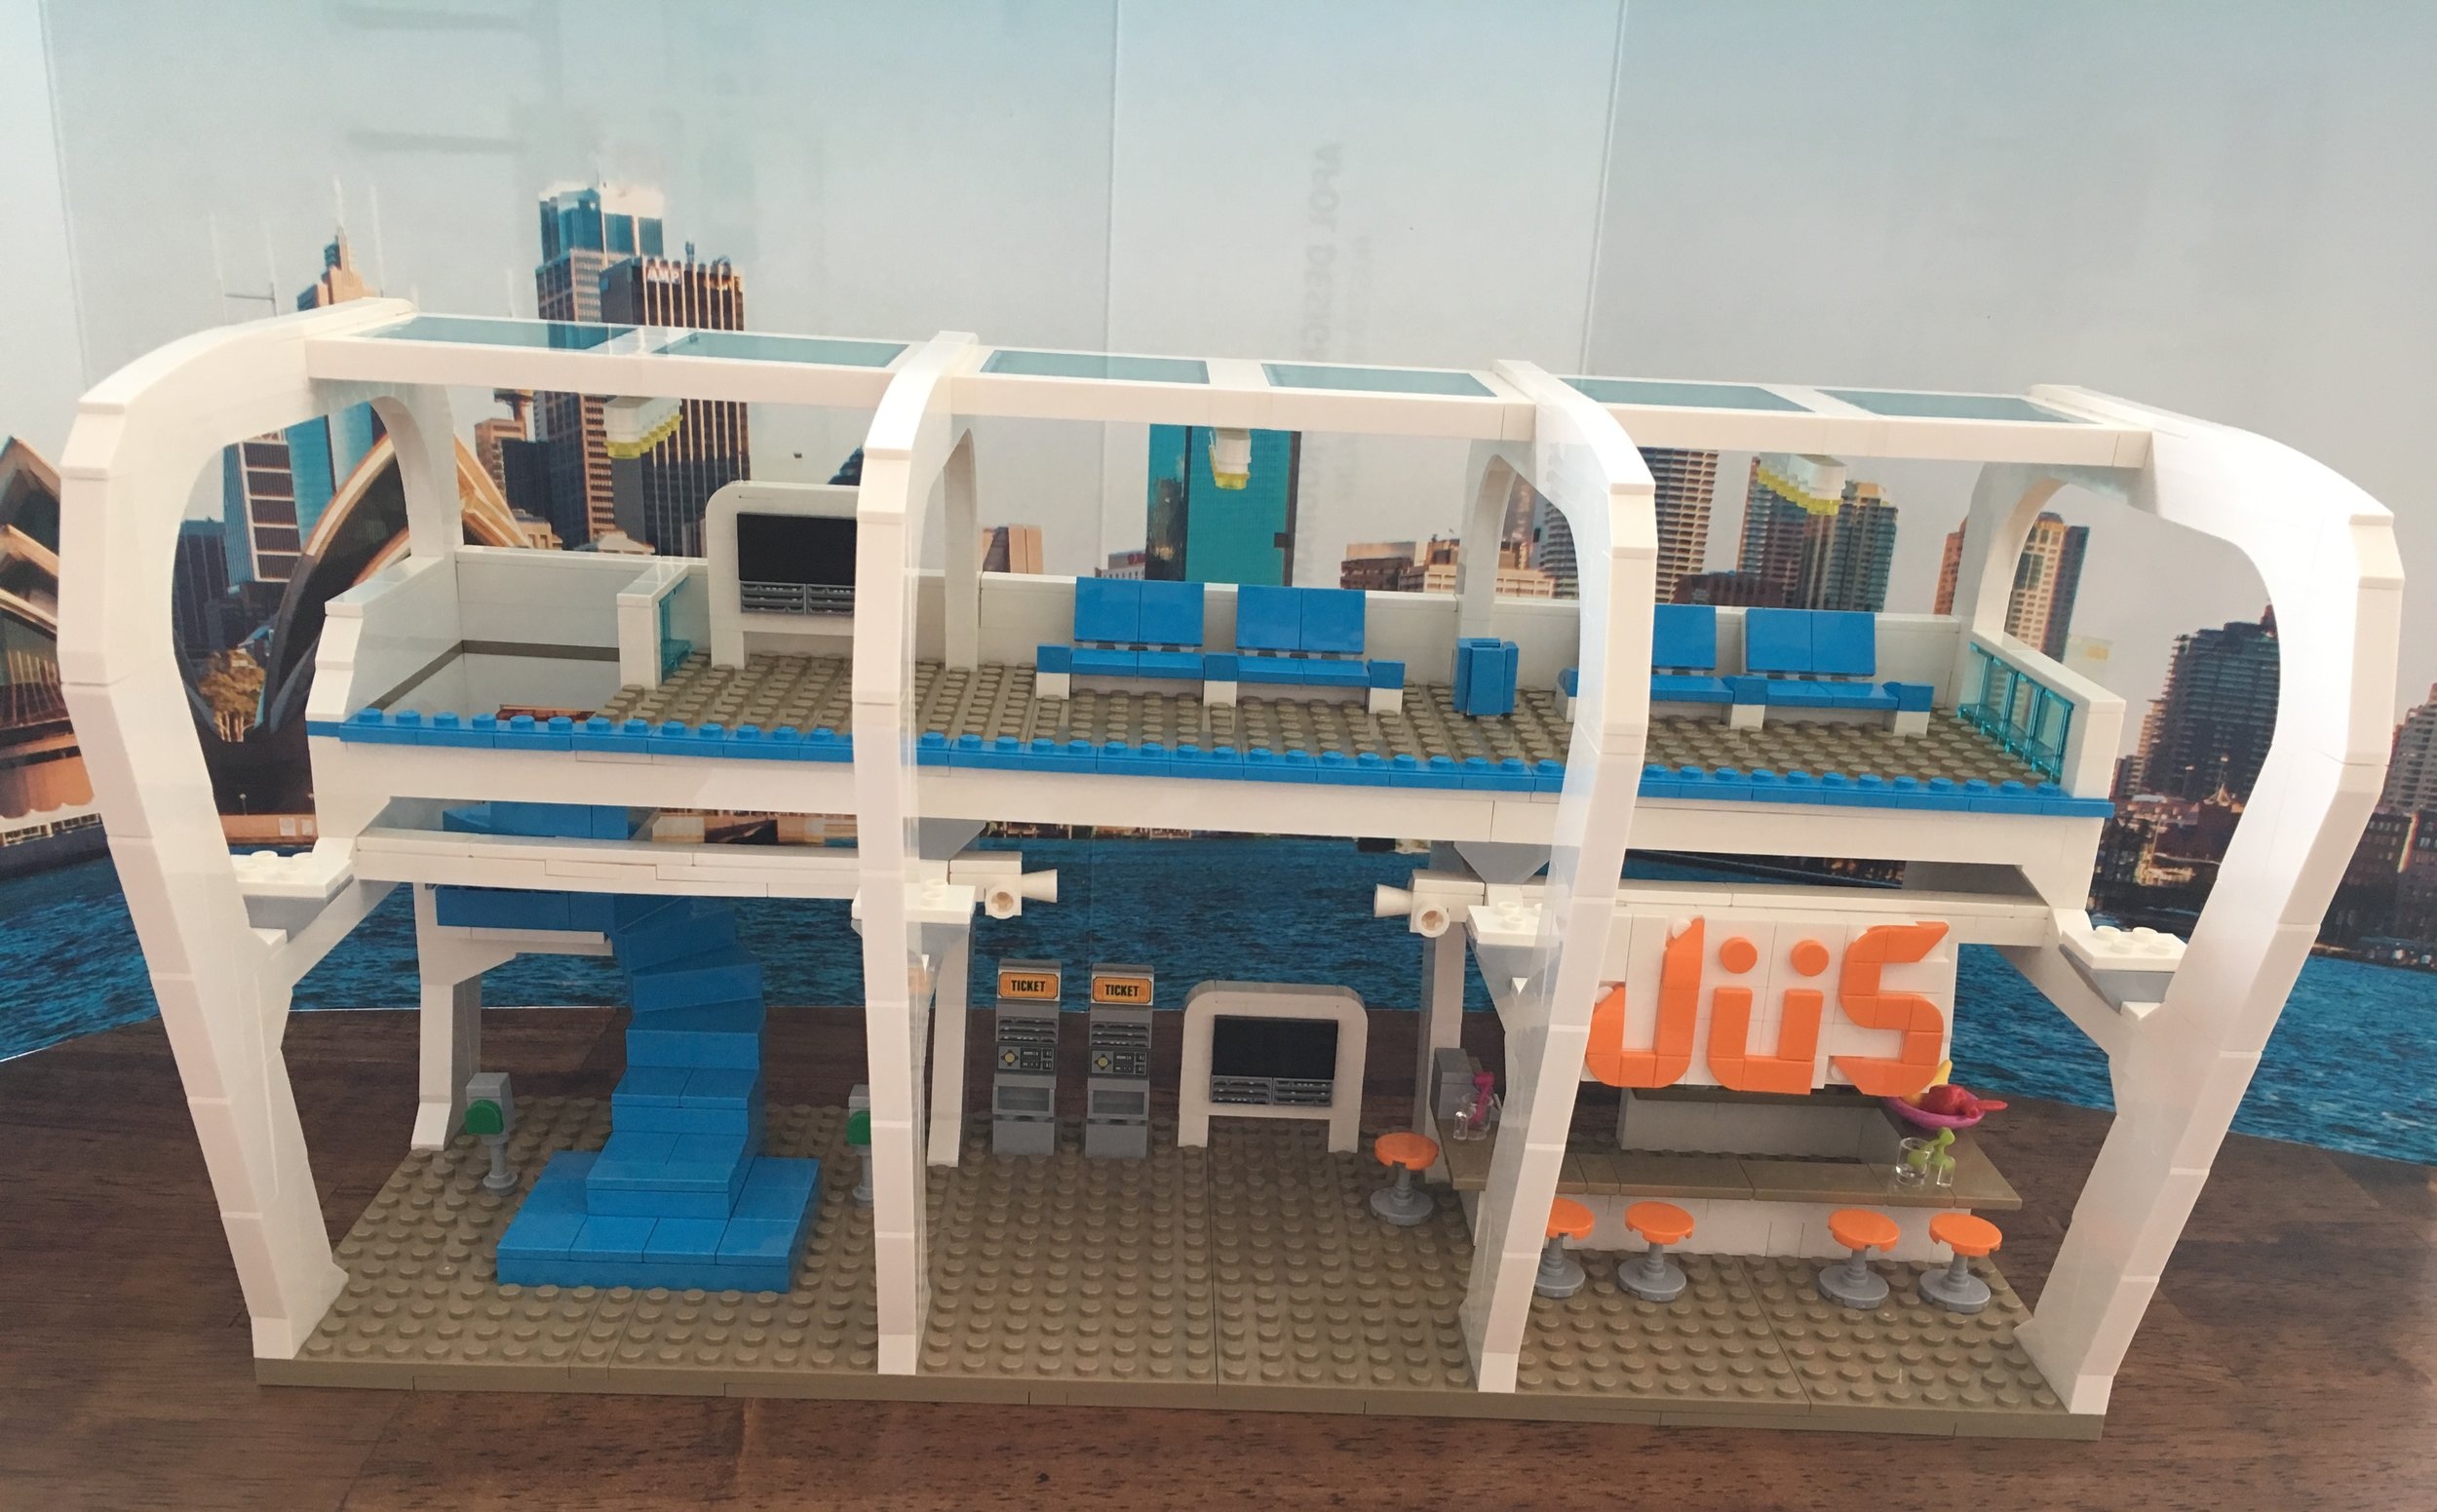
The first set of bags starts the station. build From left to right there are stairs going to the upper level, ticket machines and a schedule board, and then a Juice bar titled “Jüs.” I can’t say I have seen those stairs before, but they are an interesting piece. In a lot of the modular builds, they build curving stairs with bricks so this is a first. Maybe it is from a Friend’s set? The Juice Bar is pretty simple, but it fits right into the scene with some stools to sit on and a wide counter.
The supports for the upper level are not the sturdiest things, but then again it is an AFOL set. They get the job done, but LEGO would have made them stronger. I had no problems with them, but it made it a challenge when I went to transport it around.
The second set of bags finishes the upper floor. There is another set of stairs to get all the way to the top platform. Then there’s another schedule screen and some seats for minifigures to use while waiting for trains. With the station complete the use of colors hits you. The juice bar really stands out with its orange and the blue also contrasts with the white. If I were to put this in a large CITY scene, I would want this by some more modern buildings or maybe skyscrapers. The top is finished off with a small roof made of trans blue clear windows to let in light.
The juice bar also has some glasses, brick fruit, and some bowls. Forgot to mention that previously.
The third set of bags is the track. The track is all raised and it is held up by supports connected on the bottom with white plates used in the collectible minifigure sets. There is a good mix of straight and curved pieces and you can adjust the track a bit or buy other sets with track to expand what you have. I have not tried to motorize the train yet, but from what I’ve been told it is a challenge to have it go up hill so you’ll have to stick to the flat track for now until a better solution is found.
The last portion is the train and minifigures. I’ll get to the minifigures in a bit, but the train to me is a little weak. While the minifigures can fit inside, there are no seats or doors. You have to take the cars apart if you want to put minifigures in or out. I think I will look to modify the train at some point in the future.
I also found that it derails rather easily when I try to move it along the track. Maybe it will do better when it has its own motor. We’ll see I guess. For now, it slips often when I pull or push it.
The set comes with six minifigures. There is a good variety in my opinion. I like the differing torsos and there is even an extra hair piece. I also like that there’s a female minifigure with a ball cap on. I don’t think that is seen often, but maybe I’m missing something. It’s a good selection of minifigures. Well done!
The train wasn’t enough to curb my enthusiasm for this set. I’m a big fan of what the designer did and while LEGO will probably never bring back the original monorail, this type of monorail works for me. It’s a bit pricey, but if you consider that the track and supports are probably a bit more expensive, that’s most likely where it came from. I look forward to adding this set to my CITY sometime in the future and hopefully motorizing and adding some track on.
Has anyone motorized a train like this yet? Any thoughts on how it works?
In the meantime, happy building!


