It took a while, but I was finally able to get Ideas set #31. In case you aren’t aware, LEGO now has the ability to set up email notices on Shop @ Home to let you know when an item is back in stock. I got the notice this set was back in stock and by the time I checked, it was already on backorder. I placed my order and was entered into the backorder line. I had saved up VIP points so this $349.99 priced set in the US only cost me $50. With 3,662 pieces, at the full retail price it works out to $0.096 per piece. The release date was 2 August 2020 and this set has spent a lot of time listed as out of stock on Shop @ Home in the US. As of the writing of this post, it is still out of stock. Keep an eye out for it if this is one that you’d really like to pick up.
Onto the review…
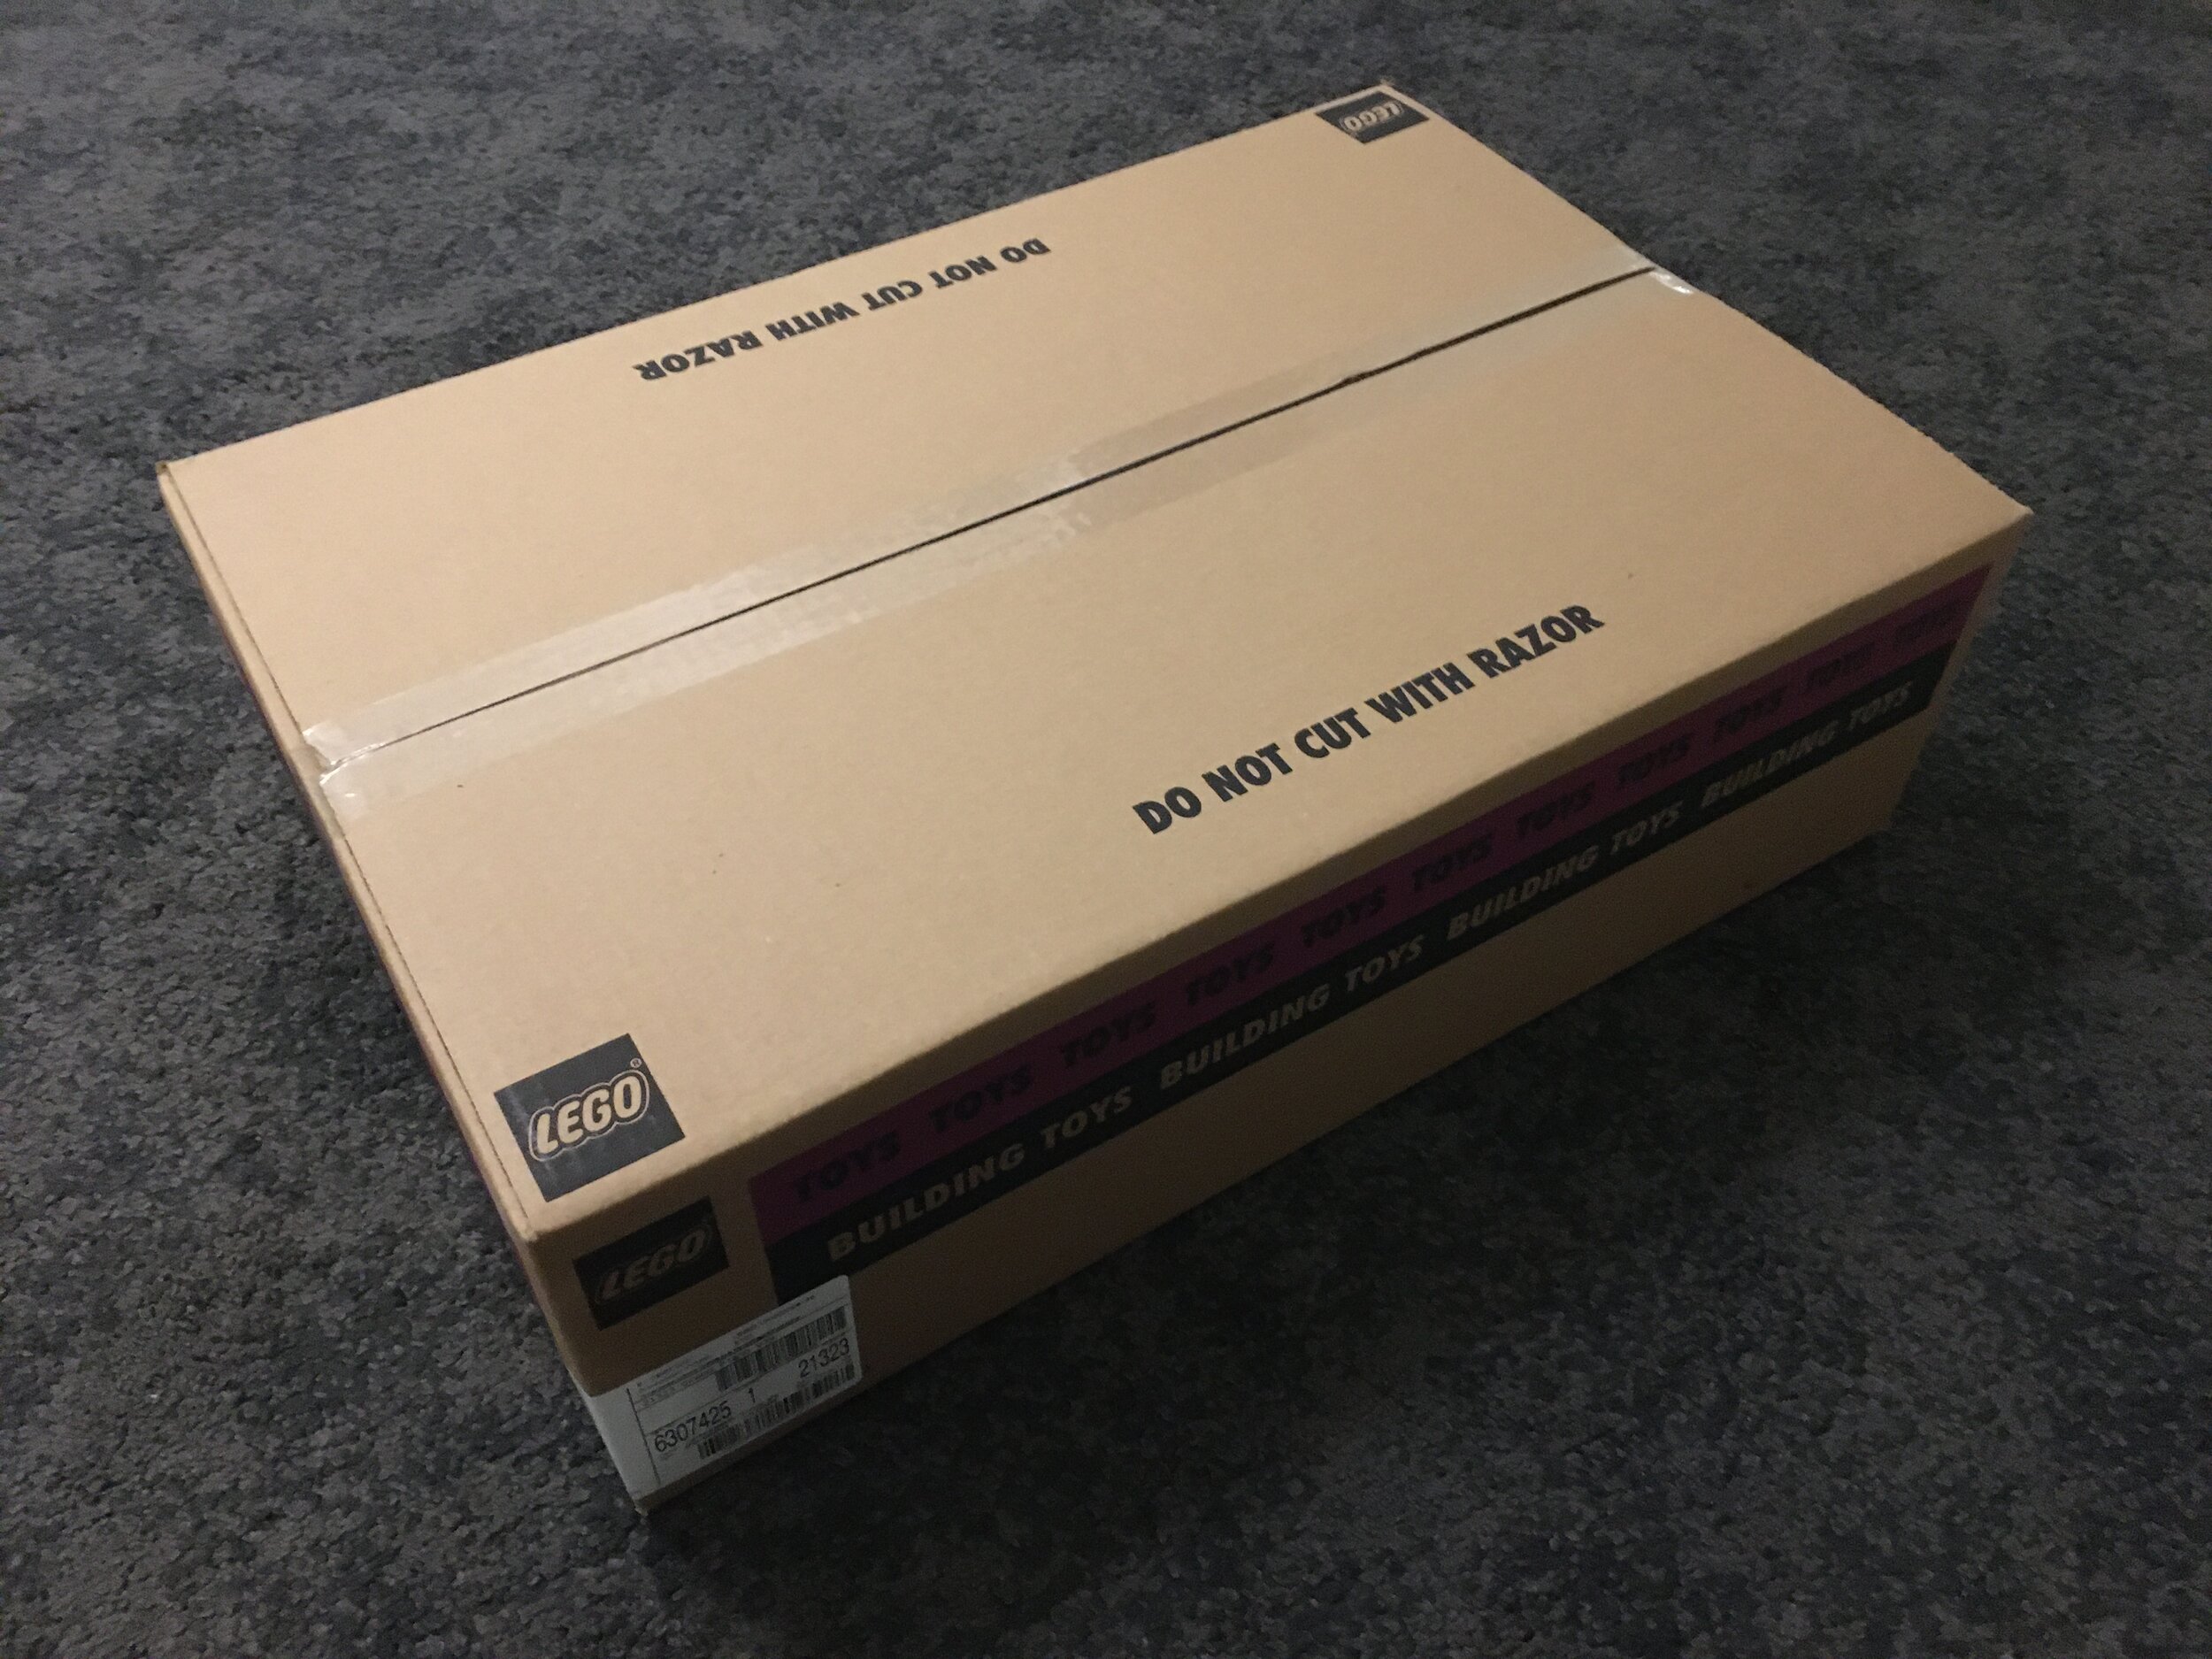
The set showed up as a box within a box. While it makes it a bit heavier, it helps to protect the set box. At $350, you definitely want your set to show up looking pristine so I’ll take the extra packaging. For reference, the sticker on my set box shows that it was made in January 2021 in the Mexico production plant.
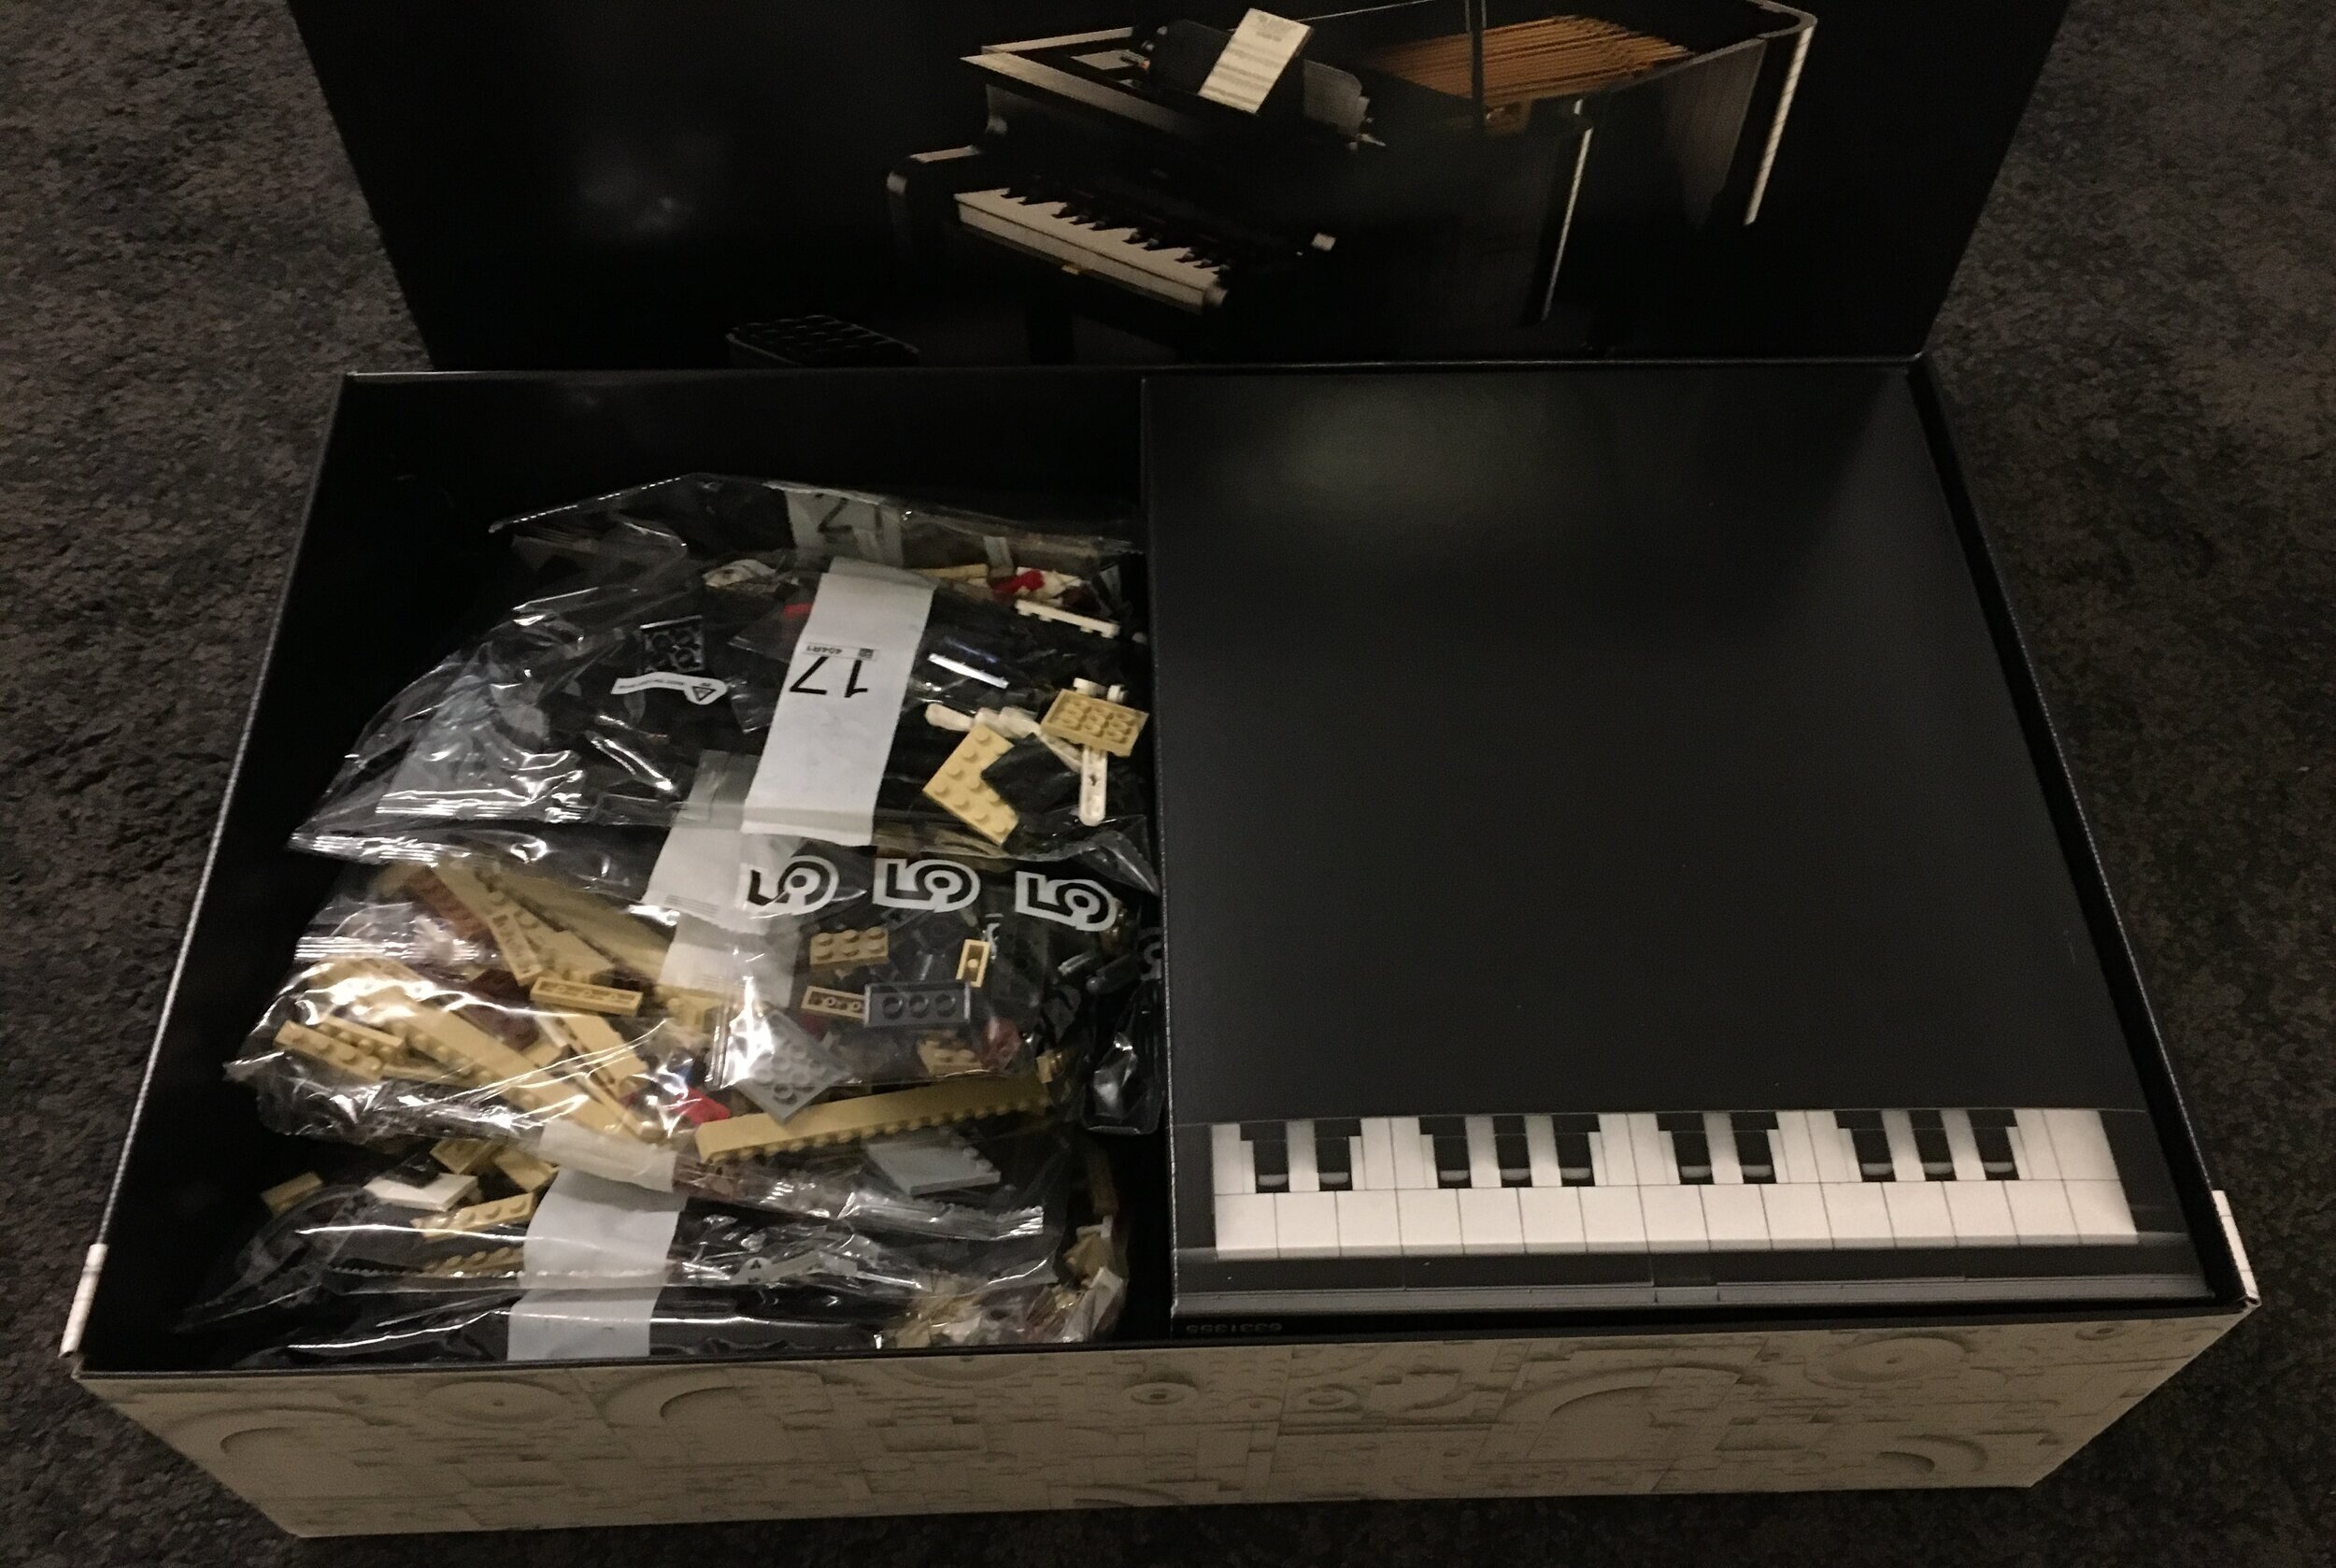
When I opened the box up, the set was placed with the bottom facing up. After taking the set box out and finally opening it, the internals include a number of bags of parts and then another box with more parts bags inside.
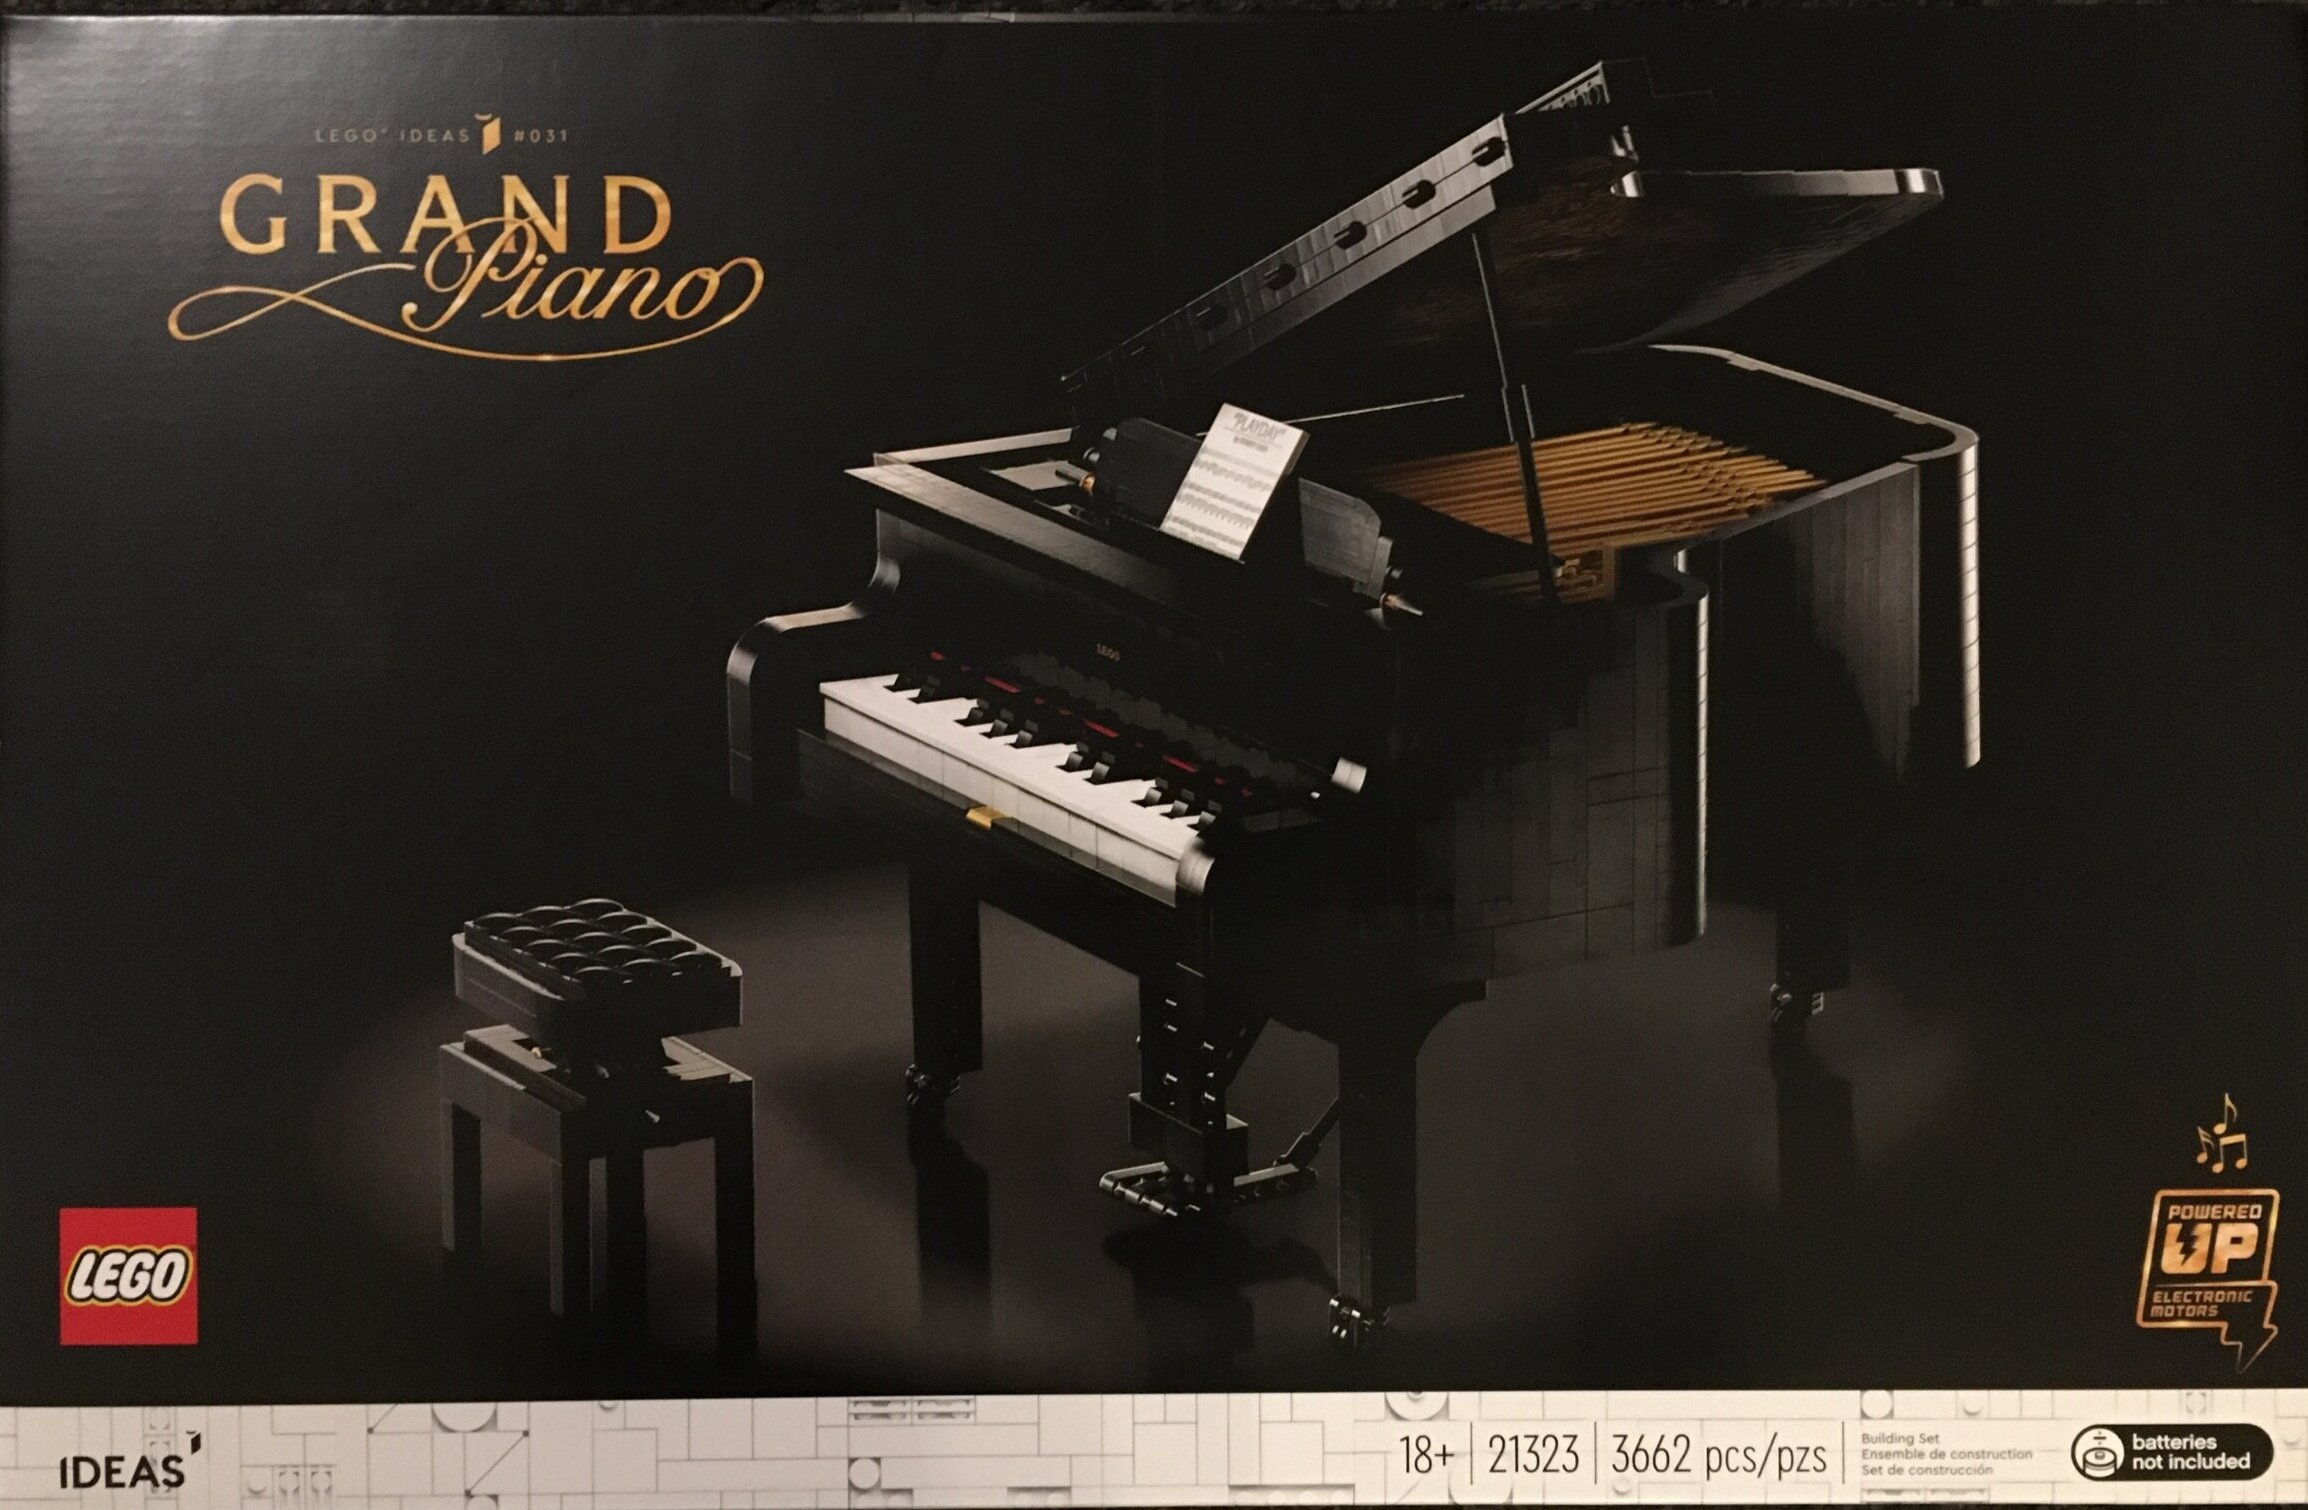
Backing up… forgot to mention the box itself. The front shows the full set with the name in fancy lettering. It highlights that it is an Ideas set and is #31. The bottom right has the Powered Up logo. It definitely gives the set a classier look as opposed to most sets. This set also as the 18+ branding on it.
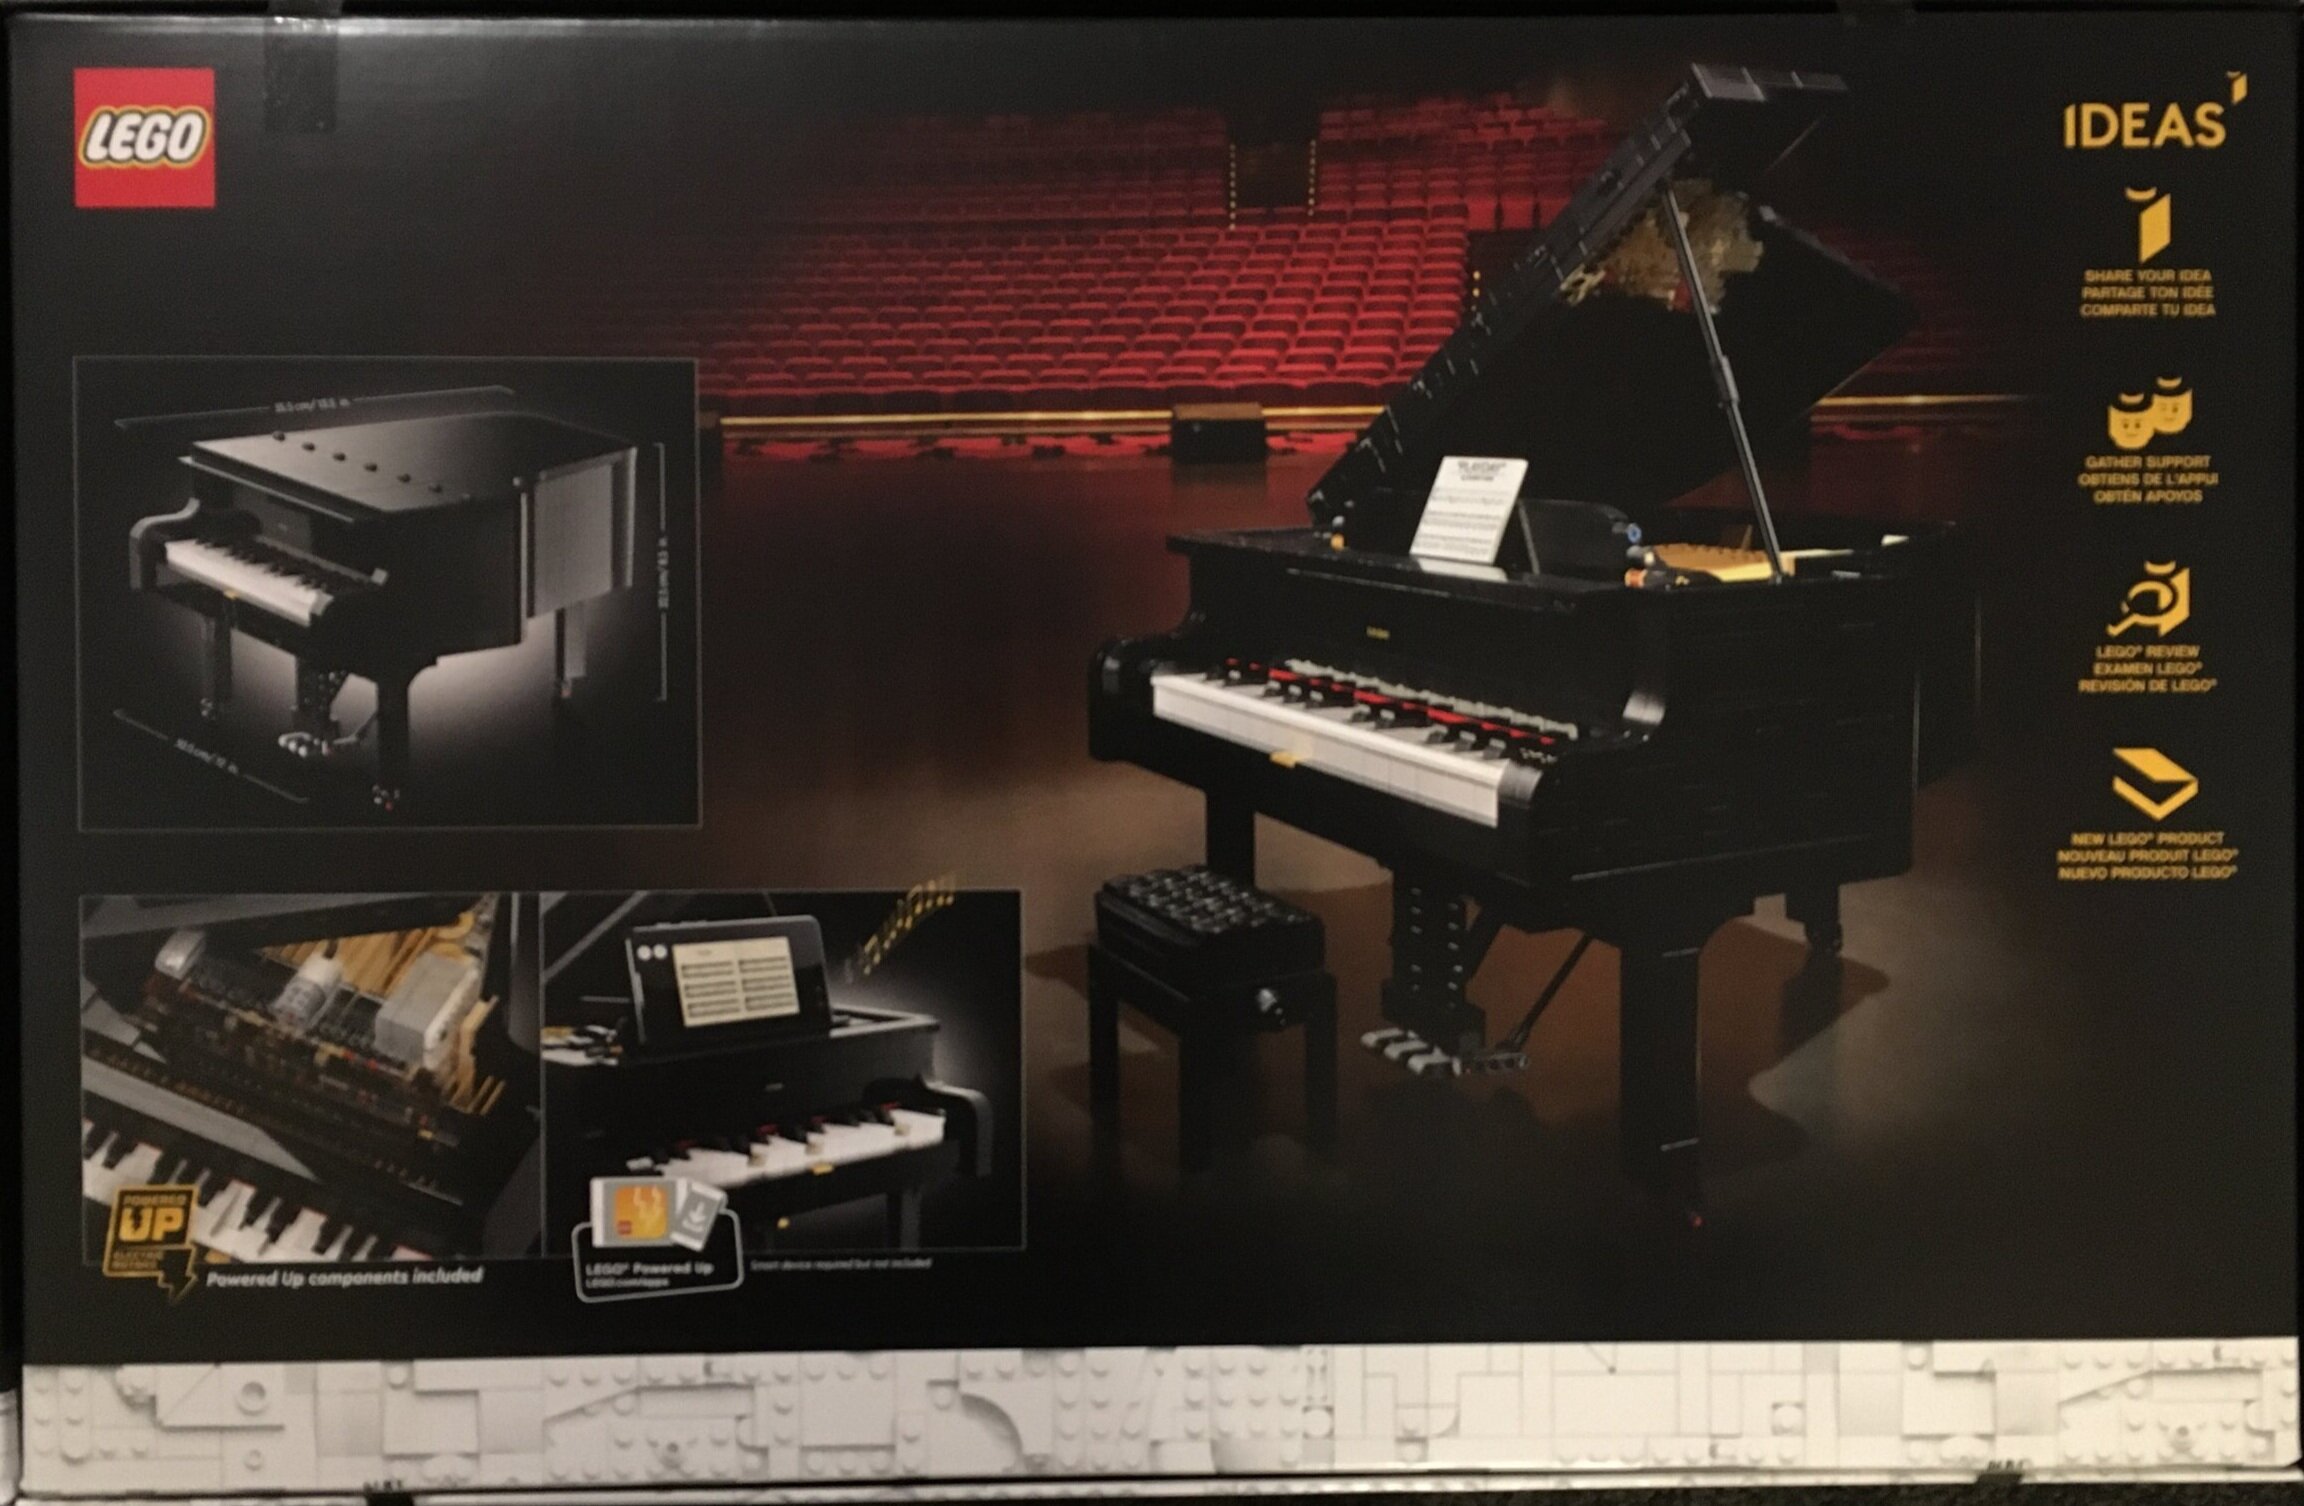
The back shows the piano in a theater or concert hall. It also shows the piano with the top closed and highlights the Powered Up functions.
Onto the contents. There are 19 bags once you open the set. It is bags 10 through 21 and then 5. Opening up the other box reveals 33 numbered bags, three un-numbered parts bags, a long Technic axle, three 6x16 tan plates, and then the instruction book which is wrapped.
The instruction book contains some information about the model, about the fan designer (Donny Chen), and some information about the LEGO Designers Woon Tze Chee and Steen Sig Andersen. Throughout the instructions, there are numerous quotes about music scattered throughout. There are 563 pages in the instruction book if you count the back cover. So get ready!
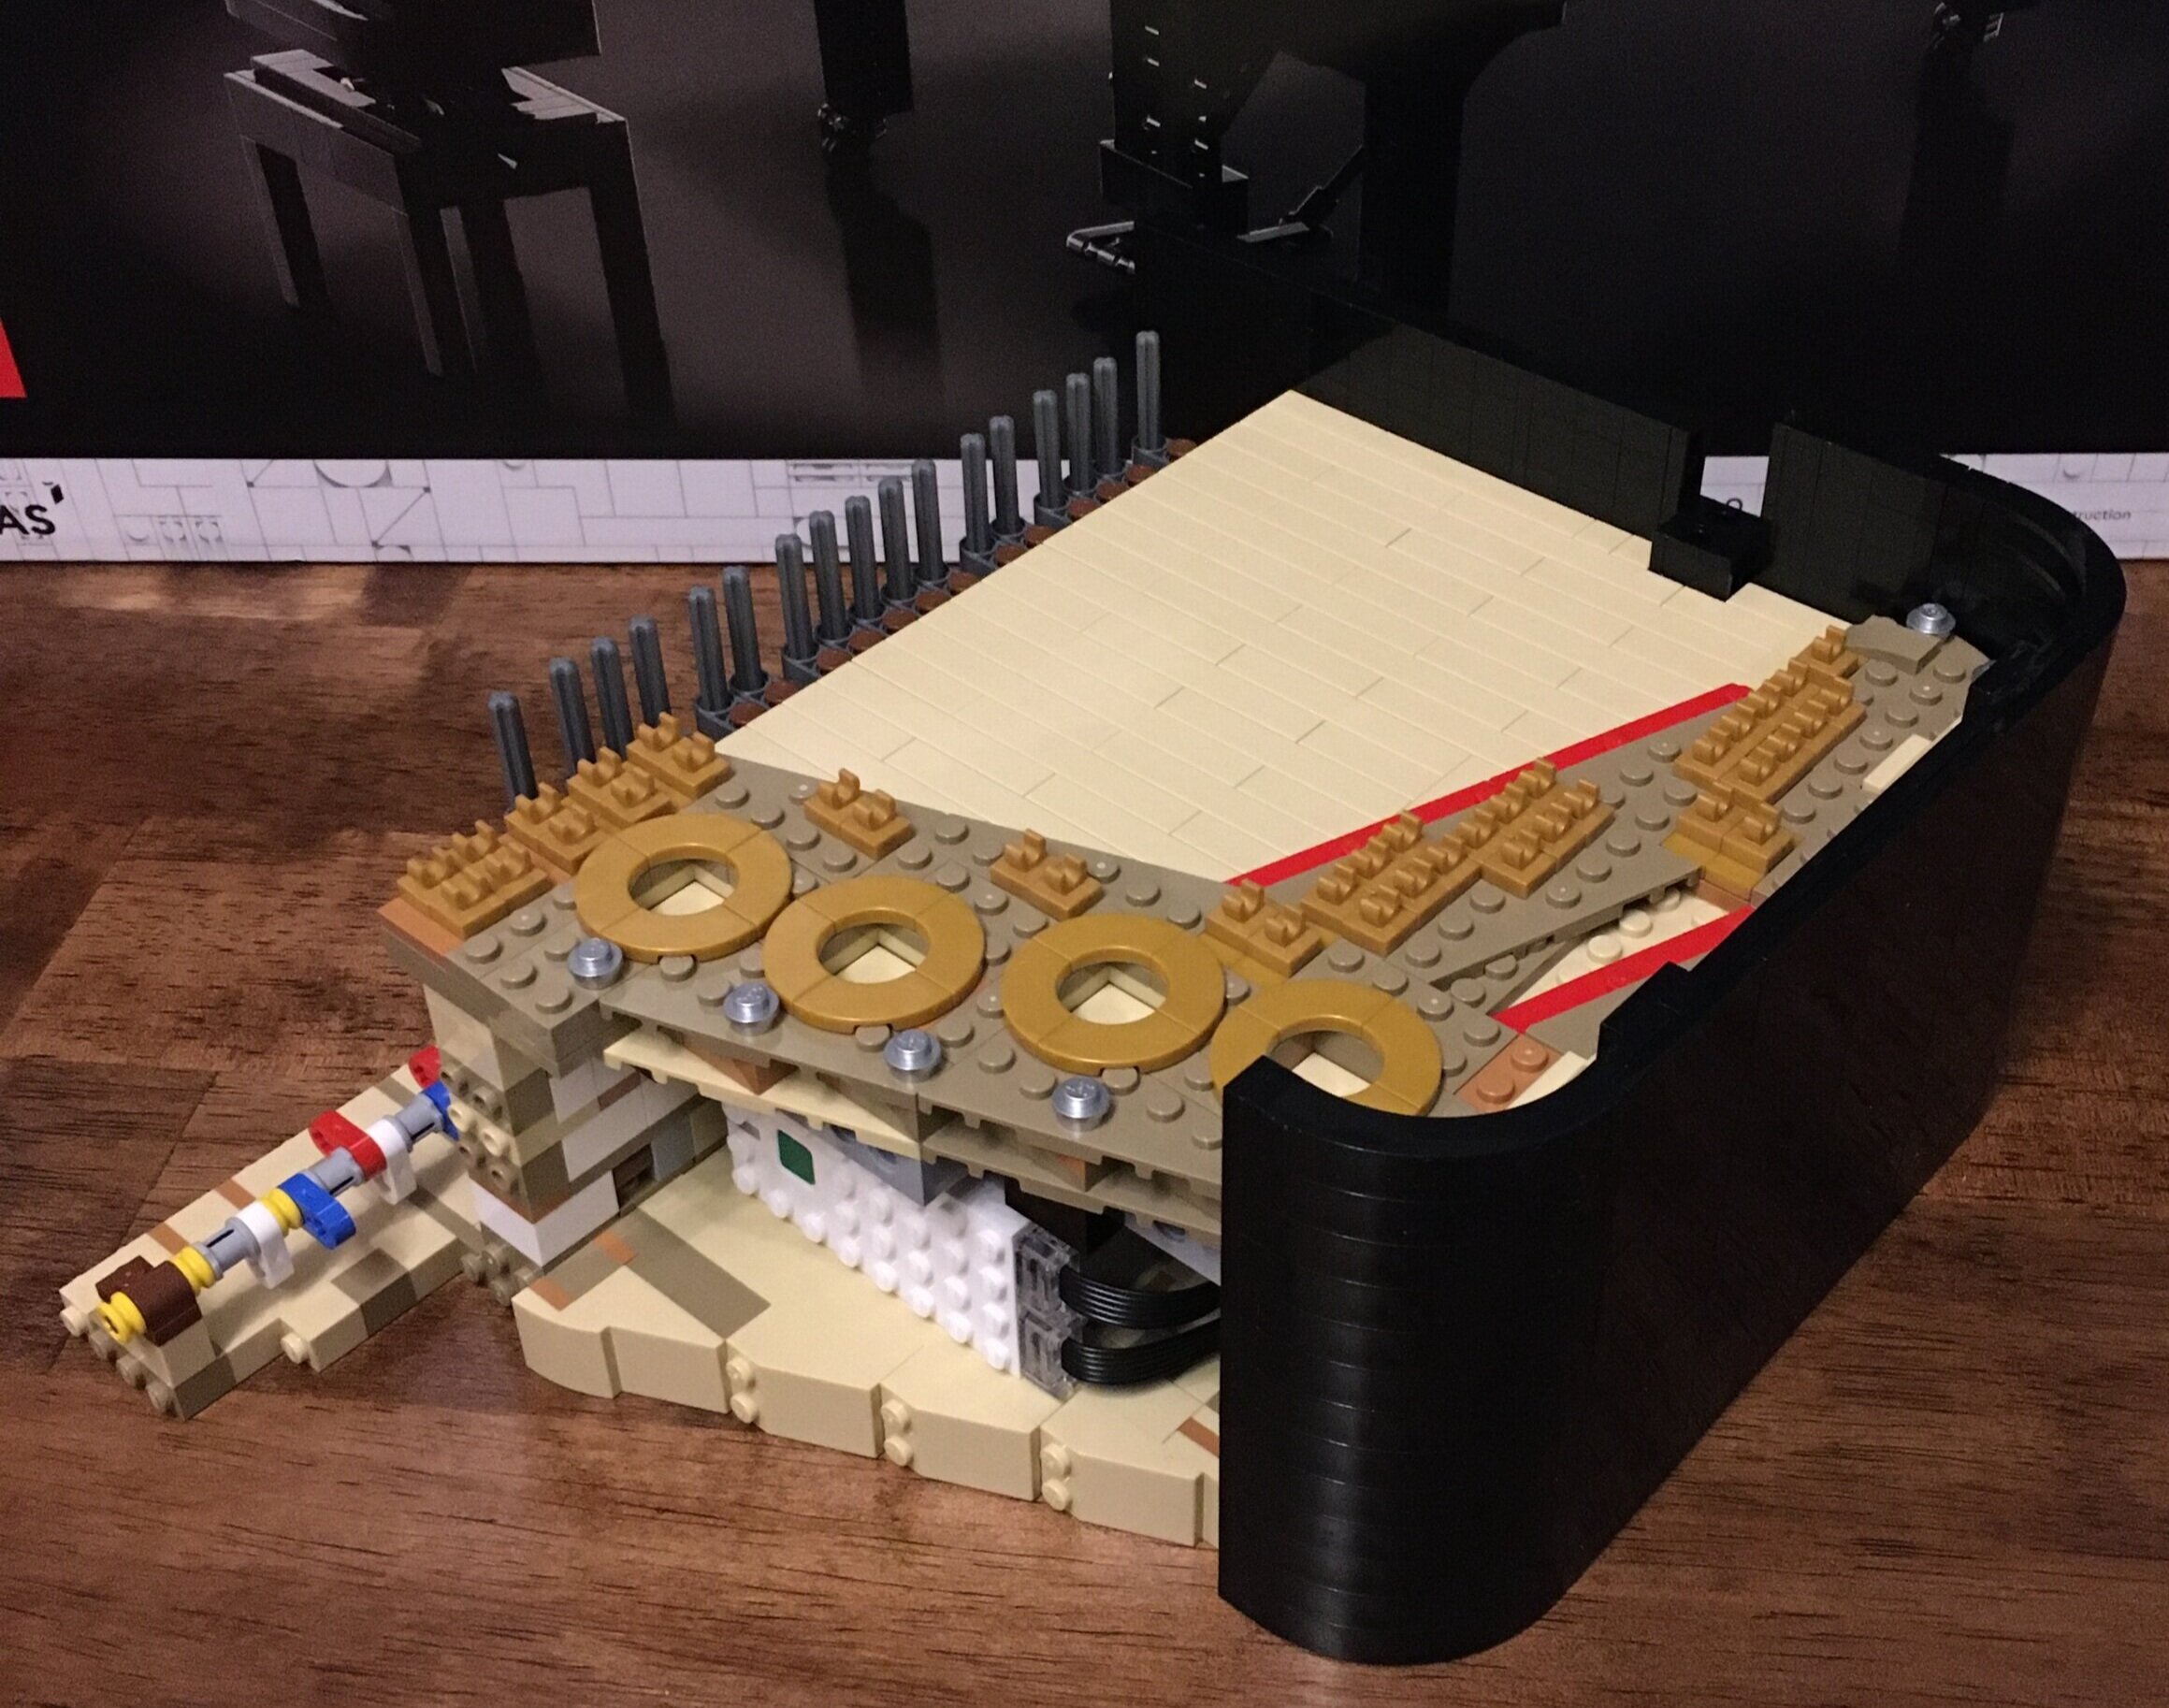
There are 21 sets of numbered bags. Instead of going through them all one by one, I’m going to try and group them together to get you through the set quicker. Builds 1 and 2 assemble the main base of the piano and then add in the Powered Up battery box, motor, and sensor. It also adds the gears that will eventually make the keys move in self-play mode.
Seeing the size of this section of the build makes it clear how big the piano is going to be when you’re done.
Of note, one of my bags numbered one was opened when I opened the box and the pieces were all over the place. I ended up not having one piece. Not sure where it was lost, but I was able to account for it from my parts stash. I wrote LEGO about it, but never heard back. Hopefully my issue was a one off and not a repeat for multiple people.
Builds 3 and 4 add in the Technic elements that will connect to the hammers that hit the strings. Adding them became a bit repetitive, but it wasn’t too bad. After that, you add a top layer which covers the Powered Up elements. Thankfully, you can still access them very easily so don’t worry about them being stuck in there and having to take the model apart to get to them.
Build 5 adds more to the top section and then expands on the outer black cover of the piano.
Build 6 and 7 step away from the first section of the build. You move onto the front of the piano which is added to the rest of the piano next.
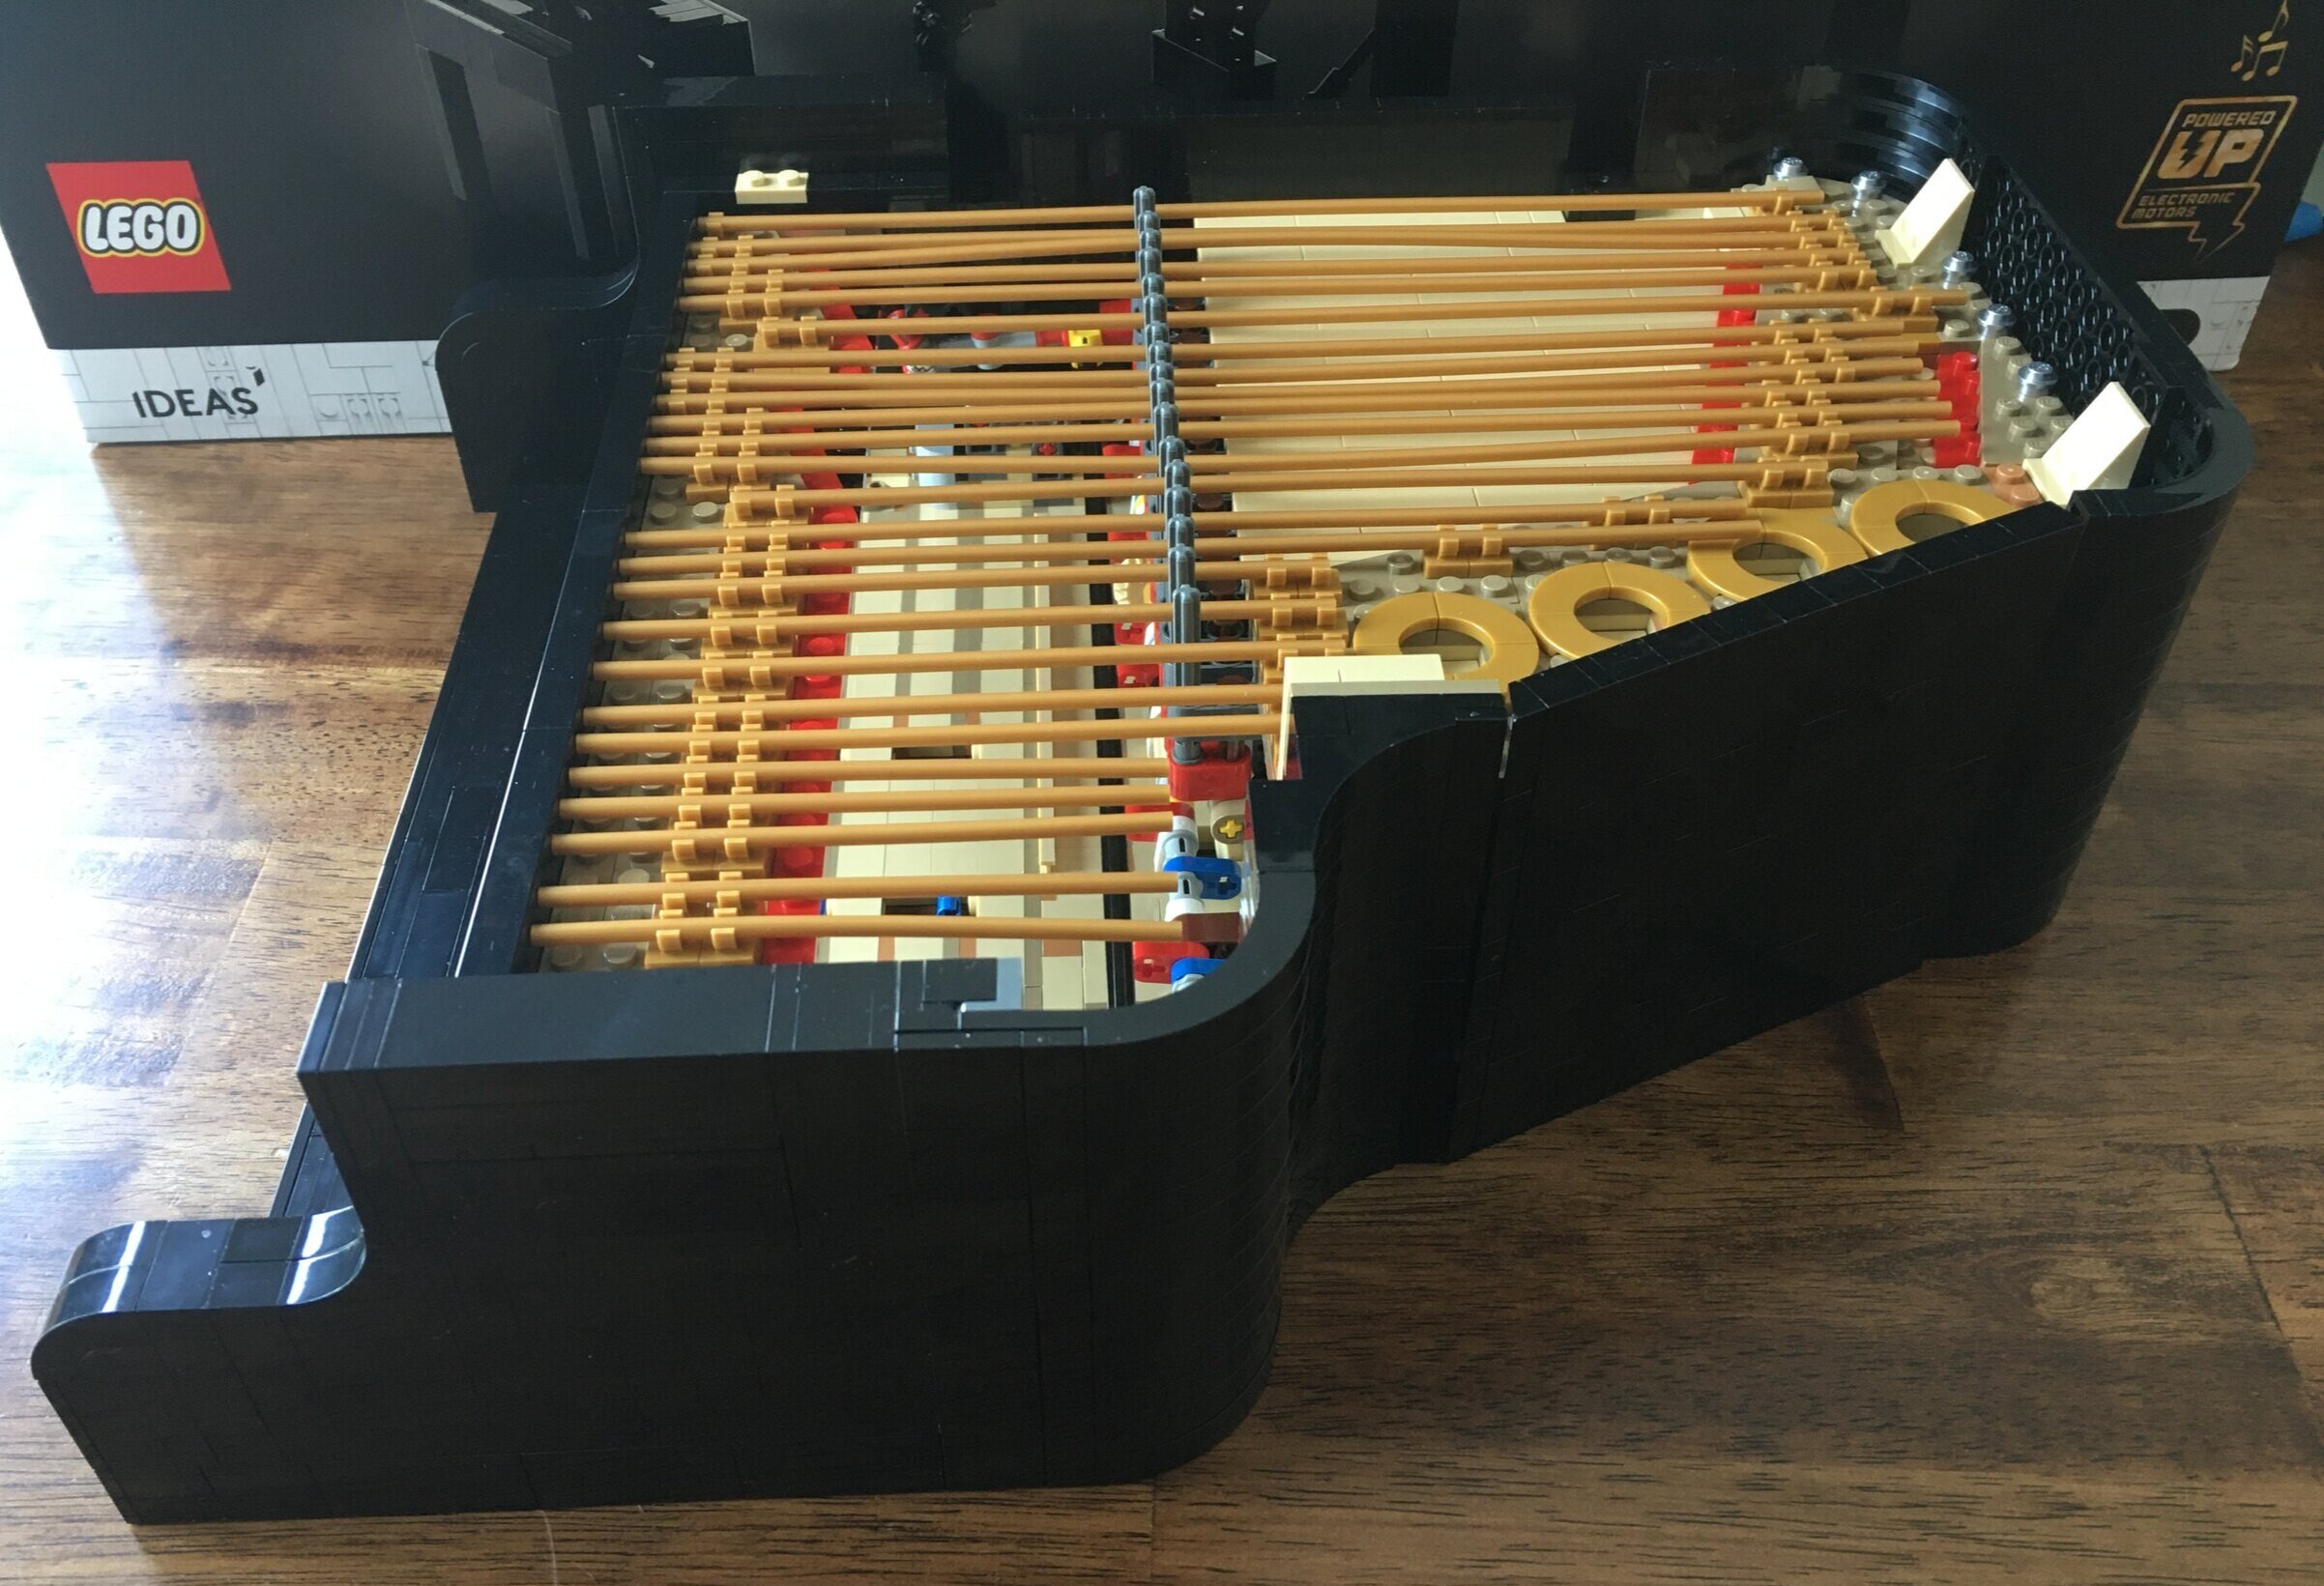
Build 8 adds the section built in 6 and 7 and adds some pieces to round out the front. Additionally, it adds the “strings” to the piano. Definitely a lot of gold colored pieces in this build.
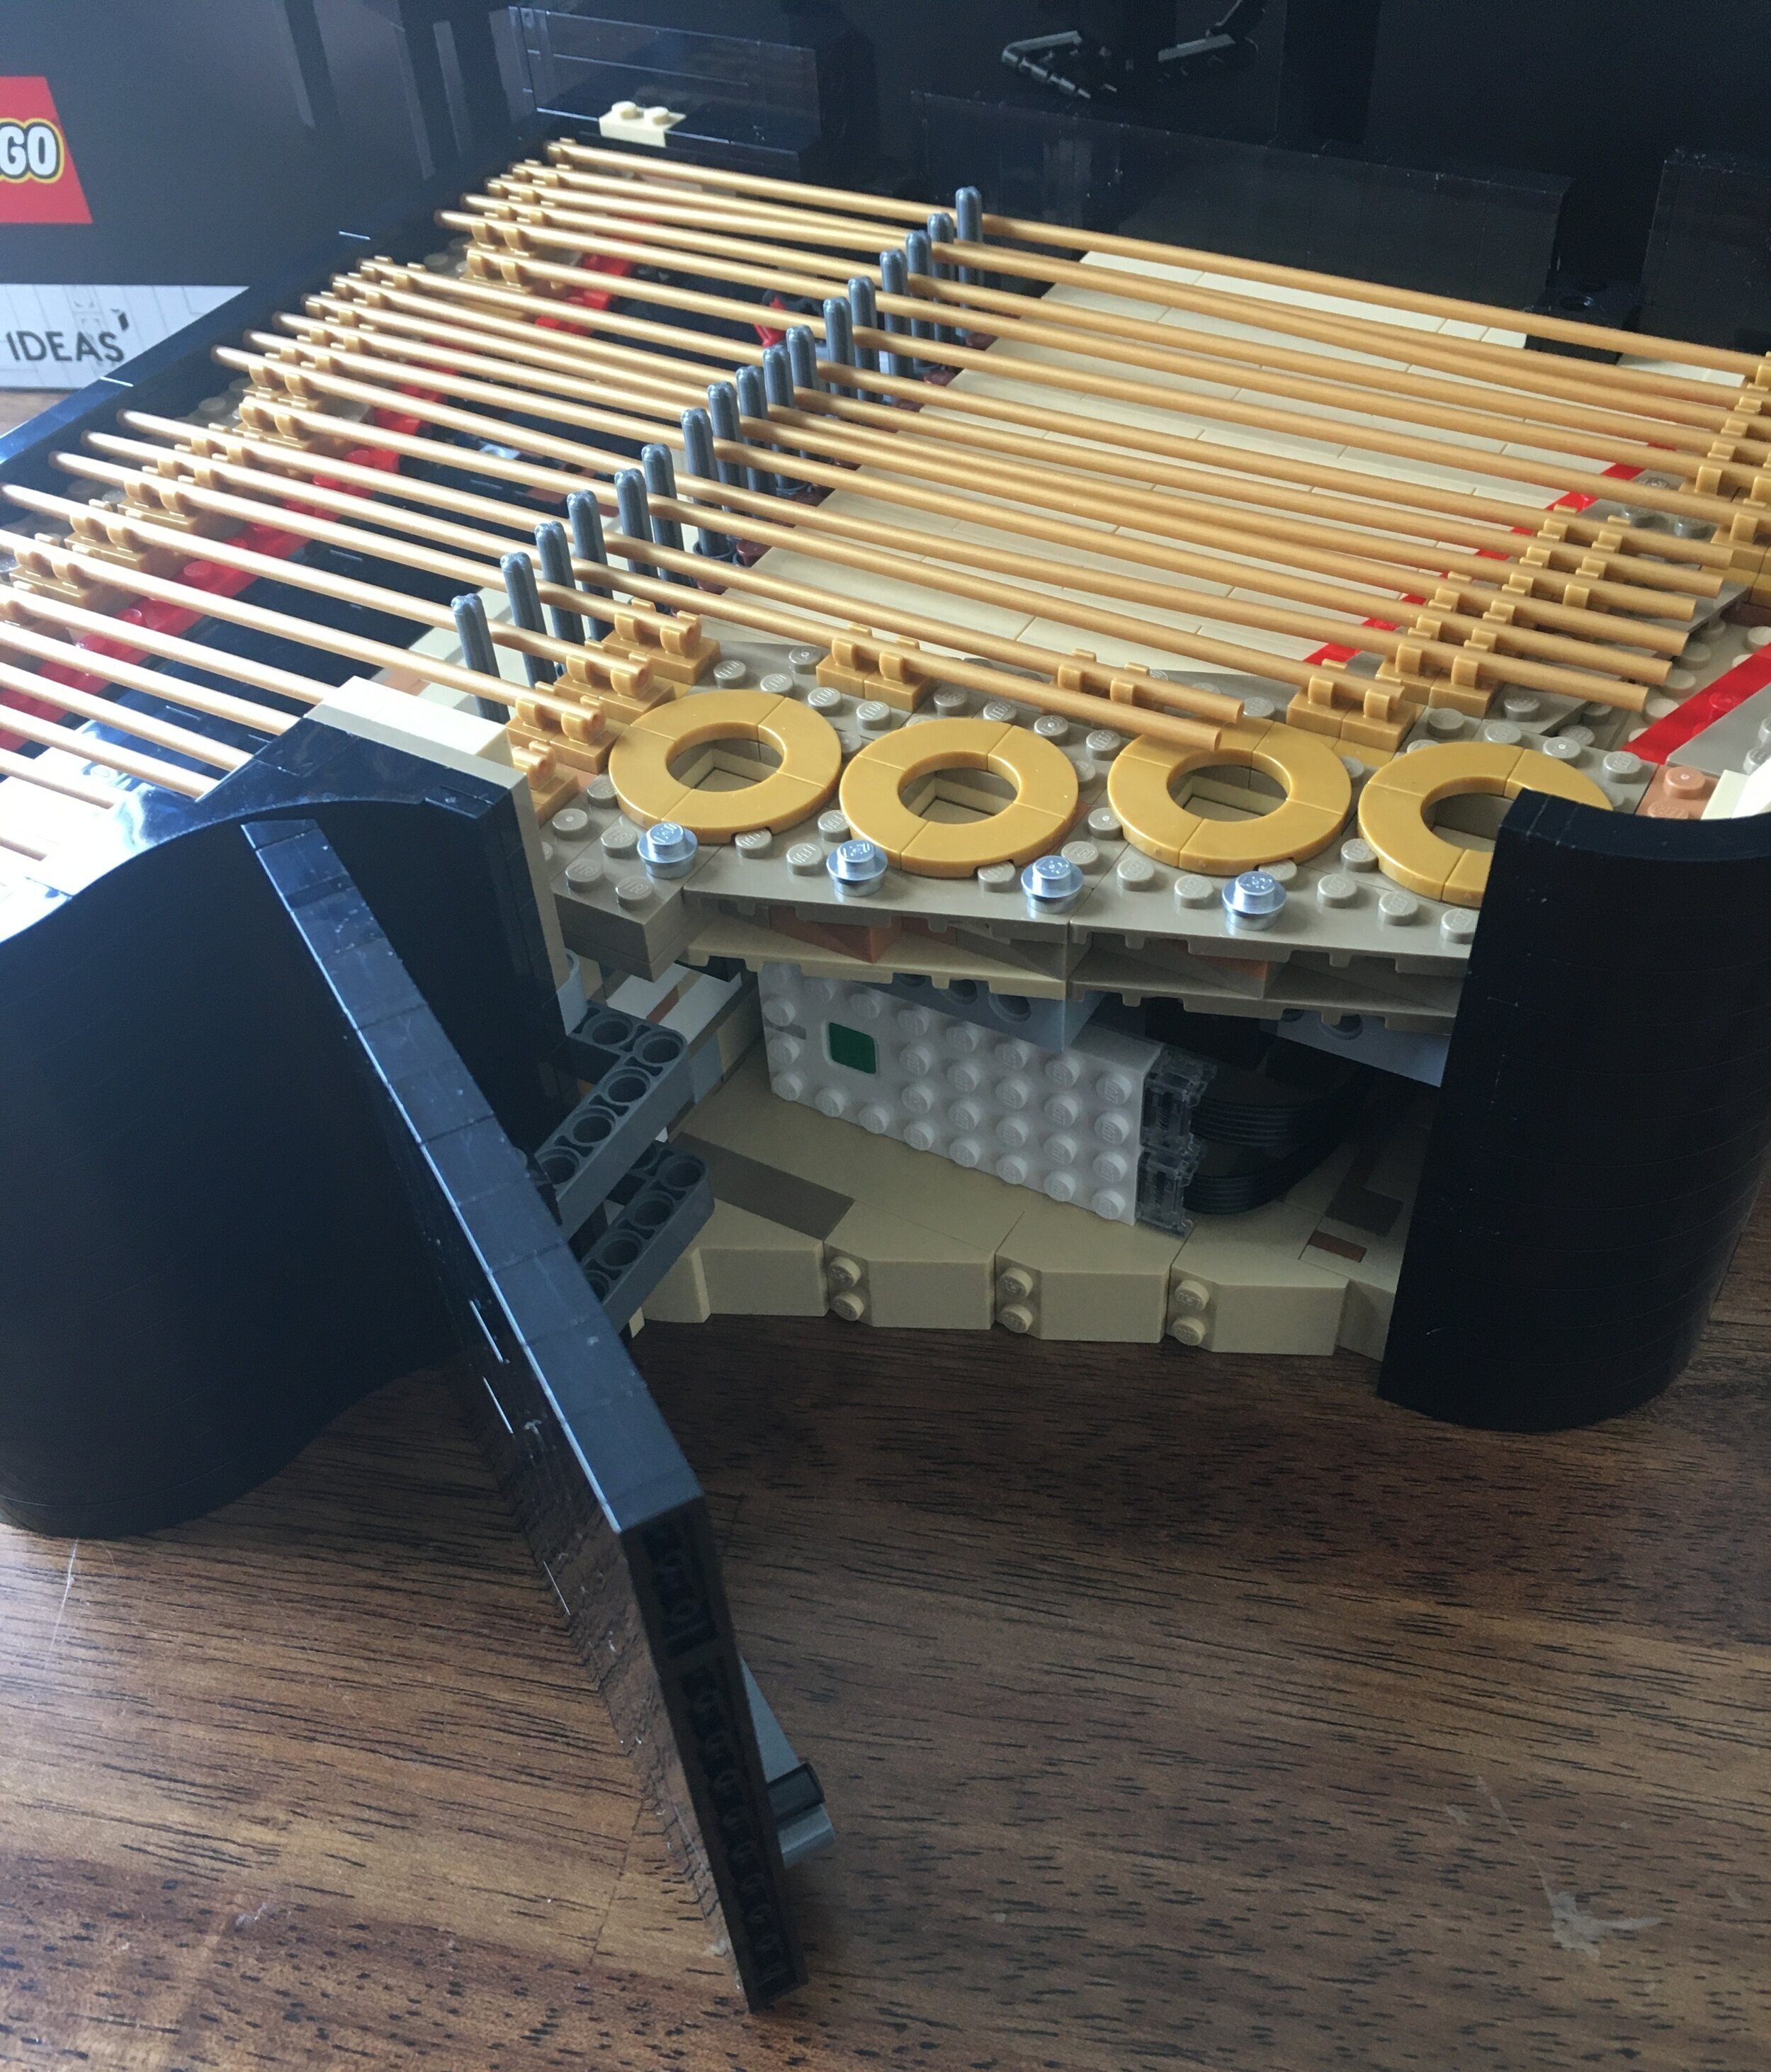
Build 9 finishes up the outer shell/covering of the piano. I’m impressed how they captured all of the angles without making large gaps. You’ll notice from the picture that you add a door to the shell. This allows you to easily access the battery box to turn it on/off or switch out batteries as needed. Smart thinking!
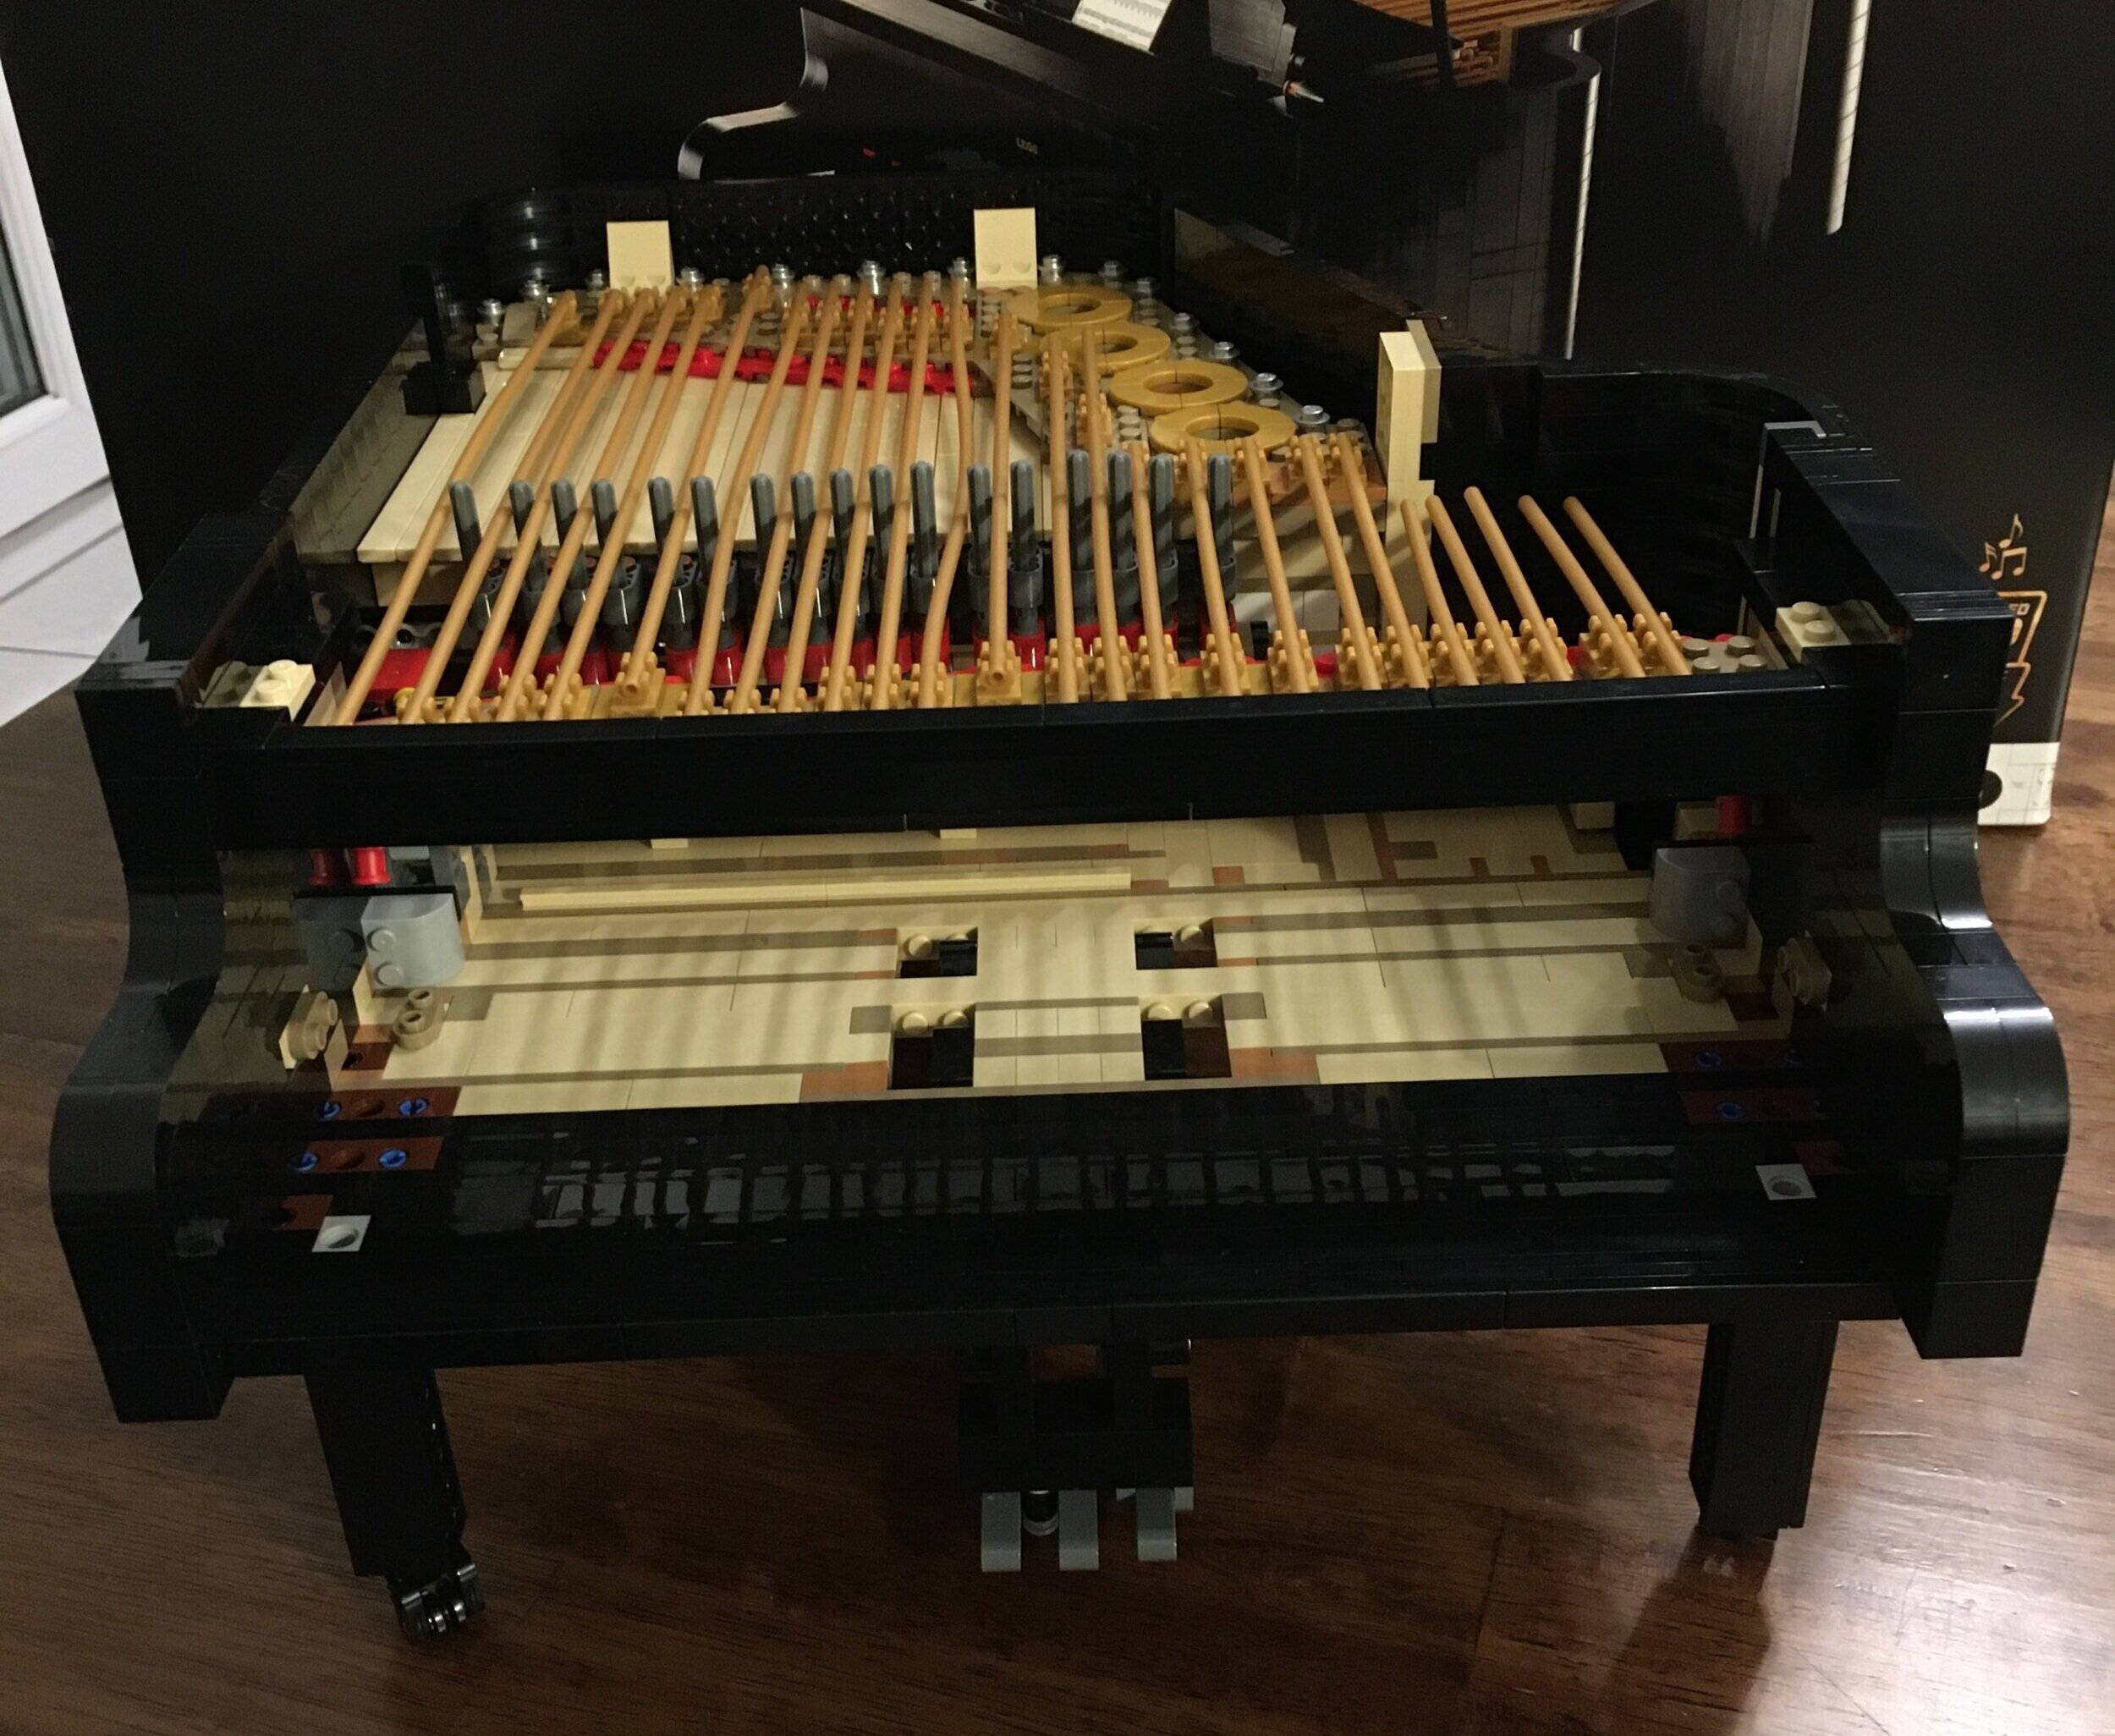
Build 10 adds the legs to the piano which are all on wheels that can change direction as you need to roll your piano into the appropriate space. It also adds the pedals to the piano. Only one of the pedals actually has a function which is the far right “damper” pedal. Pressing the pedal will eventually lift up the dampers so that your note or notes continue to vibrate instead of stopping when the damper hits it (or at least mimicking the function of what a real damper pedal would do).
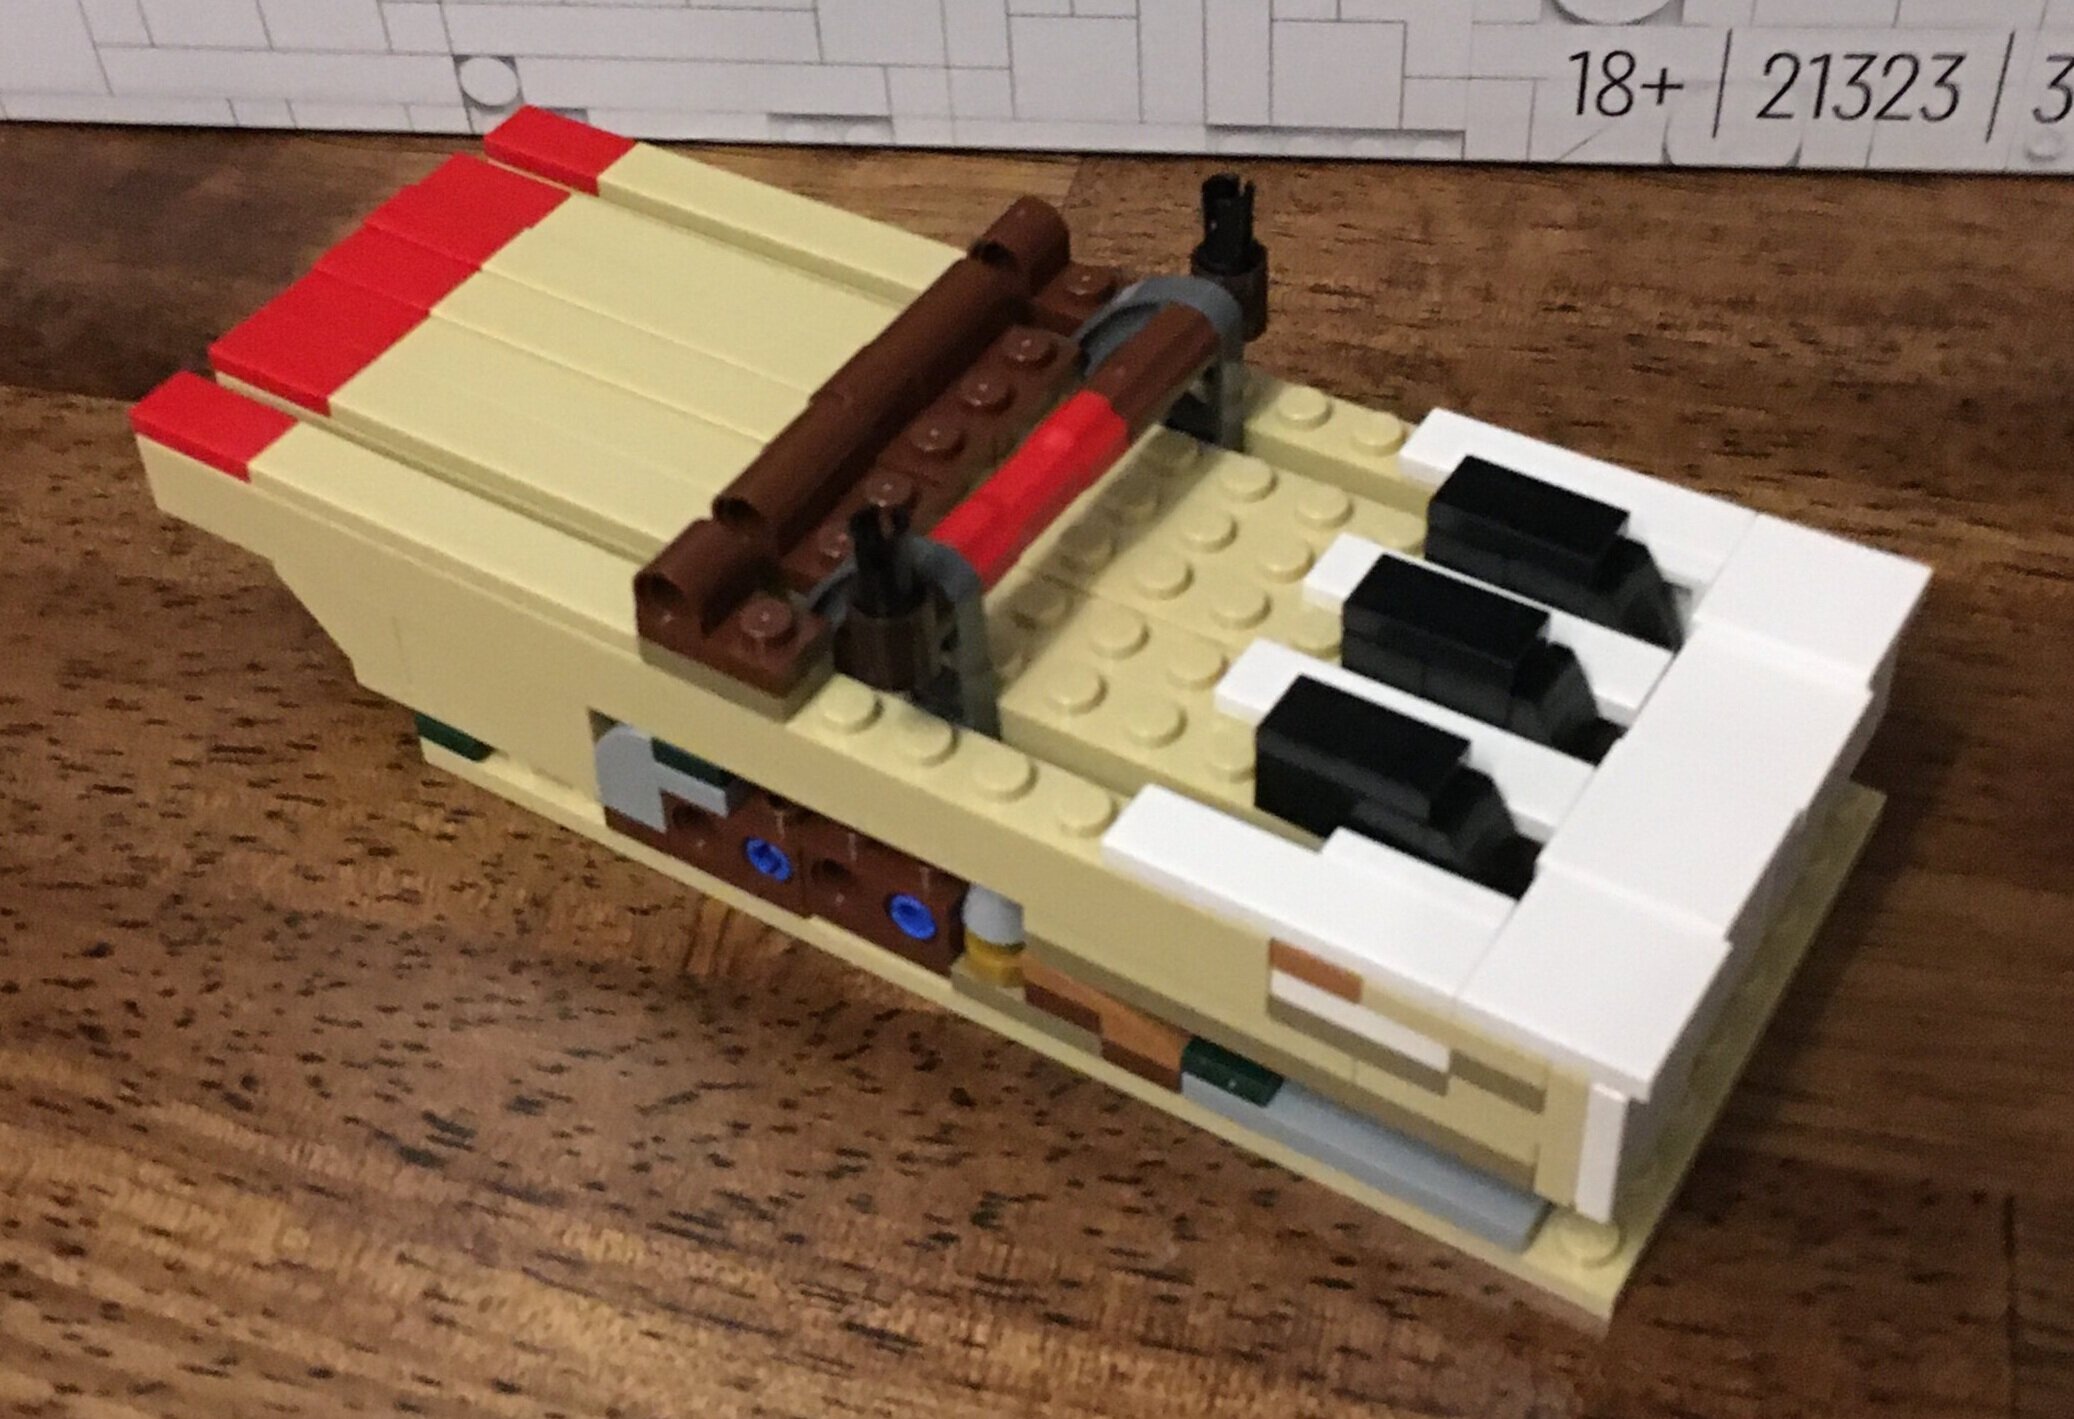
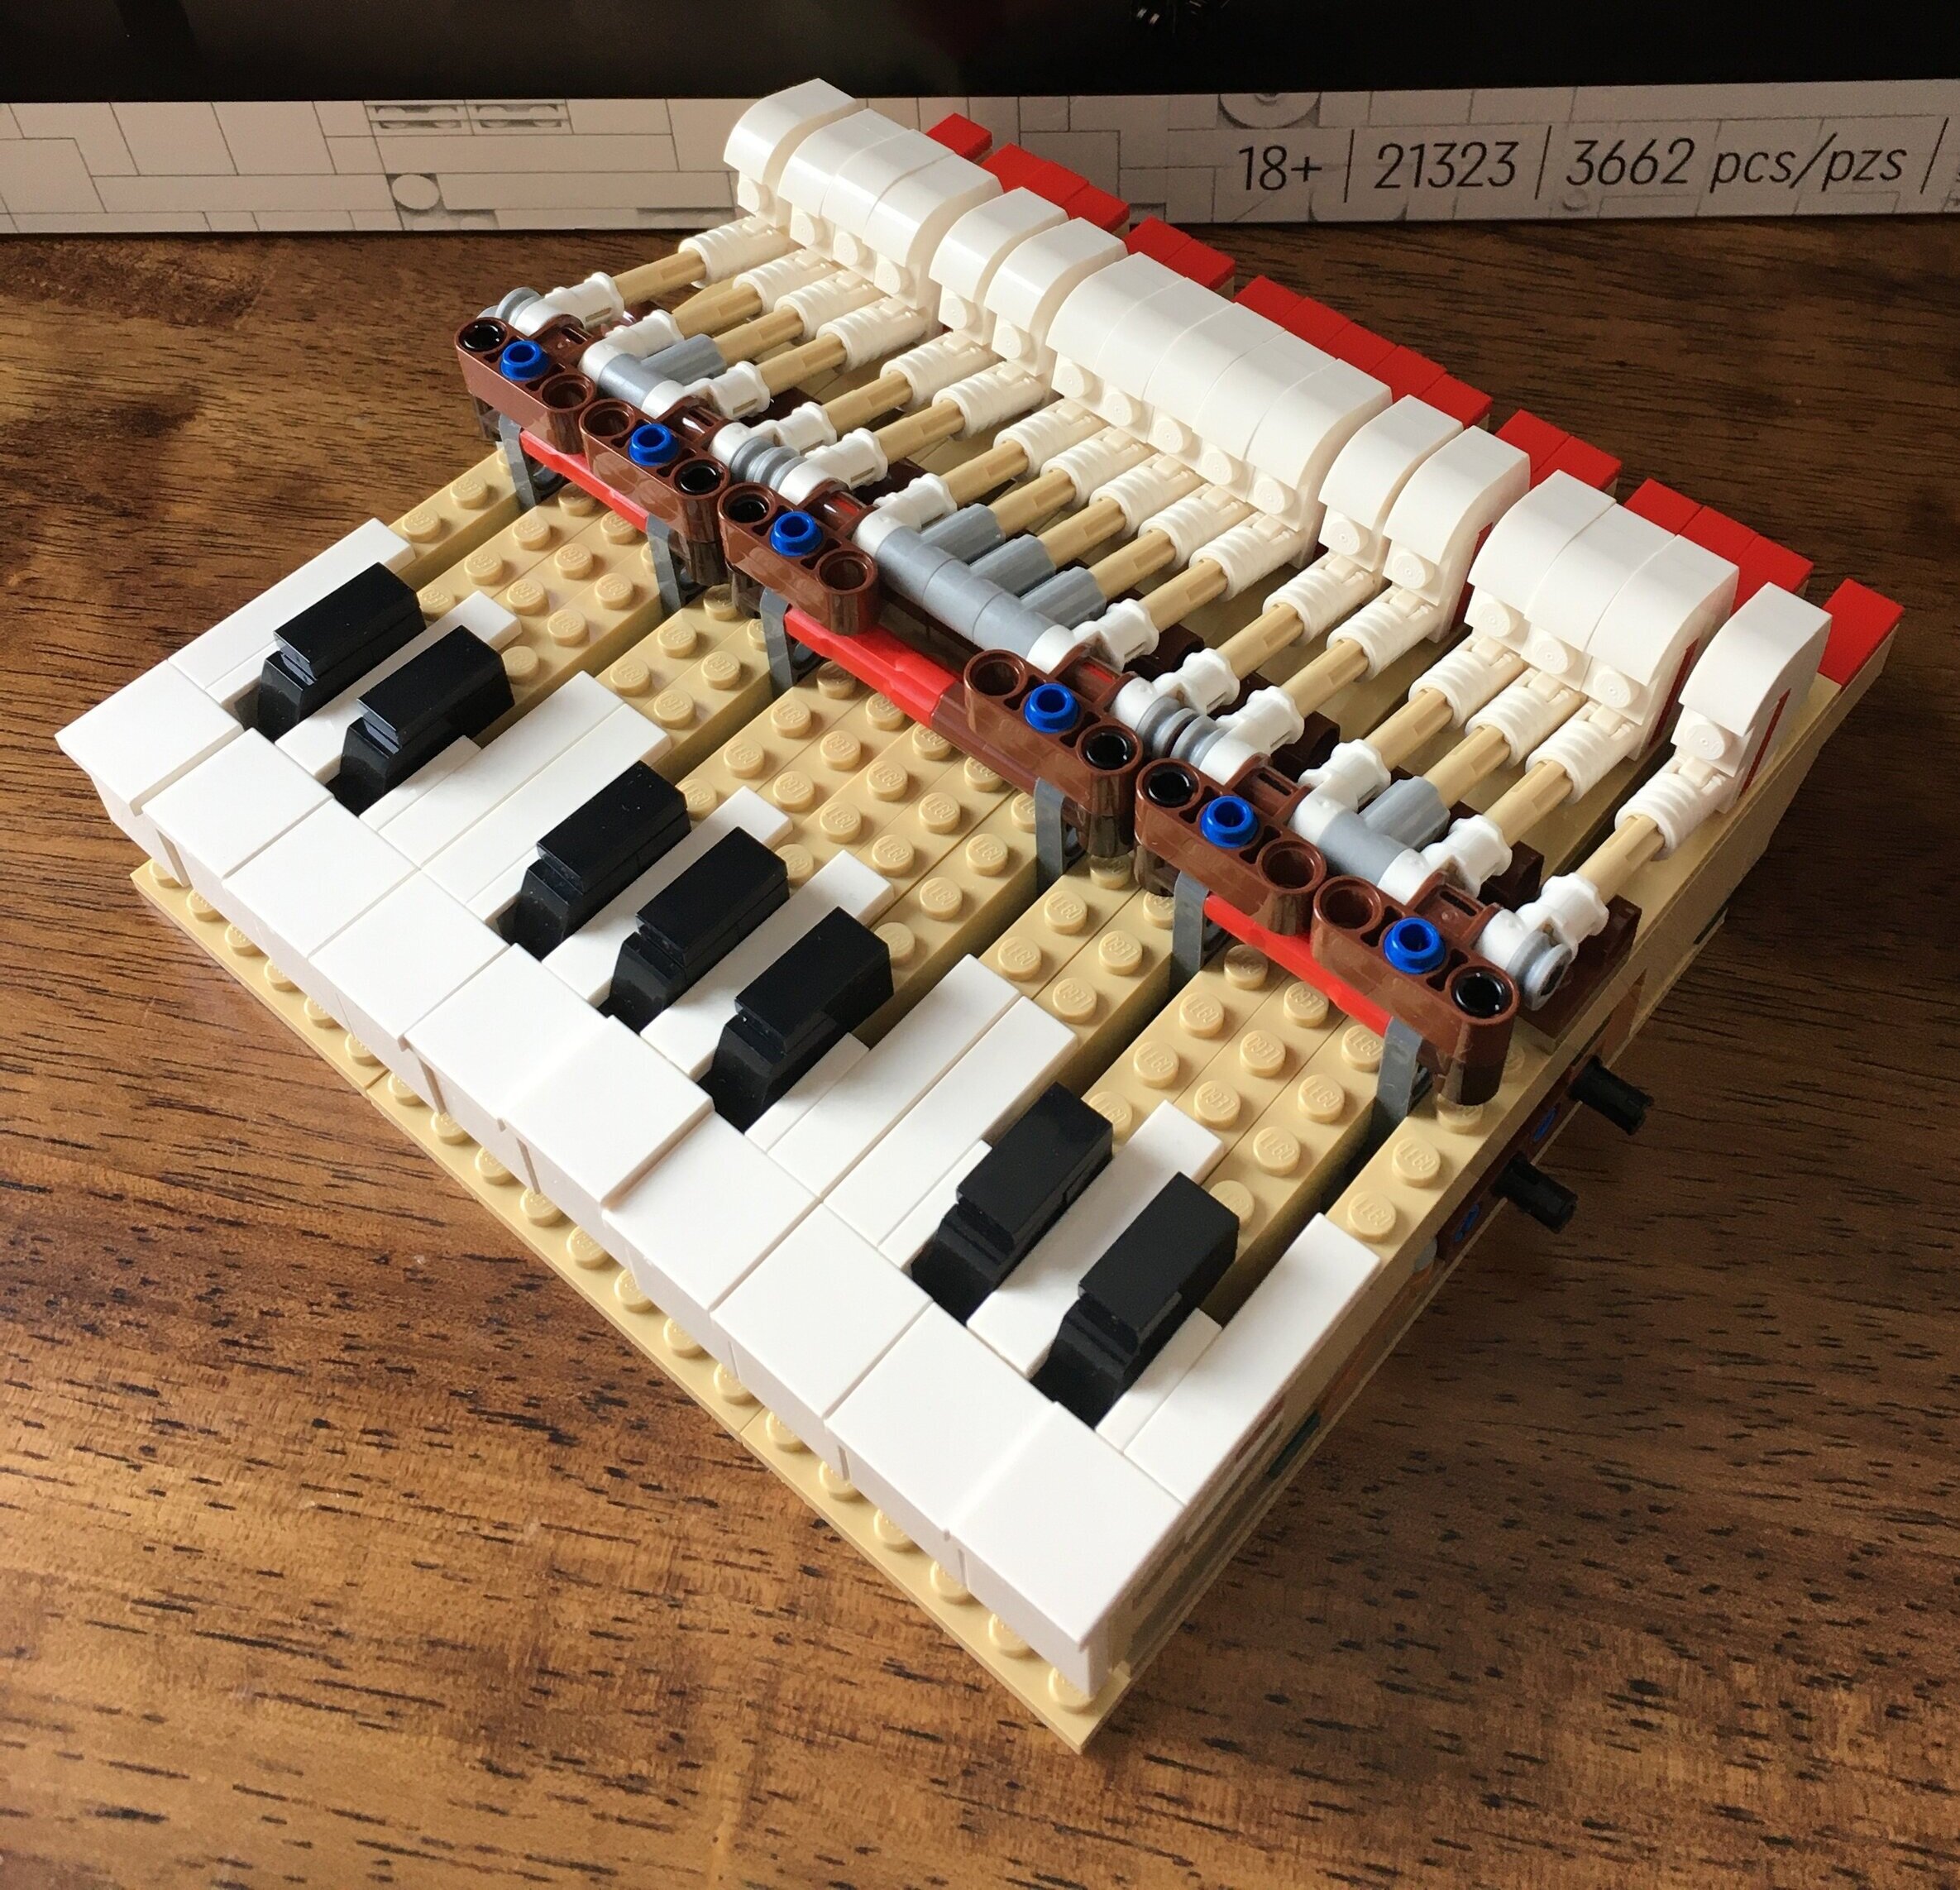
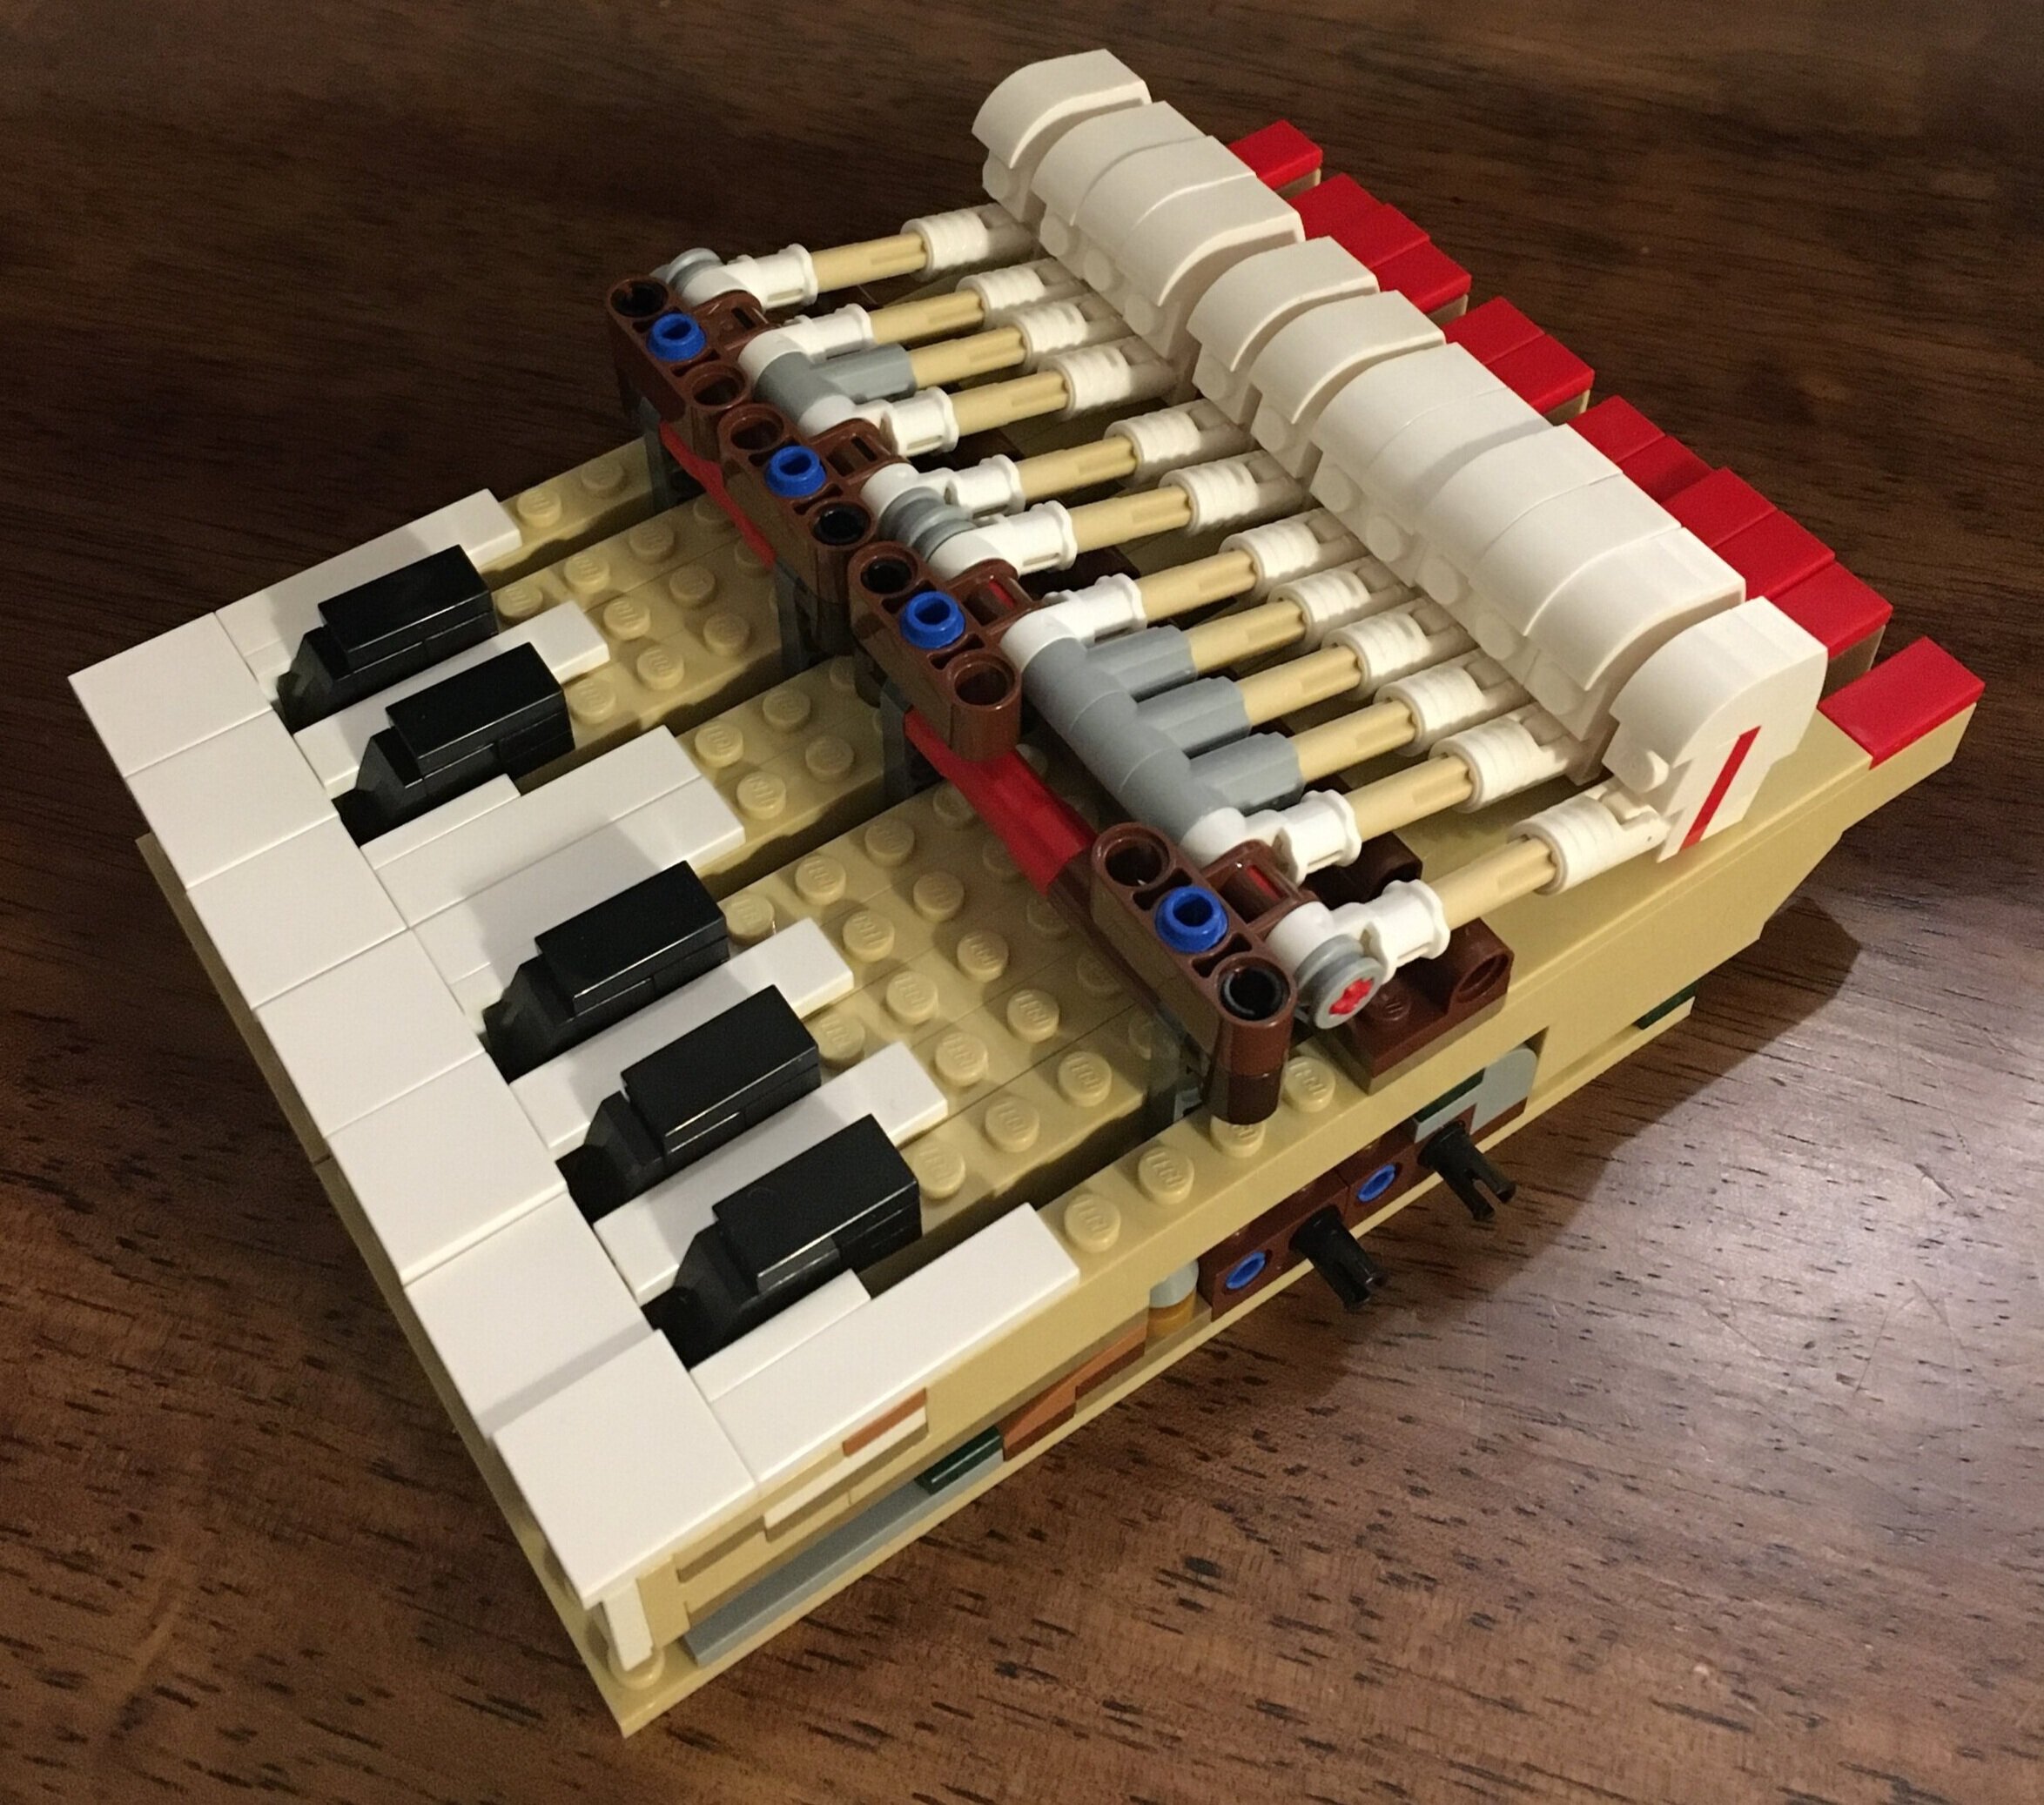
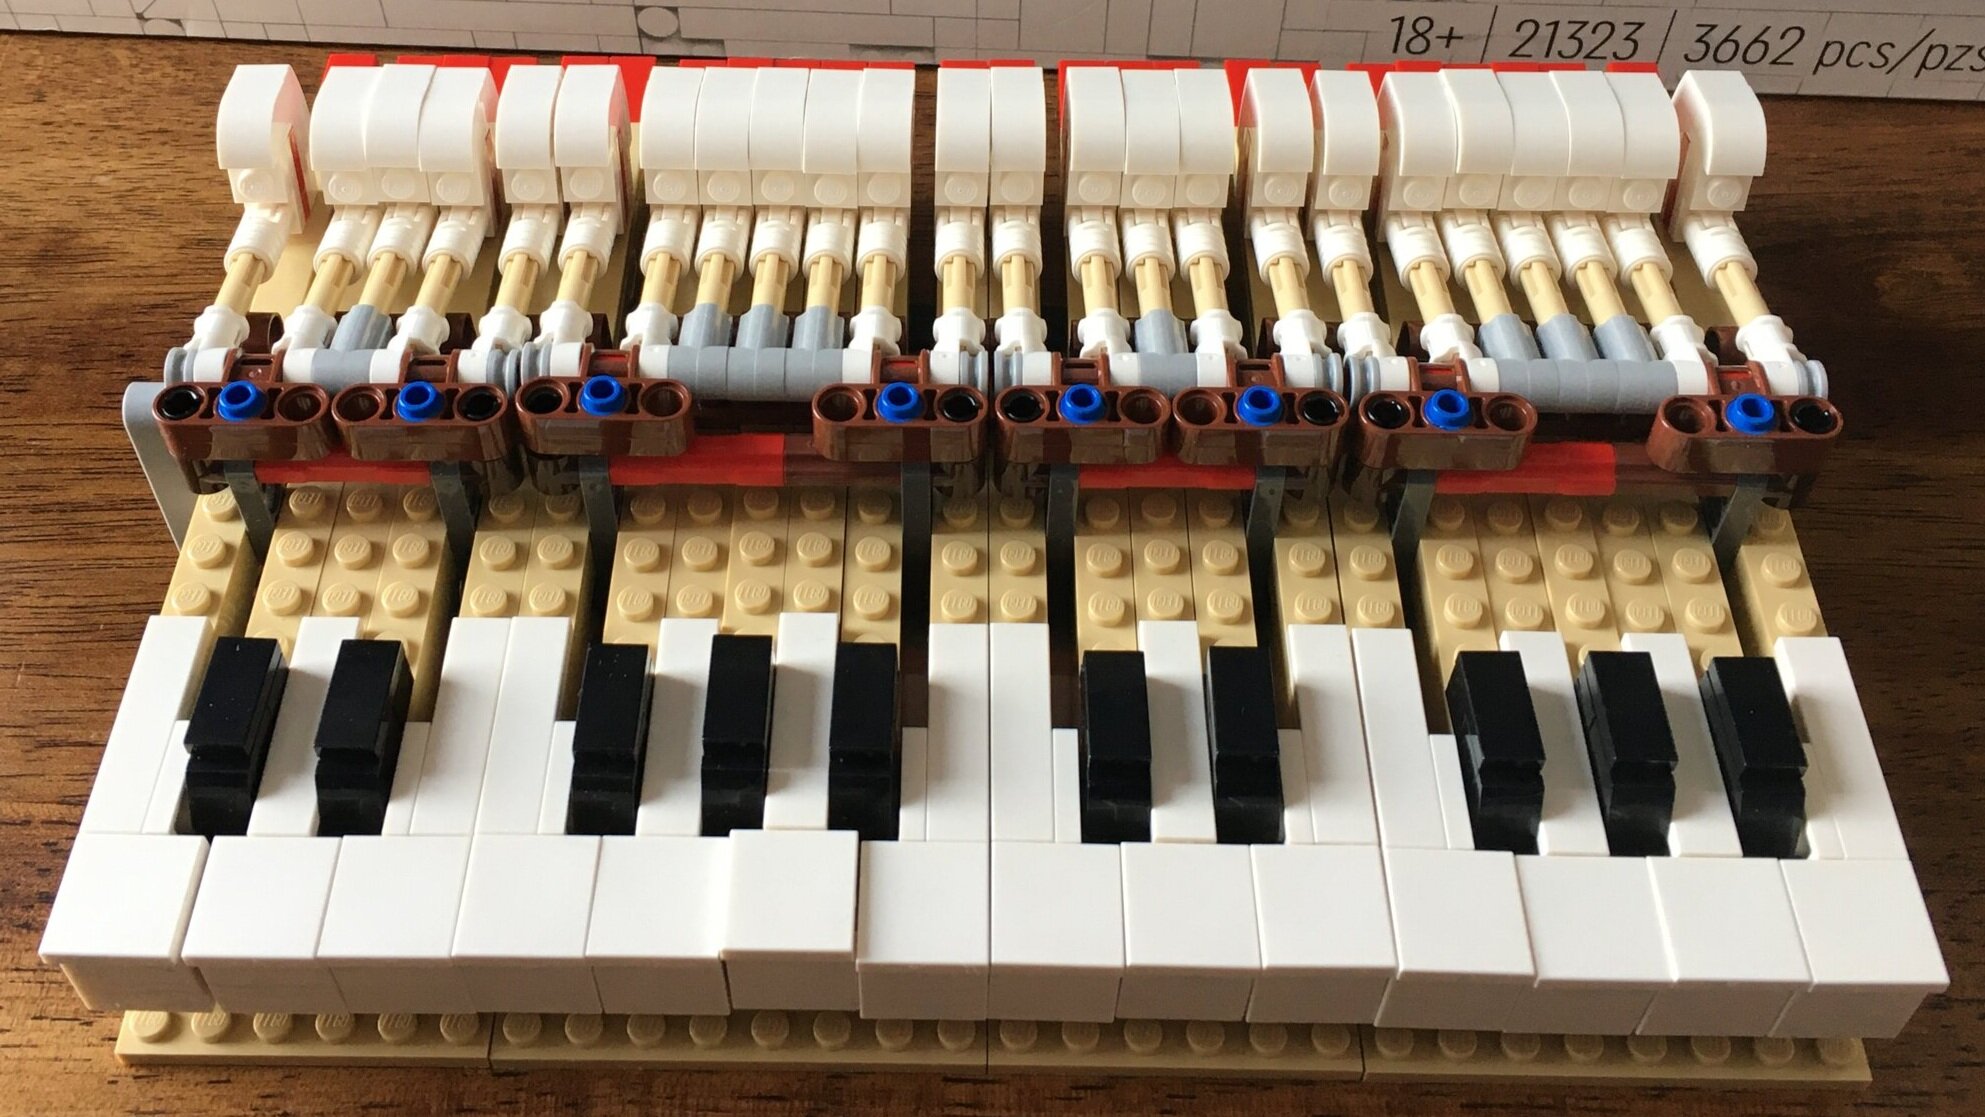
Builds 11, 12, 13, and 14 build the keyboard. There are 10 black keys and 15 white keys. They all move independently. This section of the build is a bit repetitive, but not too bad. Just make sure you follow the directions carefully or you may build the keys incorrectly and they won’t fit together. You also have to make sure all of the pieces line up evenly. Otherwise, if a 1x1 is slightly angled, it will rub against one of the adjacent keys and cause it to not work as freely.
Build 11
Build 13
Build 12
Build 14
Build 15 has you install the keyboard. The instructions just show you placing the keys in and really there are no attachments. It is fairly easy to remove the keyboard if required. You build a sub assembly, if you want to call it that, which is attached via Technic axles. You remove the axles, slide the sub assembly out, and then you can pull the keyboard out.
Build 16 is the cover for the keys. Like a real keyboard, you can raise or lower it. Of note, one of the pieces on the inside of the cover has the word “LEGO” printed in gold on it. A nice touch as this is where the piano logo would be located.
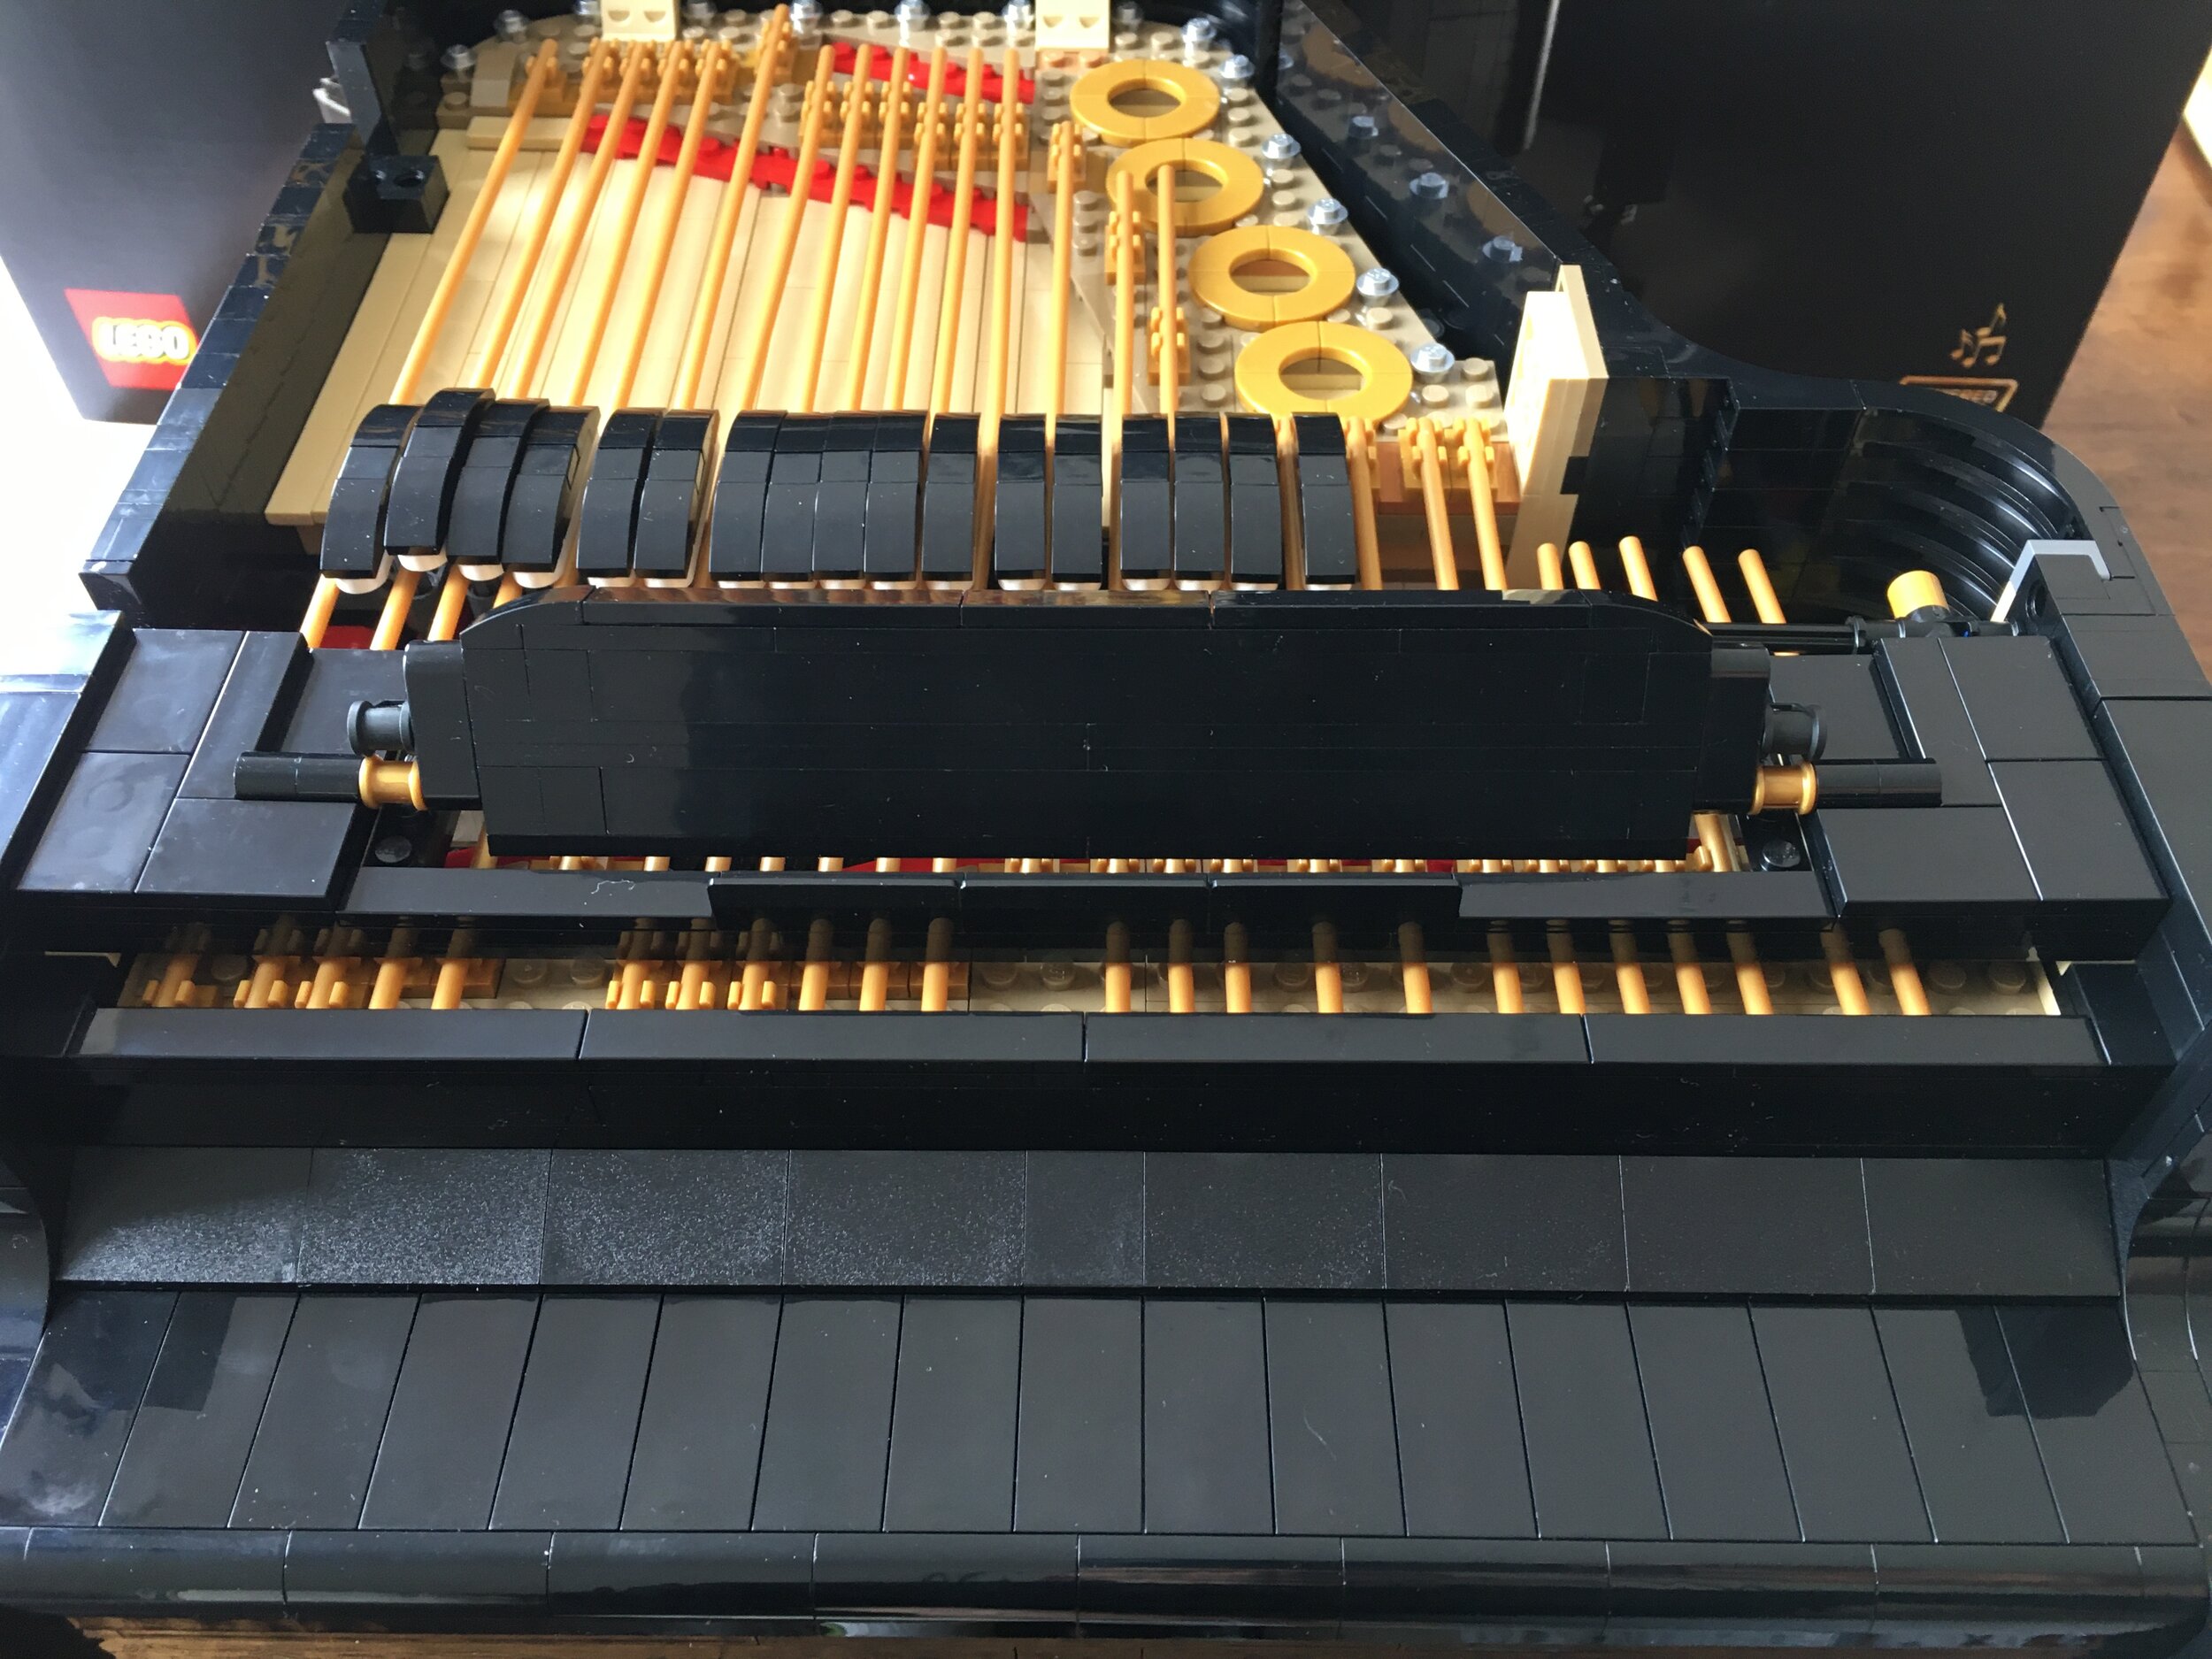
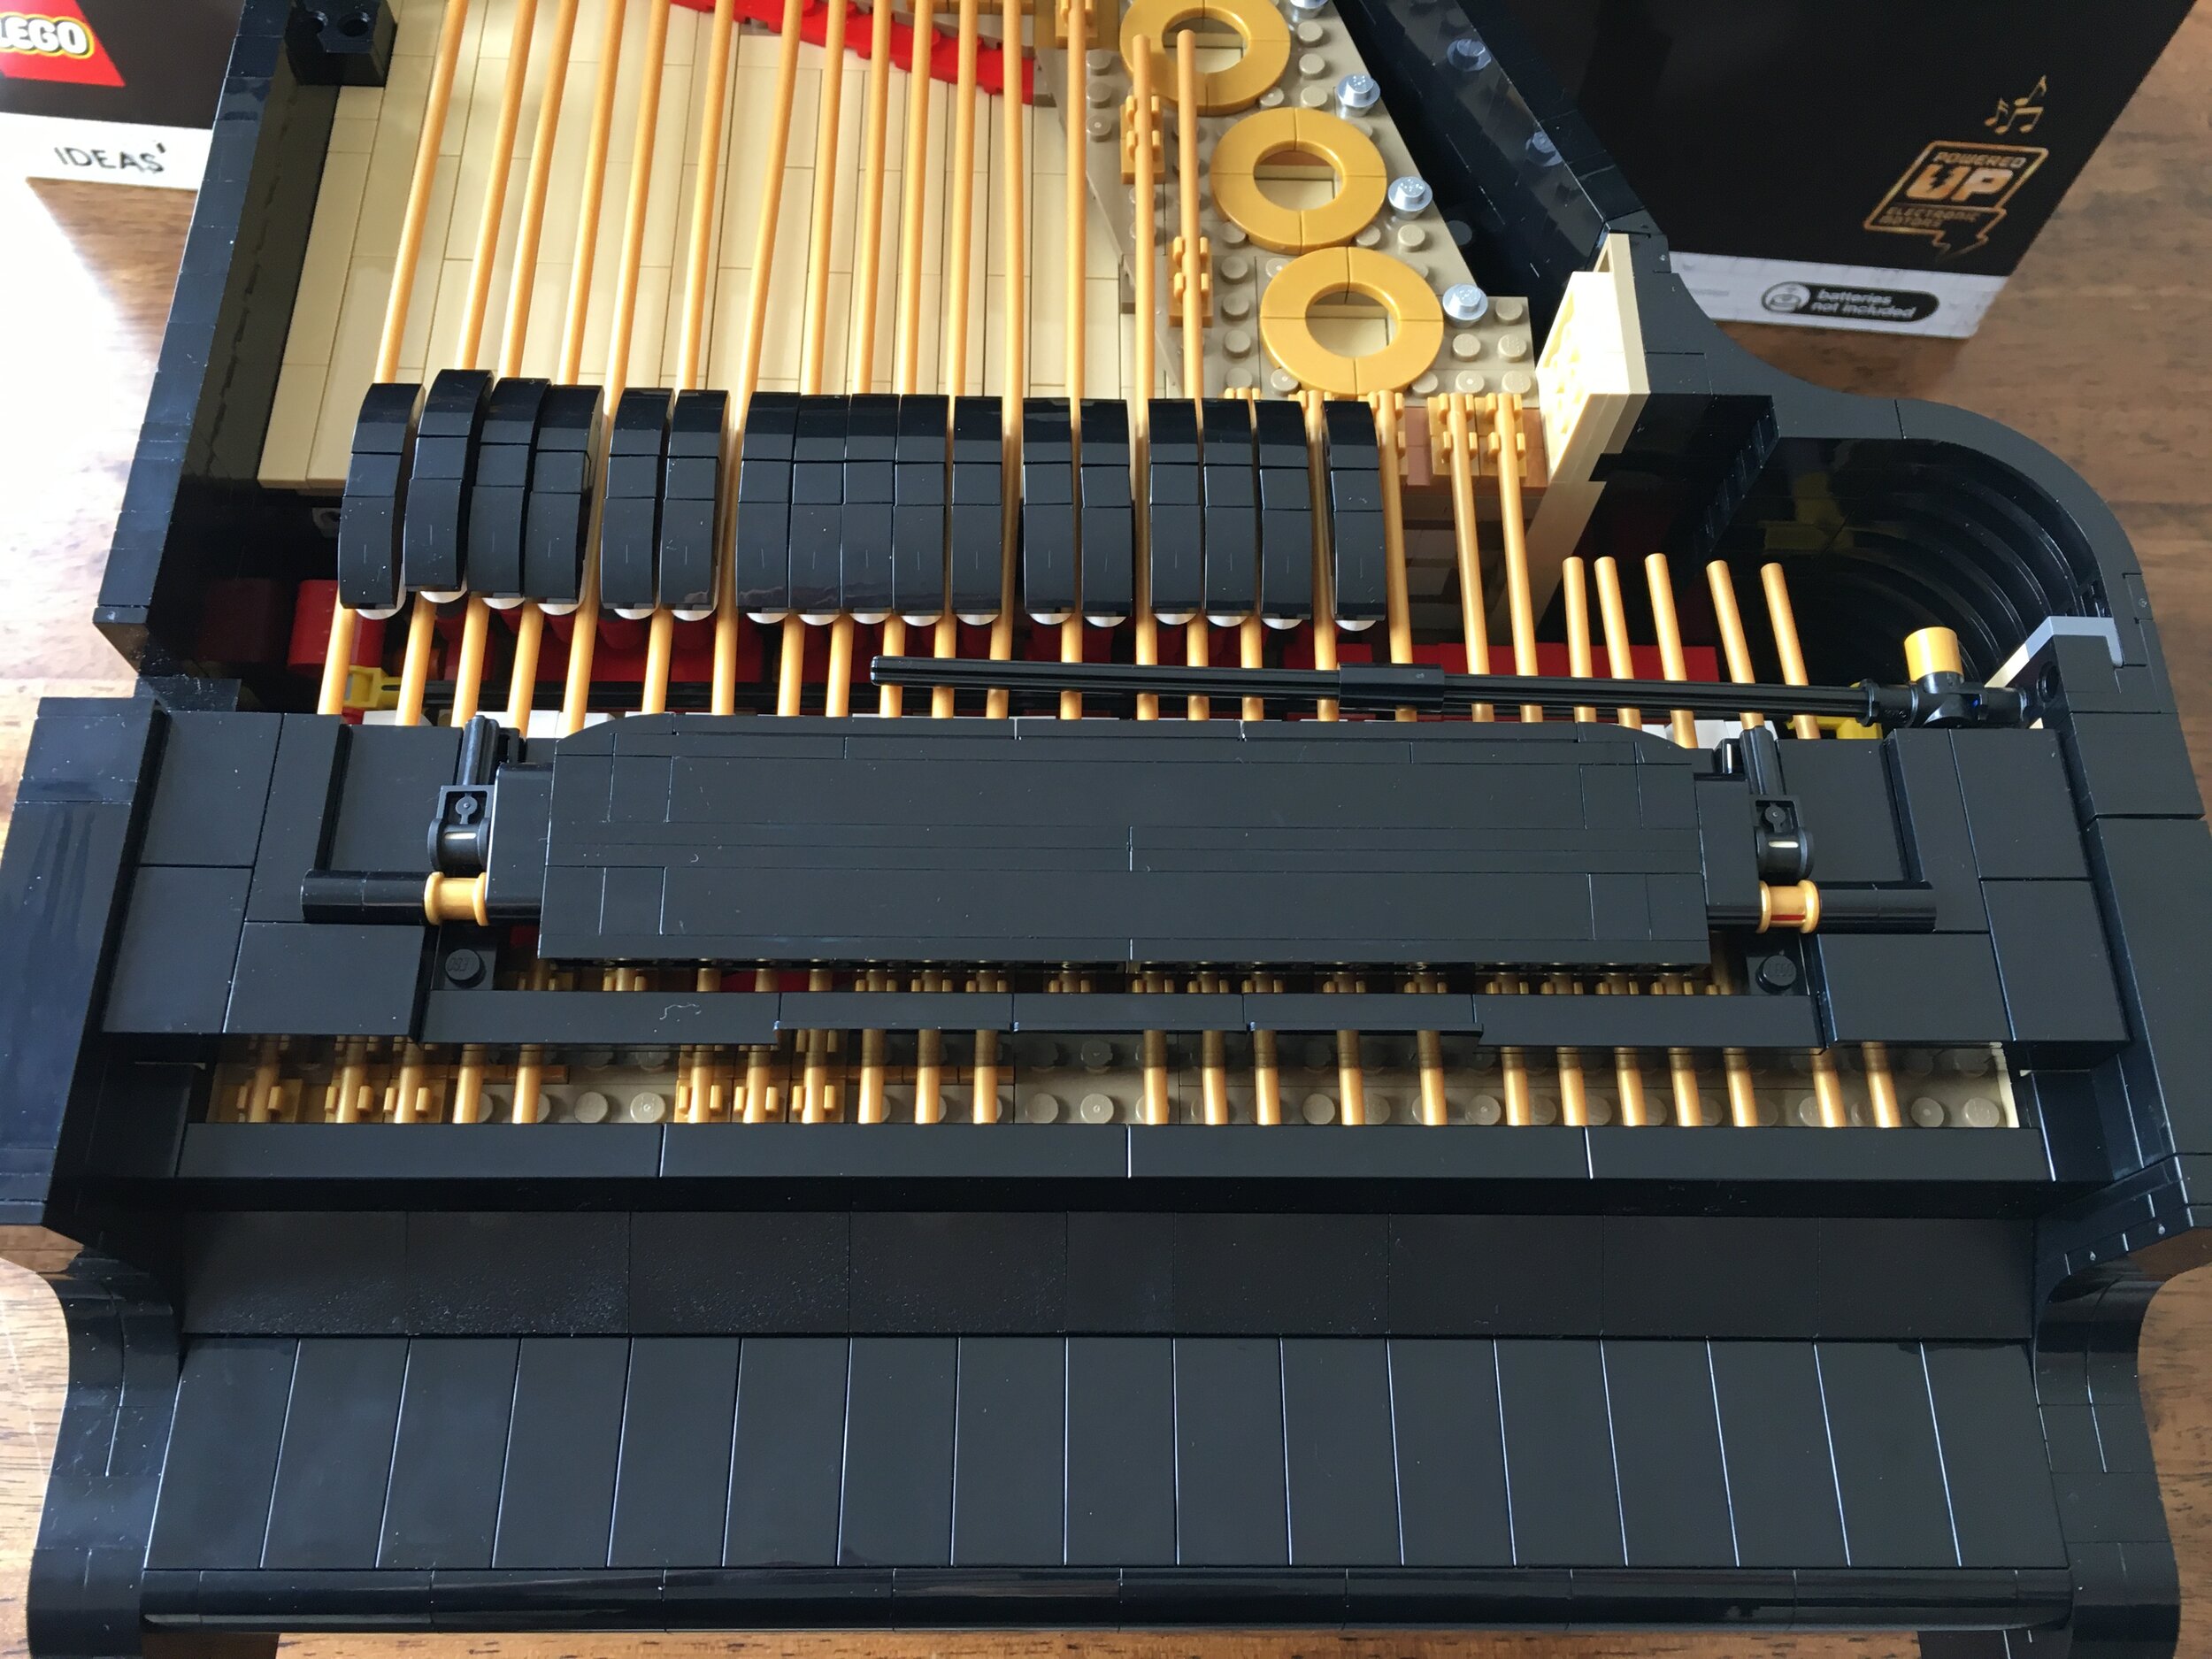
Build 17 adds the music stand. The stand can be raised or lowered and can hold the sheet music provided or your phone. You can also completely remove the stand fairly easily if you’d prefer it to not be there. Finally, you install some Technic pieces which will end up as the arm to hold up the top cover to the piano.
Build 18 and 19 build the cover. It is a bit bigger than I expected and uses all black pieces.
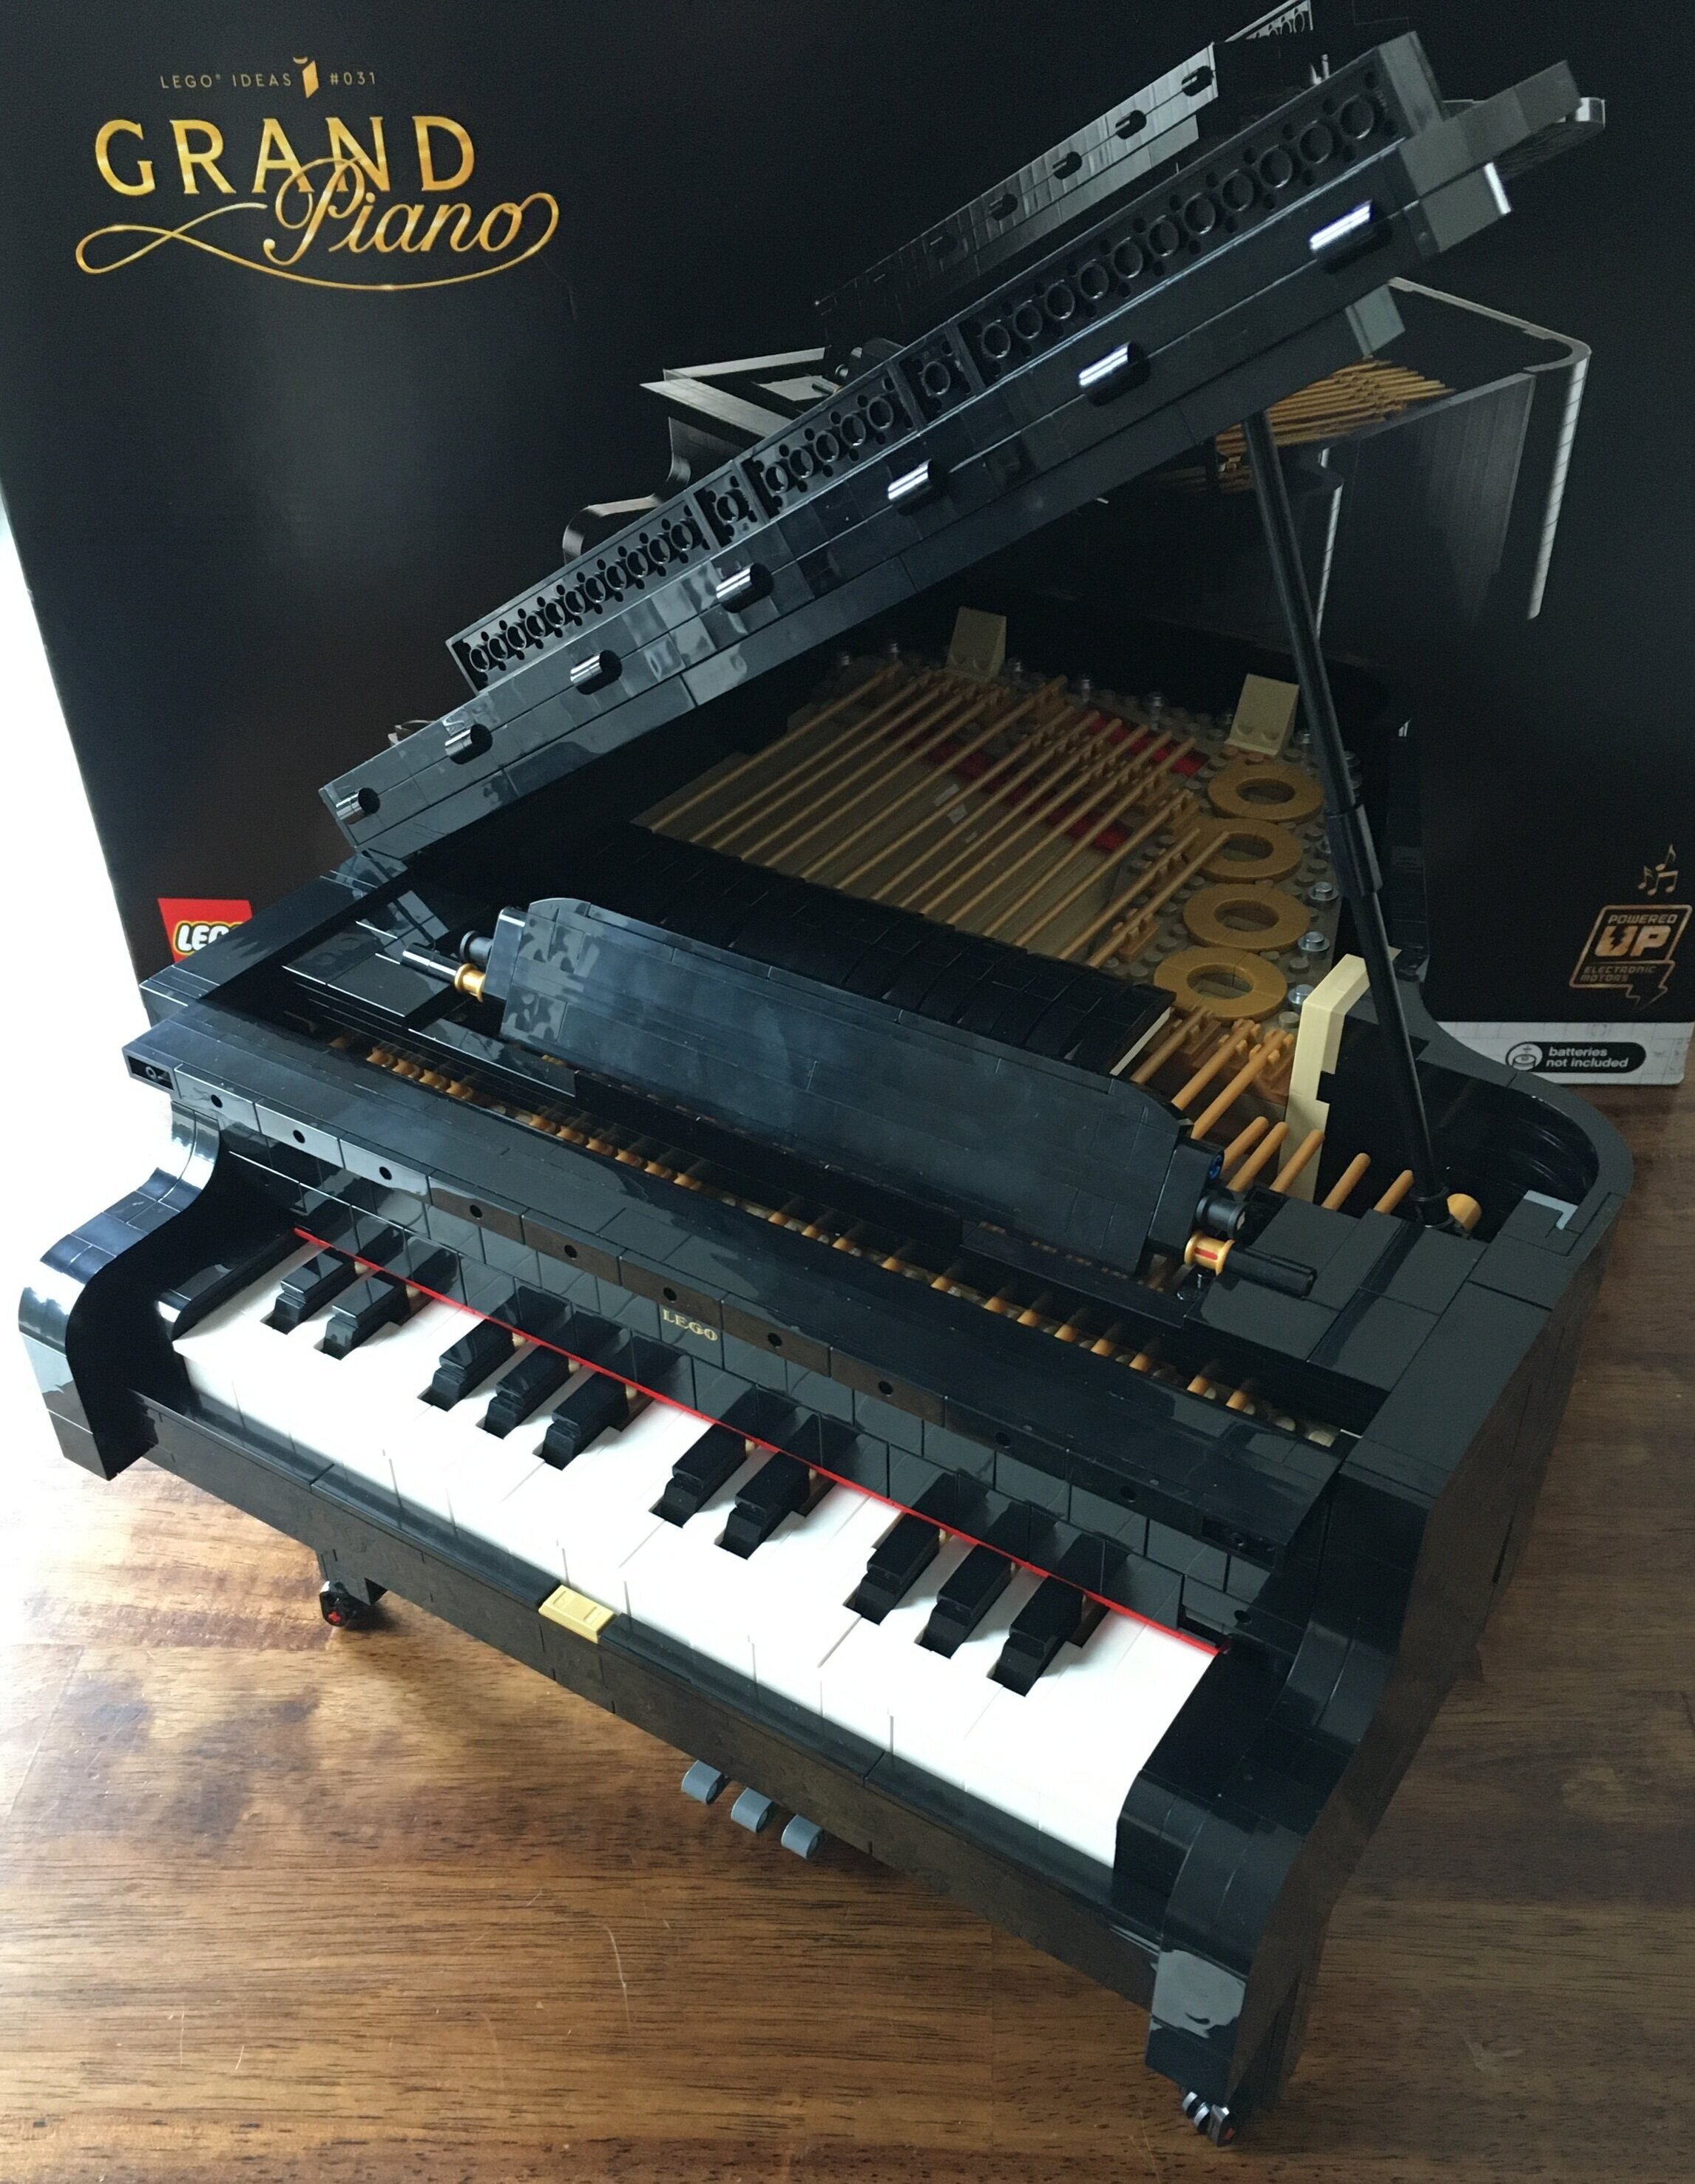
Build 20 finalizes the cover and then you can install it on the piano. You can completely close it, just open the front, or open up the whole thing. Definitely cool how they re-created the actual function of a real Grand Piano.
Build 21 finishes up the build. You build an adjustable seat. This build was pretty impressive in my opinion. At first, I couldn’t understand where the build was going, but it made sense and works in a cool way. I’m a big fan. You also get a large tile which has the song the fan designer wrote to go along with his original Ideas submission.
Overall, this was a great build. It uses some great techniques, it was pretty challenging, and has some great piece usage. I hooked up the Powered Up, but my batteries died. I need to get some new ones to test both of those functions. Even without Powered up, it’s a cool build. I highly recommend it. VIP points definitely helped to soften the blow of the cost. Not sure if this one will ever go on sale so save your pennies.
Of note, my Non-Lego Spouse (NLS) said this might be a set she is willing to display in our house outside of my bricking space so I’ll take it. It looks good!
What are your thoughts on this one?
Happy building!


