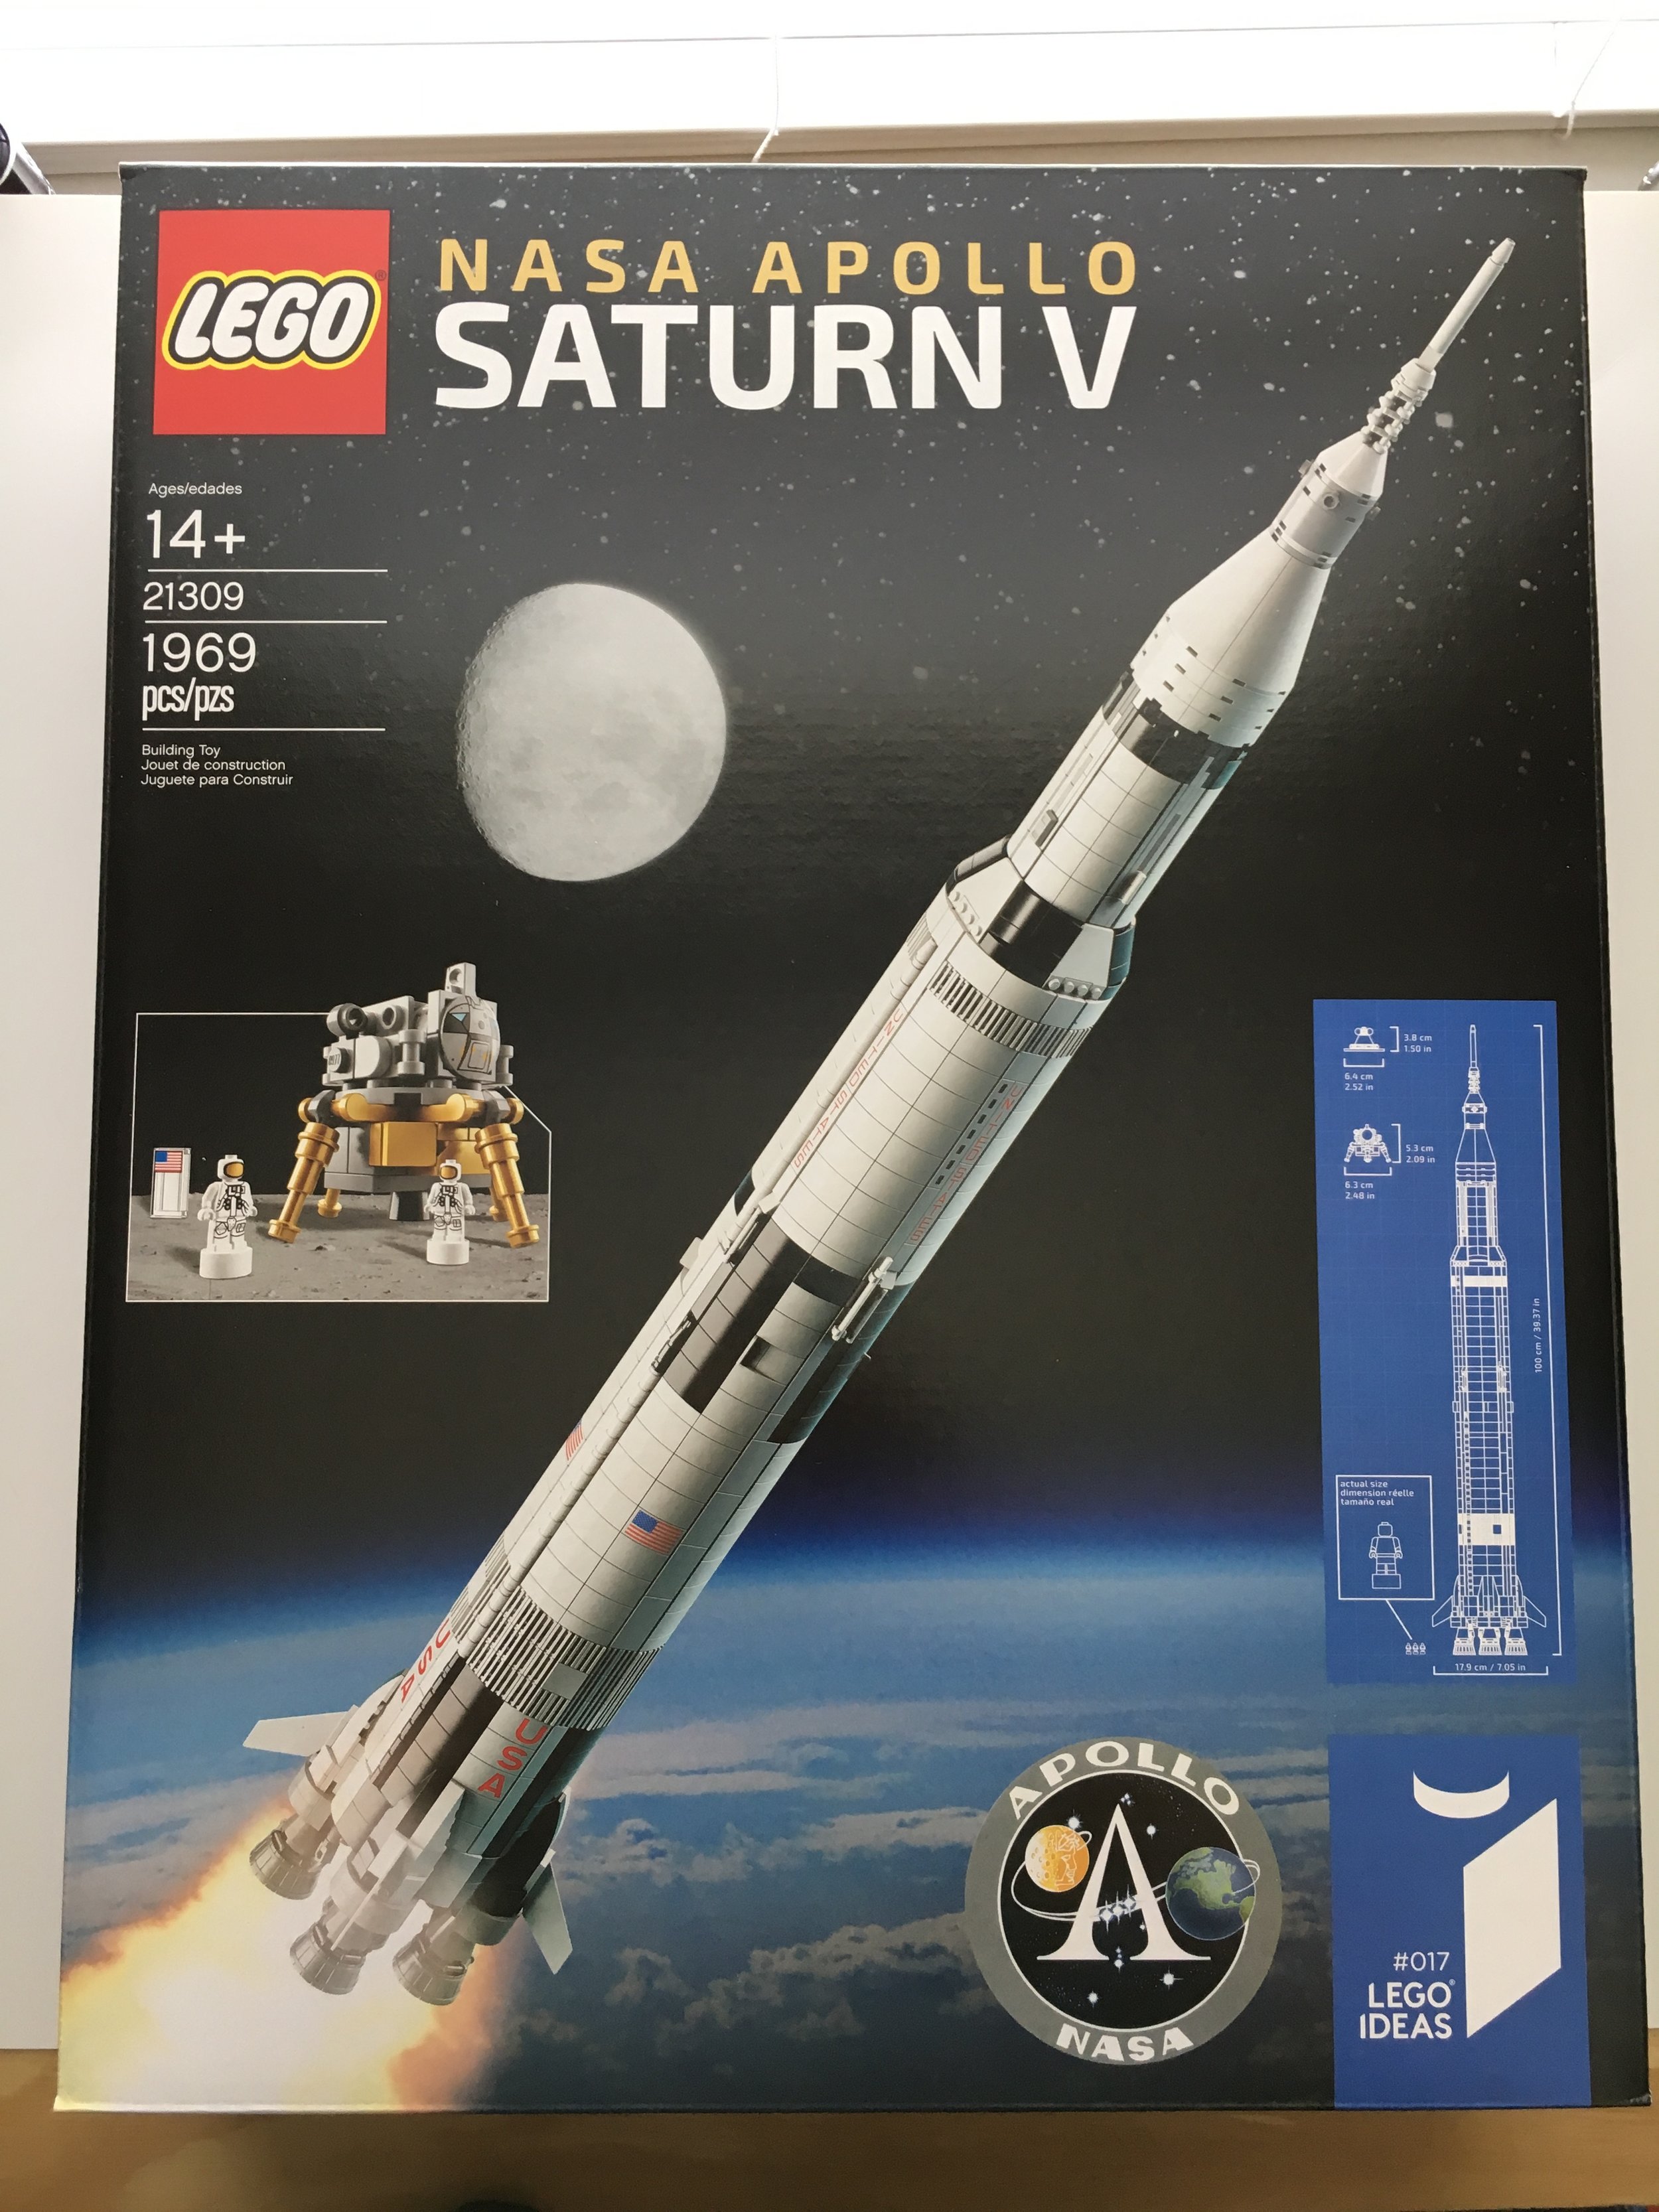
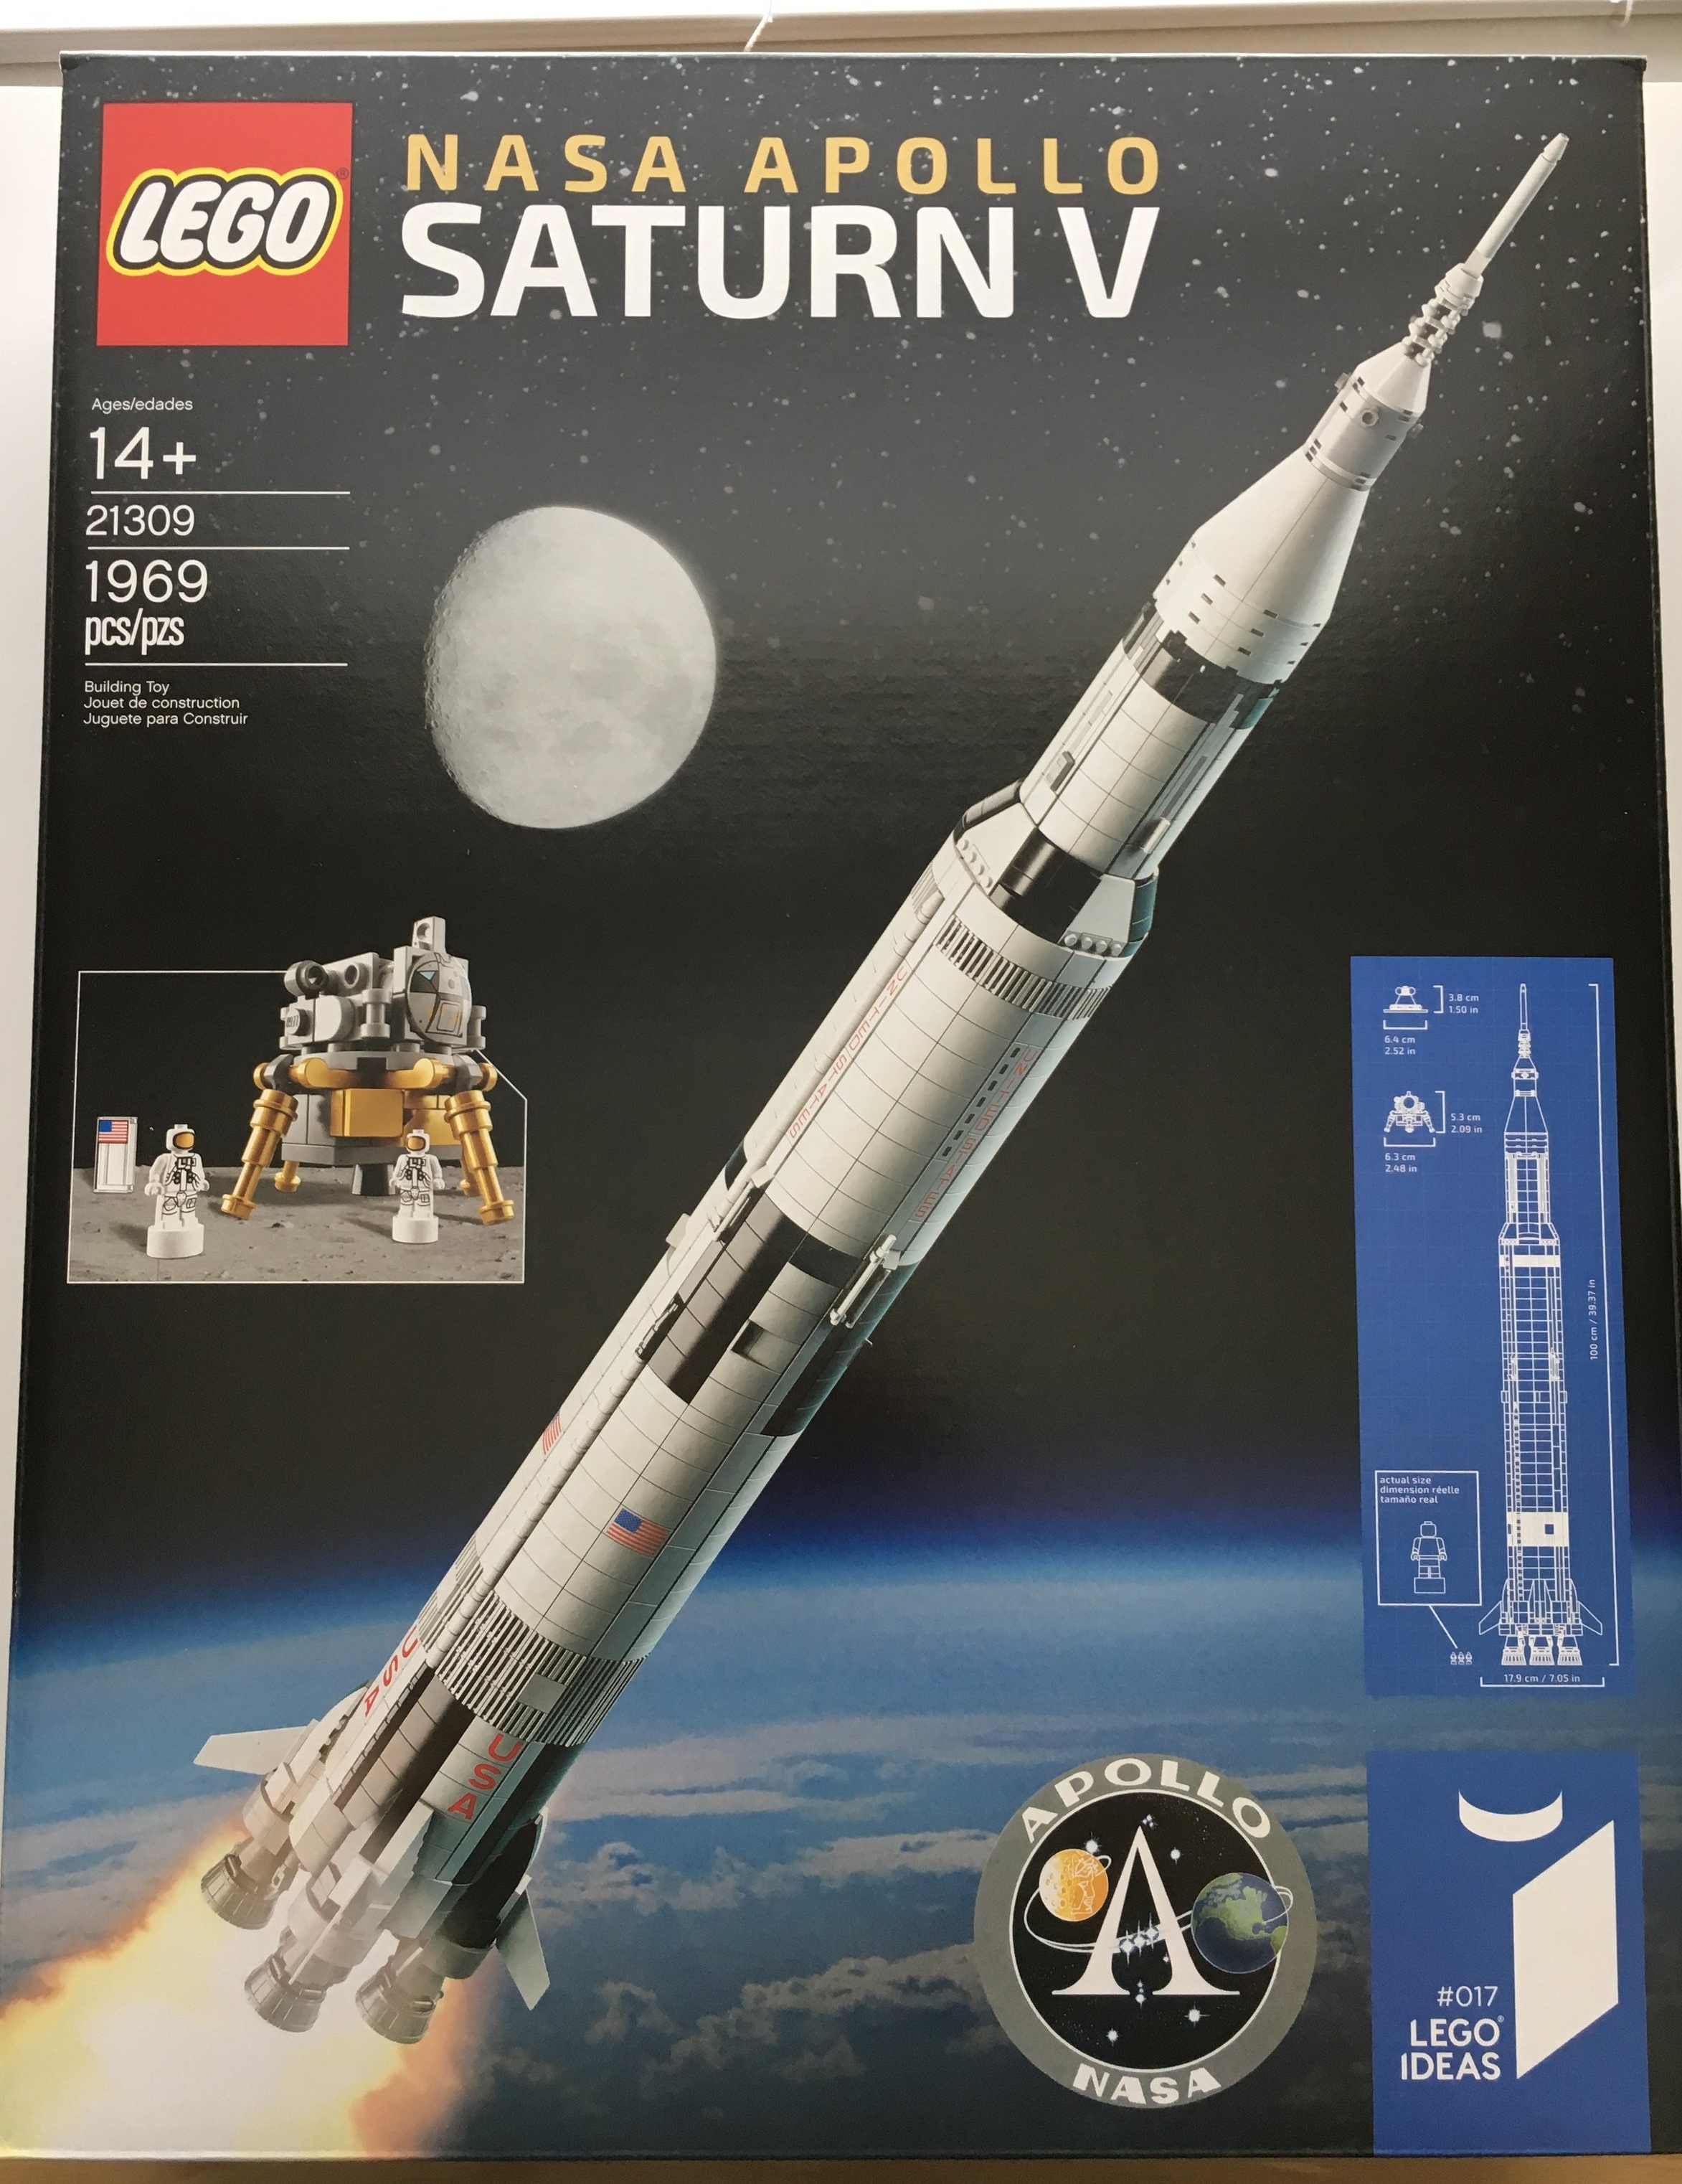
The seventeenth LEGO Ideas set (has it been that many already) was released in the USA on 2 June 2017. The NASA Apollo Saturn V has 1,969 pieces (after the year 1969 when the USA reached the moon). Priced at $199.99 it works out to be $0.061 per piece (which is great). It has been sold out multiple times since it was released. I'm lucky to have snagged one before it was sold out again. Onto the set review...
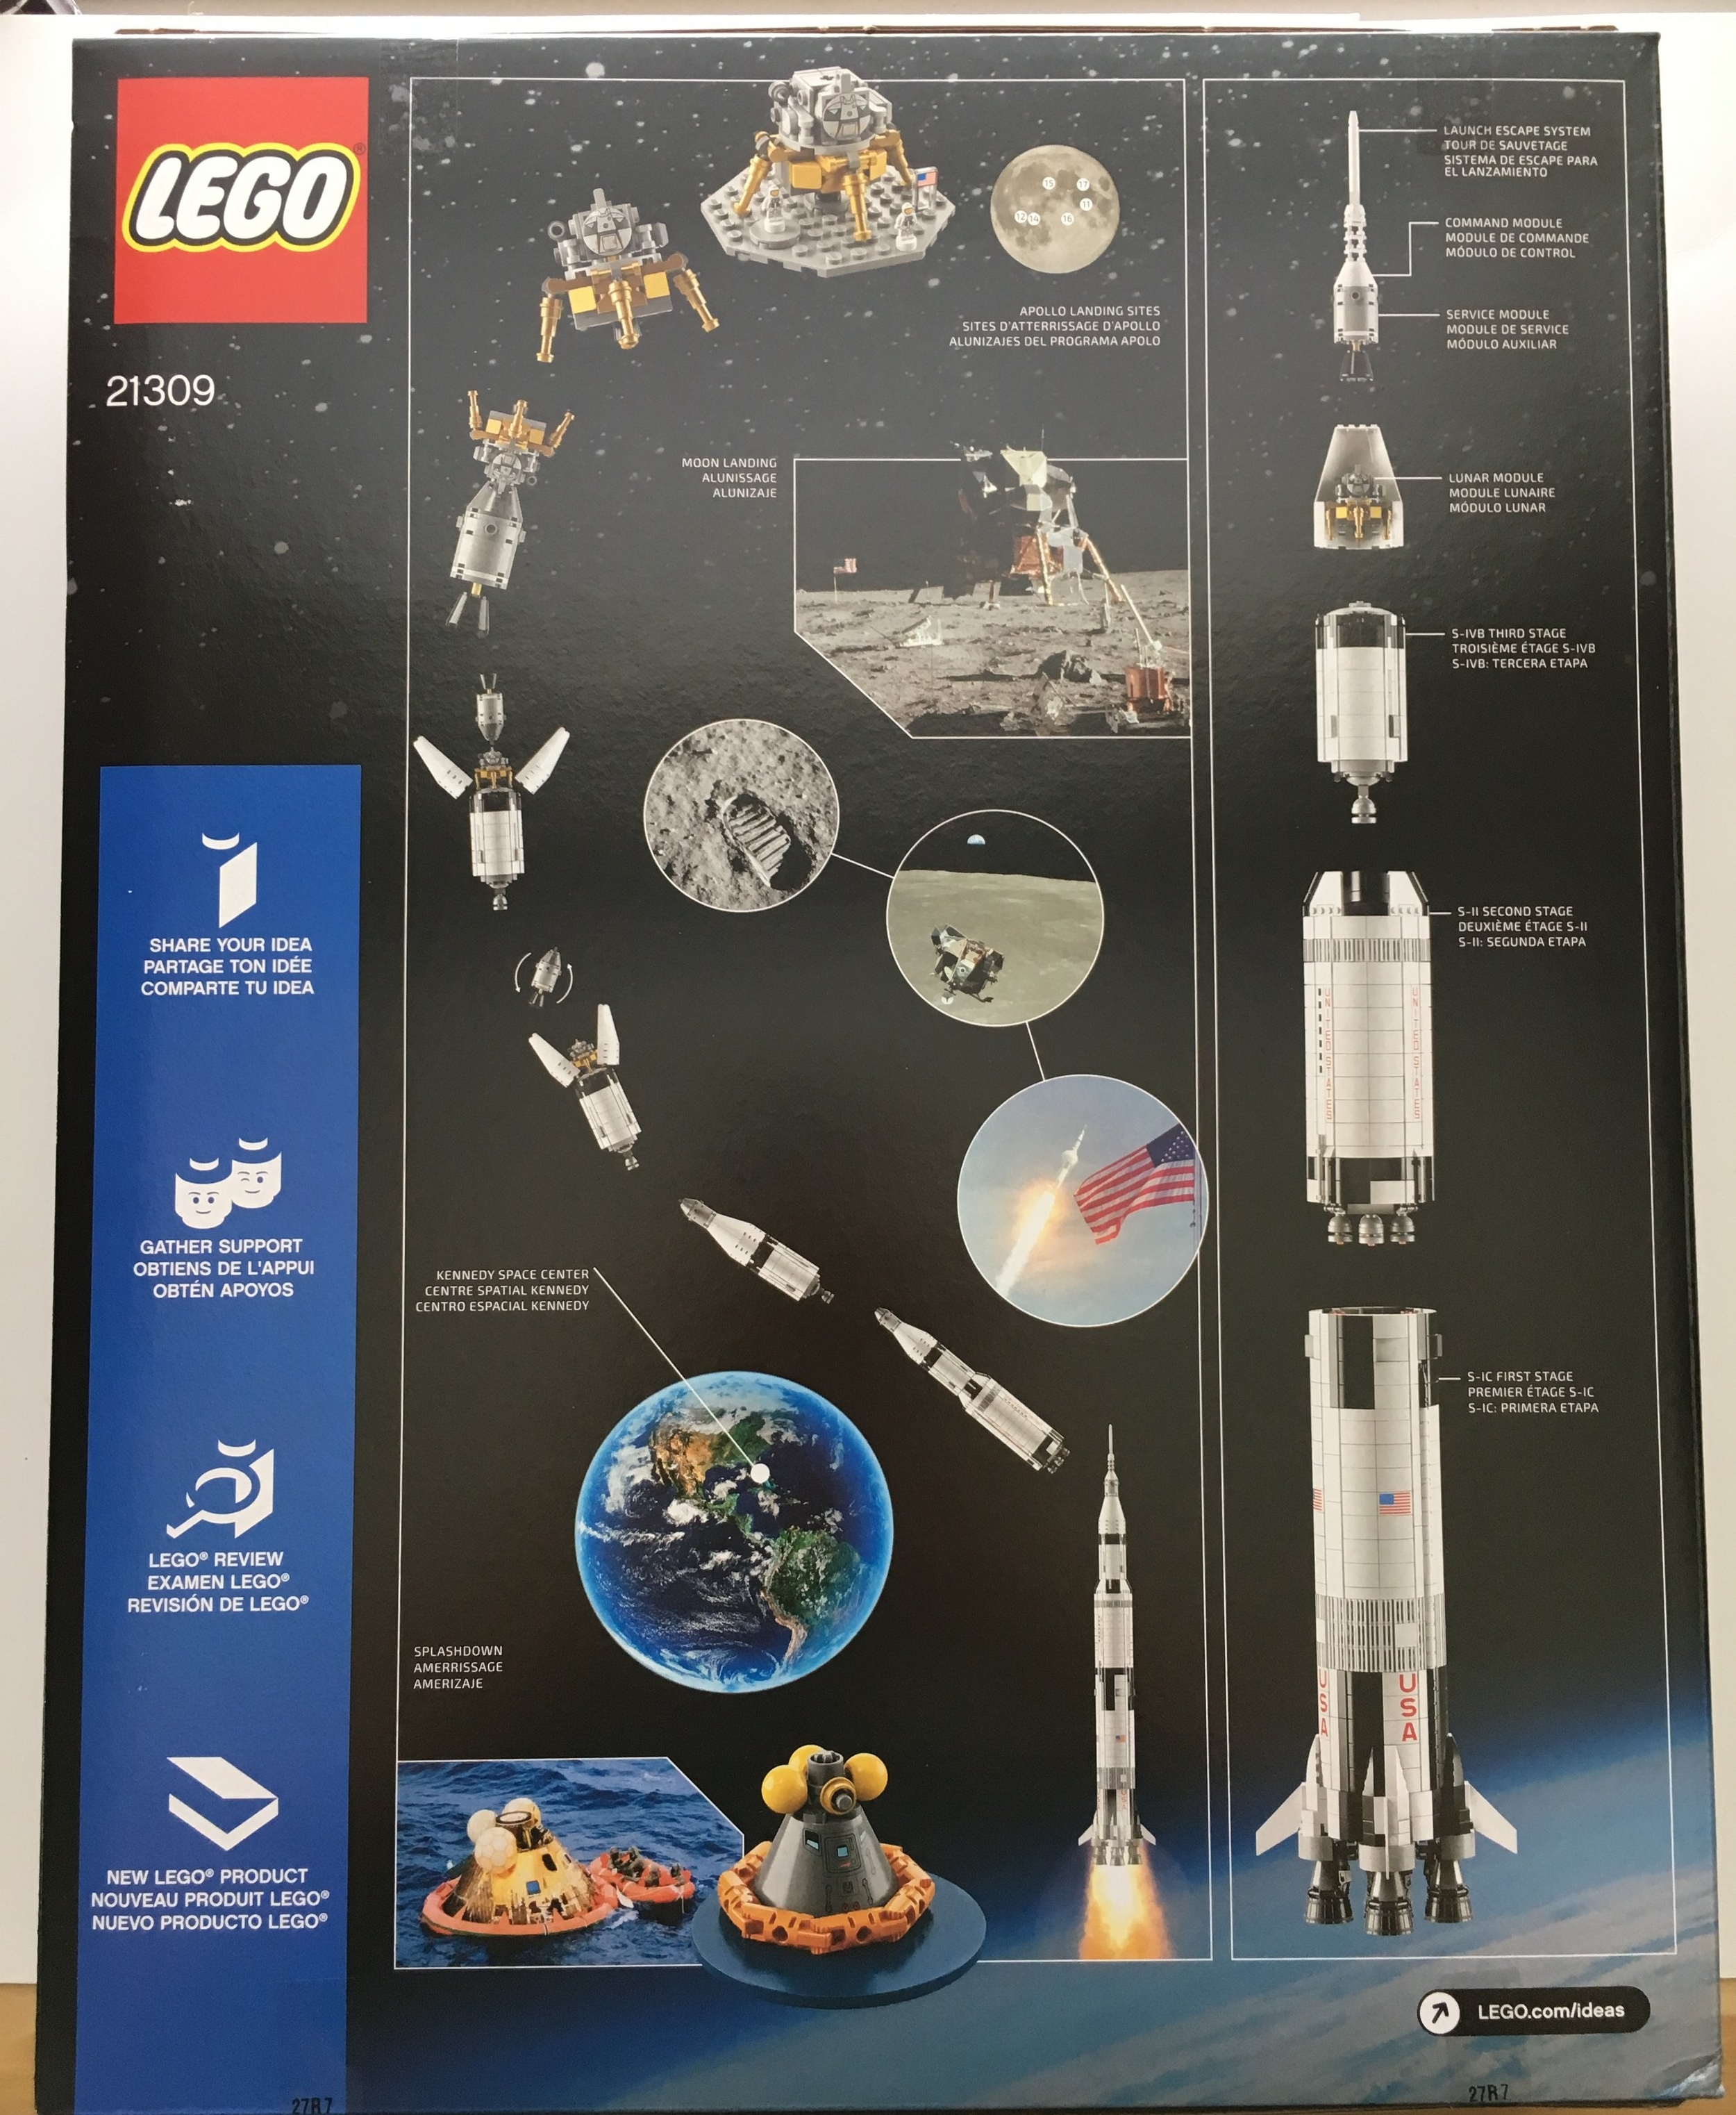
Here is the box. The front shows the completed set with the NASA logo. The back shows the different stages of the rocket along with a pictorial timeline from launch to moon landing.
The set contains 12 parts bags and a thick instruction booklet. Like other Ideas sets, the instruction booklet has information about the set design process and the Apollo Saturn V itself.


Bag 1 starts off with the S-1C Stage (I had to go to the instruction booklet... I didn't actually know that off the top of my nugget). For those of you who aren't space buffs, that's the bottom stage of the Saturn 5 with the giant rockets that lift the whole thing off the launch pad. The use of SNOT techniques starts off with this stage. It's pretty impressive that they didn't have to use all giant BURPs. This part was probably the most fragile of the build. It fell apart multiple times during the build. Thankfully it held together and the rest of the build was pretty solid after that.


Bag 2 added more to the S-1C stage. One of the best parts of this build (in my opinion) was the printed bricks (curved slopes). I couldn't imagine having to apply stickers to this entire set in all of the places it would have been required. The printed curved slopes definitely make the set look more realistic and make it look sharper.
Bag 3 continues with the stage and making the outside round. Besides curved slopes that say "U - S - A" there are also American flag curved slopes.


Bag 4 continues to round out the S-1C stage.
Bag 5 finalizes the rounding out of the stage. The use of 1x2 white grill tiles to make it rounded is an interesting building technique. That part gets a bit repetitive, but it helps add realism to the actual rocket.


Bag 6 adds the 5 F-1 engines with the use of the barrel pieces. If you look at this set you can see where a brown version was used as a look out post for a Pirates set. Interesting use of the same piece in black for a rocket.
Bag 7 is the S-II stage. The build starts off the same way as the last stage with an inner shell.

Bag 8 continues on the S-II stage. I am a huge fan of the 1x6 white printed tiles. Thank you LEGO for not using stickers here.
Build 9 finishes out the outer shell of the stage. 4 steps to finish out each side.


Bag 10 completes the stage and the picture here shows it attached to the S-1C stage.


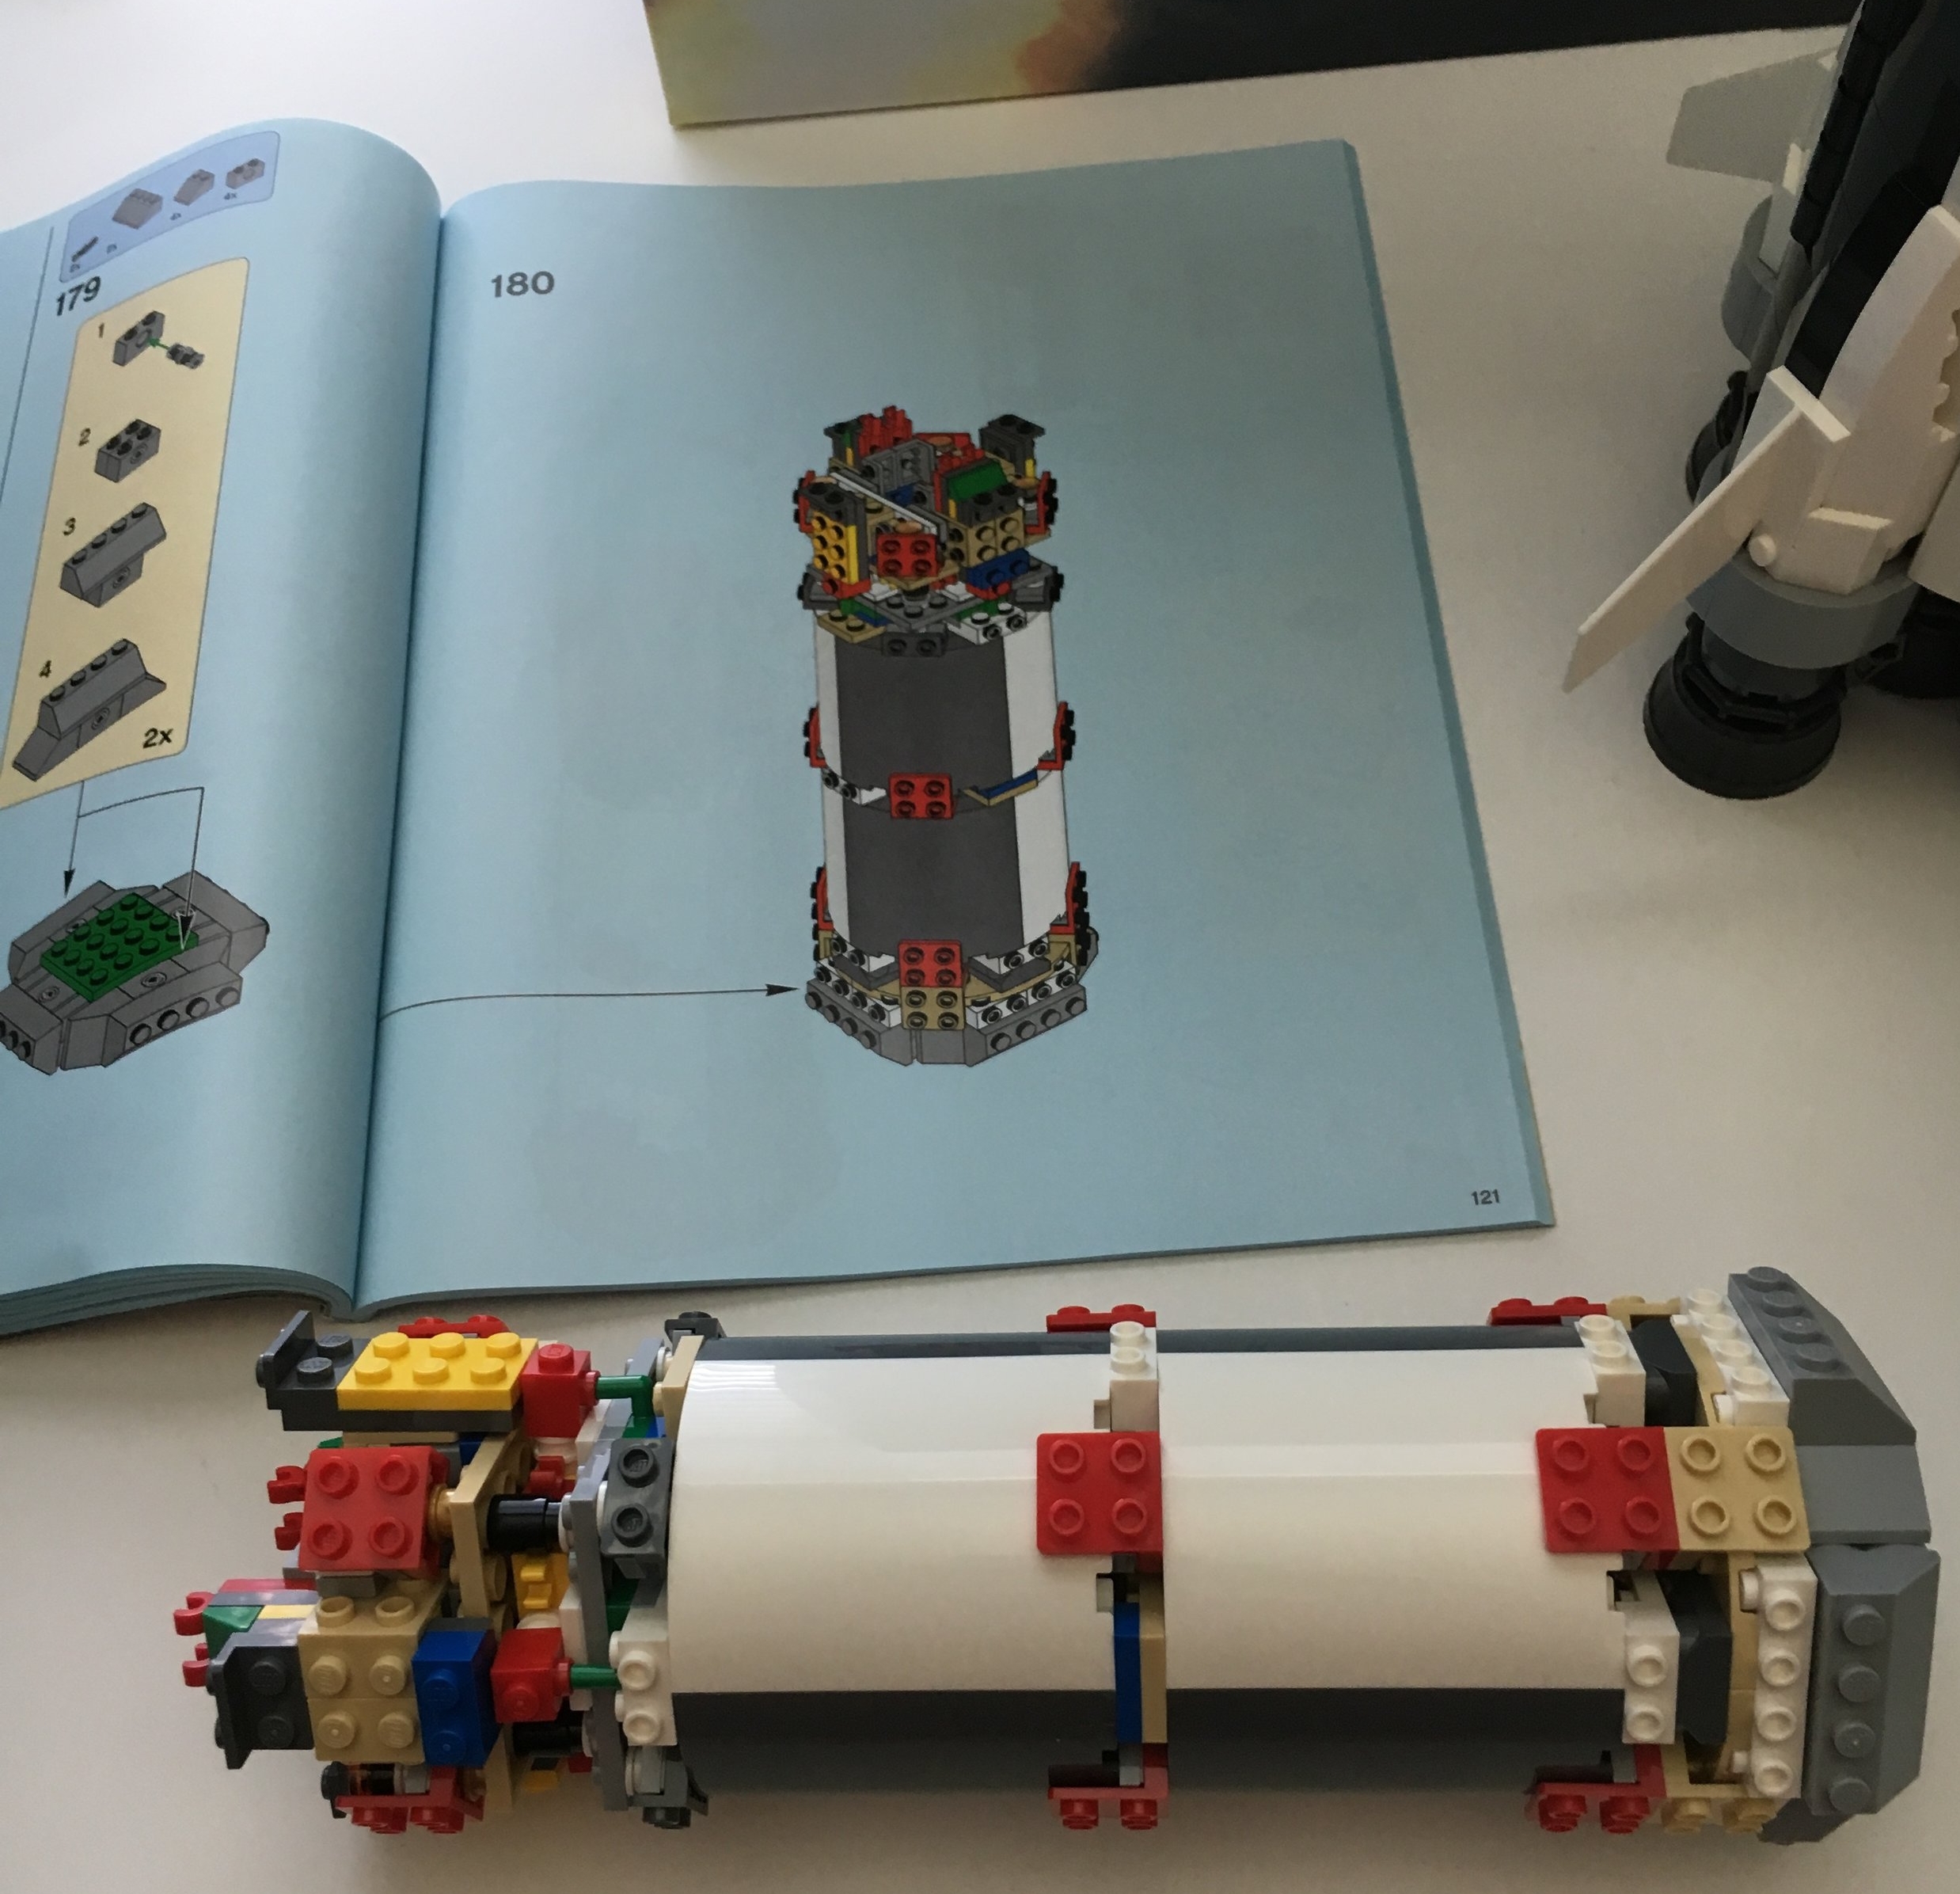
Bag 11 is the S-IVB stage. You can see the J-2 engine in the picture of it alone and then the other picture is of it attached to the rest of the model. It's definitely getting tall and harder to photograph (for a non-pro like me).

Bag 12 has numerous items. Pictured here is the Lunar Module on the surface of the moon along with 4 astronaut figures. It's pretty impressive the amount of detail the builder crammed in despite the size. The 1x2 printed American flag tile is great that it is not a sticker, but I can see myself losing it someday based on how it is attached.
Huge fan of the use of the gold colored pieces!
Here is the Command Service Module after landing in the ocean. It has the flotation raft and balloons out (are those the technical terms?). This part is a simple build and once again I'm glad there are not stickers.


The last part is the instrument unit (on the bottom, but it's the top in the picture), The covering for the lunar module, service module, and command module, and then the tip called the launch escape system. This part of the build was pretty easy, but the instruction booklet does a good job of showing how the actual rocket was set up.

Here's the full rocket (only I'm a bad photographer so you miss the very tip). It comes with 3 stands so you can set the rocket on its side. This also allows you to take the stages apart and display them separately. To be fair, the design is sturdy enough that you can set it down on the bottom stage and it will not come apart (unless you knock it on the floor).
The verdict... AWESOME! I highly recommend this set. It was a great build with some nice detail and interesting building techniques. The types of pieces used are pretty good too if you would want to take it apart. The no stickers is a real bonus too. The downside... it went on sale in the US, was sold out, was back in stock, and has been sold out for over a month again as of the posting of this review. LEGO has not said whether they will add more to inventory or if it is done. If you haven't purchased one and you want one, pick it up before it sells out again. I'm glad I caught it when I did. If LEGO doesn't release additional inventory, my guess is this set will jump up pretty quick on the secondary market.