View Part 1 - Part 2 - Part 3 - Part 5
Before I start this one, just a quick note. For those of you who follow the blog, I recently moved from NM to FL. My FL home is slightly bigger and my NLS agreed to designate some space for building activities. I purchased 2 metal shelves for storage and placed a wood board on top for building. Now I have a standing desk where I can build at. Also you'll note that some pictures are at night with a light on and some are during the day. I don't have a light box yet. I'm working on it. So I apologize up front that the pictures aren't all the same.
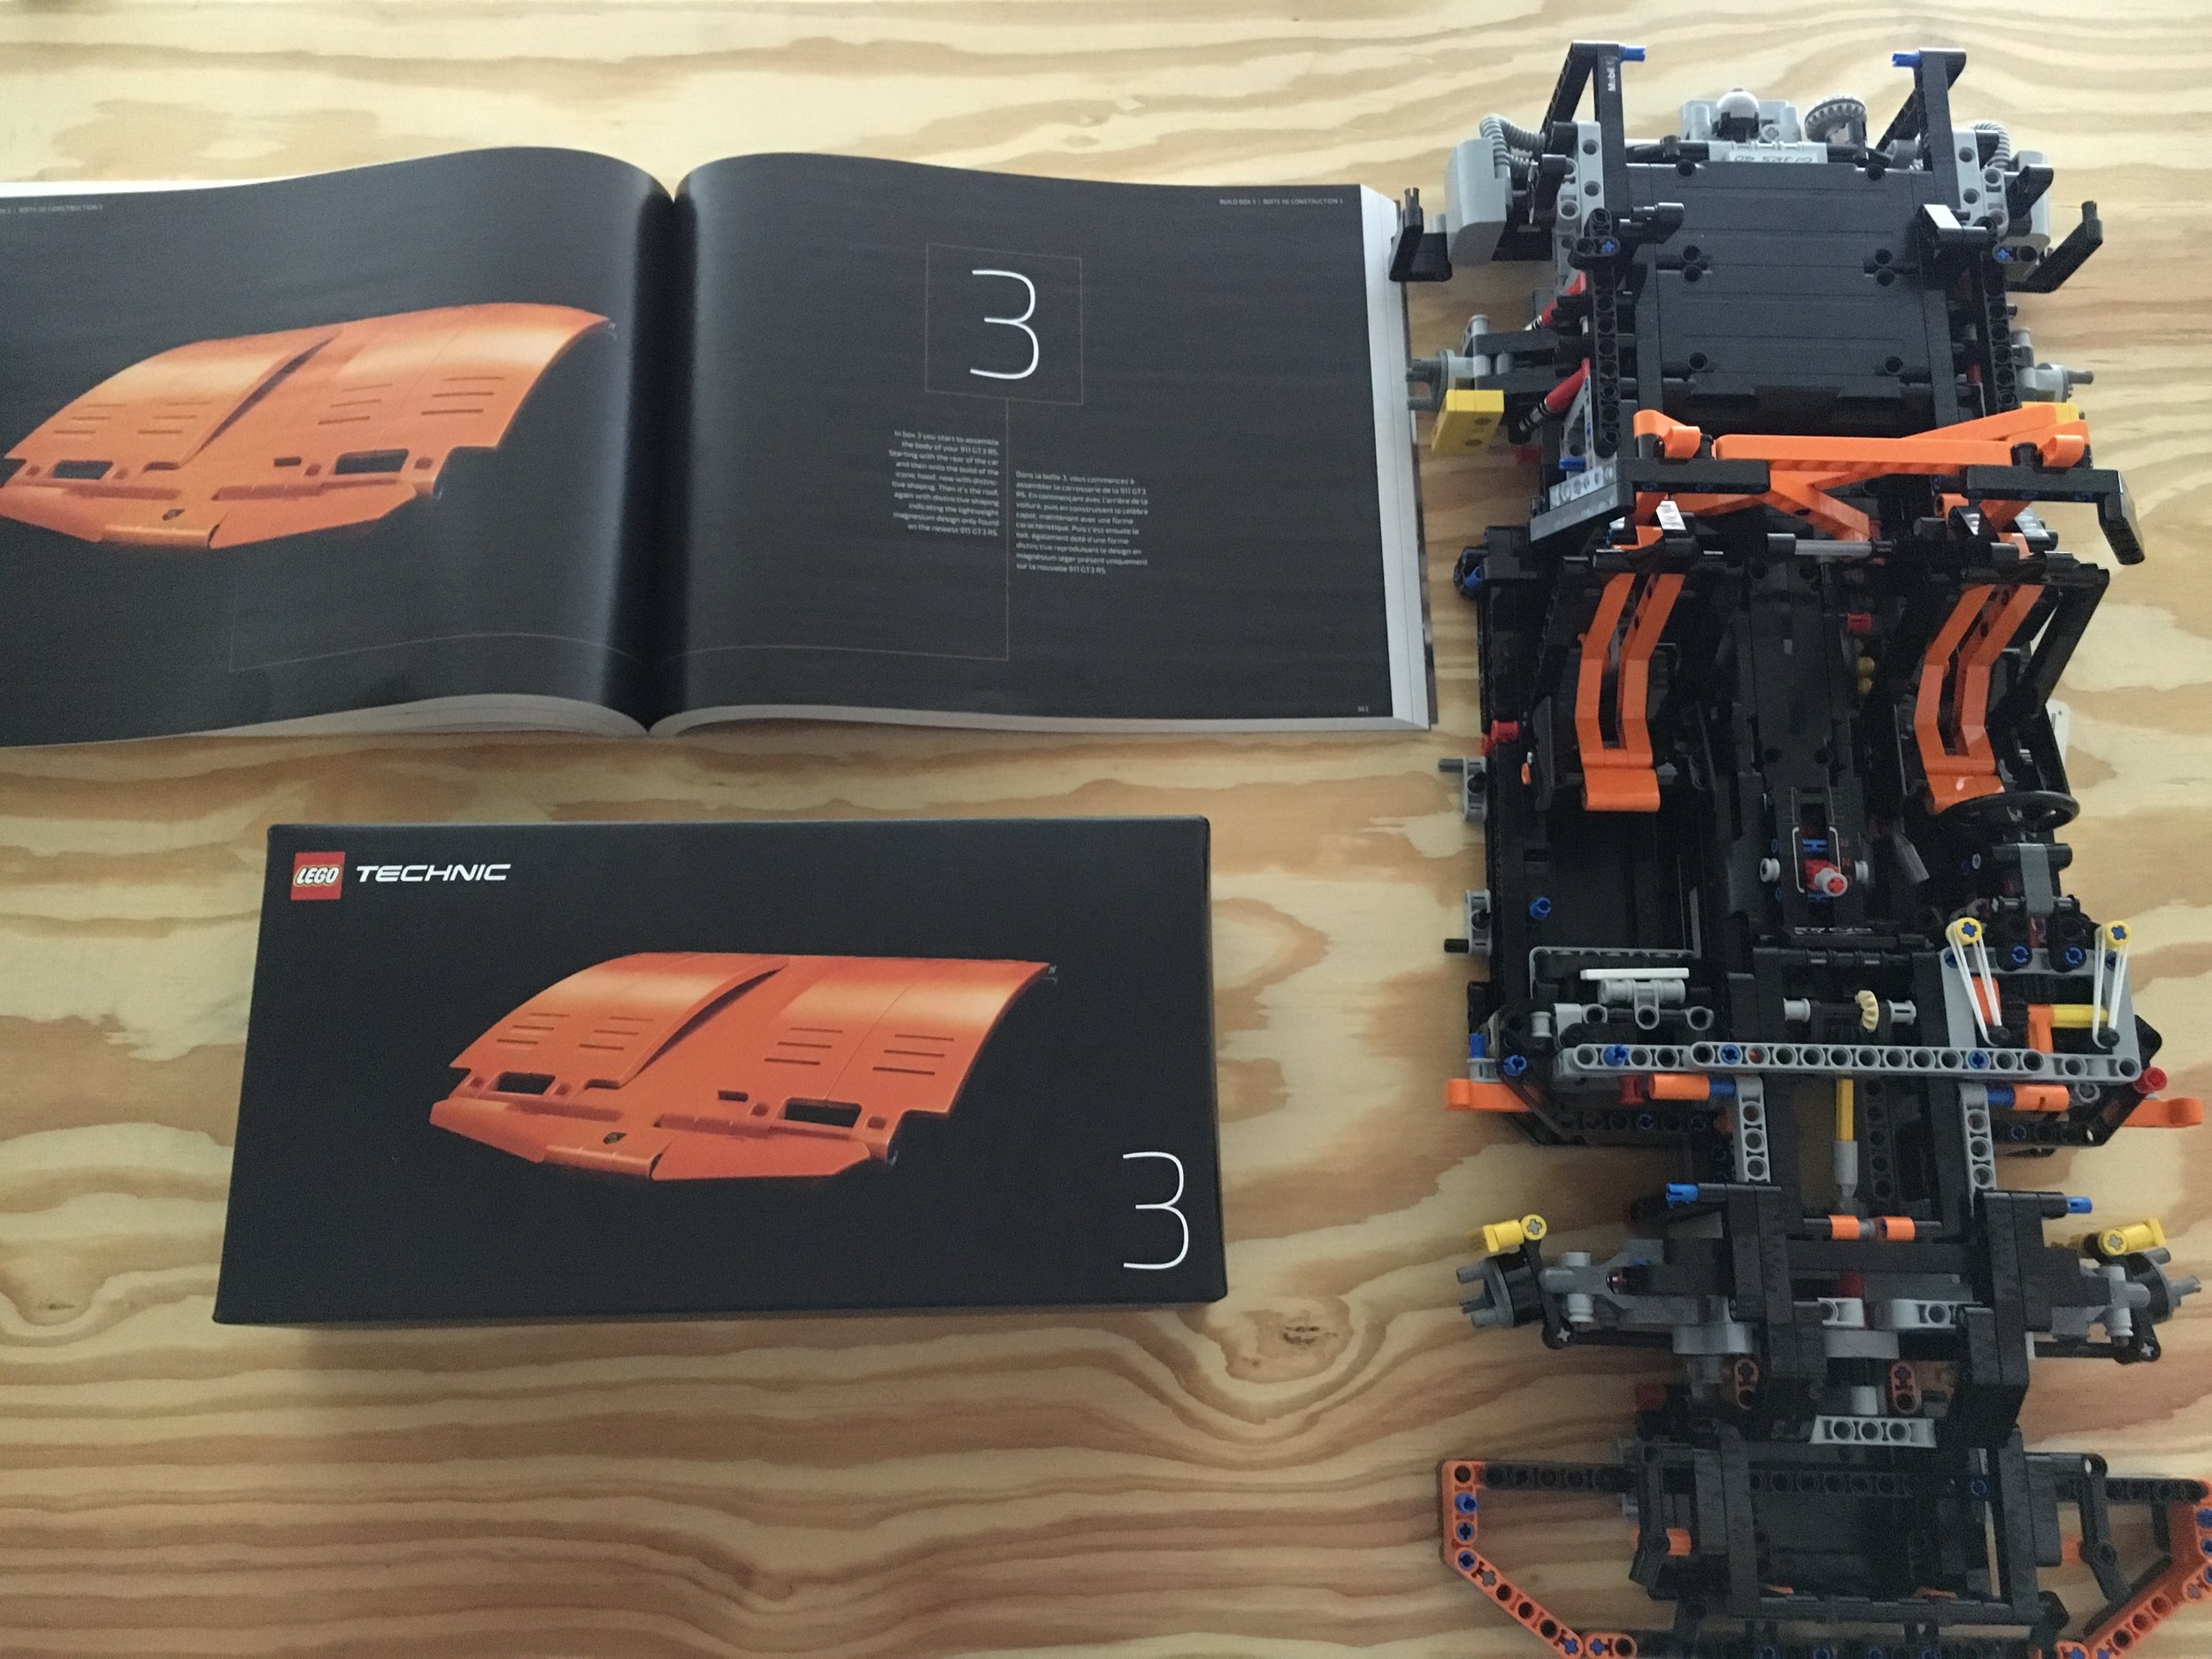
Box 3 of this set is assembling more of the body to include the rear, the hood and the roof. This one starts in the instruction booklet at #532. Before we start, here is box 3 with a picture of the hood on the box and in the instructions. I also included the build at the end of box 2.
Next up are the contents. It only has 4 bags of parts and it uses some of the parts from the bag included in box 1.
Some pictures of the build... First off is some work on the back of the vehicle.
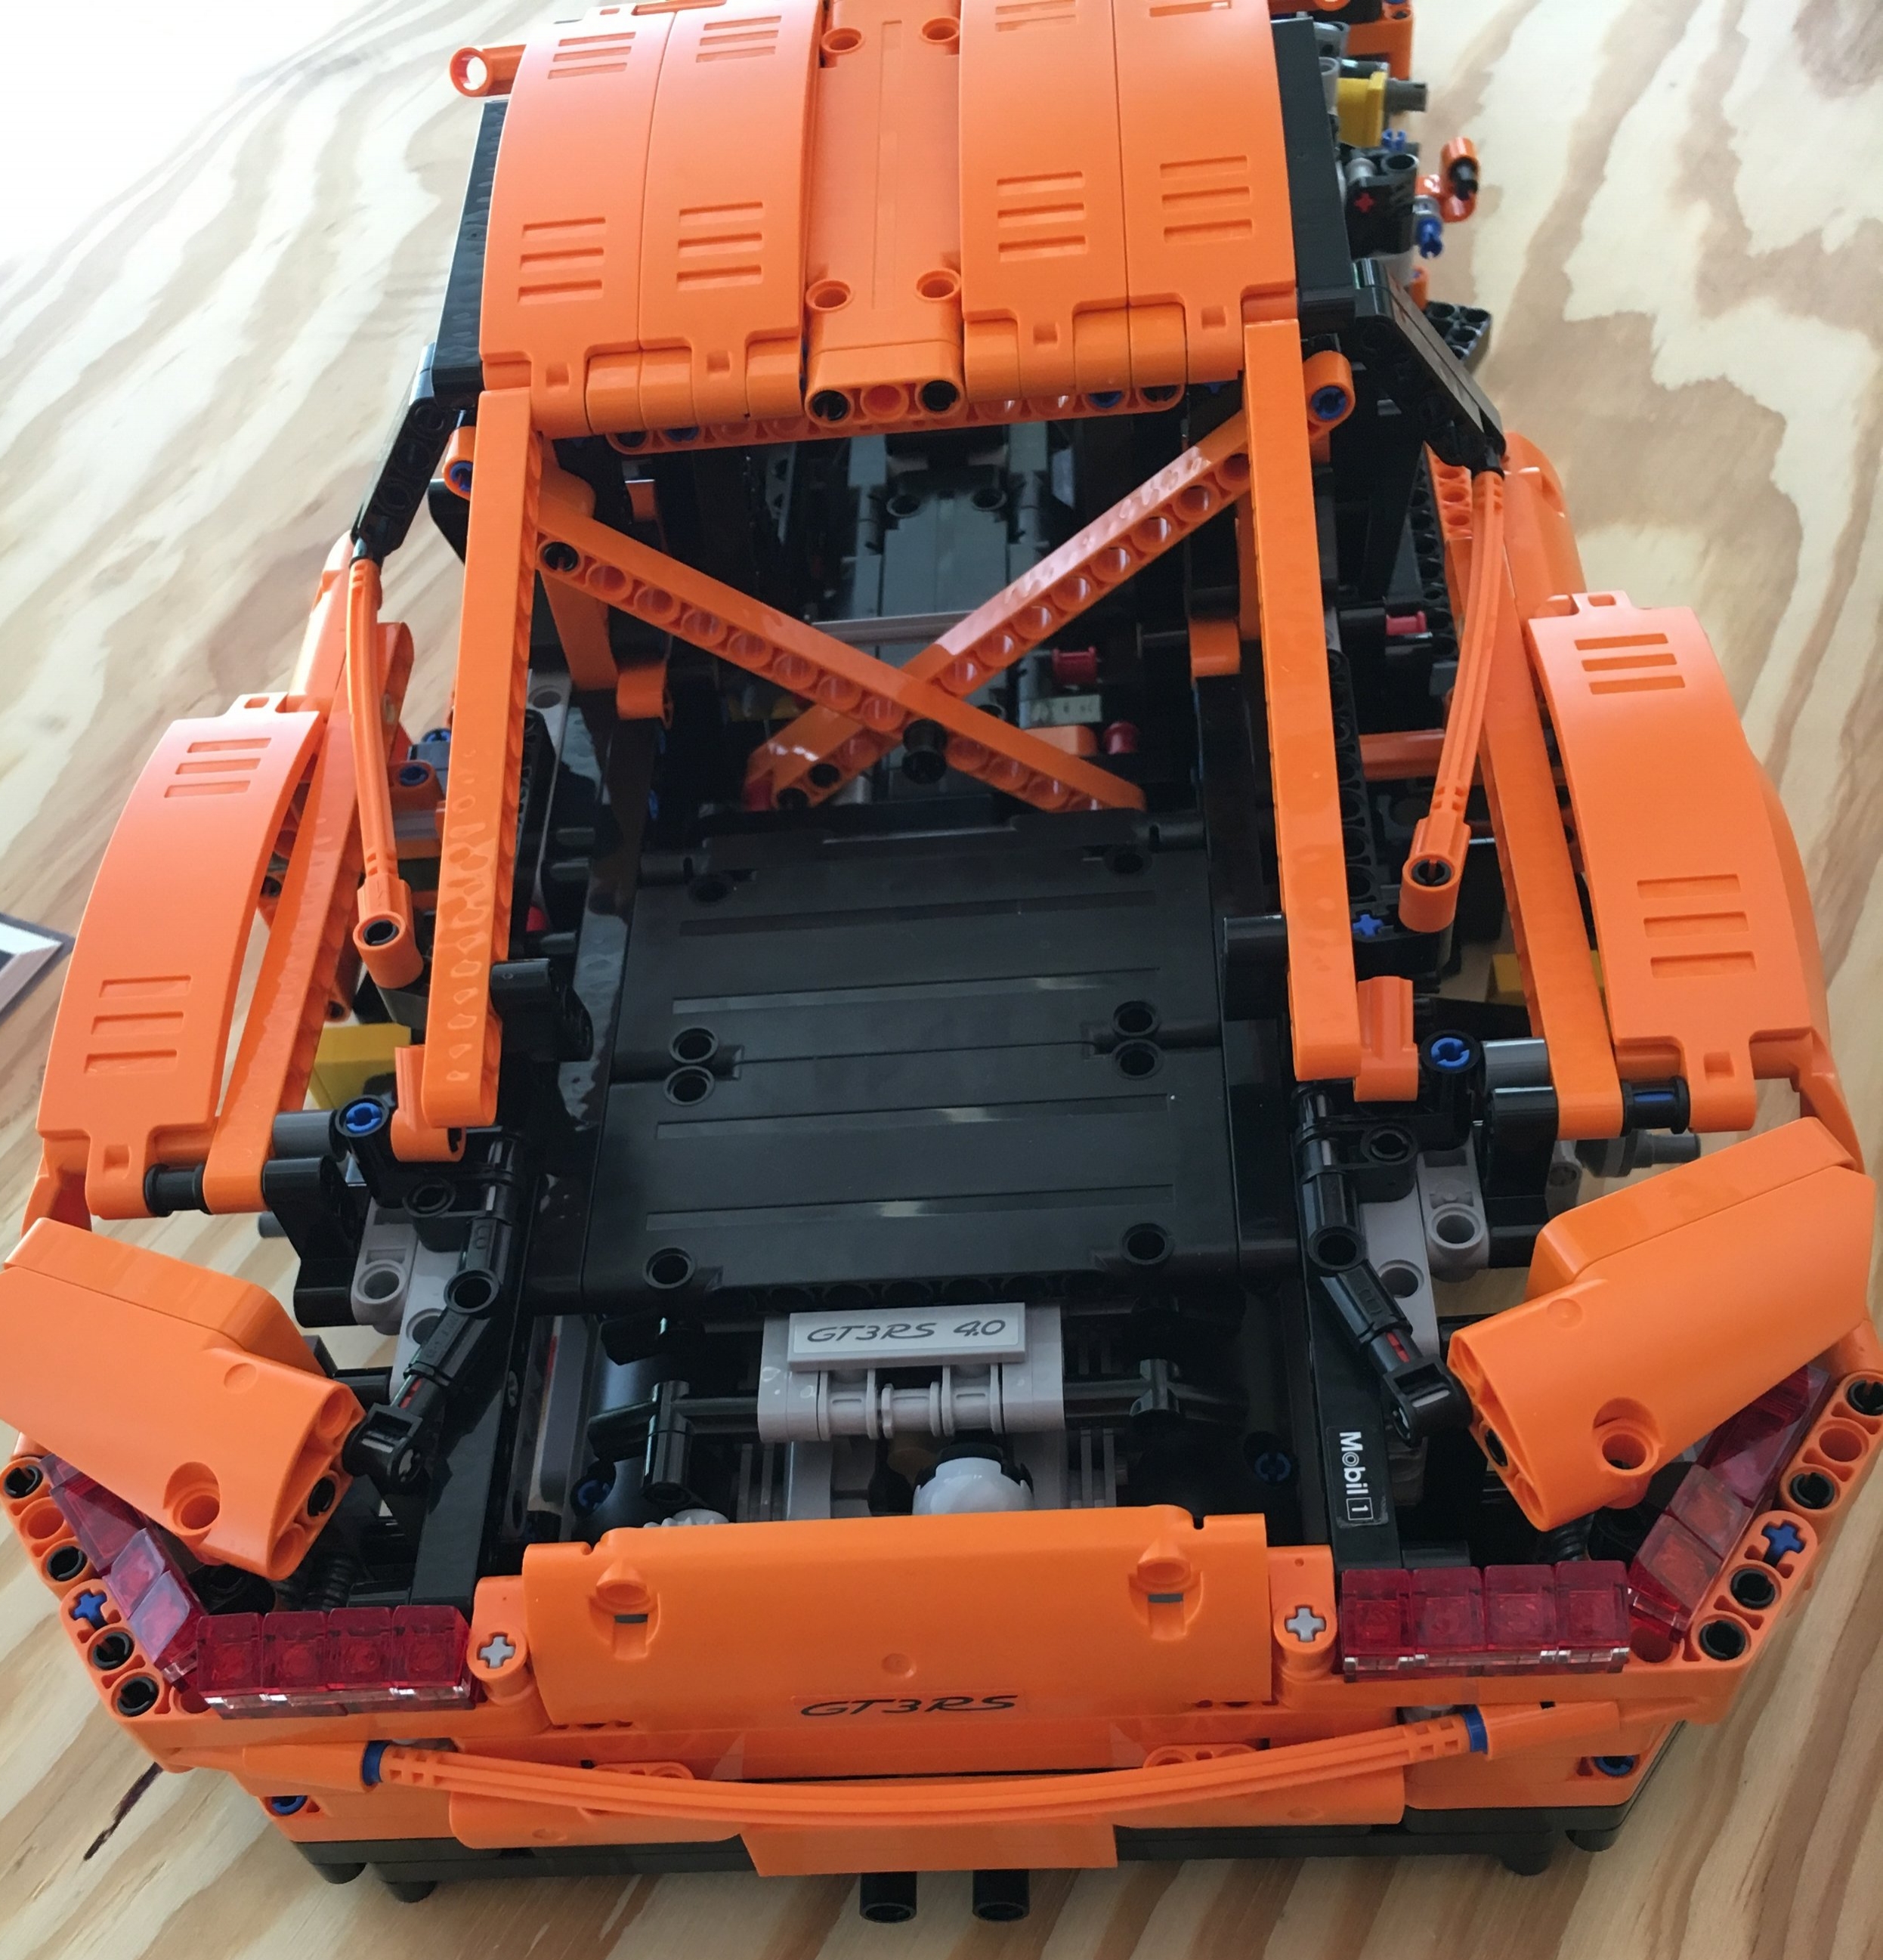
Next up is more work on the back. The break light and turn signals are there along with the bumper and a GT3RS sticker.
The top of the car is shown with the back here.
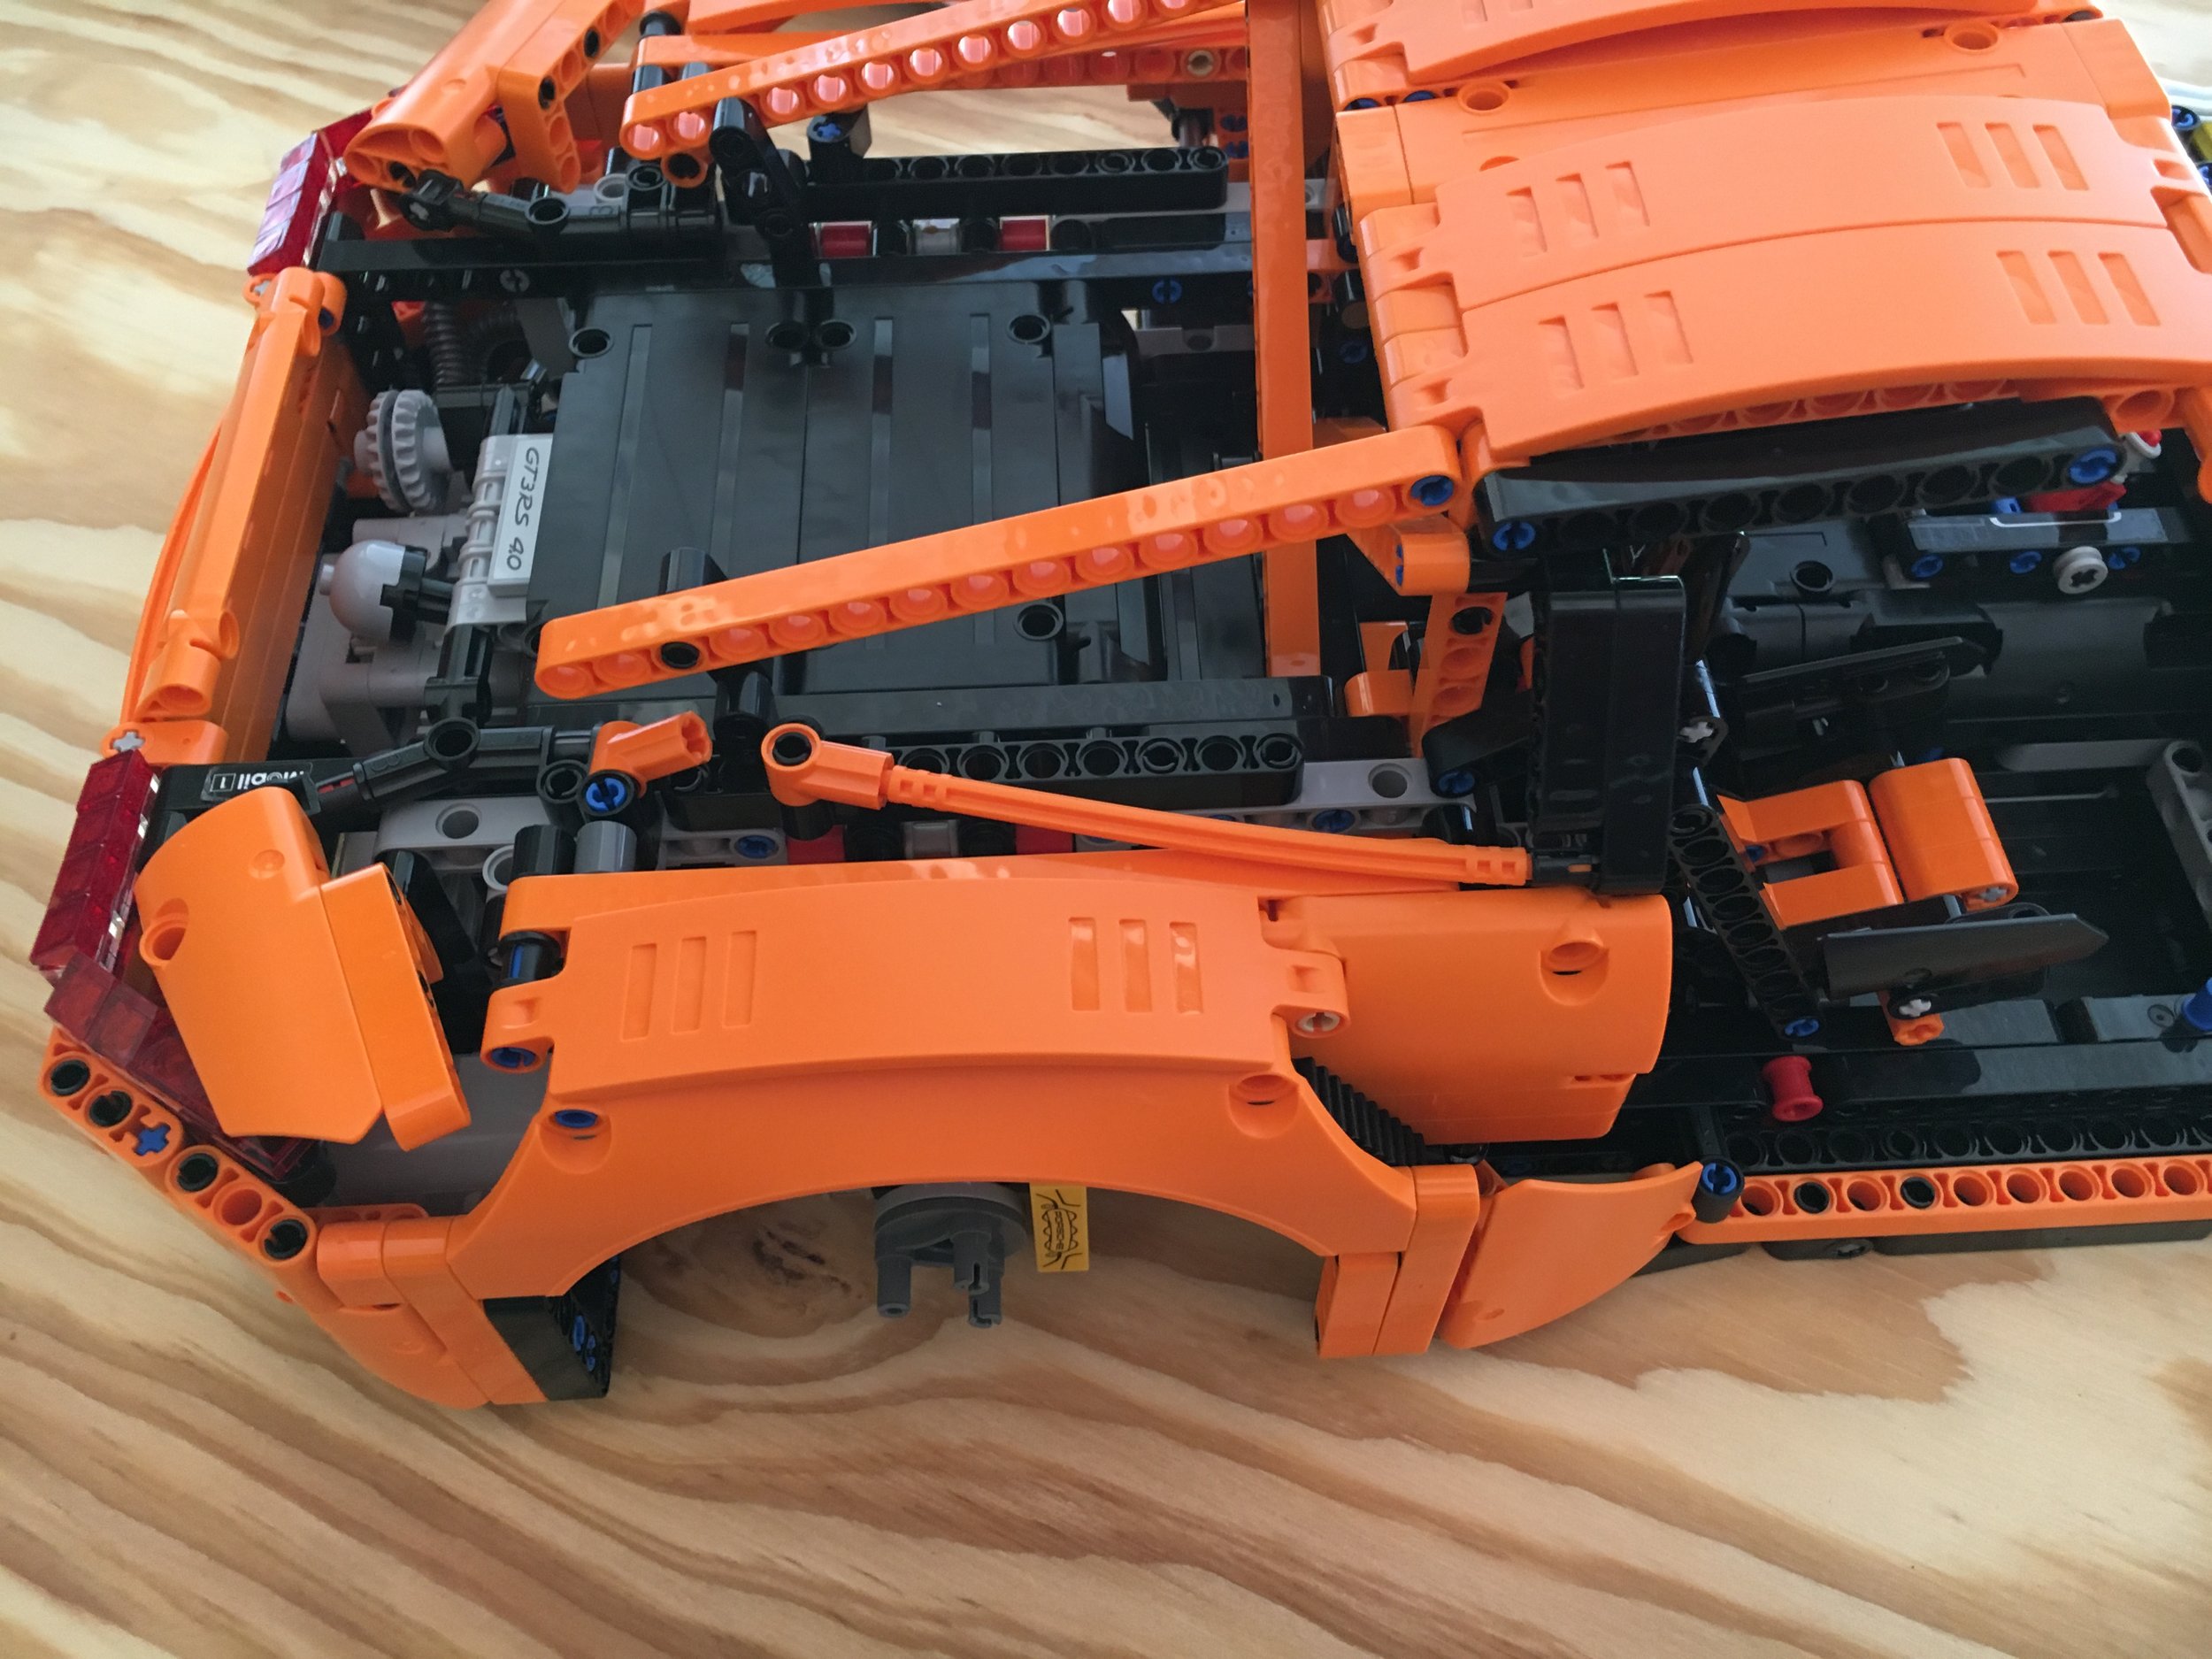
Another view of the back just so you can see more detail. This one is of the passenger side in the back.
Here's a view from the front so you can see the hood. Still need a lot more detail here, but I think that'll all be in the next box.
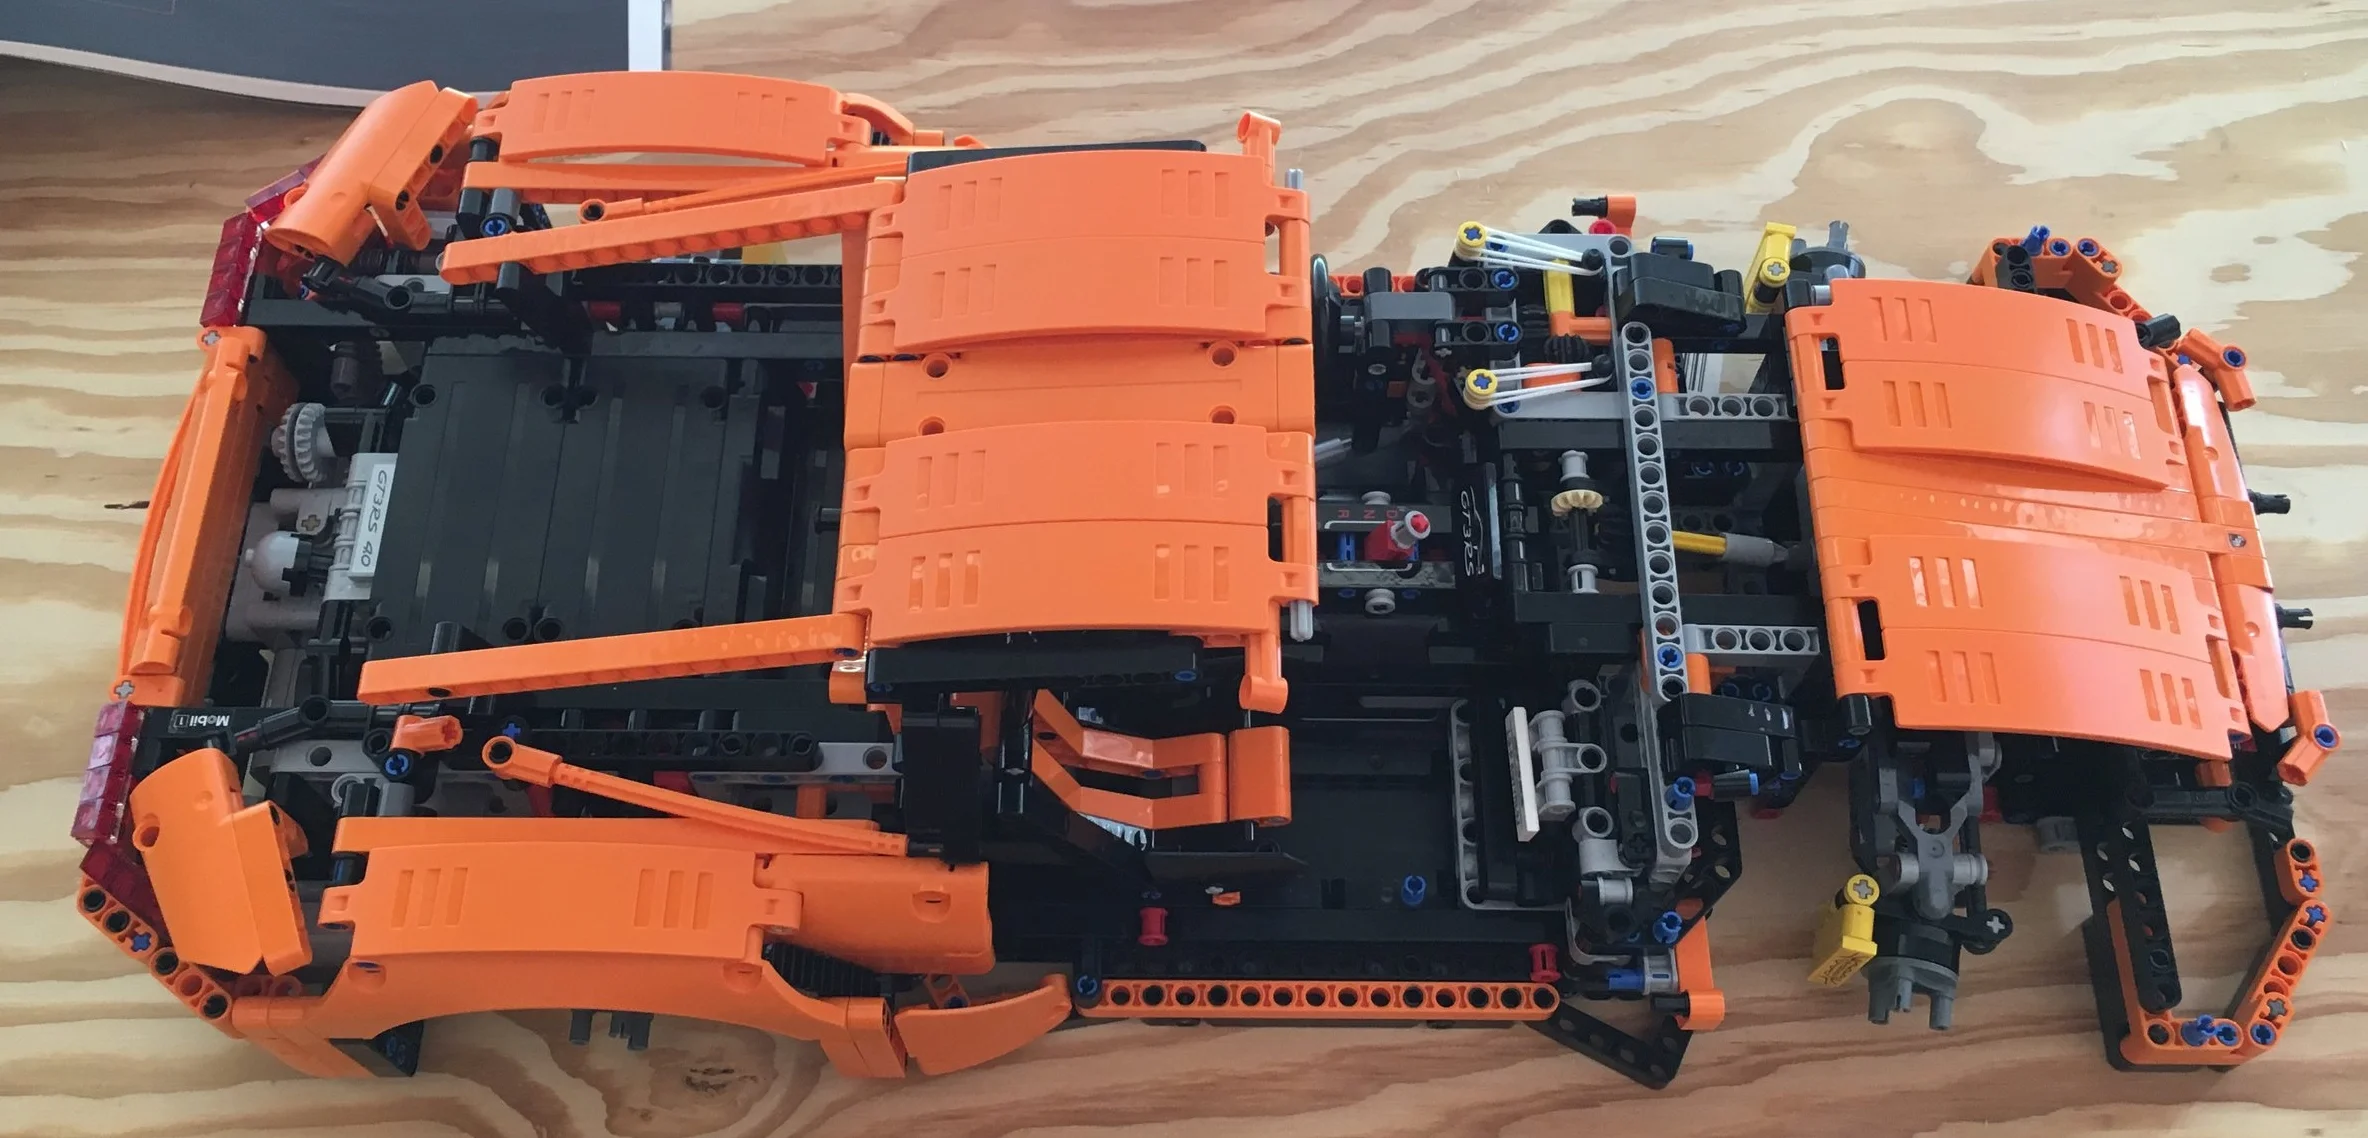
A top shot of the whole set at the end of box 3.
Back to building!!!!!


