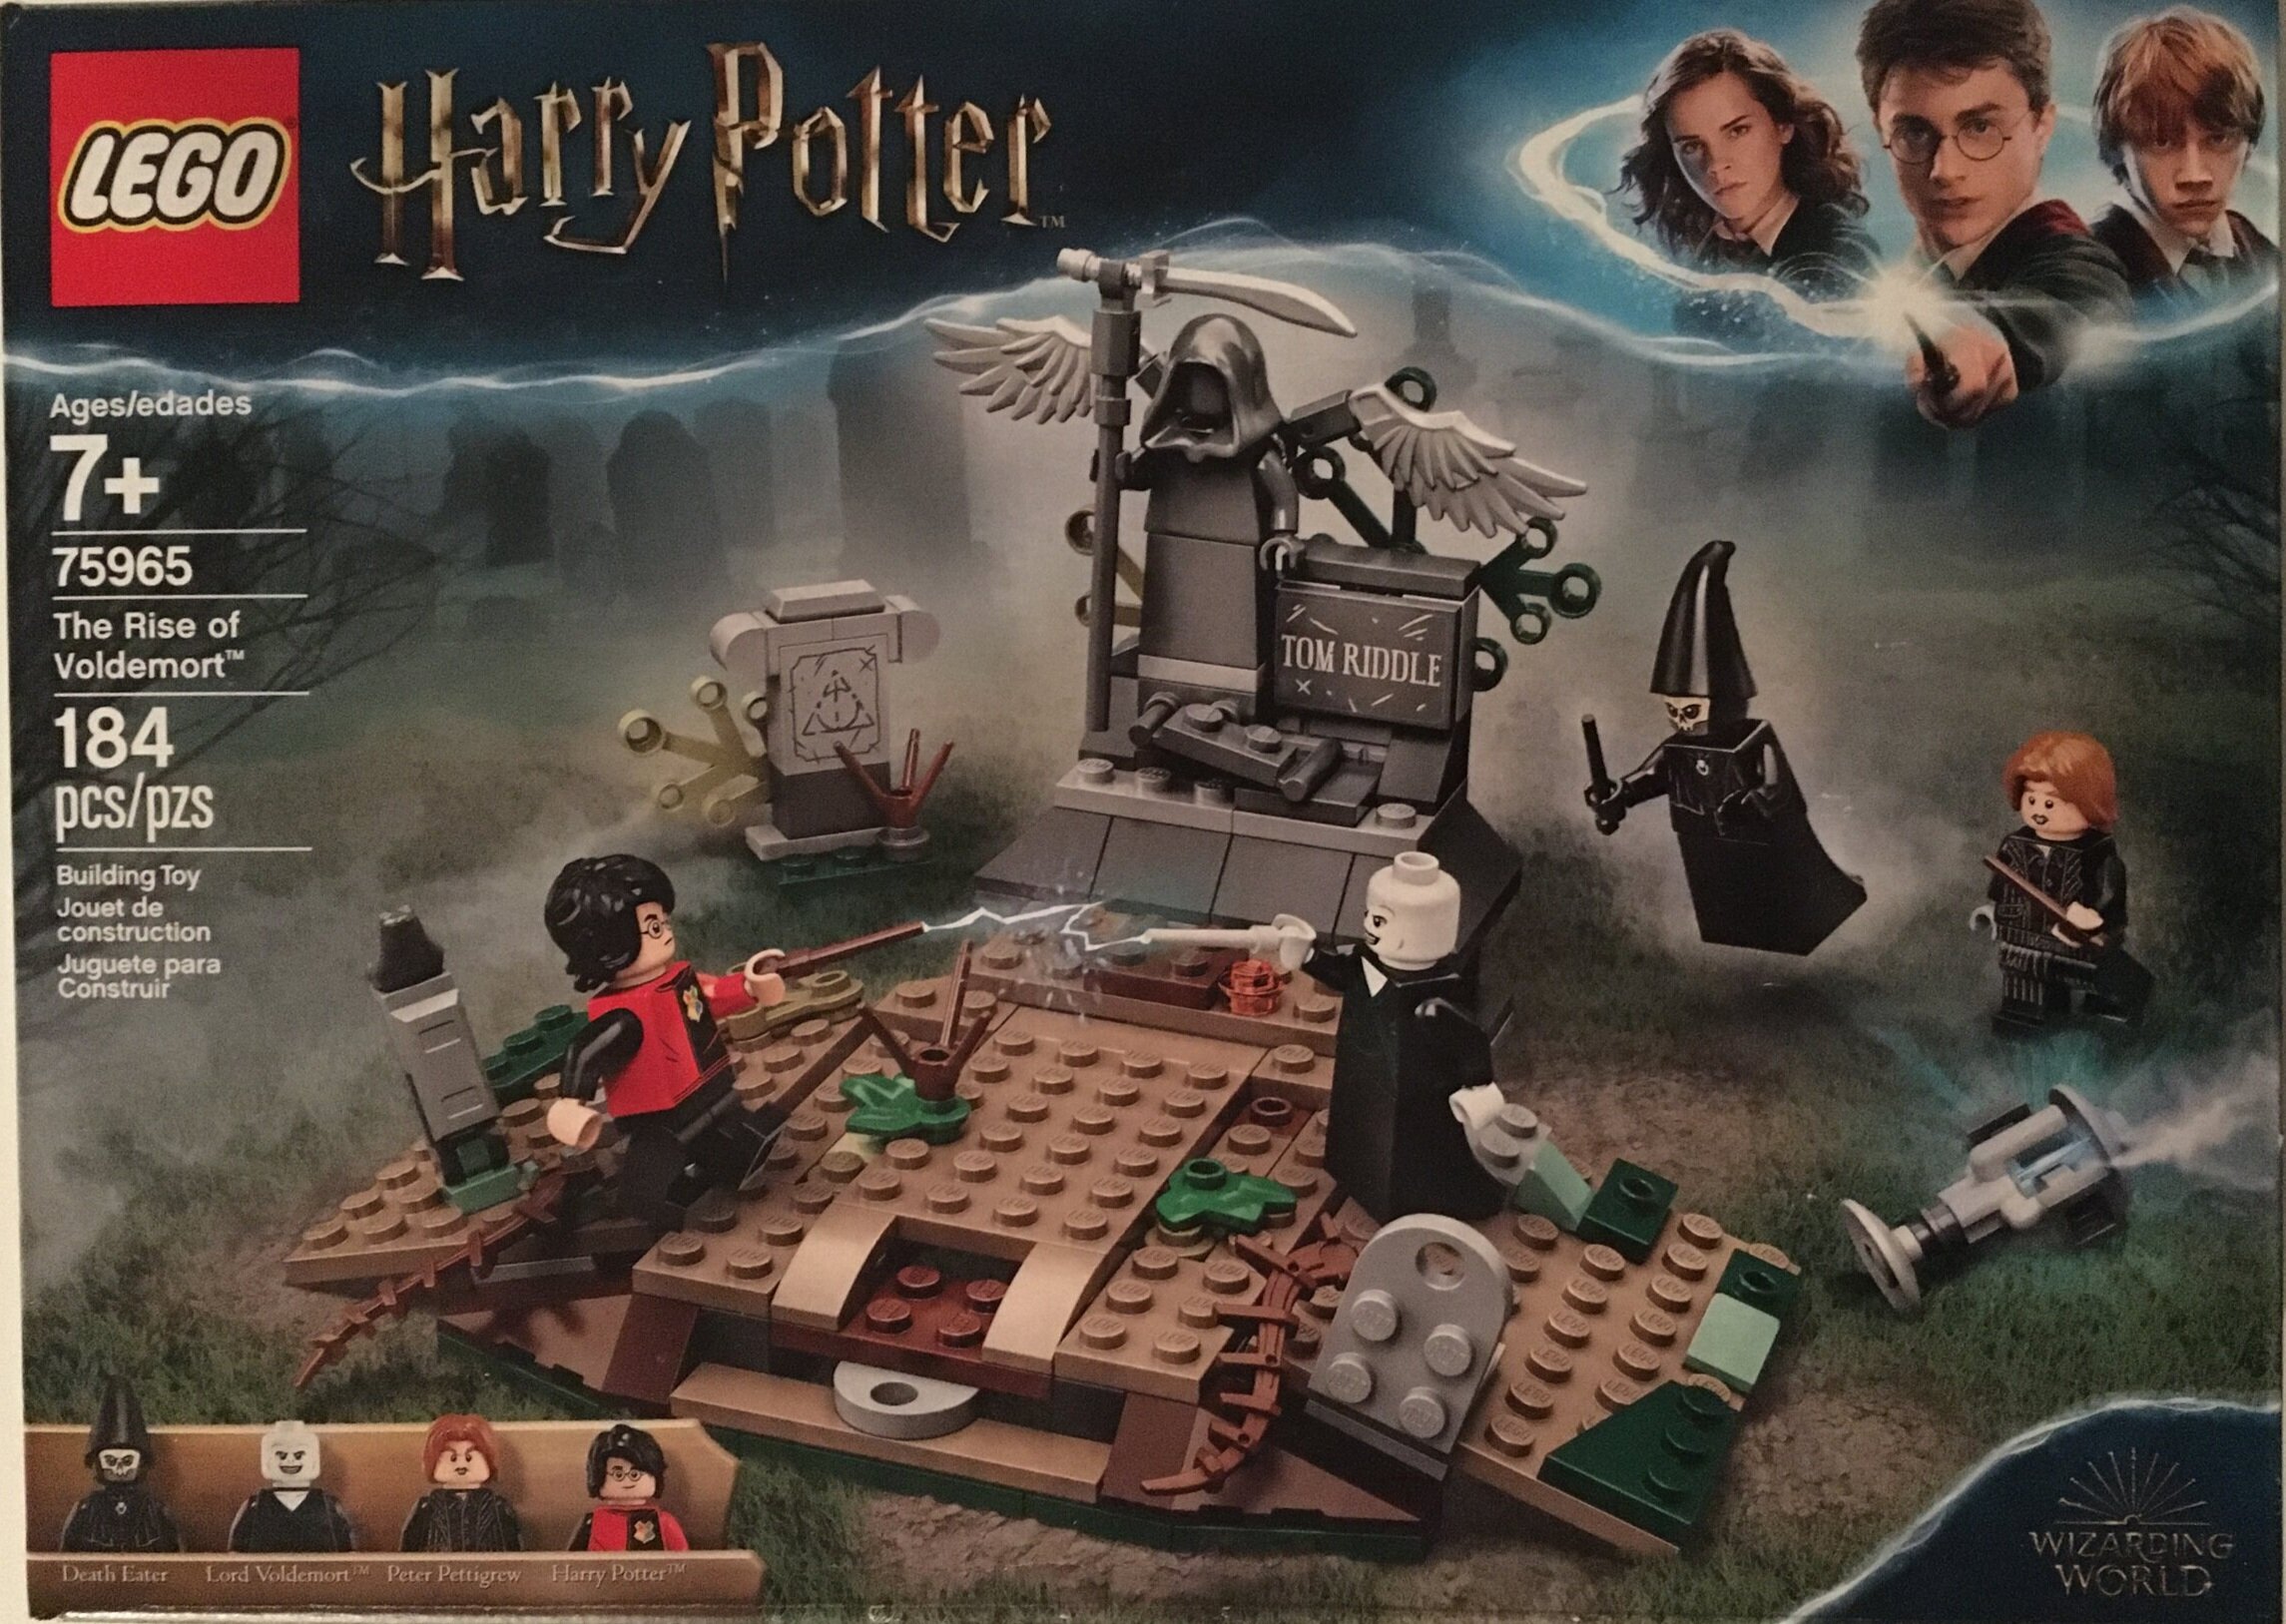
Set Review - #75965-1: The Rise of Voldemort - Harry Potter

Here’s another one of 2019’s Harry Potter sets. It’s number 75965-1: The Rise of Voldemort. It contains 184 pieces and 6 minifigures. The set retails in the US for $19.99 which works out to $0.109/piece. It was released in the US on 2 August 2019 and was discounted on Amazon.com for 20% off a few weeks ago as of the writing of this post.

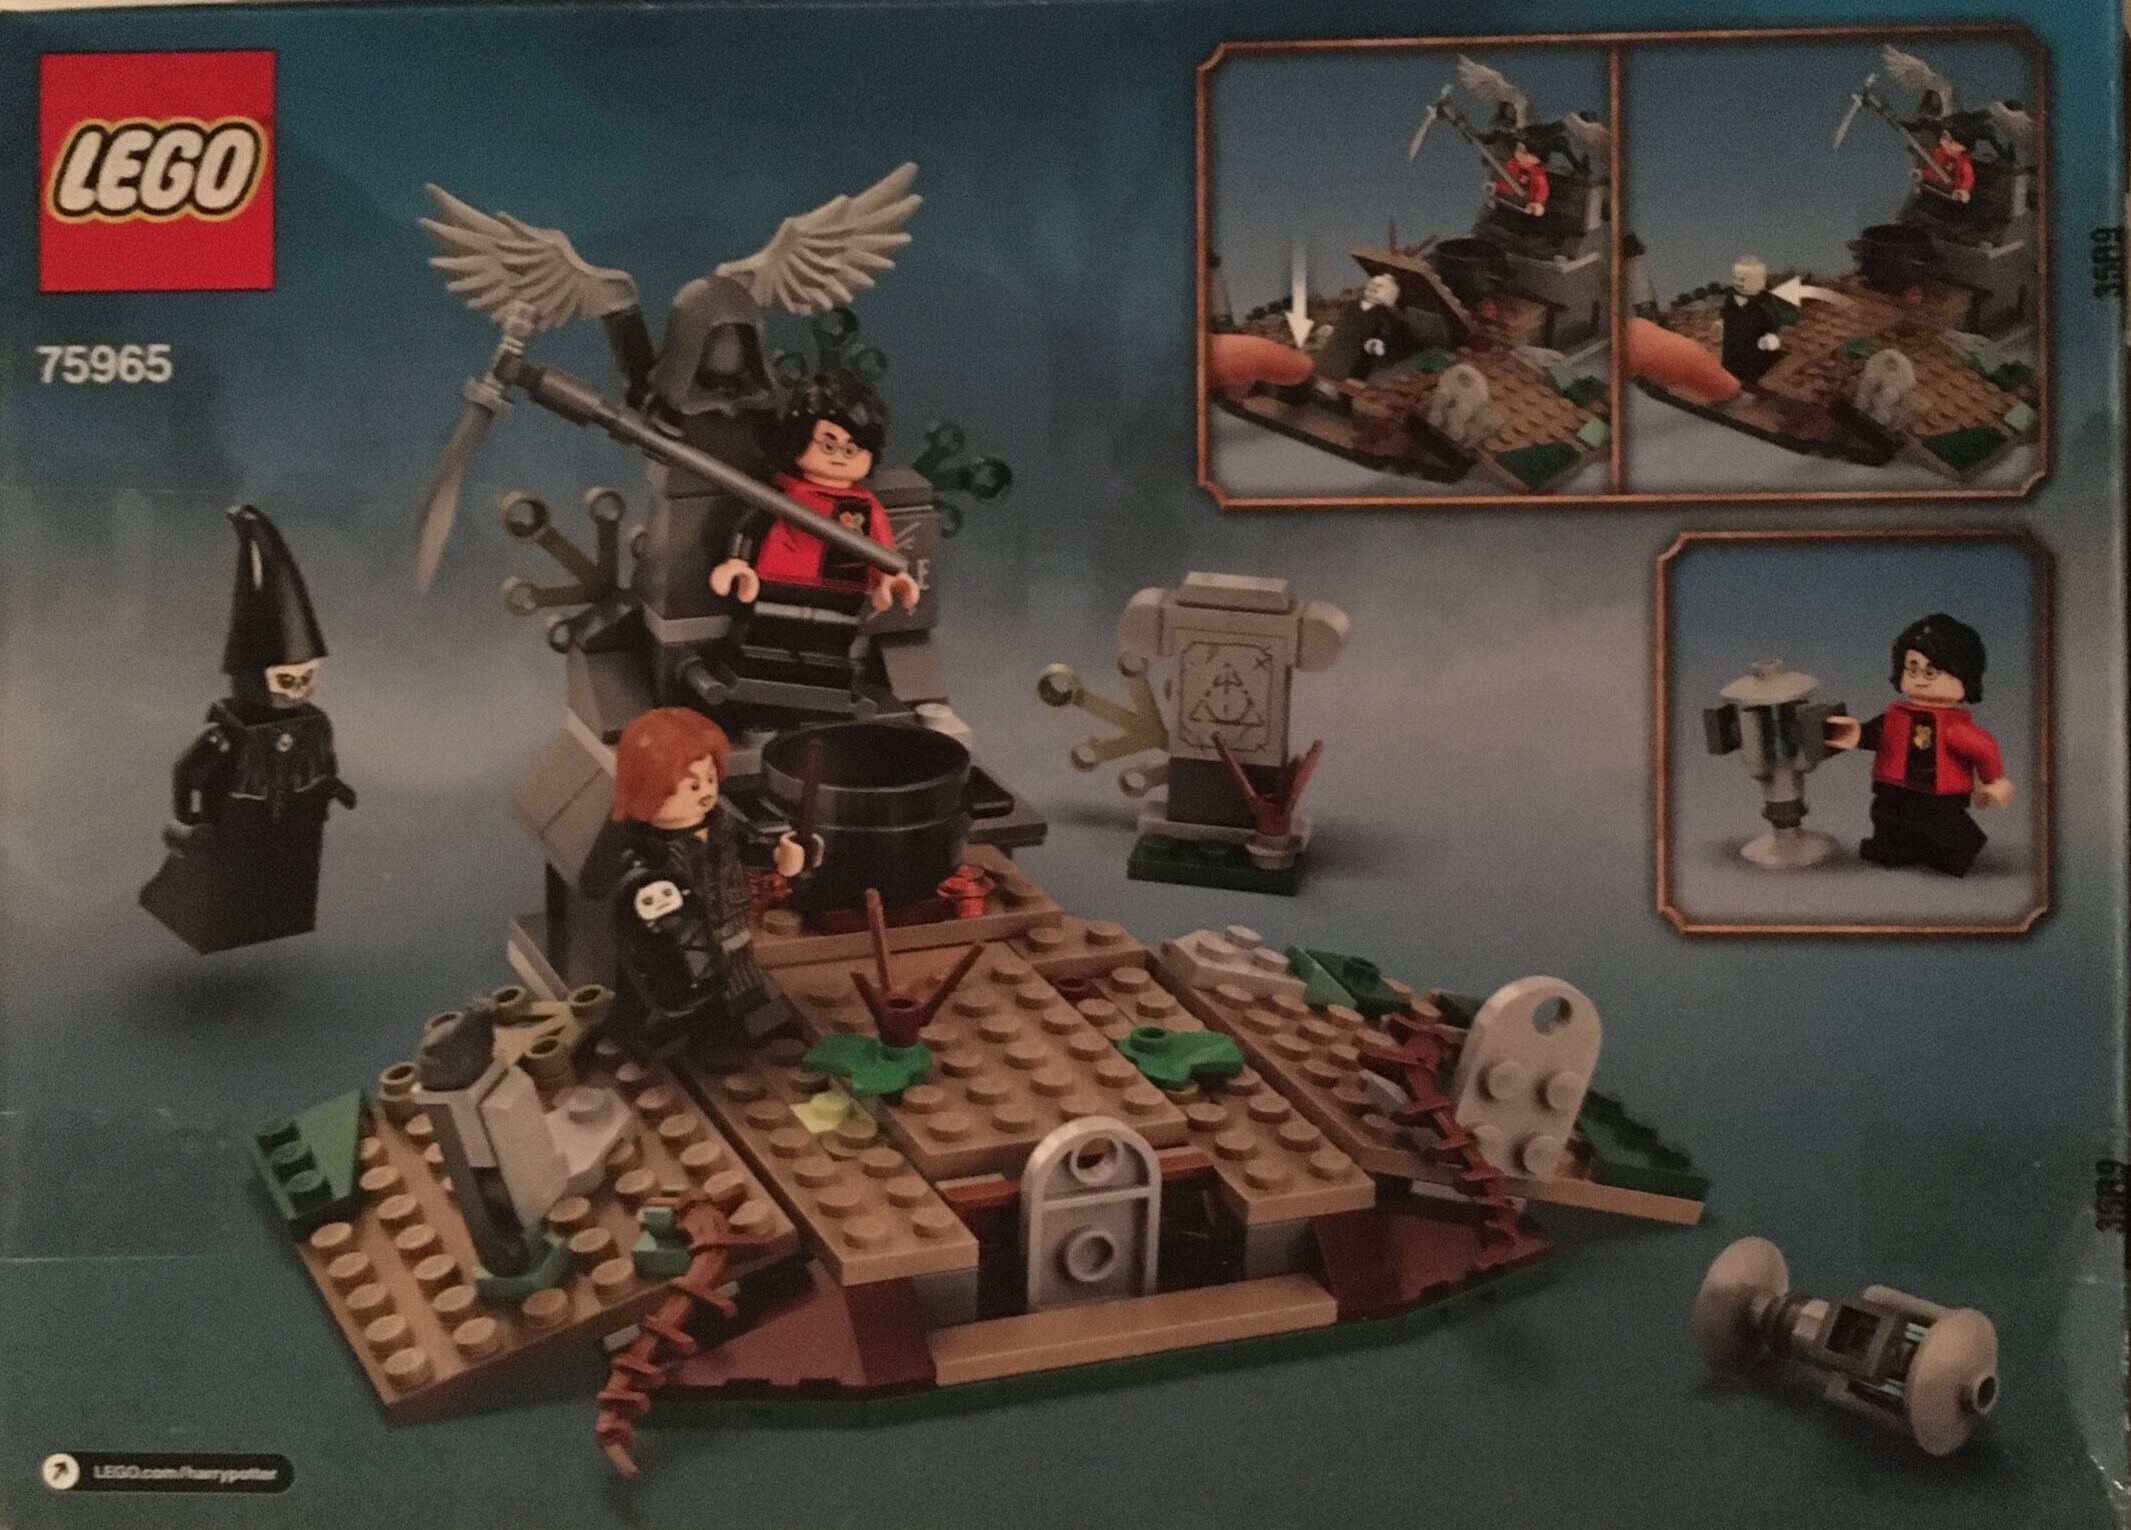
The front shows the set with the characters animated. The back shows some of the play features to include how you can have Voldemort appear out of the grave and how Harry can grab the port key.

75965_box_front.jpg
75965_box_back.jpg

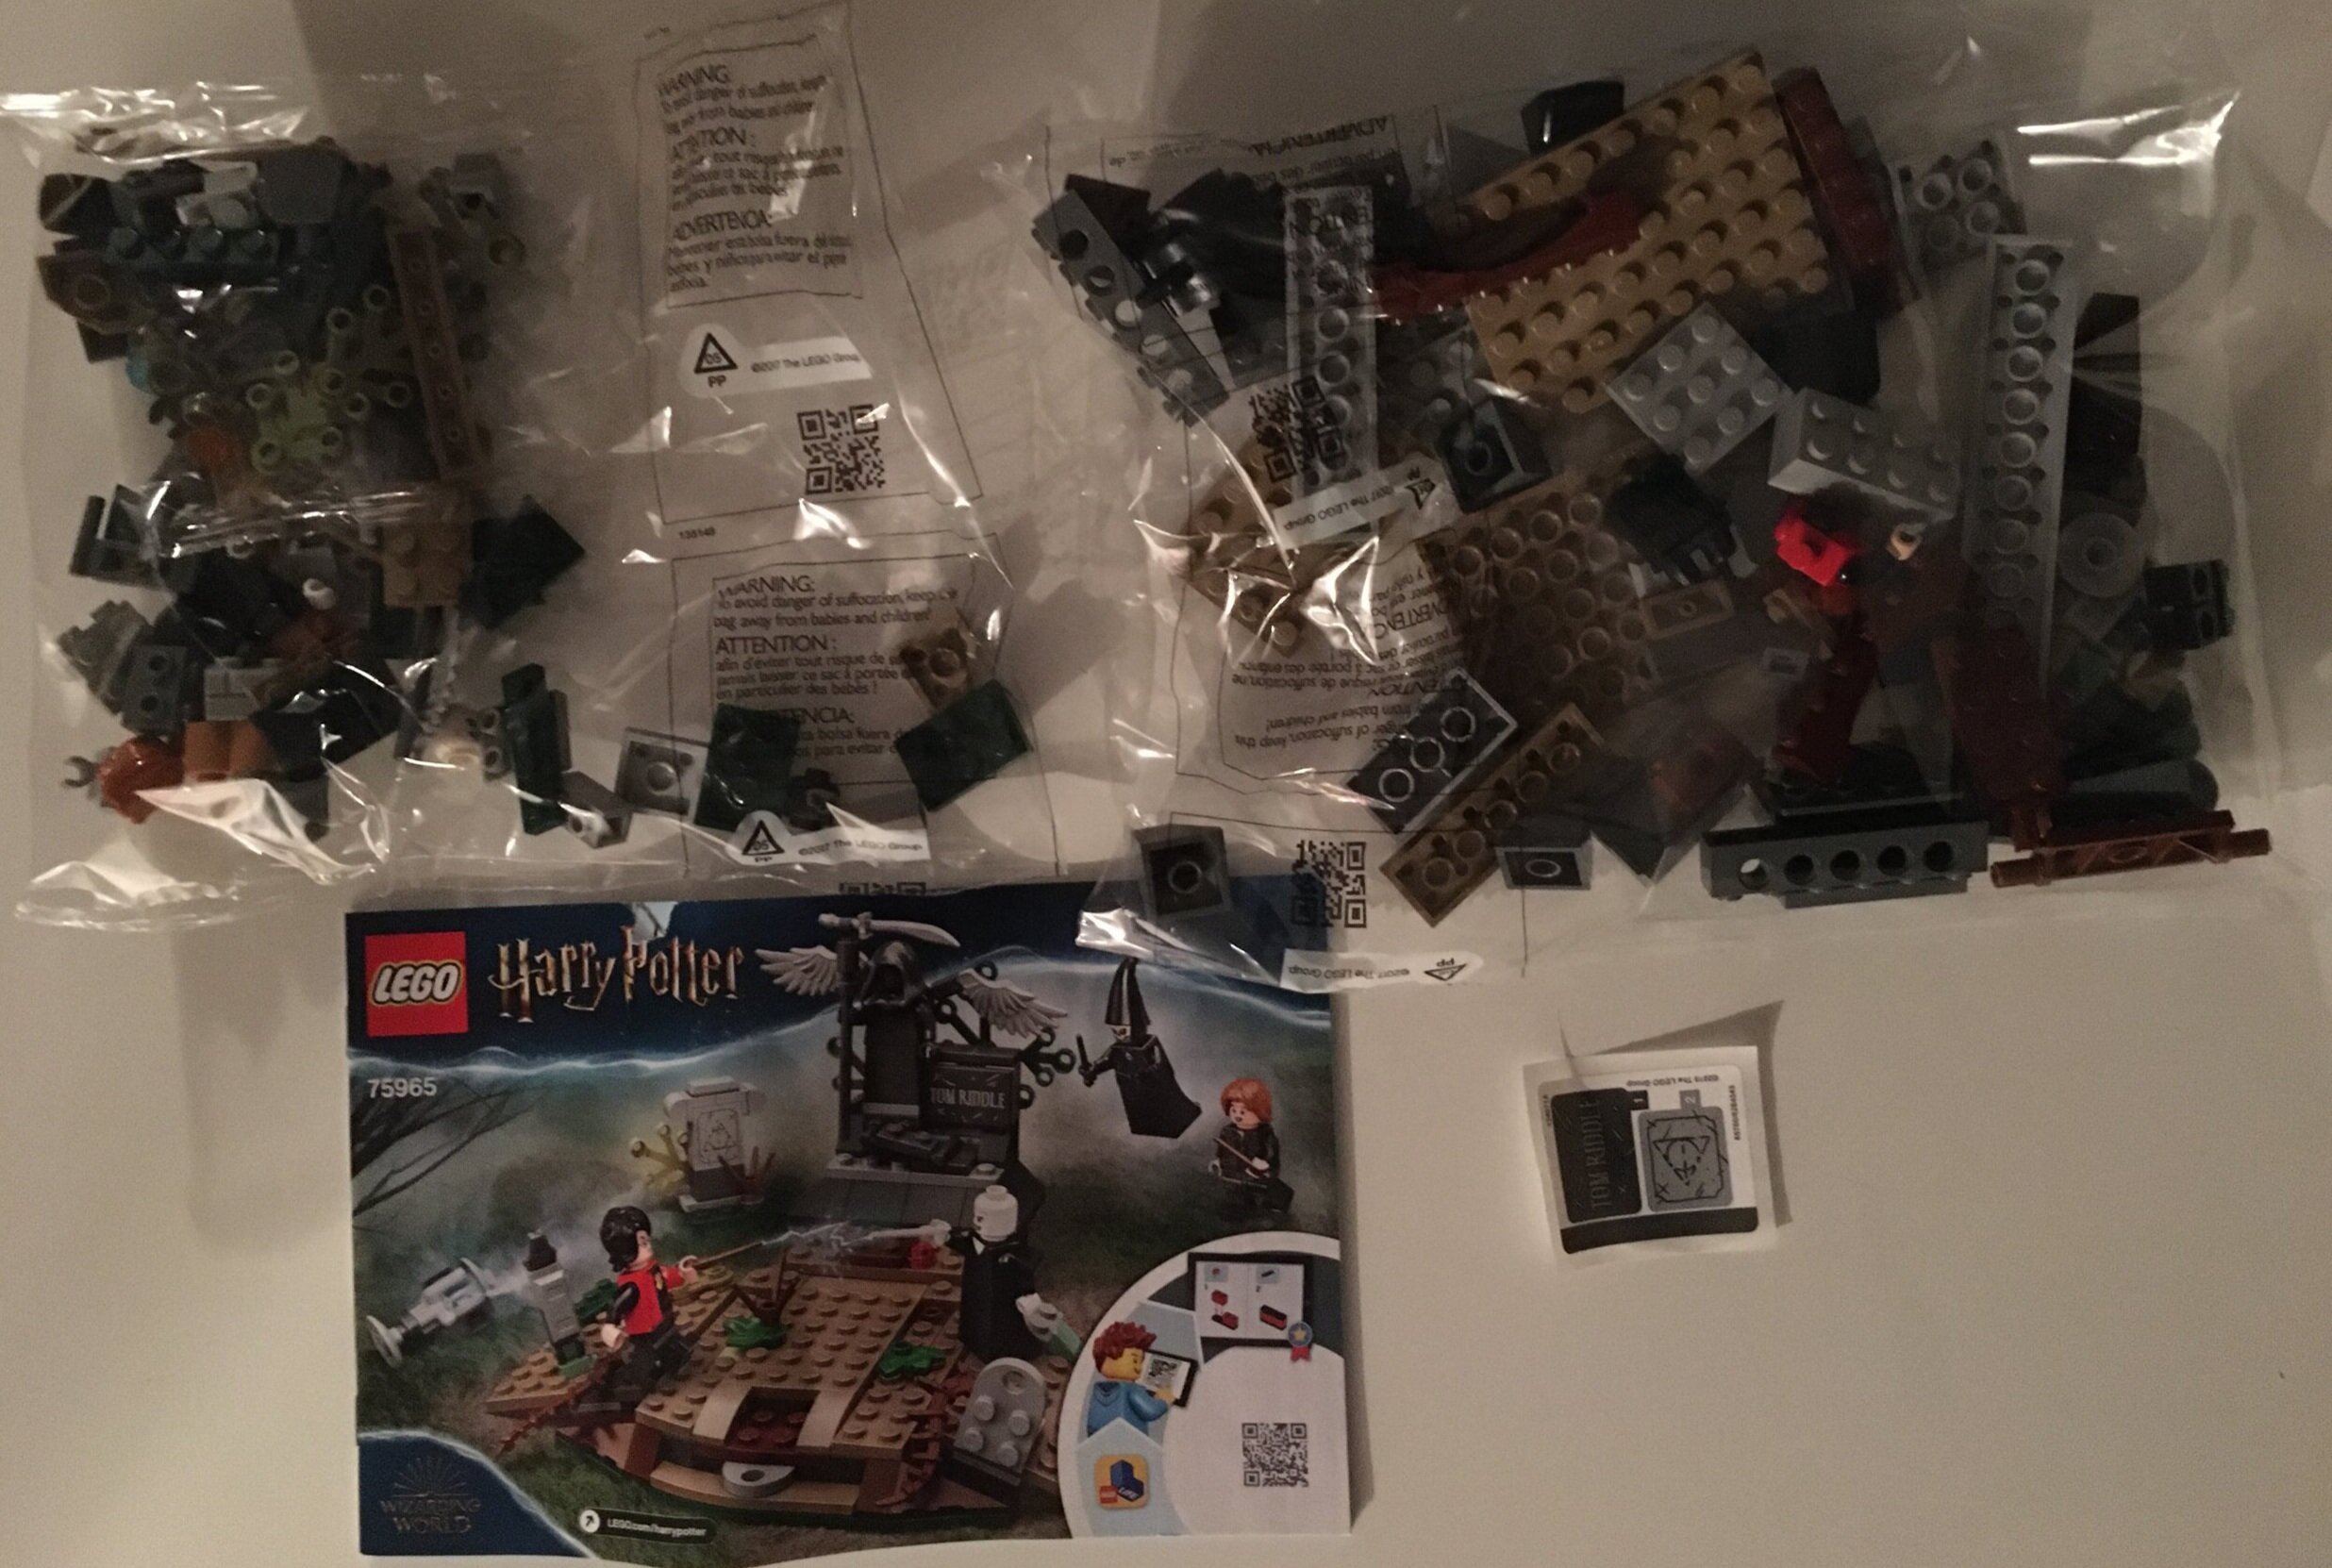
The set contains 2 parts bags, and instruction booklet, and a sticker sheet. Thankfully the sticker sheet is small with only 2 stickers.

75965_contents.jpg

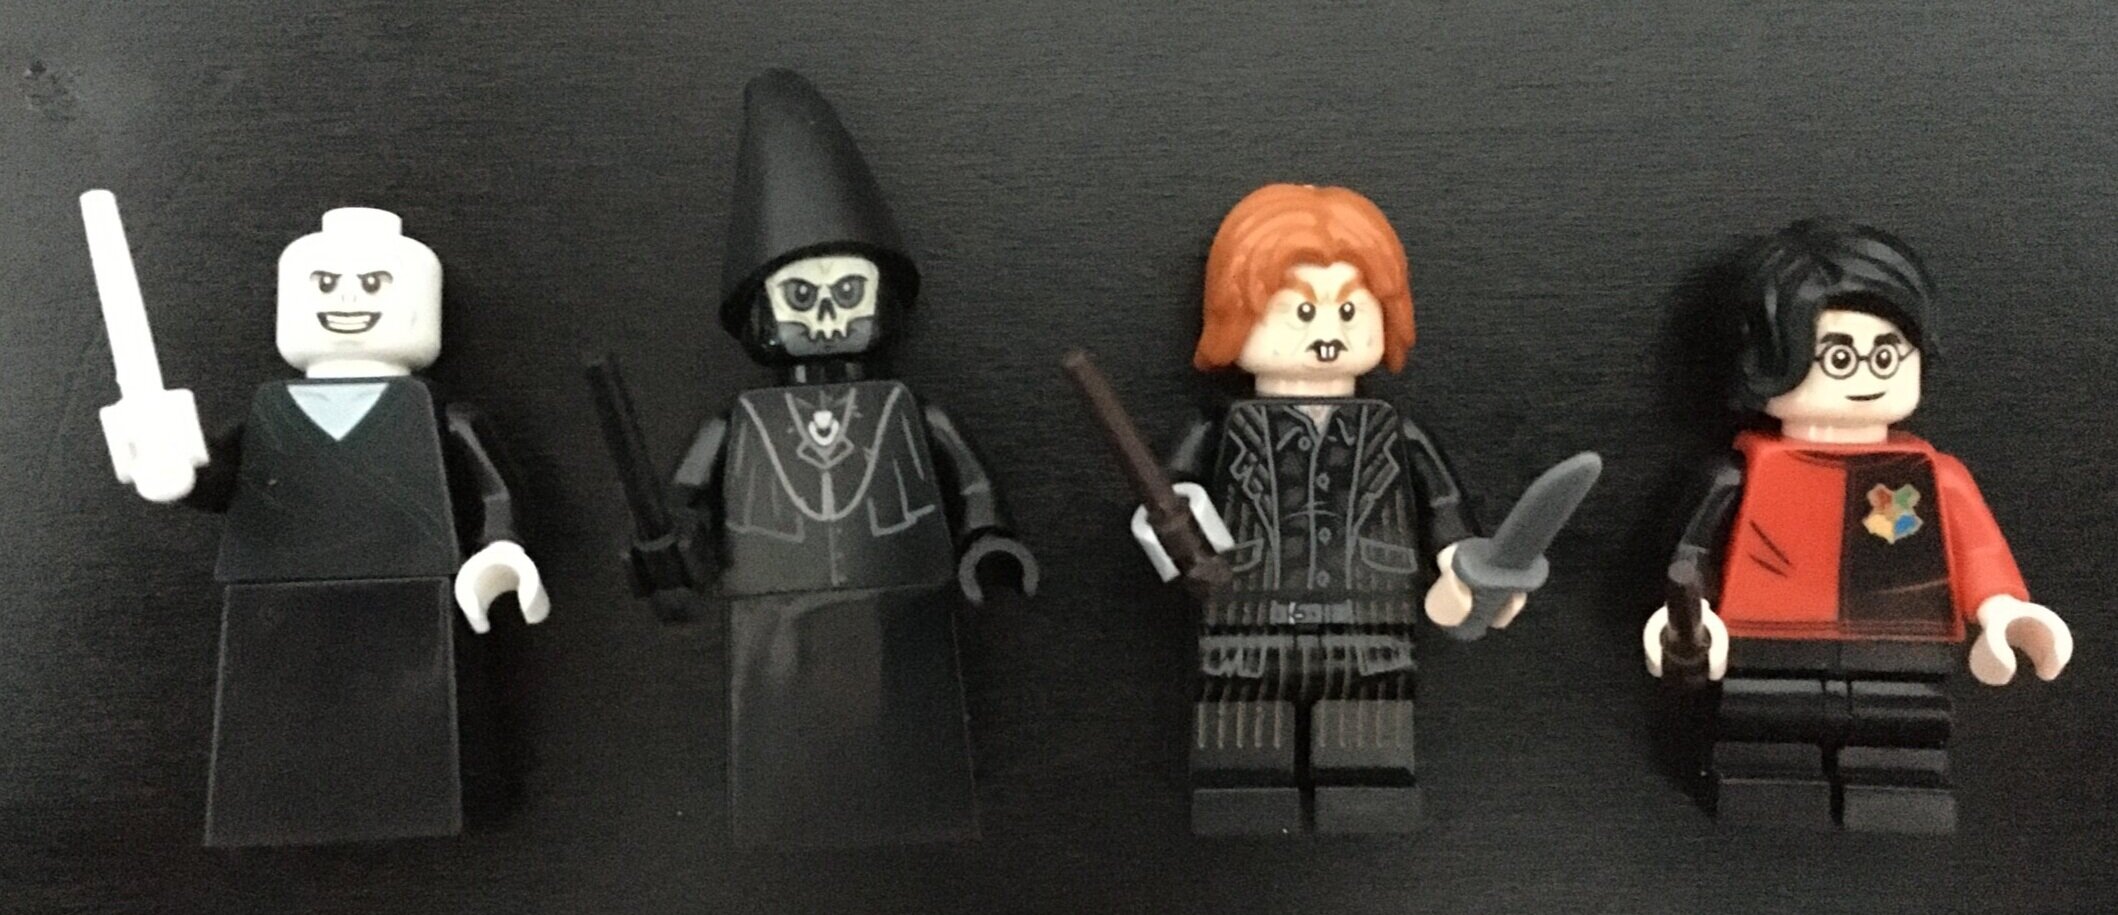
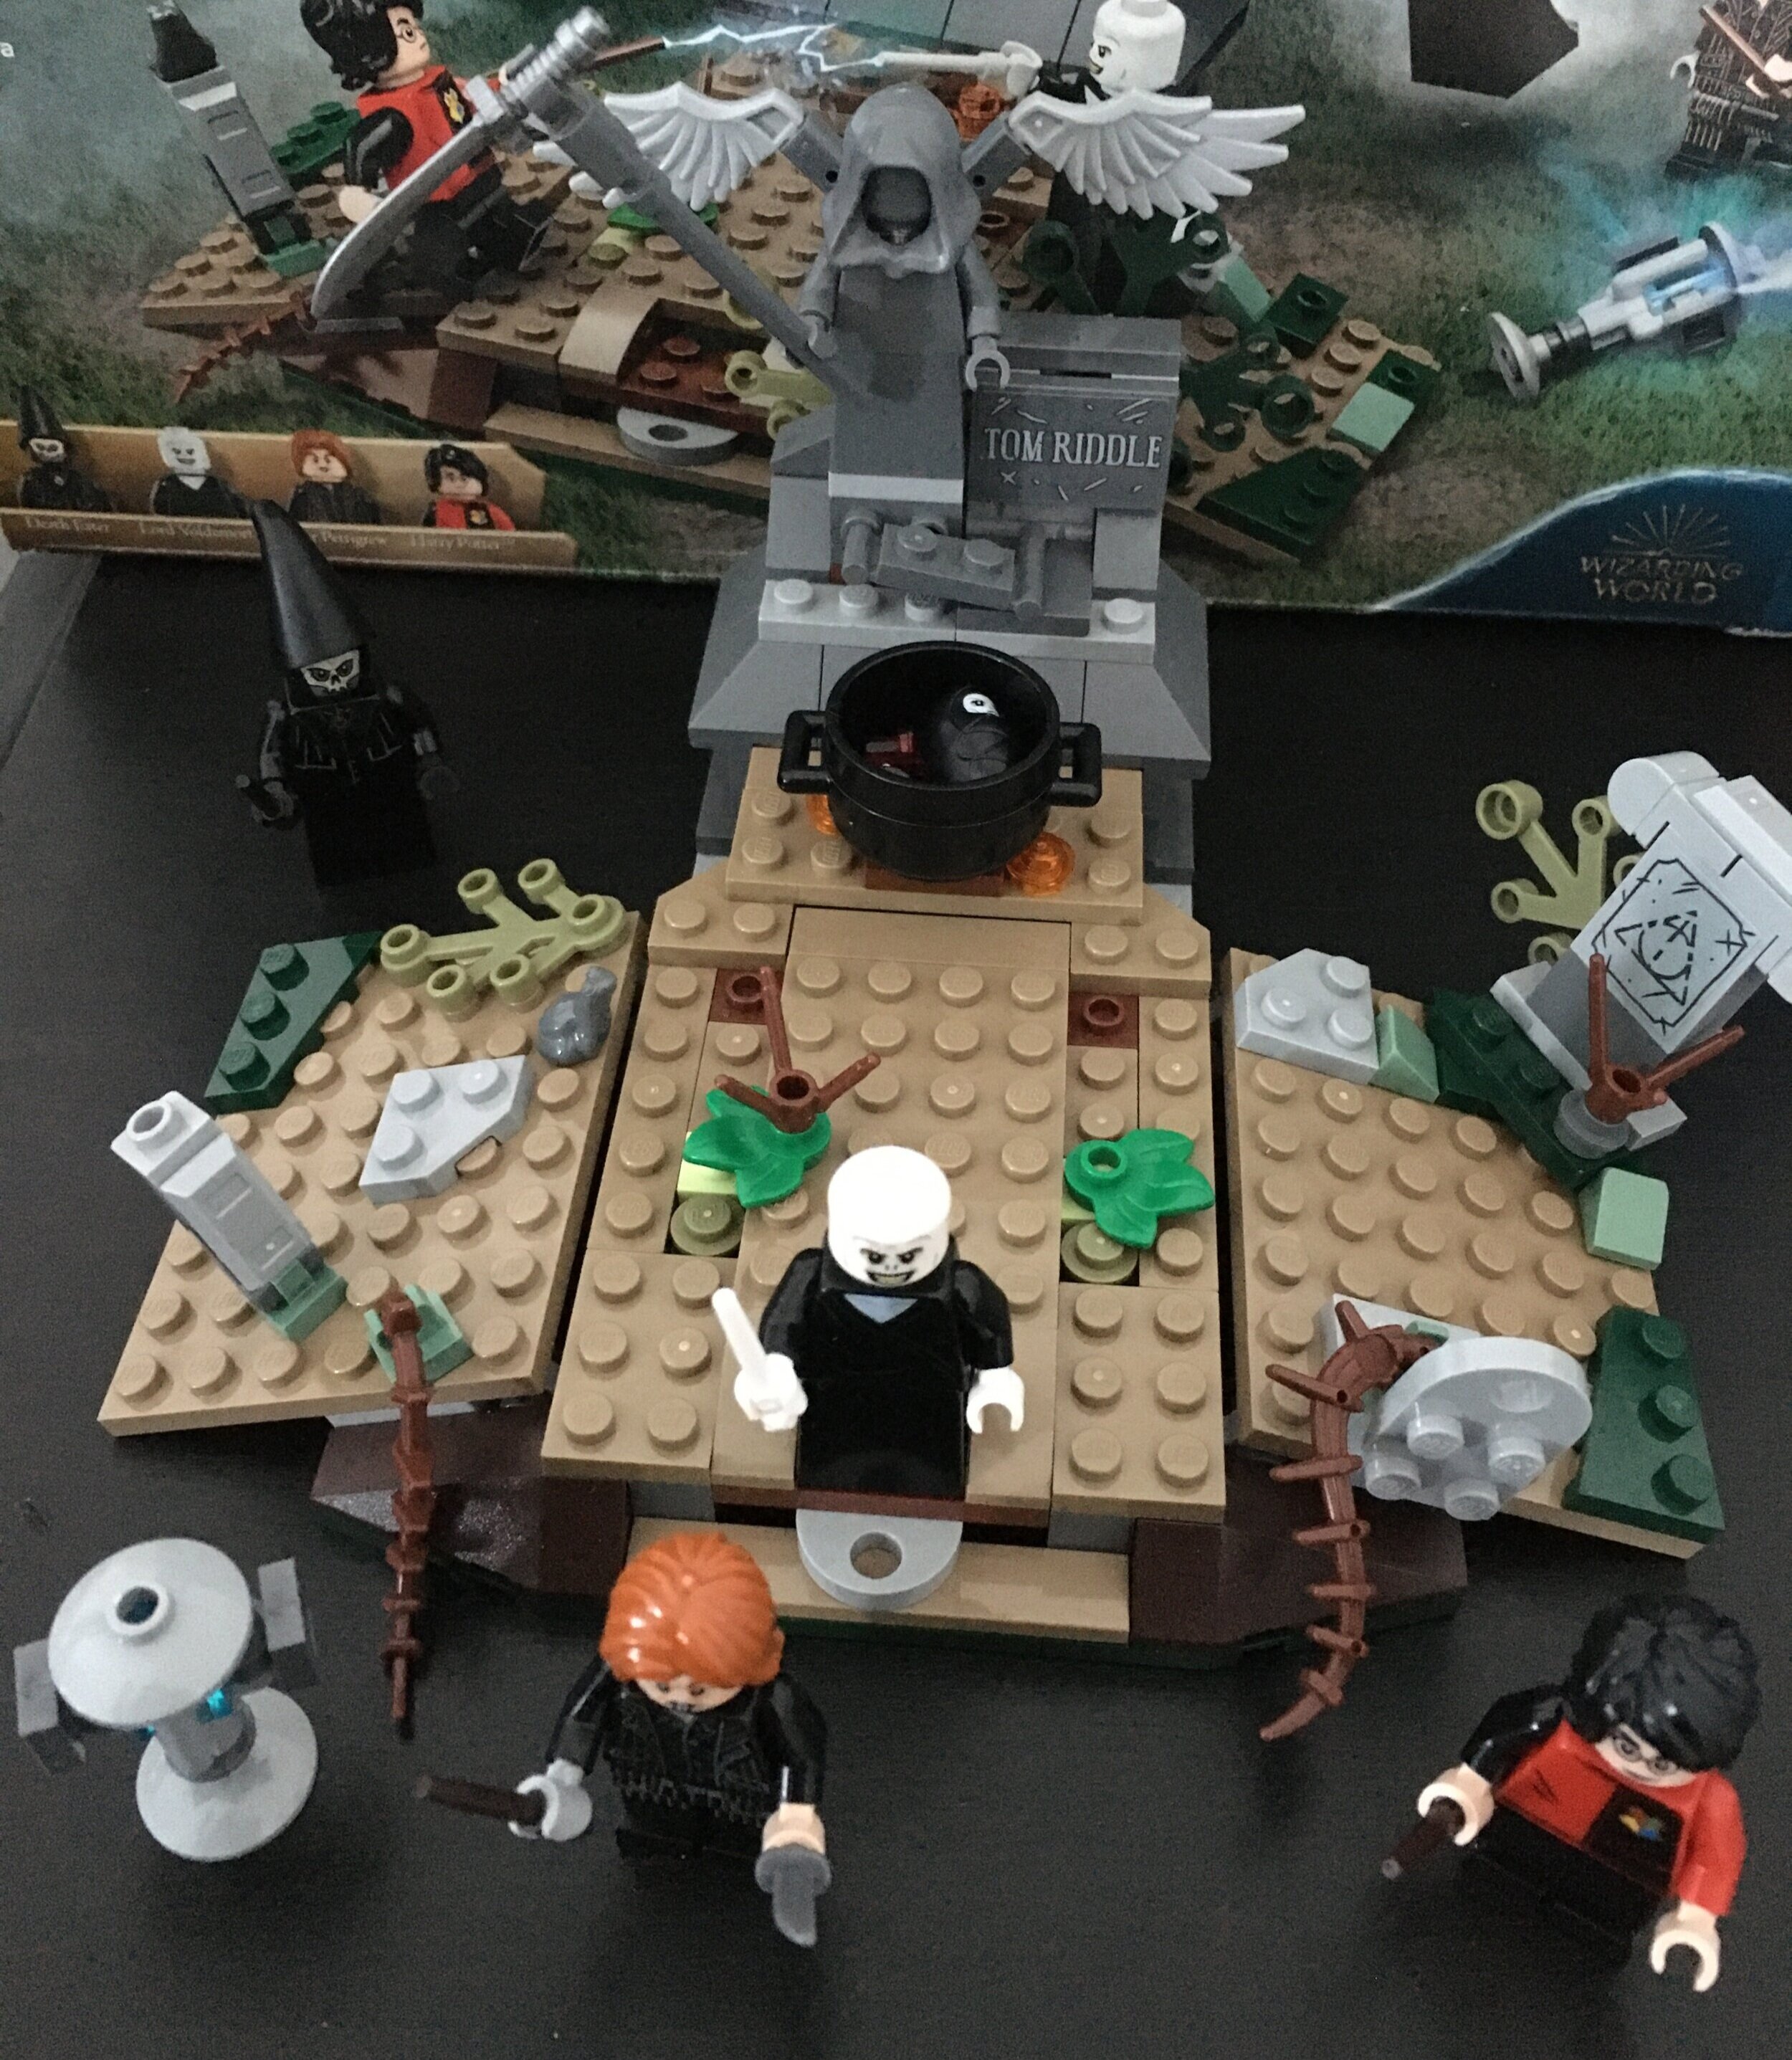
This set seems to be another minifigure pack. The 4 main minifigures are (from left to right) Voldemort with a white wand, a Death Eater with a Mask on Peter Pettigrew in human form (who has 2 facial expressions), and Harry Potter in his Tournament Uniform (he has 2 facial expressions as well).

Brickset says there are 2 additional minifigures. One is the grave statue above Tom Riddle’s grave. The second is a small baby. The grave statue plays a part as they use it to hold down Harry, but I don’t recall a baby in the movie (and I didn’t read the book). Overall, it’s a decent collection for those looking to collect Harry Potter minifigures.

75965_minifigs.jpg

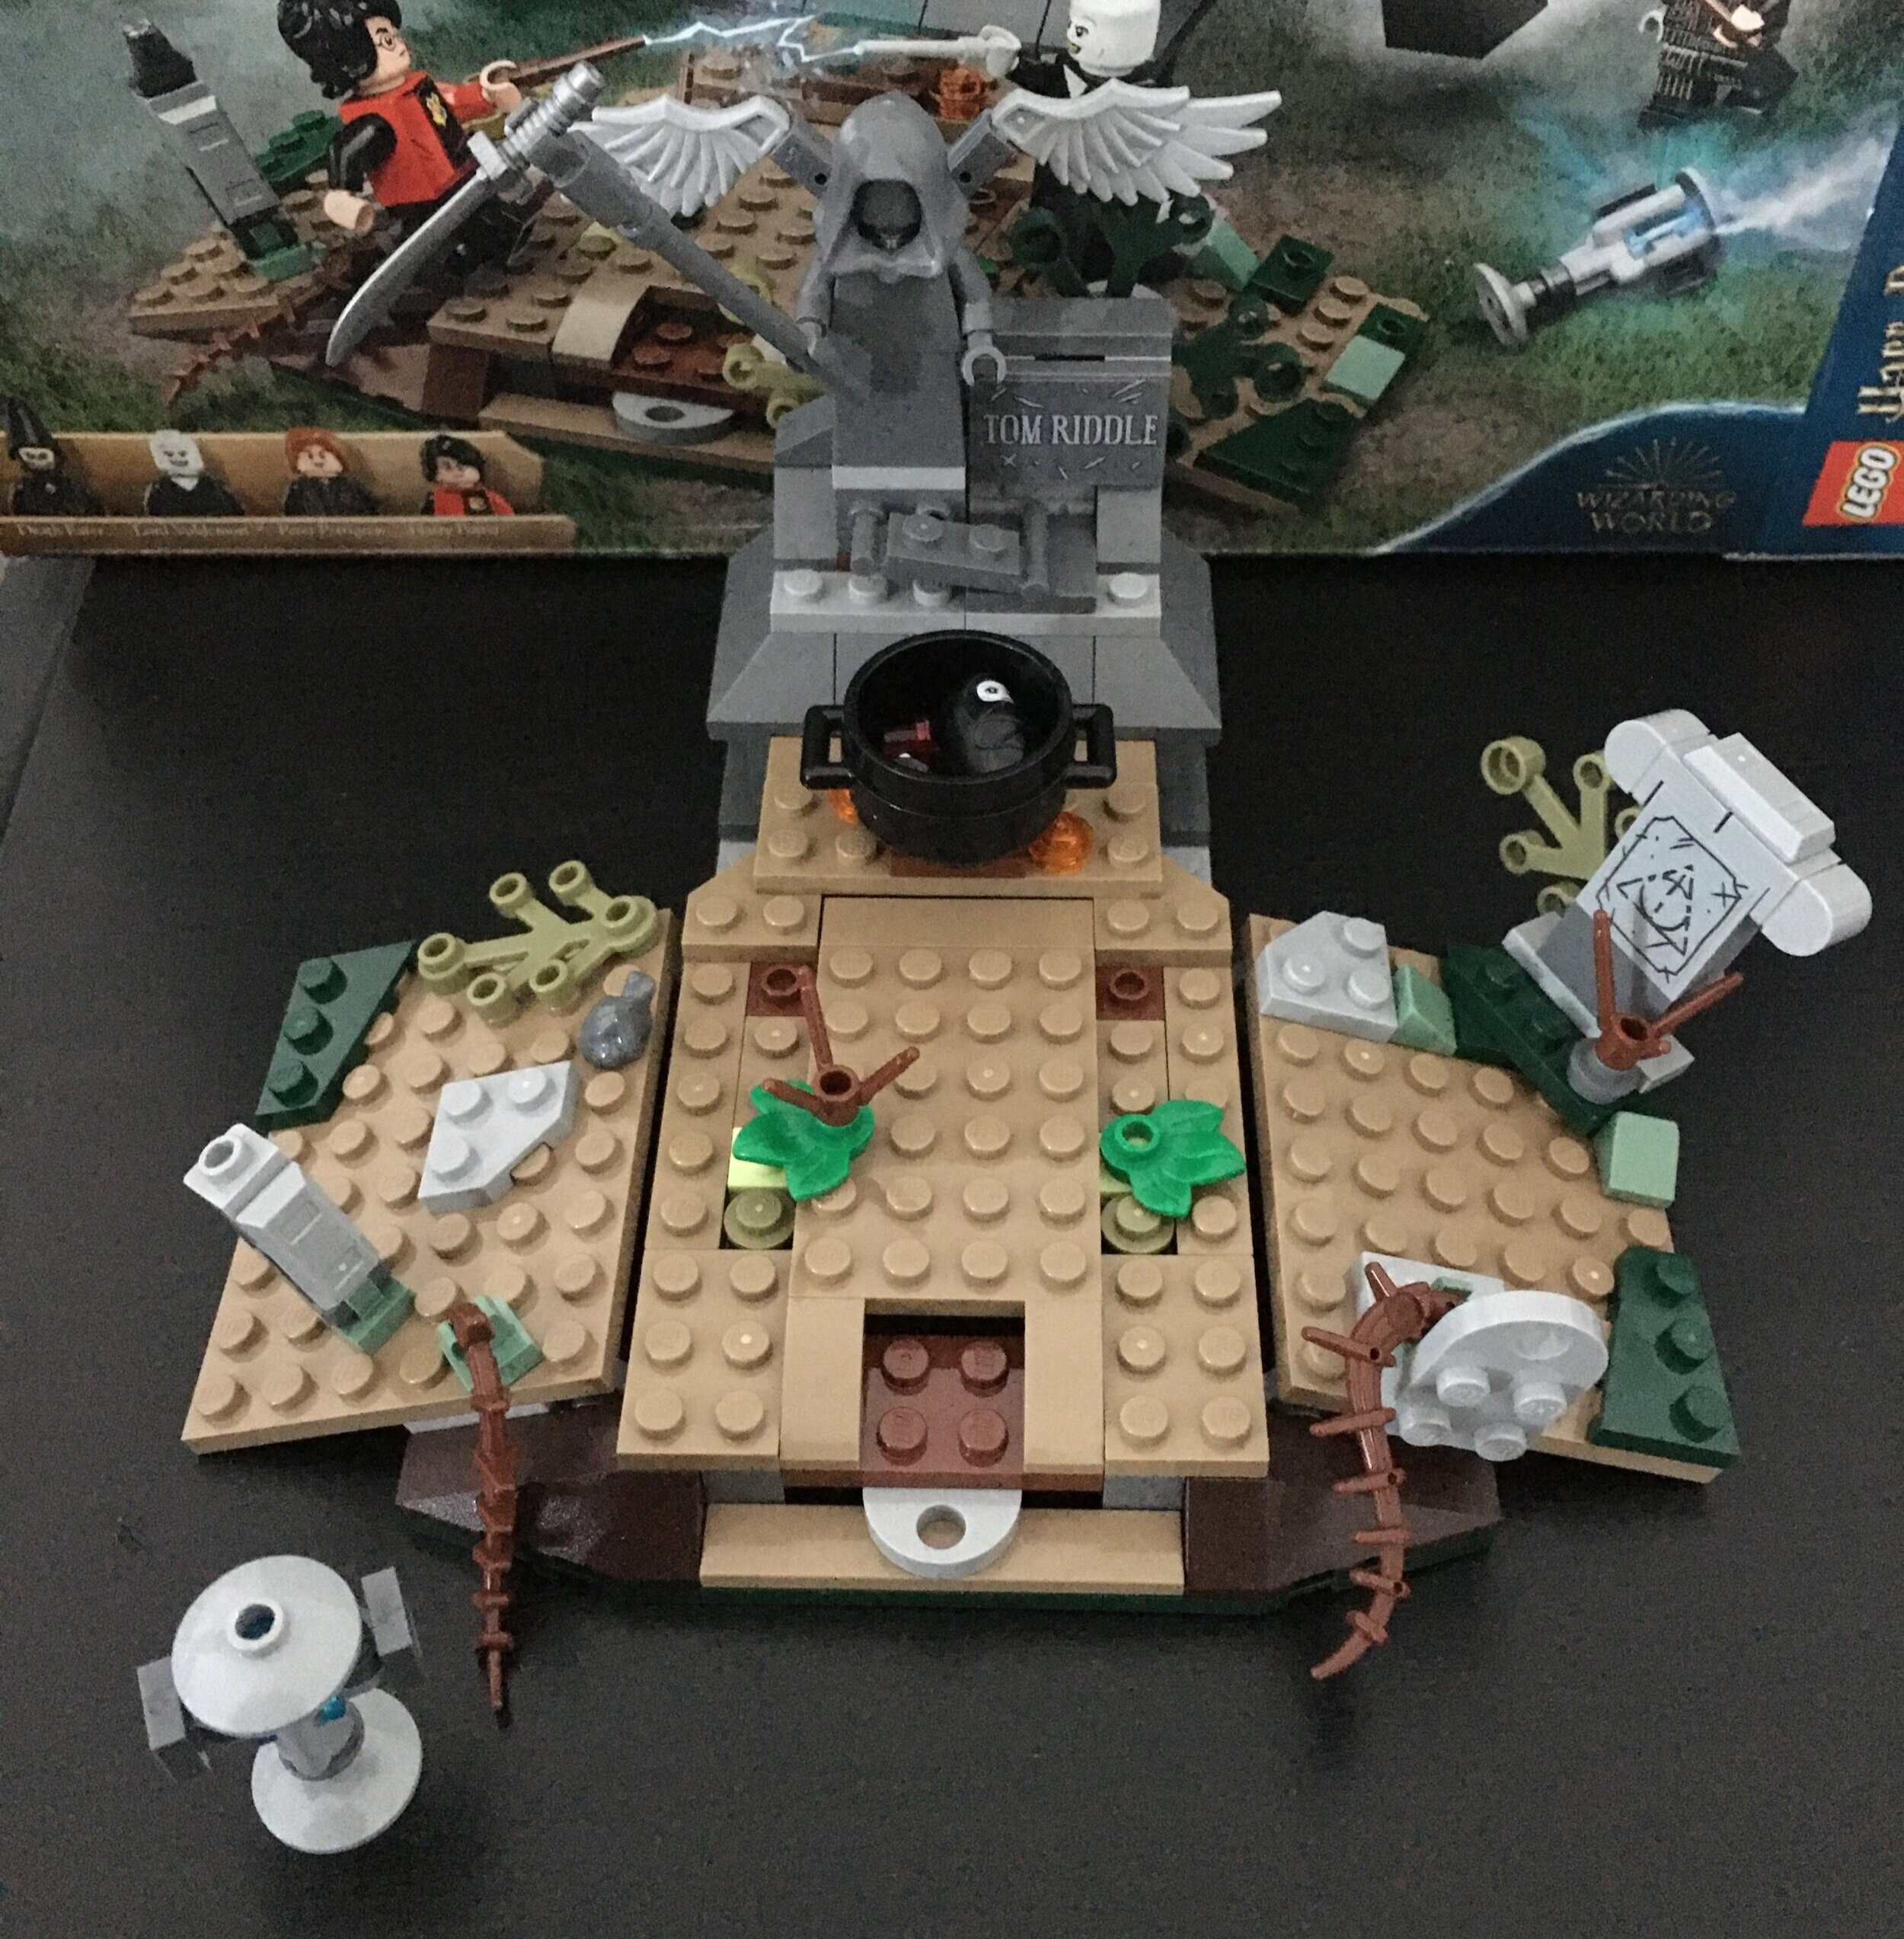
The set is pretty simple to put together. It starts with the center portion with the grave stone. Then it builds the left and right sides. In terms of detail, this set doesn’t have a lot to it. I like the use of a few plant pieces and brown plant pieces, but beyond that it is pretty bland (which is to be expected for a 184 piece set I guess). In terms of pieces for other MOCs, I like the pot piece, but after looking it up you can find it in 35 other sets so it’s not really rare. The port key is a small part of the set, but I like the build with the 1x1 translucent blue brick inside of the… um… not sure what it is called. Brickset calls it an assembly piece. Either way, I’m a fan of how that was build.

Overall, it’s not a bad set although a little violent for kids with Peter Pettigrew’s knife and the statue’s weapon type thing. It’s a rather dark set for a 7-year old in my opinion.

If you’re a Potter fan and you want the minifigures, definitely pick this set up on sale. Otherwise, I didn’t think this one was worth it even with the 20% discount I had from Amazon.com. What are your thoughts?

75965_build1.jpg
75965_final.jpg

Set Review - #21318-1: Tree House - LEGO Ideas

How are we on the 26th LEGO Ideas set already? Crazy!

#21318-1: Tree House was released in the US on 2 August 2019. It retails for $199.99 in the US and contains 3,036 pieces along with 4 minifigures. The price per piece works out to be $0.066/piece, which is decent. I had a gift card to use so it helped along with the double VIP points I earned. I read a few reviews on this one ahead of time with some mixed opinions, but I was excited to give it my own review.

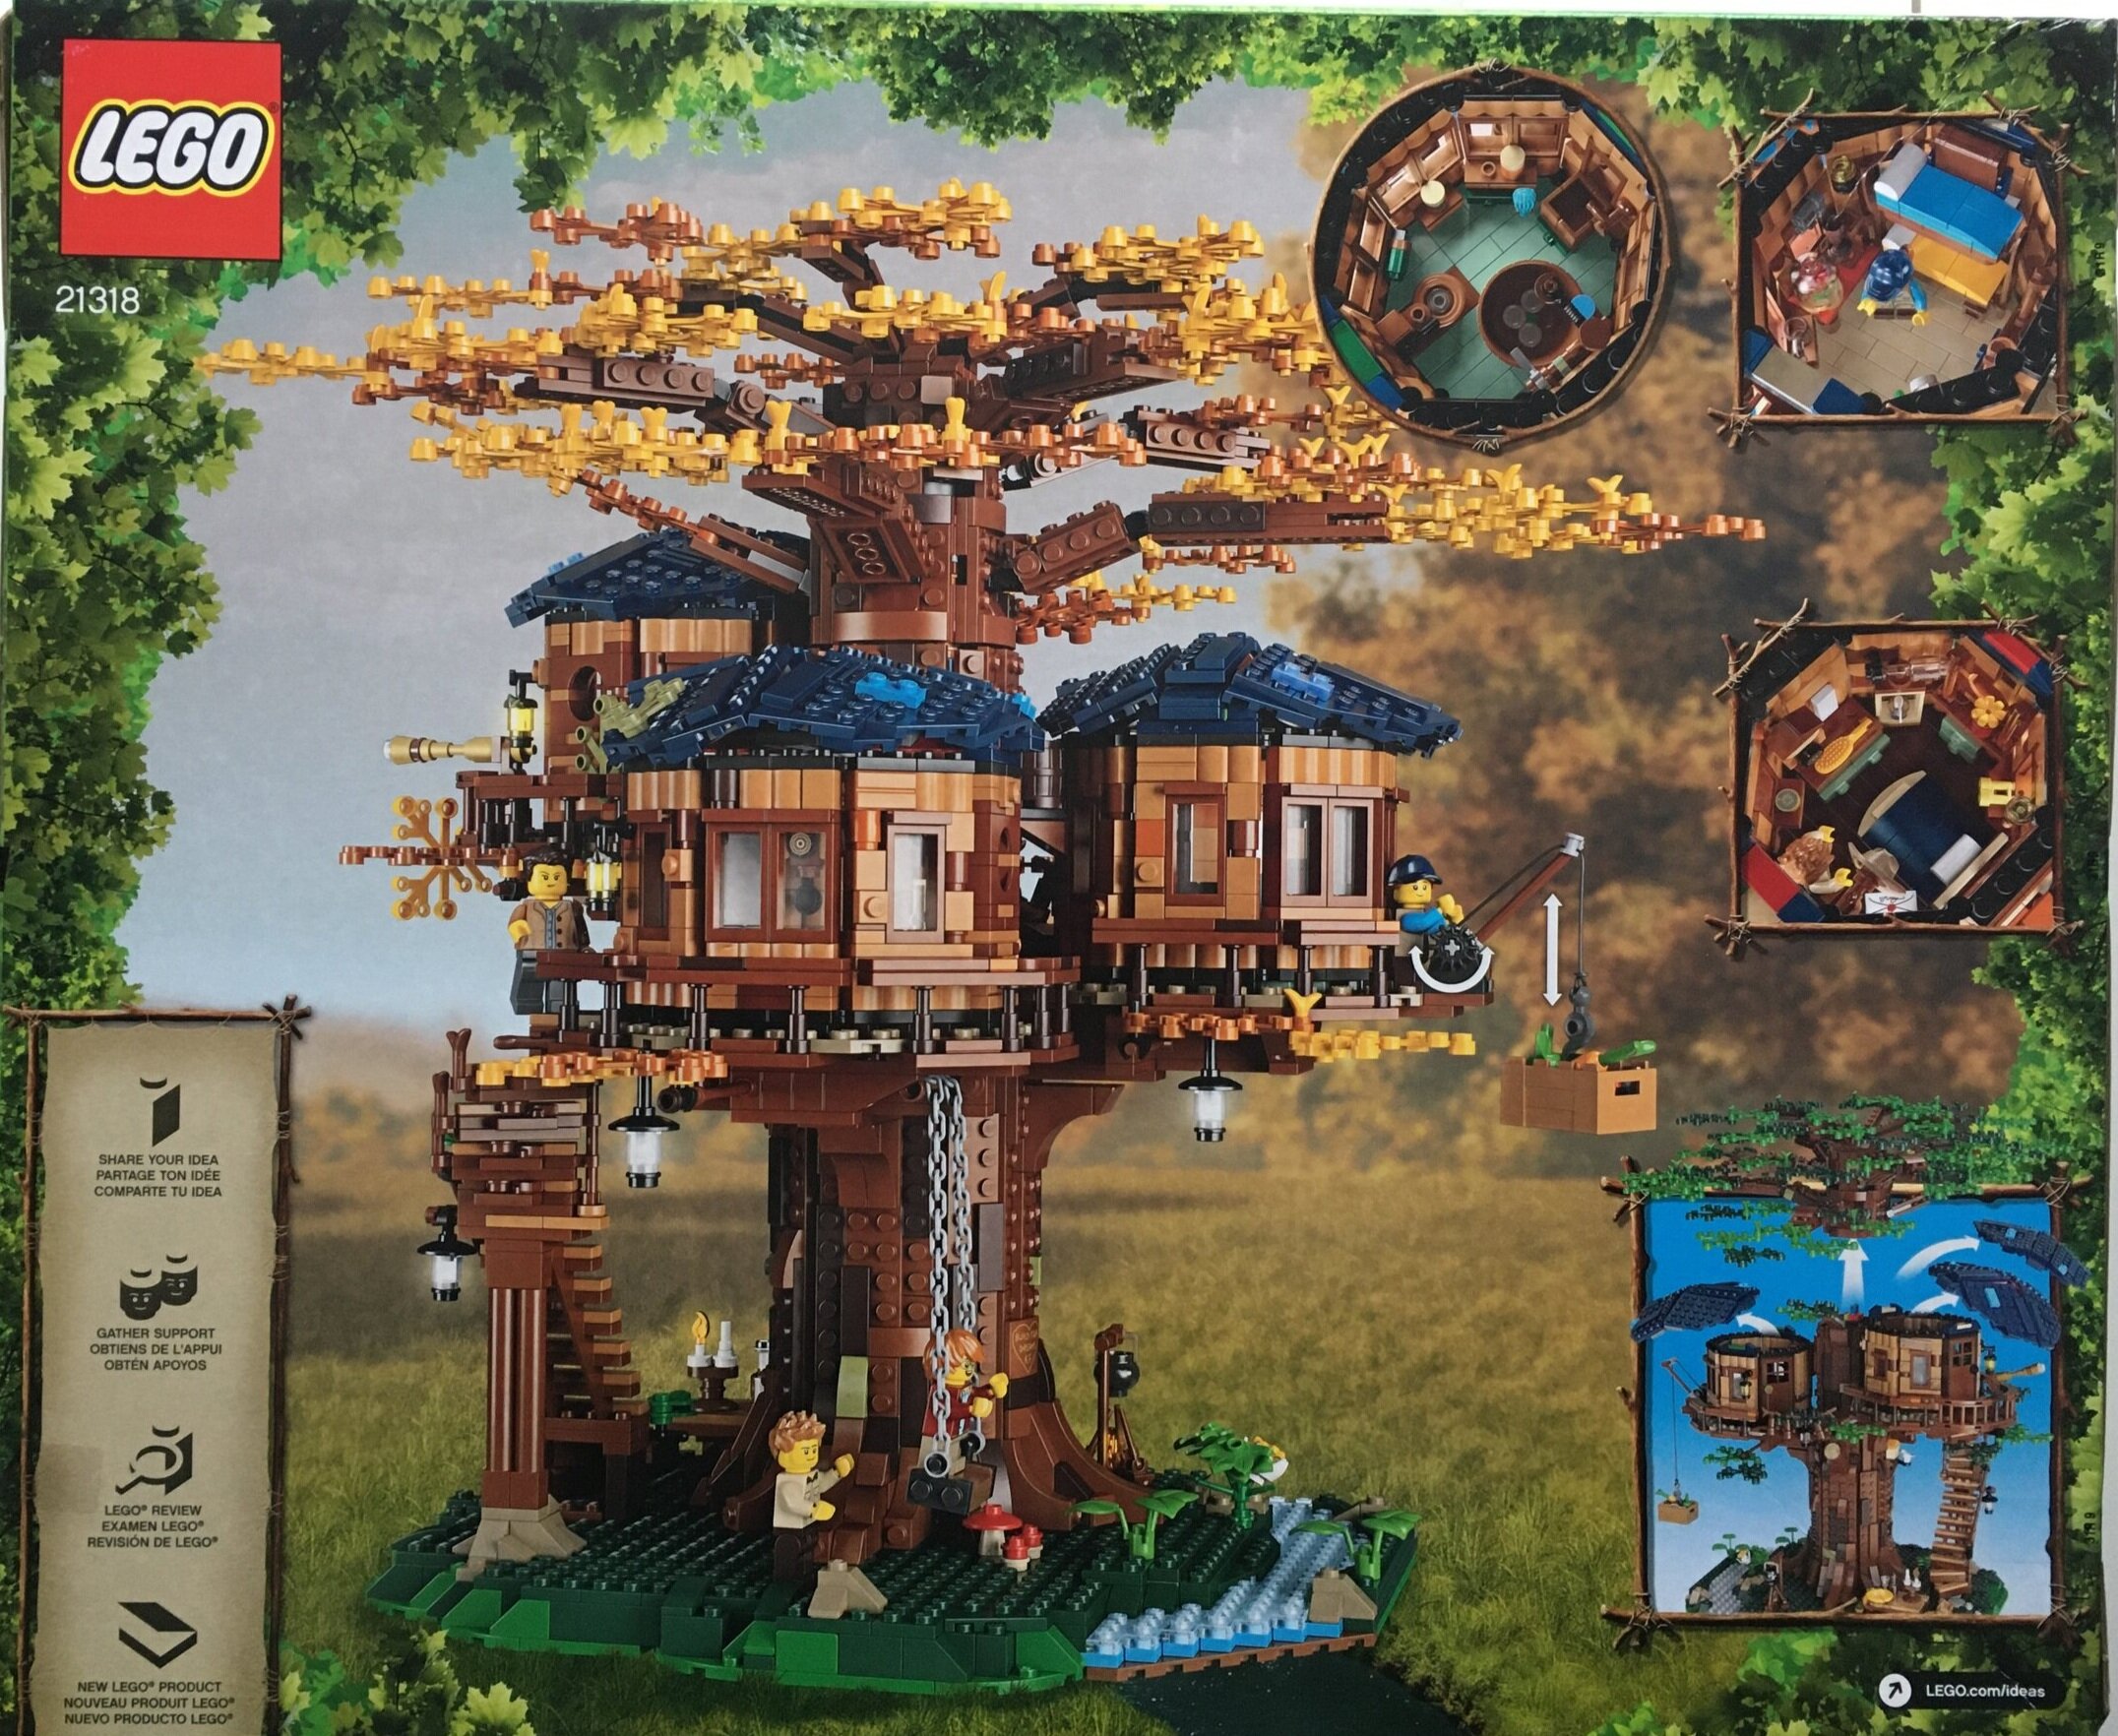
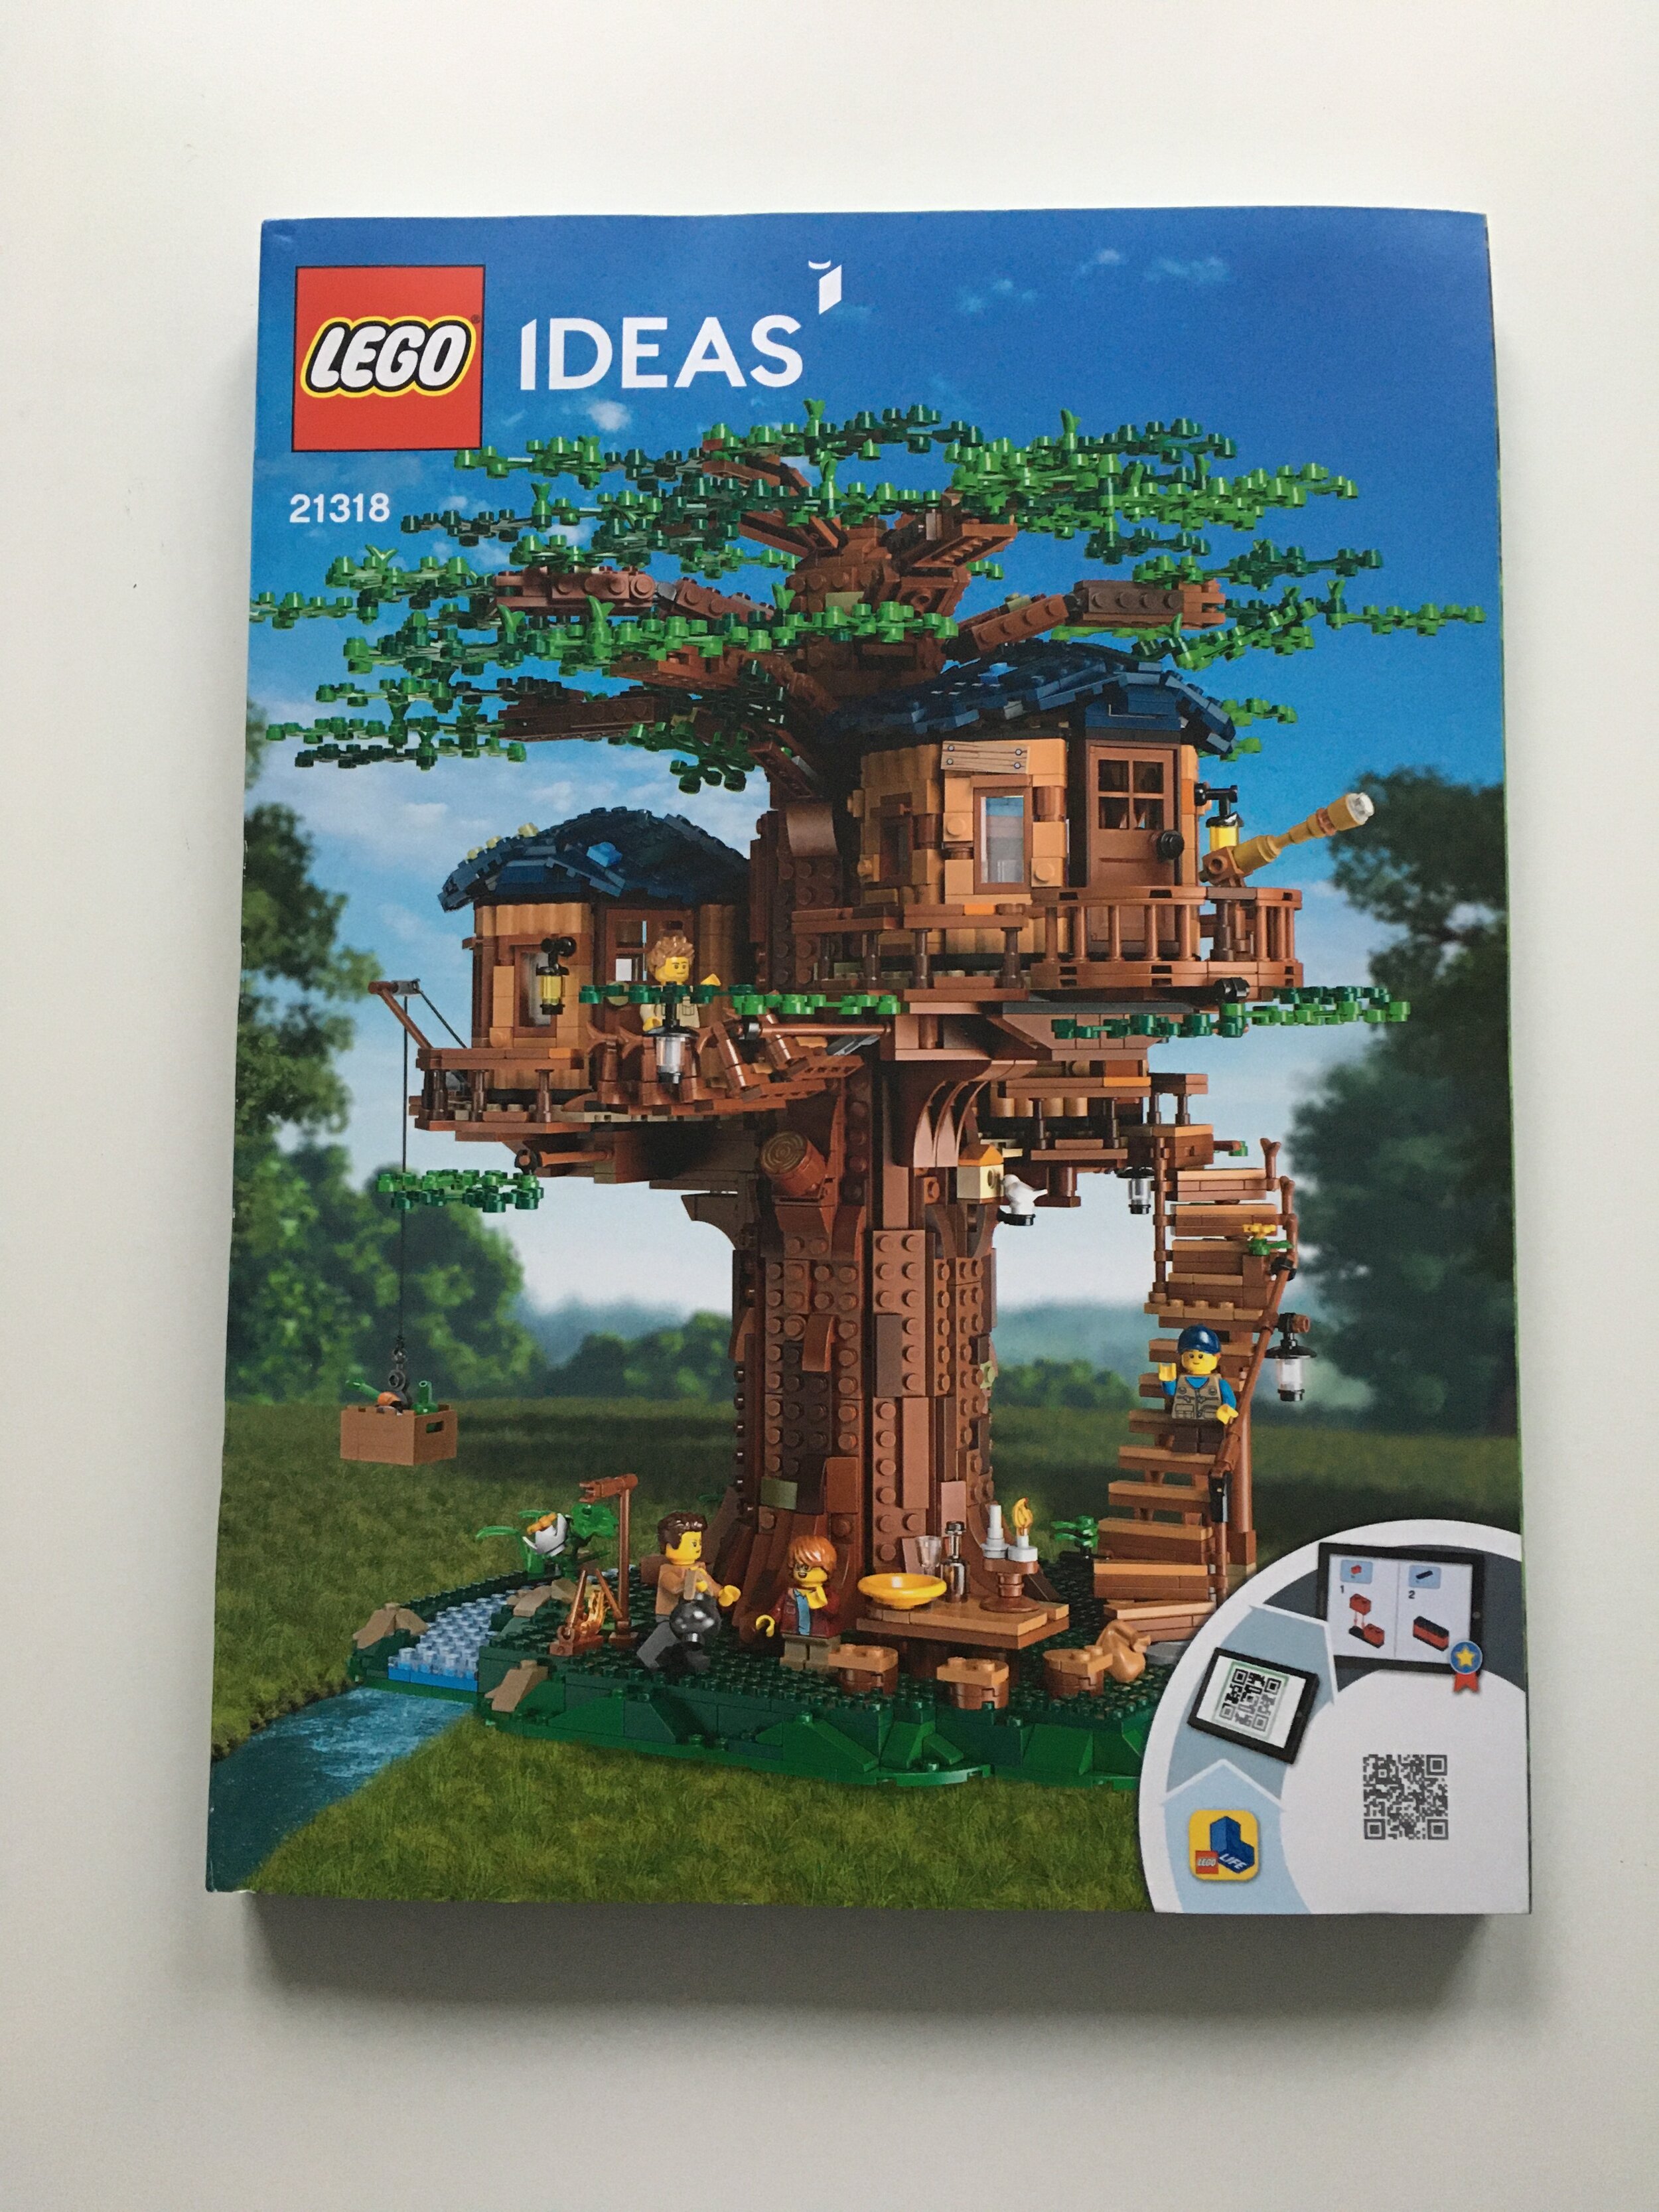
The box is quite large with the front showing the full set in the summer mode along with a small picture of the autumn mode. It also highlights the sustainable plastics used on the plant pieces. The back highlights some of the details, shows how you can remove the roofs of each of the rooms, and shows the tree house in the autumn.

21318_box_front.jpg
21318_box_back.jpg

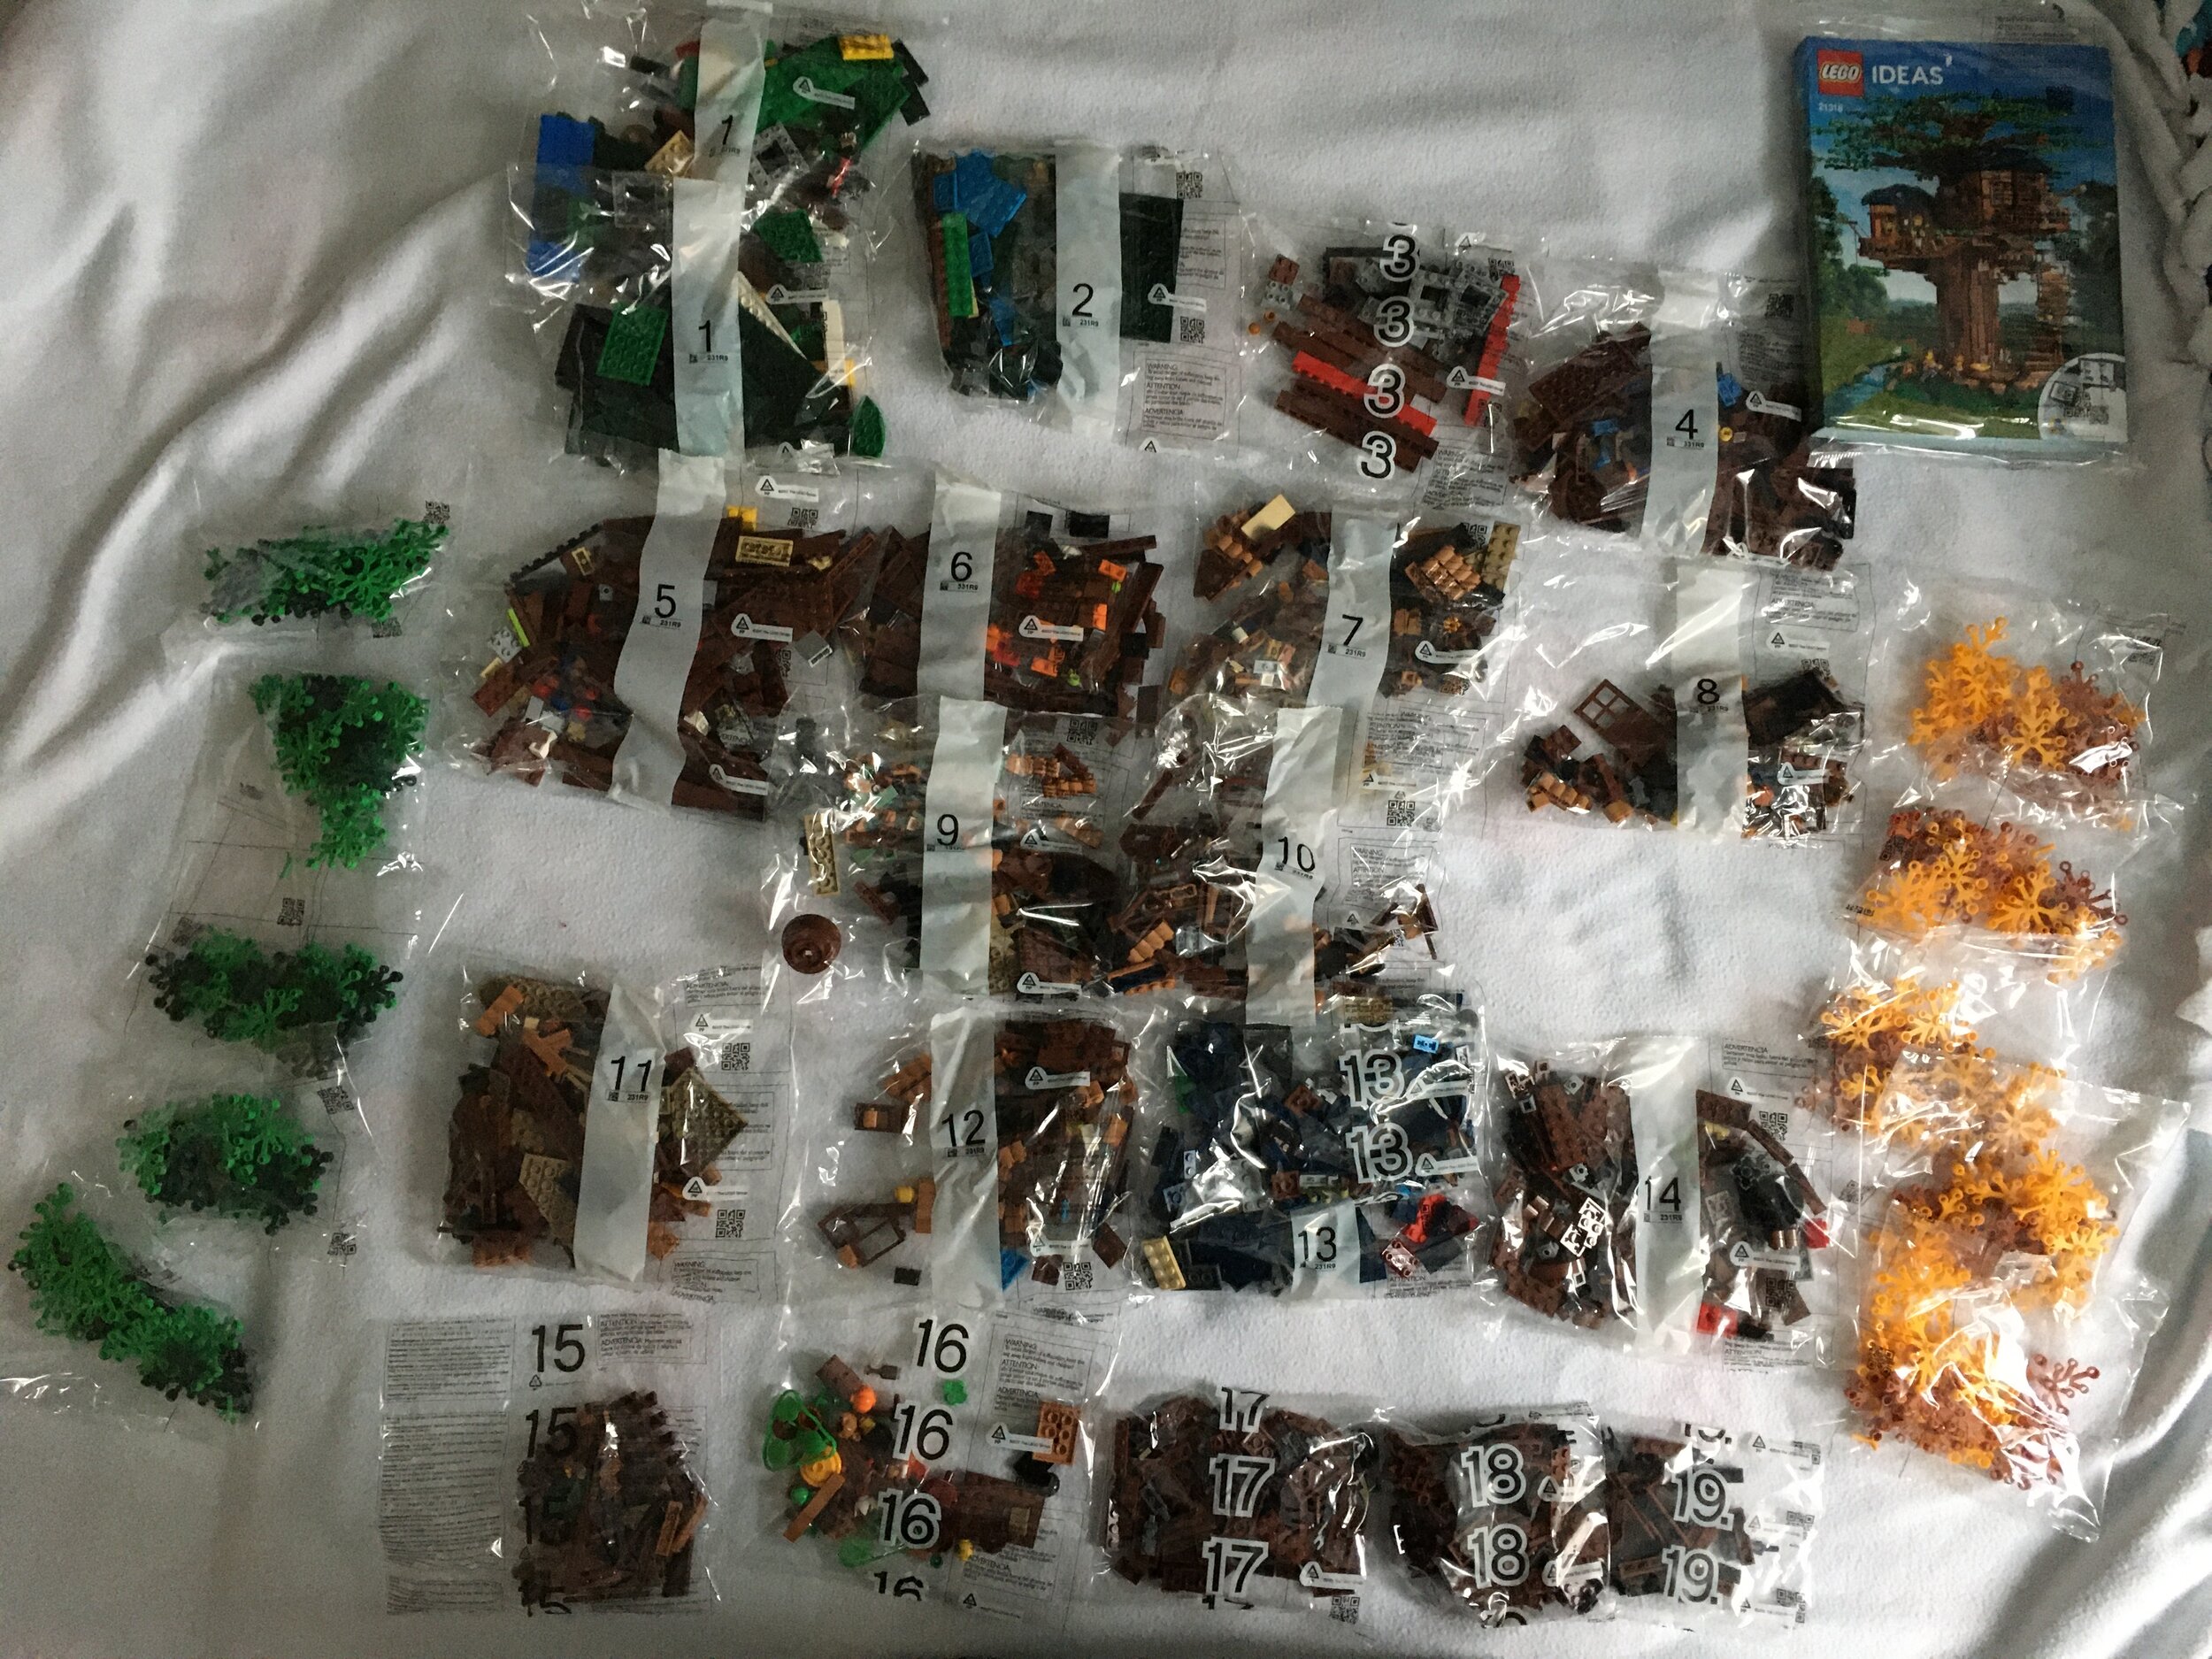
The box contains 16 part bags and then another box with part bags in it. The full set contains 19 numbered bags. There are two bags numbered 1 and then one bag each through number 19. There are 5 bags each for the summer leaves and autumn leaves. The instruction book is wrapped in plastic to prevent damage.

21318_contents1.jpg
21318_contents2.jpg

The instruction book has 431 pages total. Like other Ideas sets, this one has some information about the fan designer and the LEGO designer.

21318_instructions.jpg
21318_instructions2.jpg

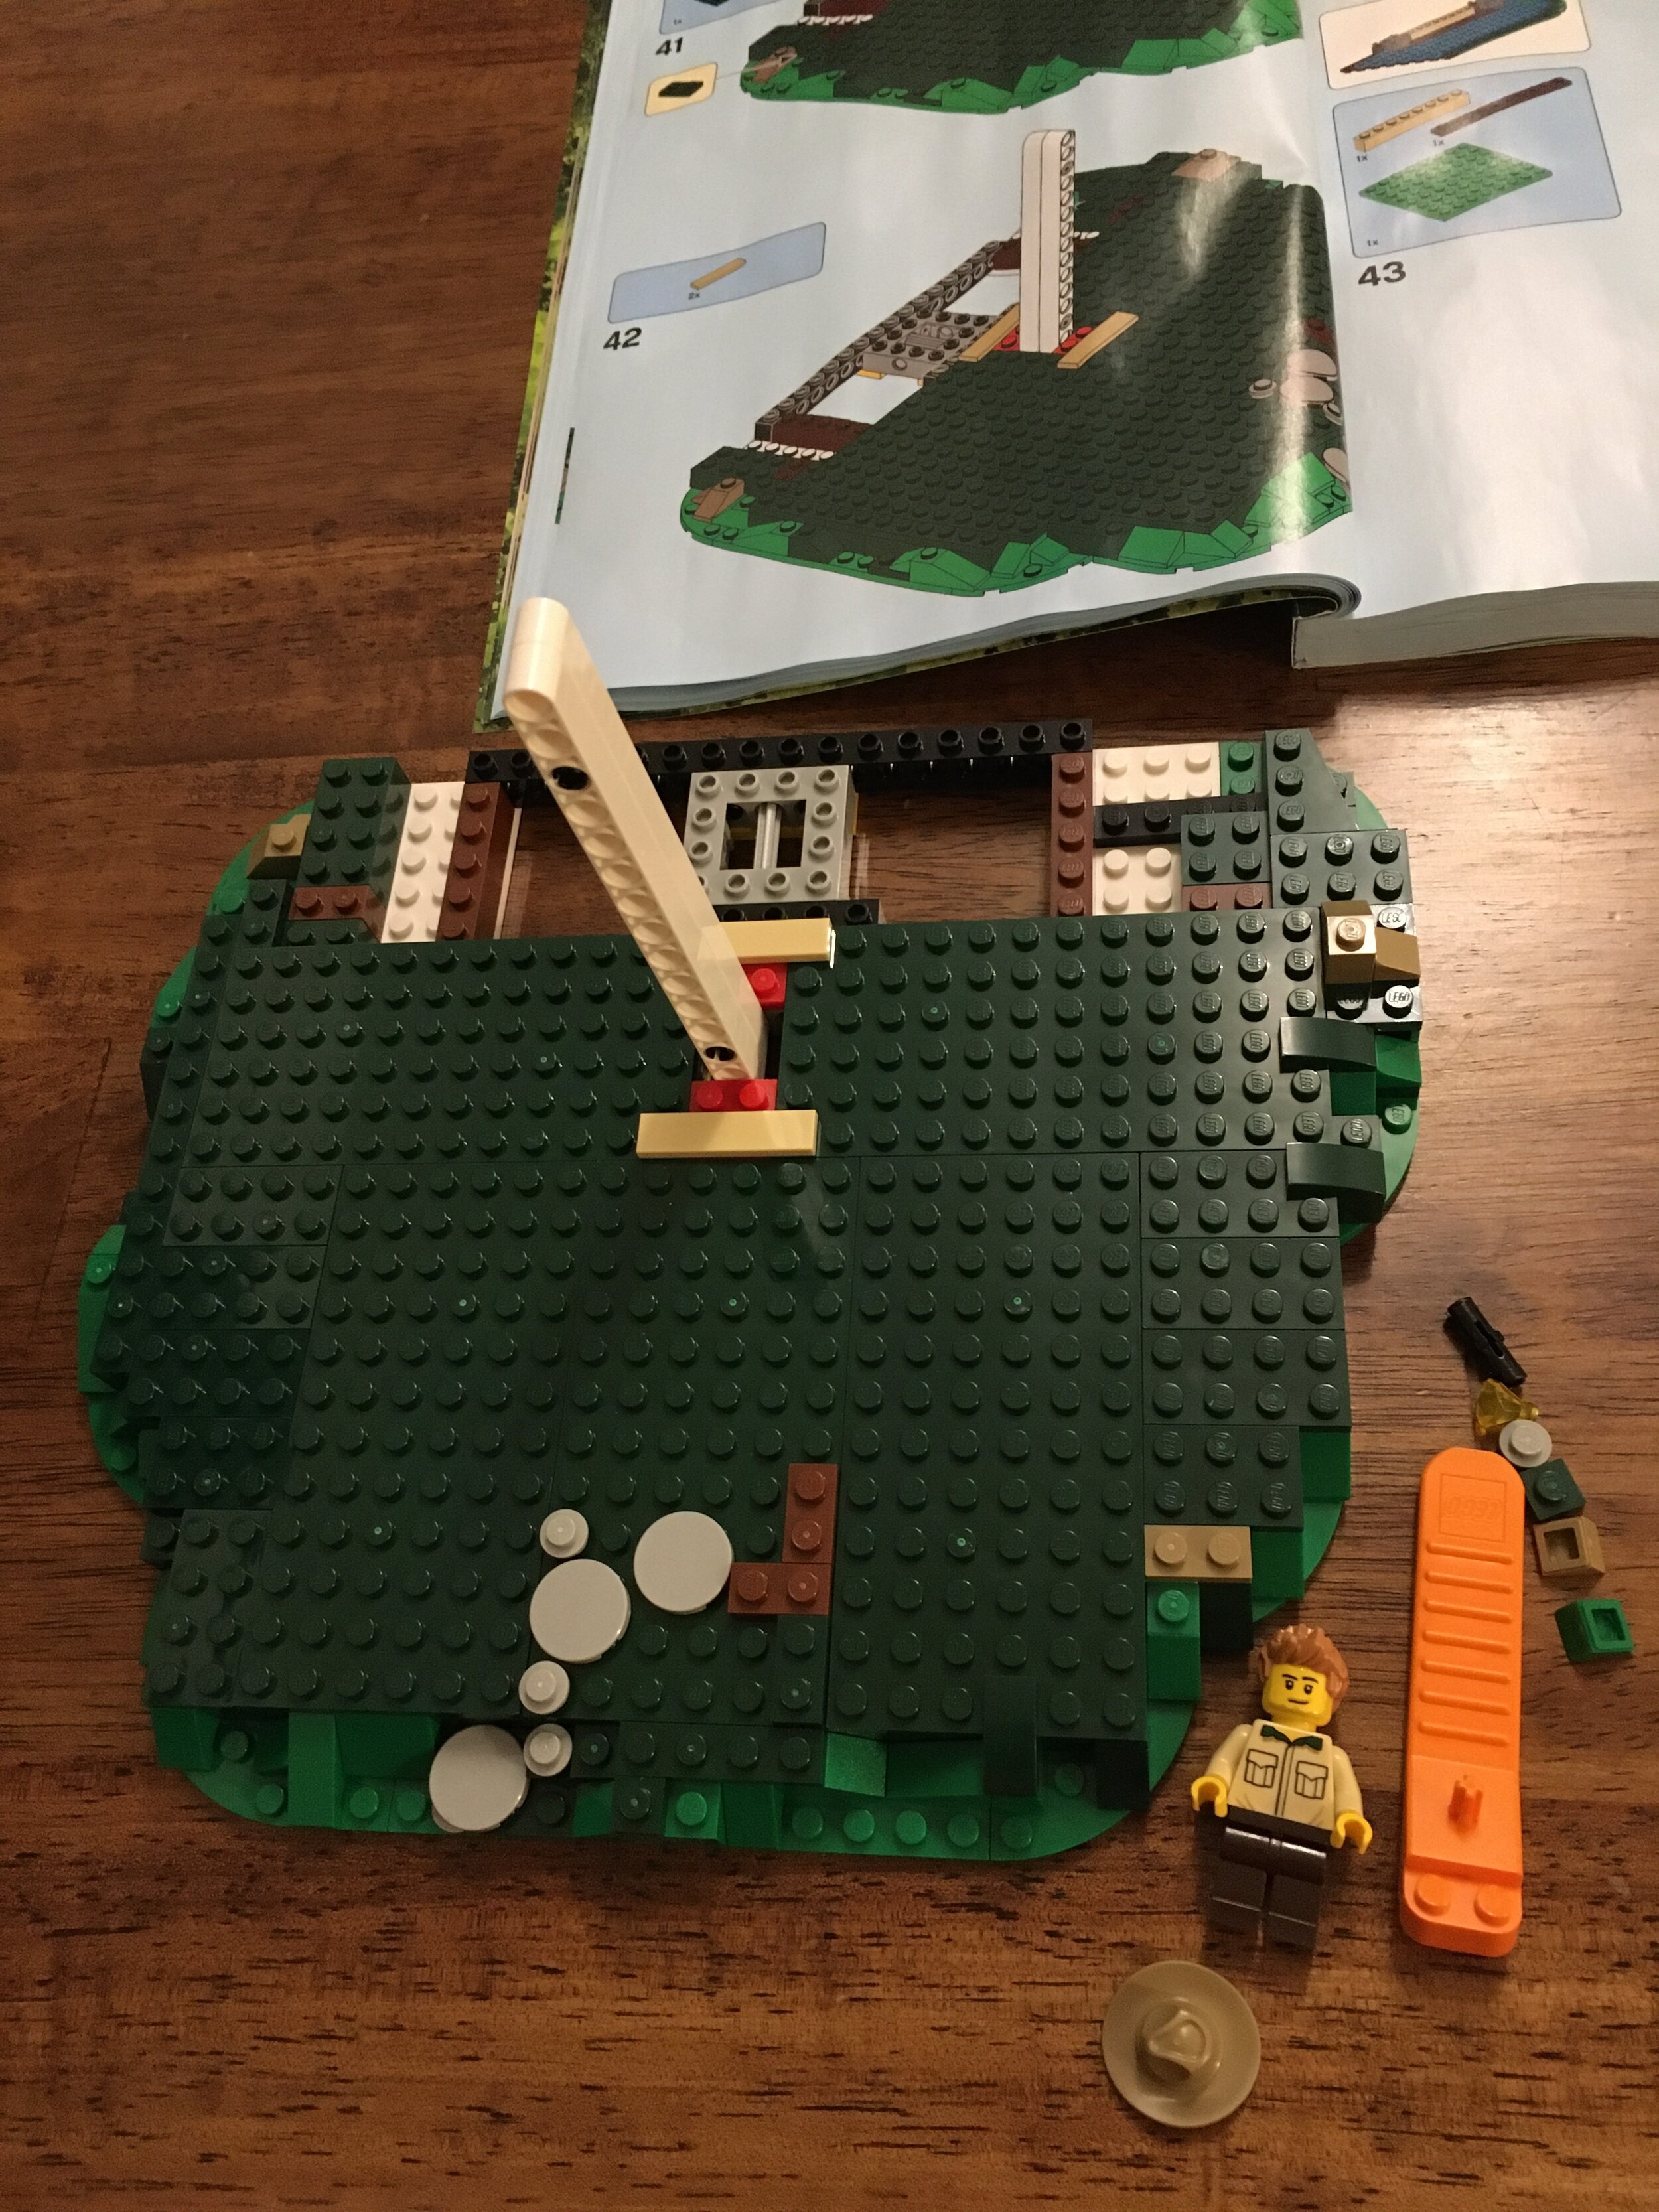
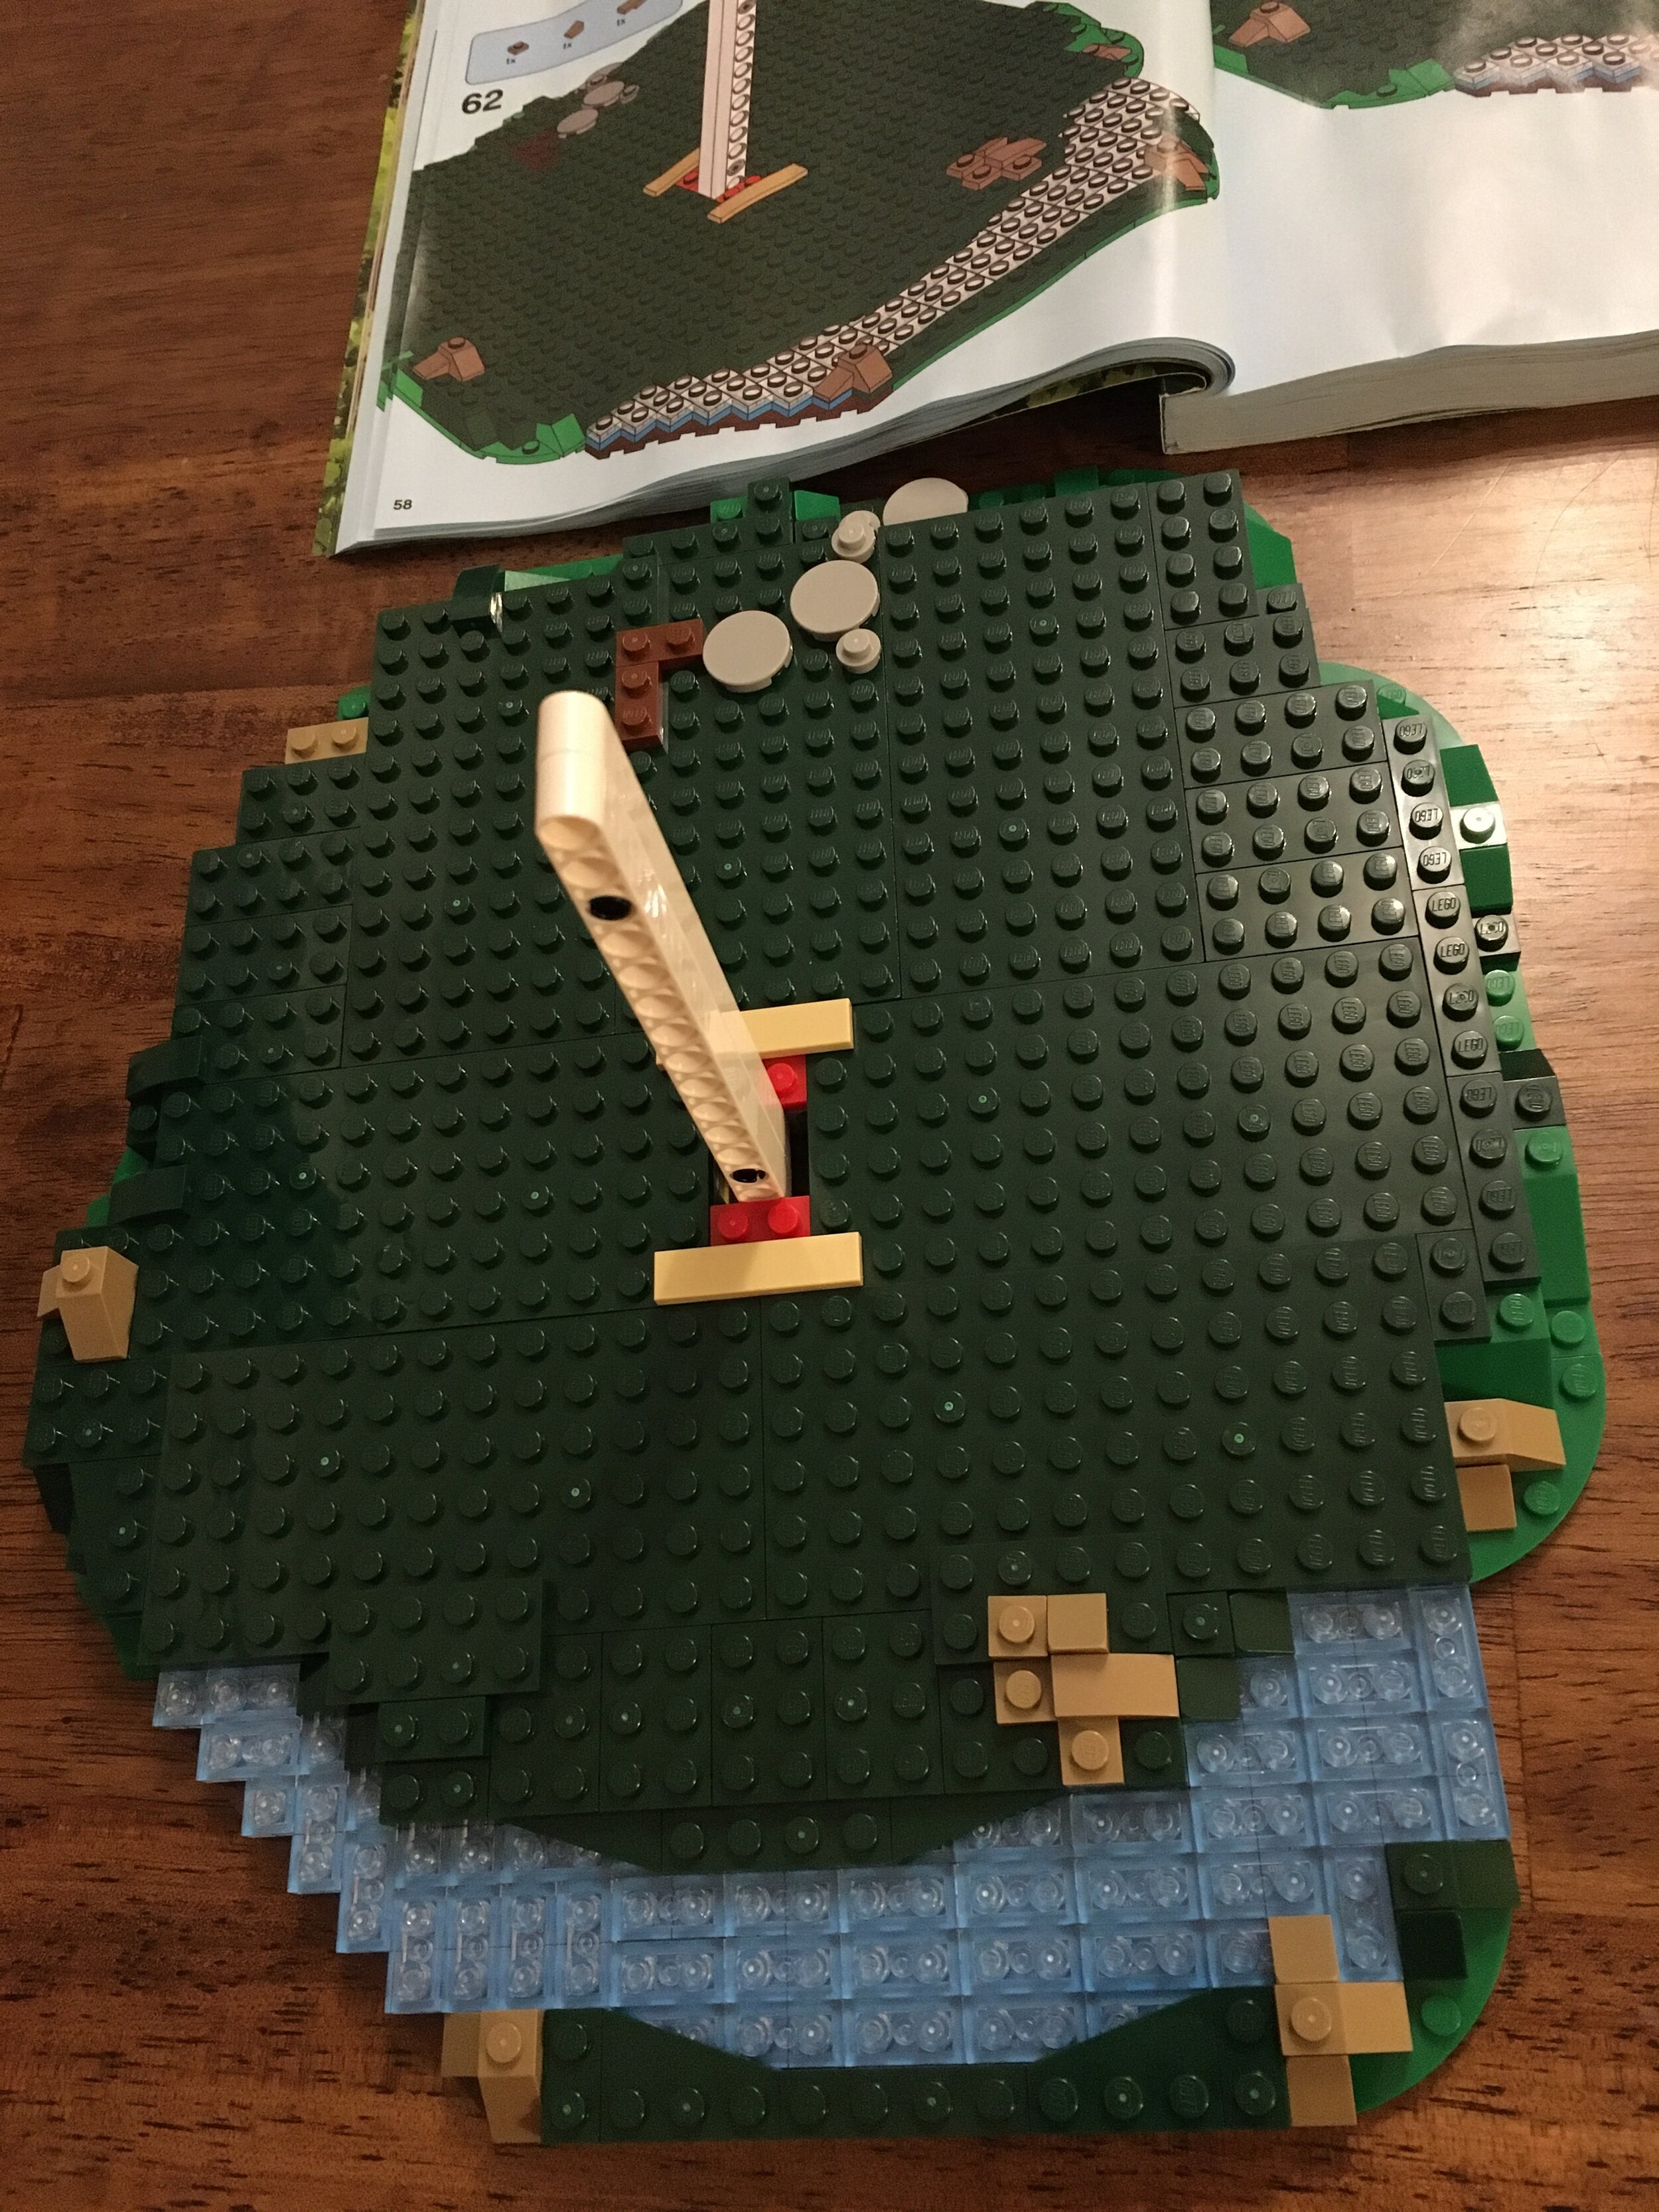
I won’t show pictures of all the steps, but the build kicks off with the base and the Technic pieces that support the main structure of the tree. I like how the base is not just a large base plate, but is instead built up using various pieces. For building purposes, there is a stream and a few other pieces that help you differentiate which side is which. This helps later on as you are trying to determine which parts of the tree go where.

As you can see, the first bag includes a brick separator as well as the first of 4 minifigures.

21318_build1.jpg
21318_build2.jpg

I included shots of the instructions along with the build so you can see where its at and how the set is assembled. The set starts with an inner structure that connects to the initial Technic structure. Then the outer “bark” of the tree is installed on the outside. I can’t tell if I’d prefer the “bark” to be tiles or plates. I think the plates work… tiles might look too smooth. Although you could get the contours of bark using various tiles and slope pieces. Just a thought… I’m okay with how it was designed so far.

21318_build3.jpg
21318_build4.jpg

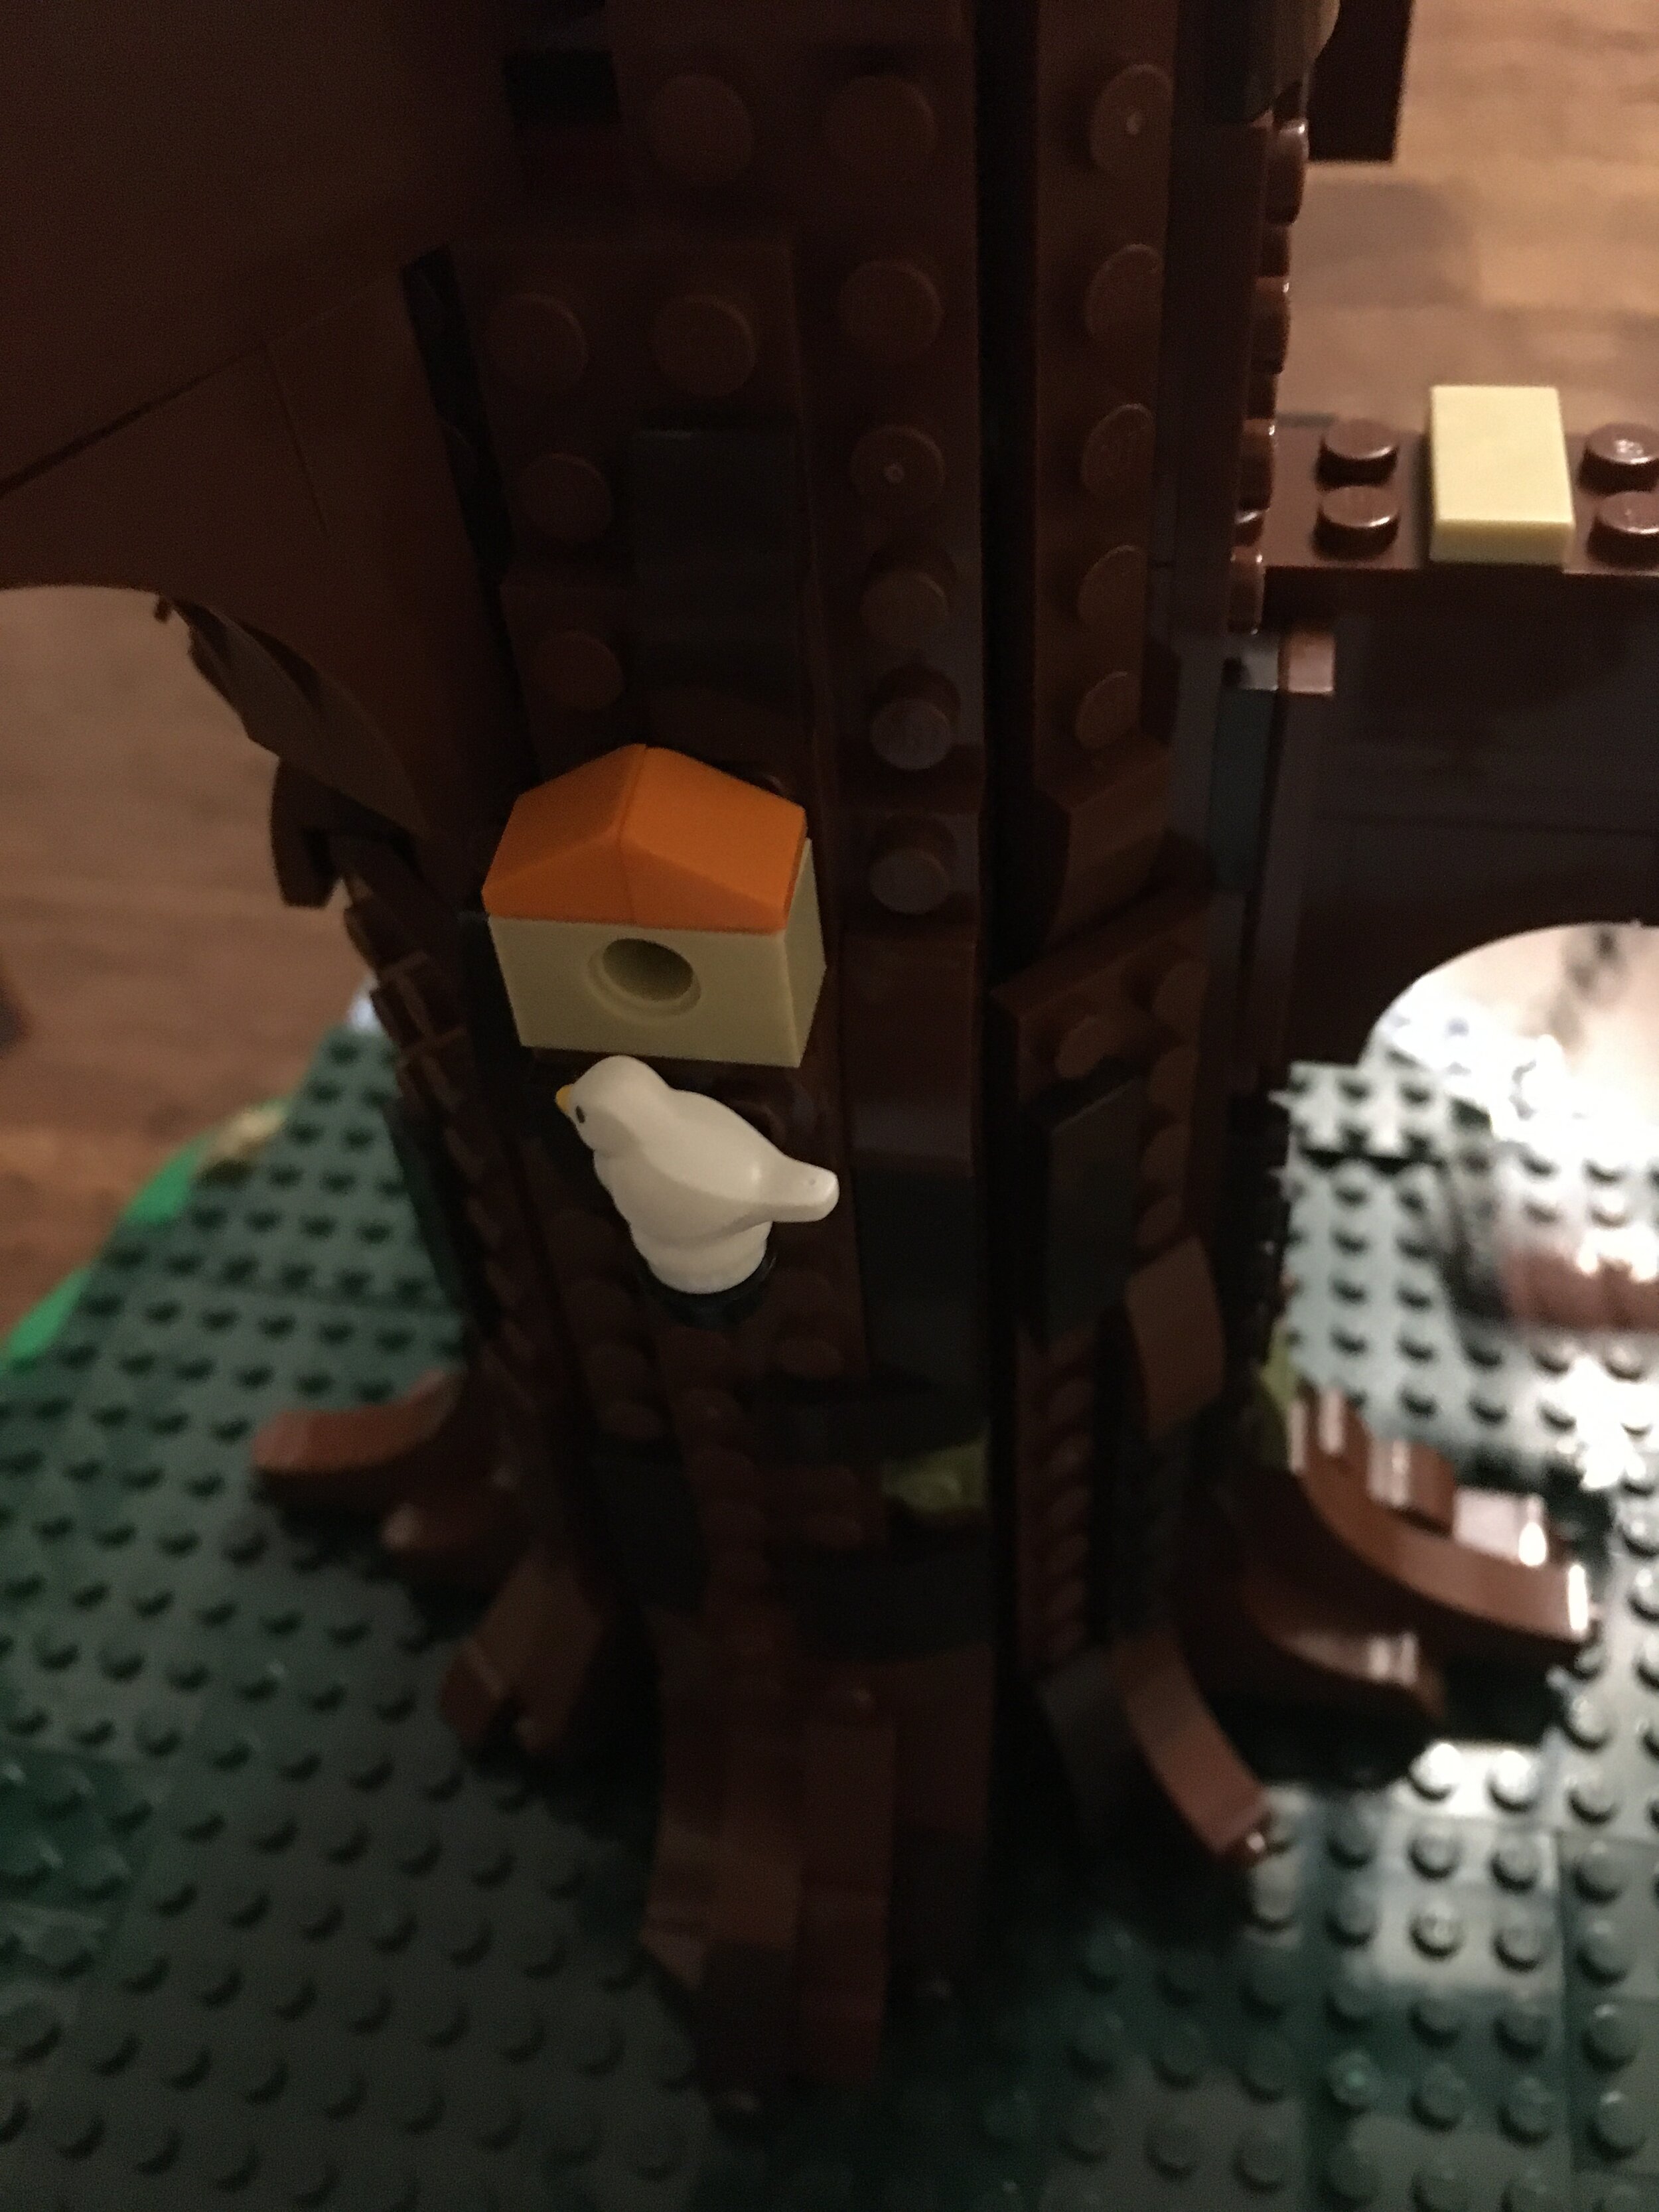
As the build continues, the tree trunk gets taller. The “branches” where the parts of the tree house get installed. They aren’t very realistic looking, but once the structures go on top, it doesn’t really matter. I like how the tree has a few details such as the sawed off branch shown by the 2x2 round printed tile and the bird house with the bird outside.

21318_build6.jpg
21318_birdhouse.jpg

Each of the tree house structures takes two parts bags to build. Considering the length of the build, I cut those pictures out and just included the finished product. The first one you build is a “master bedroom” with a bed, dresser, and some decorations. The second one is a bathroom with a toilet, sink, and tub. Each room is set up so it fits on the “branch” and then has an attachment on the top for the roof. Both builds are pretty similar, but have some differences to help them stand out. I like the color scheme and how the build makes it still look natural like in color to fit on the tree.

The bathroom has a pulley system attached so you can haul stuff up to the tree house. Not sure how you get to the stuff, but it’s a cool idea. I also like how the bathroom has a water storage tank. Maybe the pulley is used to bring water up for the bathroom?

21318_build8.jpg
21318_build10.jpg

The last structure is a kid’s room with bunk beds. It is connected to the other structure with a rope like bridge.

Next up are the roofs. They are all pretty similar, but have slight differences to make sure they fit onto the main structure. The dark blue color is a great choice in my opinion.

21318_build12.jpg
21318_build13.jpg

Next up, you finish off the tree trunk. It’s not exactly a smooth transition to smaller branches, but we’ll take it. Instead there are a number of attachment pieces for connecting branches to be built later.

After that, you build a stairway up to the tree house. I’m glad they didn’t just use one of those large stair pieces, but instead constructed stairs in the color scheme and included twists in the stairs. A few of the tiles have printing on them to add to the detail that they are made of wood.

21318_build14.jpg
21318_build15.jpg

The build includes an outdoor kitchen at the bottom of the tree with a fire pit and cooking pot, a table with chairs, and some food and drink options. Additionally there are 4 minifigures I displayed here. There is a male and female adult and then two kids. They all look like they have their woodland gear with my favorite being the girl’s vest. Additionally, the girl sports one of the hat pieces with hair attached which I am a fan of. It is a little more realistic than just the hat and lipstick to show it is a girl/woman.

21318_minifigs.jpg

The last 3 bags of the set are all parts for the branches. The build instructions give you the option of building with the green and dark green or yellow and lighter brownish type pieces. I chose to build with the green, but the build is the same with the other colors. Or you could be really crazy and mix the green and yellow to have an early autumn type tree. The branch pieces are not exactly the best designed in my opinion, but I think the greenery hides them well enough so they don’t stand out. Note that it will take a bit of time to switch out the colors. The green pieces are attached well so they don’t just fall off which is a good thing.

Overall, I was really impressed by this set. For one it is something completely different that has never been done before. You could fit this into a woodland/forest scene really well. I’m hoping to see some good modifications from the fan community of this set.

This set is at the $200 point, but I found it to be worth it. There are a lot of pieces and the colors and piece options are great for other MOCs if you want to take this one apart. More importantly, if my NLS gets a vote, I was told we’d make space in the house to display this one as she really liked this one. Bonus! That didn’t happen after the Millennium Falcon was built so I’ll take this one as a win as otherwise my bricks are confined to a specific space in the house that is out of the way and that’s it.

What are your thoughts on this one?

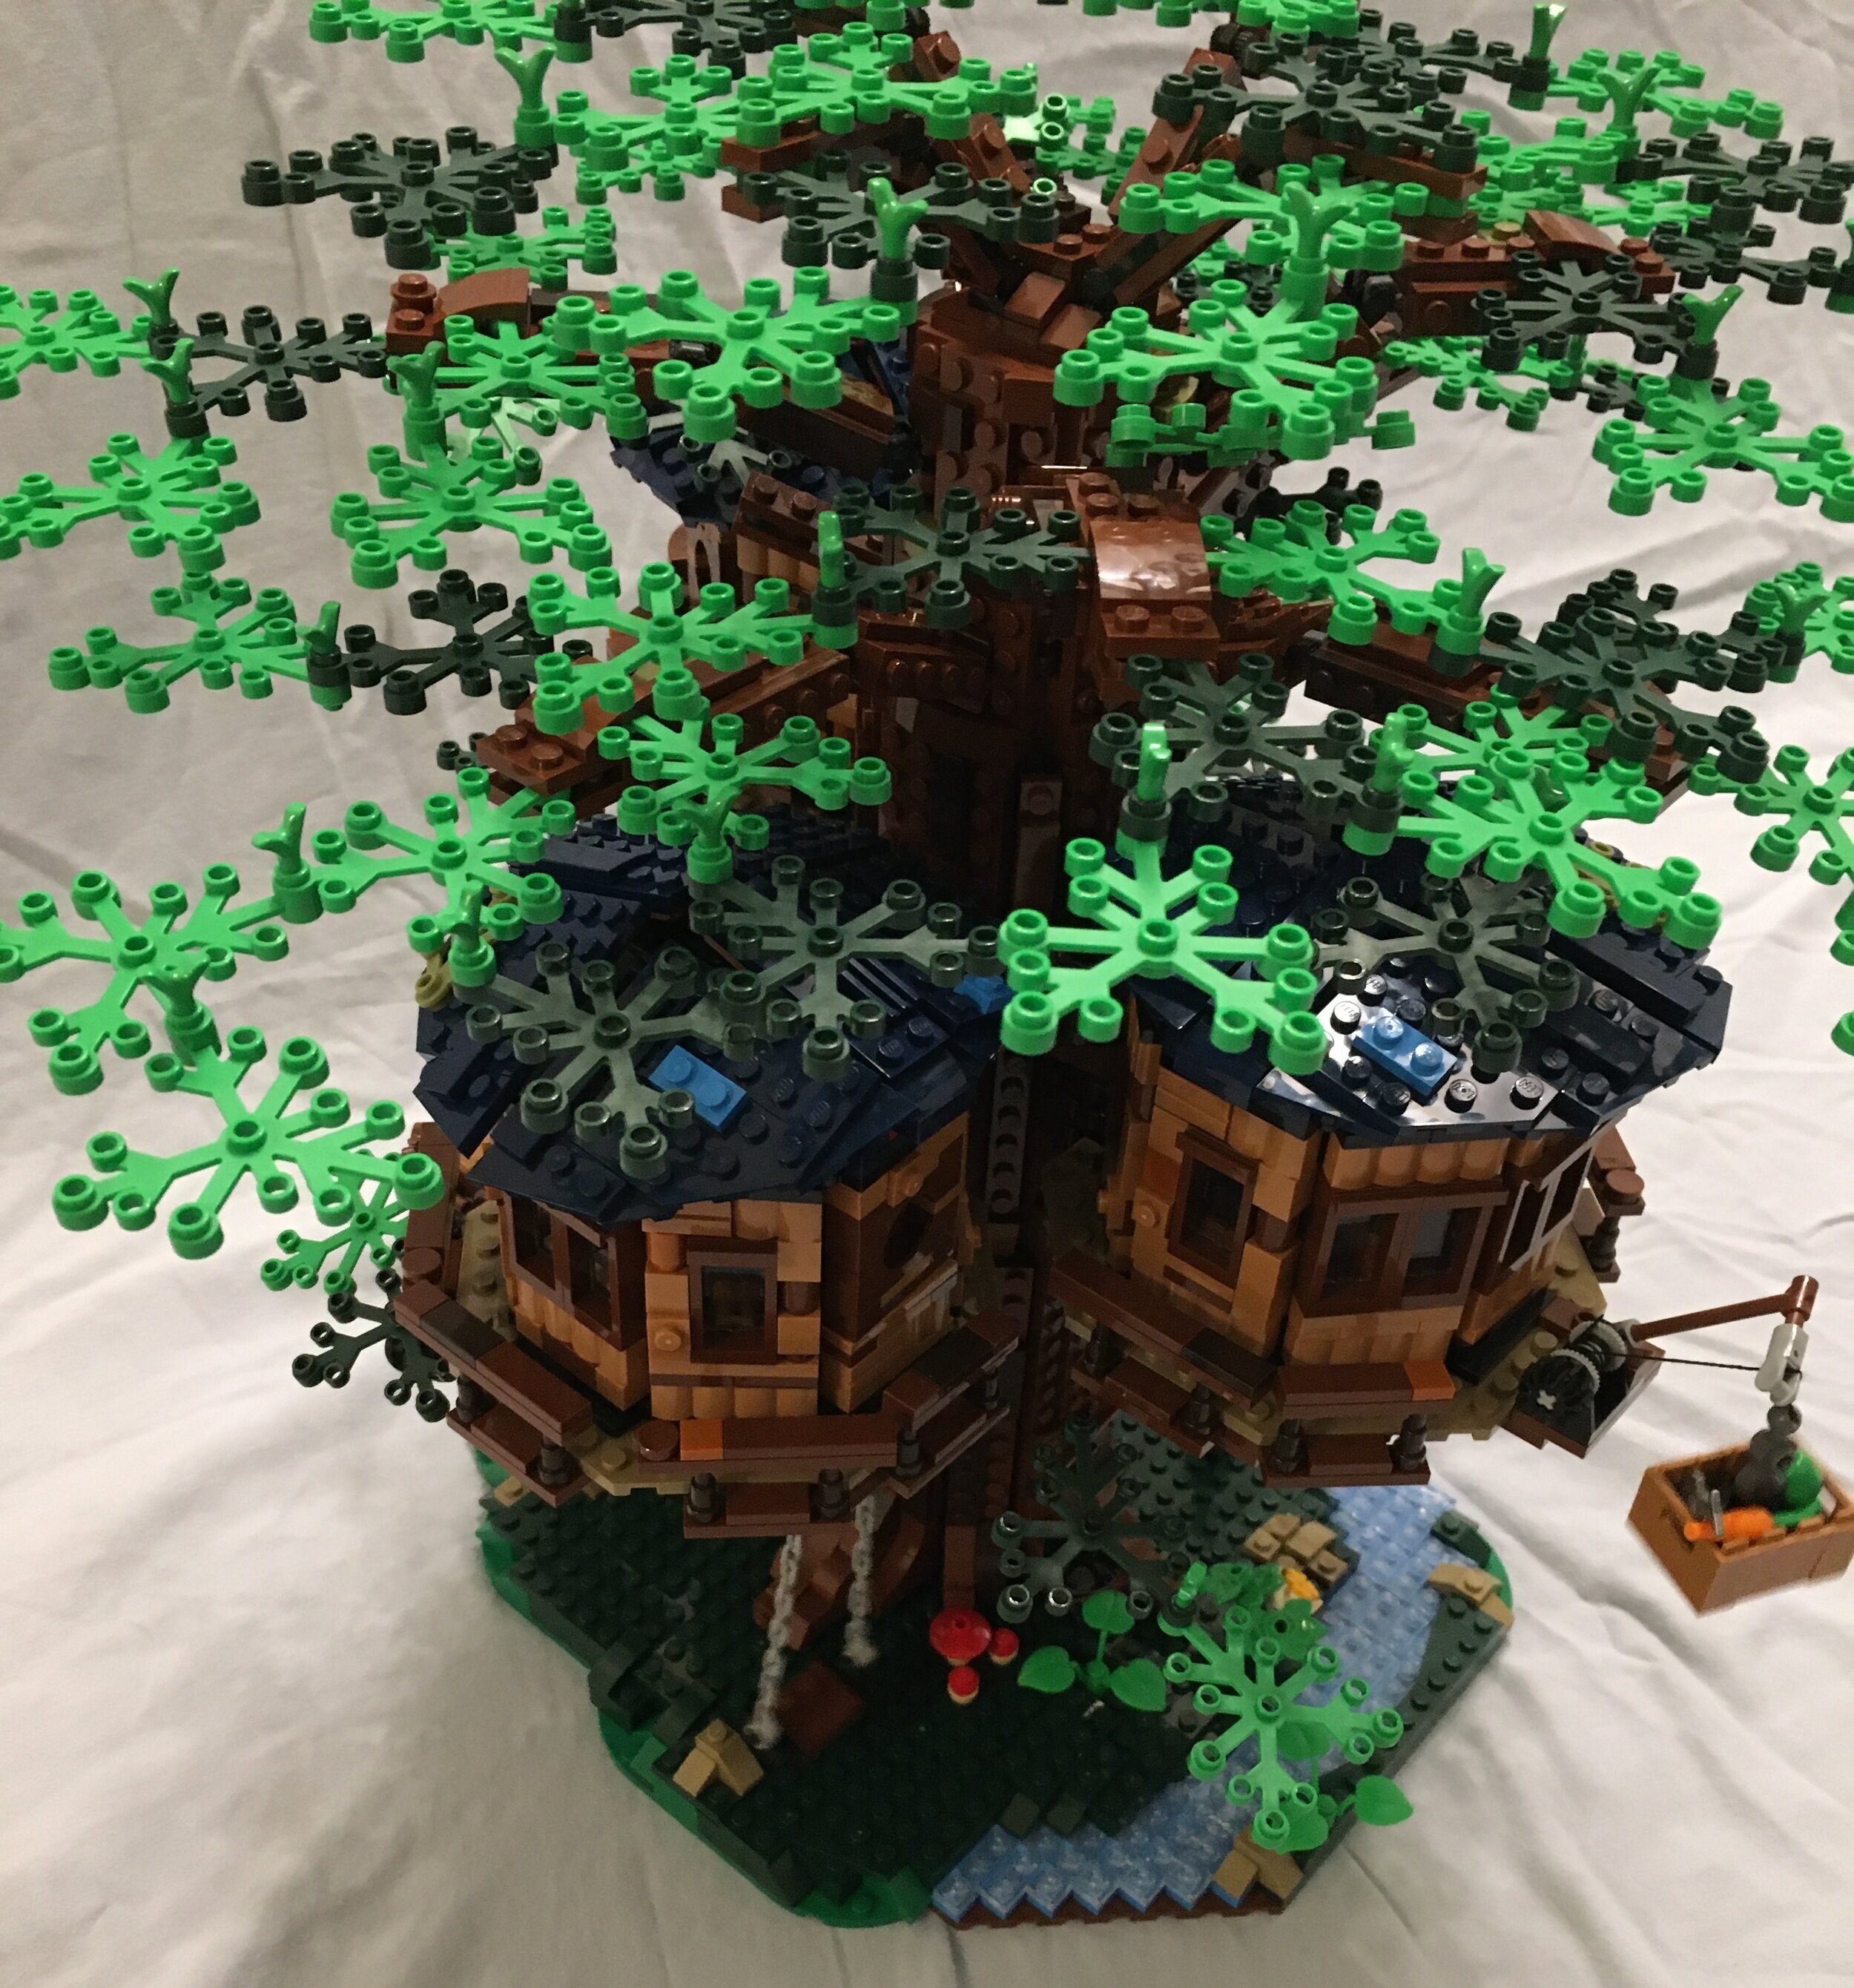
Some overall pictures are below.

21318_final1.jpg
21318_final3.jpg
21318_final2.jpg
21318_final4.jpg

Bricks in Heidelberg, Germany

I recently was in Heidelberg, Germany for their Christmas Market and we happened to pass by Galeria Kaufhof on the Hauptstrasse (main street). This brick built Santa greeted us as we walked by. There was no Brand Store inside and they didn’t have a sign about this model, but it was fun to see as we walked by. Enjoy!

santa.jpg

The Piano Guys Meets LEGO Stop Motion Animation for Christmas

I stumbled upon this video on YouTube without even trying to look for it. It’s a stop motion video done by Michael Hickox Films with the Piano Guys music playing along with it. The Christmas movie references are great. It’s worth the just under 4 minutes to watch the video. Enjoy!

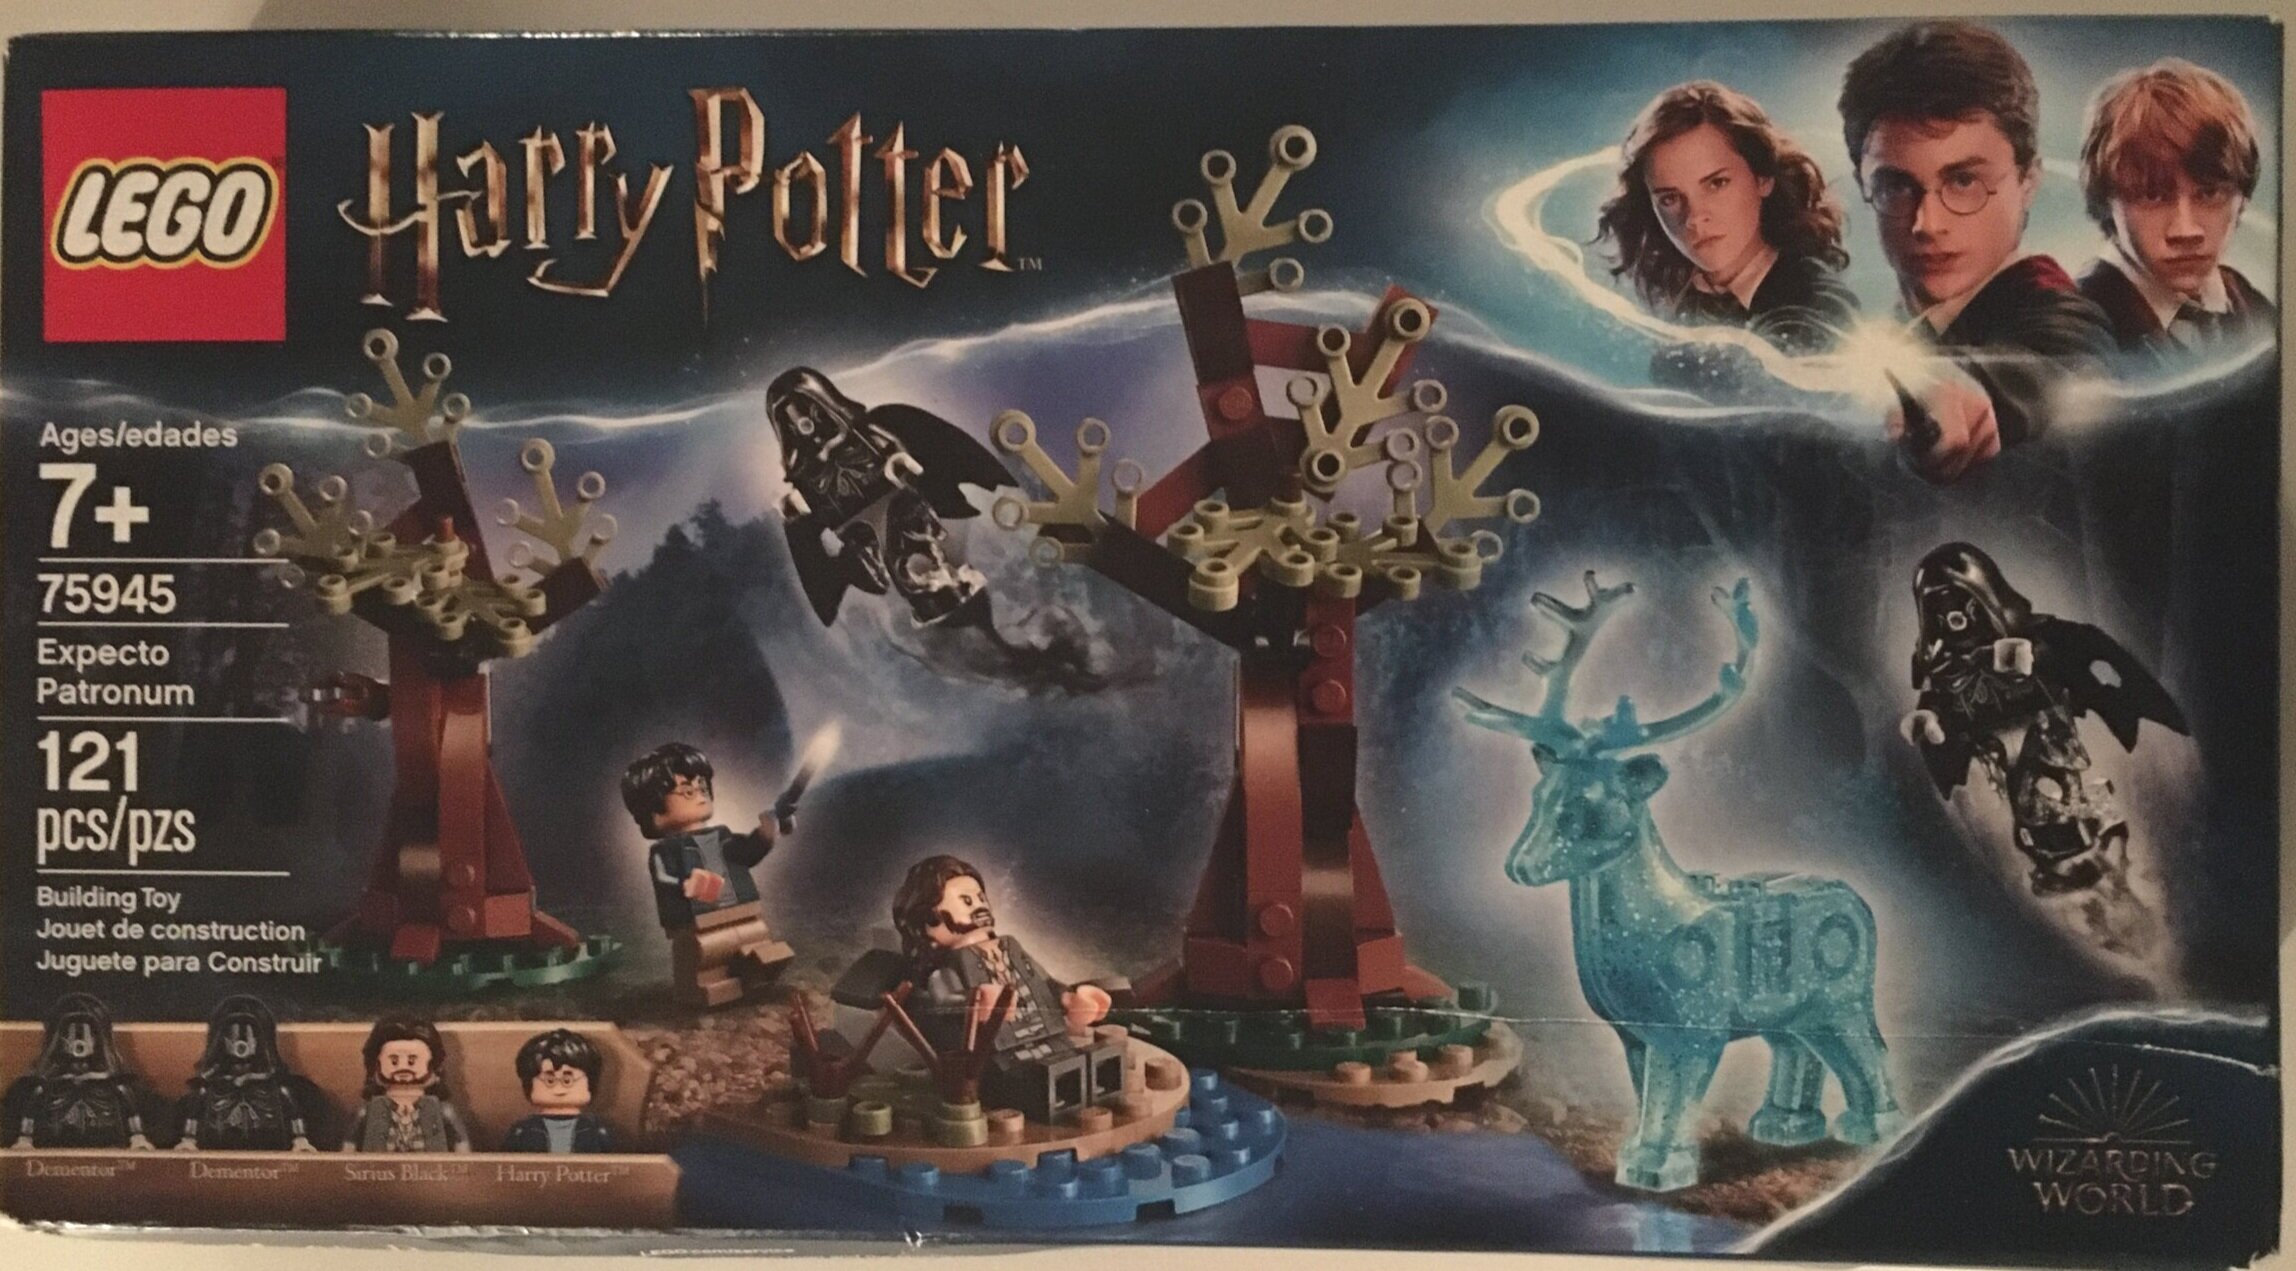
Set Review - #75945-1: Expecto Patronum - Harry Potter

We’re into the second year of Harry Potter sets that started in 2018 and here is another one I built for a review. #75945-1: Expector Patronum was released on 1 July 2019. It’s cost is $19.99 and contains 121 pieces and 4 minifigures. It works out to $0.165/piece. This is a bit high in my opinion, but I purchased the set at 20% off on Amazon.com in the US. This is still a bit high, but better. I suspect at the end of this set’s life, it will be in the 30% to 40% discount range.

Here is the box. The front shows the set while the back shows the “action” features.

75945_box_front.jpg
75945_box_back.jpg

The set contains 4 parts bags, an instruction booklet, a package with the patronum, and the capes for the dementors.

75945_contents.jpg

Here’s the build… at such a small set, there isn’t much to it. There are 2 “trees” that aren’t very exciting. In fact, they are pretty lame. Other than having some green branches, they don’t look much like trees at all. Having seen the movie, I get what they are trying to portray, but what is the point of this set? Is it just a minifigure pack?

75945_build.jpg

Here are the minifigures. The Dementors are pretty cool looking and might be one of the reasons to pick up the set. Harry has mid-size legs. Not the non-movable kid legs and not the full size legs either. Sirius has his prison uniform. They both have dual sided faces. Harry has a wand.

75945_dementors.jpg
75945_minifigs.jpg

The other reason to get this set is the Patronum which is a deer (watch the movie or read the book if you want to know more). It’s a translucent blue deer and has sparkles inside. The set includes a 1x2 brick, a 1x2 plate, and then a round saucer type piece in the same consistency. If you are looking for pieces like this, then it might be worth it to get the set. I highly recommend picking this set up at a discount. Look for more than 20% off if possible. You might have to wait until this time next year for bigger discounts, but it might be worth the wait.

What are your thoughts?
75945_patronum.jpg

LEGO® Exhibition Visit - Kloster Machern, Bernkastel-Kues, Germany - Part 2

Here’s the second part of my visit to the LEGO® Exhibition in Bernkastel-Kues, Germany. If you missed the first part, you can see it here.

Star Wars did not have a big representation at this show, but there was a hangar of ships on display. Next to it was what looked like Lego Digital Designer and the build of the MOC on a computer screen.

star_wars.jpg
digital_designer.jpg

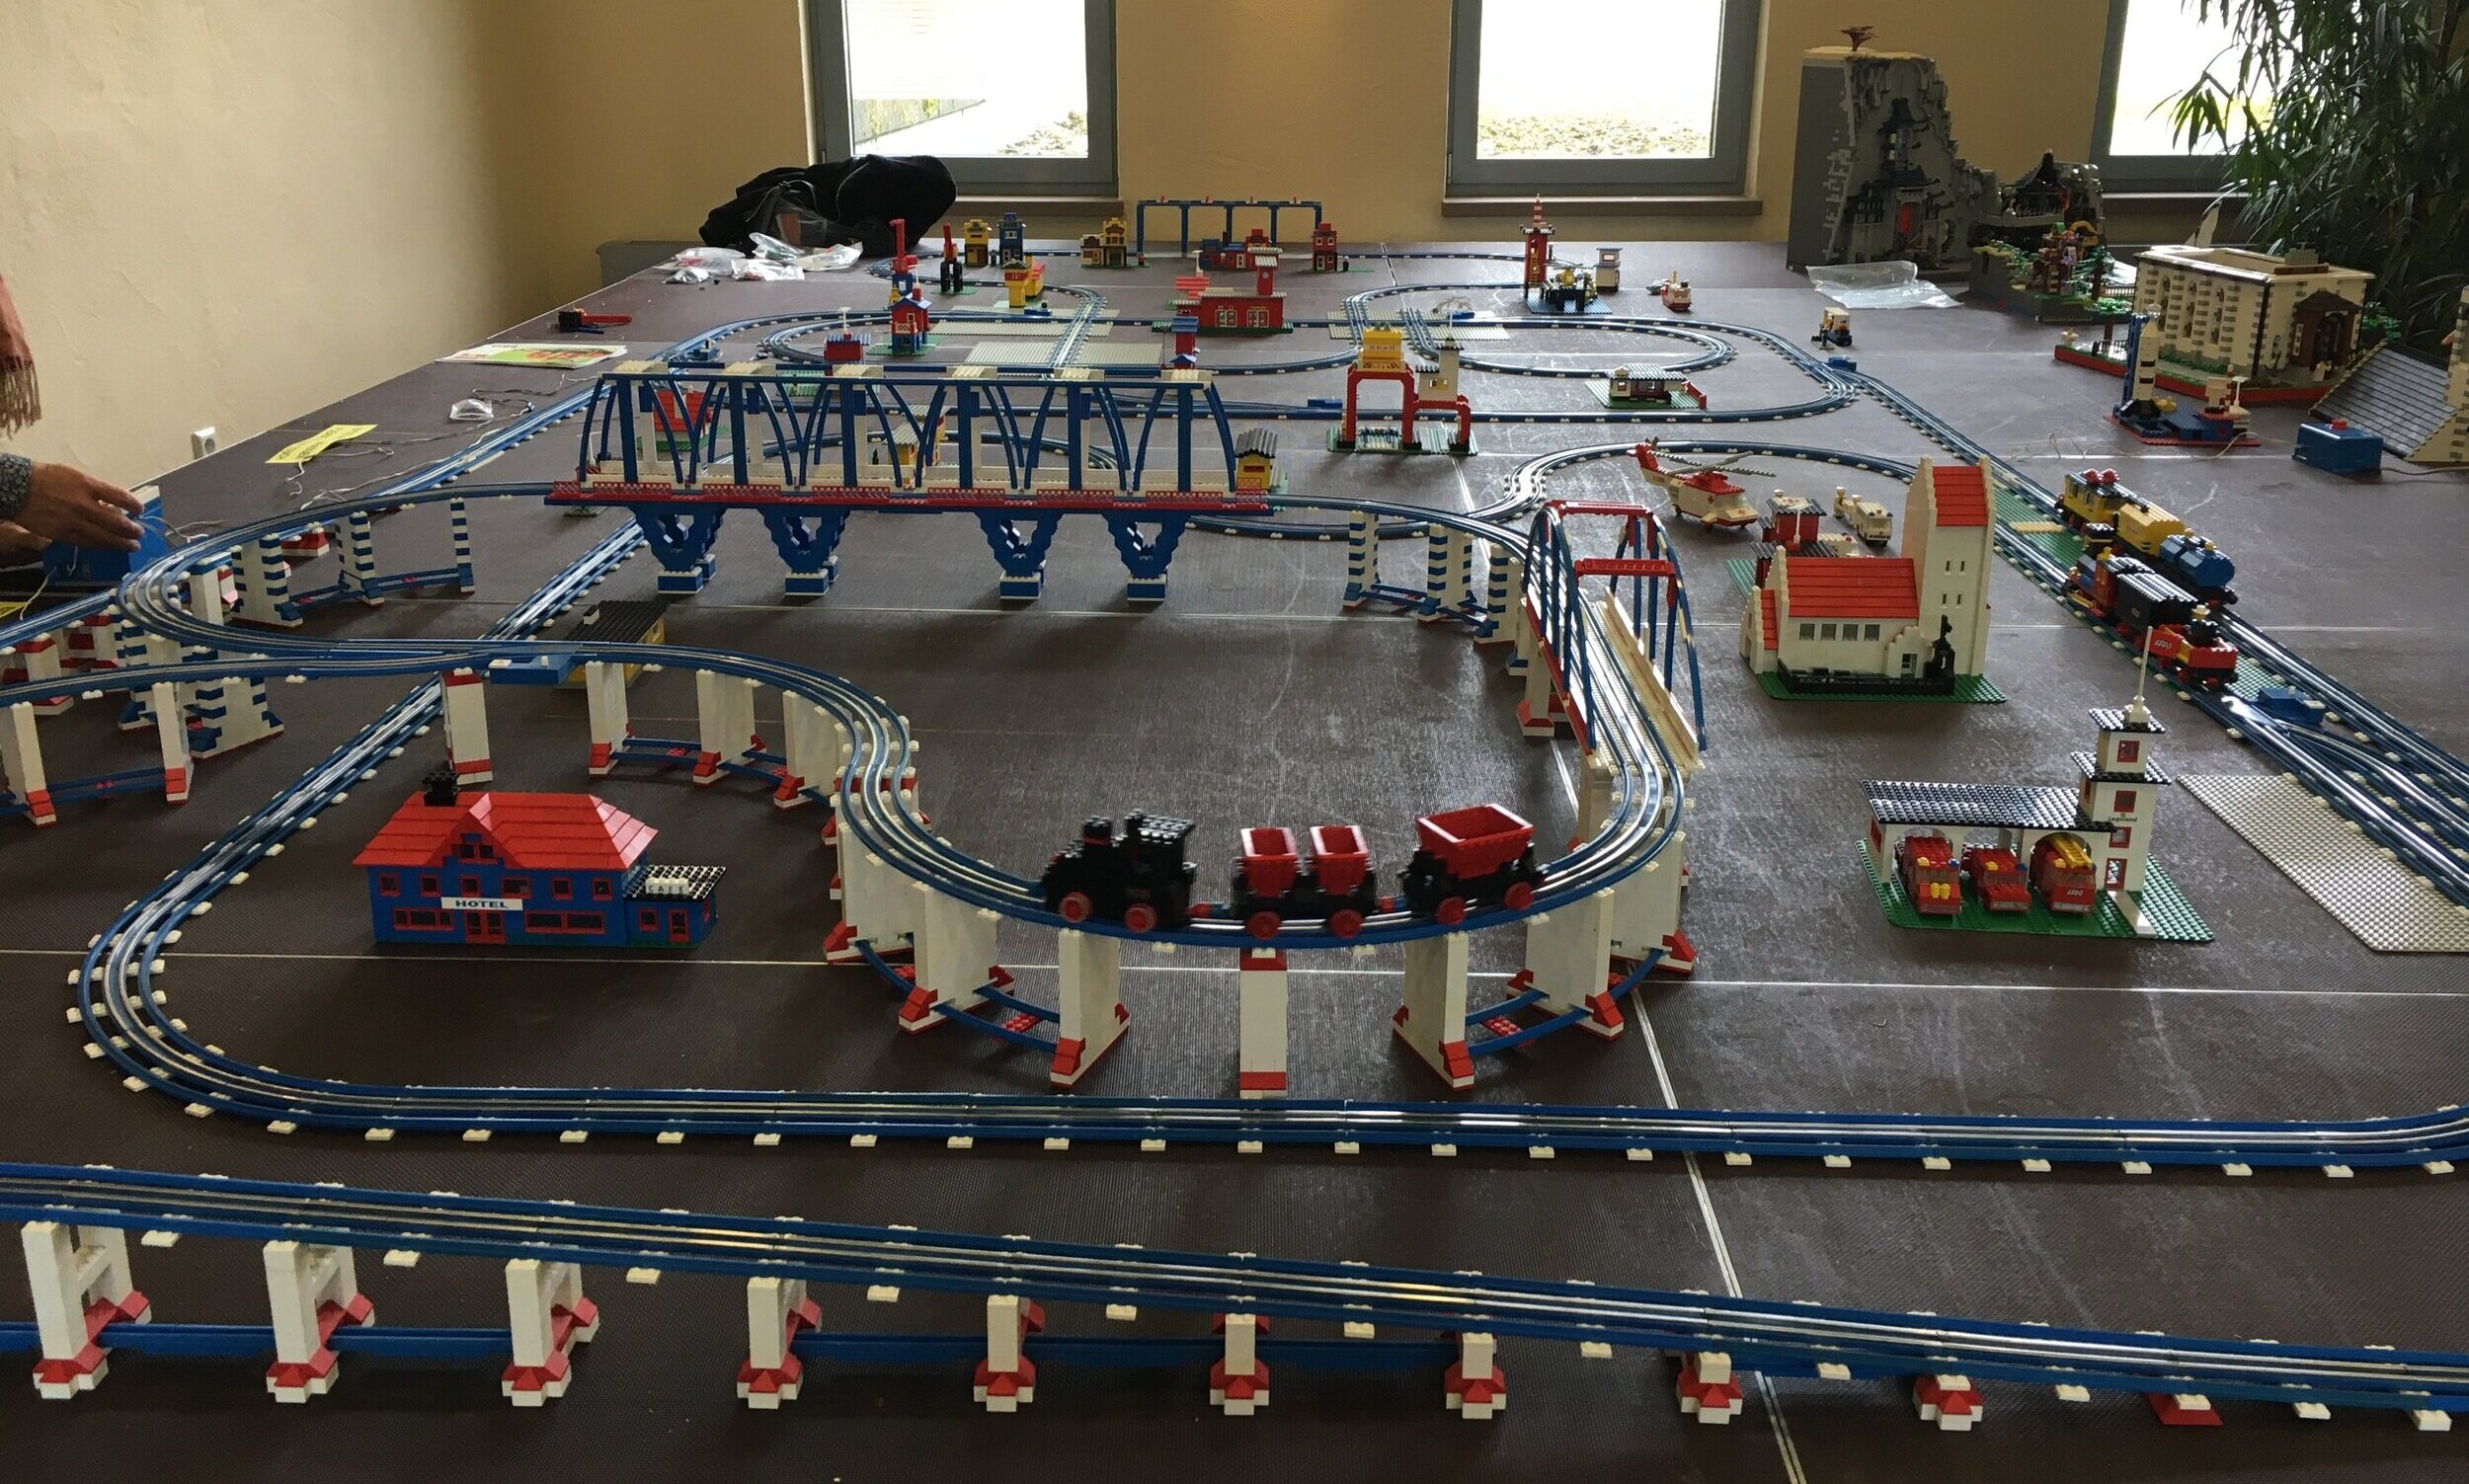
Some nostalgia for you… here is a large 12V train set up with some of the old LEGO sets. It might not be some of the massively detailed train displays you see LUGs set up, but it was still cool to see the 12V trains chugging around the track.

12v_trains.jpg

I don’t know if this is a MOC of an actual train station or not, but I thought it was very impressive. I like how the designer incorporated the CITY base plates in the front. There’s a lot of action going on with a tow truck getting a car, construction on the tracks, and a painter at work near the pizza truck.

.train_station.jpg
train_station2.jpg

Next to the train station were a few trains. I would have preferred to see them going around a big display, but I’ll take whatever I can get.

The picture next to it is of a large church with some great lighting behind translucent colored bricks. This would have been cool to see with the lights off.

trains.jpg
church.jpg

Next up is a large country western scene with a mid-1800s US-like Army and some Natives about to harass them. The scene was very detailed with the desert scene on the outside of a pretty detailed fort. I took the picture as the builder was showing off the inside of one of the buildings. If I spoke German, I would have more to say about this, but I don’t so just enjoy the pictures.

western.jpg
western3.jpg
western2.jpg
western4.jpg
western5.jpg

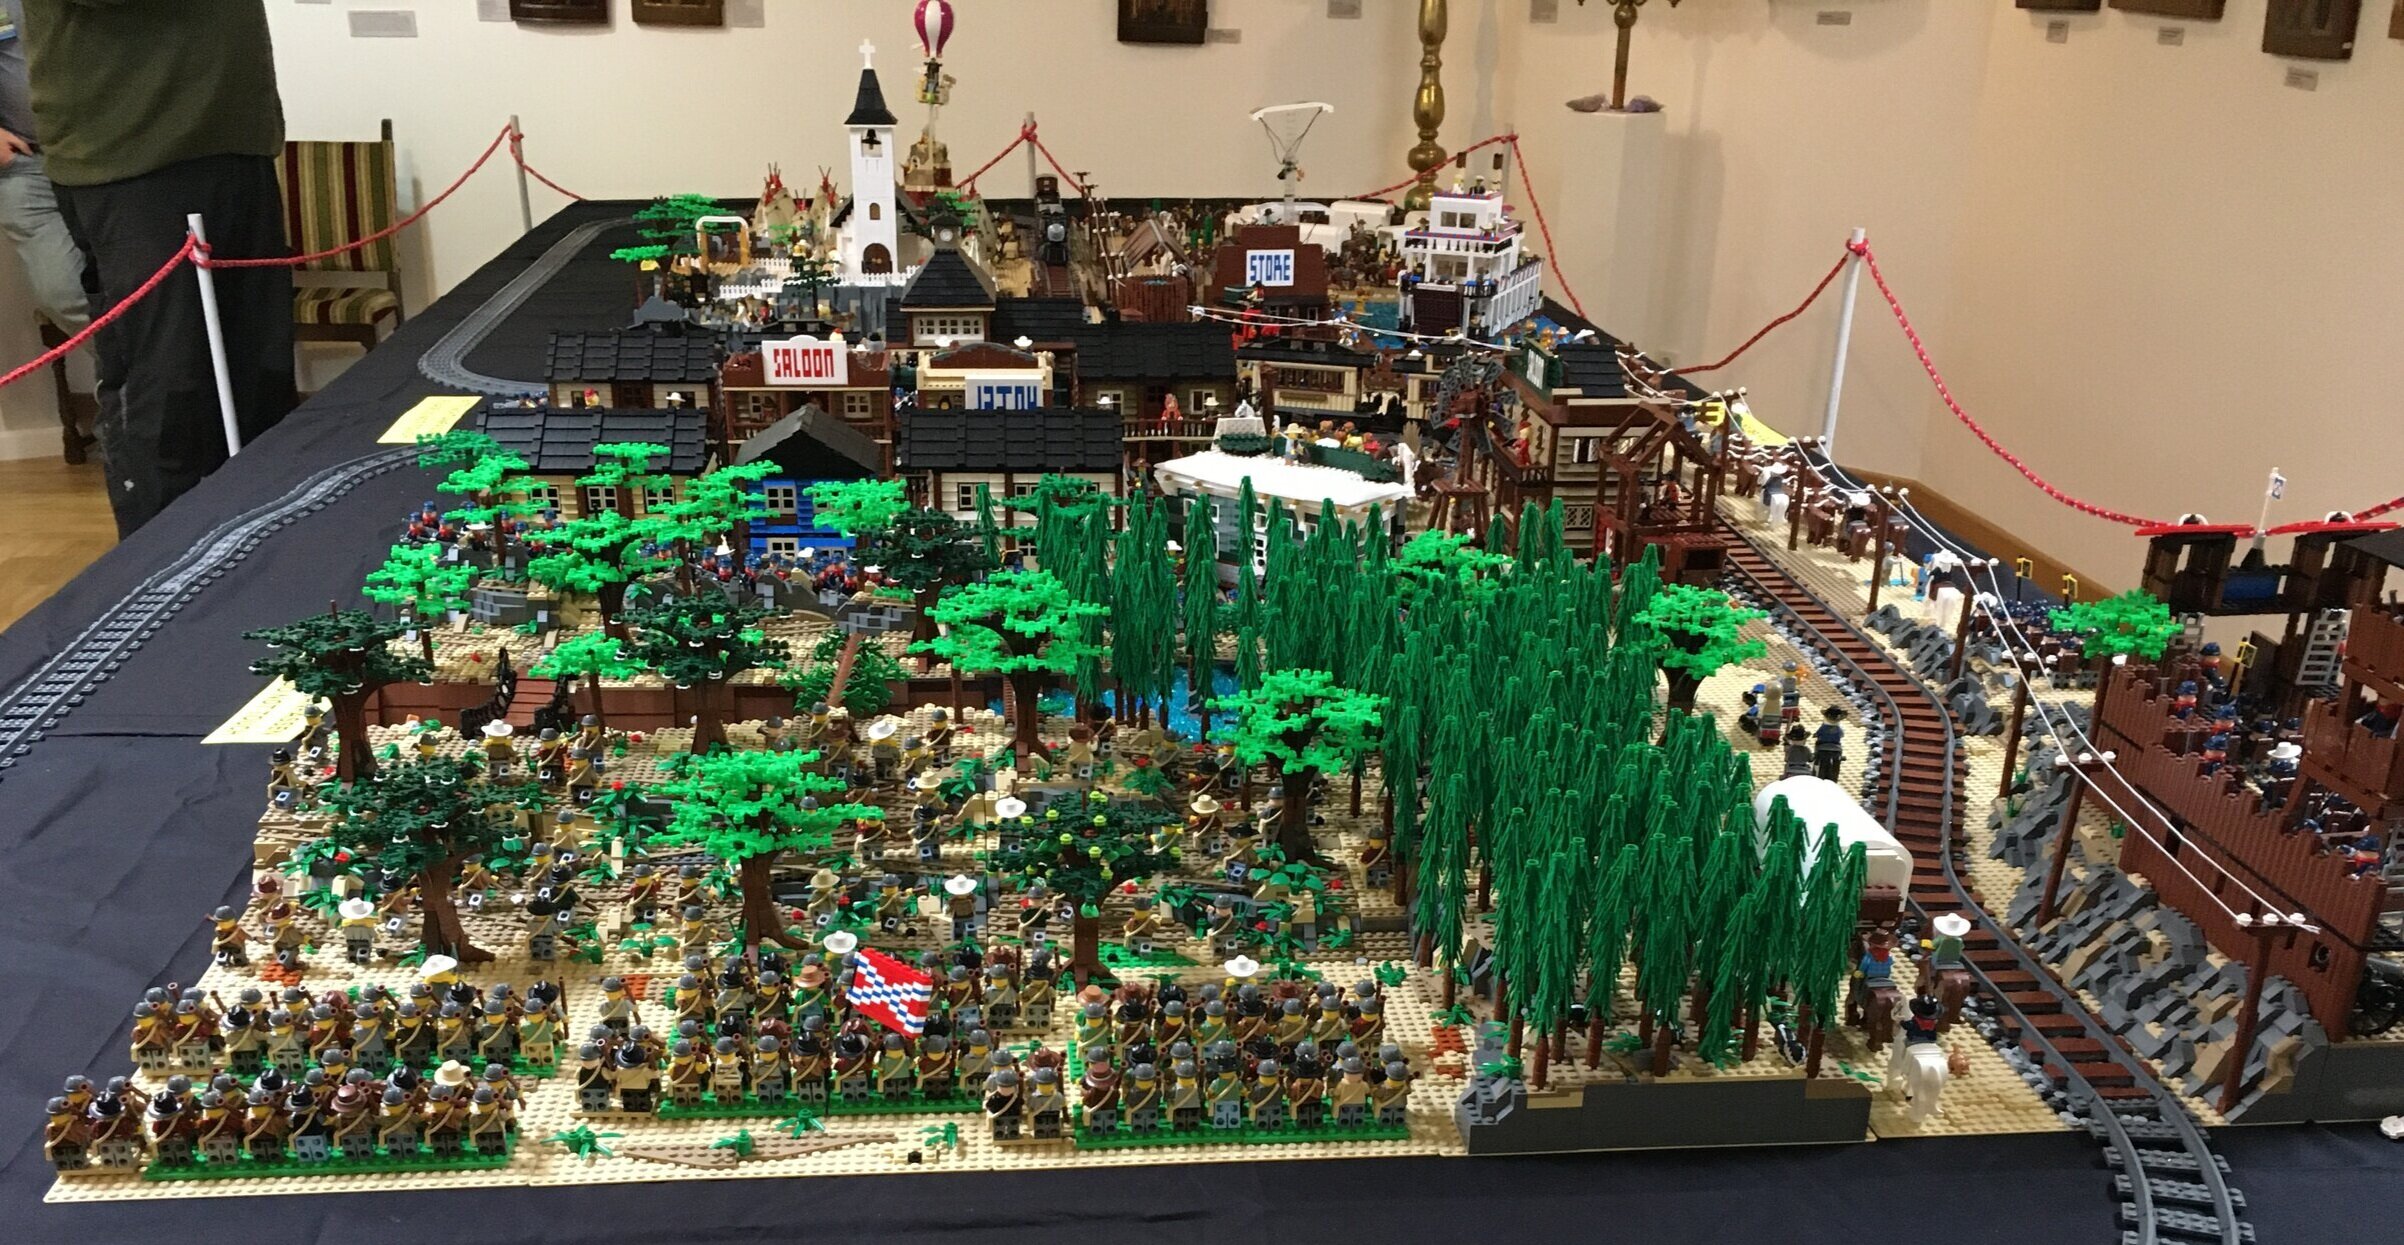
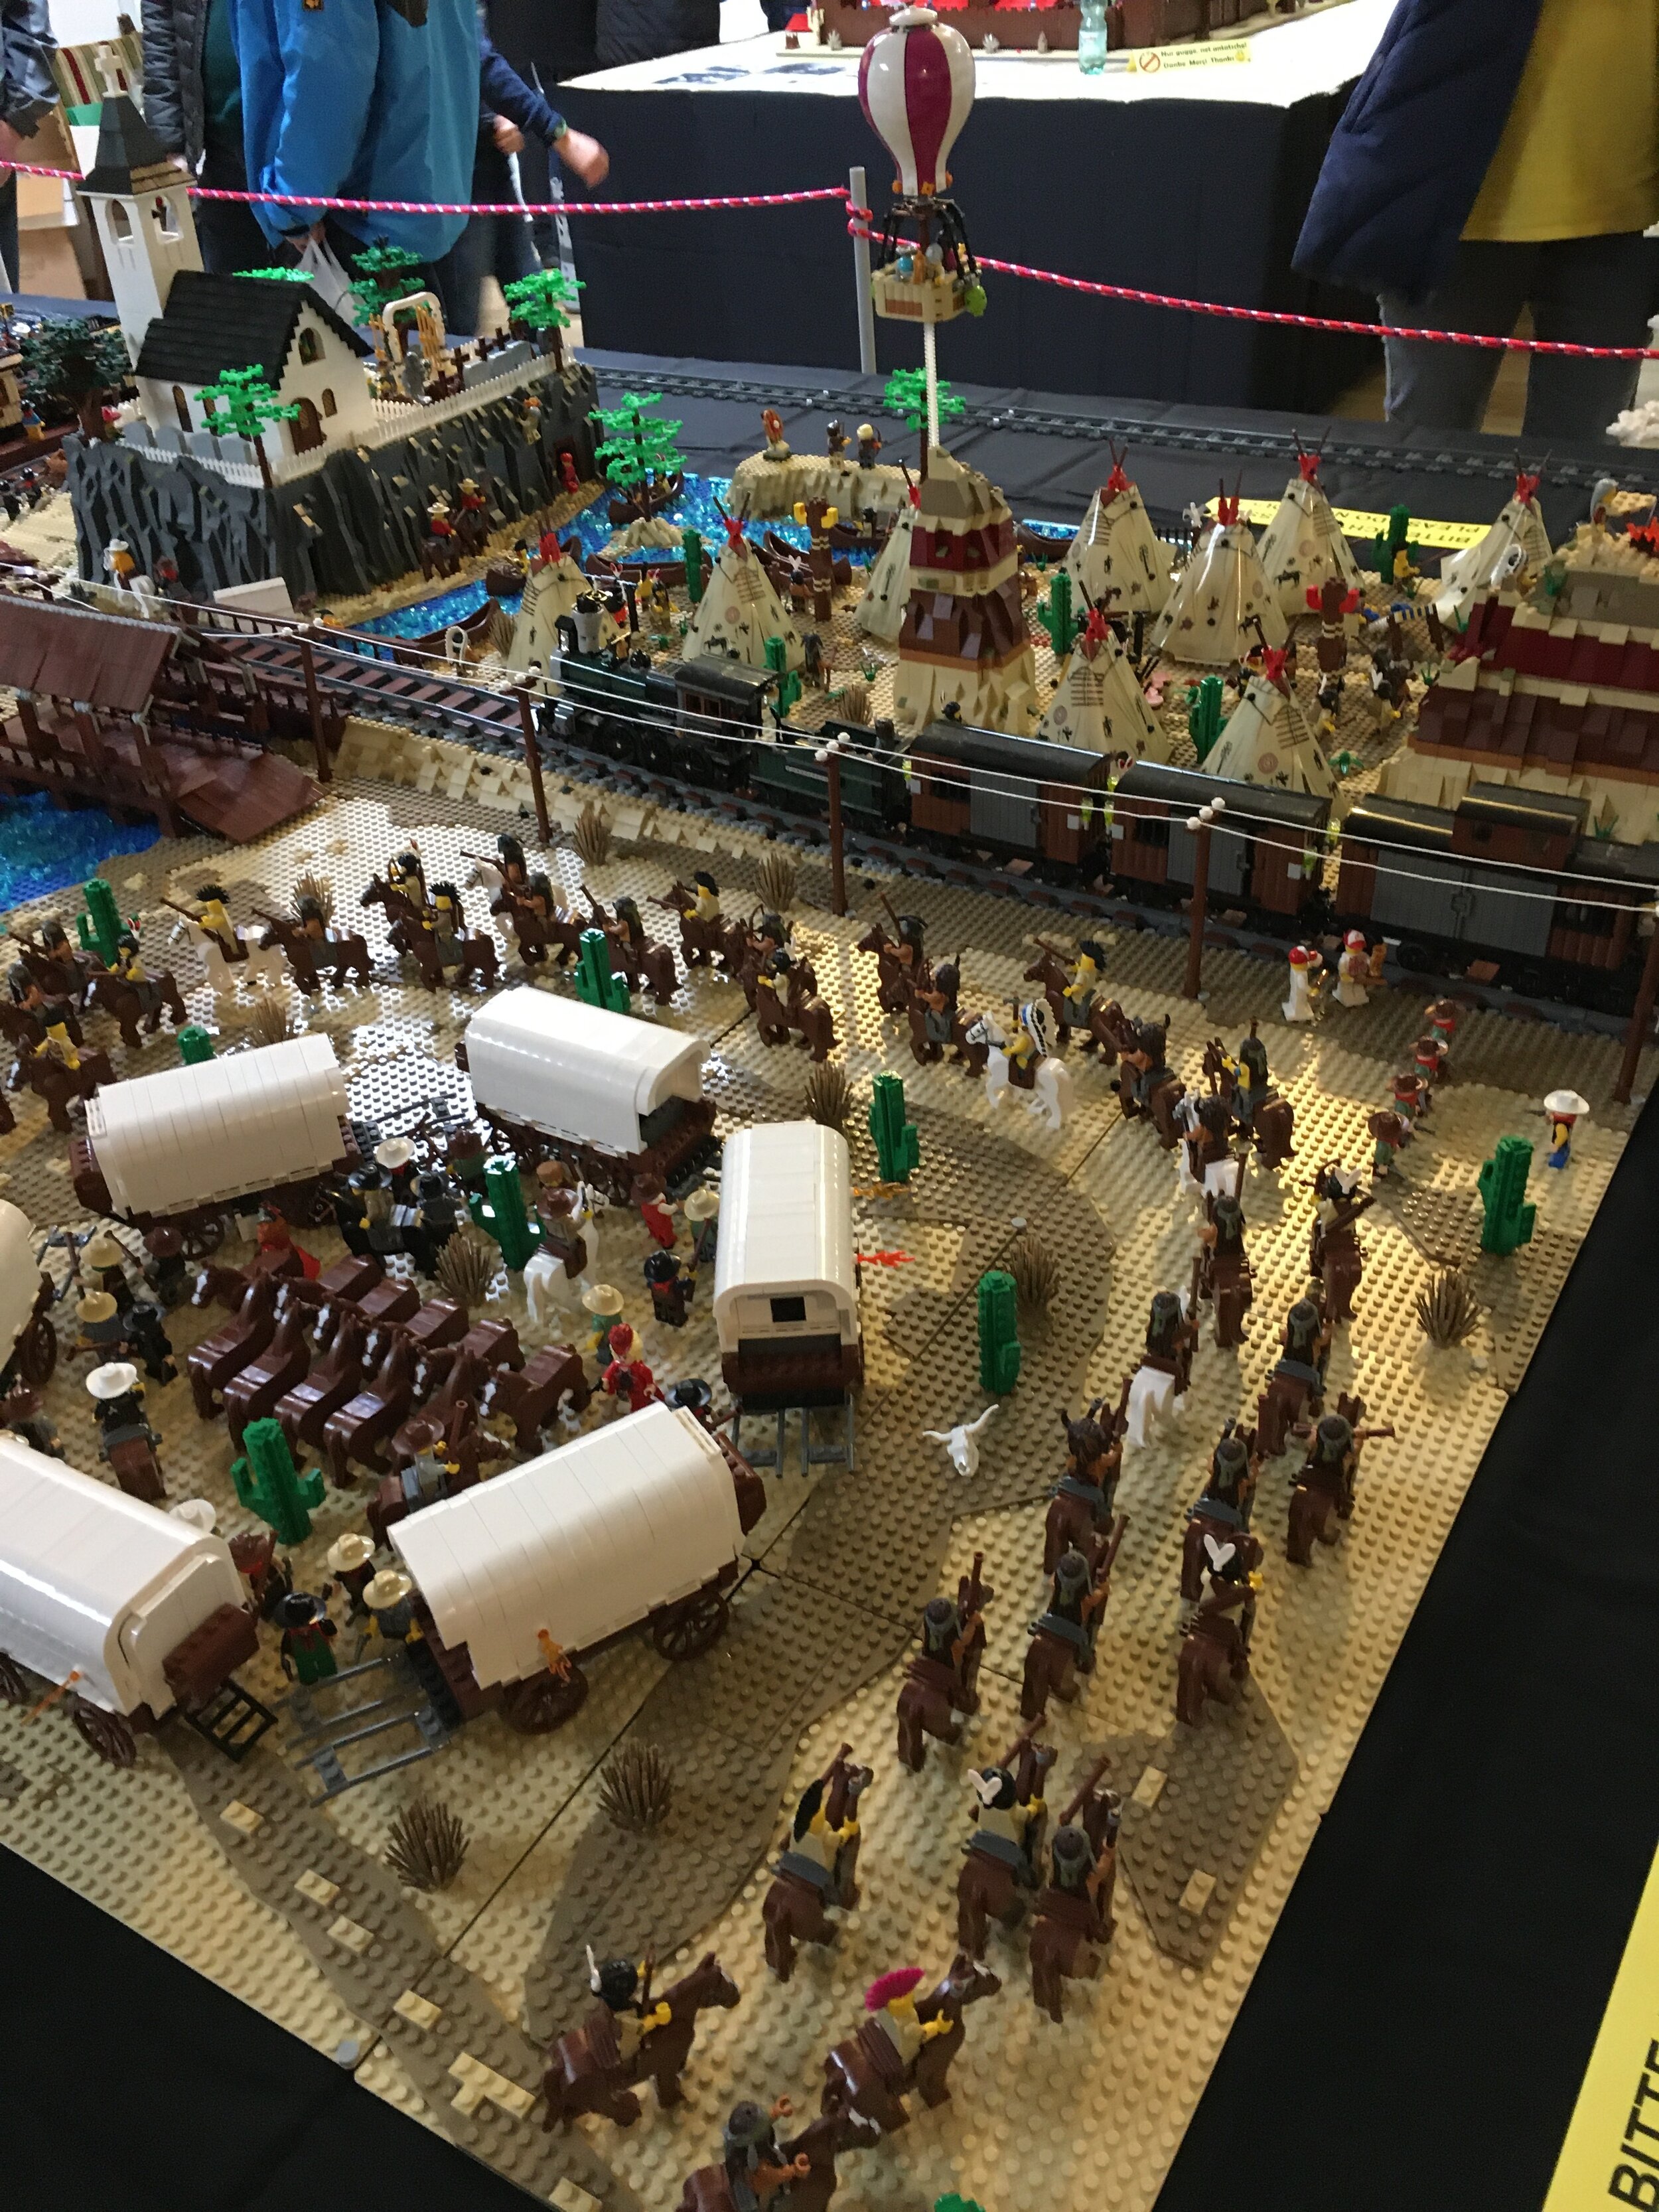
Not to be outdone, nearby was another country western scene. This one included a train, settlers with horses and wagons, the Confederate Army fighting the Union Army, cattle herders, a steam ship, and some Natives harassing some settlers and their wagon train. This scene was another one where it was hard to know where to look first. I can’t image how long it took to set up each and every single minifigure here. Very impressive!

westerna.jpg
westernc.jpg
westernb.jpg
westernd.jpg
westerne.jpg

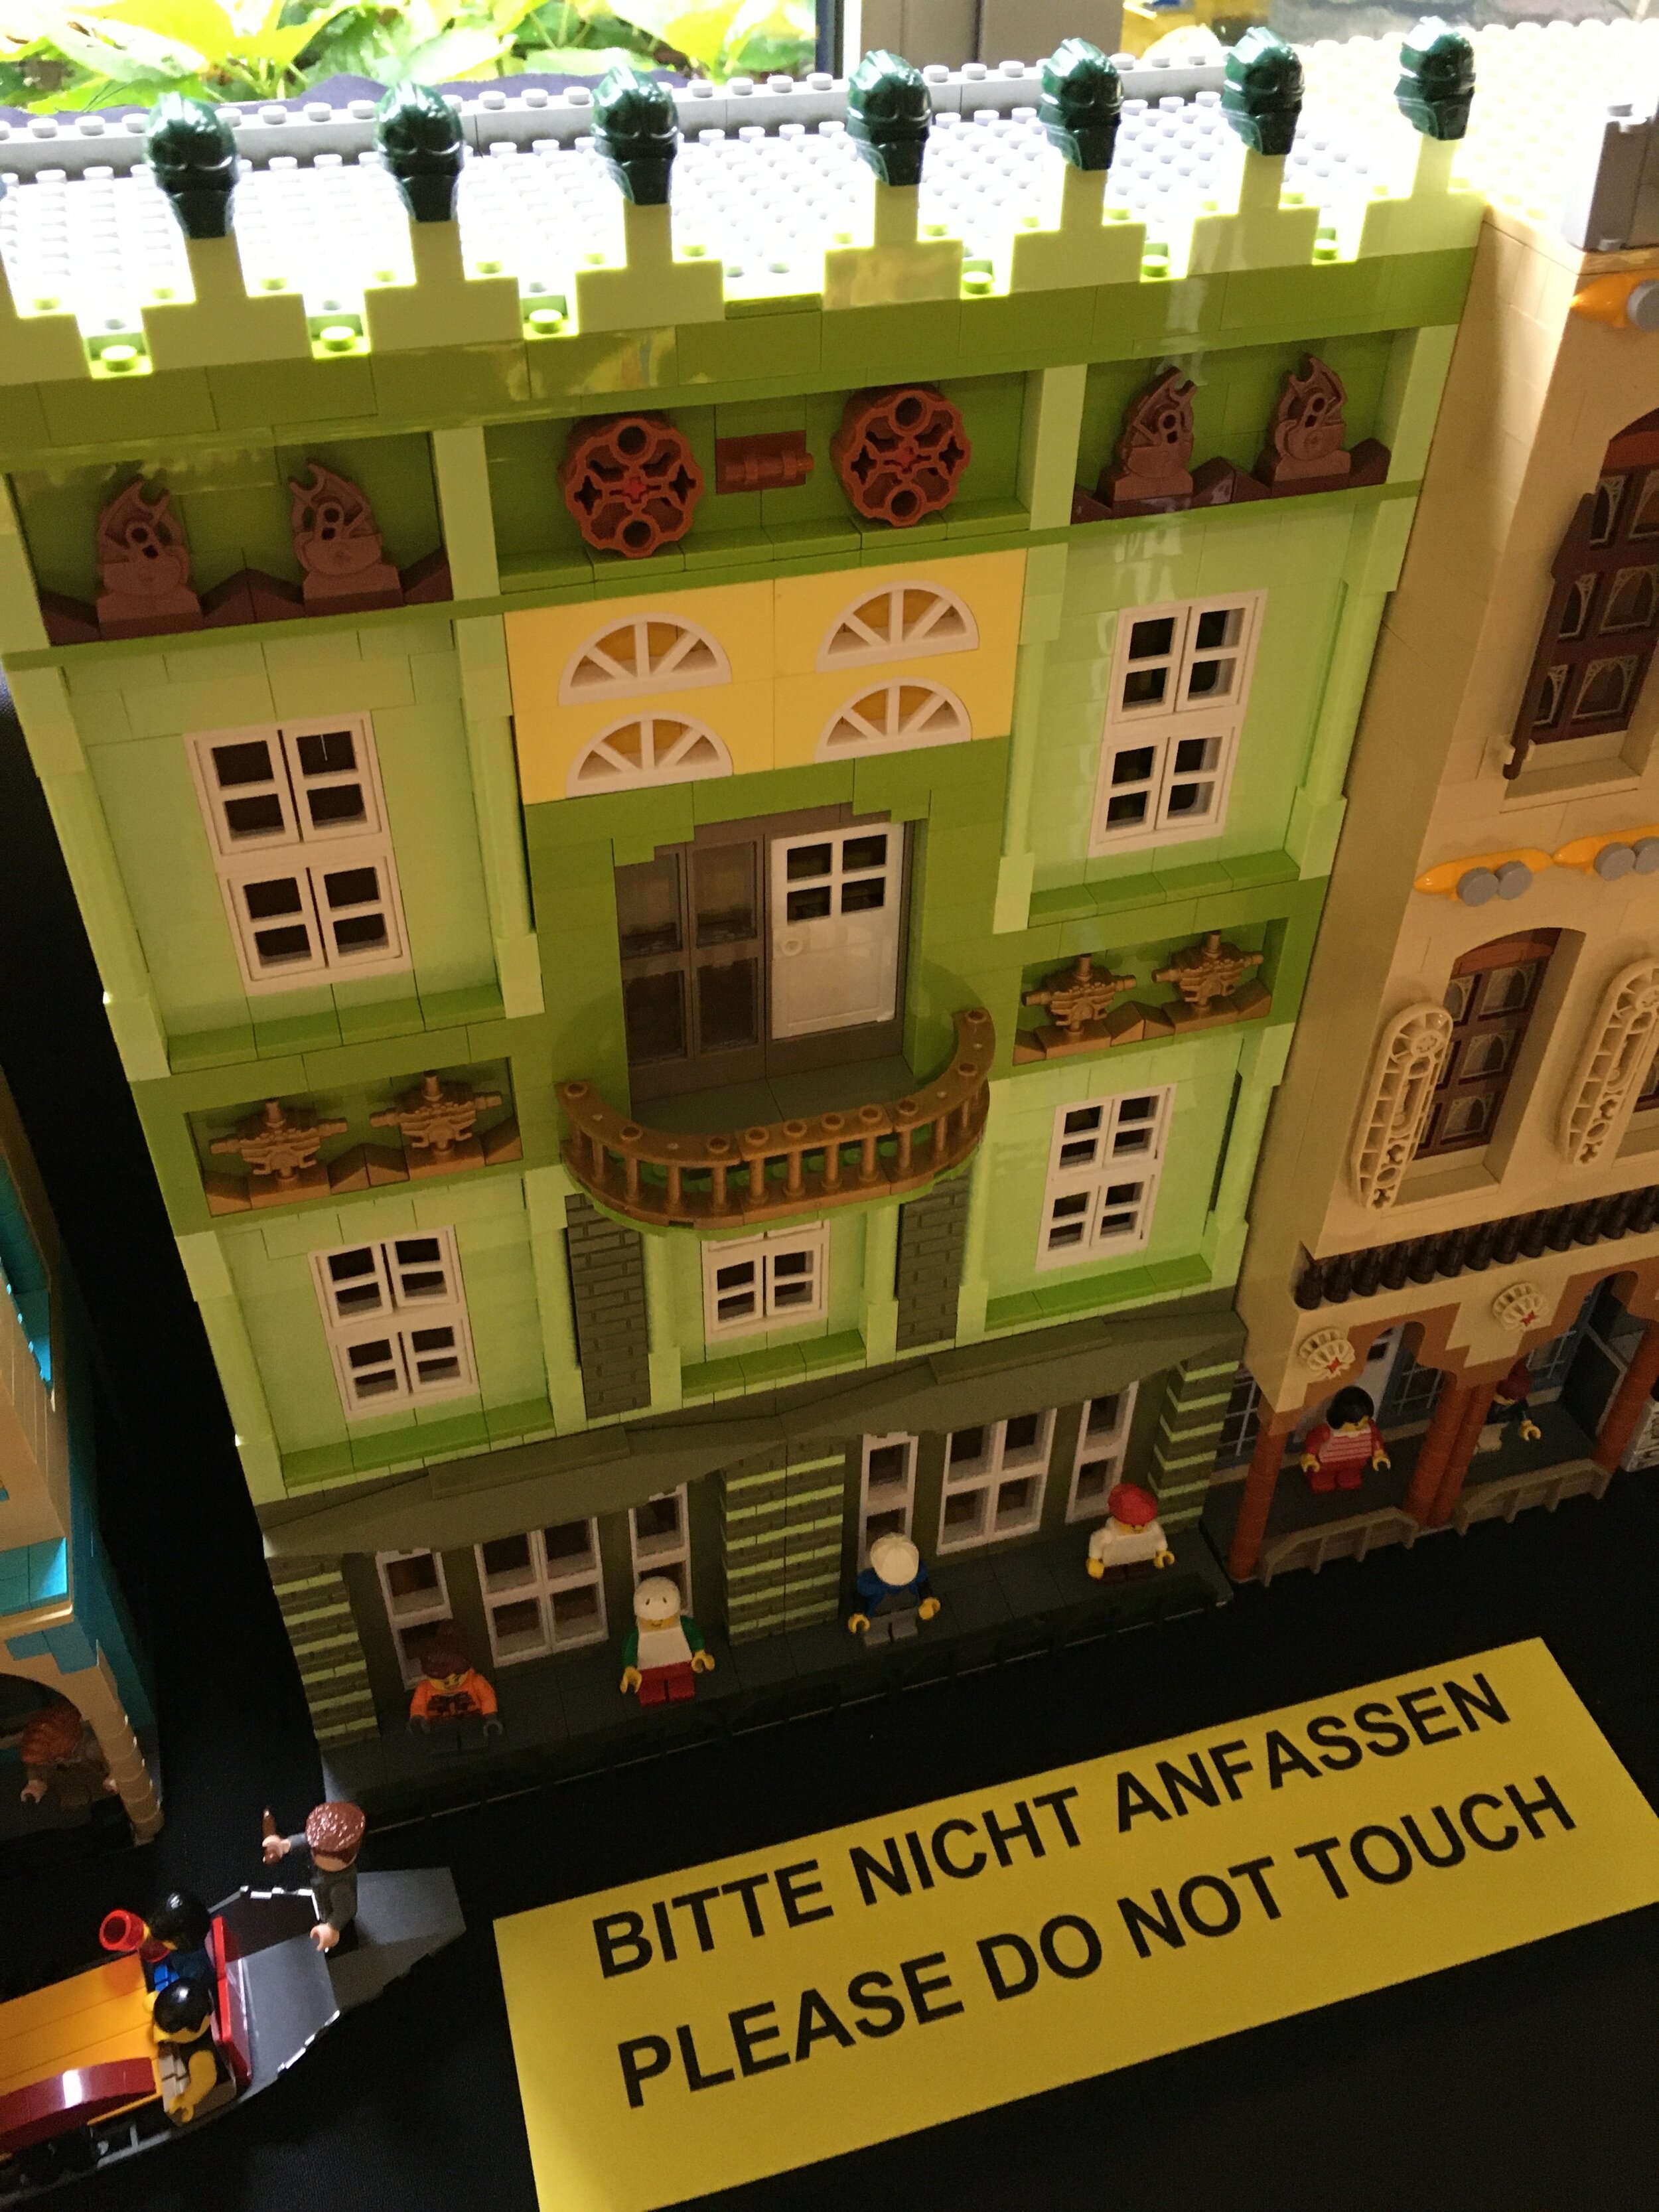
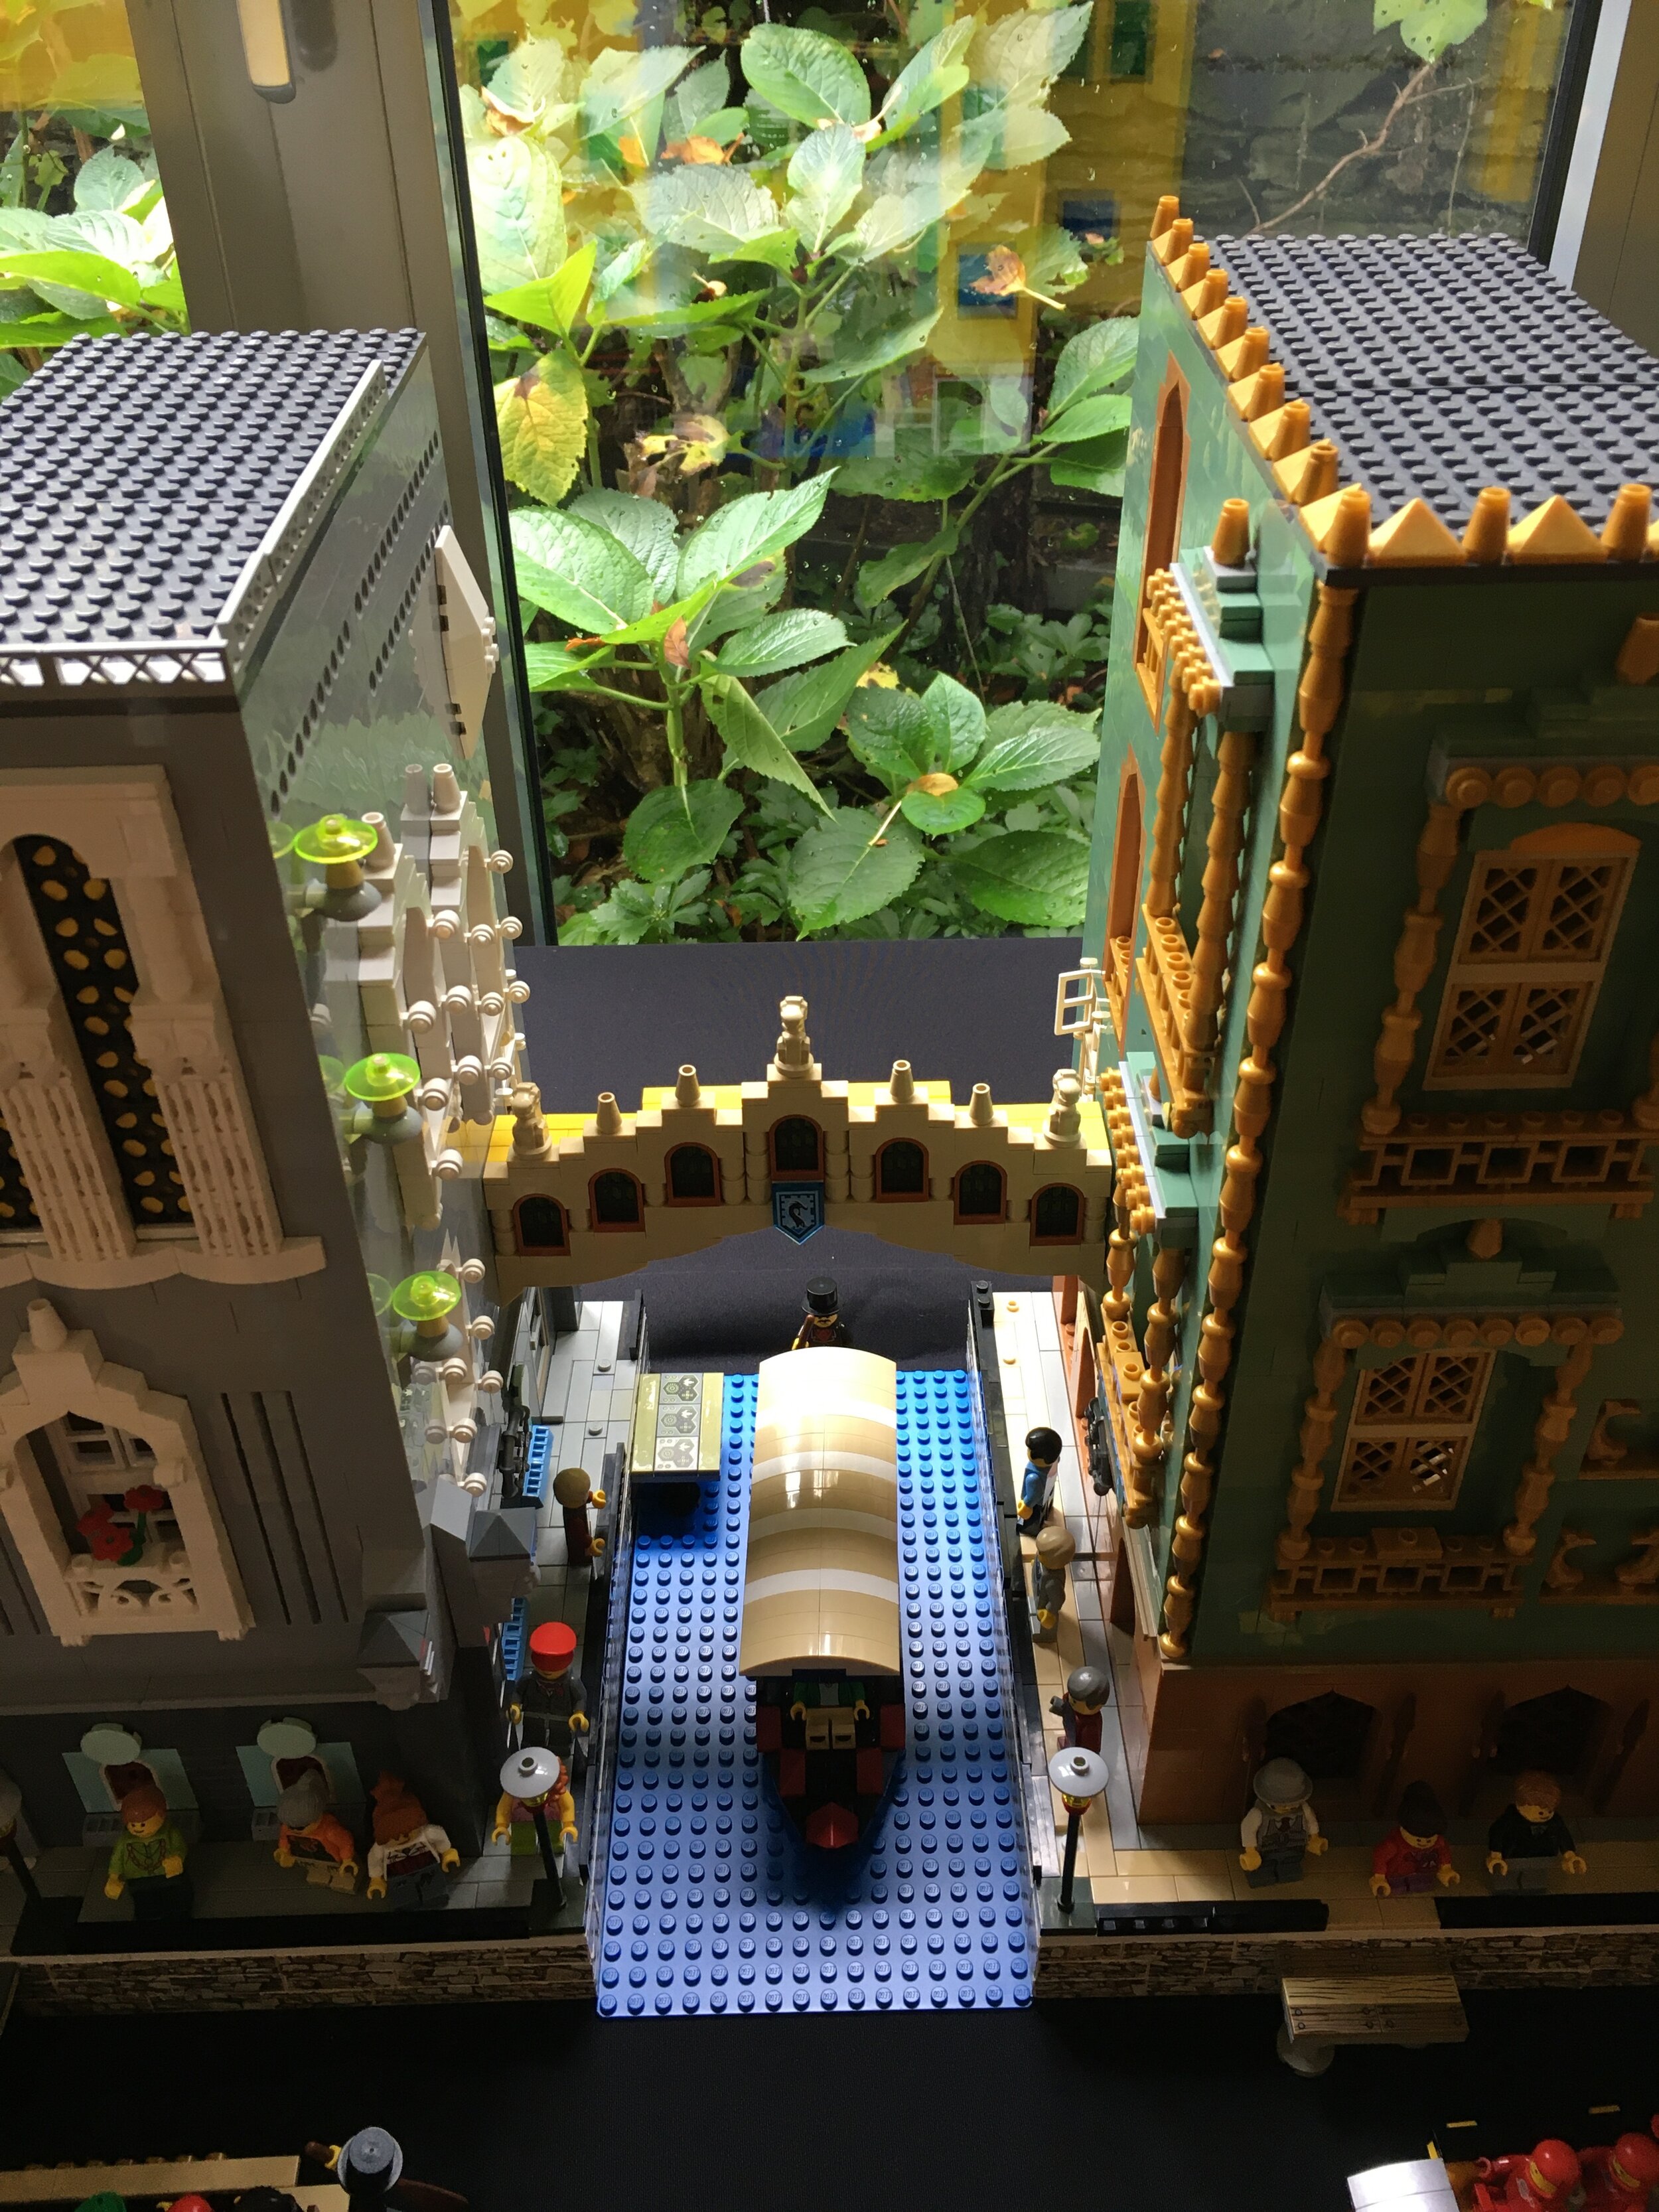
This display was one of my favorite at the show. I apologize for loading all of my pictures that I took of this one, but as a fan of modular buildings I thought this Venice scene was awesome. The use of different colors helps the buildings to really stand out and the pieces used really create some cool details. I think about some of the pieces that I have and how I often don’t know what to do with them and then I look at buildings like these and realize how I could use them to make some very striking details on buildings.

See if you can pick out some of the pieces used to create details. I really like the scorpions and the Star Wars Battle Droid legs for detail. I also like how the one building uses the ball joints. Awesome work!

venice.jpg
venice1.jpg
vencie3.jpg
venice5.jpg
venice7.jpg
venice9.jpg
venice11.jpg
venice_last_one.jpg
venice2.jpg
venice4.jpg
venice6.jpg
venice8.jpg
venice10.jpg
venice12.jpg

Here are 2 more buildings. One appears to be maybe an Asian restaurant while the other appears to be a LEGO® Brand Store.

buildings.jpg

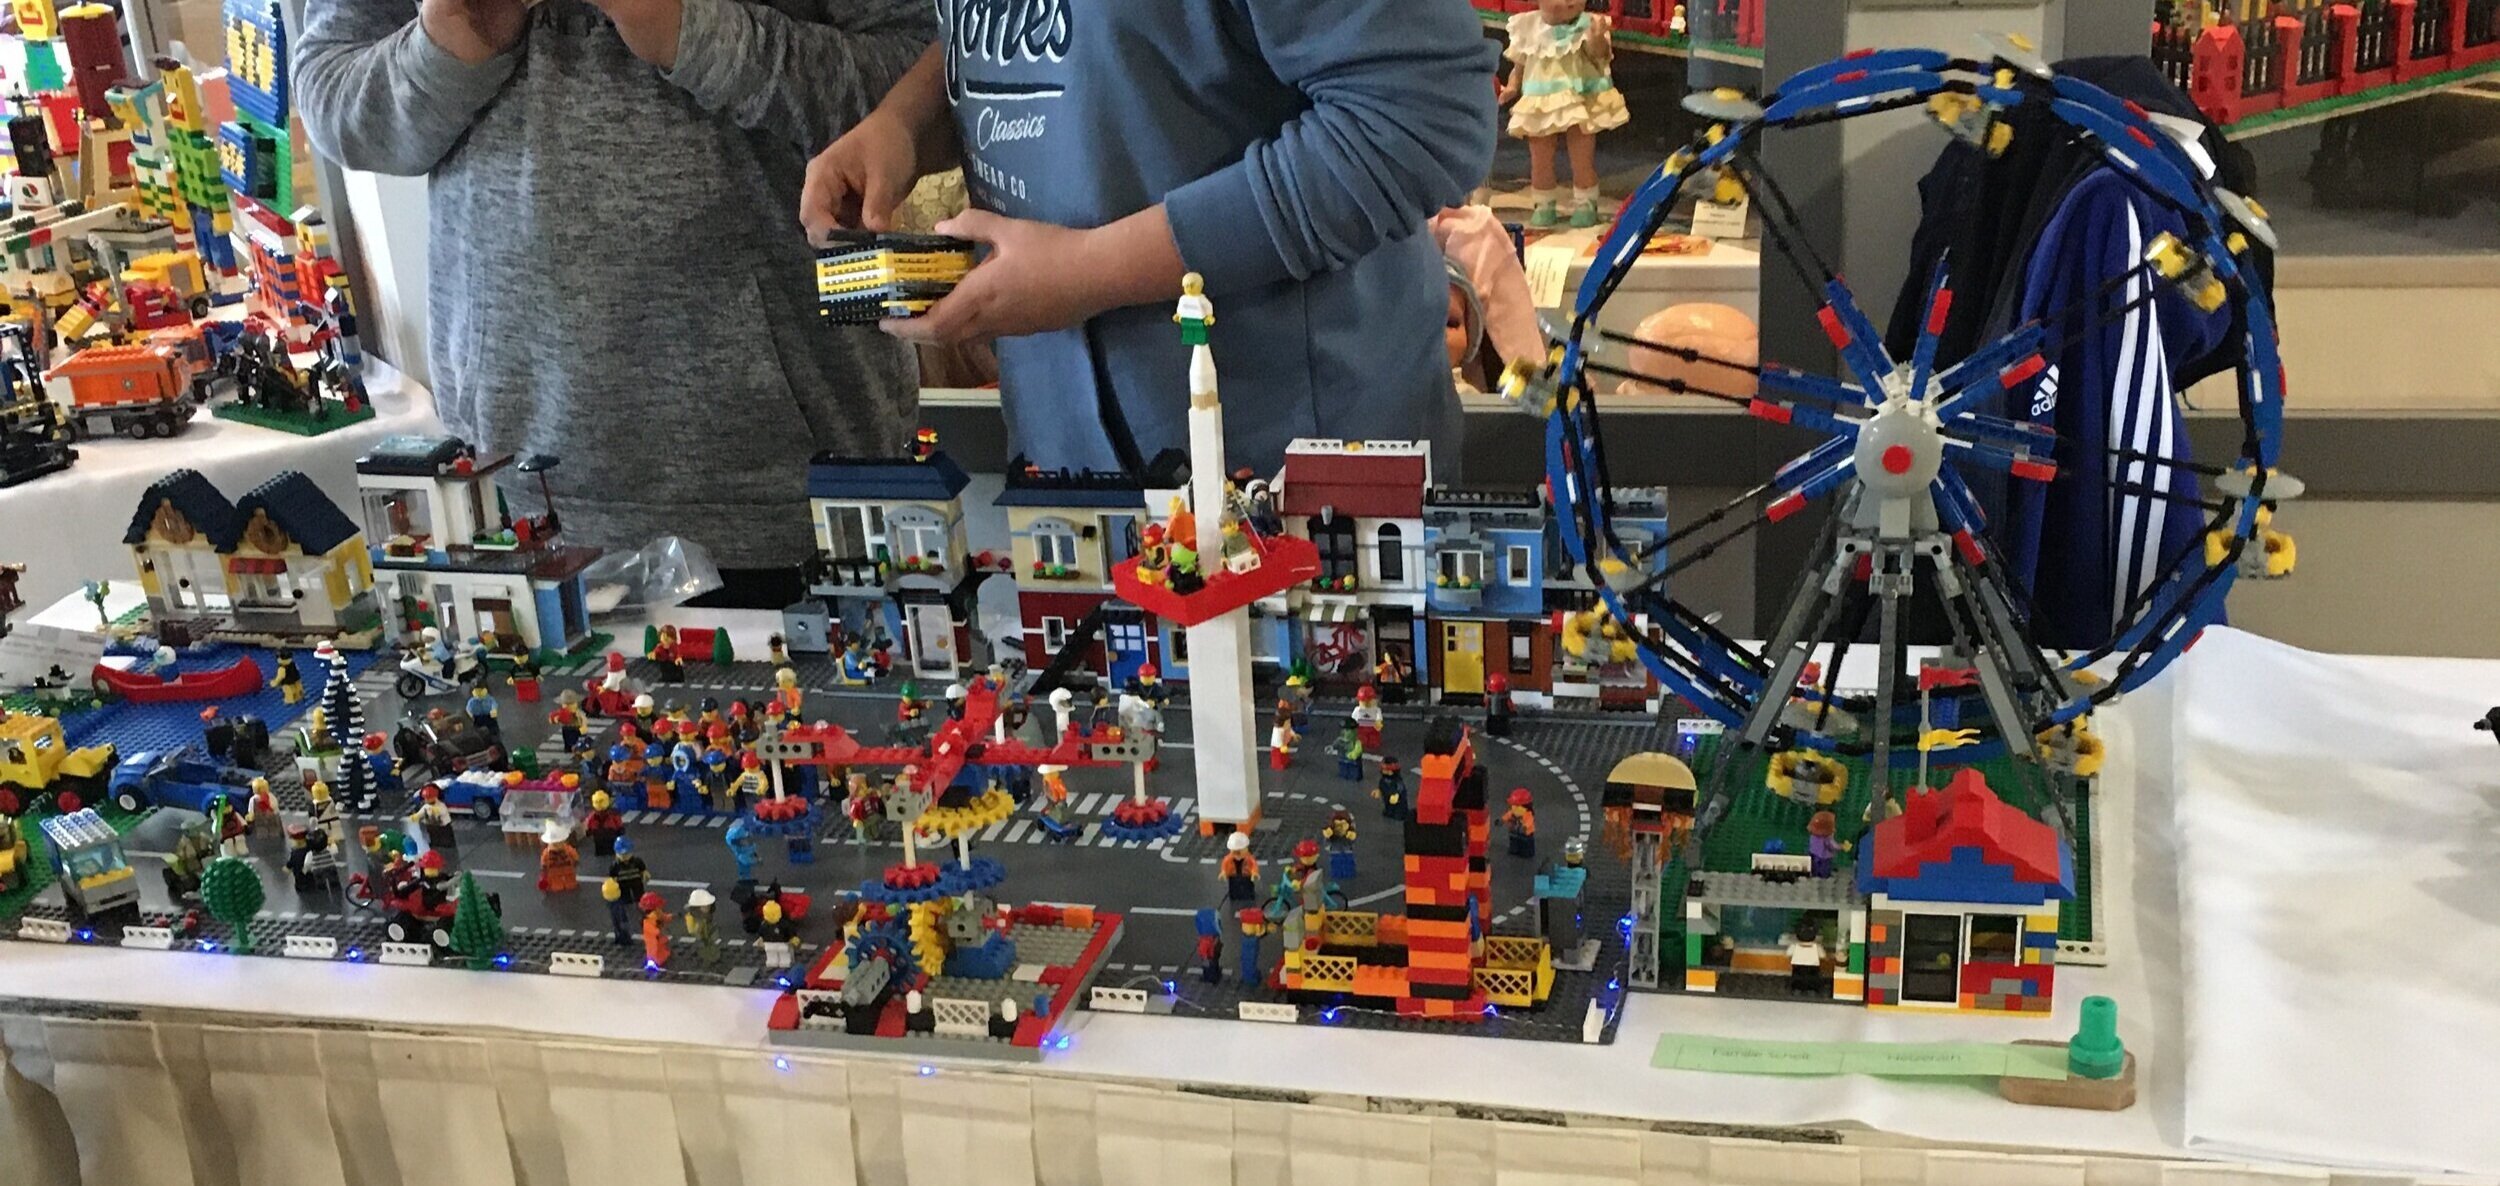
While a lot of the builders were adults and many were from a LUG, there were also a few teens there displaying some items. I didn’t get pictures of them all, but this group stood out to me. They had a number of mechanical devices to include the amusement park below. They also had a rubik’s cube solver, a machine that held a pen to make some cool drawings, and a few other machines. Here’s a picture of their amusement park.

teen_mocs1.jpg

These may have been the best part of the show. The creativity here is astonishing. They took existing sets and built them using what I can only assume was with parts they had on hand or could get to easily. They had #21303-1: WALL-E build out of various pieces and then the two sets pictured below. The first was #71043-1: Hogwart’s Castle. I first looked at it and was like, that’s a cool looking castle. Then I was like, wait! That’s a real set only with different pieces. How cool is that? That’s some impressive work, but it was probably substantially cheaper than buying the actual set. Next up was #21315-1: Pop-Up Book. They took the design, used the pieces on hand, and added in I <3 U as the item that popped up.

My inability to speak German hit me here as I couldn’t ask questions, but bravo to the person or people who built these. They did an awesome job and did something I have never seen done before. They definitely get my best in show award.

hogwarts_moc.jpg
pop_up_book.jpg

Congrats if you made it this far and thanks for checking it out. I hope to get to more shows in Germany before I depart.

In the meantime, happy building!

LEGO® Exhibition - Kloster Machern, Bernkastel-Kues, Germany - Part 1

I found out about a LEGO® Exhibition in Germany from 1-3 November 2019 and decided to go check it out. It was located in Bernkastel-Kues which is along the Mosel River. We picked a good day to go as the drive there let us see some great fall colors in the trees and it wasn’t pouring rain like it has done a lot this fall in Europe. The exhibition was located in Kloster Machern which used to be a monastery. Now it is a museum and with some eateries and an event room. This place was just outside of Bernkastel-Kues and it was tucked into the valley along the river. There were some great views and if the exhibition was disappointing at least we got to see a cool part of Germany.

Here’s a picture from the parking lot of the monastery.

parking_lot.jpg

A few closer shots of the outside of the building.

building1.jpg
building2.jpg

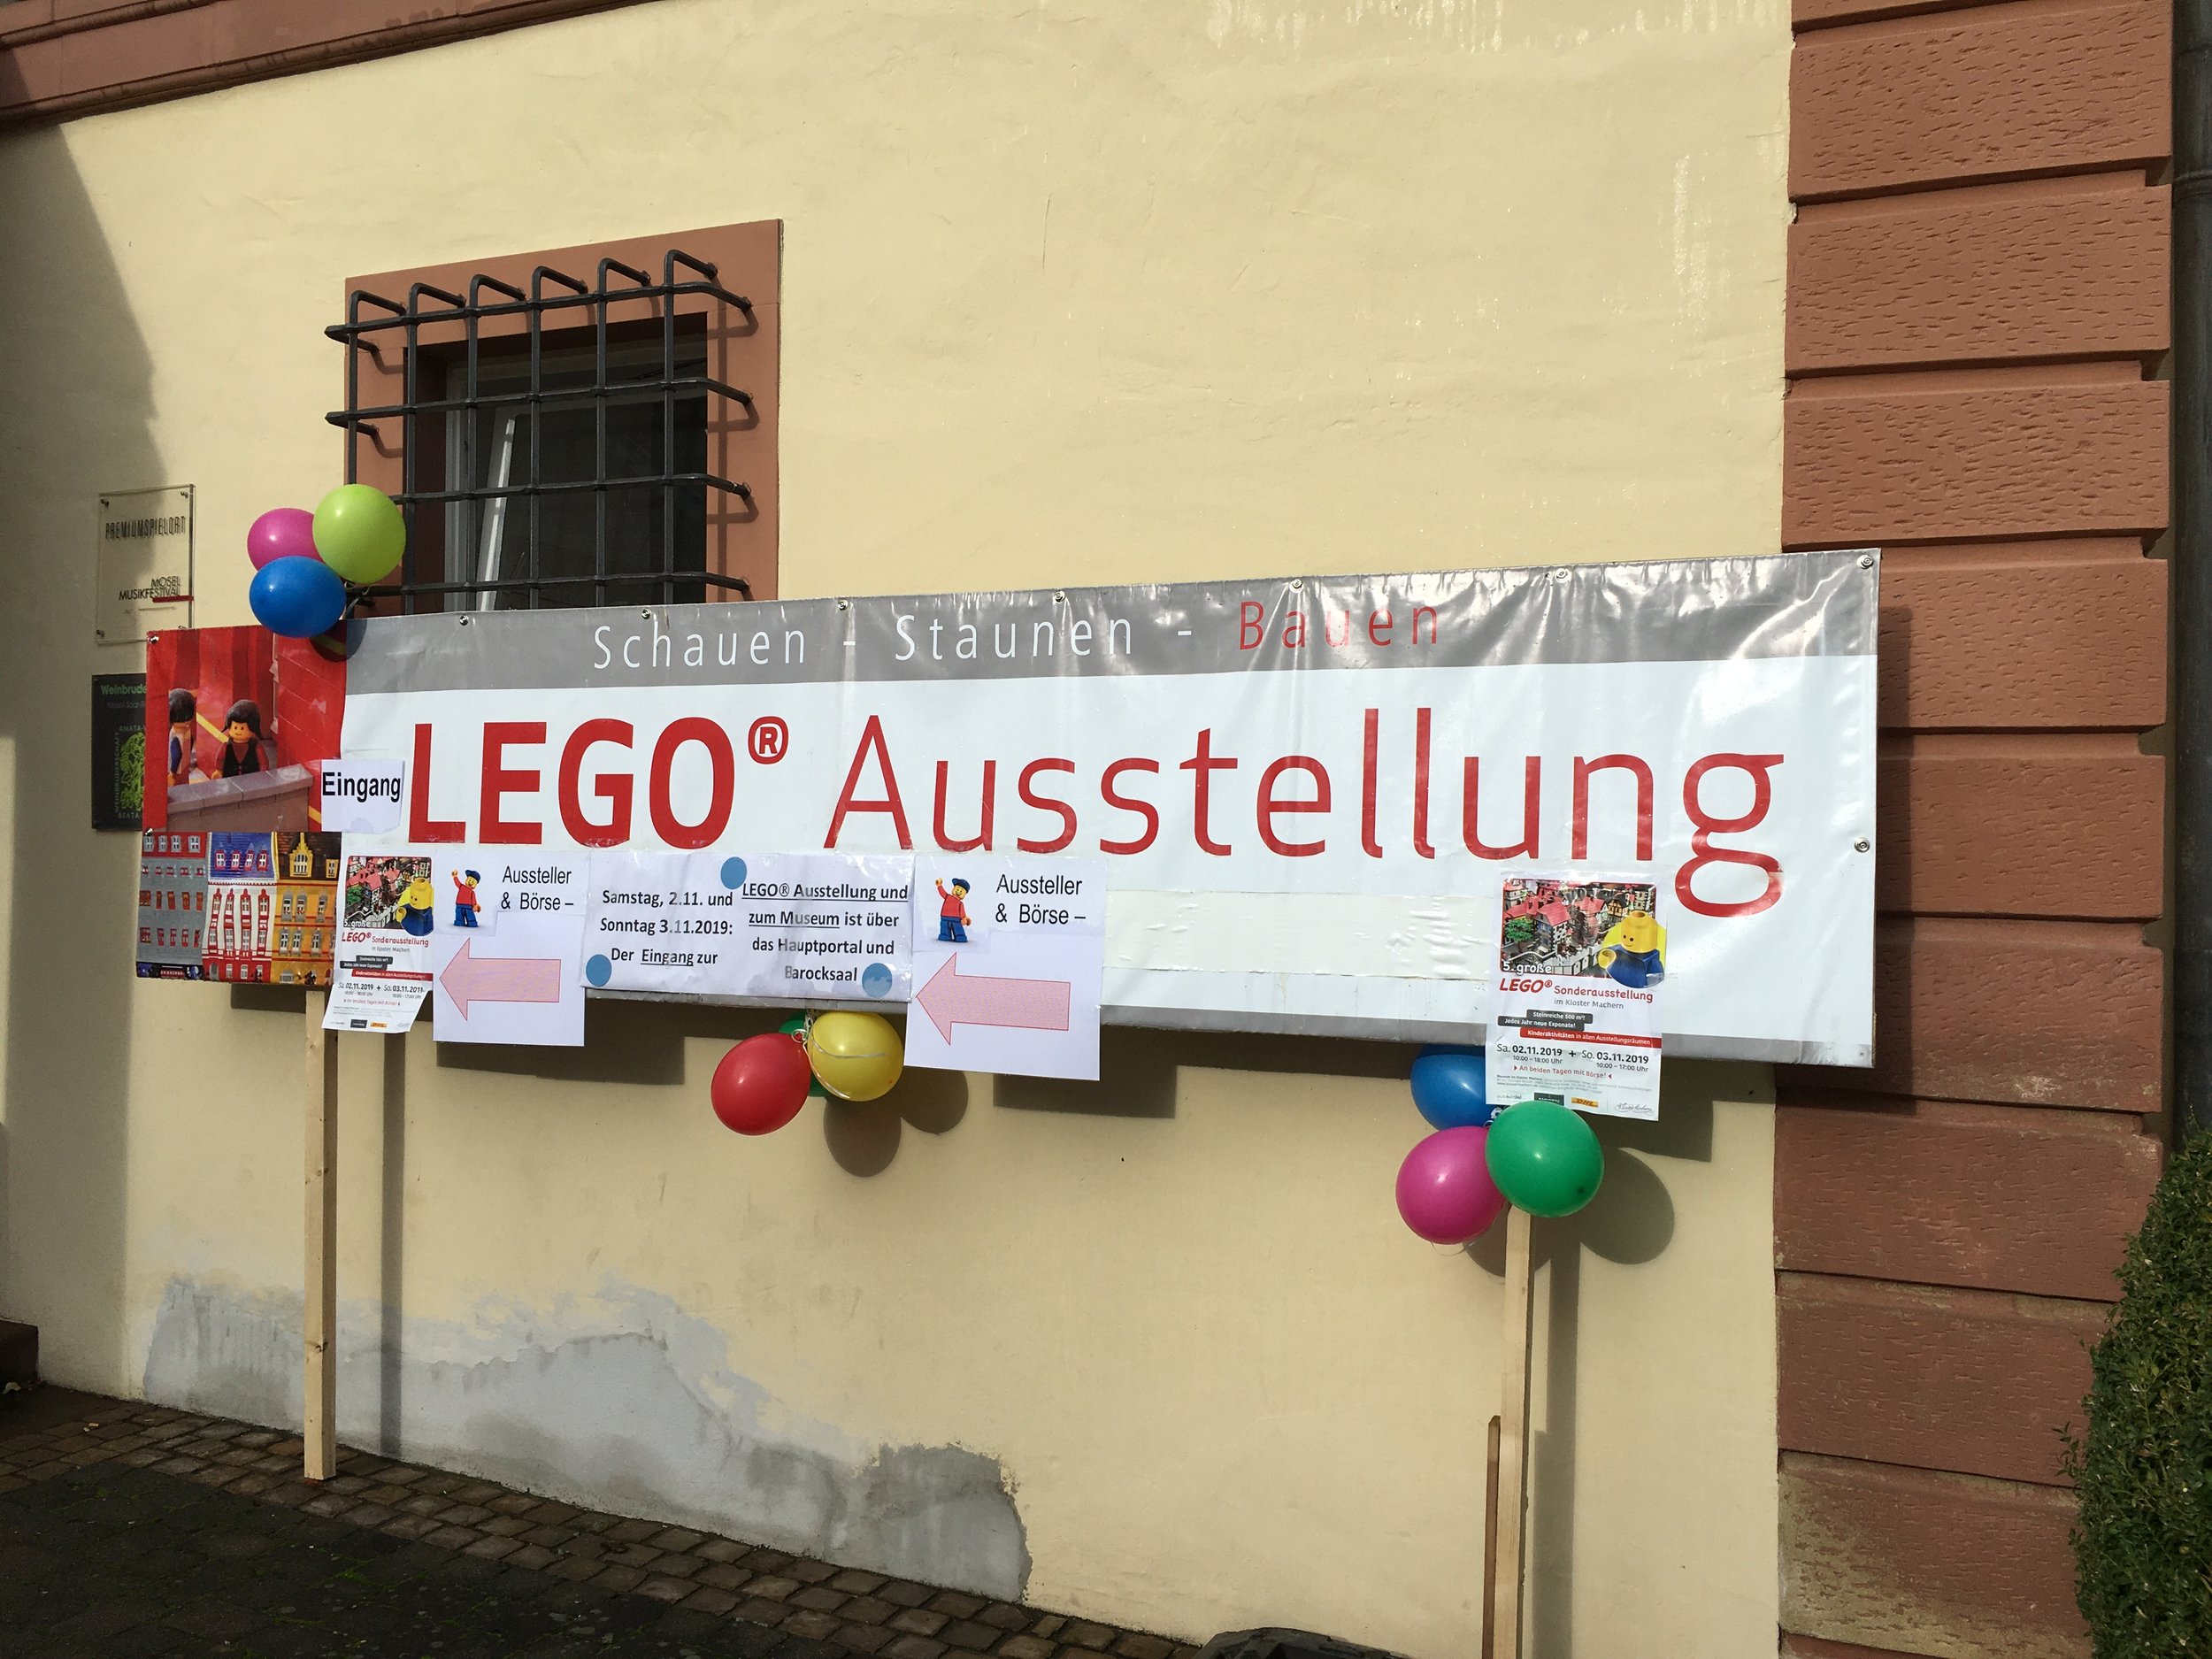
Here is the sign… Google Translate tells me that “ausstellung” translates to “exhibition.” The cost was 10 Euros to get my family in and the show ran across a 3-day weekend. Our ticket would let us back in all weekend, but we just went for one day.

IMG_9770.JPG

Upon entering, there were a number of tables of vendors selling sets, loose bricks, and other brick related paraphernalia. The first build we ran into was this tall building and its miniature replica. The building is an office building in Neunkirchen, Germany. It was an impressive MOC, but I didn’t get to enjoy it much as there were no barriers and my little guy really wanted to play with all of the cars on the roads surrounding the building.

IMG_9771.JPG
IMG_9772.JPG

Lauter Steine EV. was there in full force. This is the same LUG that displays at the Gartenschau in Kaiserslautern, Germany.

ev_lauter_steine.jpg

There was a big Christmas themed display with a lot of the Winter Village sets and the Winter Village train looping around the scene. It was a good use of the sets along with some other minifigures and parts. There were some creative scenes and and a few hidden minifigures like Storm Troopers. A bigger sized Uni-Kitty stood guard over the display.

Christmas_scene.jpg
unikitty.jpg

There were a lot of castles on display. Here are just a few.

castle1.jpg
castle2.jpg

A Fabuland display and then a bunch of different items to include some space sets, a rocket launch, some vehicles, and some imaginative MOCs.

fabuland.jpg
IMG_9782.jpg

This is a MOC of Castle Pfalzgrafenstein. It was a castle built in the 14th century to collect duties on the Rhine River in Germany (according to the sign posted nearby). I thought this was pretty cool because I took a short trip on the Rhine River with my family this past summer and we saw the actual castle. A picture I took is shown so you can see the real thing. I think the builder did a good job at replicating the actual building.

IMG_9785.JPG
castle_actual.jpg

Here is an amazing MOC of the Reichstag building in Berlin. For those in the US or anywhere else not familiar, this building is like the US Capitol. It’s where the German Parliament meets. I think the MOC is incredible. They really captured the details well. The sign nearby said the model took 4 years to make and contains around 450,000 bricks.

reichstag1.jpg
reichstag2.jpg
reichstag3.jpg

A large castle scene…

castle1,jpg
castle3.jpg
castle2.jpg
castle4.jpg

Here is a replica of an old building near Bernkastel-Kues in Morbach (a few minutes to the southeast of Bernkastel-Kues). I’m not sure if the building still exists today or not, but It’s cool how they show a picture of what it looked like.

house.jpg
info_sheet.jpg

Props to you if you look down this far. I’ll post part 2 shortly.

Set Review - #75958-1: Beauxbatons' Carriage: Arrival at Hogwarts™ - The Wizarding World - Harry Potter

The first new wave of Harry Potter sets arrived last year (2018) and now in 2019 we have a second wave. They have been out for a bit, but my preference is to wait until they go on sale. This set, #75958-1: Beauxbatons' Carriage: Arrival at Hogwarts™, was released in the US on 2 August 2019. It contains 430 pieces and retails for $49.99 in the US. It works out to $0.116/piece which is a bit on the steep side in my opinion.

This set depicts characters from the fourth book “Harry Potter and the Goblet of FIre.” Beauxbatons is a French wizarding school and the school arrives for the Tri-Wizard’s tournament in the carriage this set depicts (yes, I had to Google all that).

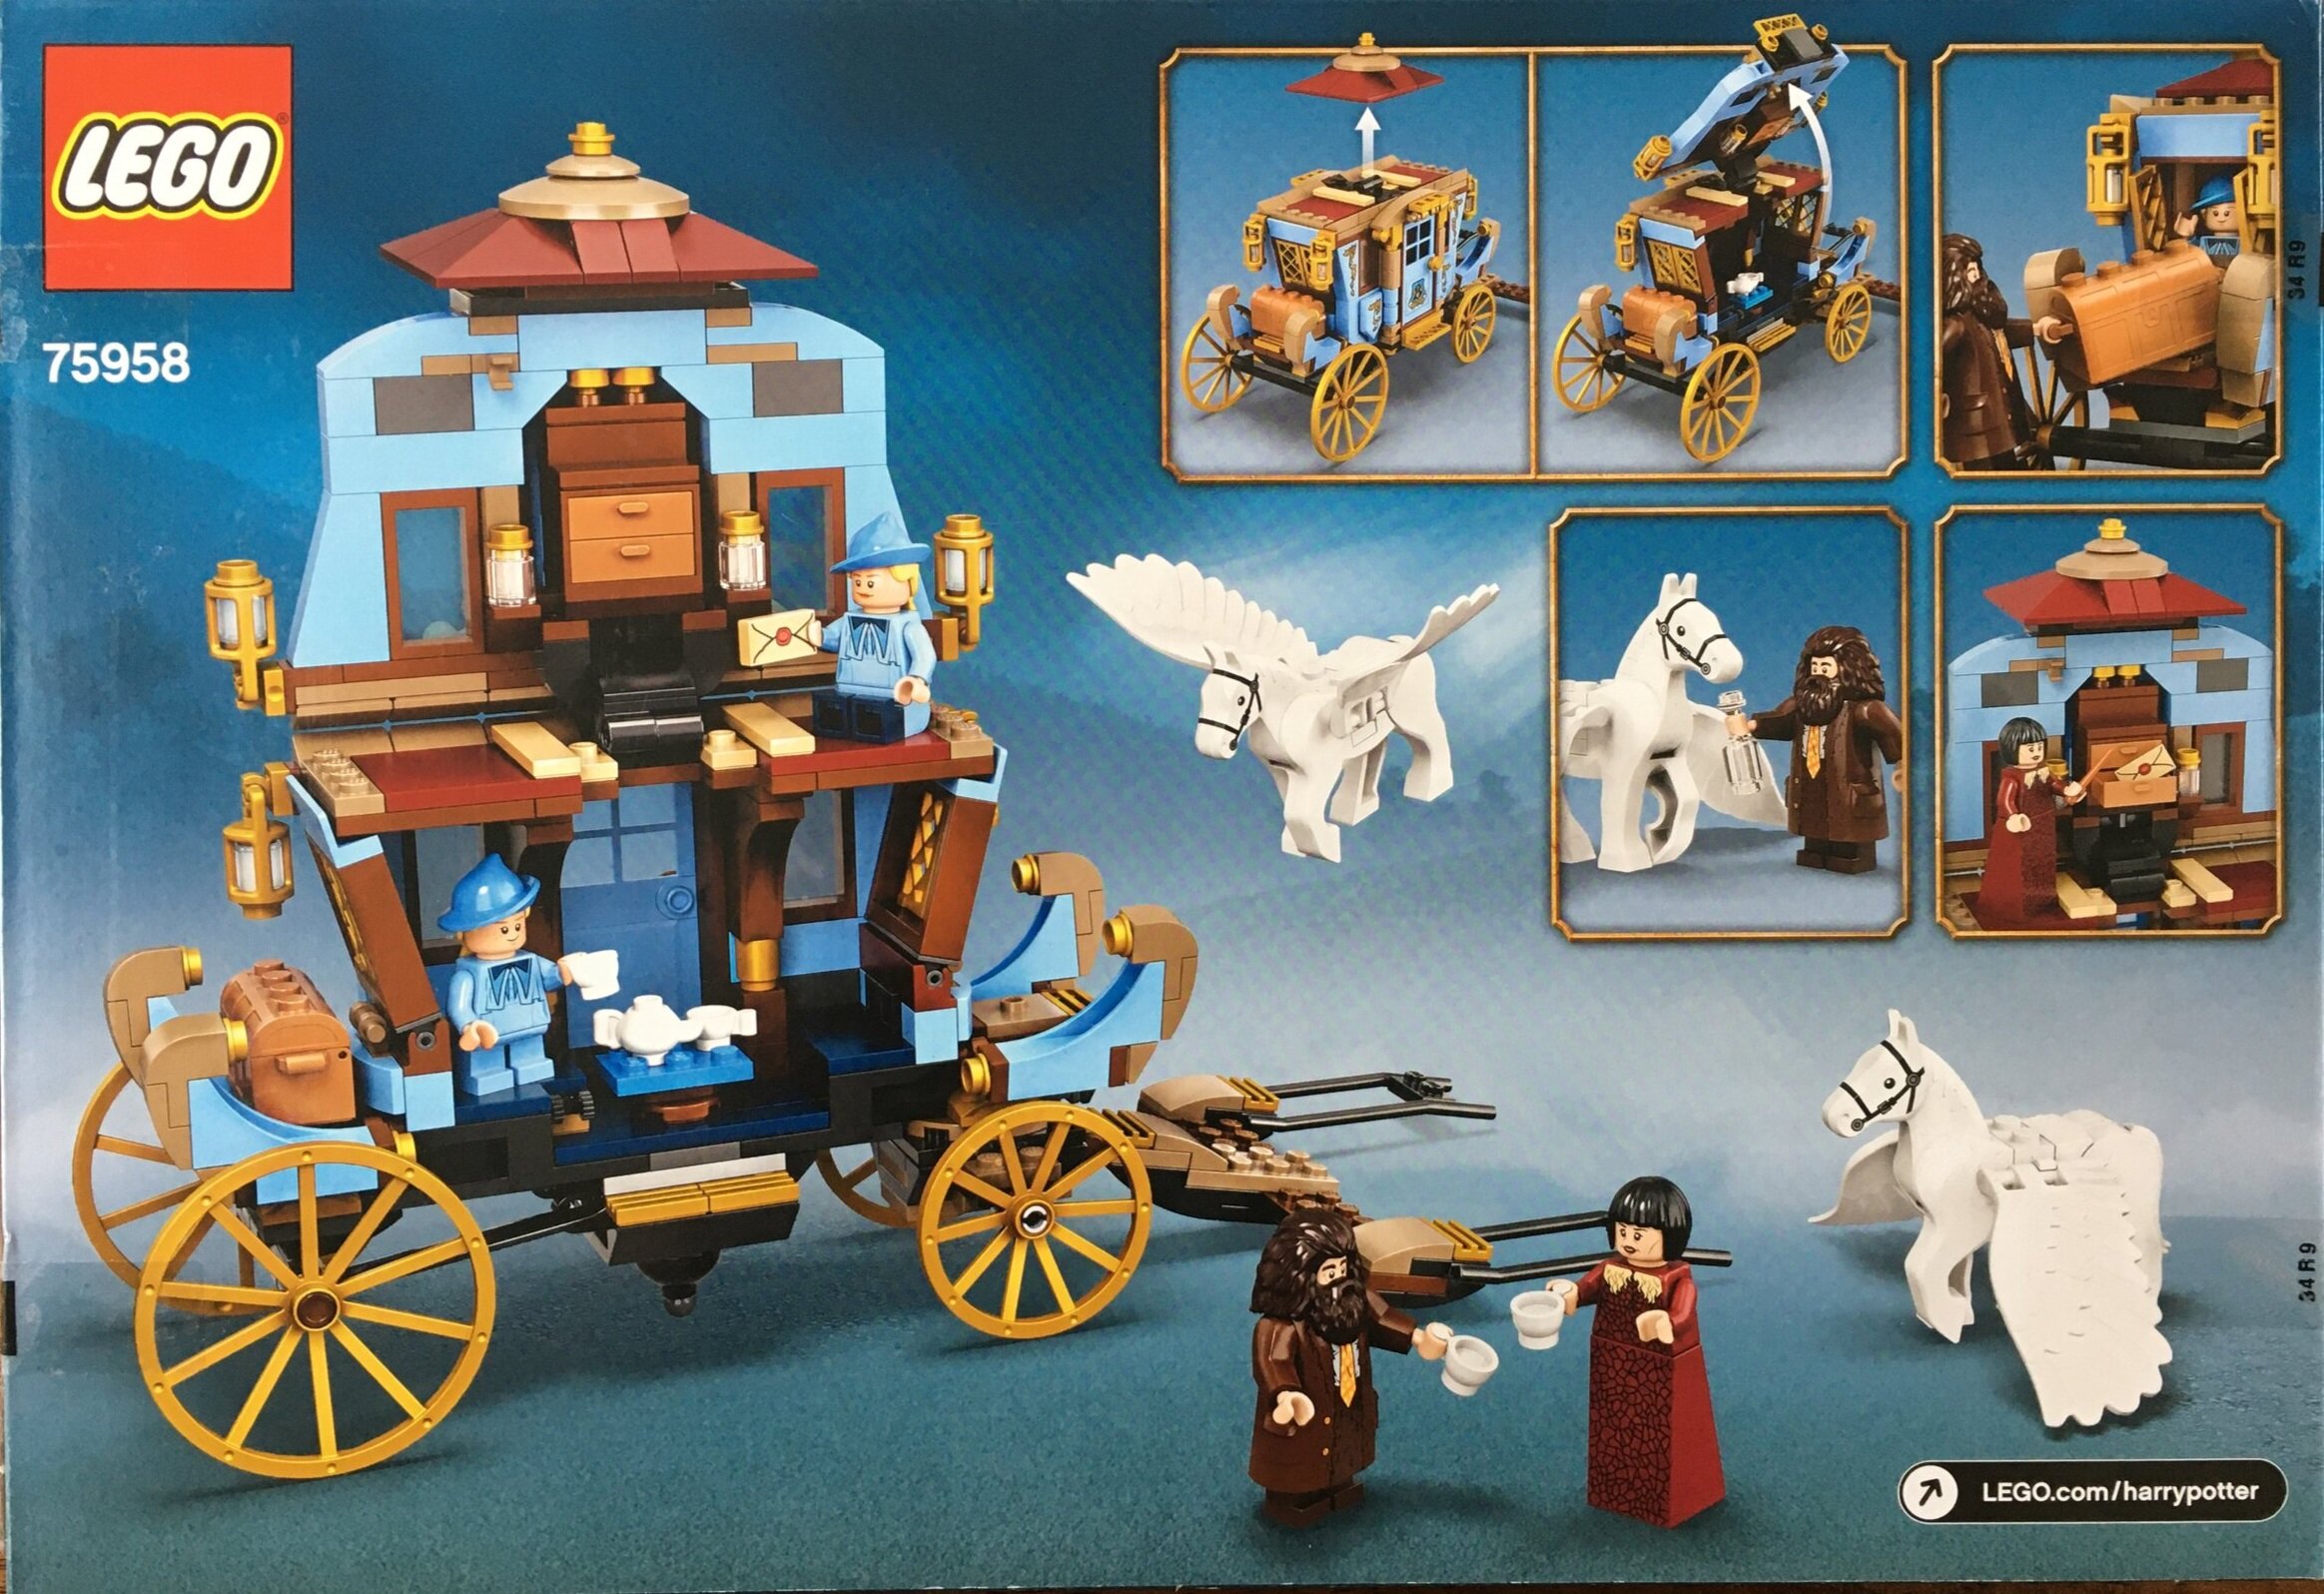
The box shows the full set on the front, the minifigures on the bottom left of the front and the characters from the movie on the top right. The back shows some of the different play features of the set.

75958_front.jpg
75958_back.jpg

The set contains three parts bags, an instruction booklet, and a small sticker sheet. Bag 1 contains a piece separator.

75958_contents.jpg

The first bag begins to build the carriage. I like how the designers achieved the angles on the front and back. I also like the light blue color and I think it goes well with the brown and gold brick colors. Beauxbatons was never shown in the movies, but this would make for a good MOC. A French style chateau with brown, light blue, gold, and the tan-ish color would look cool.

75958_build1a.jpg
75958_build1b.jpg

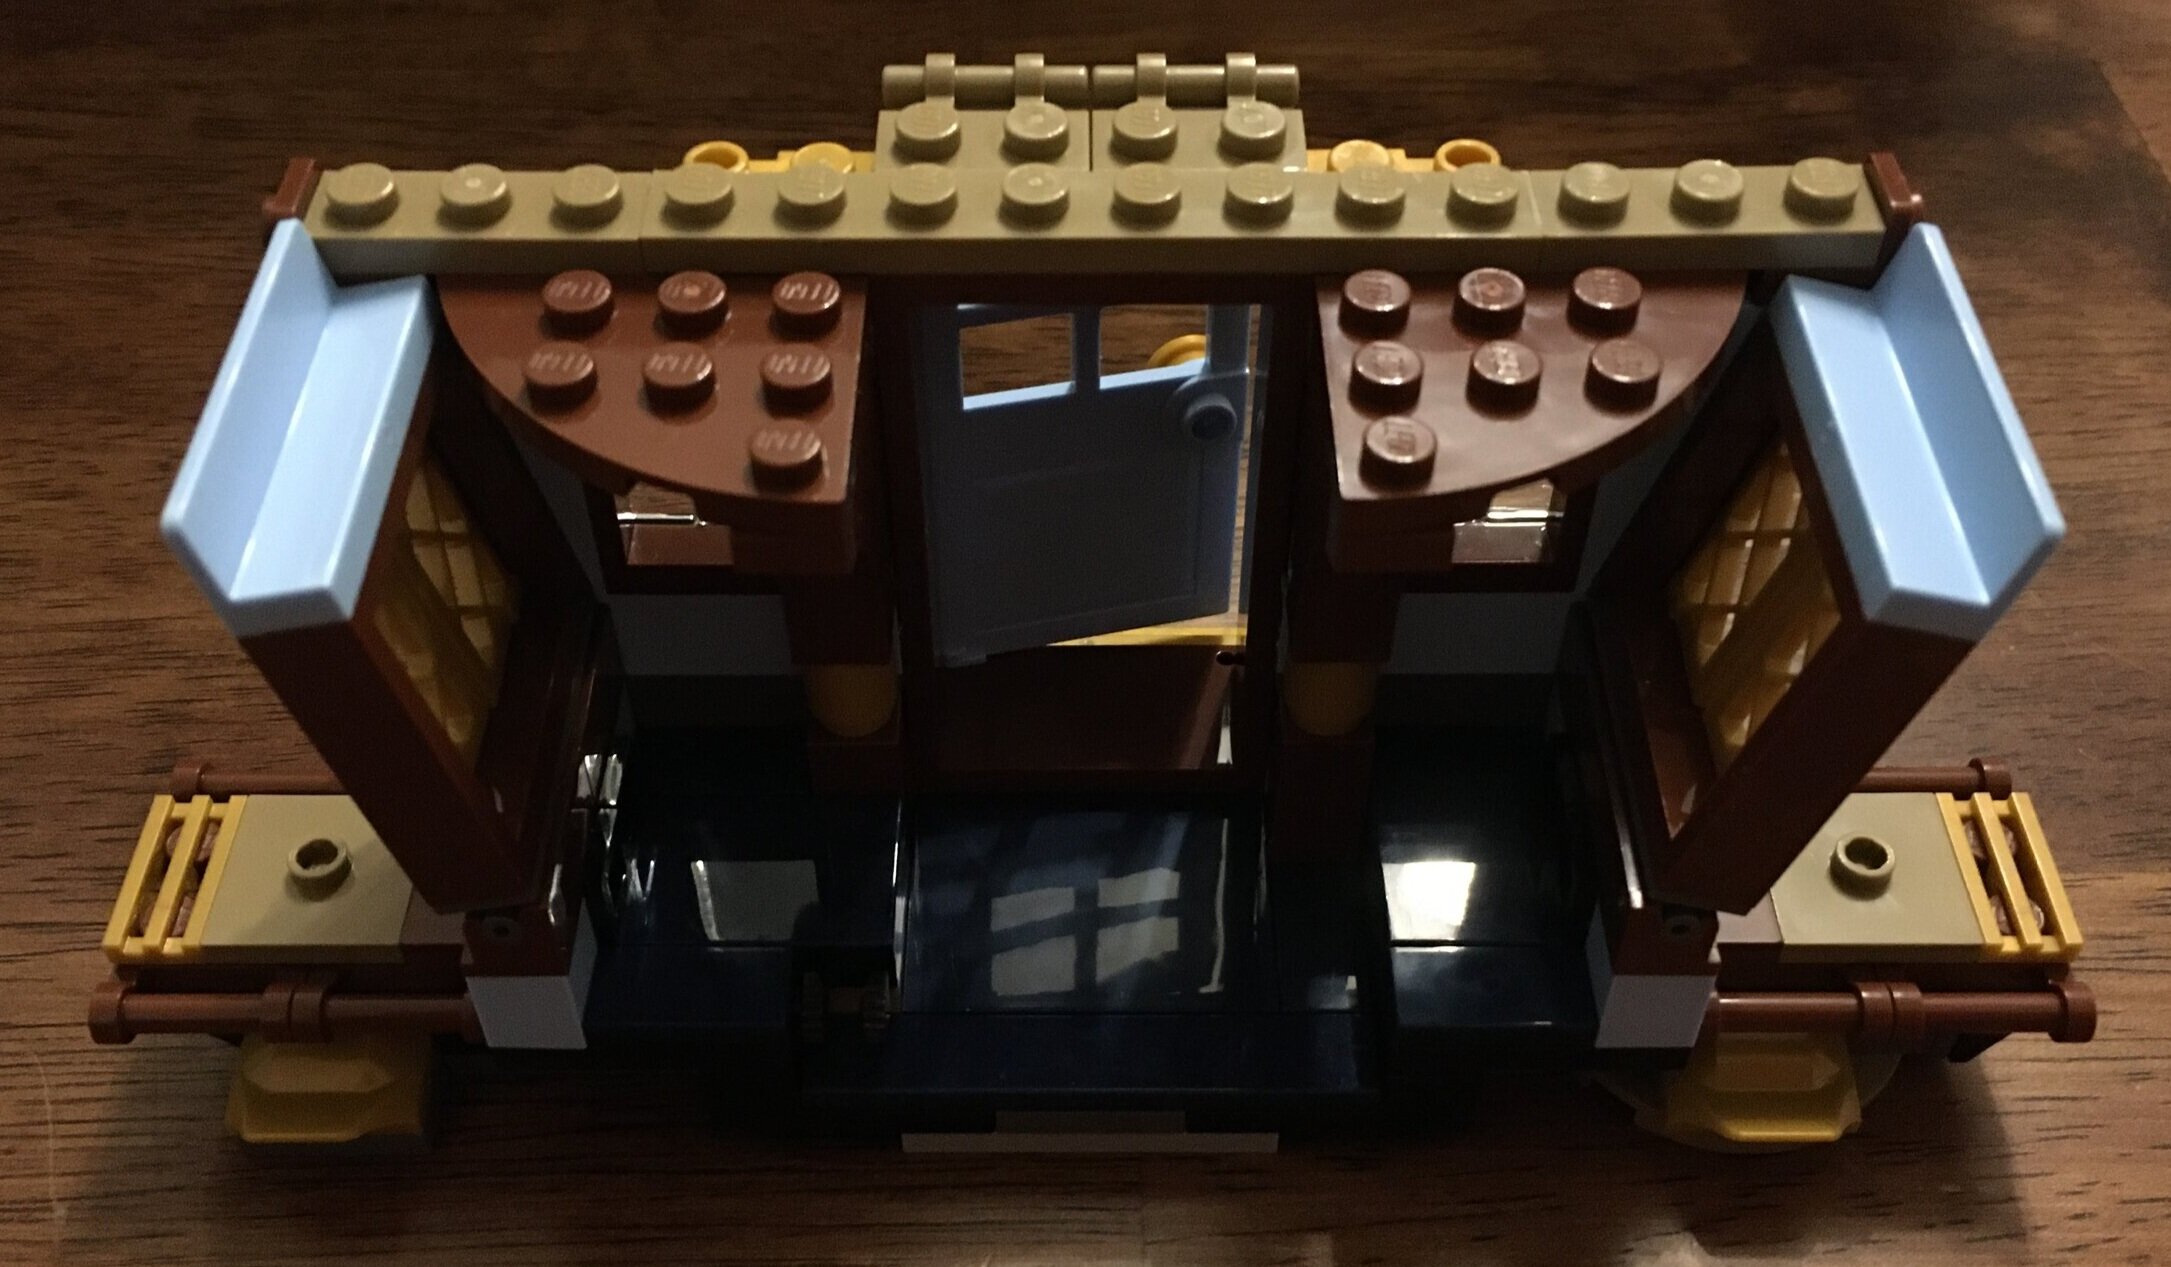
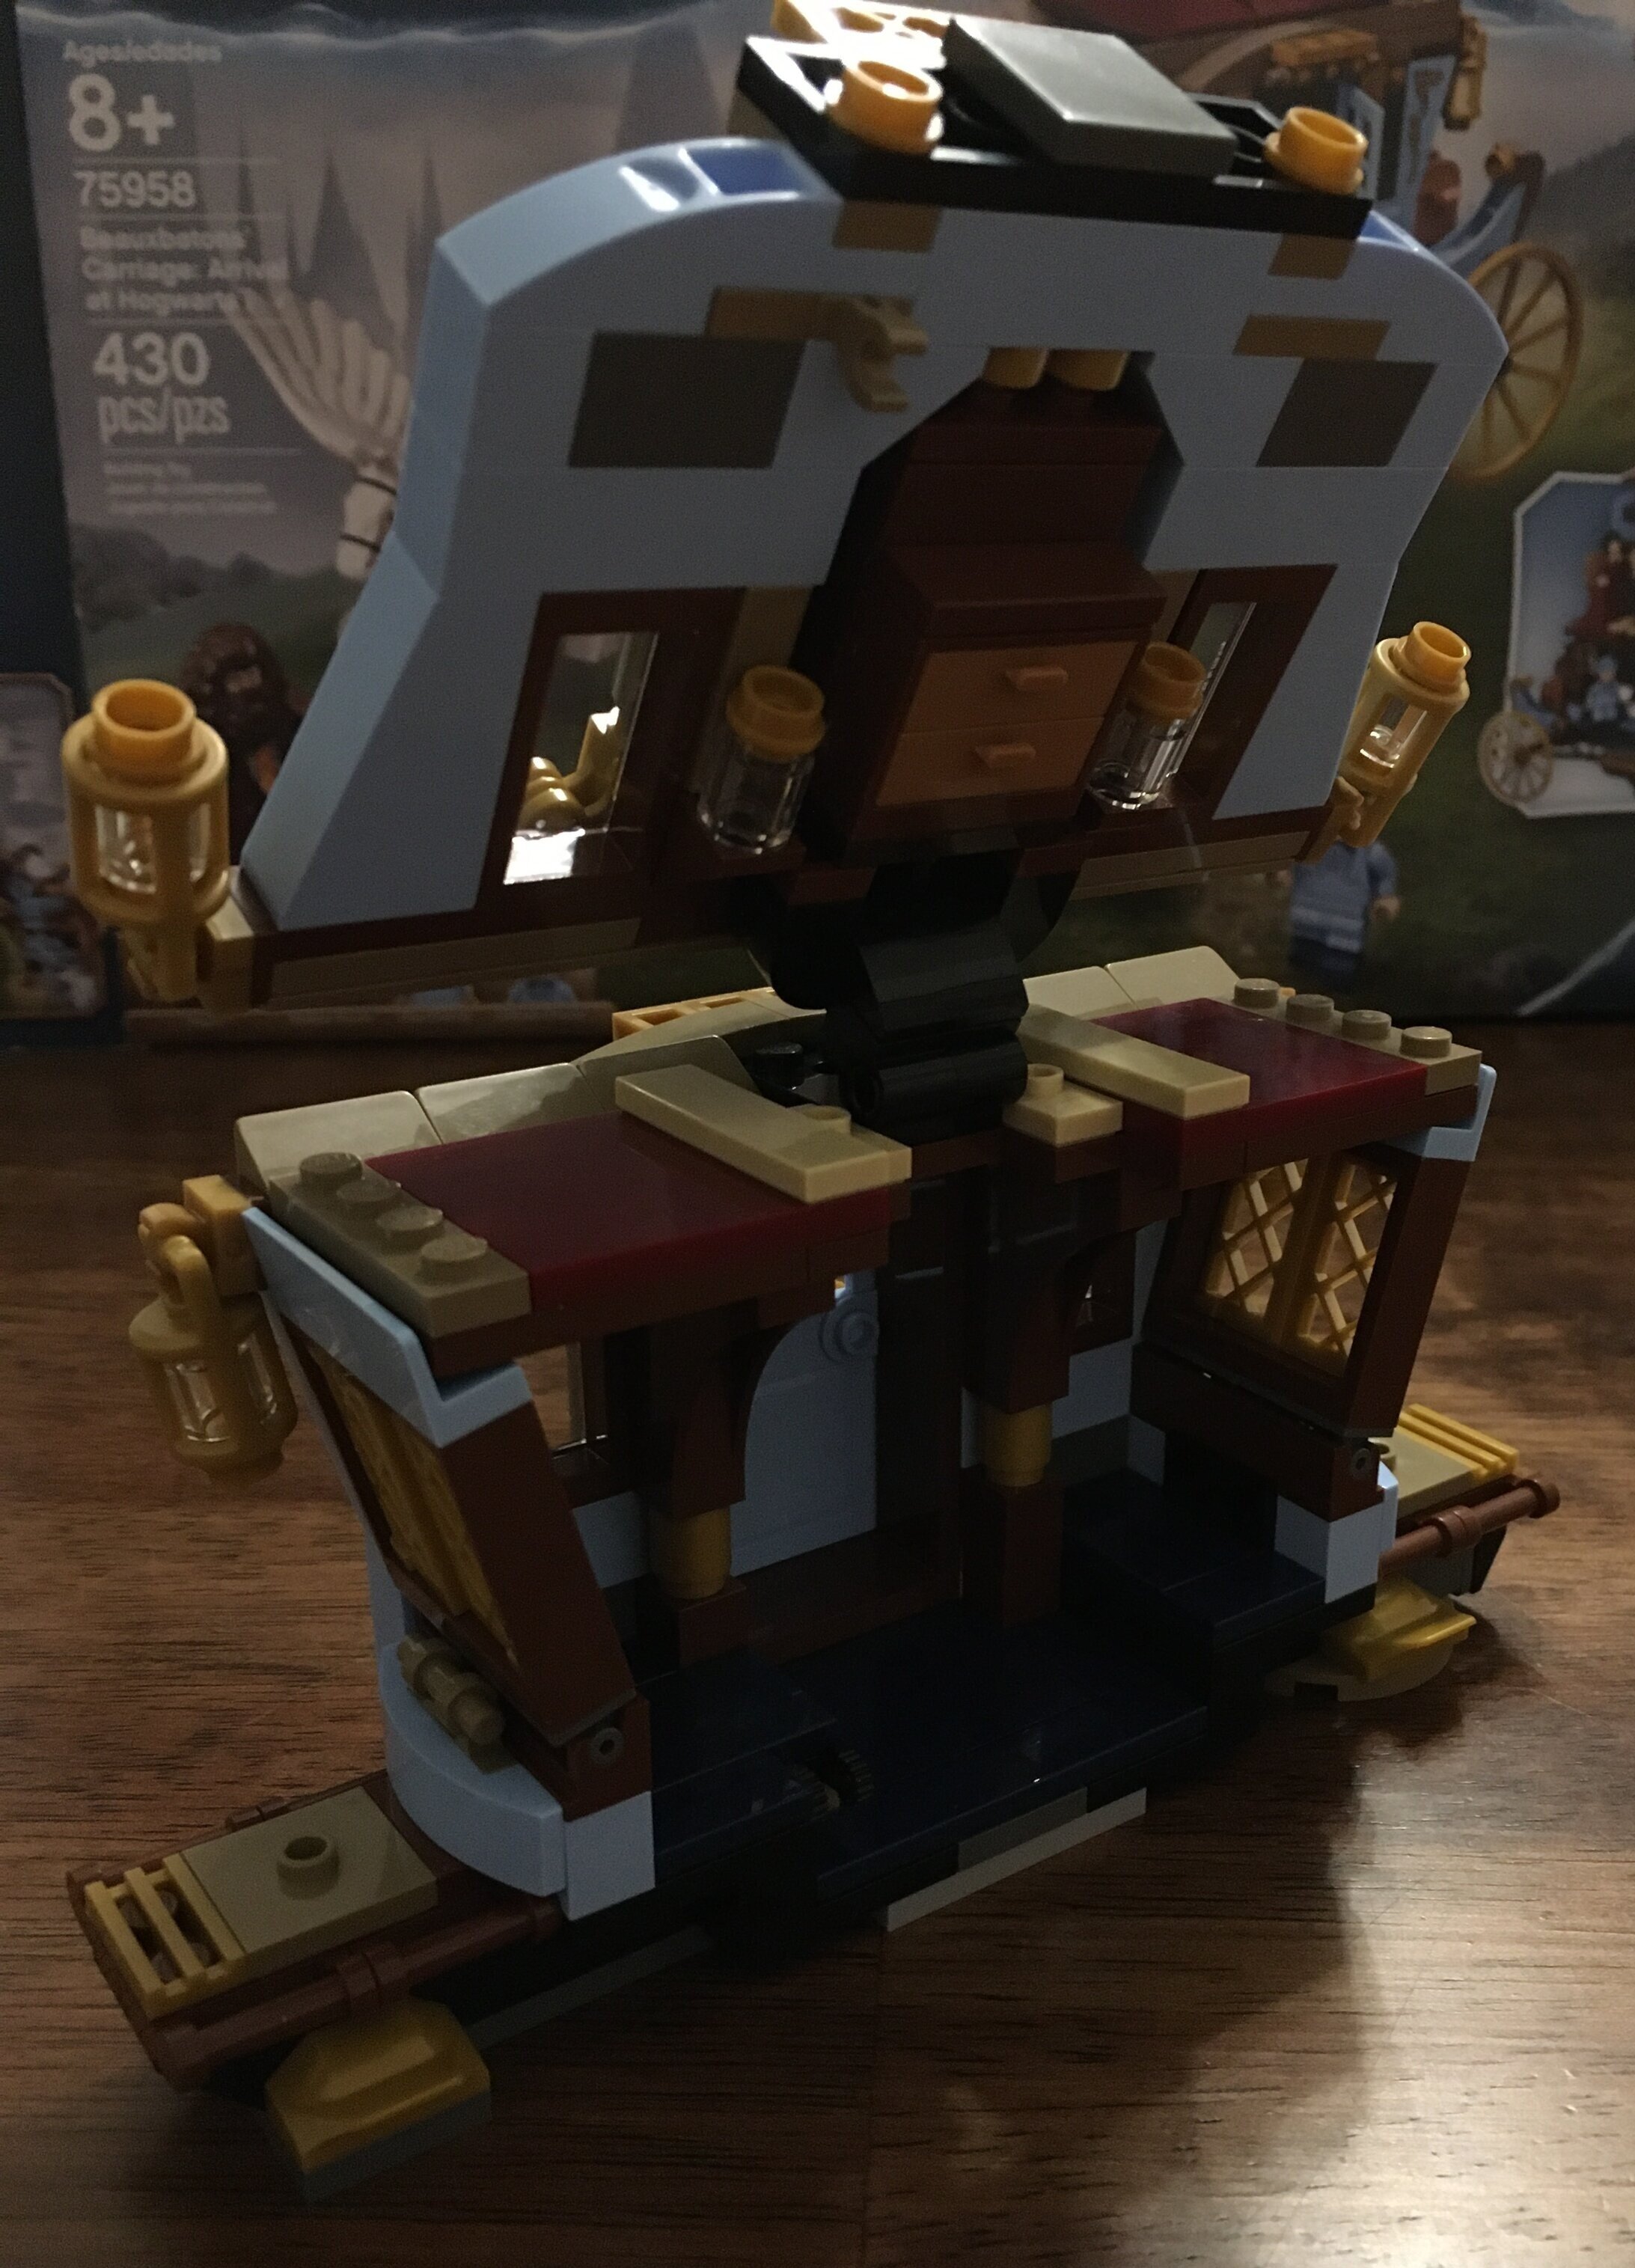
The second bag almost finishes the carriage. The second picture shows how one side of the carriage lifts up. I assume this was done for playability as you can get to the minifigures more easily versus removing the roof. While I’m not a fan of stickers, I do think they add to the set with the gold design on the light blue pieces.

75958_build2a.jpg
75958_build2b..jpg

This set comes with 4 minifigures and no it does not come with the base plates from the collectible minifigure series. I added them just to help the minifigures lay flat for the picture.

From left to right there is:

Rubeus Hagrid - This is a taller minifigure. To achieve the height, the torso is bigger, but the legs are the kid version legs. His arms are connected to the torso by a Technic like attachment.

Madame Maxime - She is the tall head of the school. I don’t recall how much taller she is over Hagrid in the movie, but I think they got it right with this minifigure.

Gabrielle Delacour and Fleur Delacour - These are two sisters attending Beauxbatons. Fleur (older and the taller minifigure) was a part of the Tri-Wizards tournament and her sister Gabrielle (smaller minifigurte) plays a big part in one of the challenges in the book/movie.

Overall, I think it is a good mix of minifigures for the set. Only 2 of the girls are really named and the rest are extras as far as I know, so I’m not sure what good it would have done to add more of the girls in. Especially since you can only make the carriage so big.

75958_minifigures.jpg

The third bag finishes up the build. The carriage has a top which needs to be removed before you can flip up the side. Additionally, it adds the wheels. The front axle rotates so it adds some playability. Additionally, there is a chest with tea cups to go with a table inside with a tea pot.

I’m sure the Harry Potter world has an official name, but I’ll call them winged horses. They are attached to the carriage via a somewhat bulky looking hitch. I’m not sure how I would redesign this part, but to me this part doesn’t match the elegance they tried to achieve on the carriage.

75958_final.jpg

My final thoughts on this set… if you’re not a Harry Potter fan, then don’t bother unless there are specific parts you want from this set. If you are a Harry Potter fan, then it’s a good addition to the collection. You get some good minifigures and the designers did a decent job depicting the scene given the scale they used. I definitely recommend getting the set at a discount. Check amazon.com, Walmart, and Target for the deals they are offering. I think the full retail price is a bit steep.

Keep building!

Set Review - #60234-1: People Pack - Fun Fair - CITY

This is the fourth year LEGO has released a People Pack for the CITY theme. We started with #60134-1: Fun at the Park, then #60153-1: Fun at the Beach, and then #60202-1: Outdoor Adventures. Next up is this set, #60234-1: Fun Fair. It has 183 pieces and 14 minifigures. It retails in the US for $39.99 which works out to be $0.219/piece or $2.85/minifigure. The release date was 2 Aug 19, but I waited for it to hit 20% off on Amazon.com. If you wait further, the discount should increase. #60202-1: Outdoor Adventures is around 30% off at the time of this post and the previous sets have done the same on Amazon.com close to retirement.

Onto the review…

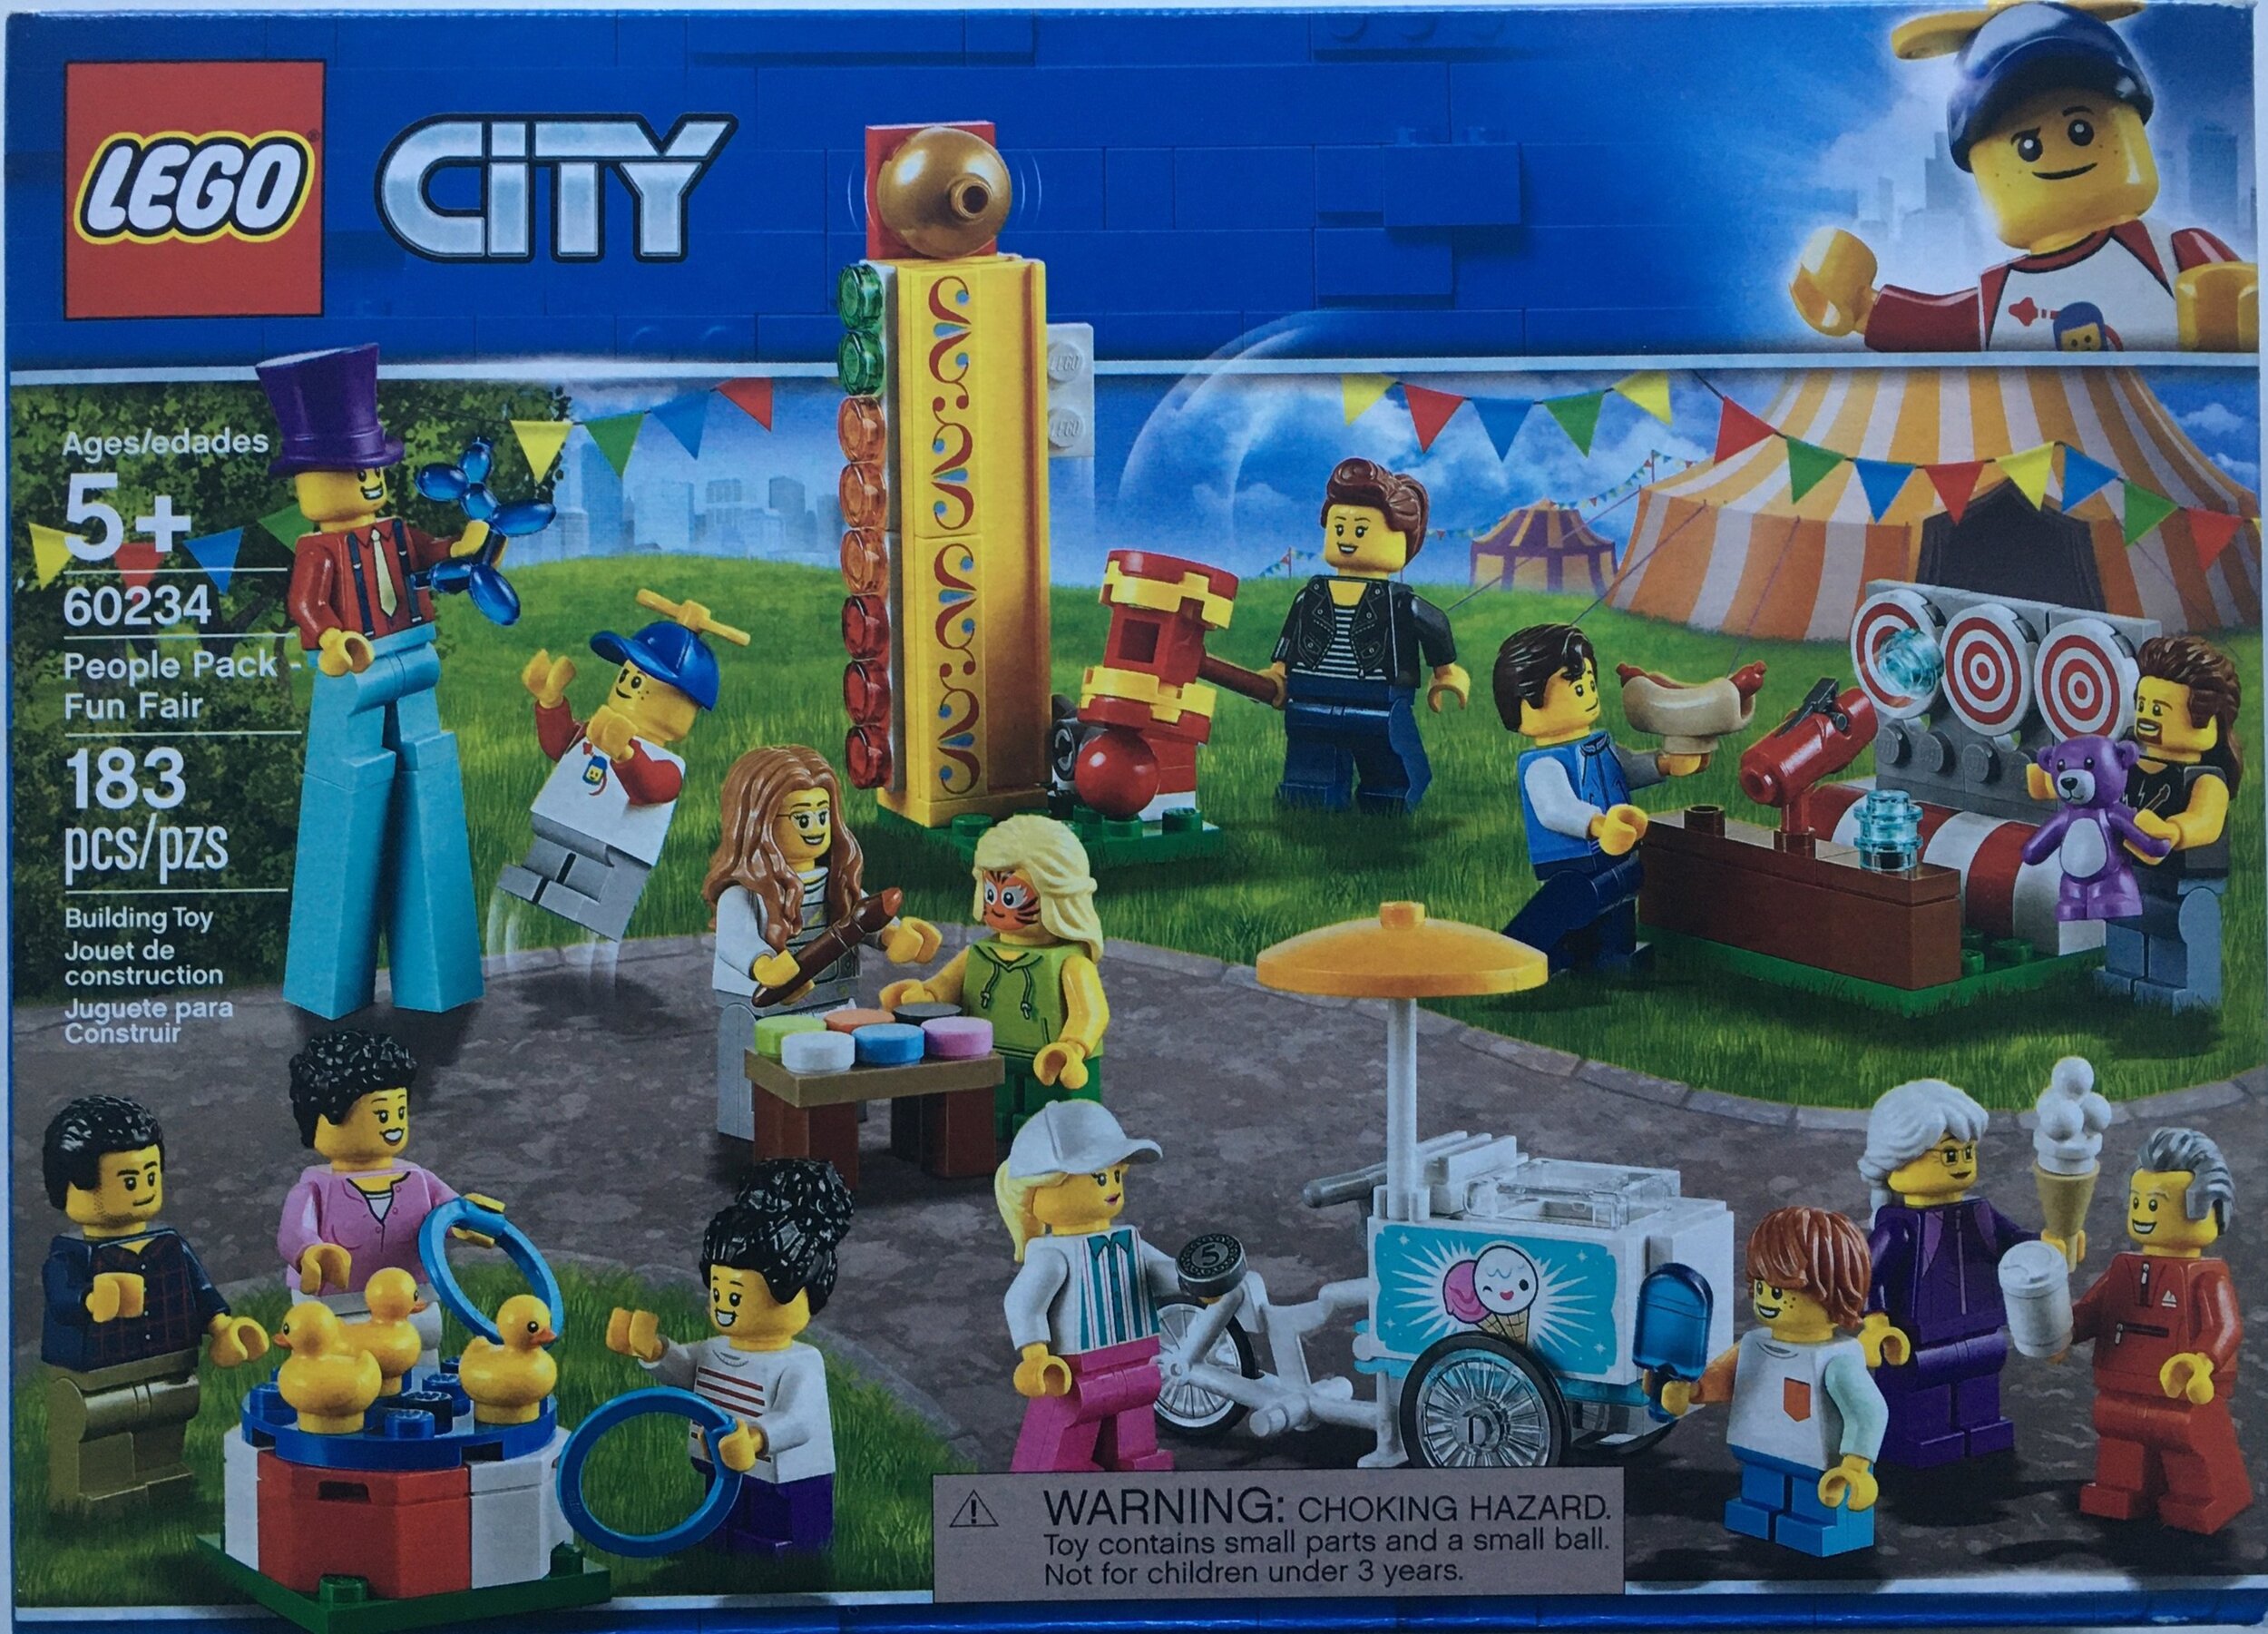
It has the standard box layout with the front showing the full set and the back showing some play features.

60234_front.jpg
60234_back.jpg

The set contains 2 parts bags and an instruction manual. It feels light to me. A quick comparison:

Fun Fair - 183 pieces - 14 minifigures
Outdoor Adventure - 164 pieces - 15 minifigures
Fun at the Beach - 169 pieces - 15 minifigures
Fun in the Park - 157 pieces - 15 minifigures

You’re getting more pieces, but one fewer minifigure. A lot of the pieces are small so I’m not sure if you’re really gaining more with the additional pieces. I wonder if it was a conscious decision to do this or just how the set got designed?

602343_contents.jpg

Here is what the first bag builds:

-A ring toss game where minifigures can attempt to throw rings onto a duck The table with the ducks spins. I like the little duck part and I think they could go well in a pond type scene.
-A game where you have to hit a target with a shooter to get it to fall down. There are 3 plates connected with Technic pins that have a 2x2 round tile with a target print on them. The minifigure can then use a shooter similar to those found on Star Wars sets to try and knock them down. The shooter will actually knock them down, you just have to keep track of the 1x1 round plate.
-A clown on stilts.
-A face painting station with a small table filled with 1x1 tiles for the different colors. of paint.

60234_build1.jpg

The minifigures include (top to bottom and left to right):
-A boy minifigure with a propeller cap (awesome!) and Benny the Spaceman shirt.
-A female minifigure with a pink shirt and white pants, but nothing too out of the ordinary.
-A male minifigure with a dark blue and red striped plaid shirt and green-ish colored pants (not sure of the official color name).
-A mullet touting man with goatee and rock-n-roll tank top. Spot on for some of the county fairs I have been to around the US.
-A minifigure on stilts with a giant purple top hat and holding a balloon animal to give away.
-A face painter with some paint spots on her overalls. The set showed up with 2 brushes.
-A girl who looks excited to have a tiger design painted on her face.
-Another girl. We let her hold the purple teddy bear that I guess she won as a prize.

Overall the first bag has a good variety of minifigures which can be used in a fair scene or elsewhere in your CITY.

60234_minifigs1.jpg

Bag 2 has 6 minifigures and 5 have food. One is playing a game of strength where you hit the spot with a hammer to drive up the part. In this case, a Technic piece drives up a 1x2 brick with rail attached up a larger rail to hit the bell. The only other build is the bike for selling ice cream. It’s a cool build, but a bit big. The minifigure needs a step ladder to get into the ice cream case. Not sure how to scale it back down to make it more to scale though.

IMG_9762.jpg

The remainder of the minifigures includes (left to right, top to bottom):
-A female minifigure who is the ice cream vendor. Her hair is attached to her hat and I don’t recall ever seeing that shirt before.
-A male minifigure in a jacket holding a giant hot dog.
-A female minifigure in a jacket with a shirt underneath
-An older male minifigure in a workout suit with gray receding hair who bought some ice cream
-An older female in a purple workout suit with a coffee cup. I like that she has glasses and white hair.
-A younger male with a popsicle. This one is blue versus the standard green one I have seen in other sets.

60234_minifigs2.jpg

Here are all of the parts of the set. I like the theme and I think they go well with some of the existing Creator Expert sets (Carousel, Roller Coaster, etc.) and some of the Creator 3-in-1 sets as well. I like some of the non-standard minifigures and the builds are pretty creative with the moving parts. If you’re going to pick this set up, I definitely recommend getting it on sale. I think $39.99 retail in the US is too high. It’s around 20% off now and will probably move to closer to 30% next year when it is getting ready to retire.

What are your thoughts?

Happy building!

60234_final.jpg

Resurrecting the 9V Track - The Challenge Has Been Accepted

The team from Assembled (see my article about the site here; in German it’s Zusammengebaut) interviewed JK Brickworks recently while attending Skaerbaek 2019 in Denmark. JK Brickworks is made up of Jason Allemann and his partner Kristal. Their website is here. You may know Jason Allemann from his LEGO Ideas sets like #21315-1 - Pop-Up Book or #21305-1 - Maze.

Whew, lots of links in a short number of lines…. now that we’re on the same page, in the interview, Jason mentions that he has a friend working on additions to the train theme to include 9V compatible track. WHAT!?!?!?!

More background… Jason and his friend Michael Gale co-founded a company called Fx Bricks. Fx Bricks has an initial product called the PFx Brick. In a nutshell, it’s a programmable, LEGO compatible controller that lets you install and control LED lights, small speakers, and control motors in your trains, cars, buildings, and other MOCs. There are some great demonstrations of how the PFx brick was integrated into existing sets and MOCs to include trains, cars, a Friends rock concert, and the Lego Ideas Saturn V rocket.

Some PFx bricks display on their website

Some PFx bricks display on their website

What does the PFx brick have to do with 9V trains? Well on the Fx Bricks website, it talks about upcoming additions to LEGO trains to include 9V compatible tracks of various shapes and lengths, a power system, a PFx brick like controller, motors, and interconnects. Per the interview, it looks like Mike Gale has the lead on this project. There is a short brief posted on the Fx Brick site here. If you are a train fan, definitely take a look at it. He also has some sample track pictures. Check out the one below. Can you tell which one is the 9V track and which one is the LEGO one? I had to zoom in to see the LEGO logo on the one in the background. Very impressive!

S32wTLG.jpg

Here’s a close up shot showing the Fx track attached to LEGO track. It looks pretty compatible in terms of the connection. It also looks like it will fit into a train display without seeming like a different system. The difference just appears to be logo on the stud and it looks more shiny.

We have yet to see how LEGO bricks attach to the track if you want to add ballast and I’m sure at some point we’ll see a video showing that a 9V train can work on it.

S32Joint.jpg

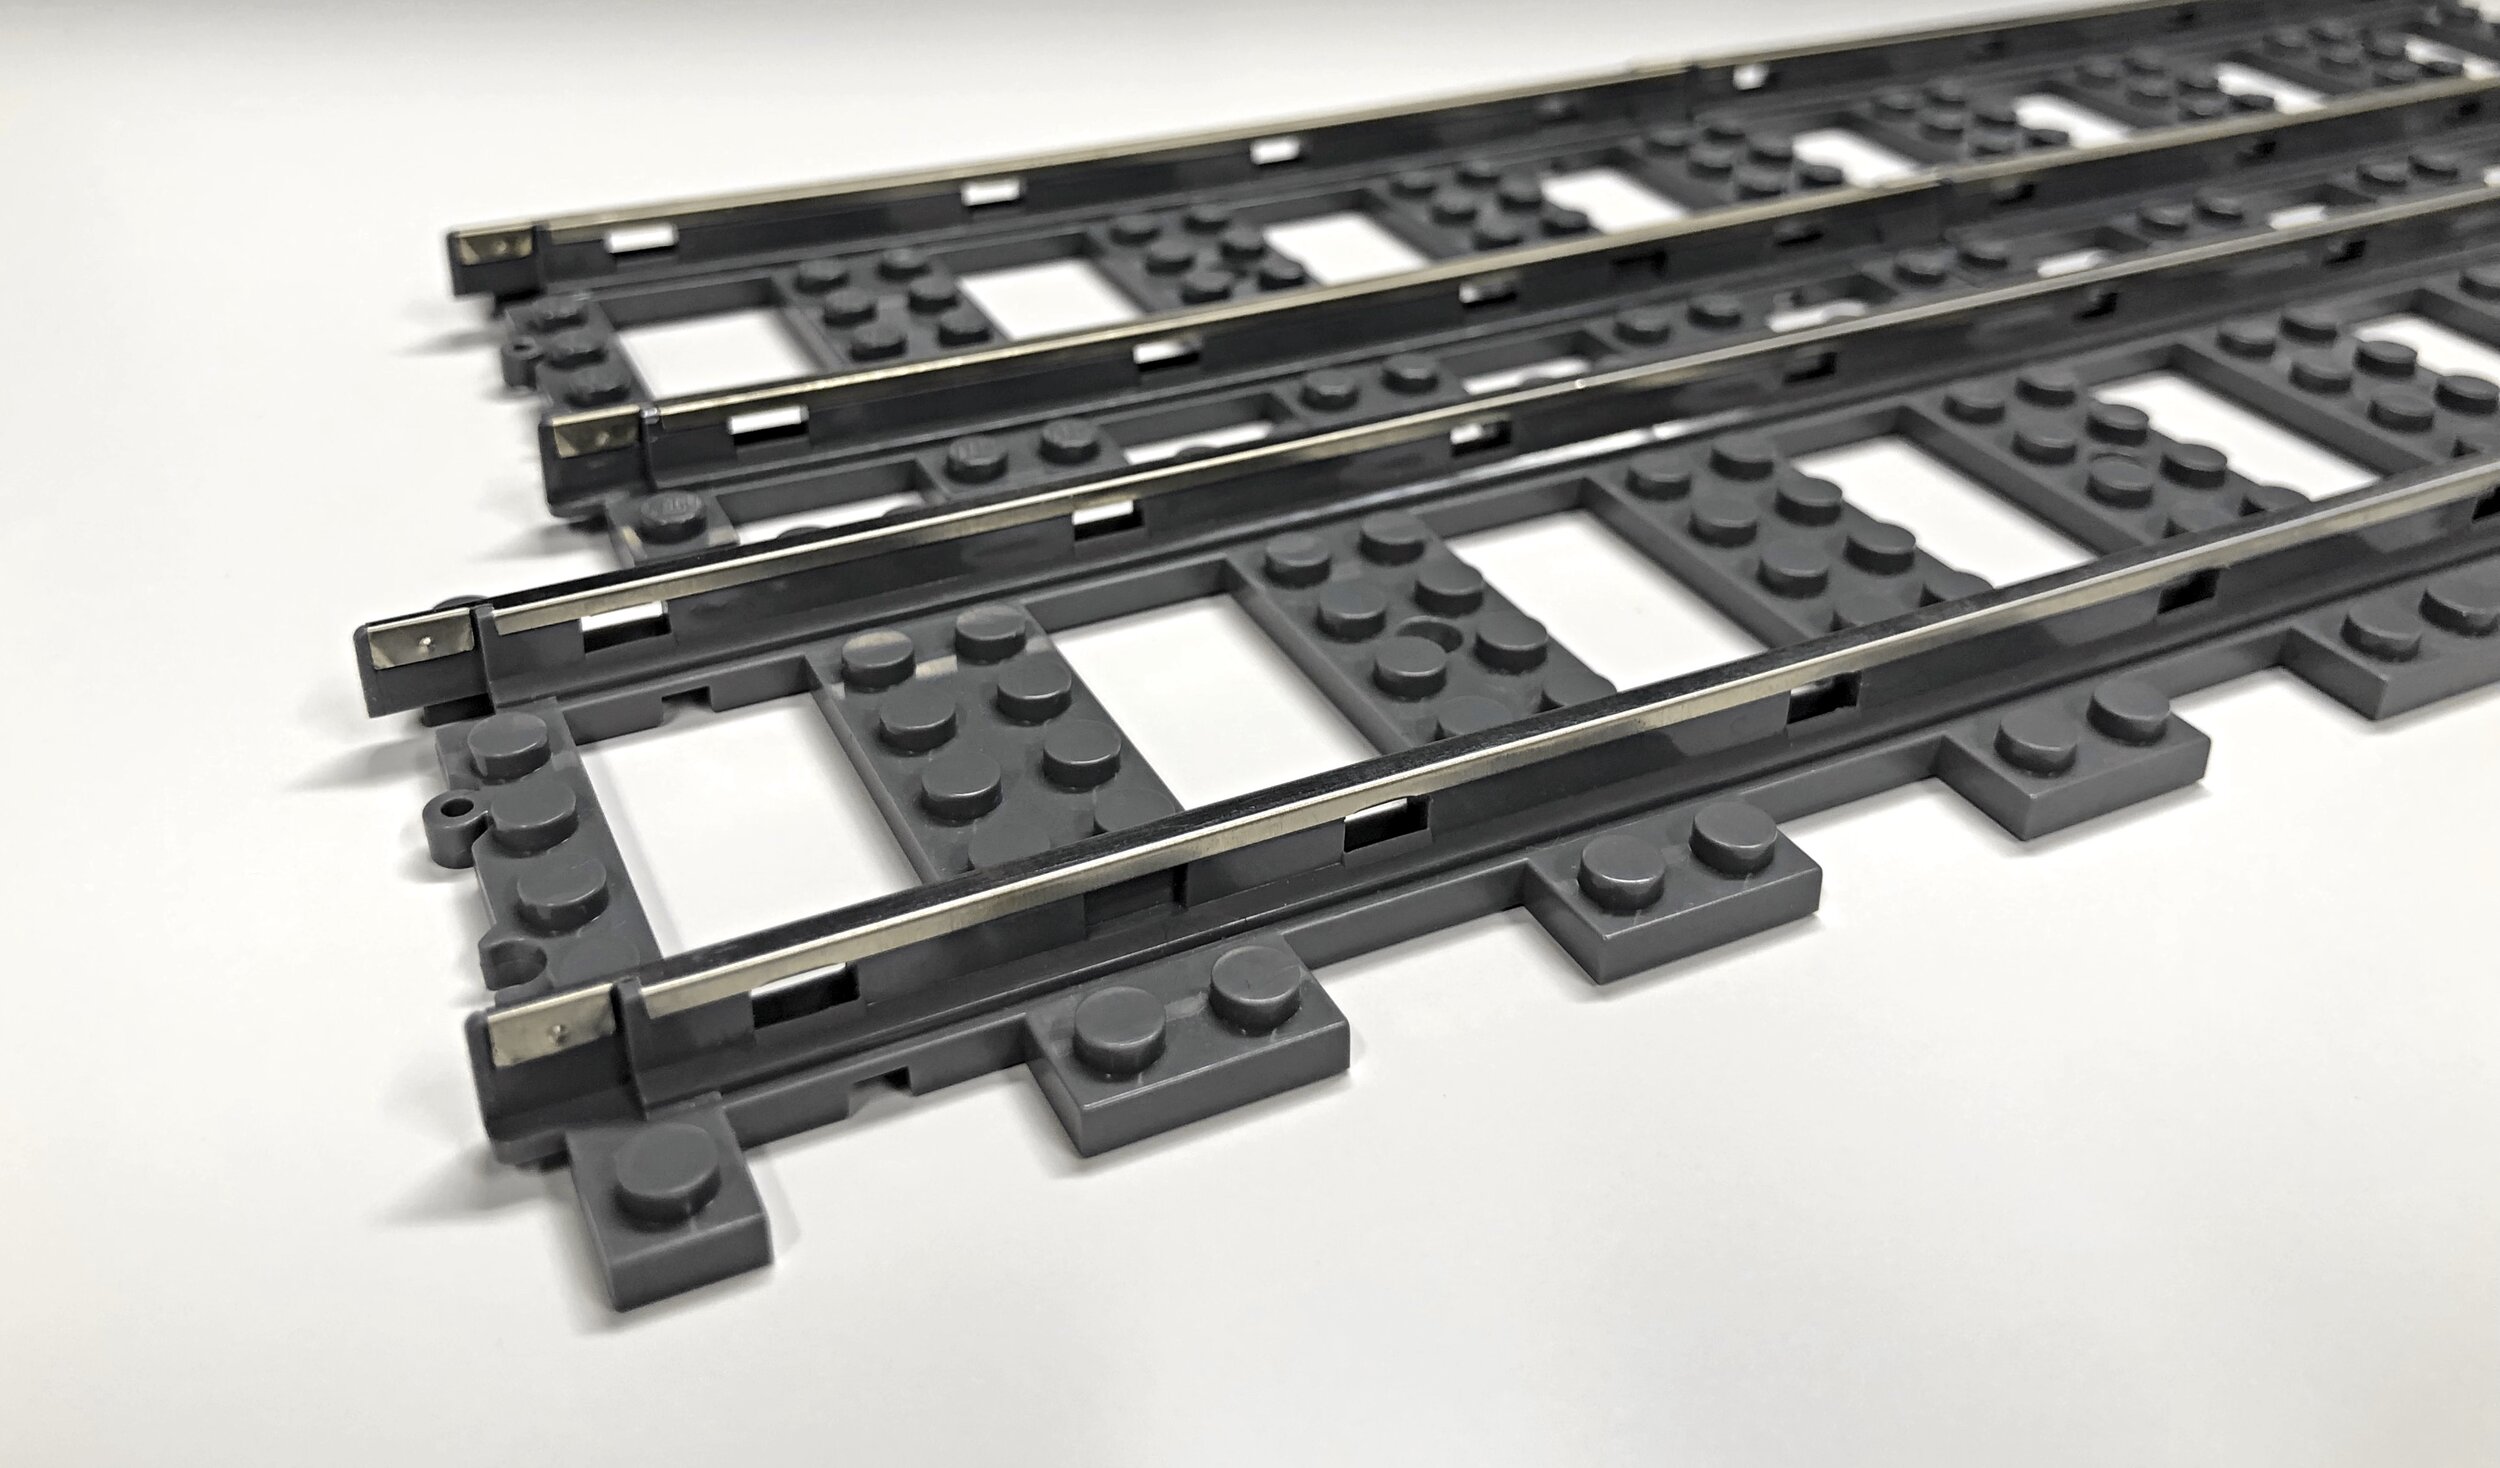
A quick history… Fx Bricks is not the first to try. A few years back a company started off called ME Models. The company produced an all metal rail and connector pieces. You could then use your own 2x8 plates in-between the connectors. It wasn’t bad and the metal connection worked. I bought some of the first track and pledged in their Kickstarter campaign. Sadly I never received the goods I was promised from their Kickstarter campaign. I reached out, but never heard back on a status. They went dark for a while. Now they show up on Bricklink as a store and it says they used to offer plastic rails, but have been closed since 2018. Some pictures of the ME Models rails are below.

ME Models standard length track.  I was unable to detach the bricks to show the metal rail by itself.

ME Models standard length track. I was unable to detach the bricks to show the metal rail by itself.

LEGO 9V on the left (the older dark gray) and ME Models on the right.

LEGO 9V on the left (the older dark gray) and ME Models on the right.

I’m pretty excited about this effort. Fx Bricks has delivered on its first campaign and is working on more PFx bricks. I’m hoping they can deliver on a track system. The brief talks about having a system in stock so hopefully they are considering supply chain management systems.

Recently I set up a track for my kids to play with and the batteries just don’t have the life span to handle a lot use. Being able to expand my small stash of 9V track would be useful for kids playing. I could see it being a big win for those displaying trains at multi-day long brick or train shows as well.

Good luck Fx Bricks!